
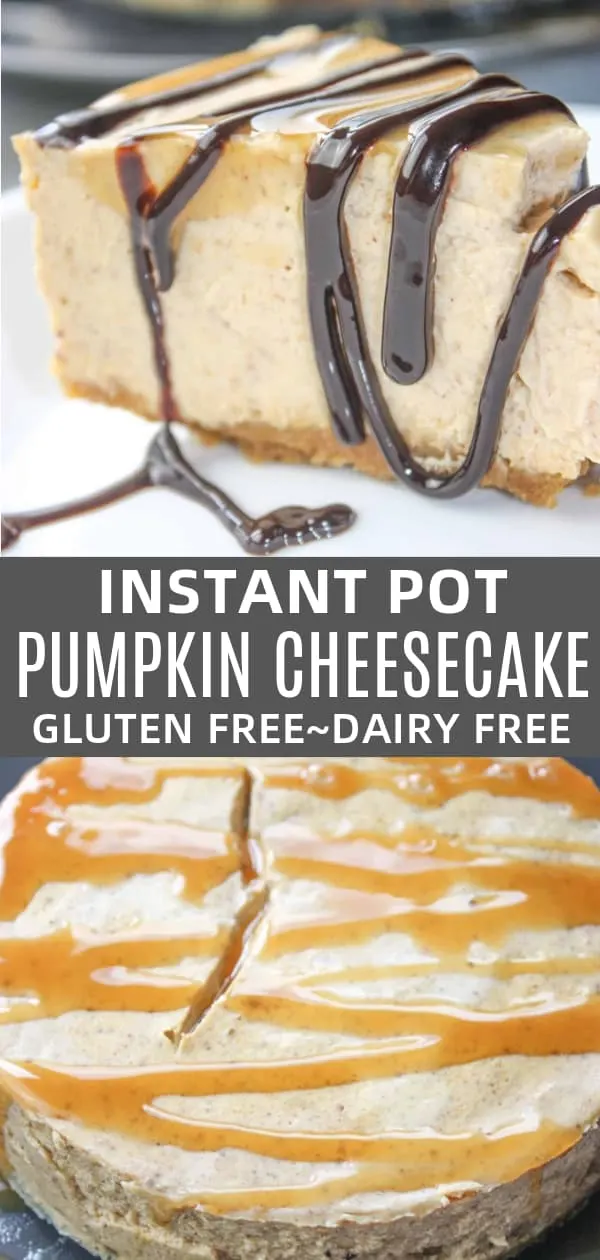
Instant Pot Pumpkin Cheesecake is my first attempt at cheesecake. The pressure cooker made it so easy! This gluten free, dairy free version was a real treat.

I was always a little nervous about making cheesecake but all the examples on the internet had me drooling.
Having to eat gluten free and avoid most dairy made me reluctant to give it a try.

But this Instant Pot Pumpkin Cheesecake is like, “having a party in your mouth”, according to my Sister-in-law! It is a rich dessert so you can cut it into small pieces.

Every mouthful of this decadent dessert will be savoured! This recipe can yield 8-10 servings.

Printable Recipe Card with a Full List of Ingredients and Instructions is Located at the Bottom of the Post.
Be sure to read through the entire post so that you don’t miss out on any important tips and tricks!
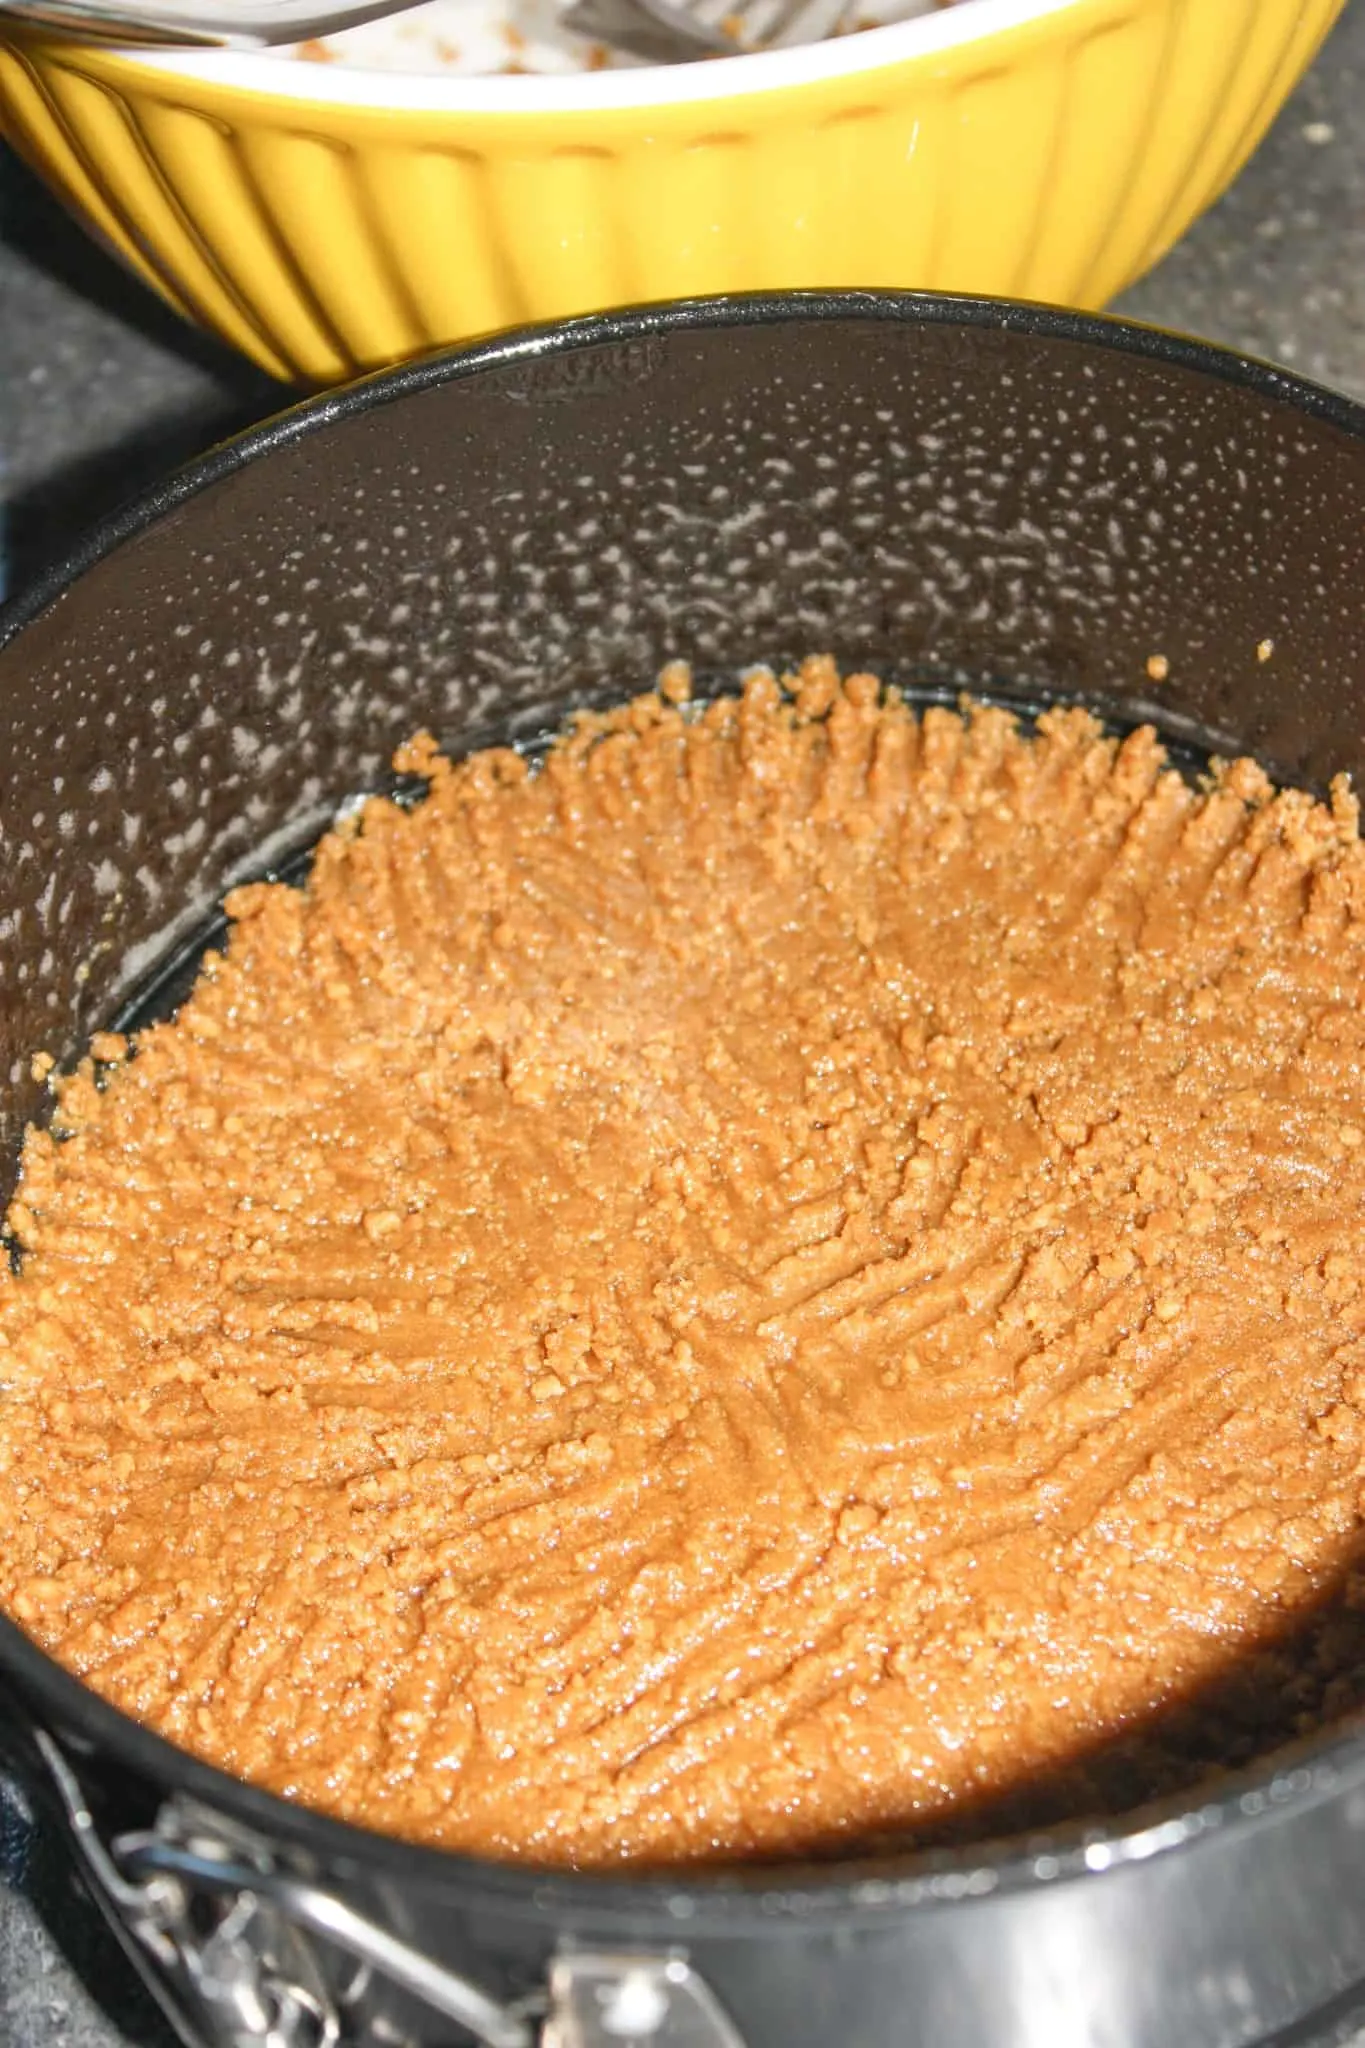
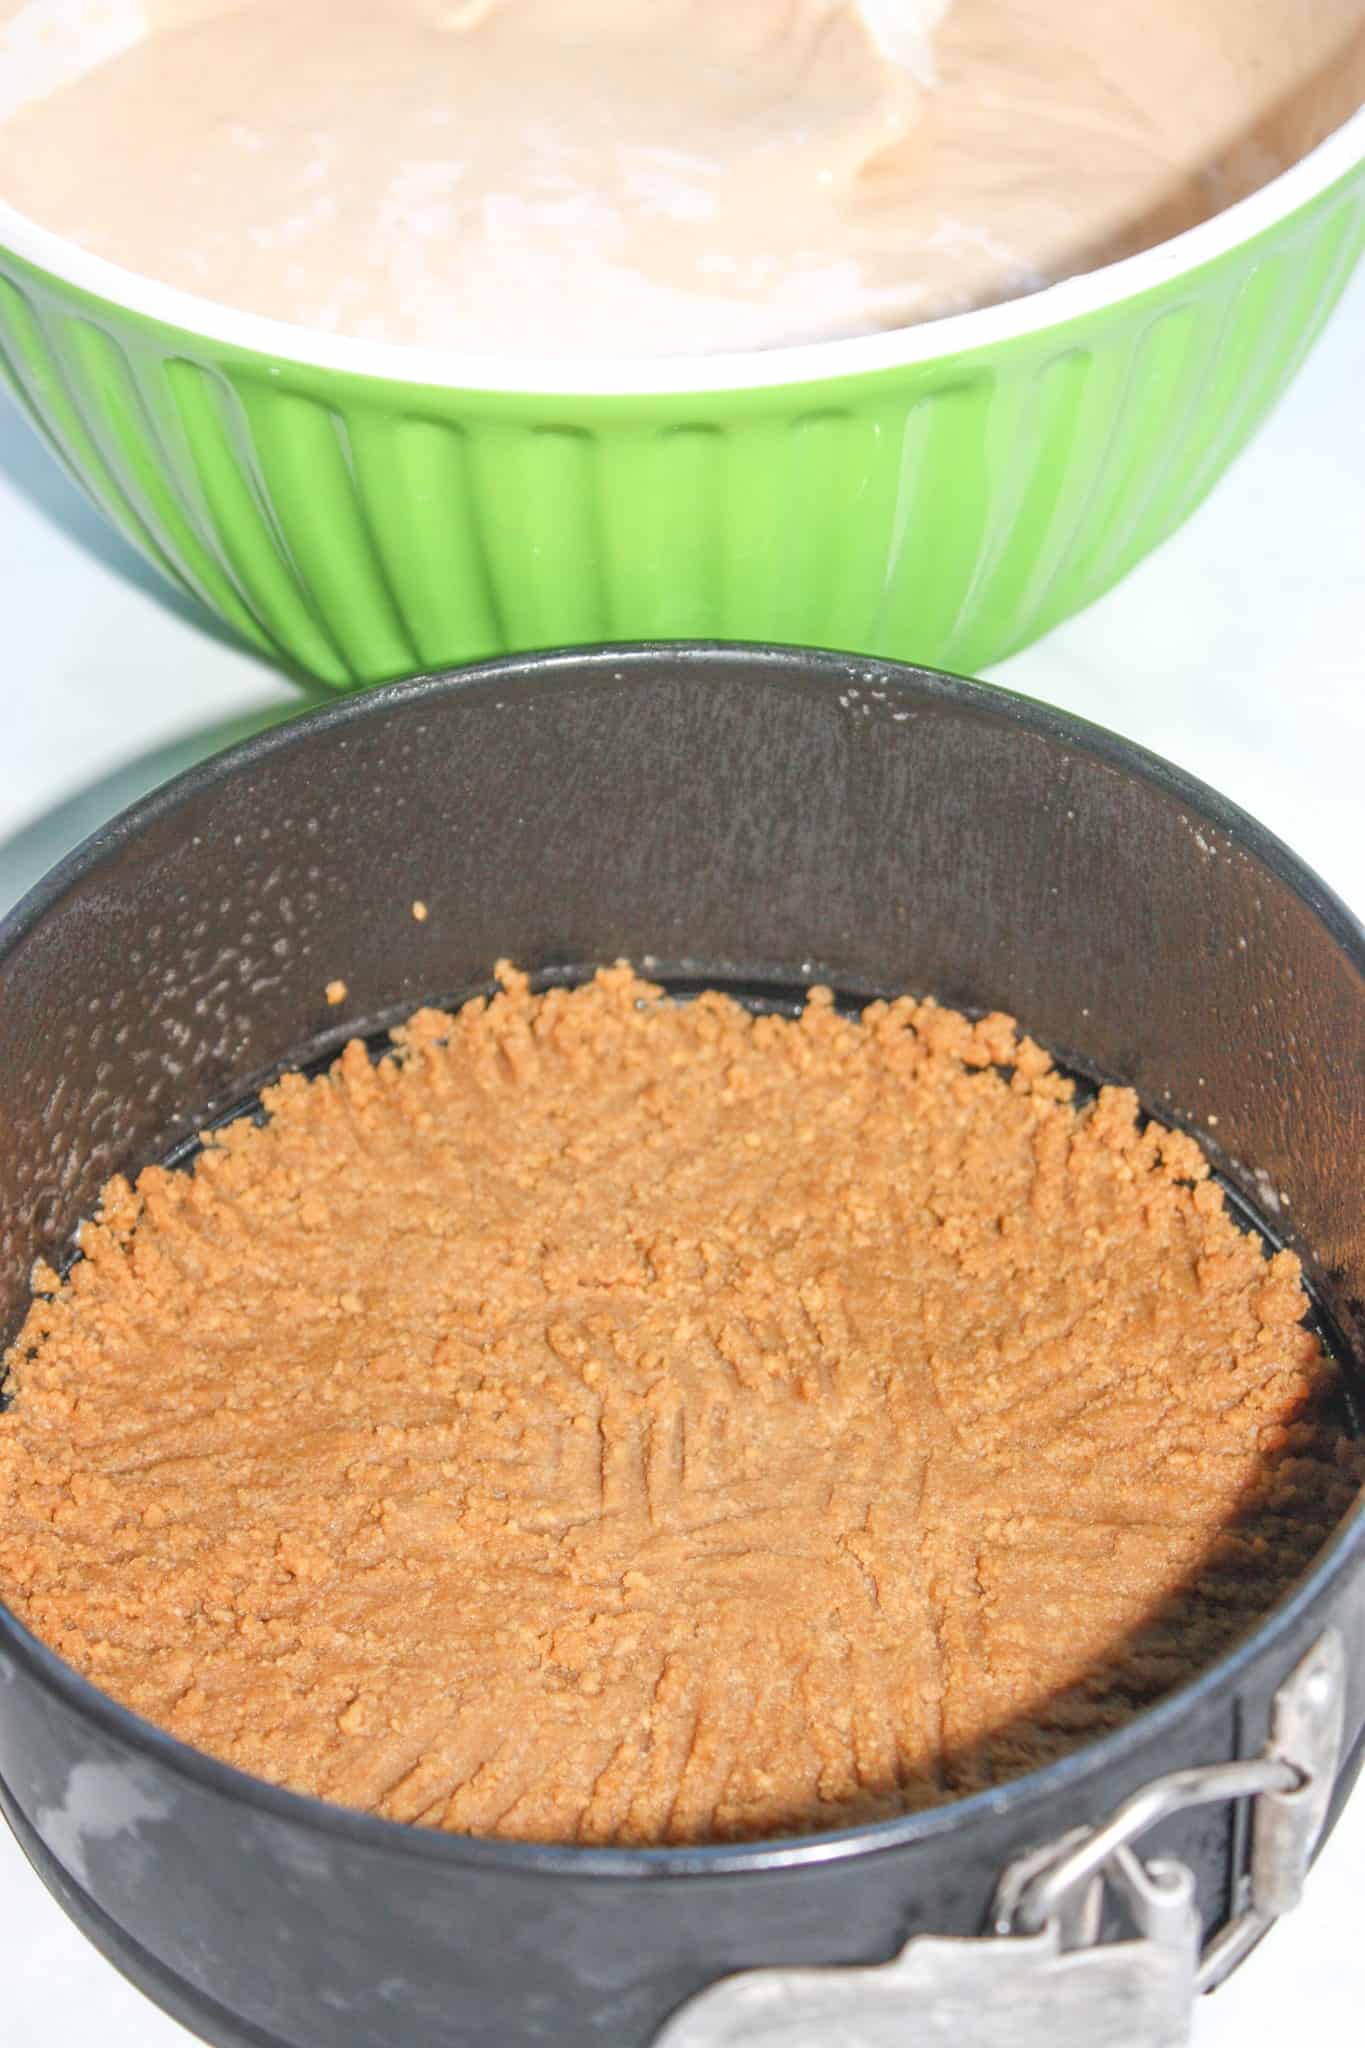
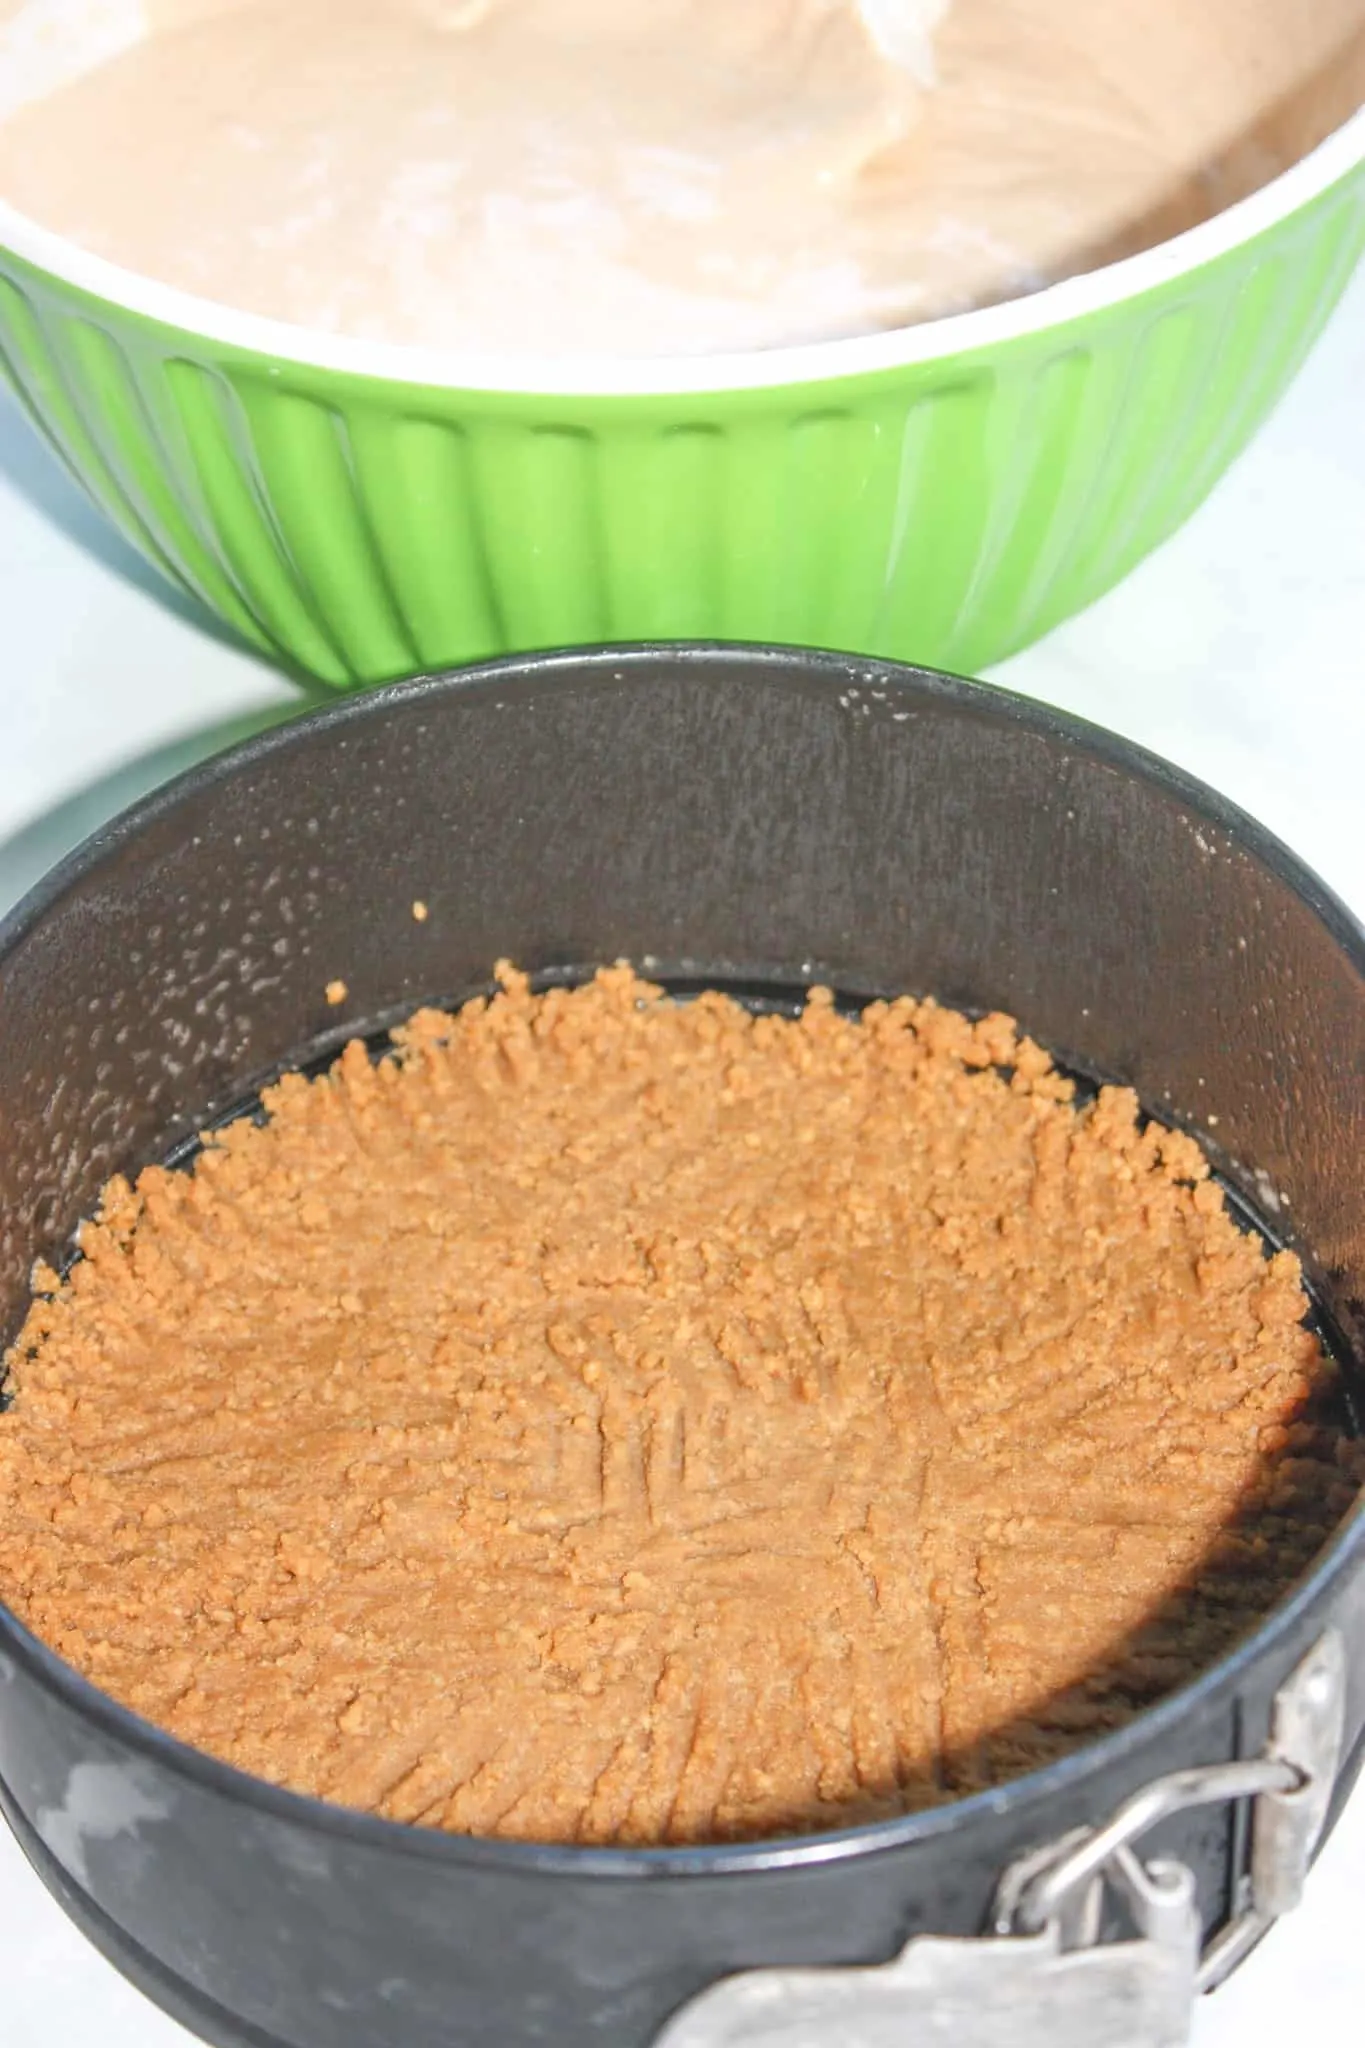
To begin making this decadent dessert I sprayed a 7″ springform pan with cooking spray. Then I dumped some gluten free graham crumbs and melted margarine into a small mixing bowl.


After stirring them together well, I pressed the crumbs into the bottom of the springform pan. I placed the pan in the freezer while I prepared the filling.

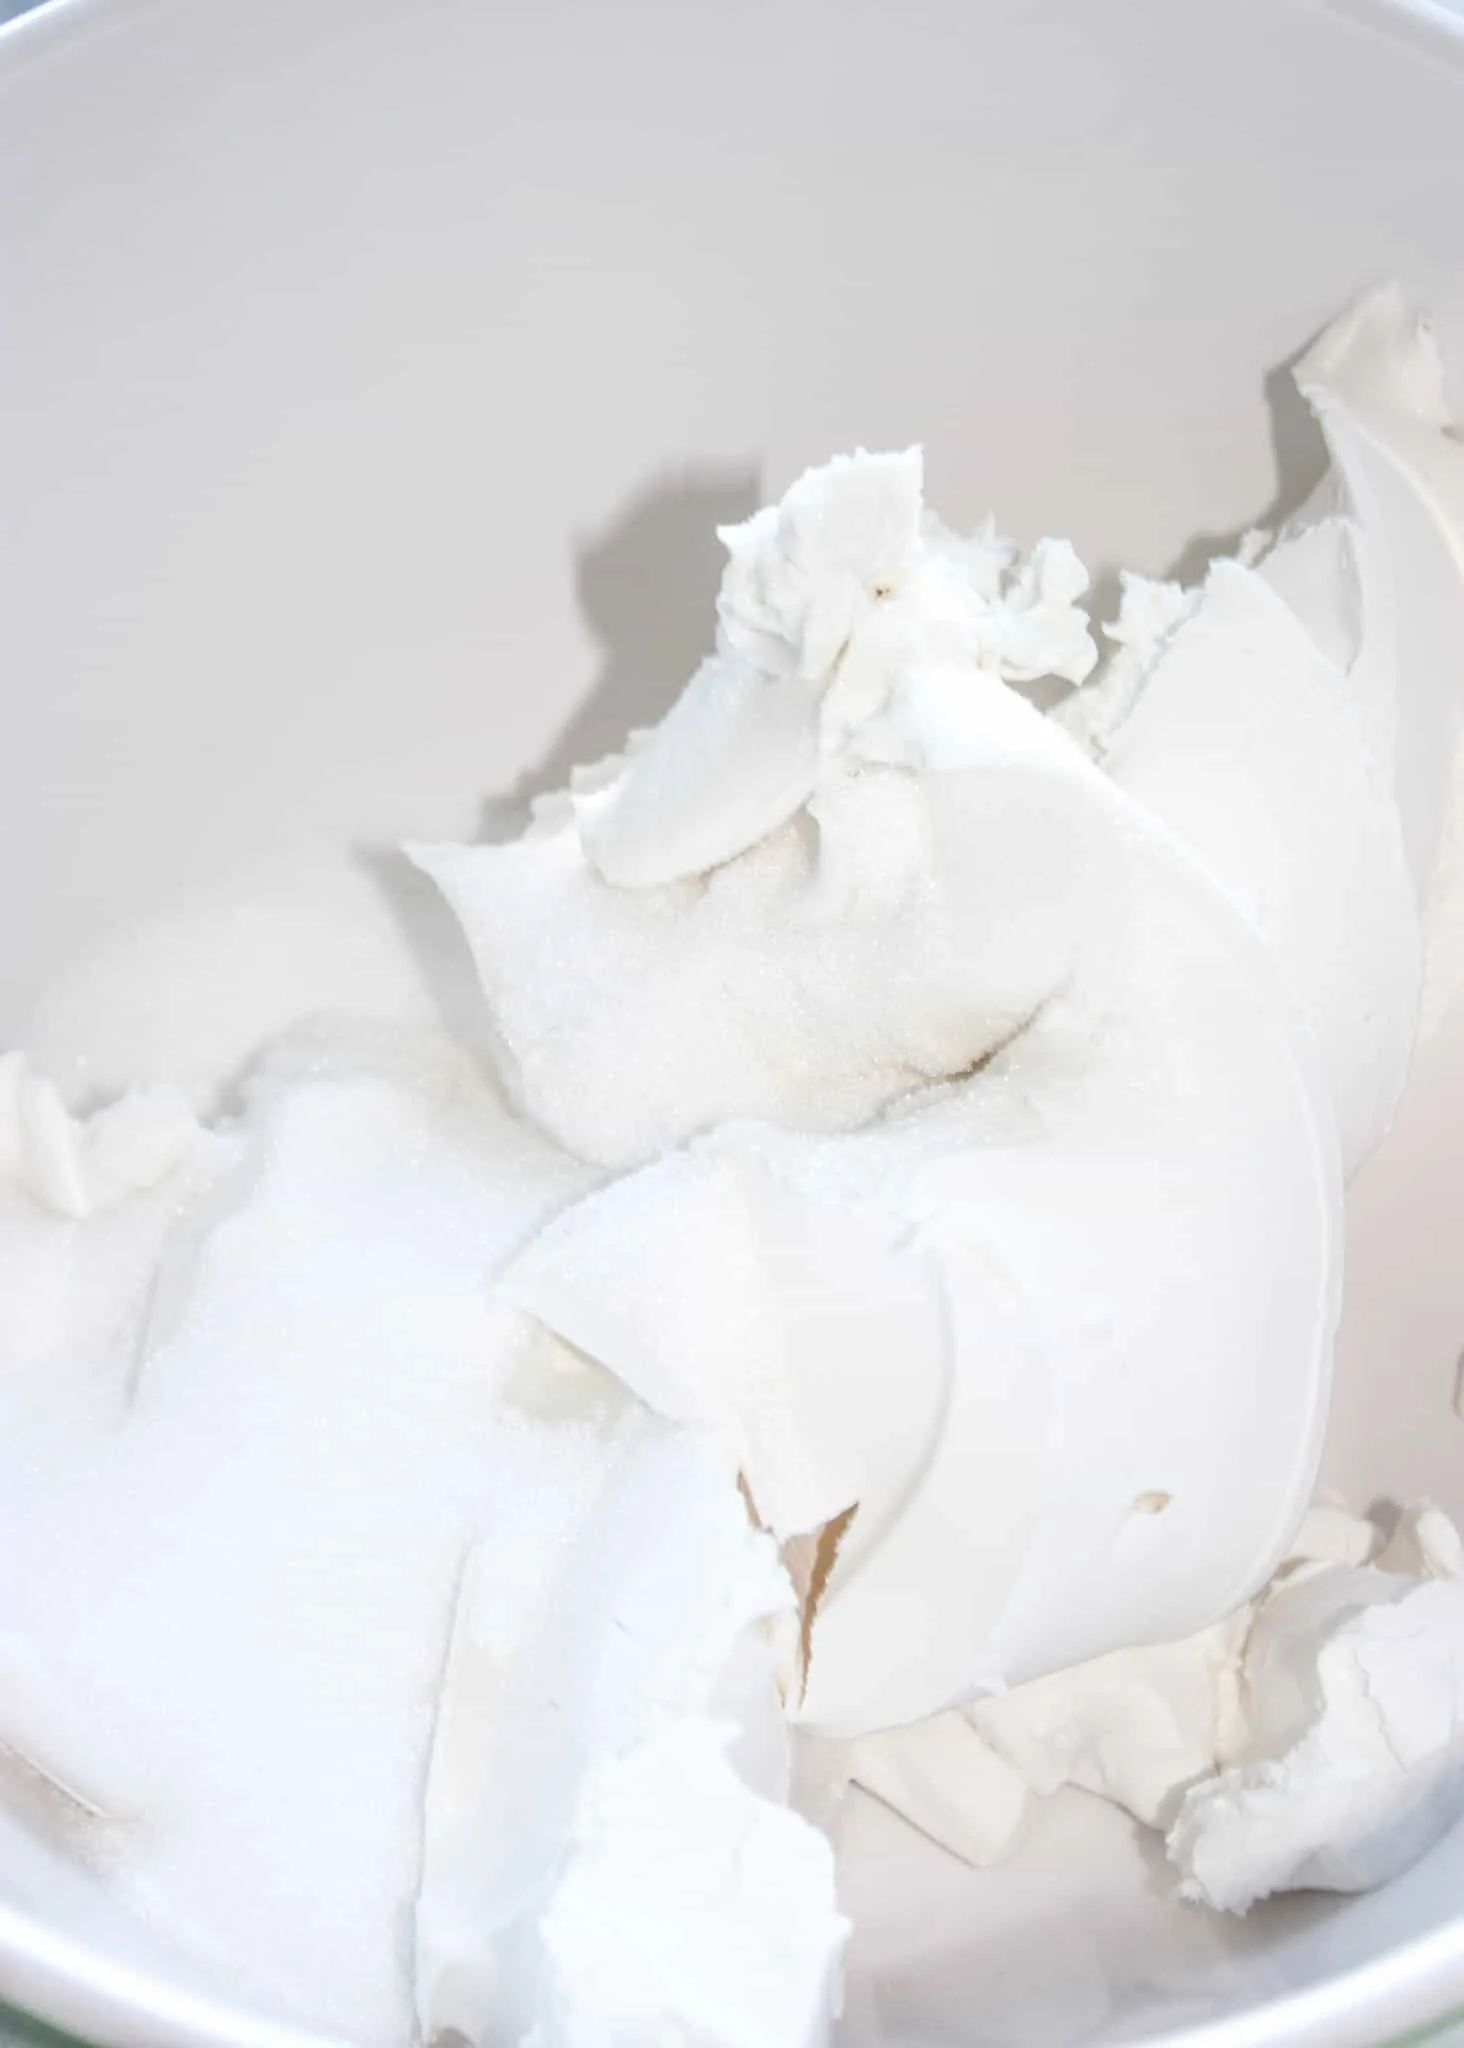
For the filling I dumped some dairy free cream cheese and some granulated sugar into a mixing bowl.
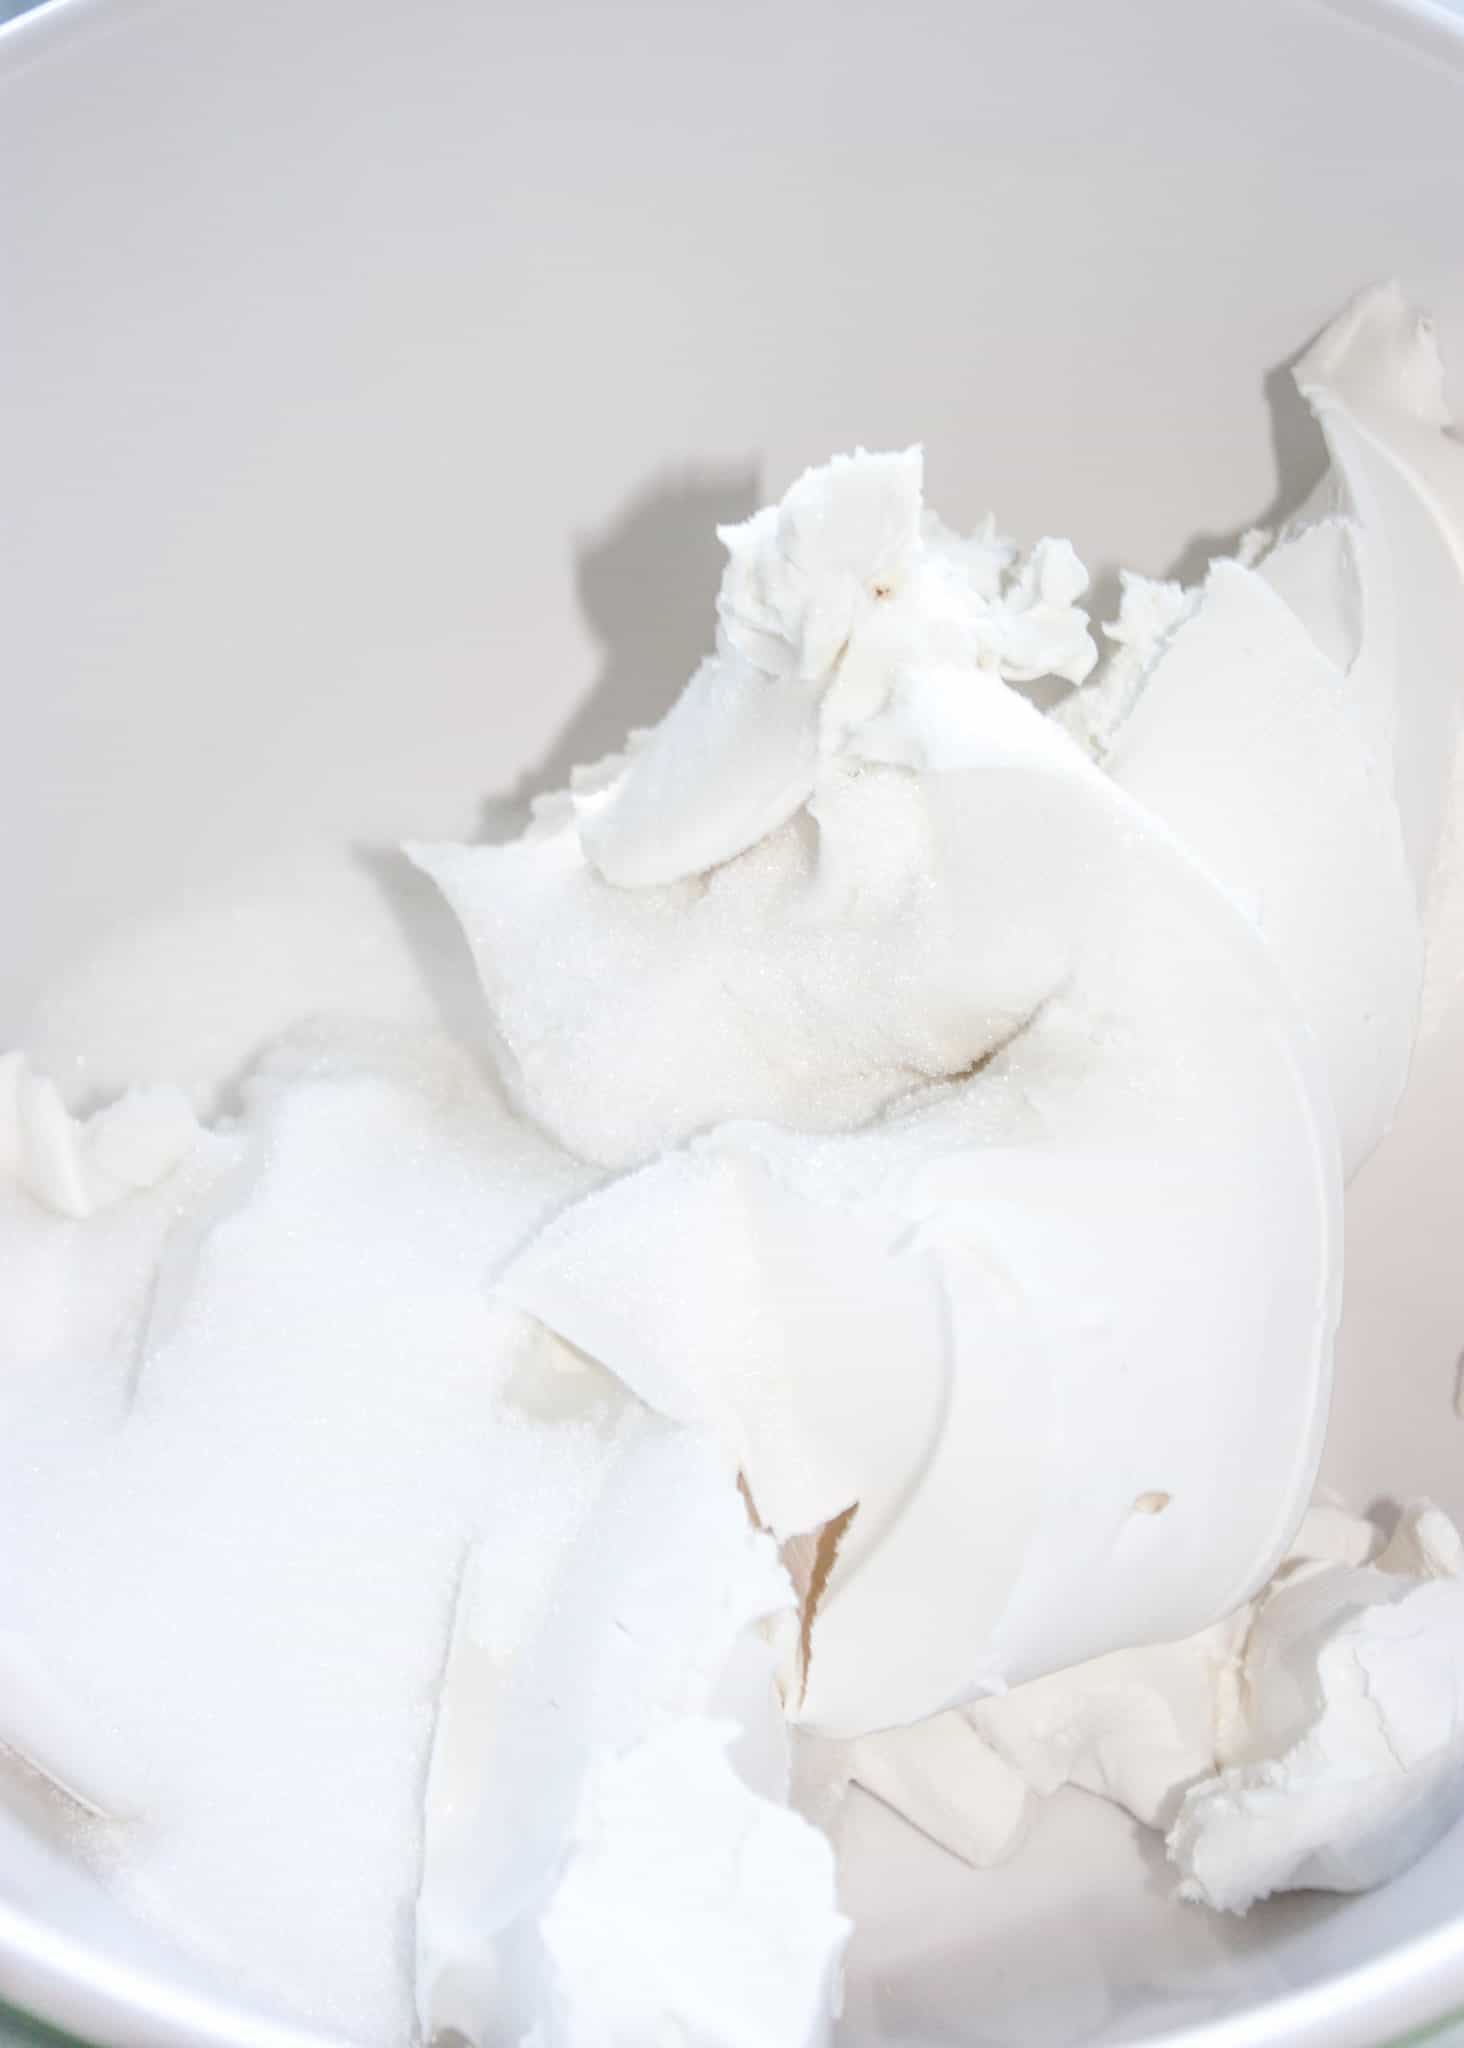
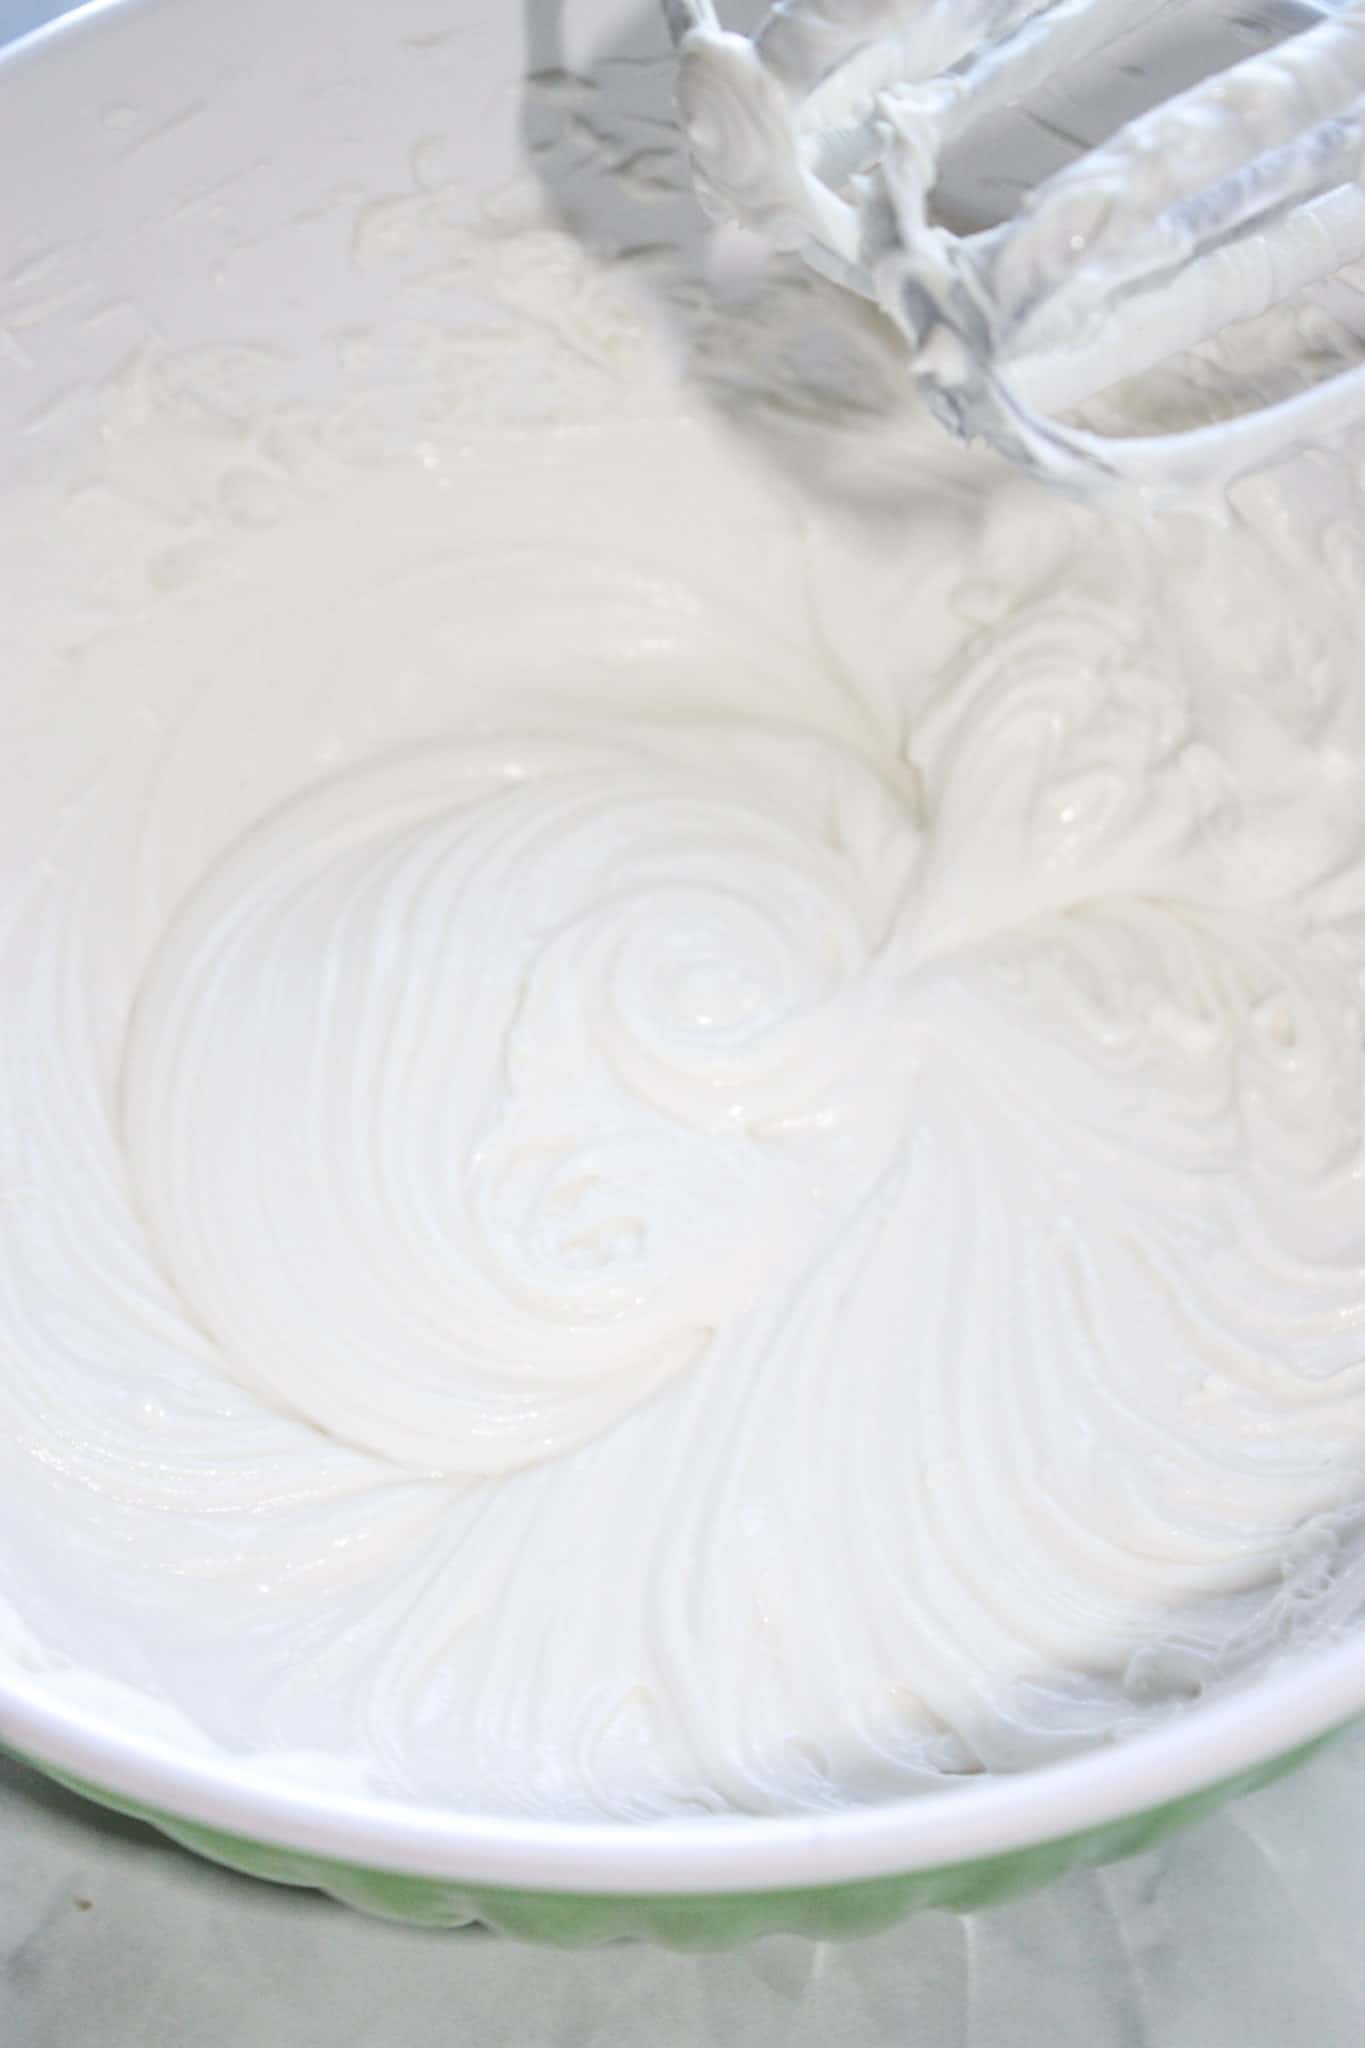
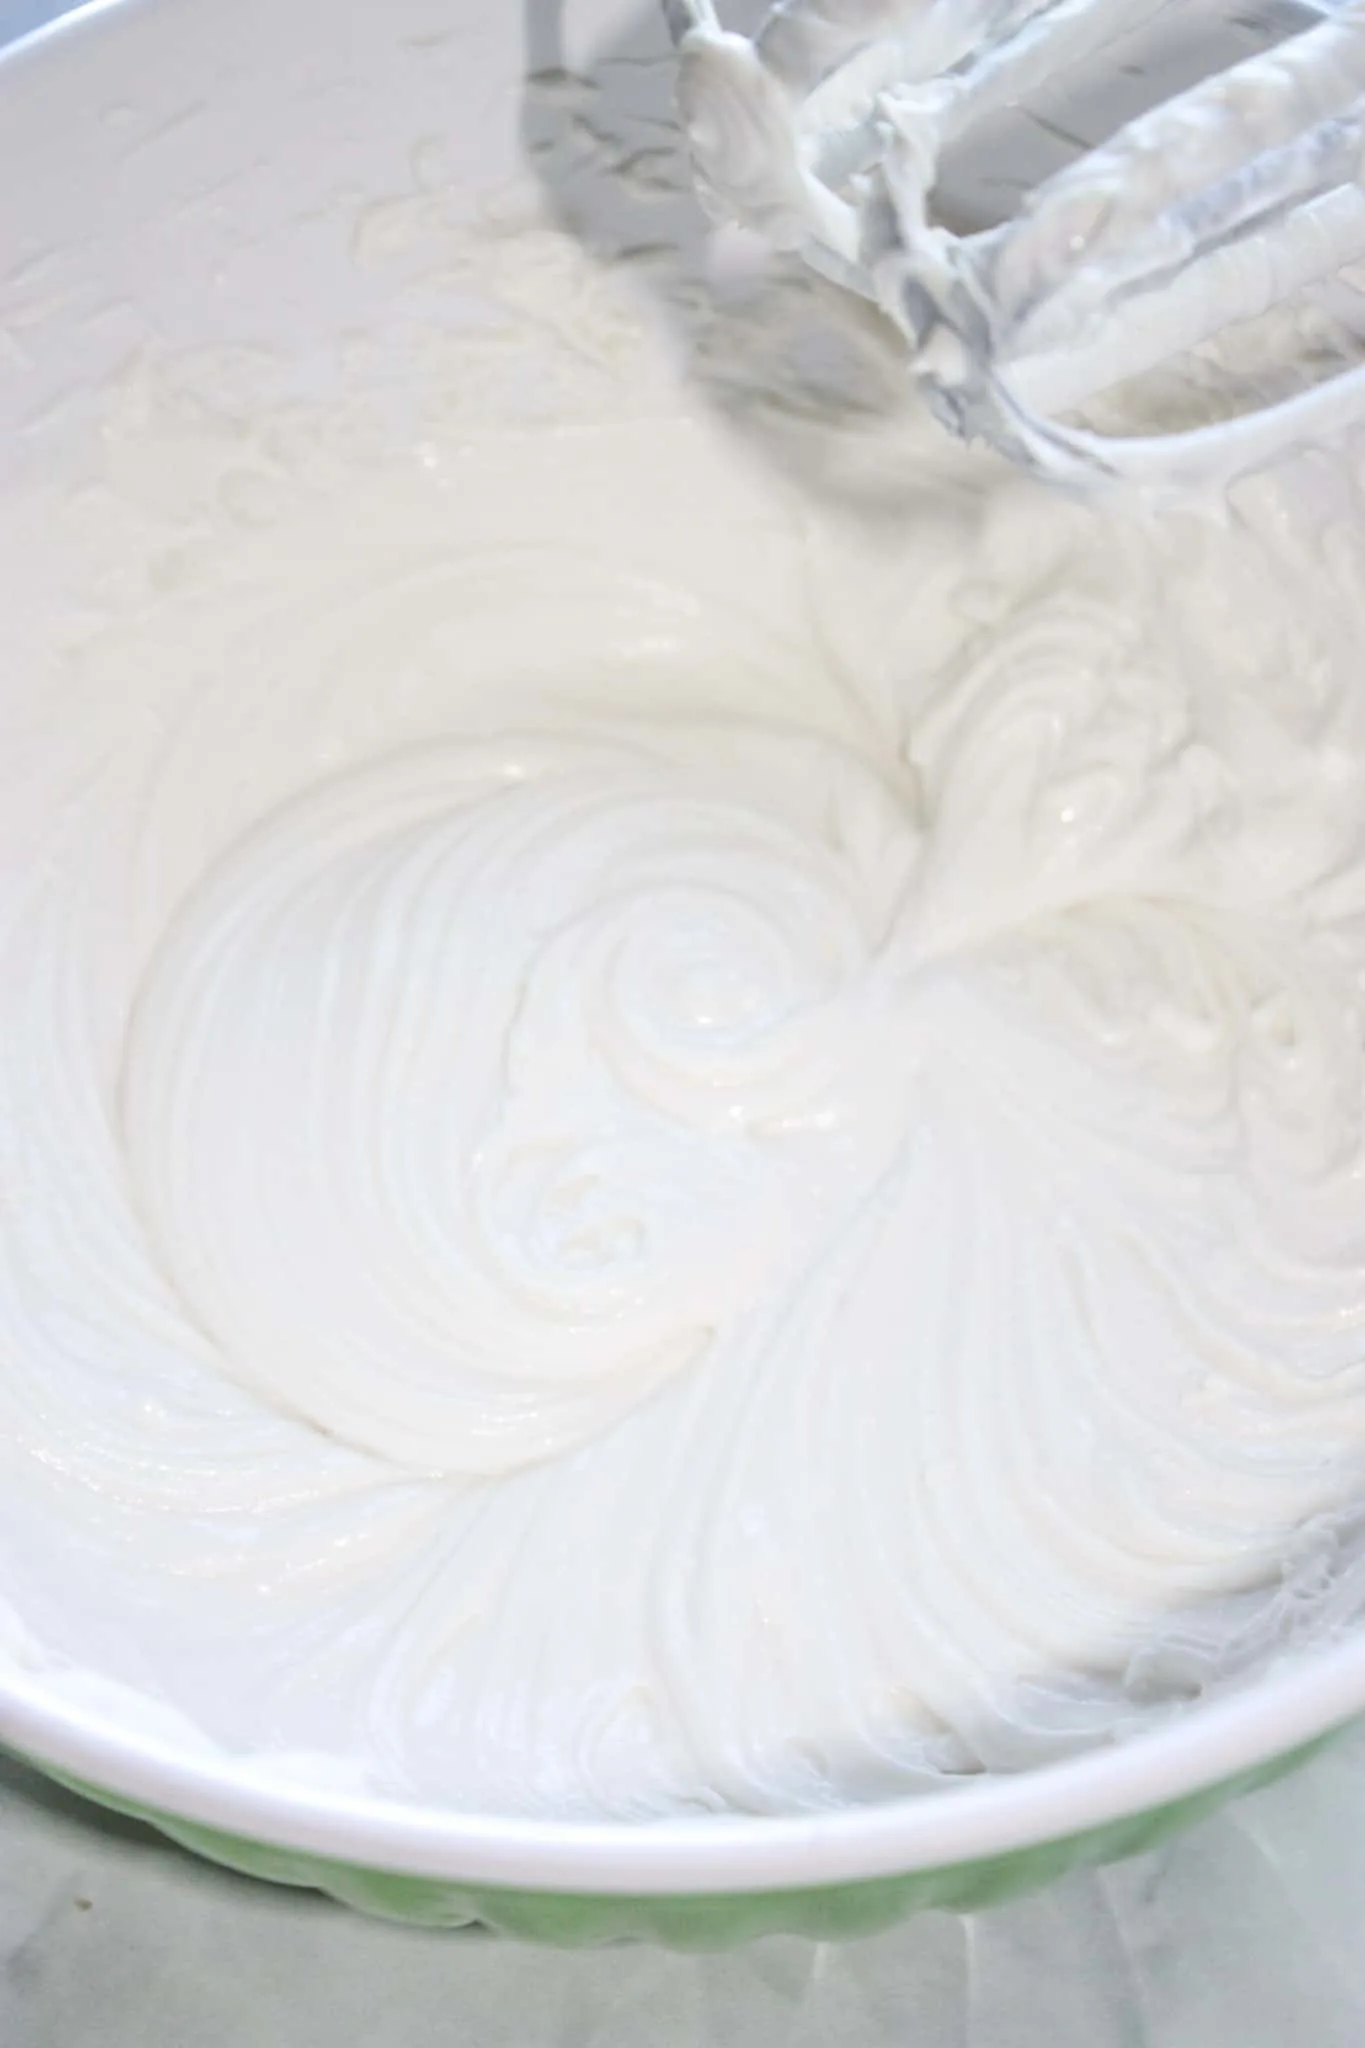
I used an electric hand mixer to beat the cream cheese and sugar together until they were smooth.
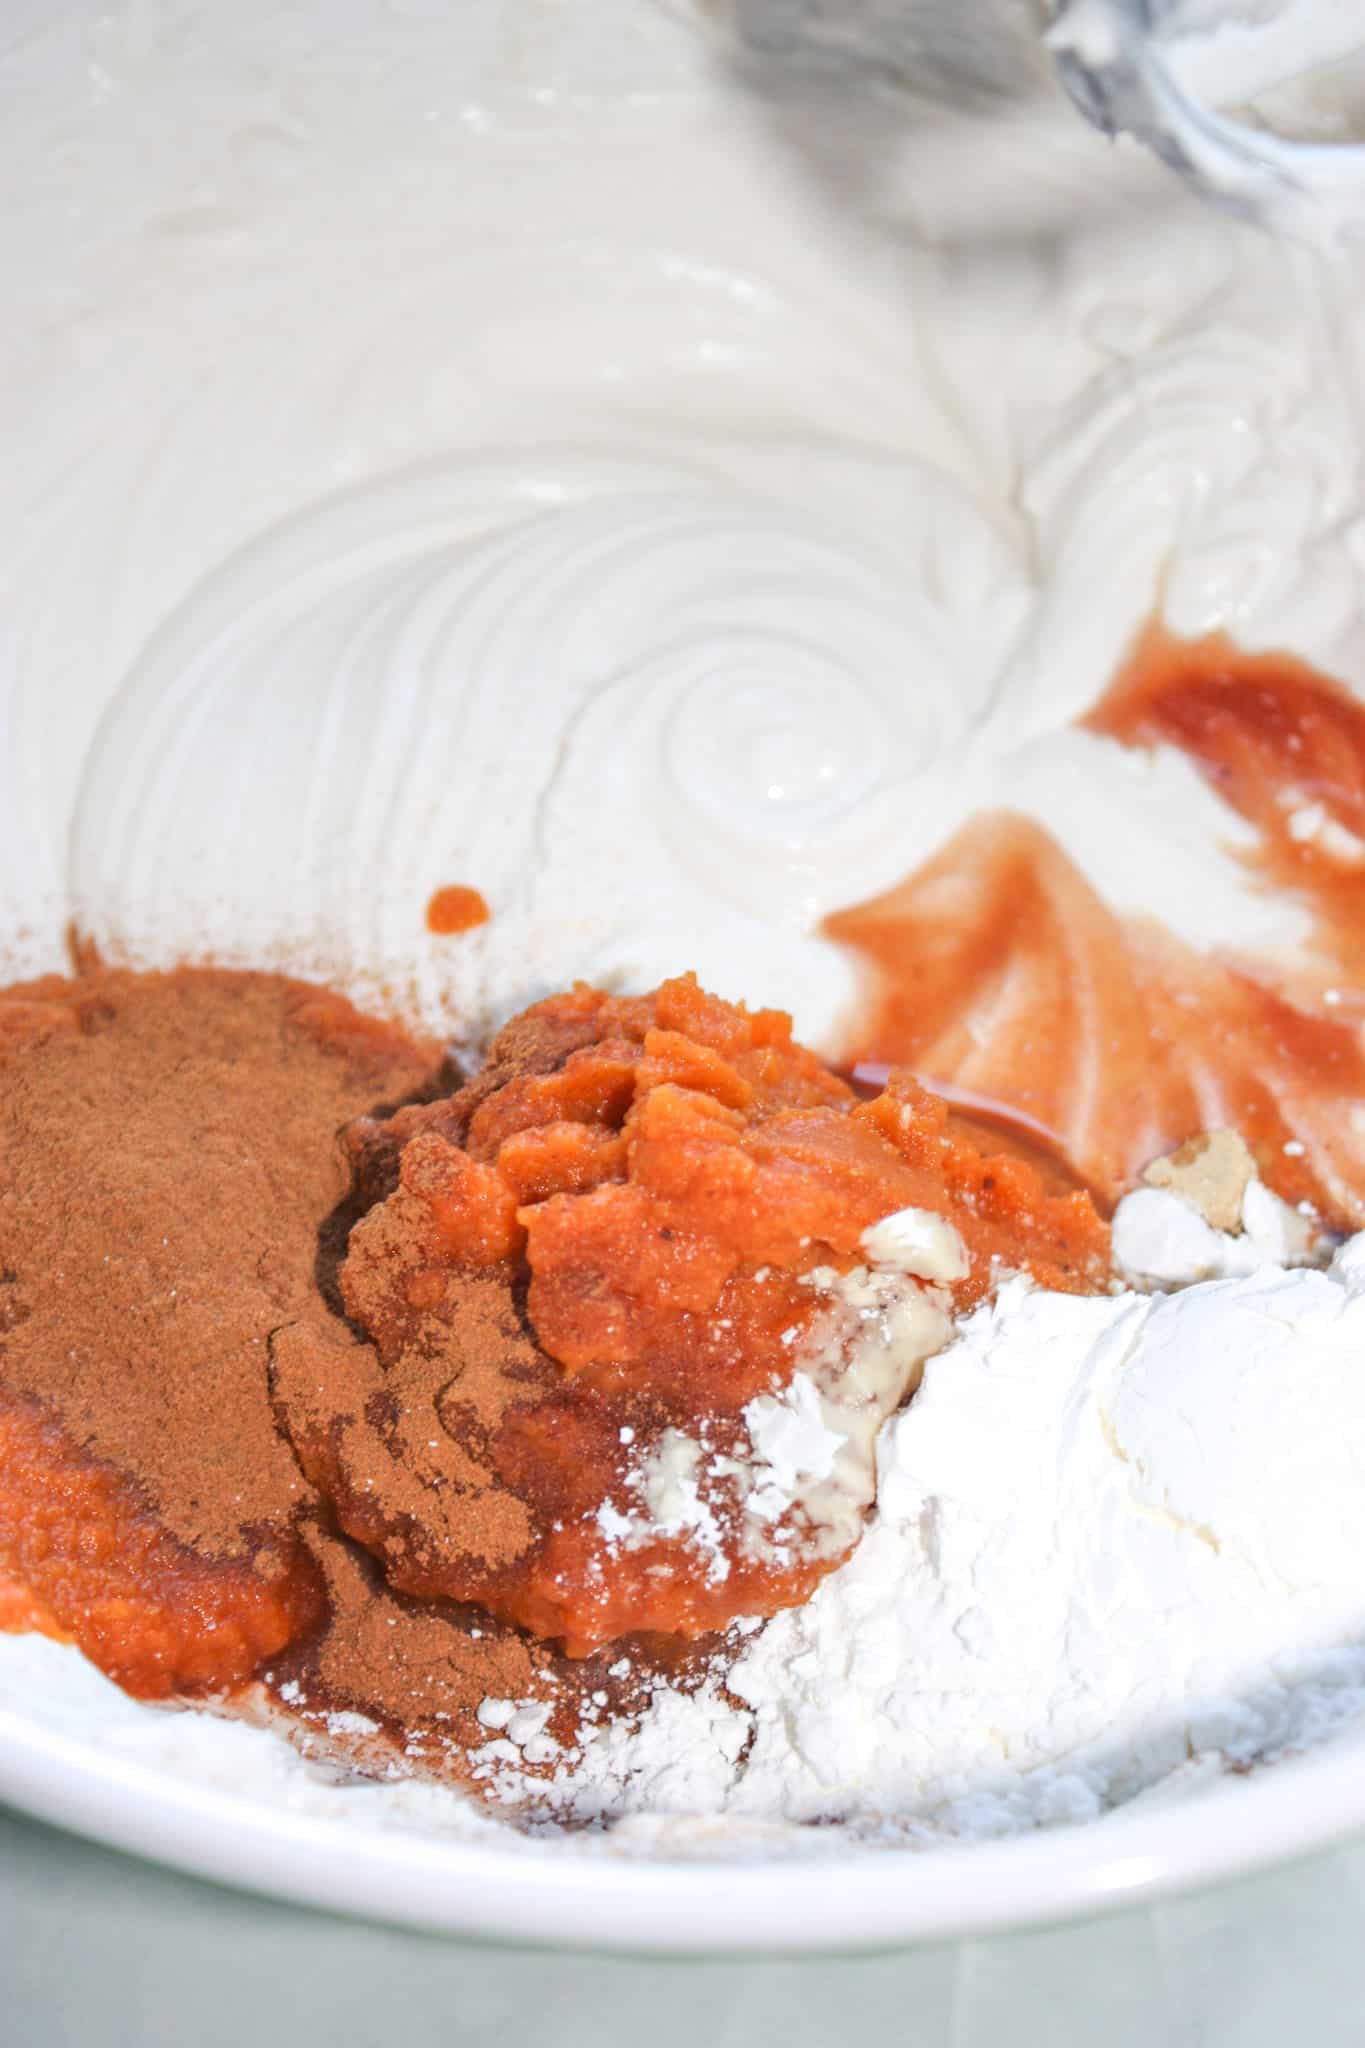
Then I measured in some pure pumpkin puree, vanilla extract, corn starch, ground cinnamon, ground ginger, cloves and nutmeg.

I used a large rubber spatula to stir all the ingredients in until they were just combined.
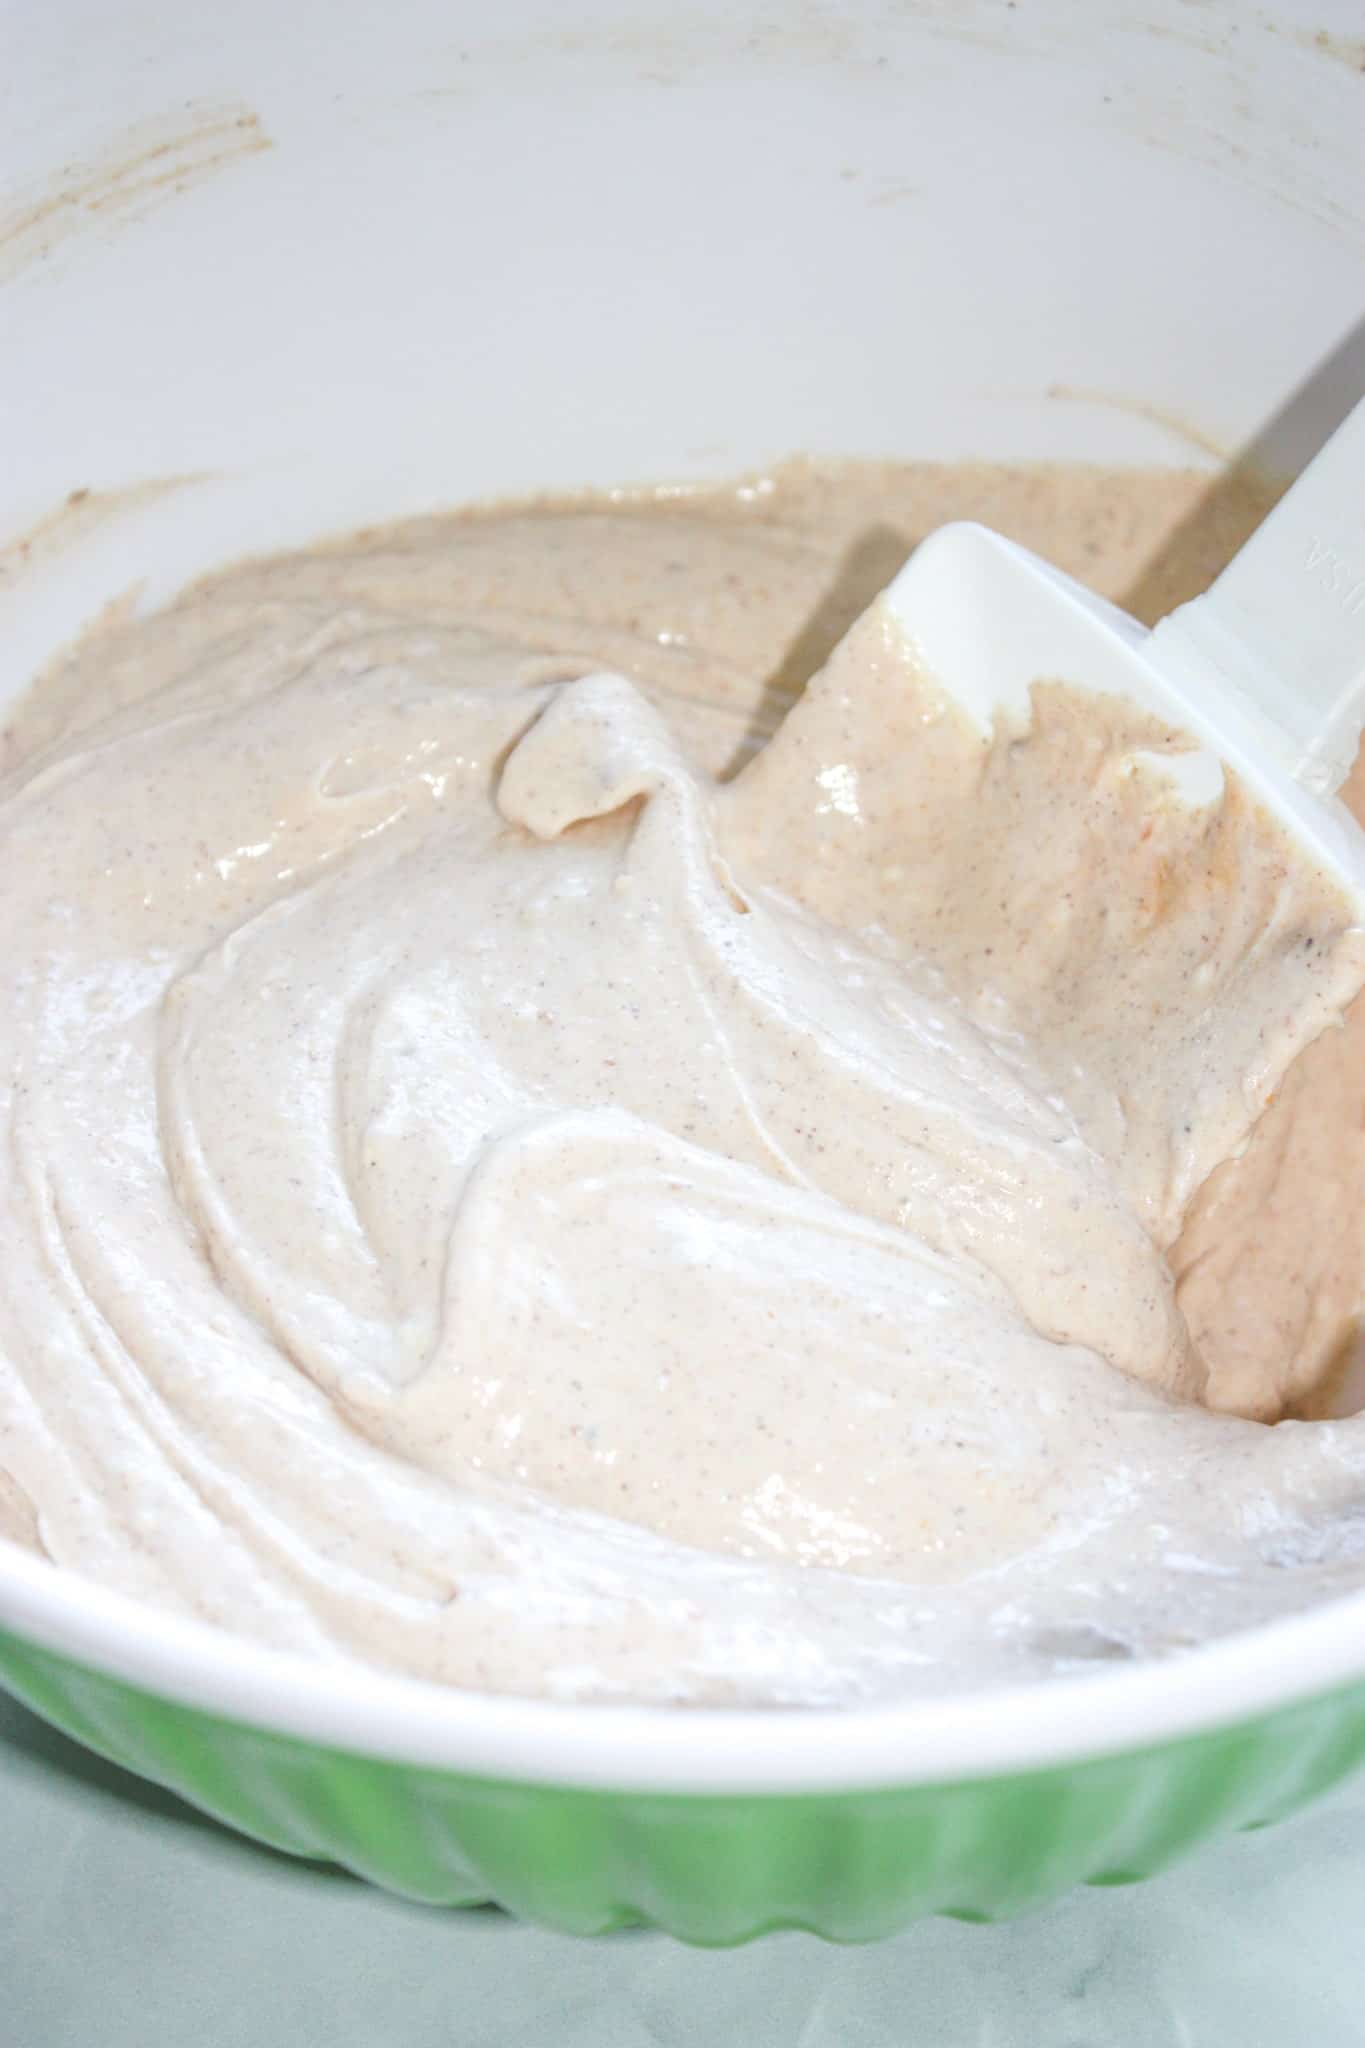
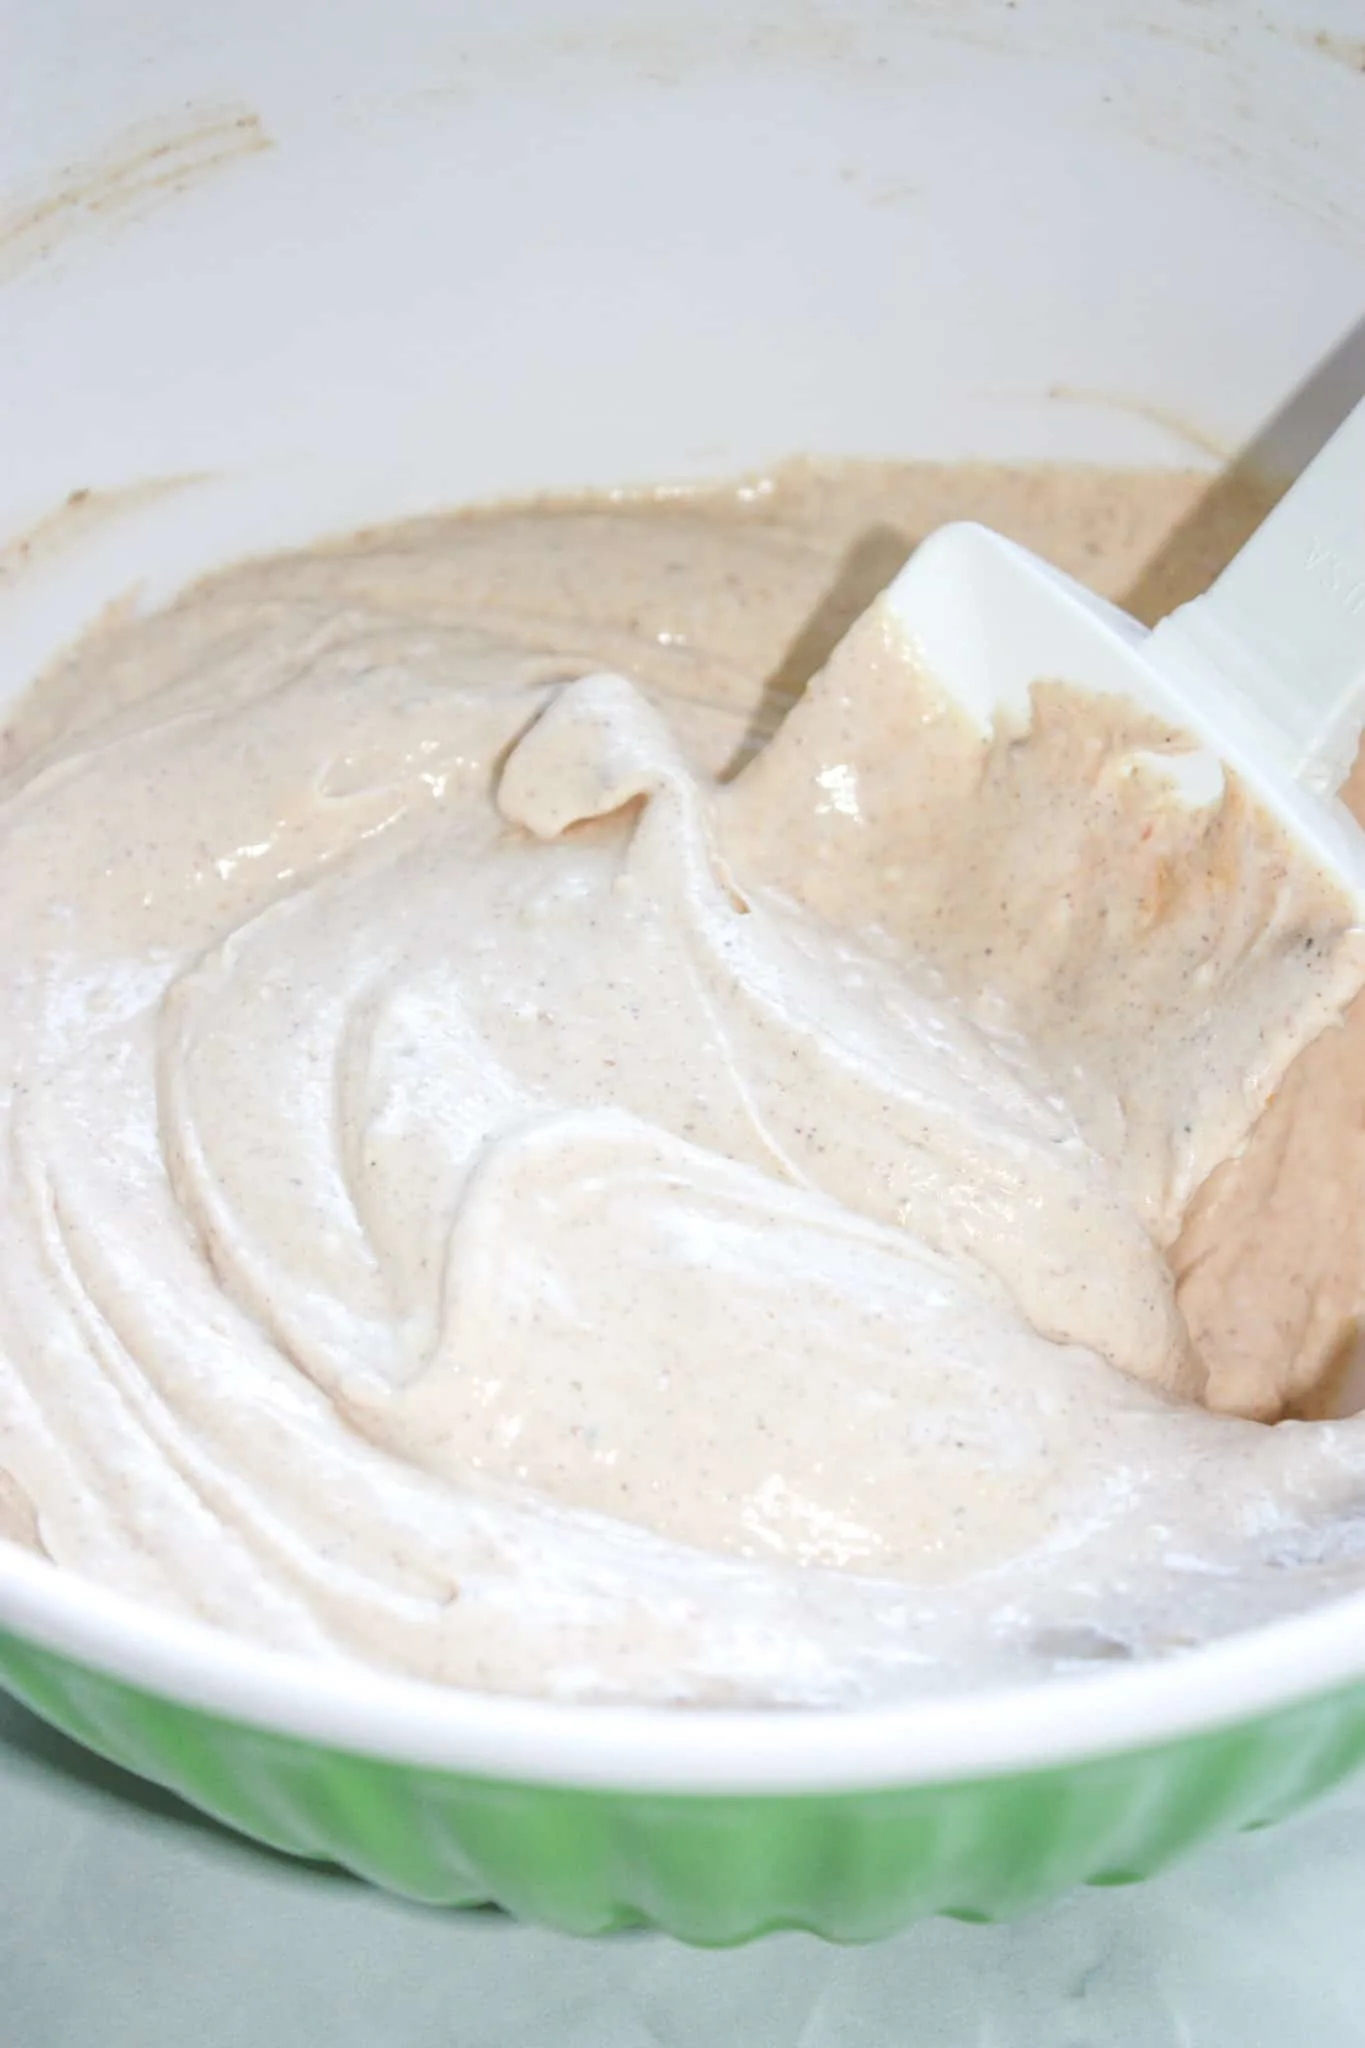
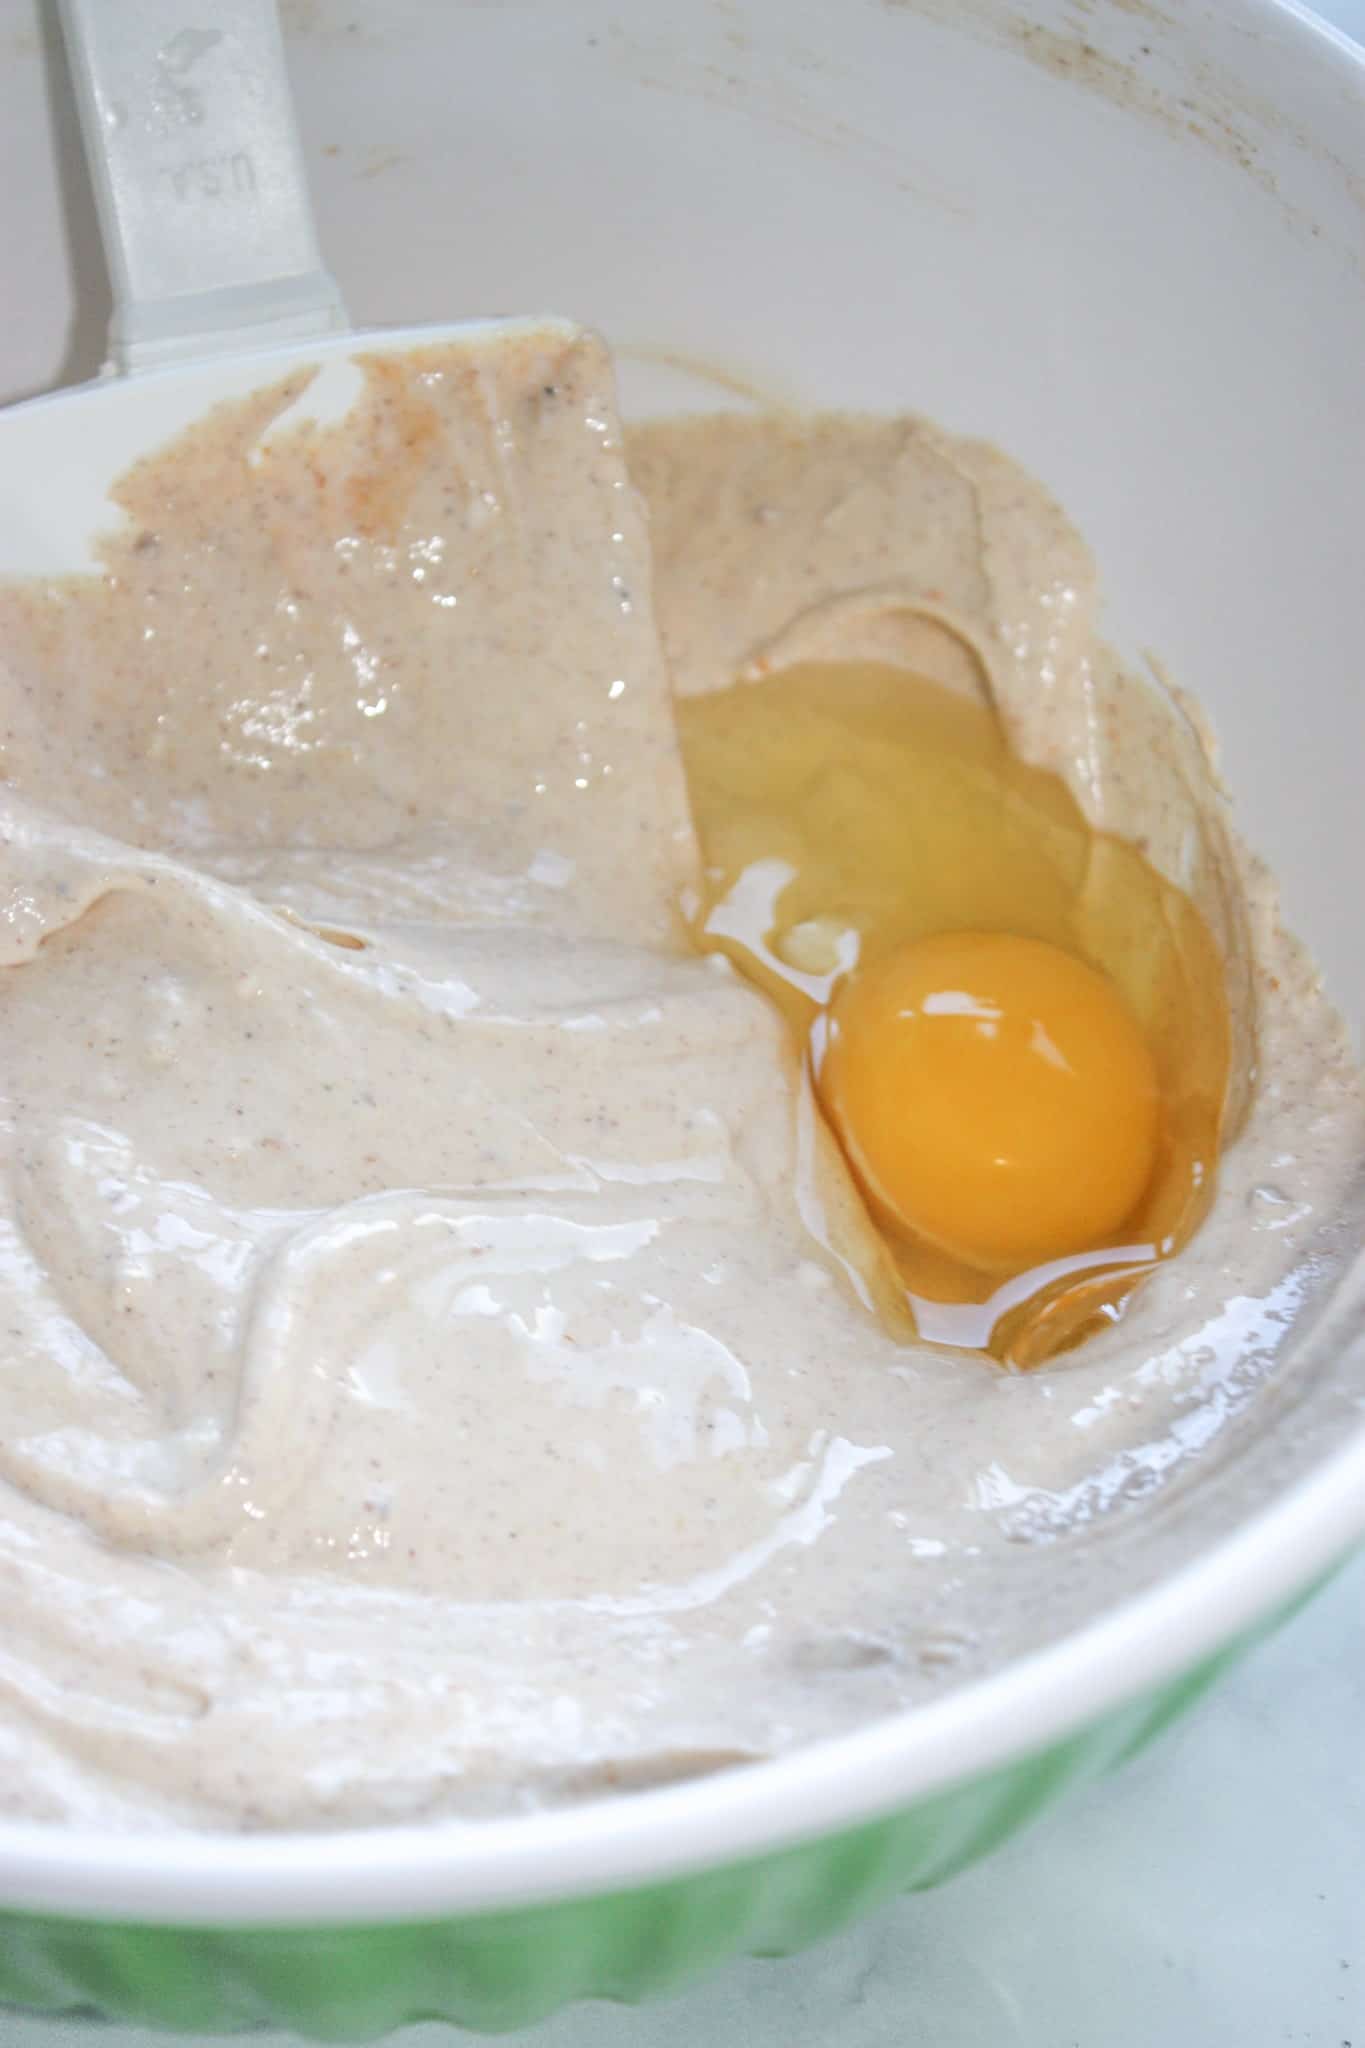
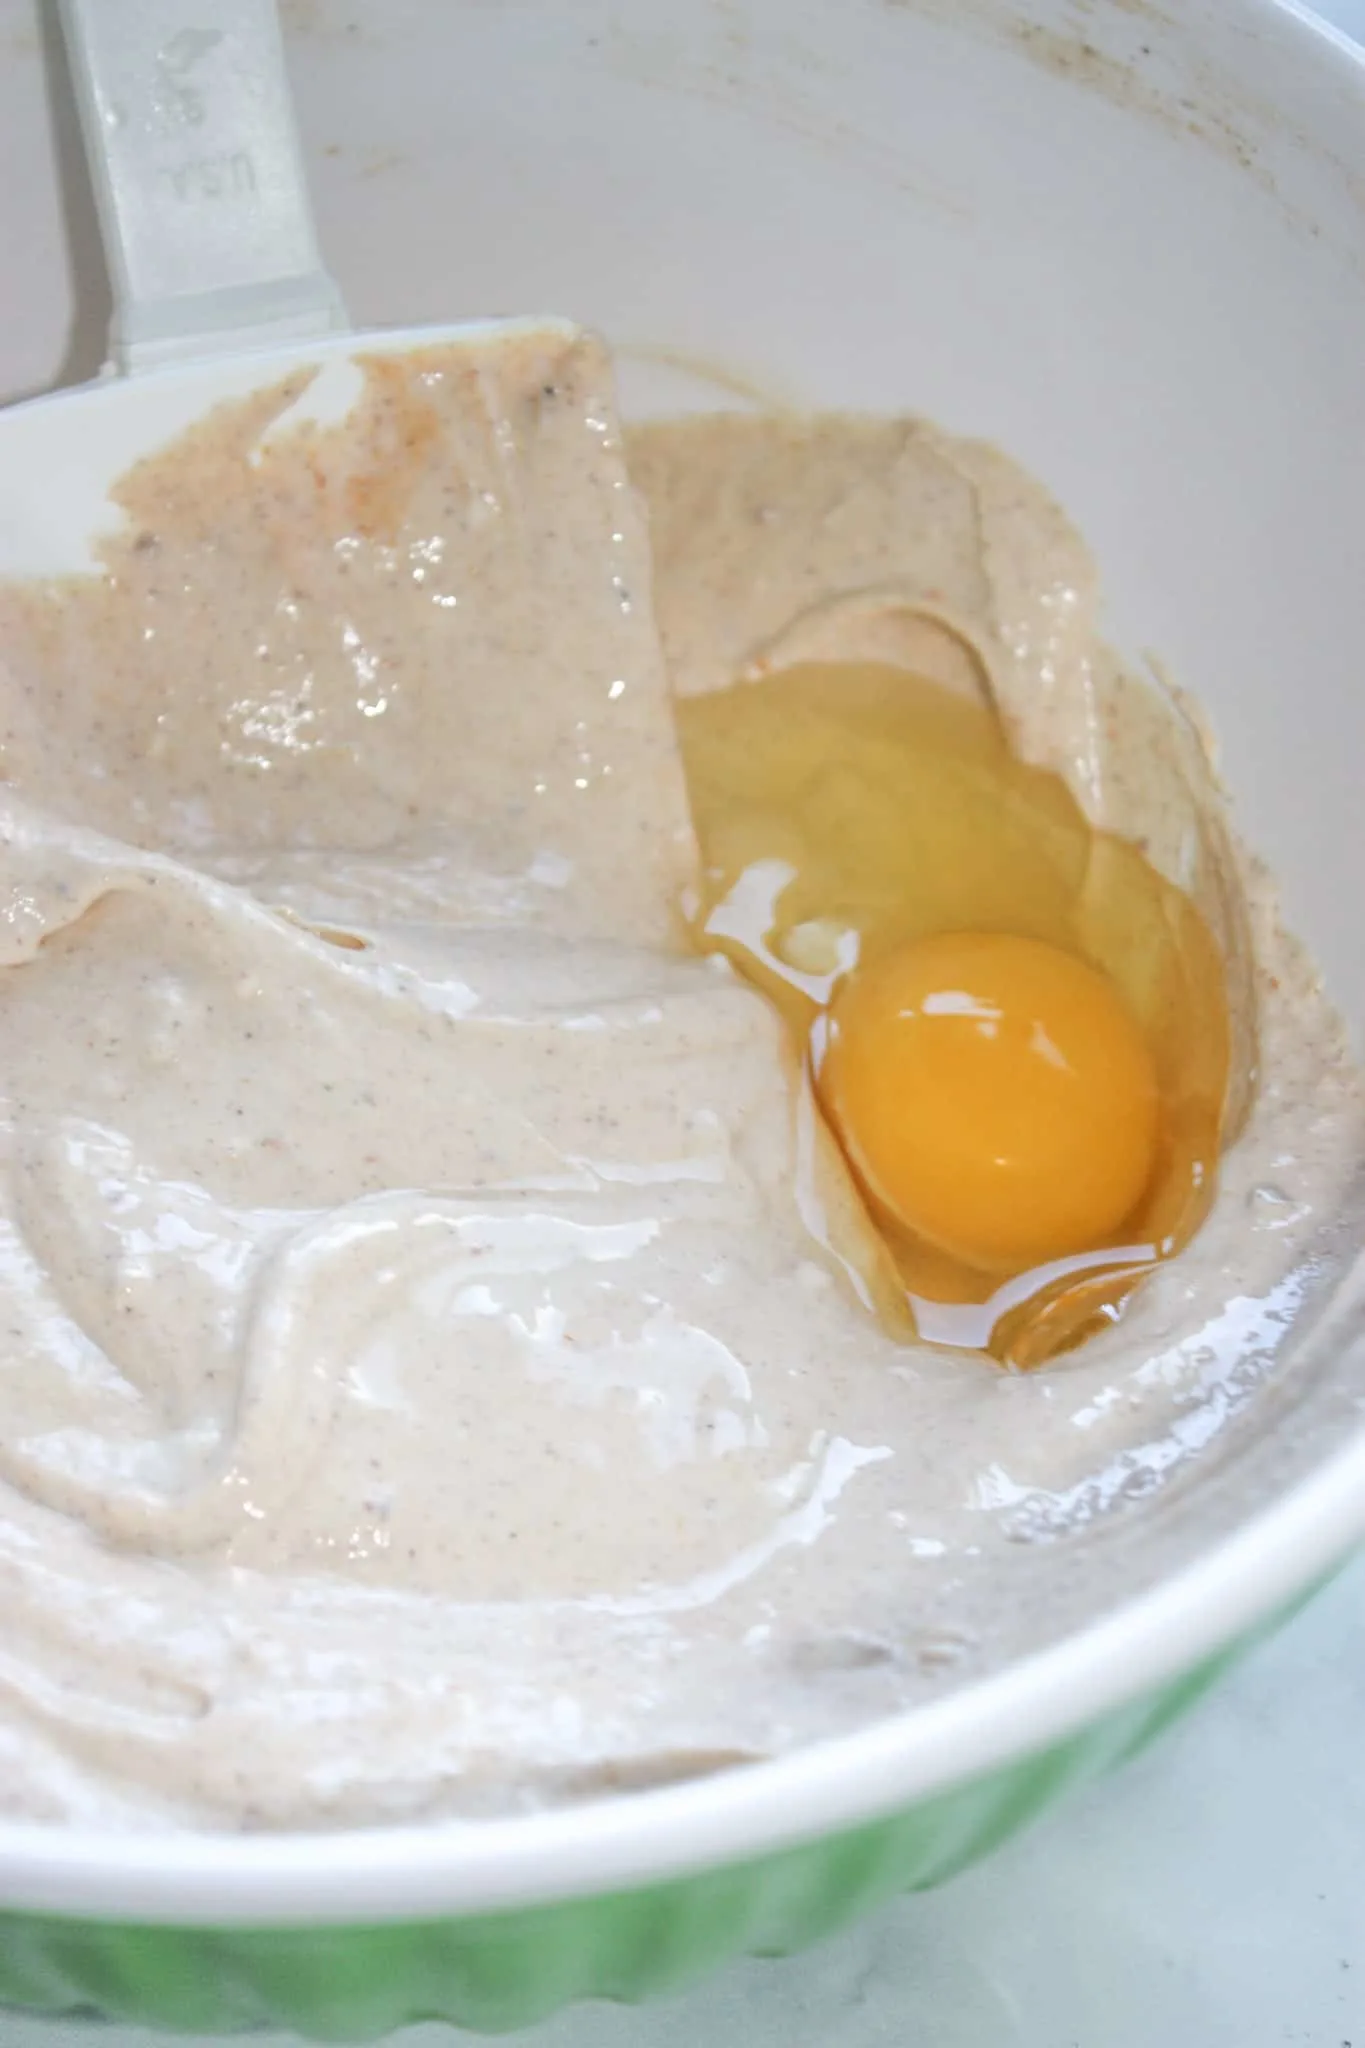
Next I added in two large eggs. I added them one at a time and stirred until just combined. I had been reading that you should not over mix a cheesecake batter.
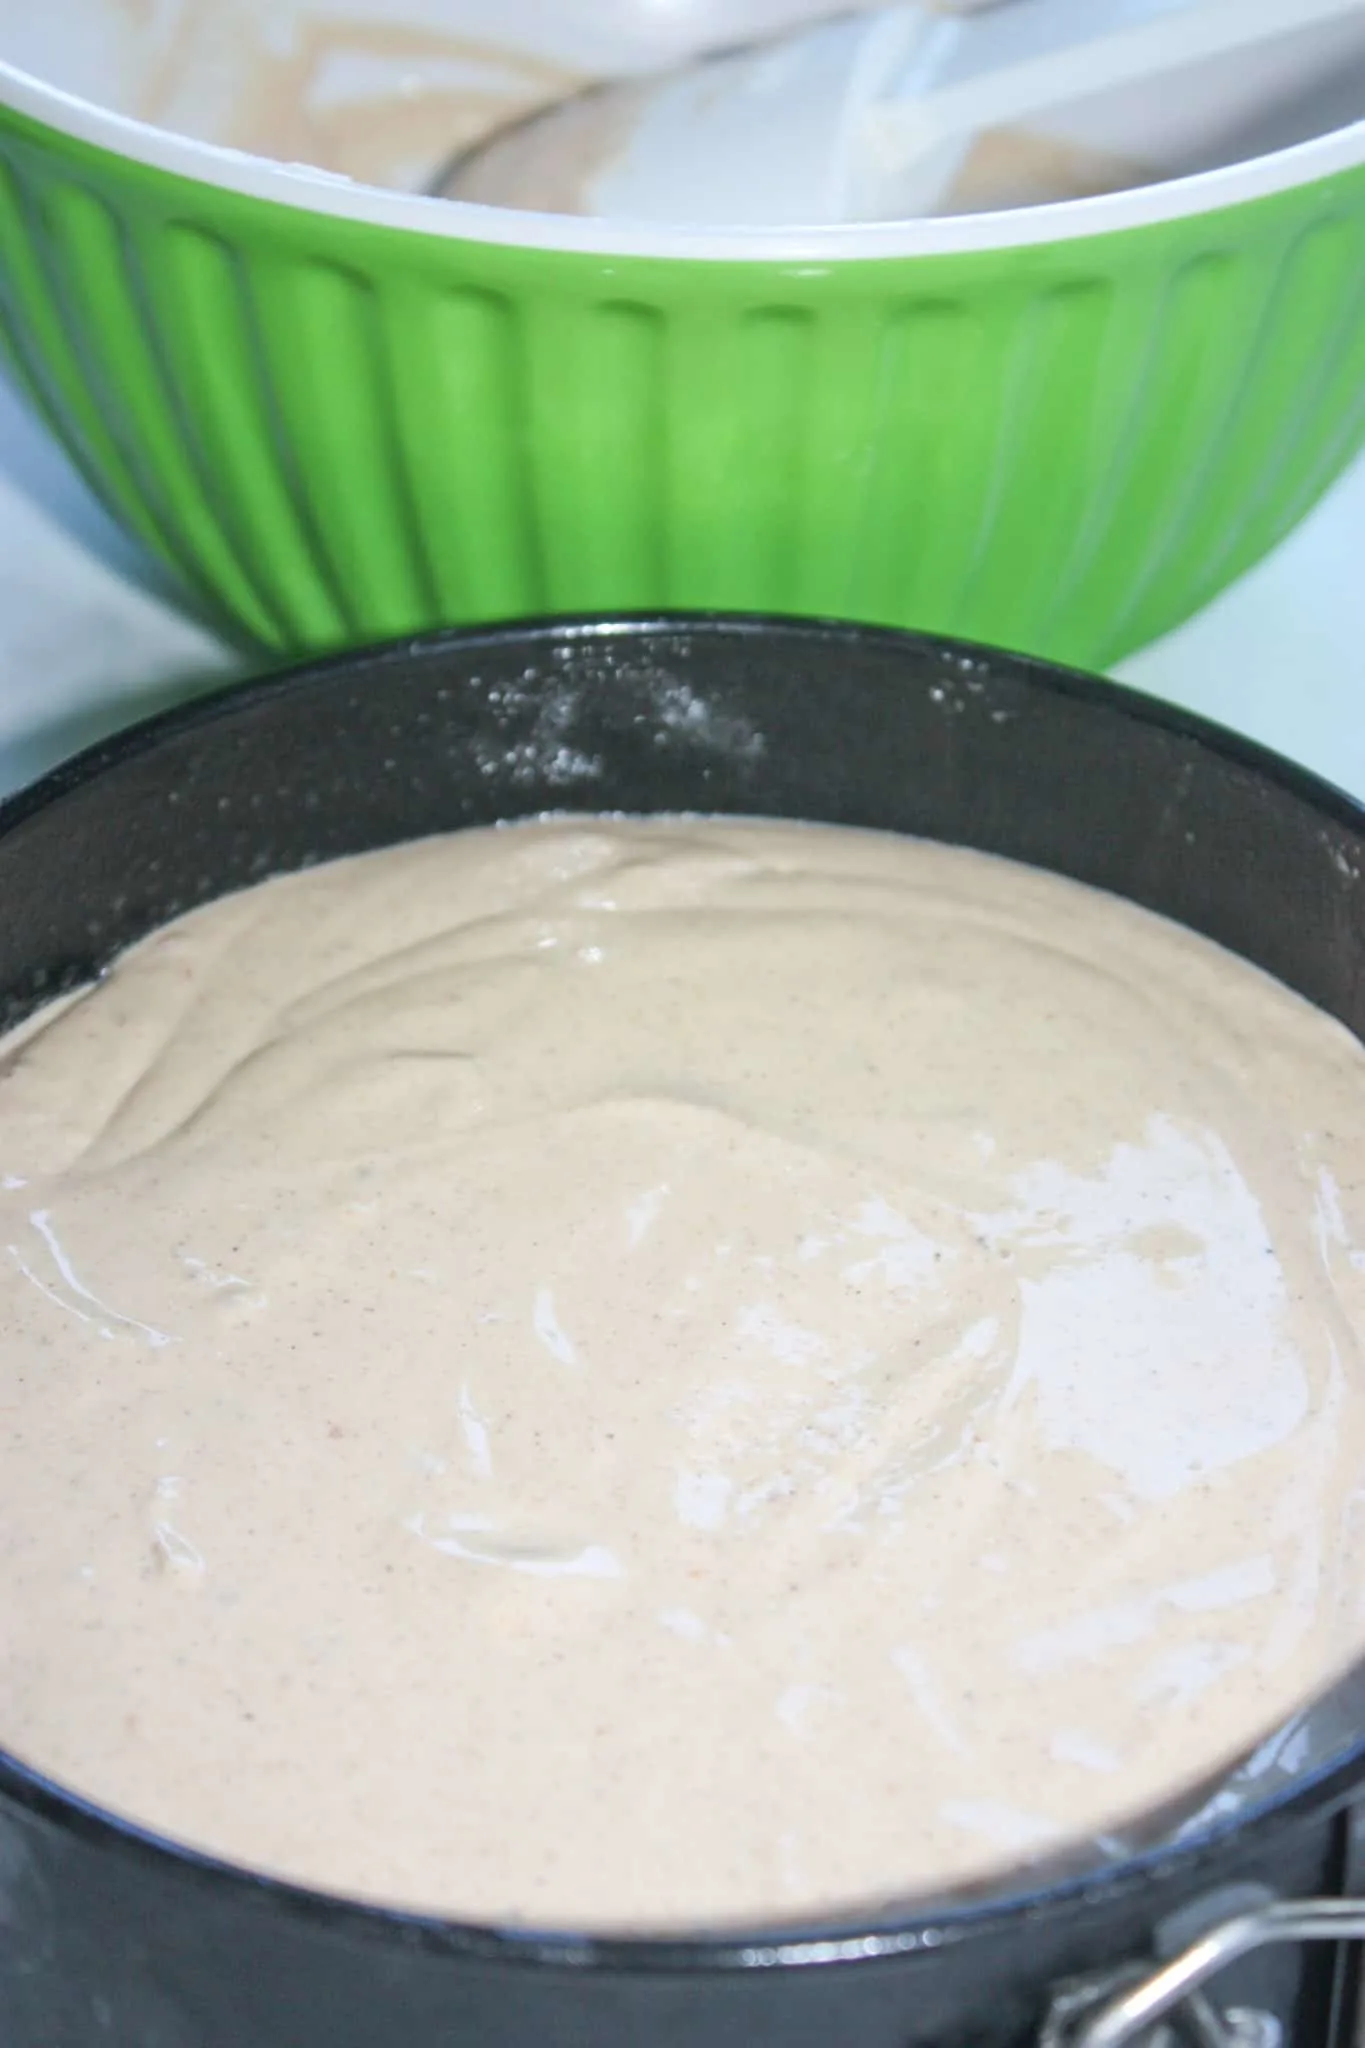
Once both eggs were added I removed the graham crust from the freezer.
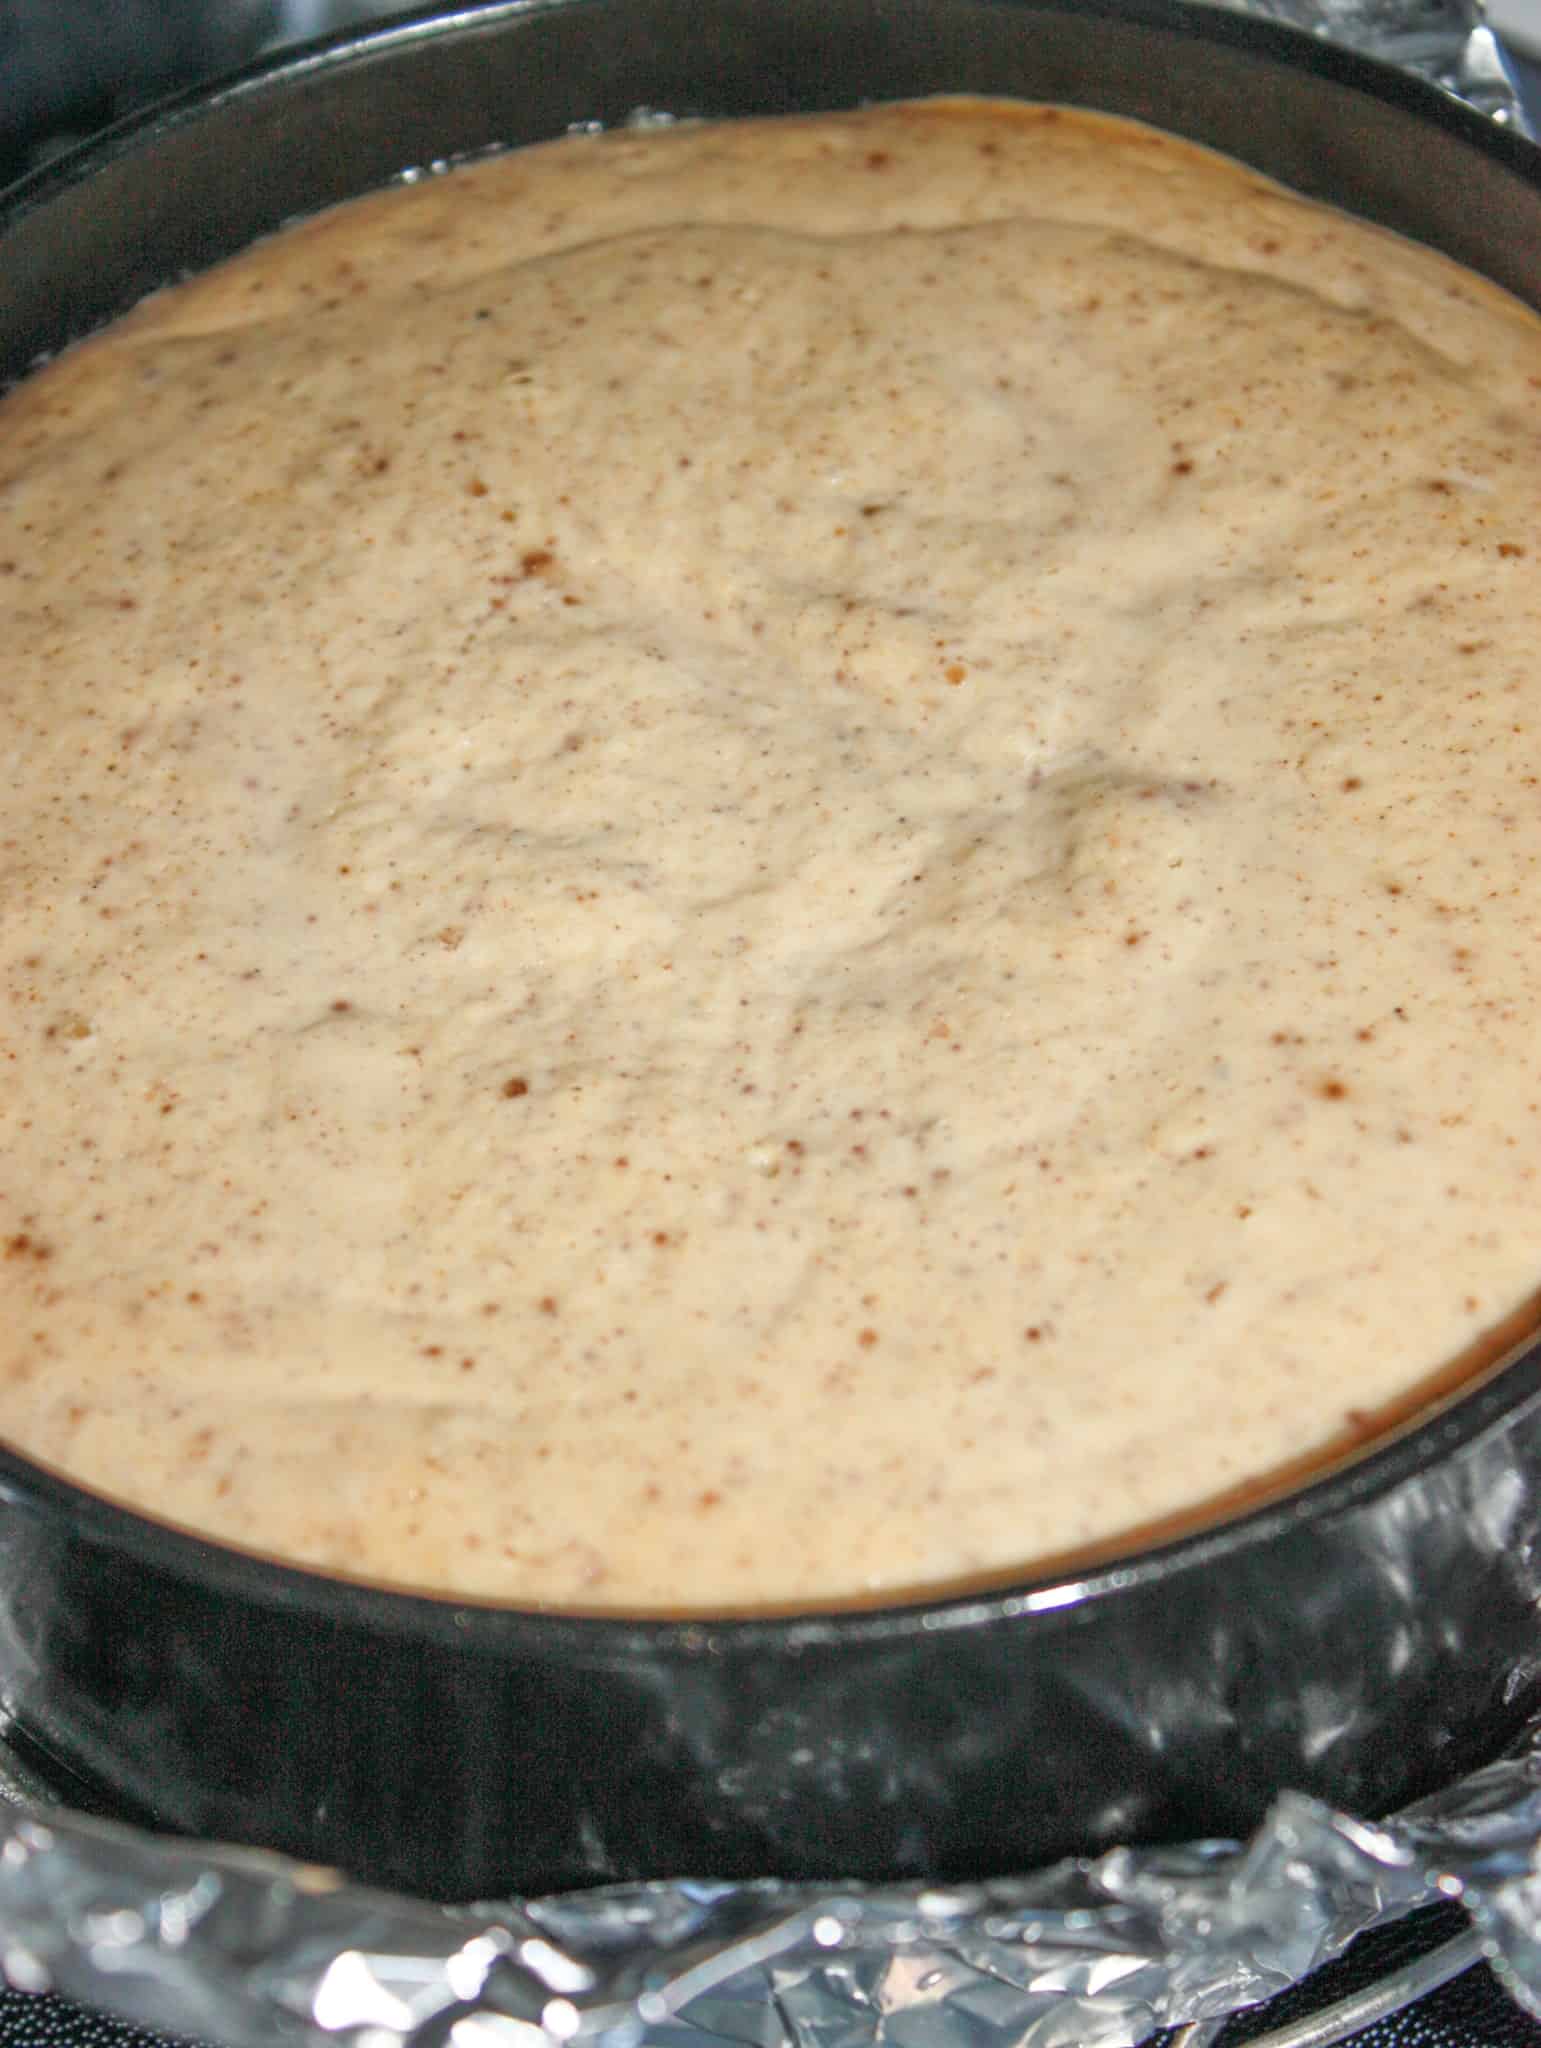
Next I scraped the cream cheese filling on top of the graham crust in the springform pan.

To prevent moisture from getting at the cheese cake, I placed the pan on top of a piece of tinfoil and then covered the top with a piece of paper towel.
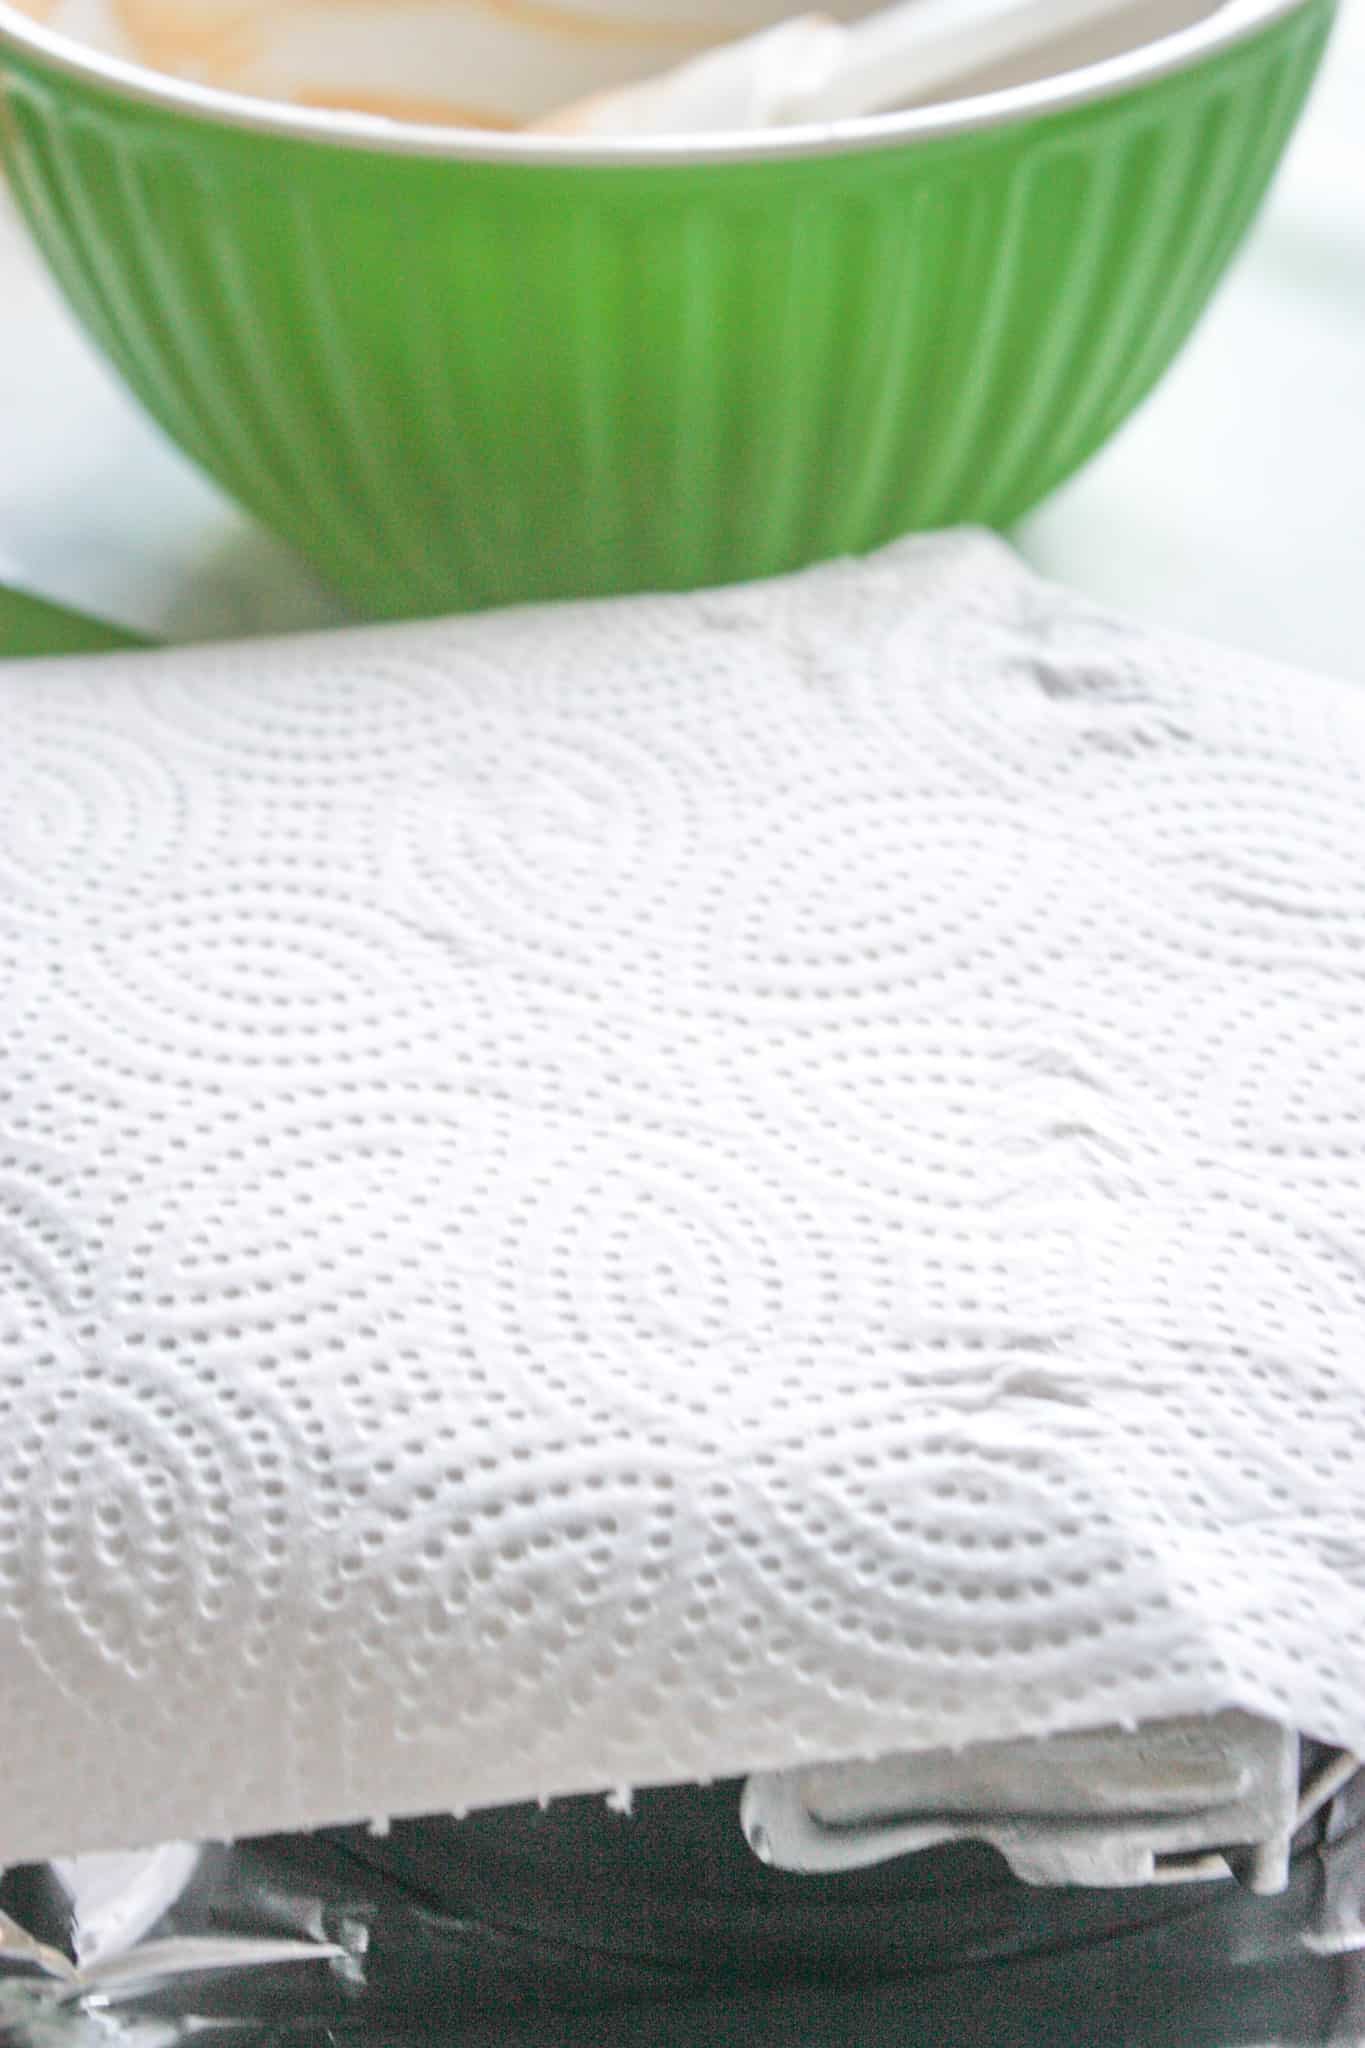
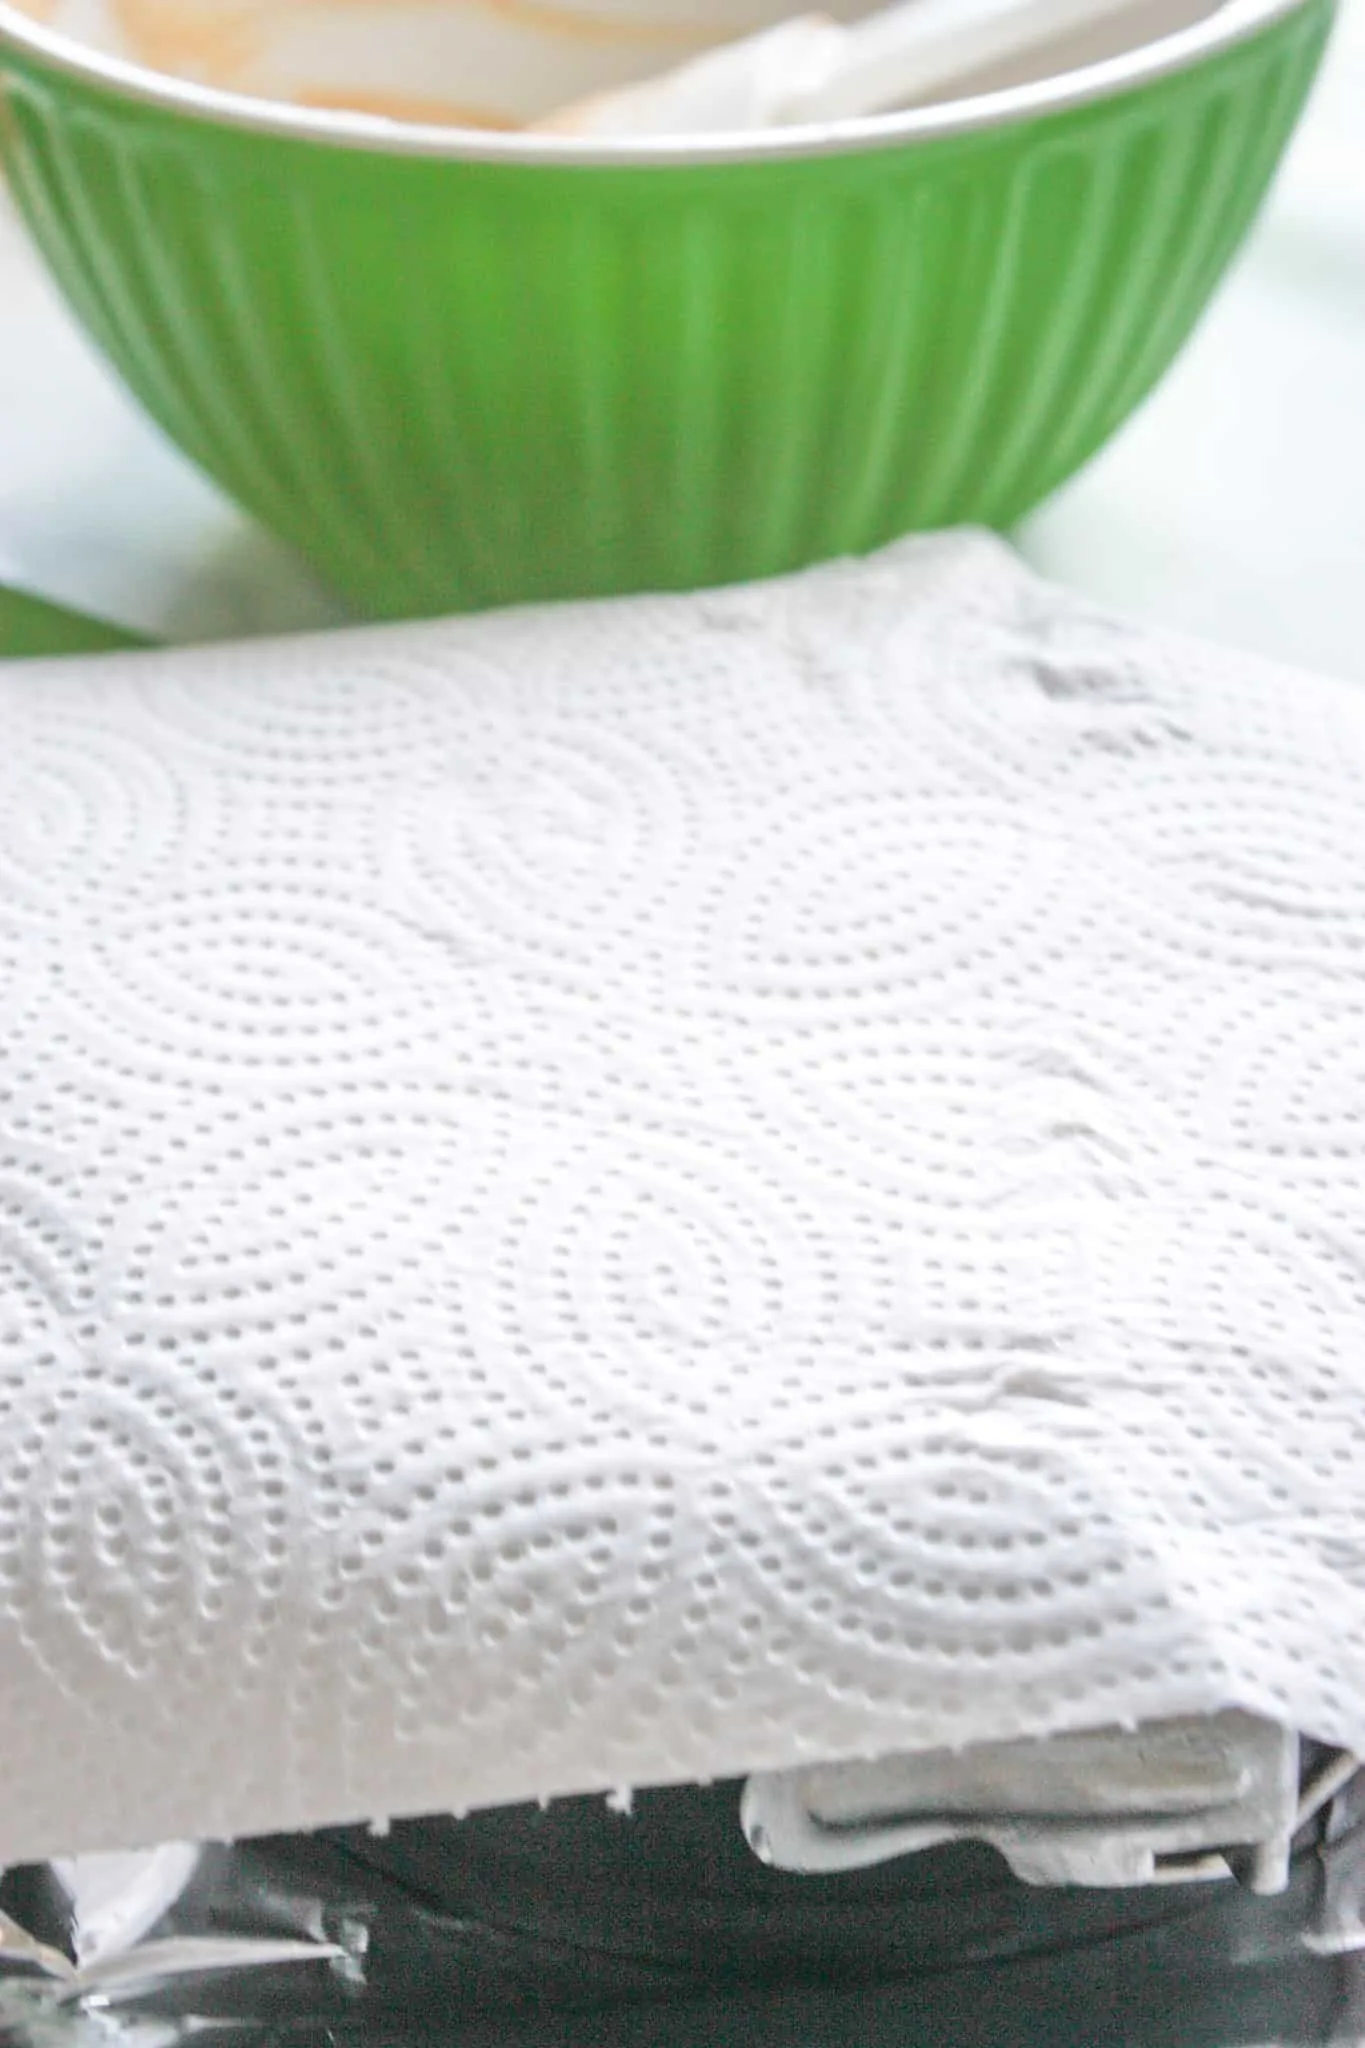
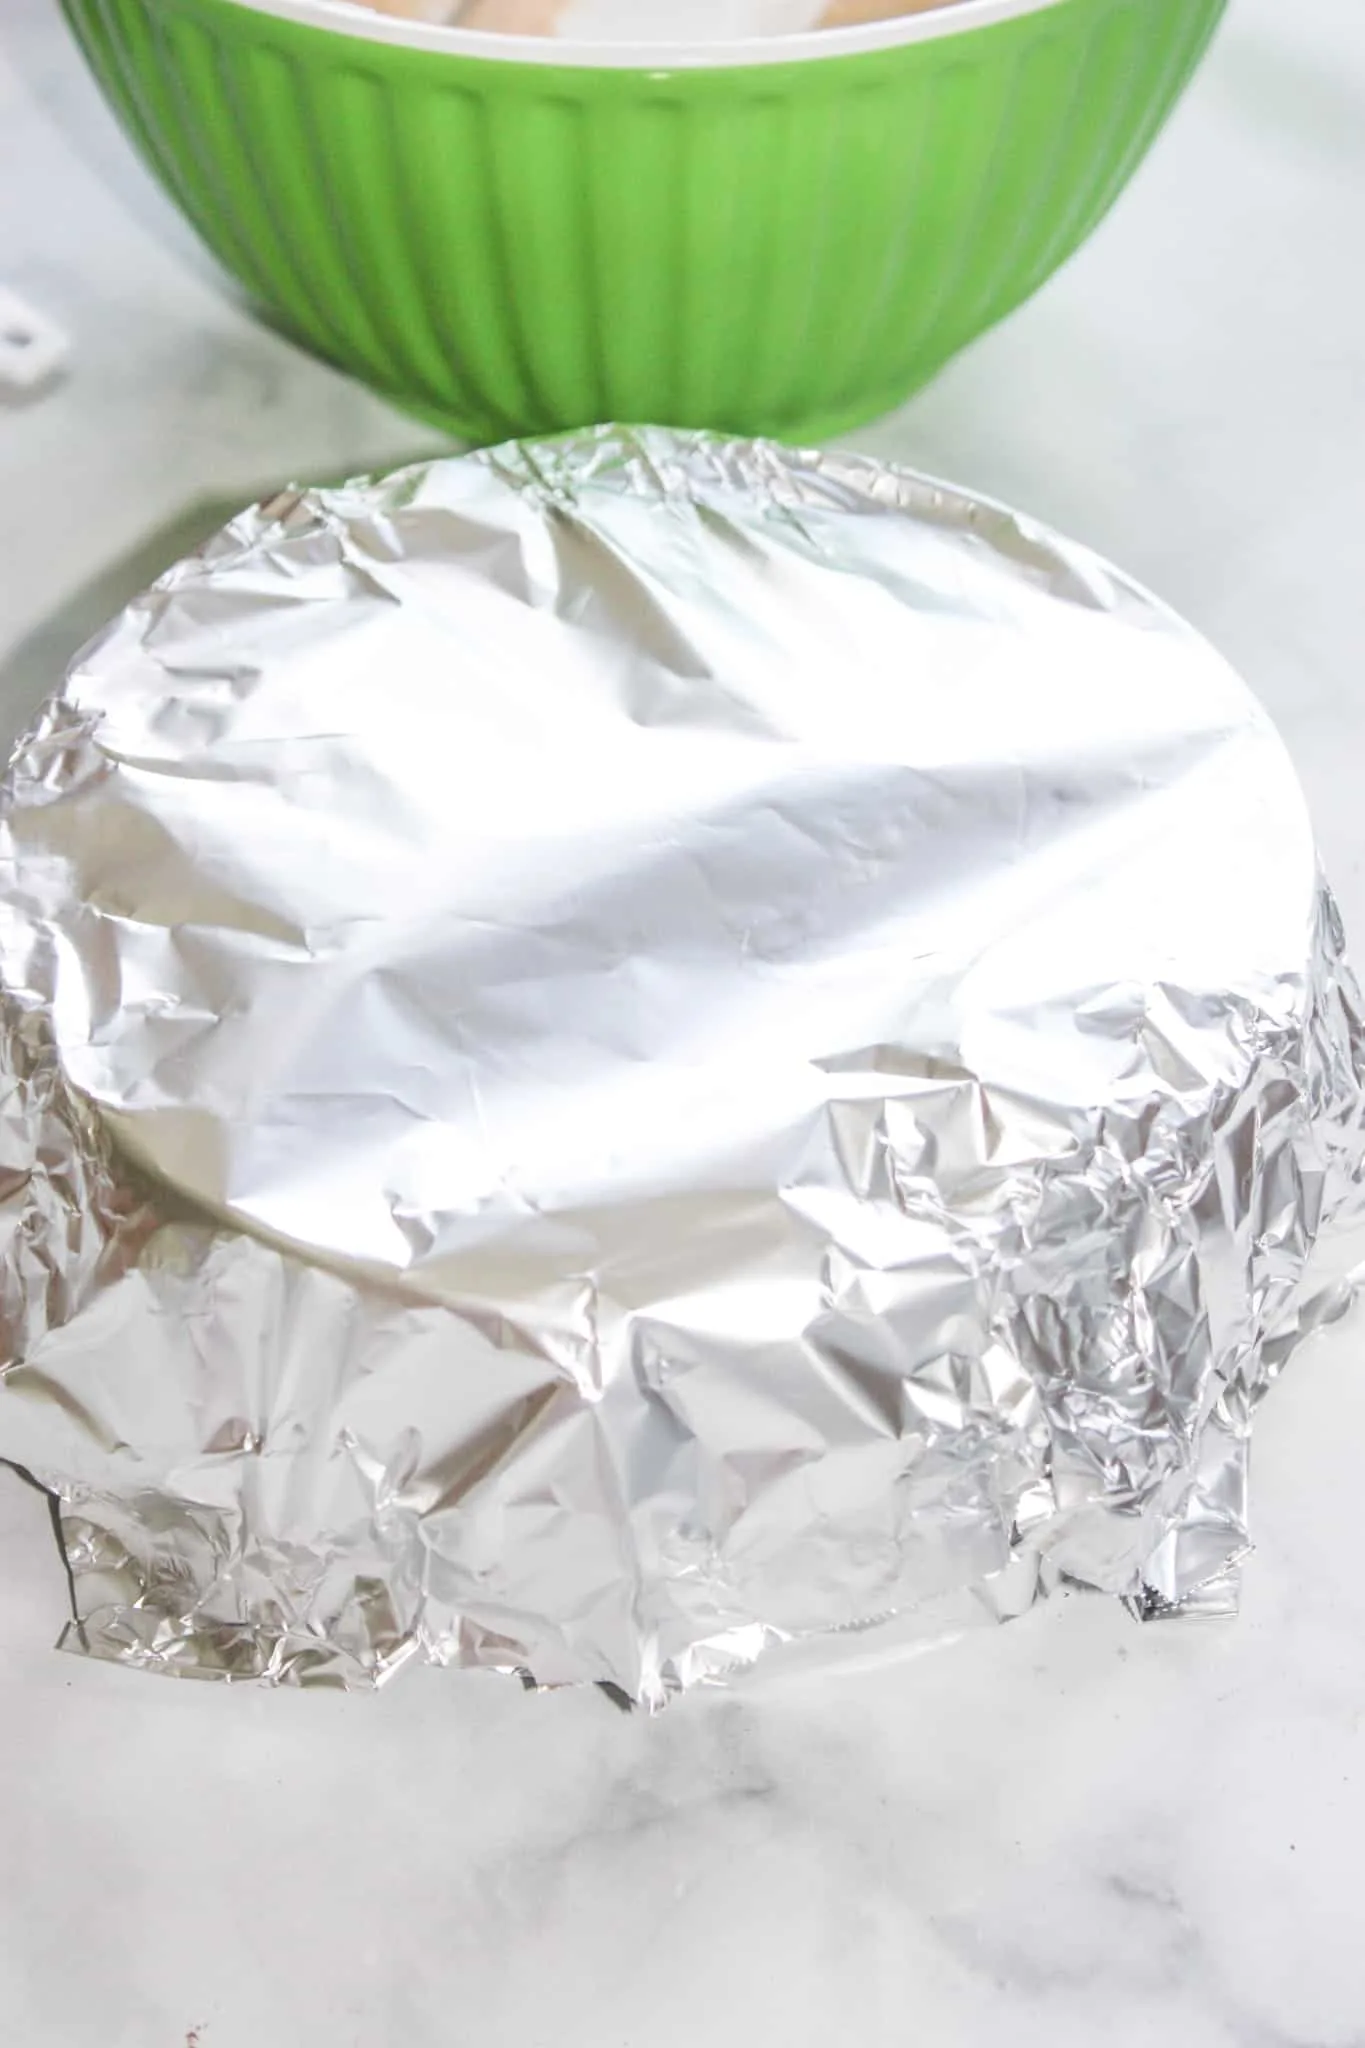
Once the paper towel was in place I added a piece of tinfoil to the top and then sealed the pan with both pieces of tinfoil.

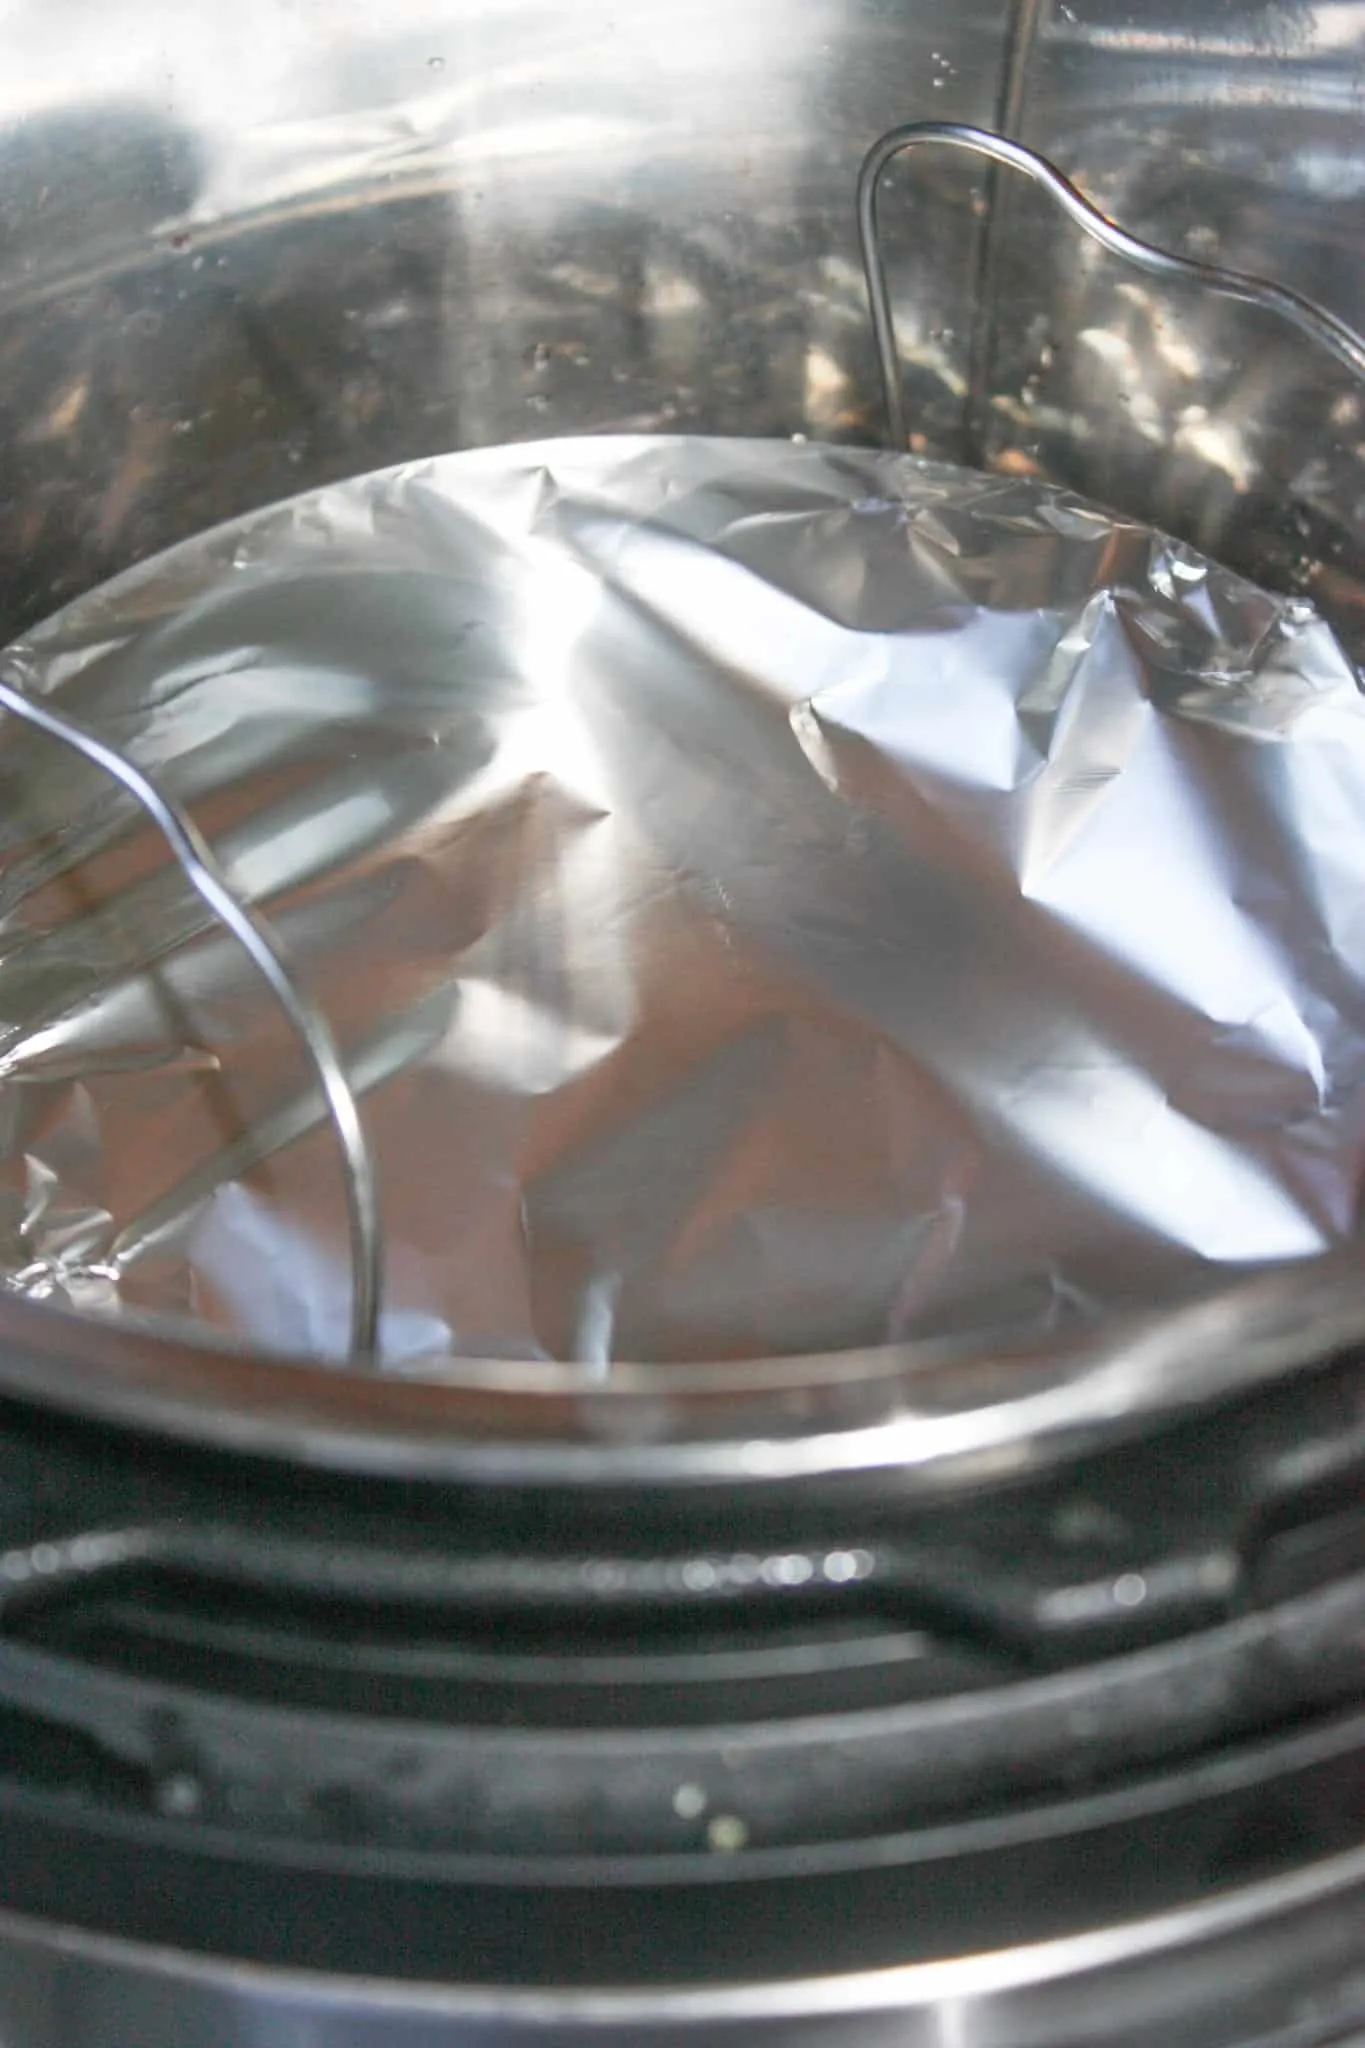
After the tinfoil was in place I poured 2 cups of water into the Pot, set the the pan on the trivet and lowered it into the Pot.

Then I placed the lid on the Instant Pot, turned the steam release handle to the sealing position and set the Instant Pot to Pressure Cook High for 28 minutes.
Once the Instant Pot was done cooking, I allowed it to do a Natural Release for 10 minutes before turning the steam release handle to the venting position.
After removing the pan from the Pot, I immediately removed the tinfoil and paper towel from the top of the pan.

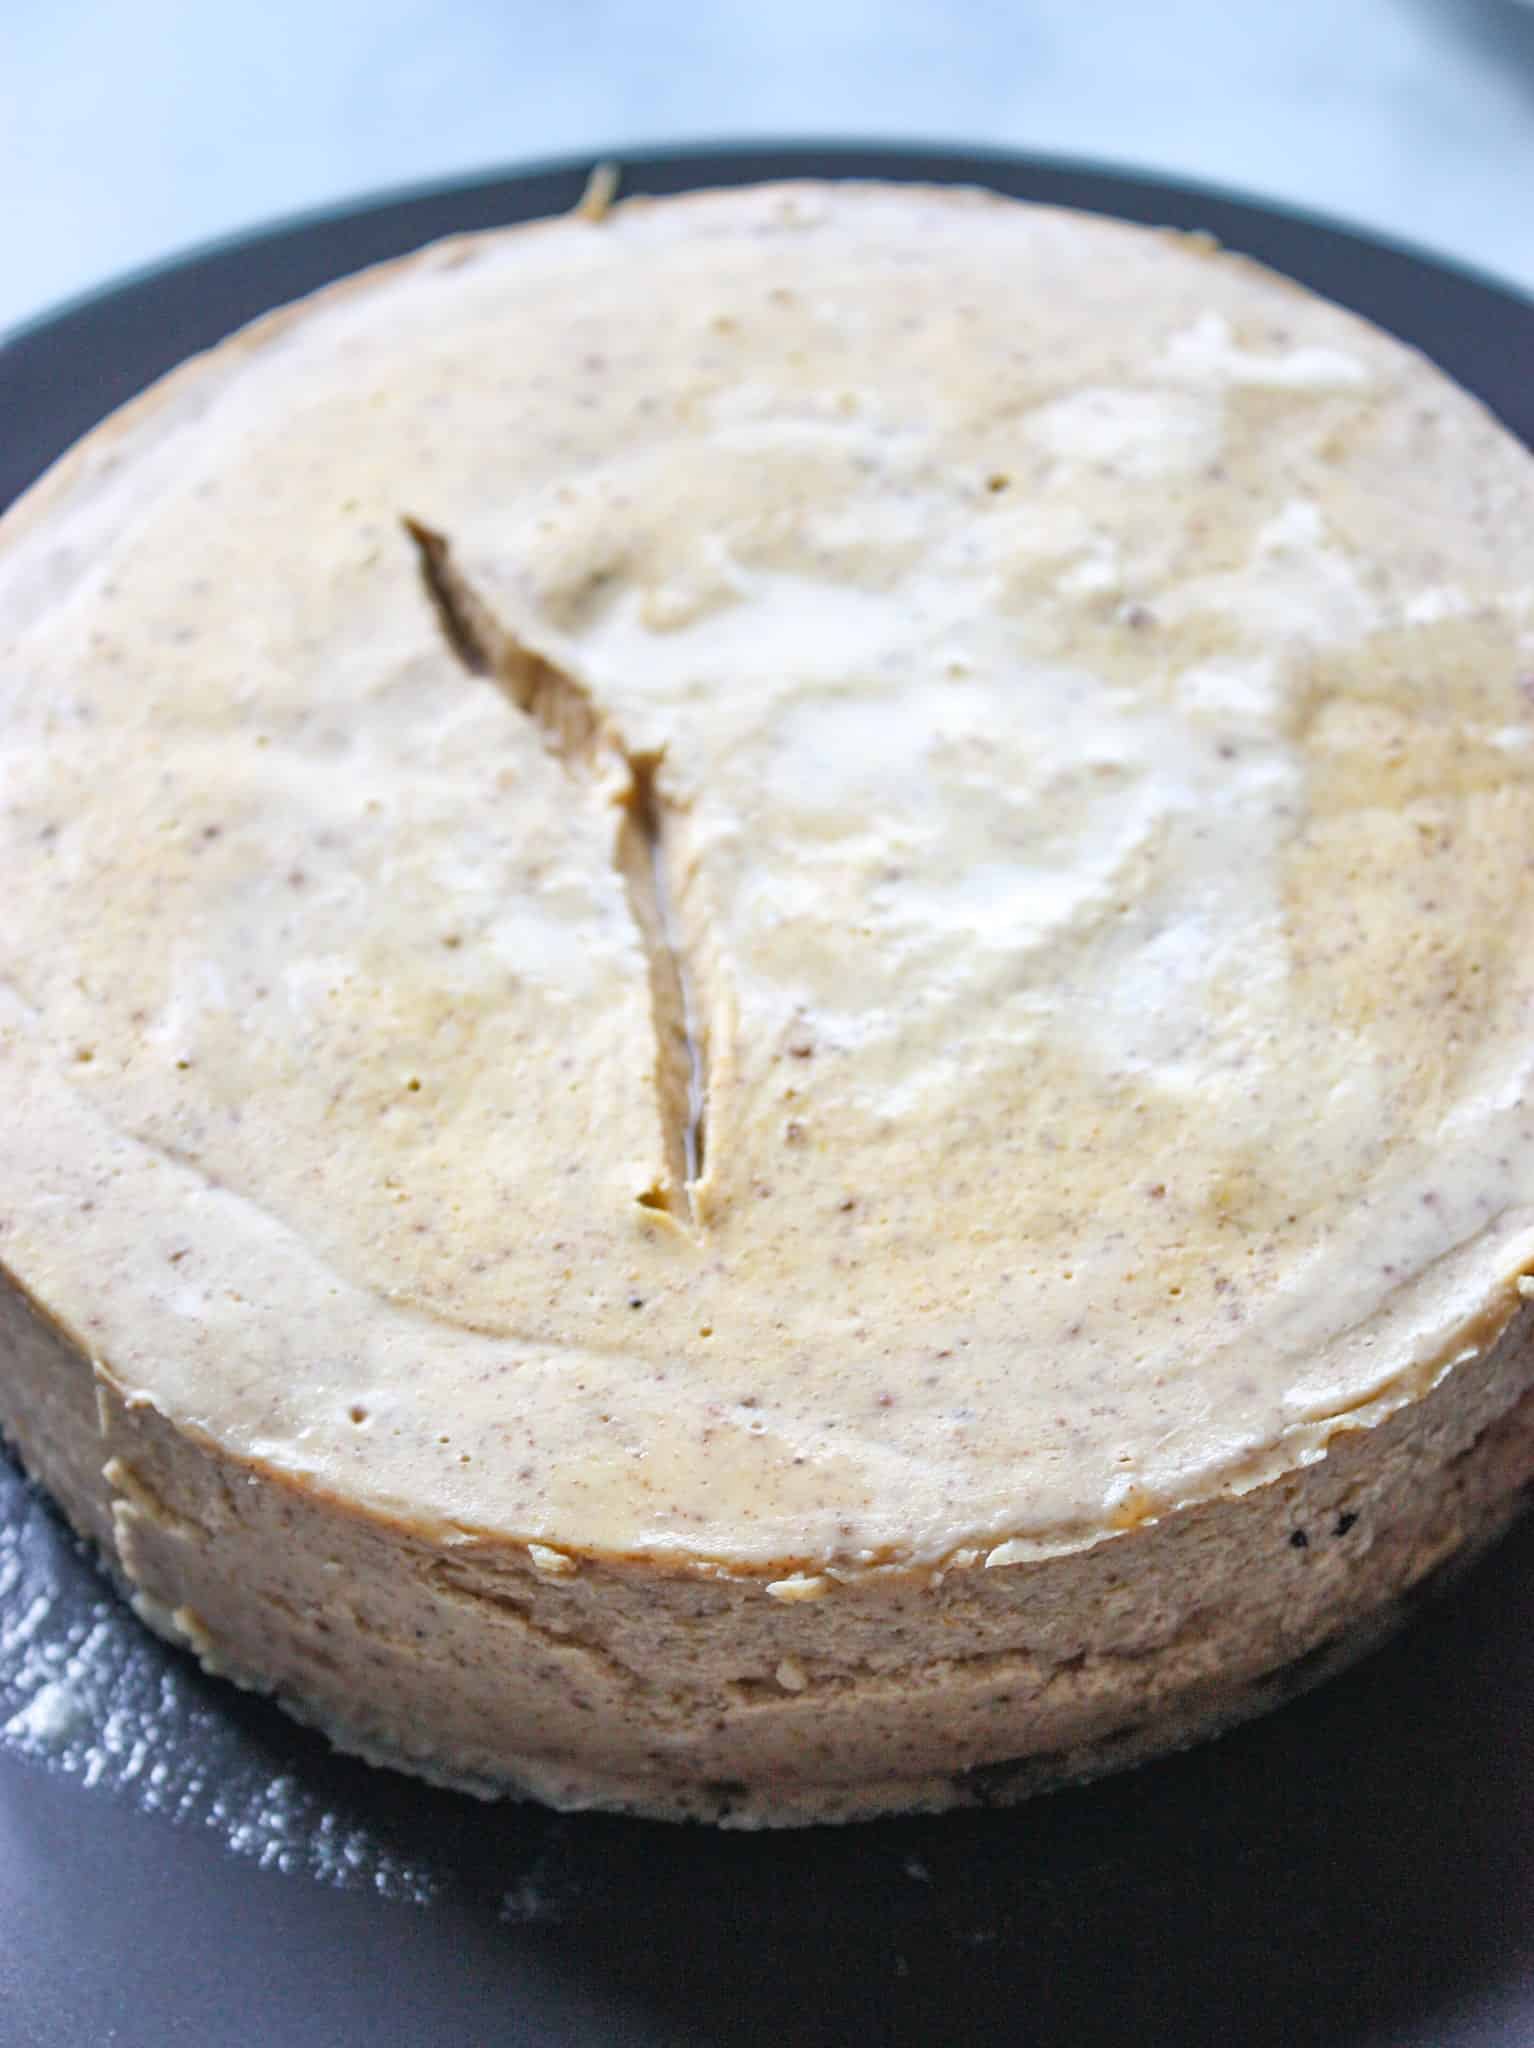
When it had cooled for a bit I put it in the fridge, covered with plastic wrap, for at least 6 to 8 hours before serving.
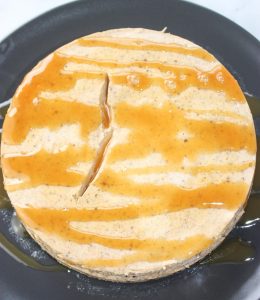
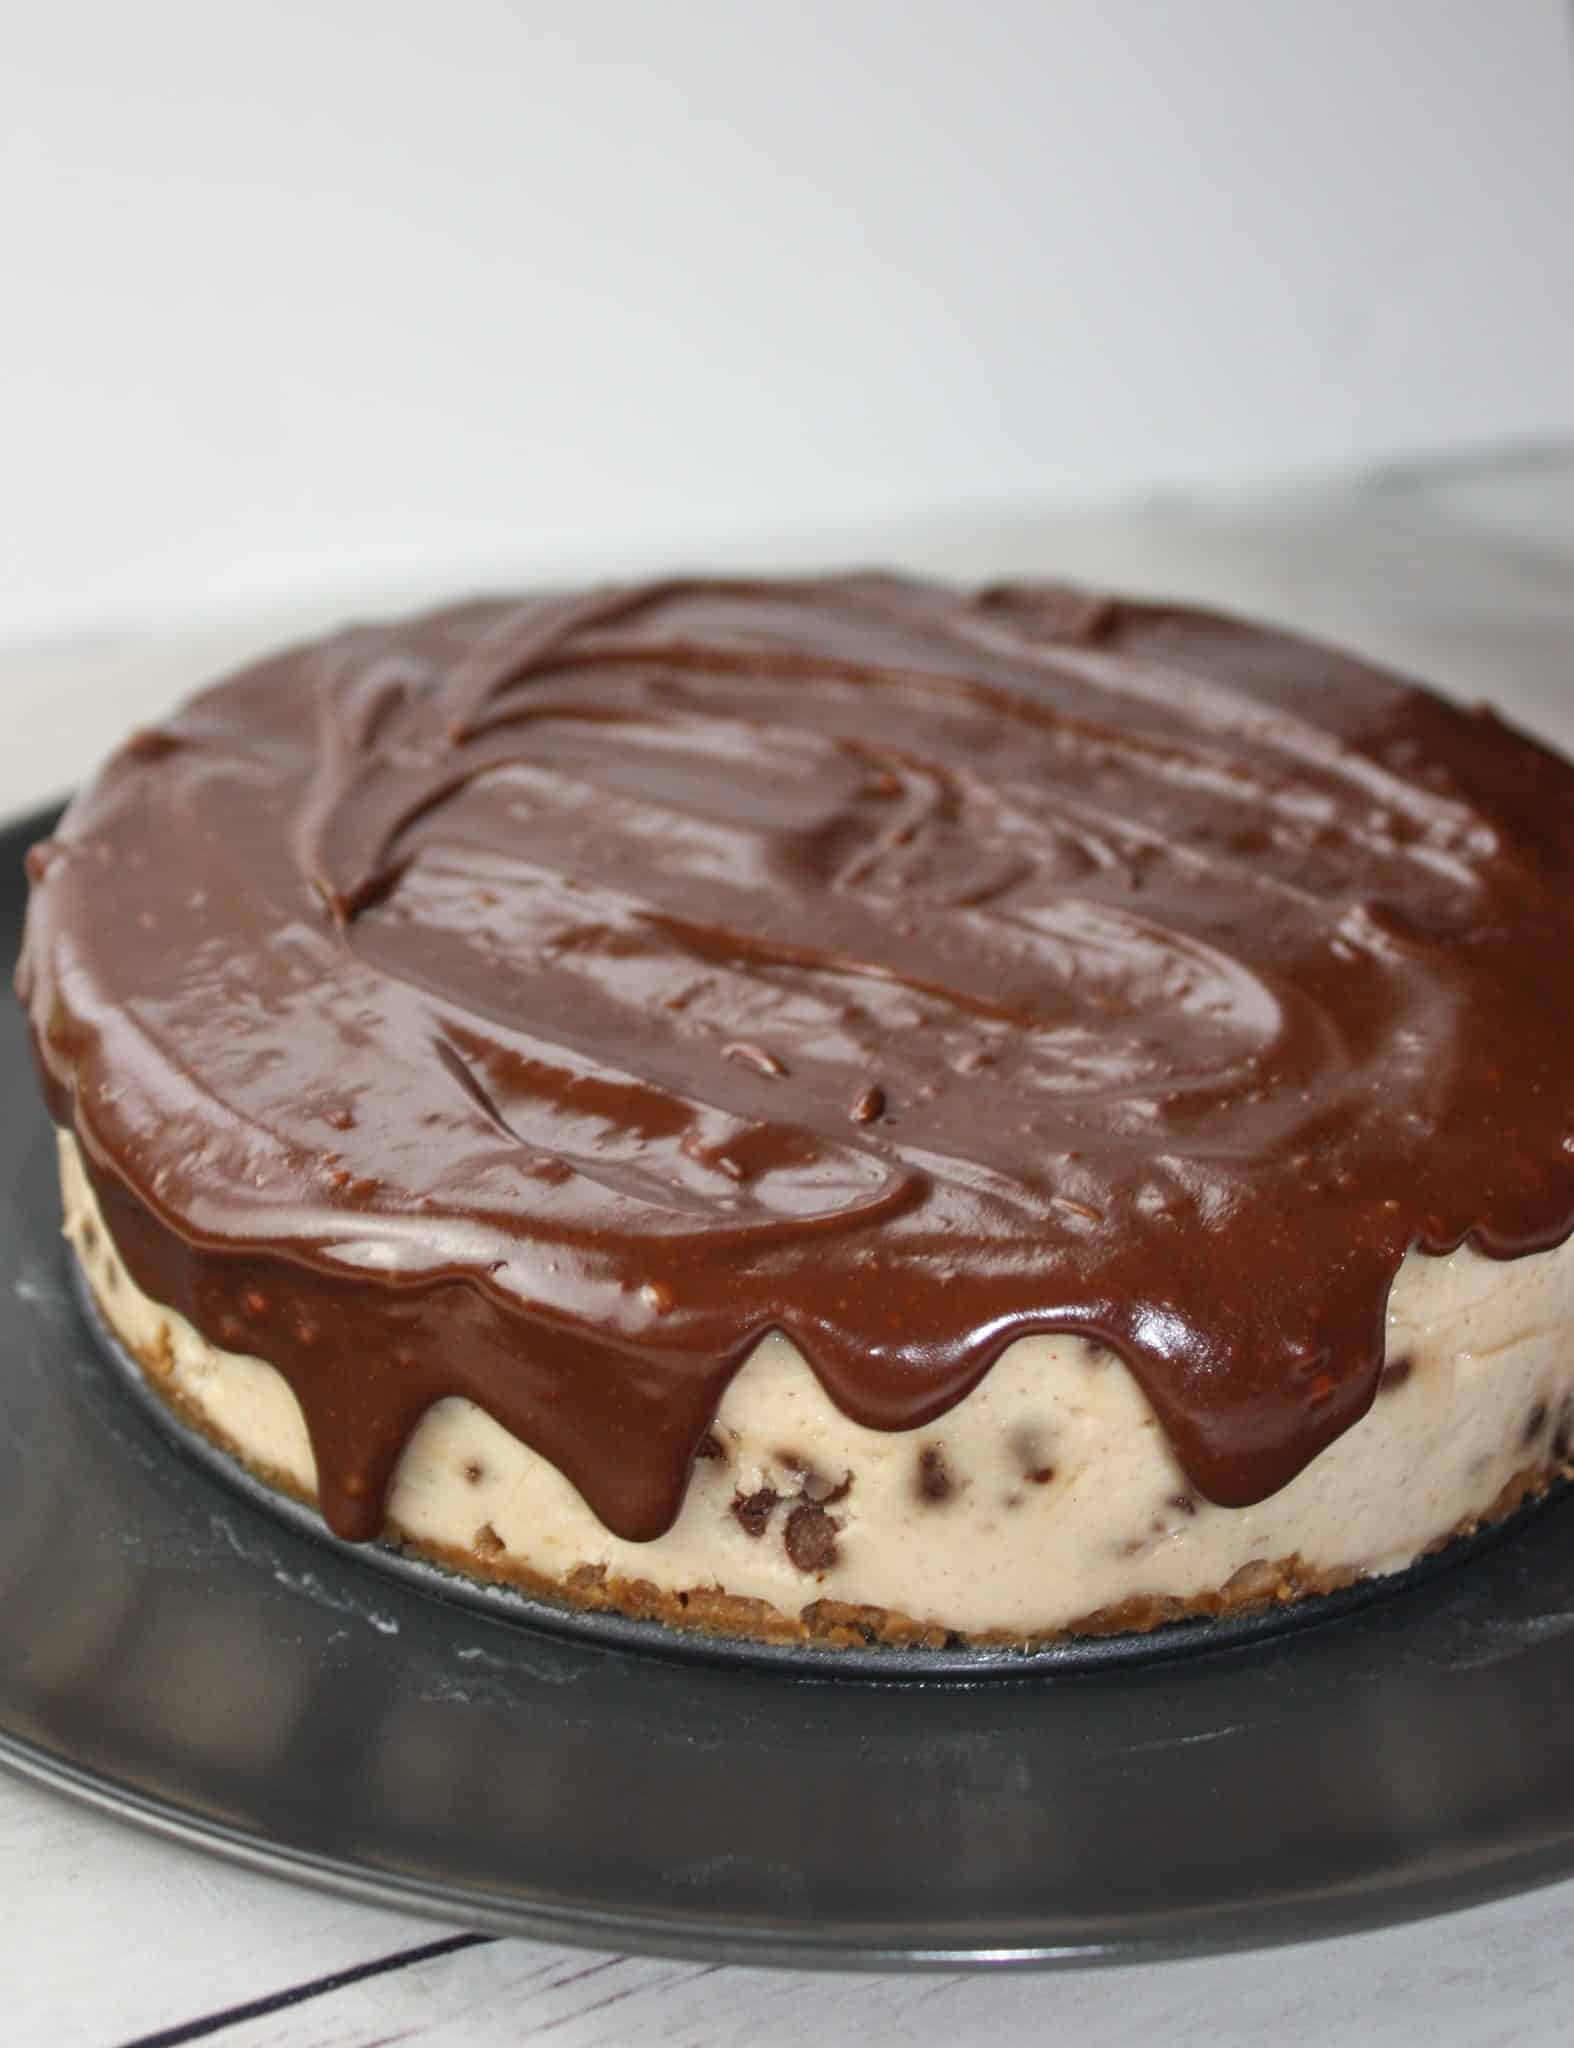
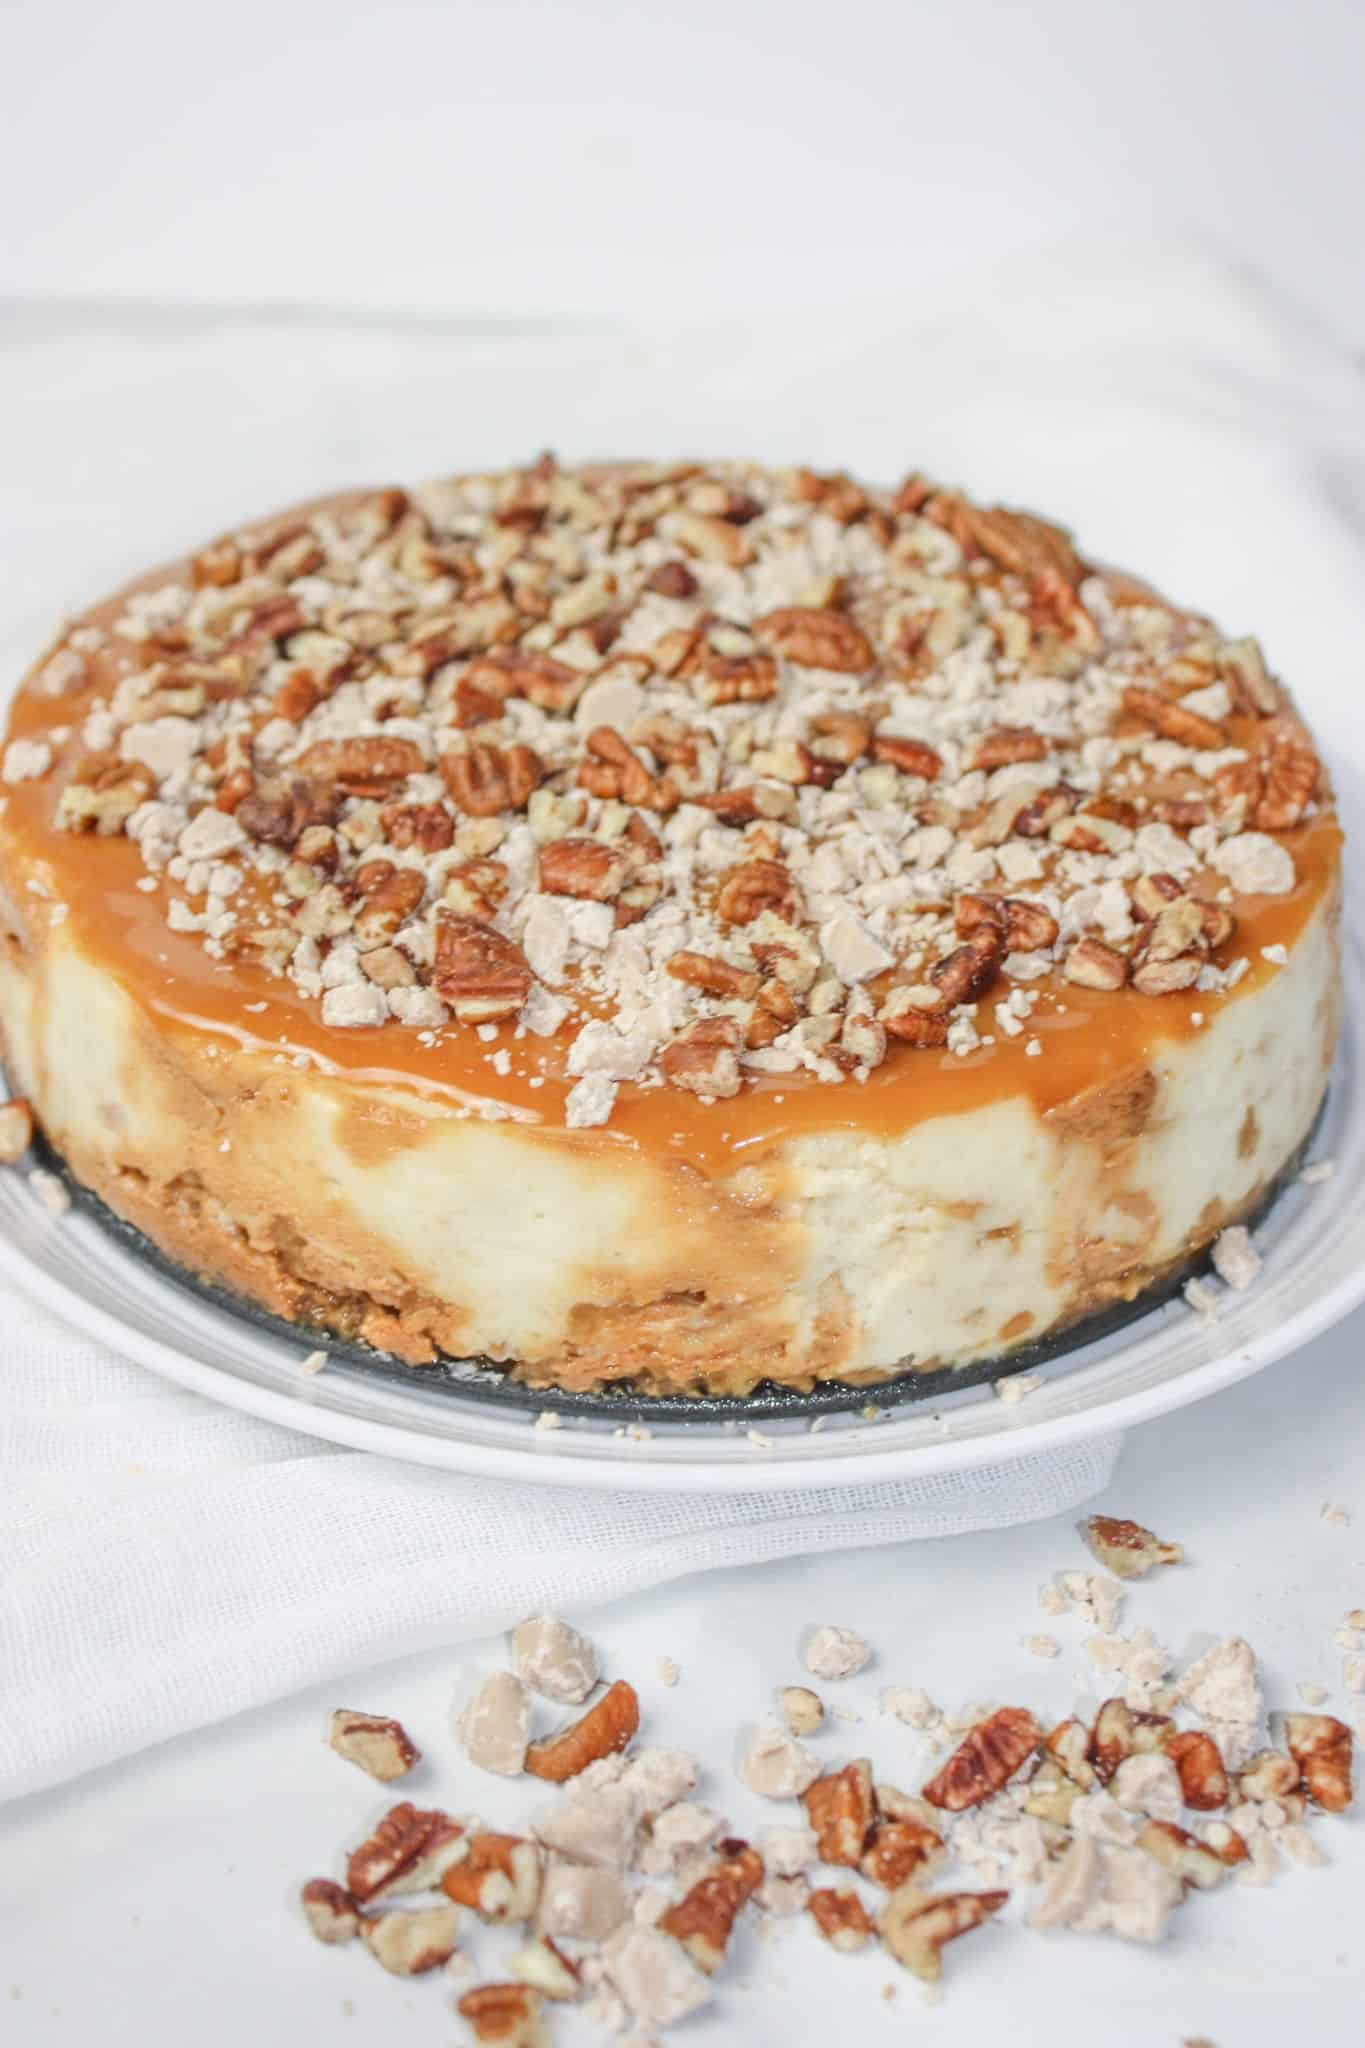
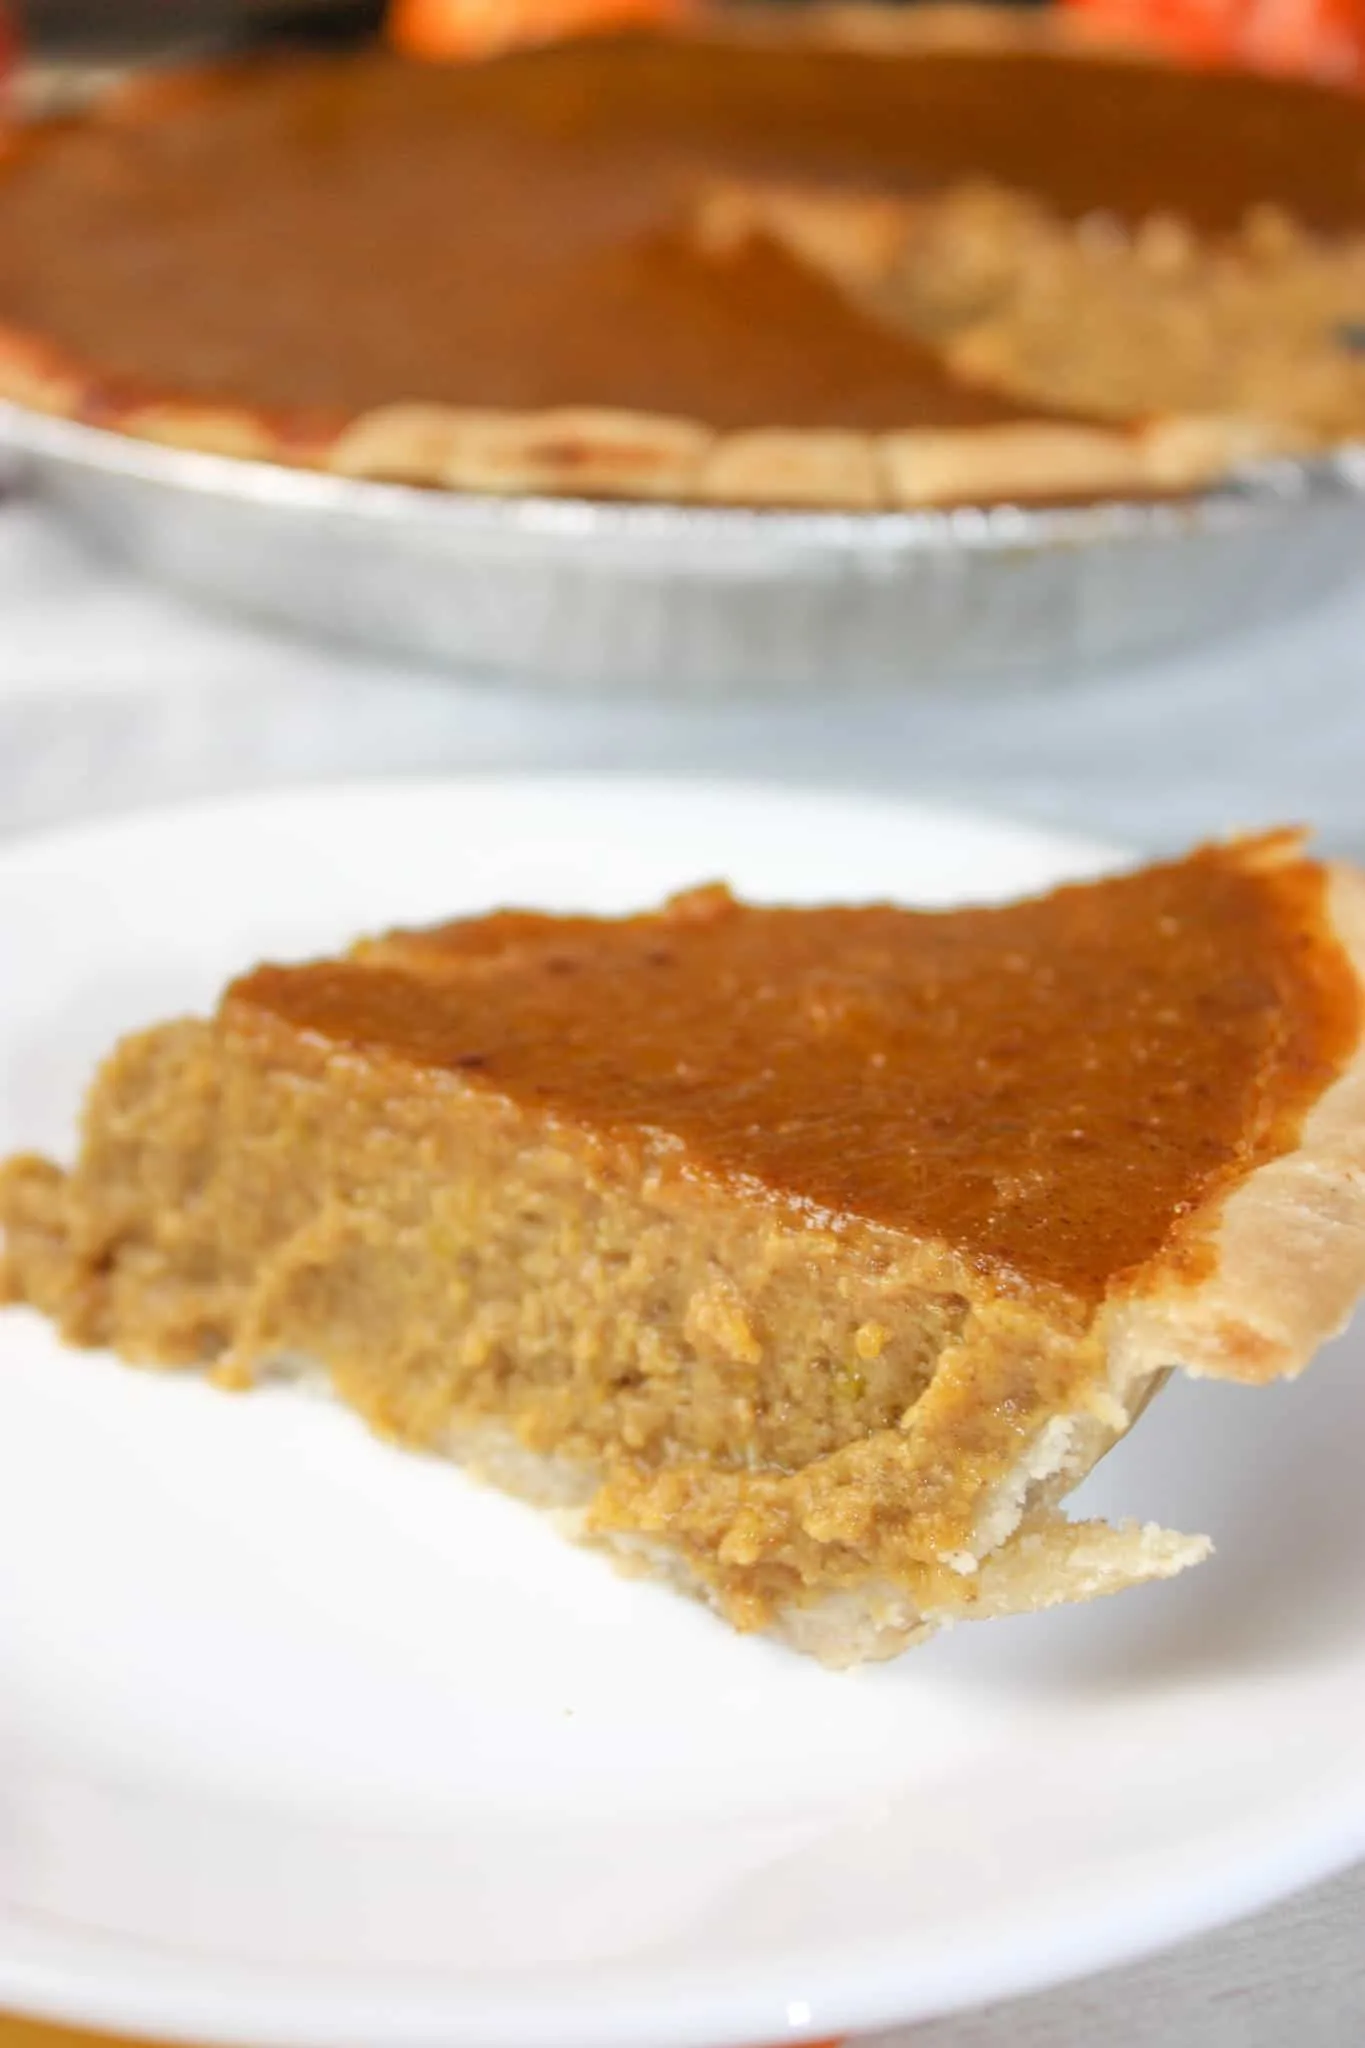
Then I removed the ring and placed it on a plate to prepare for serving. Mine cracked slightly but this did not impact the flavour!

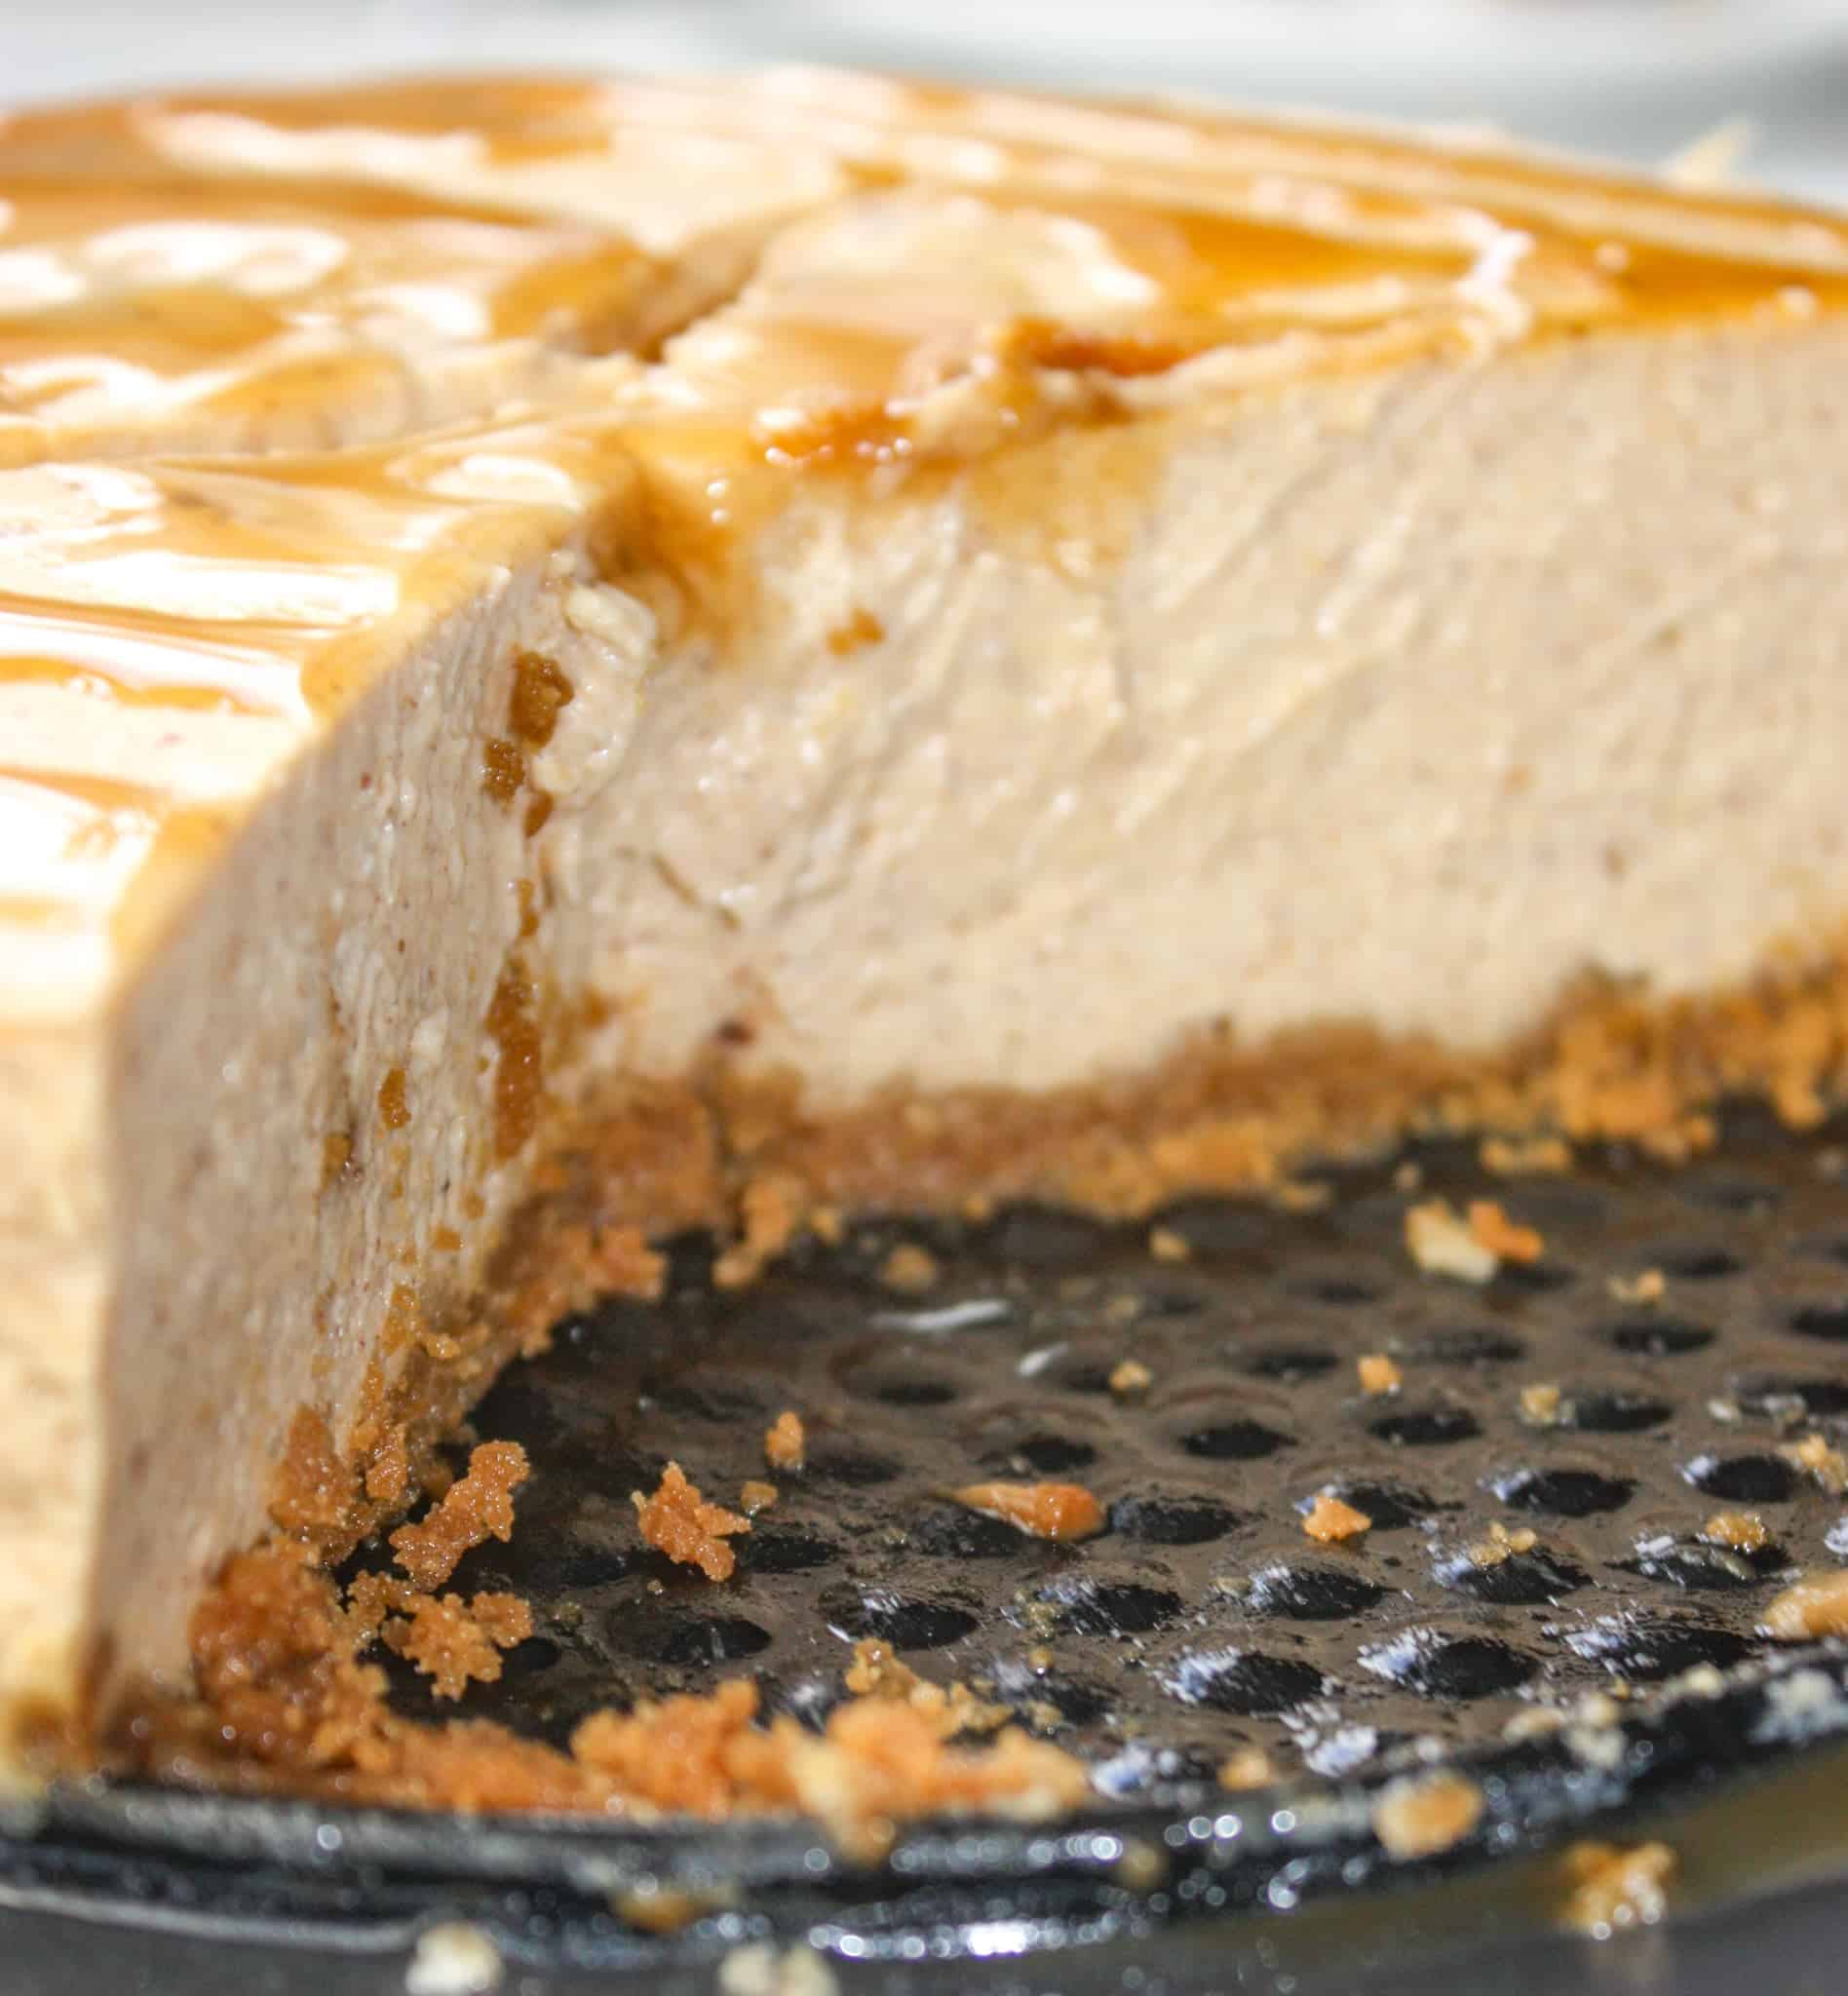
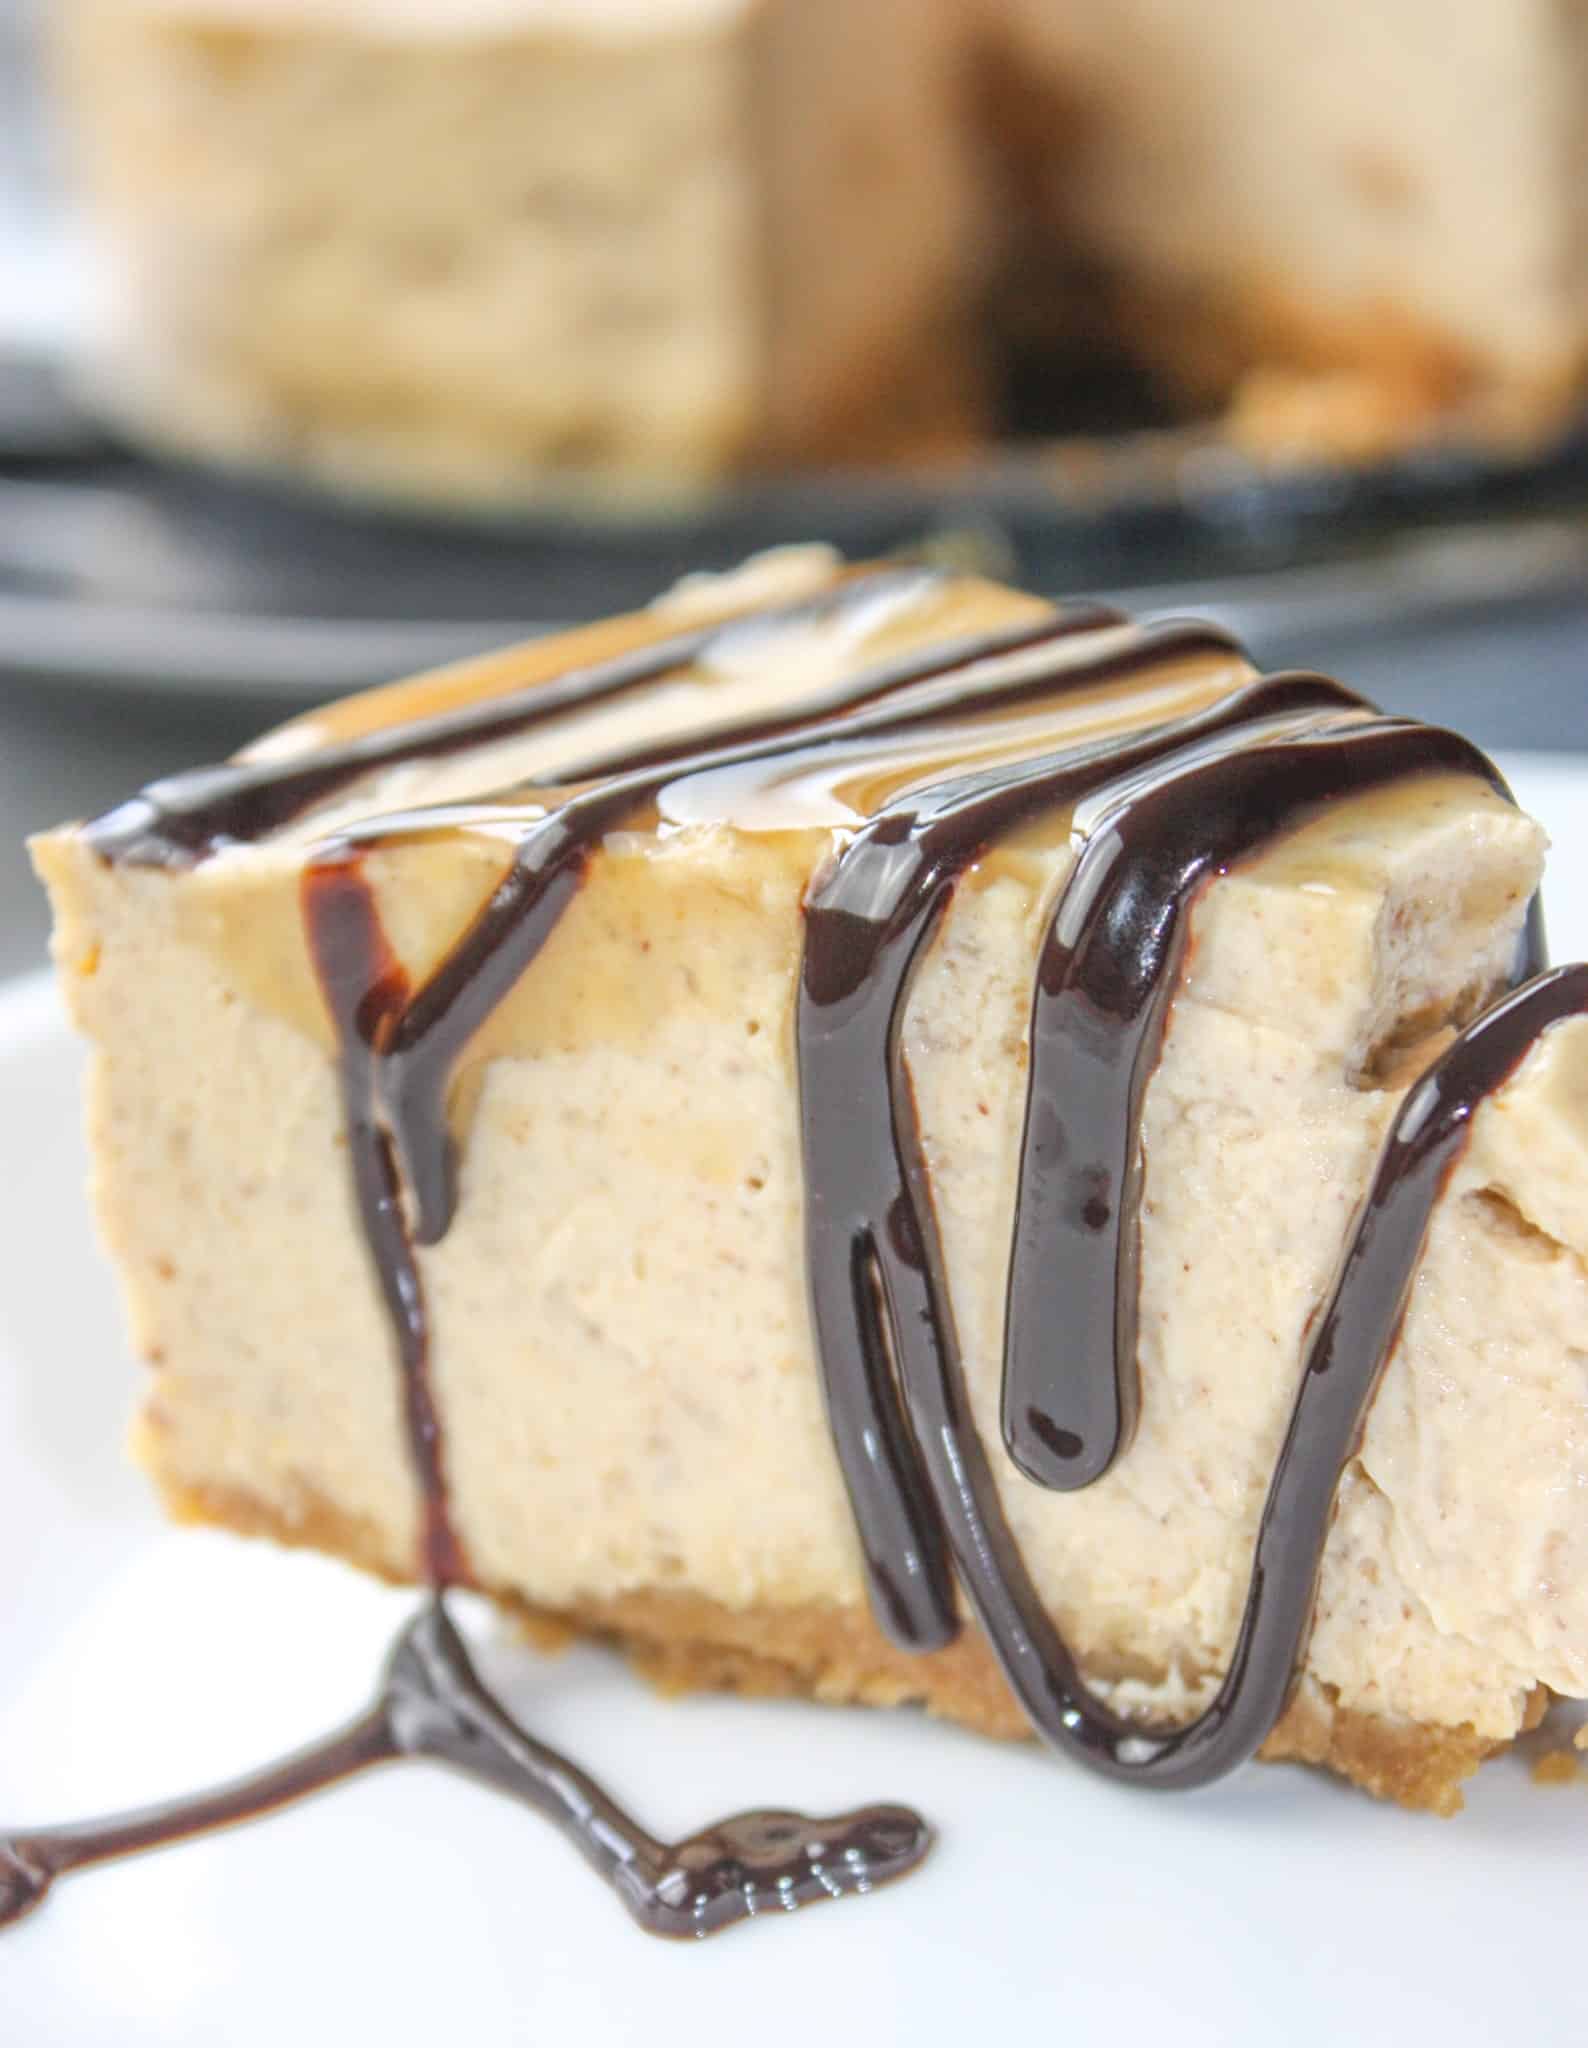
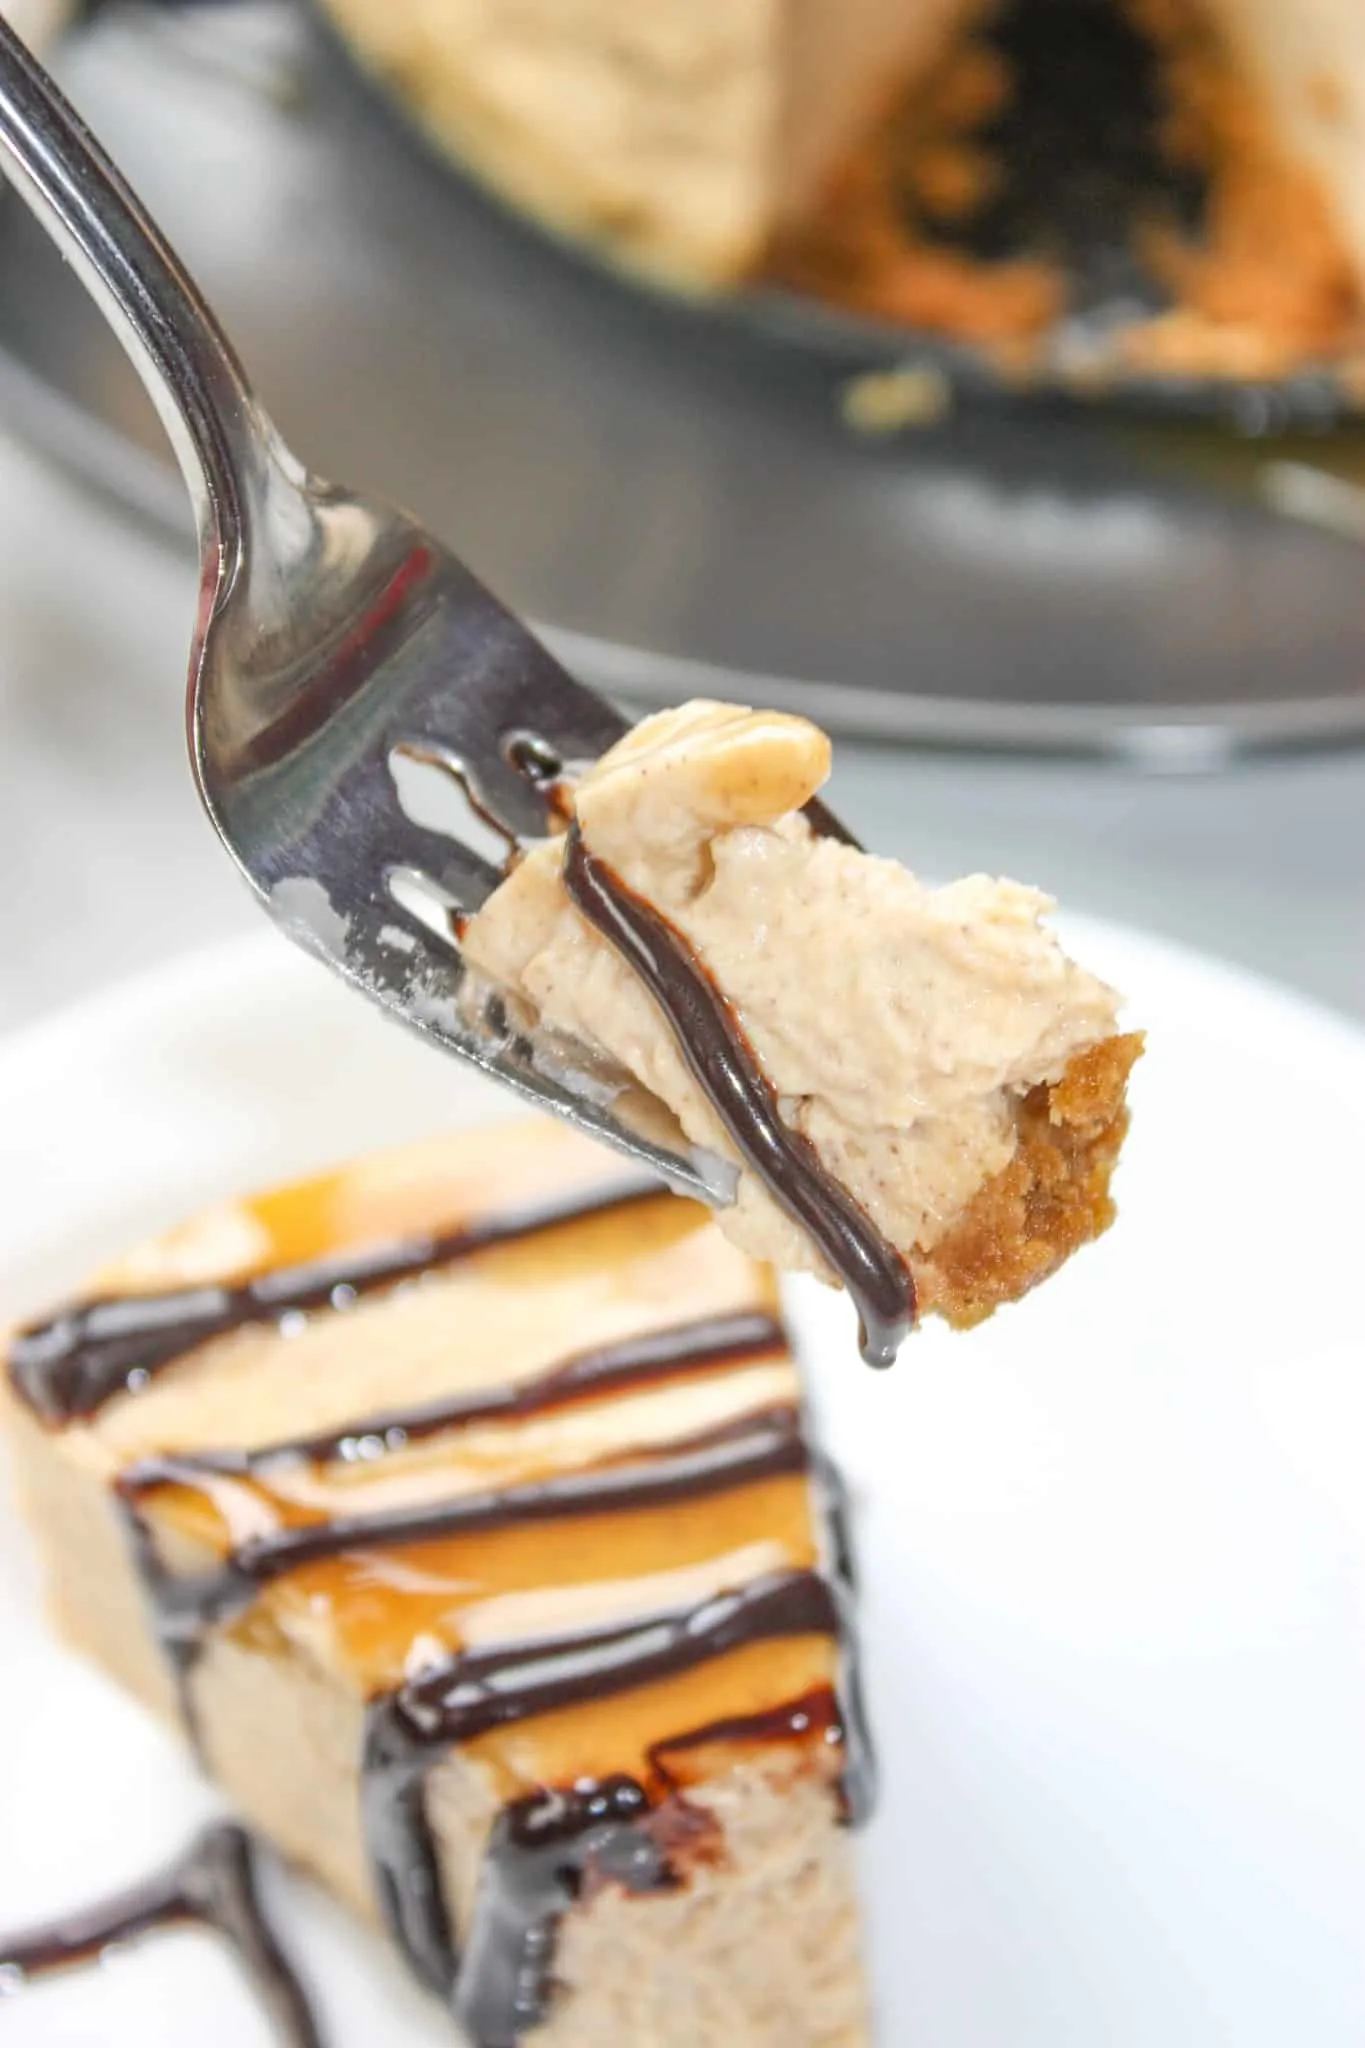
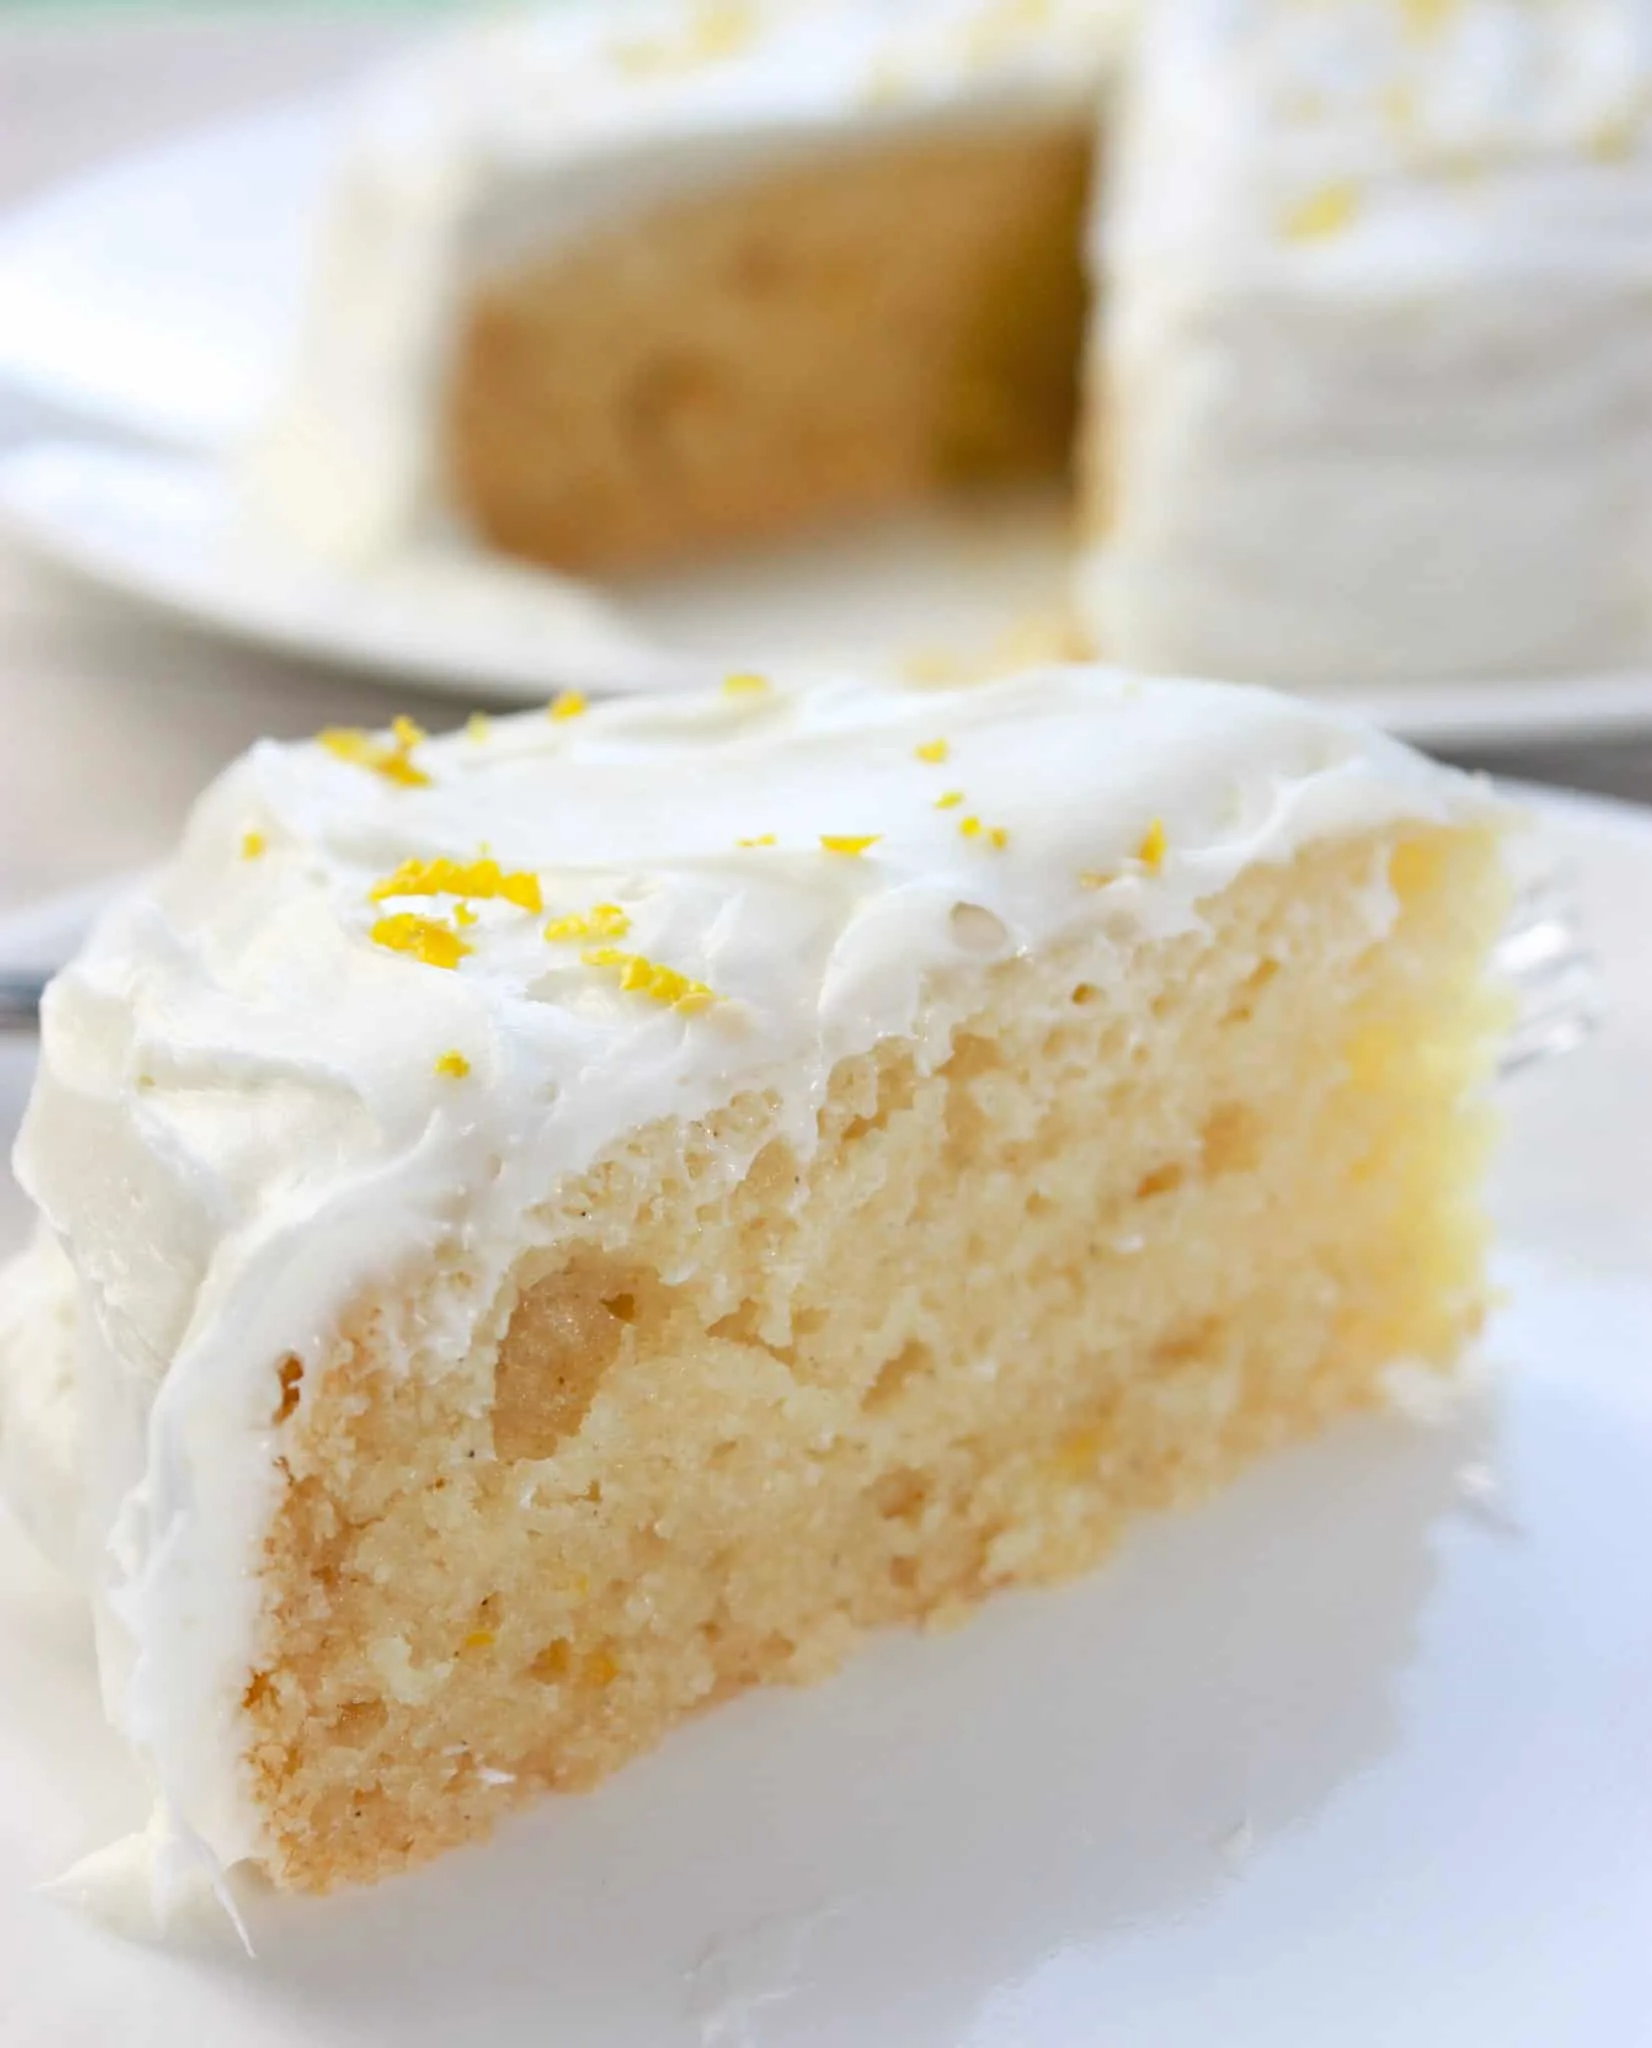
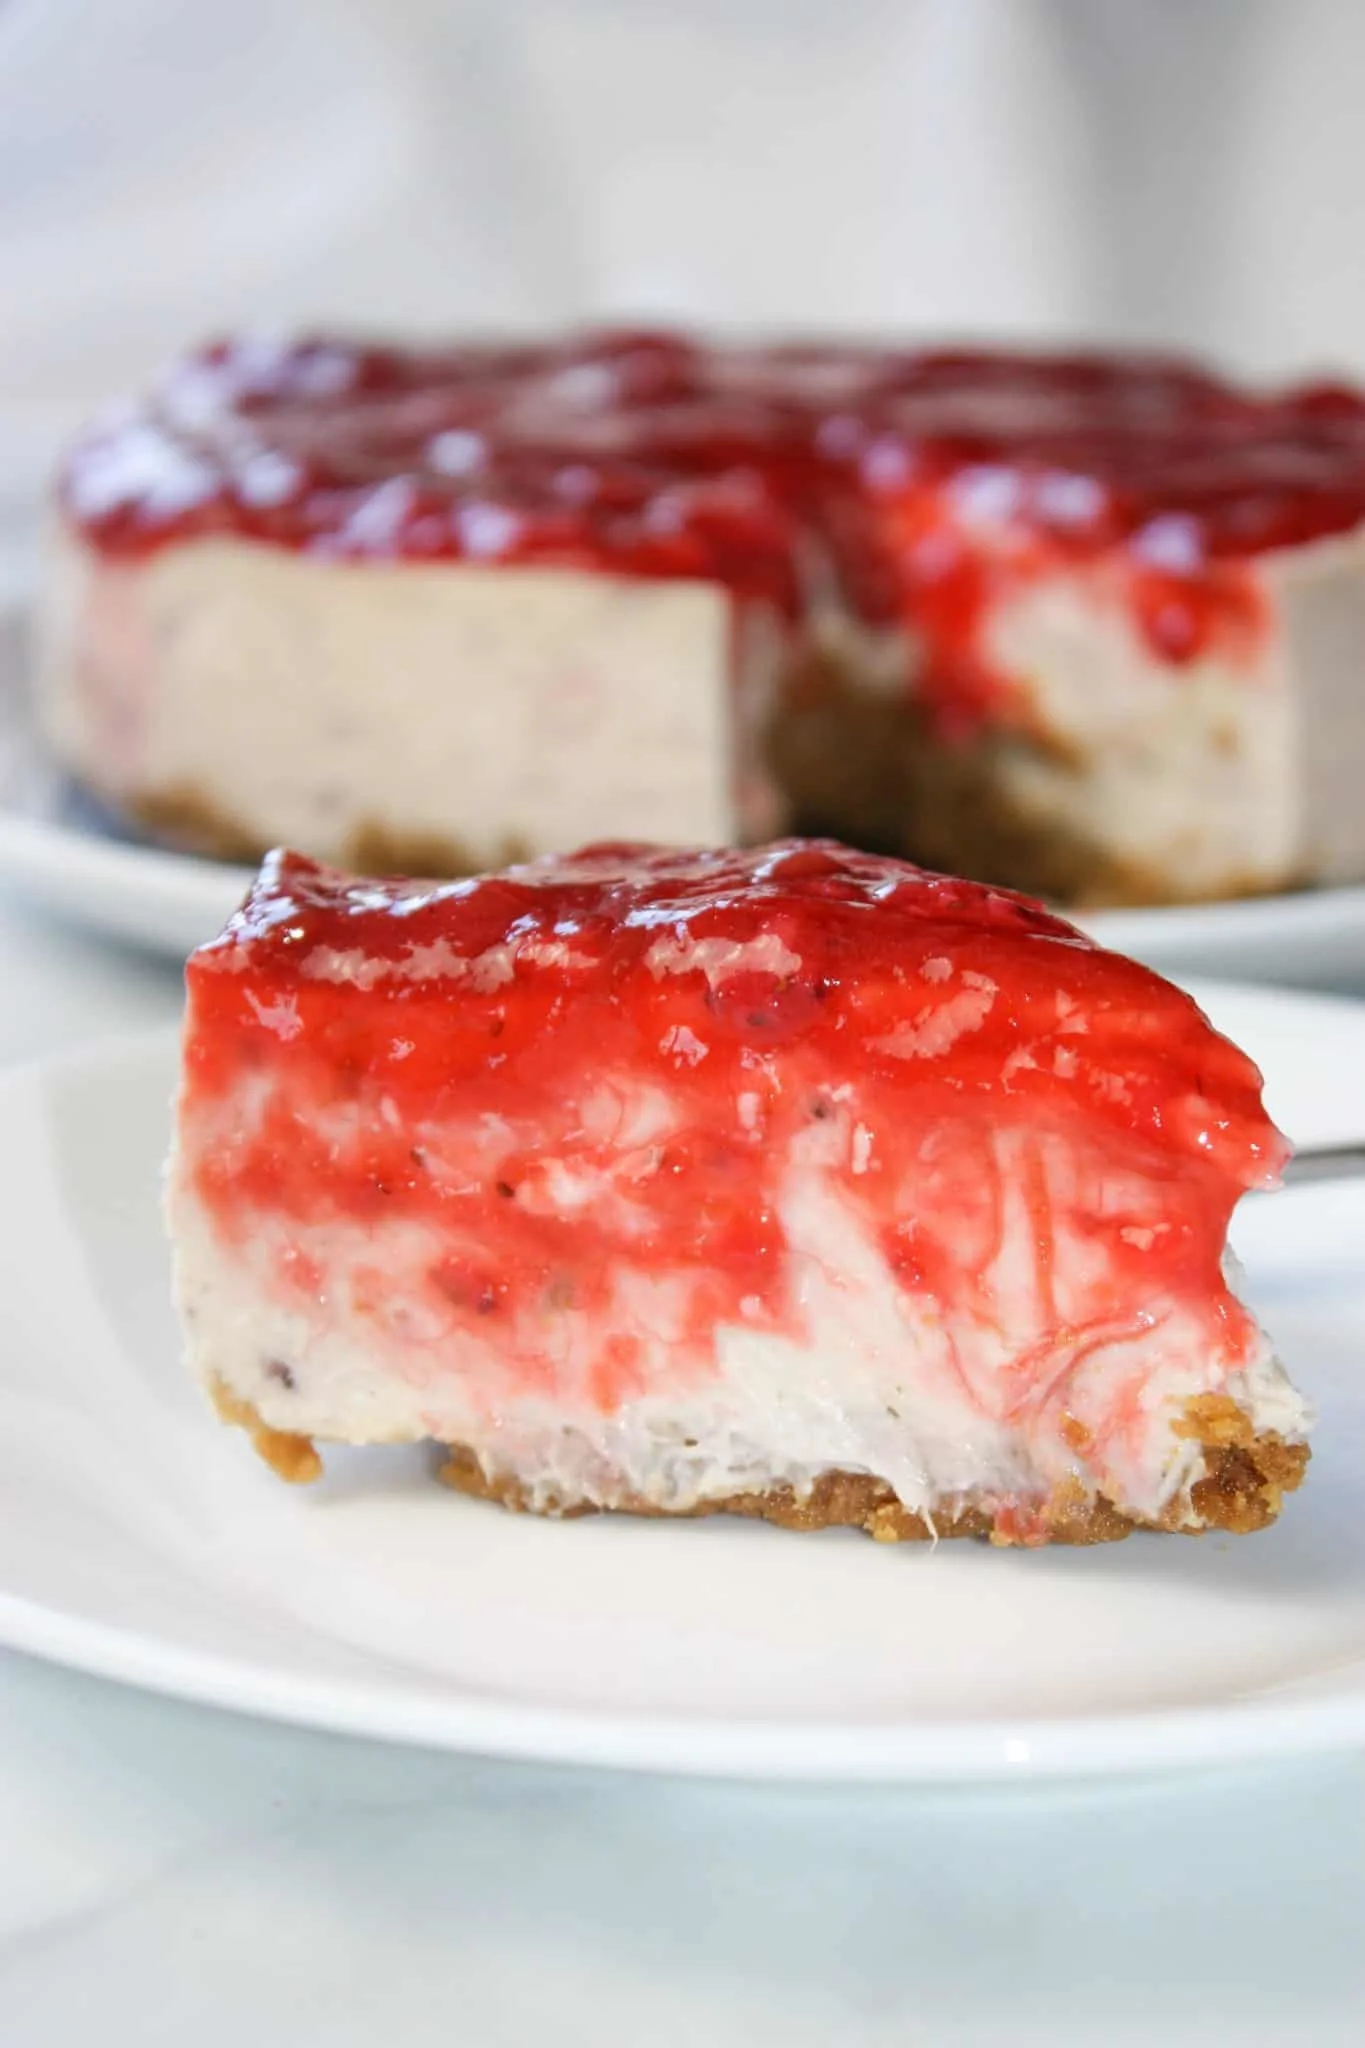
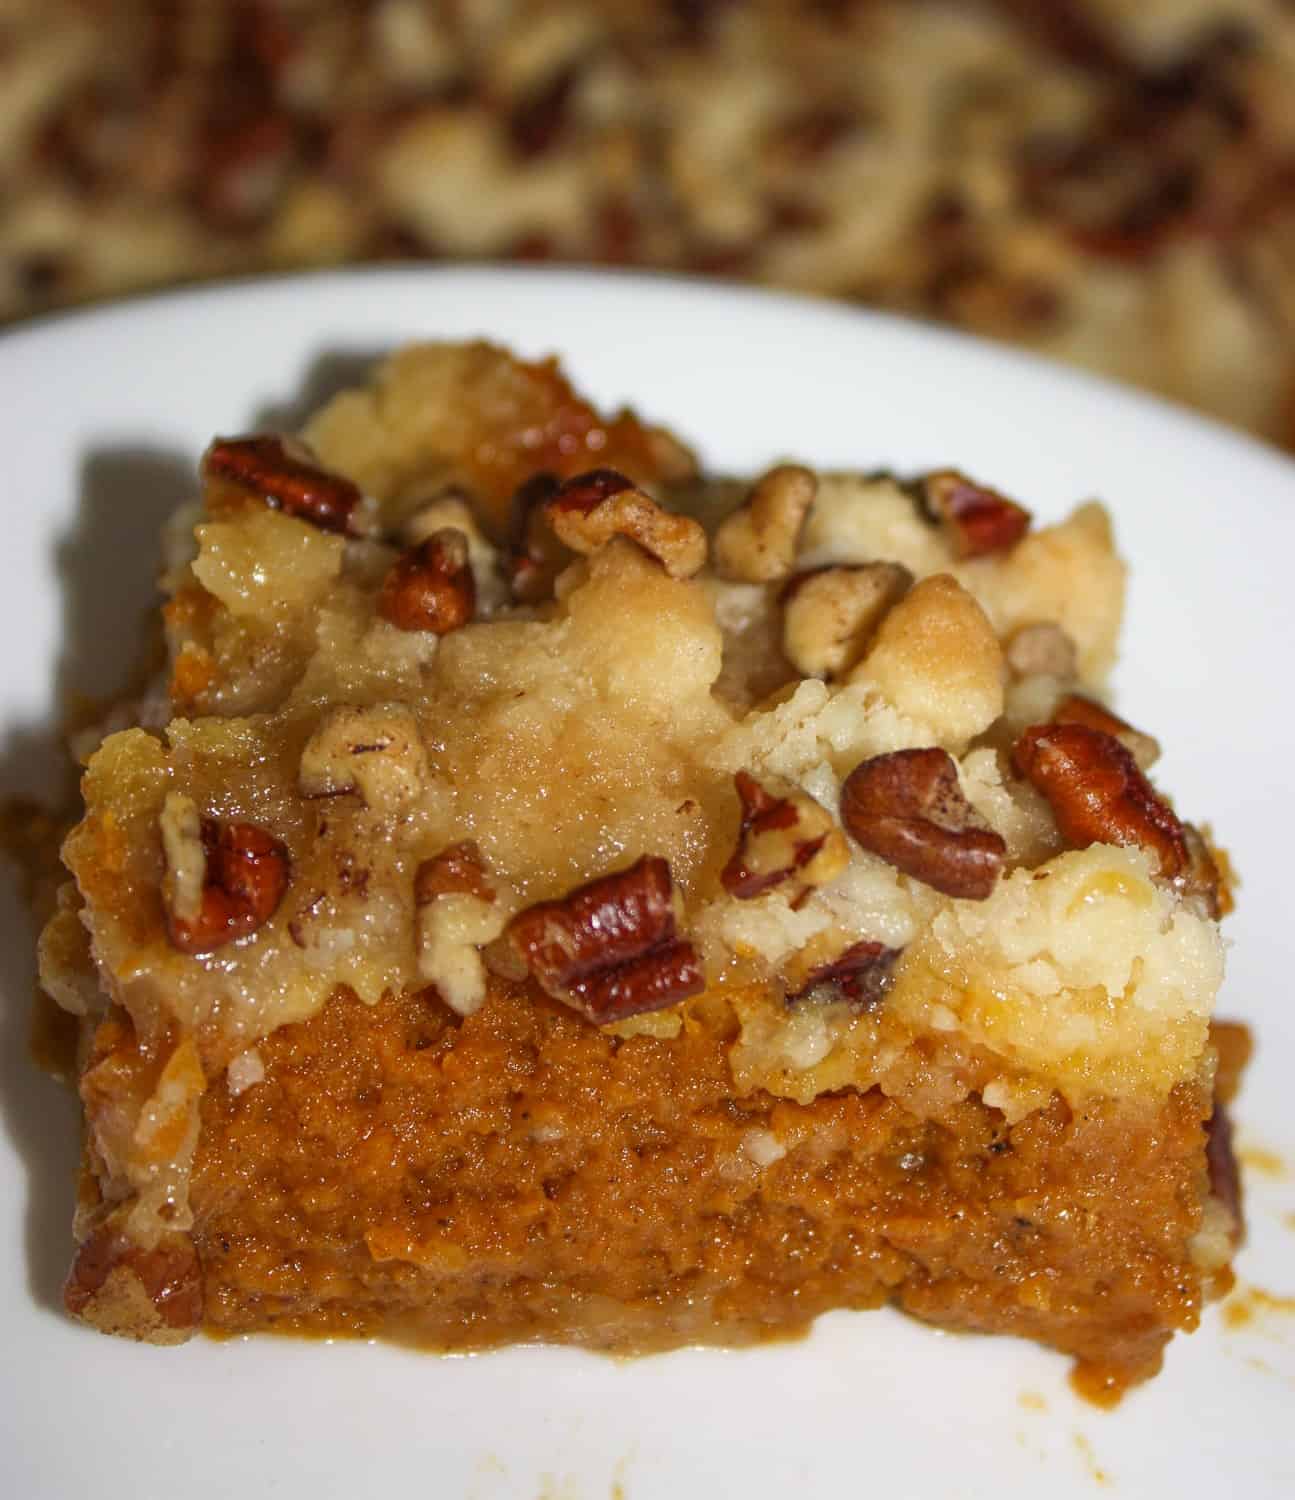
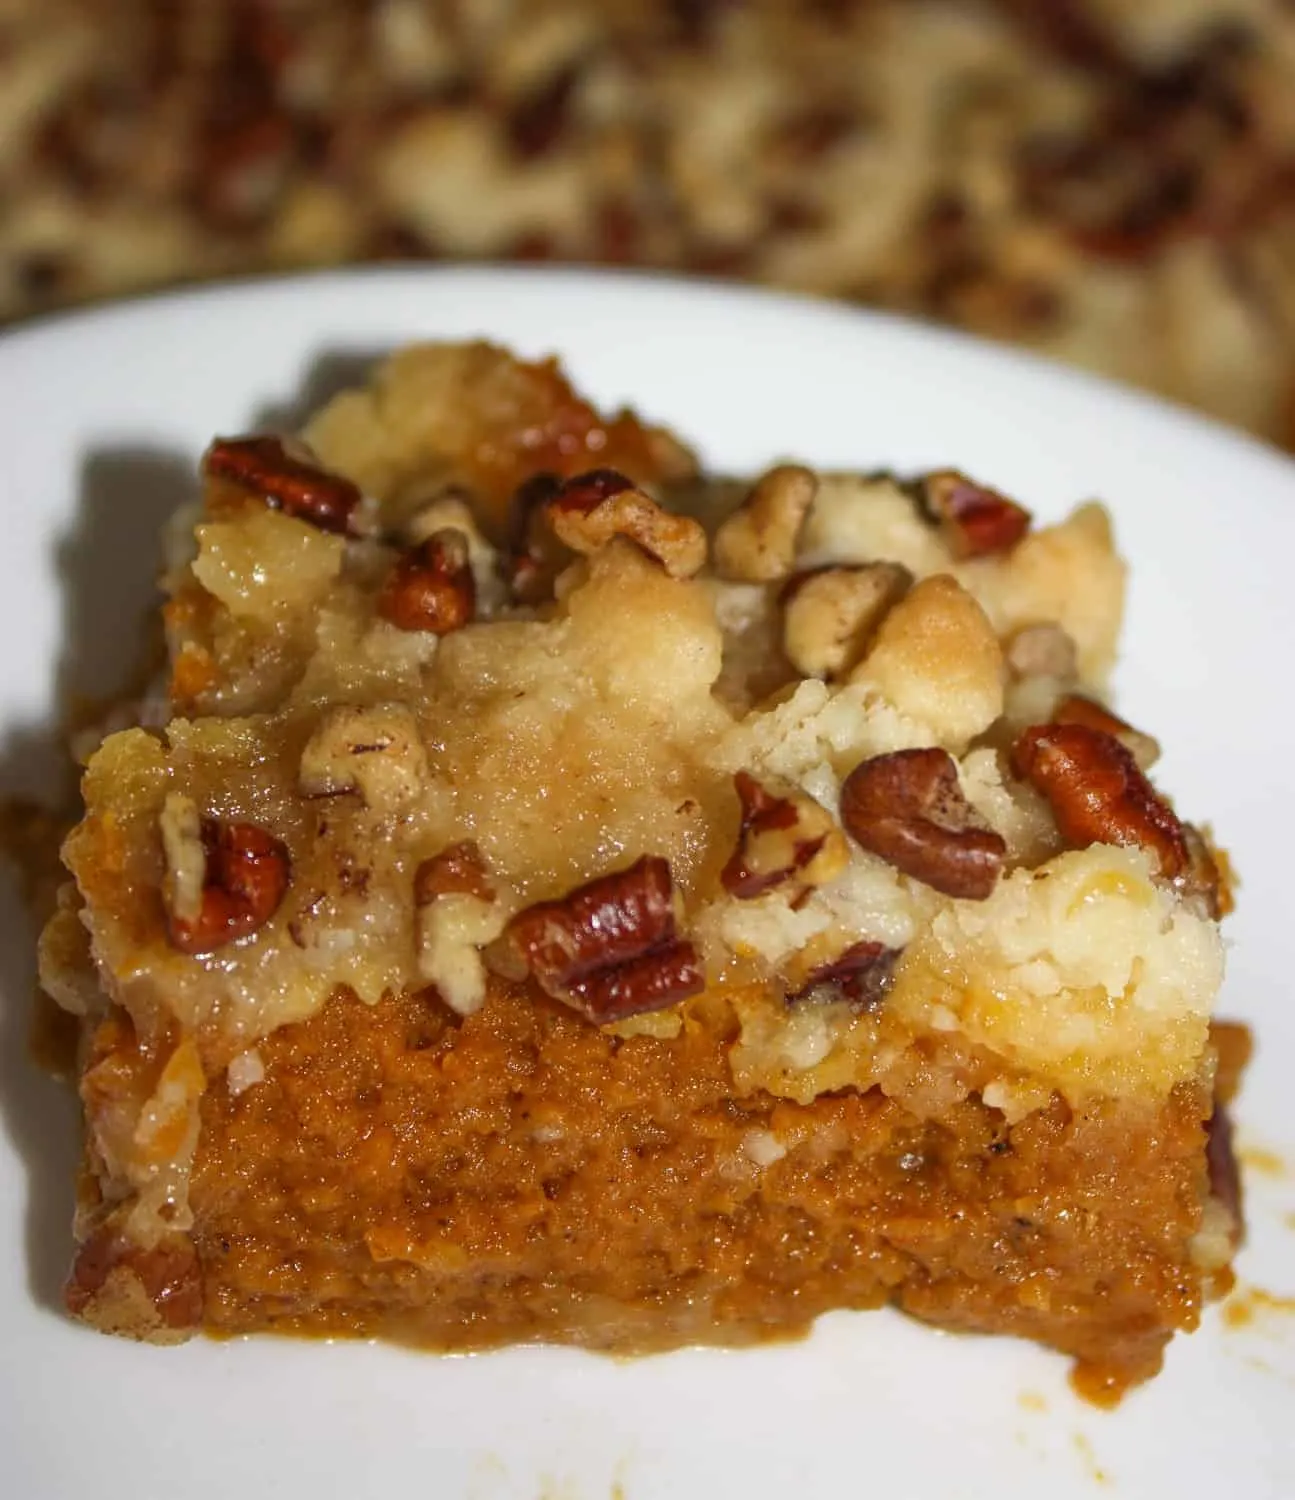
I drizzled the whole cake with caramel sundae topping before I sliced it.

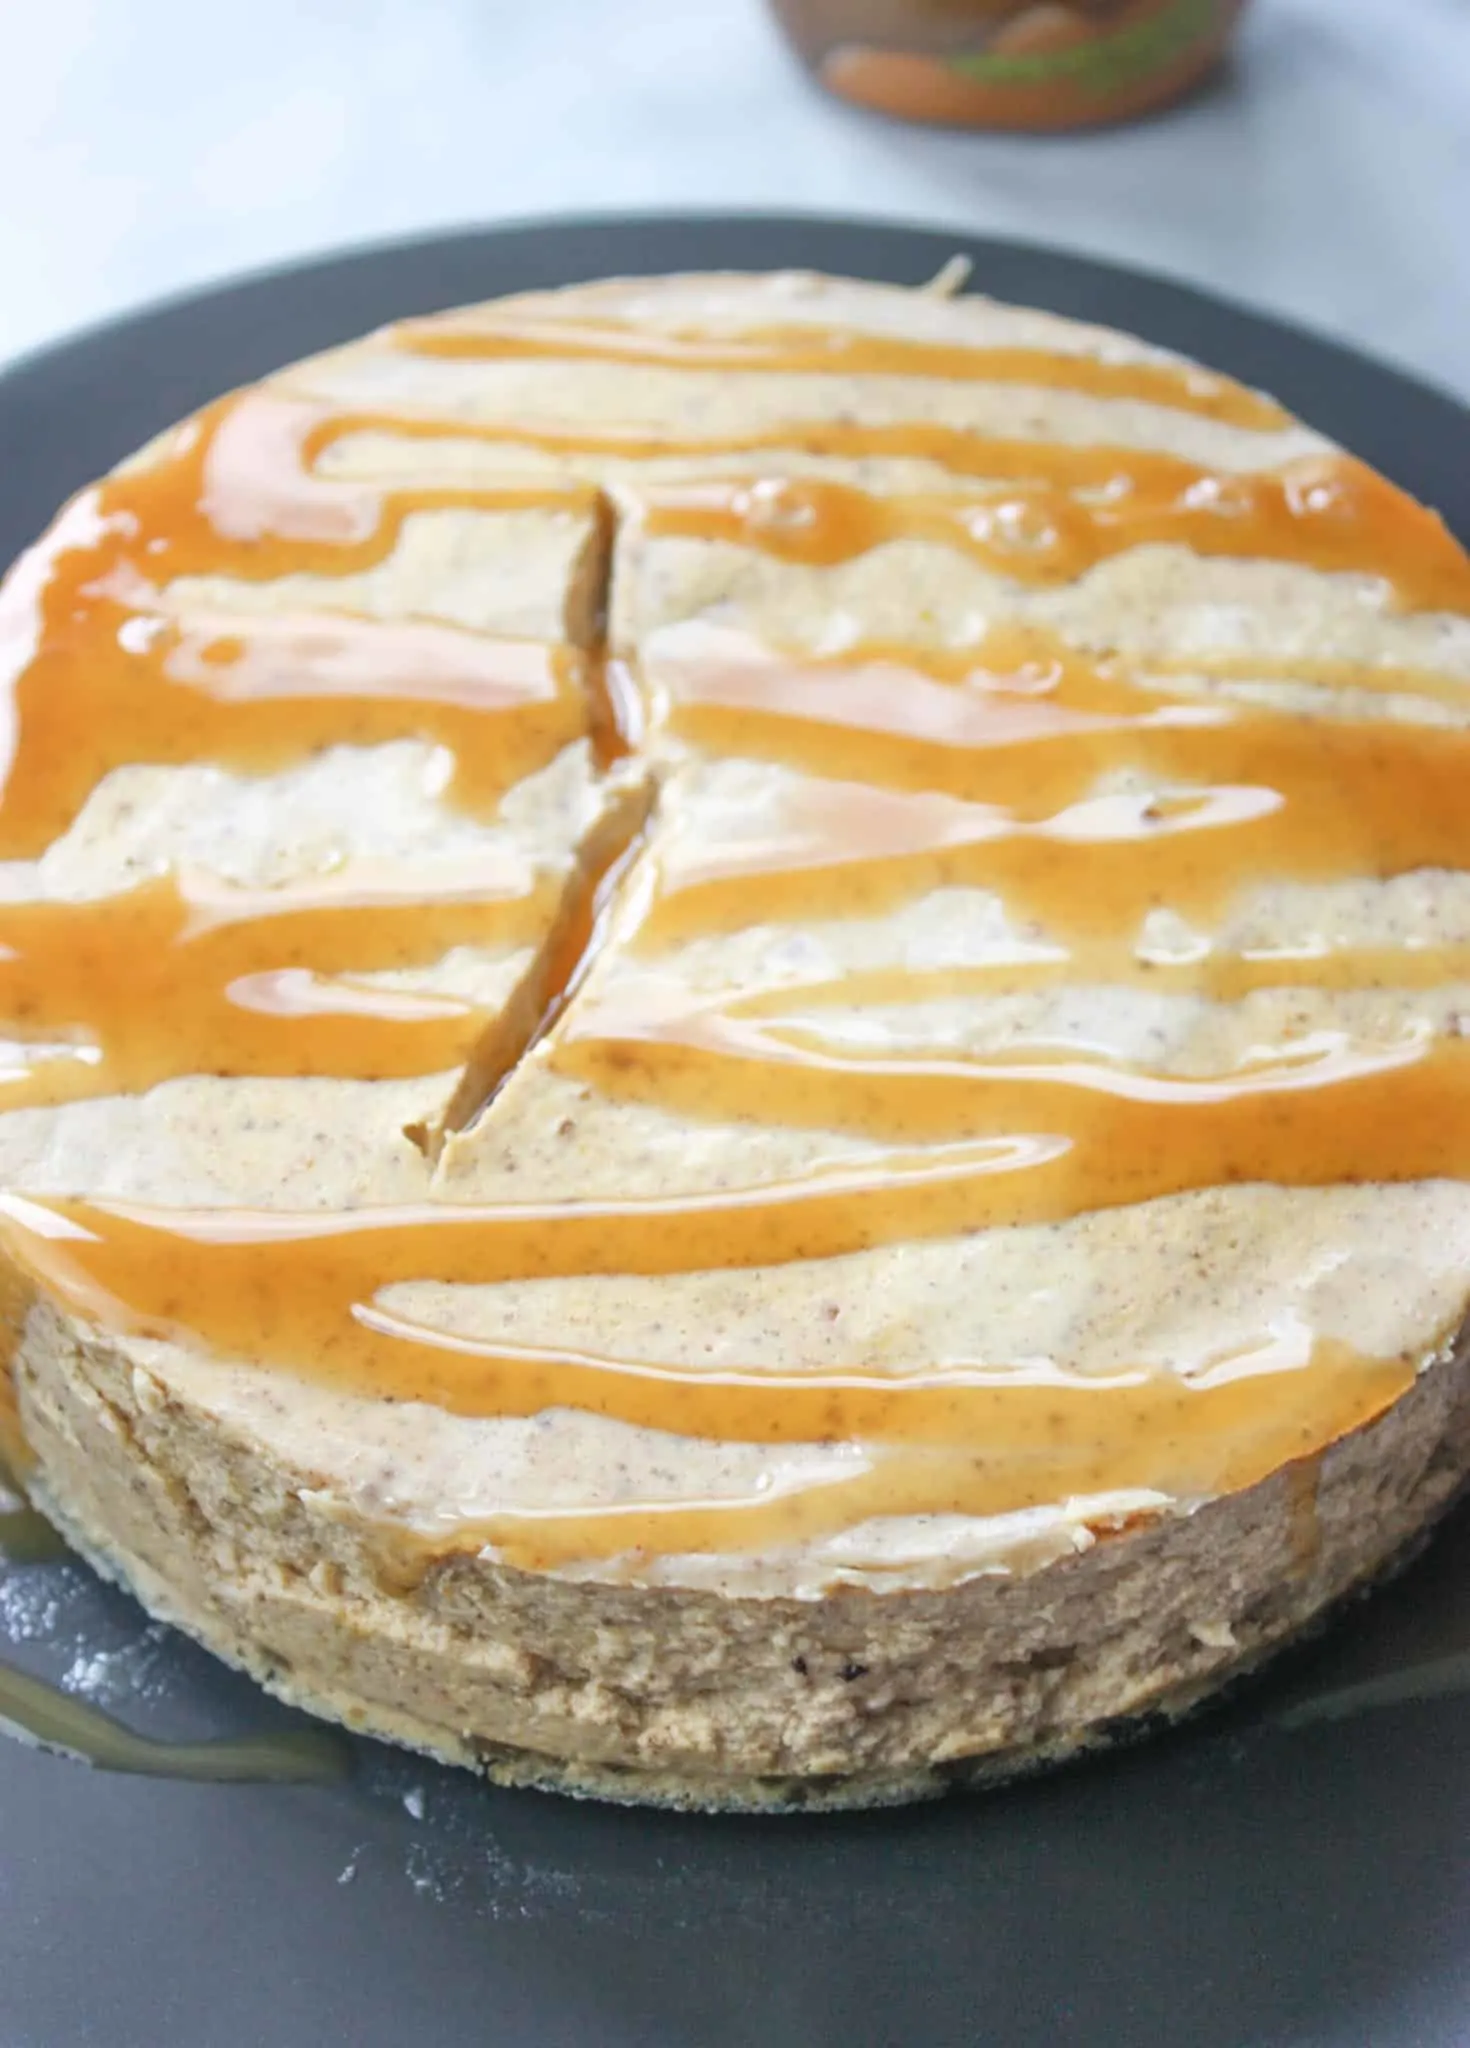
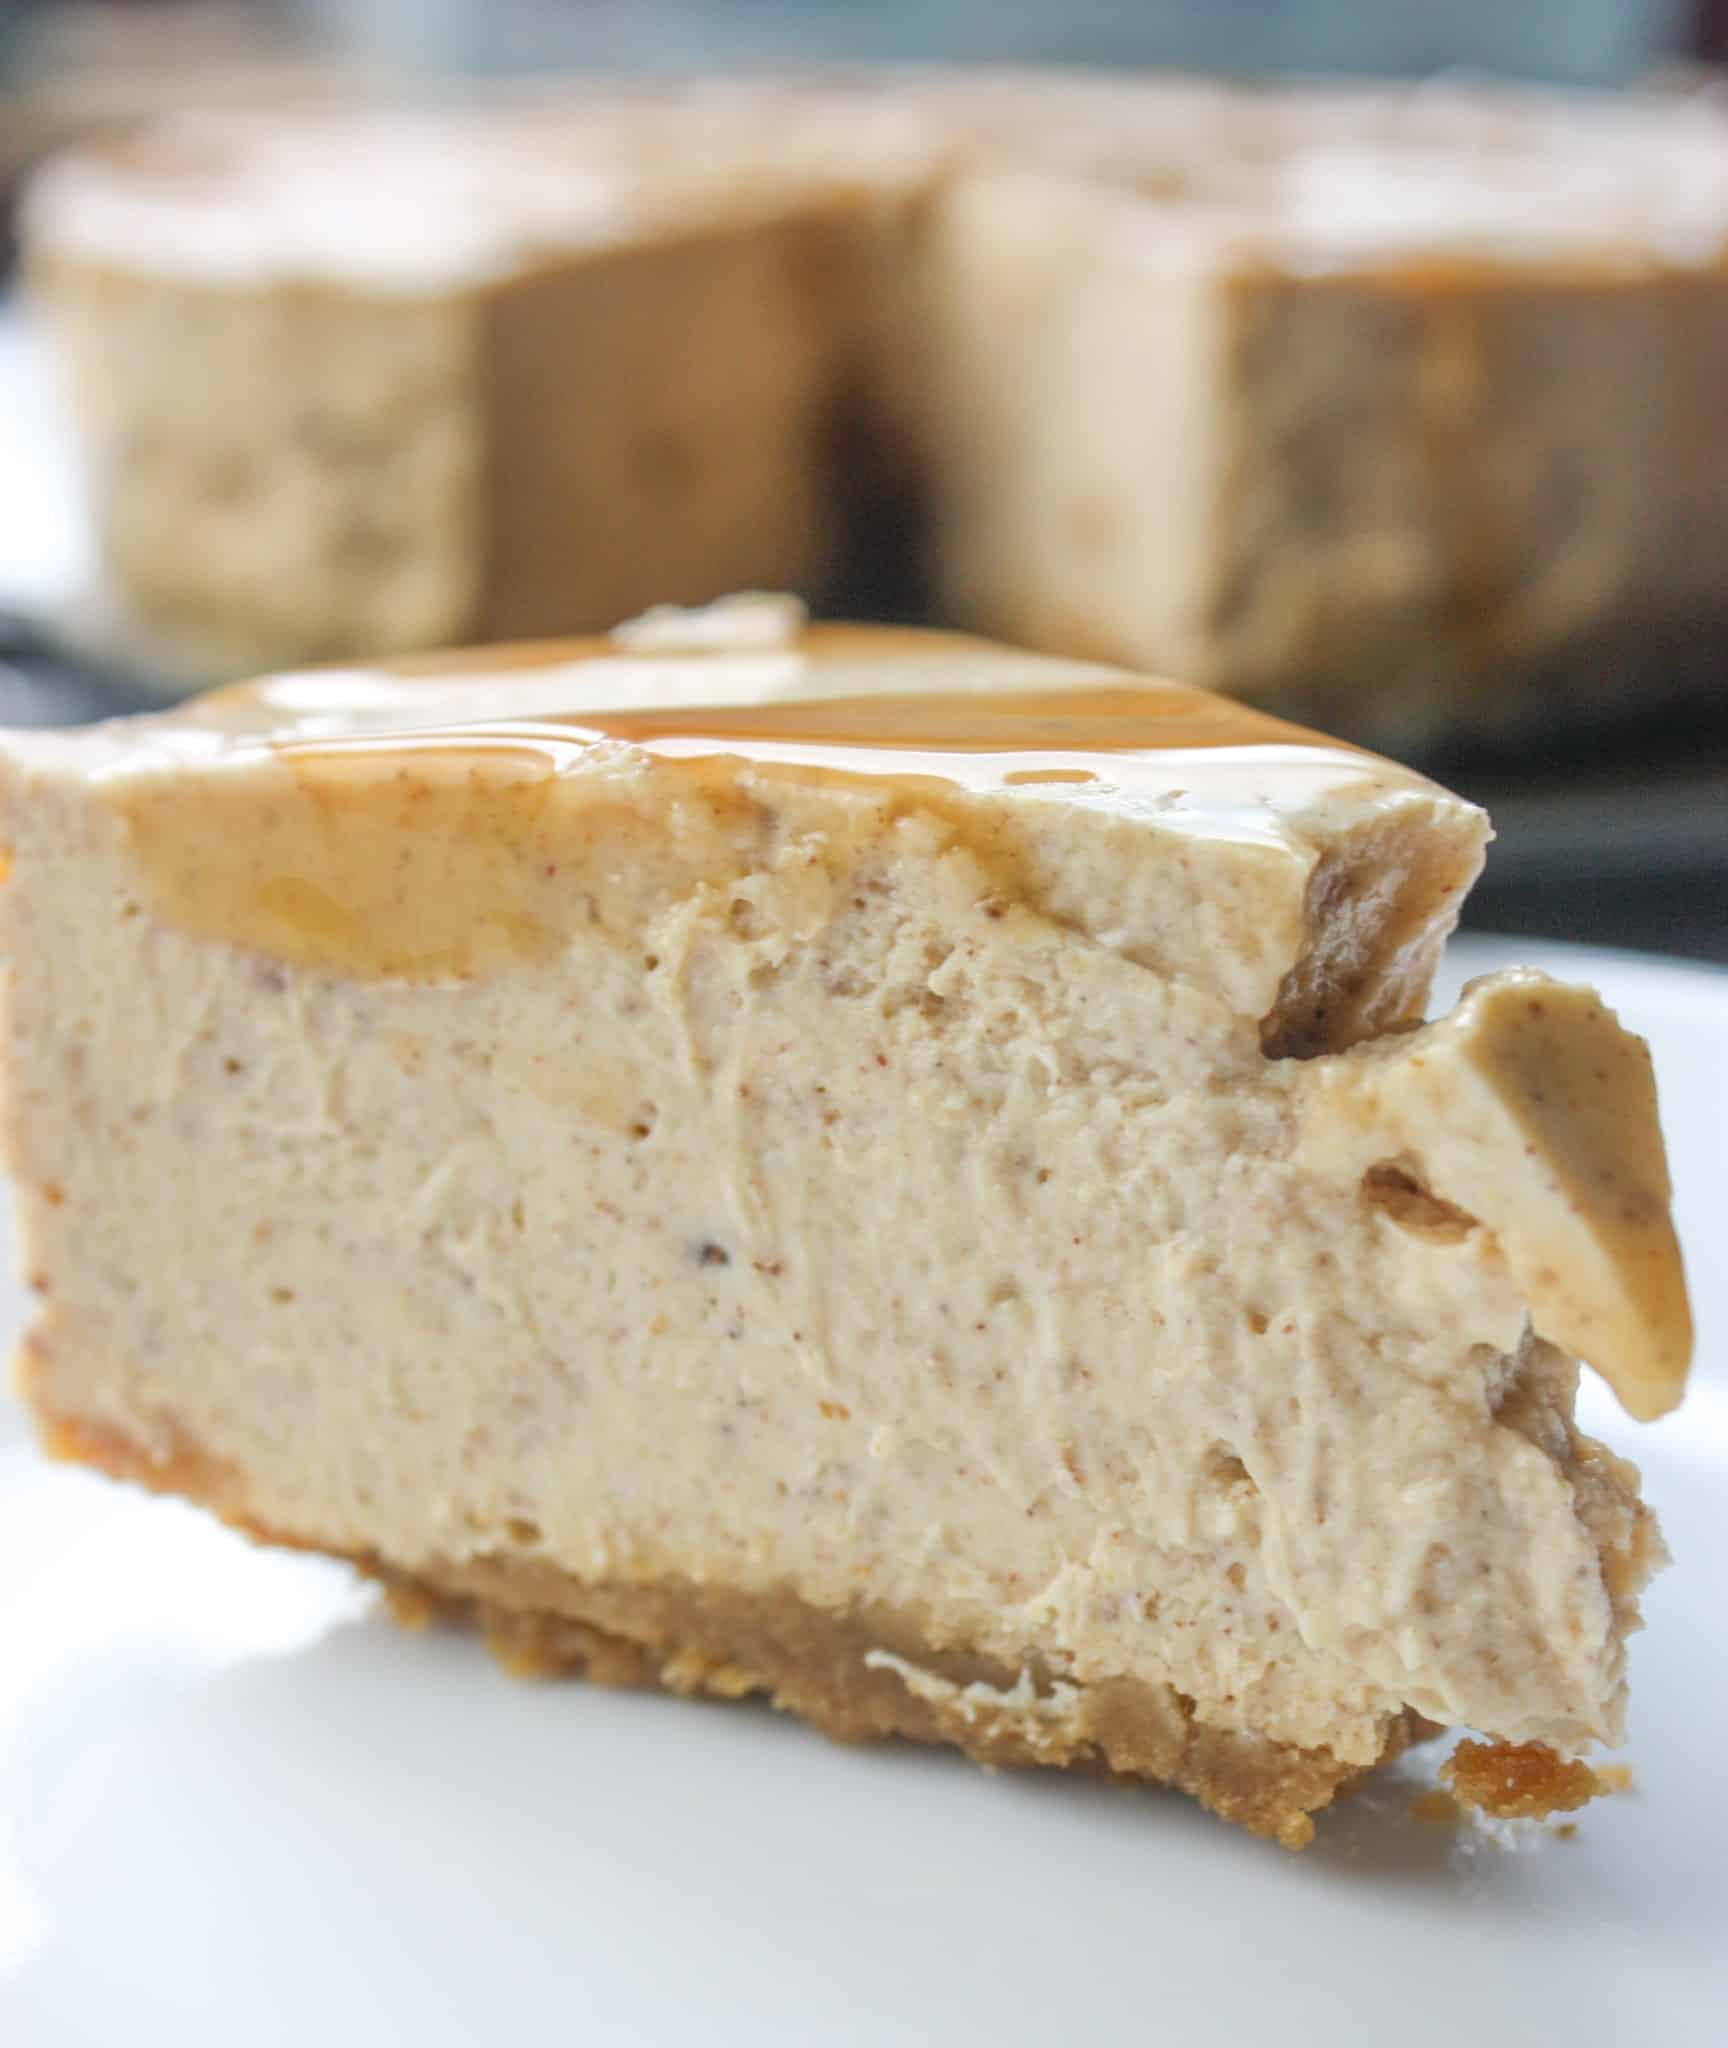
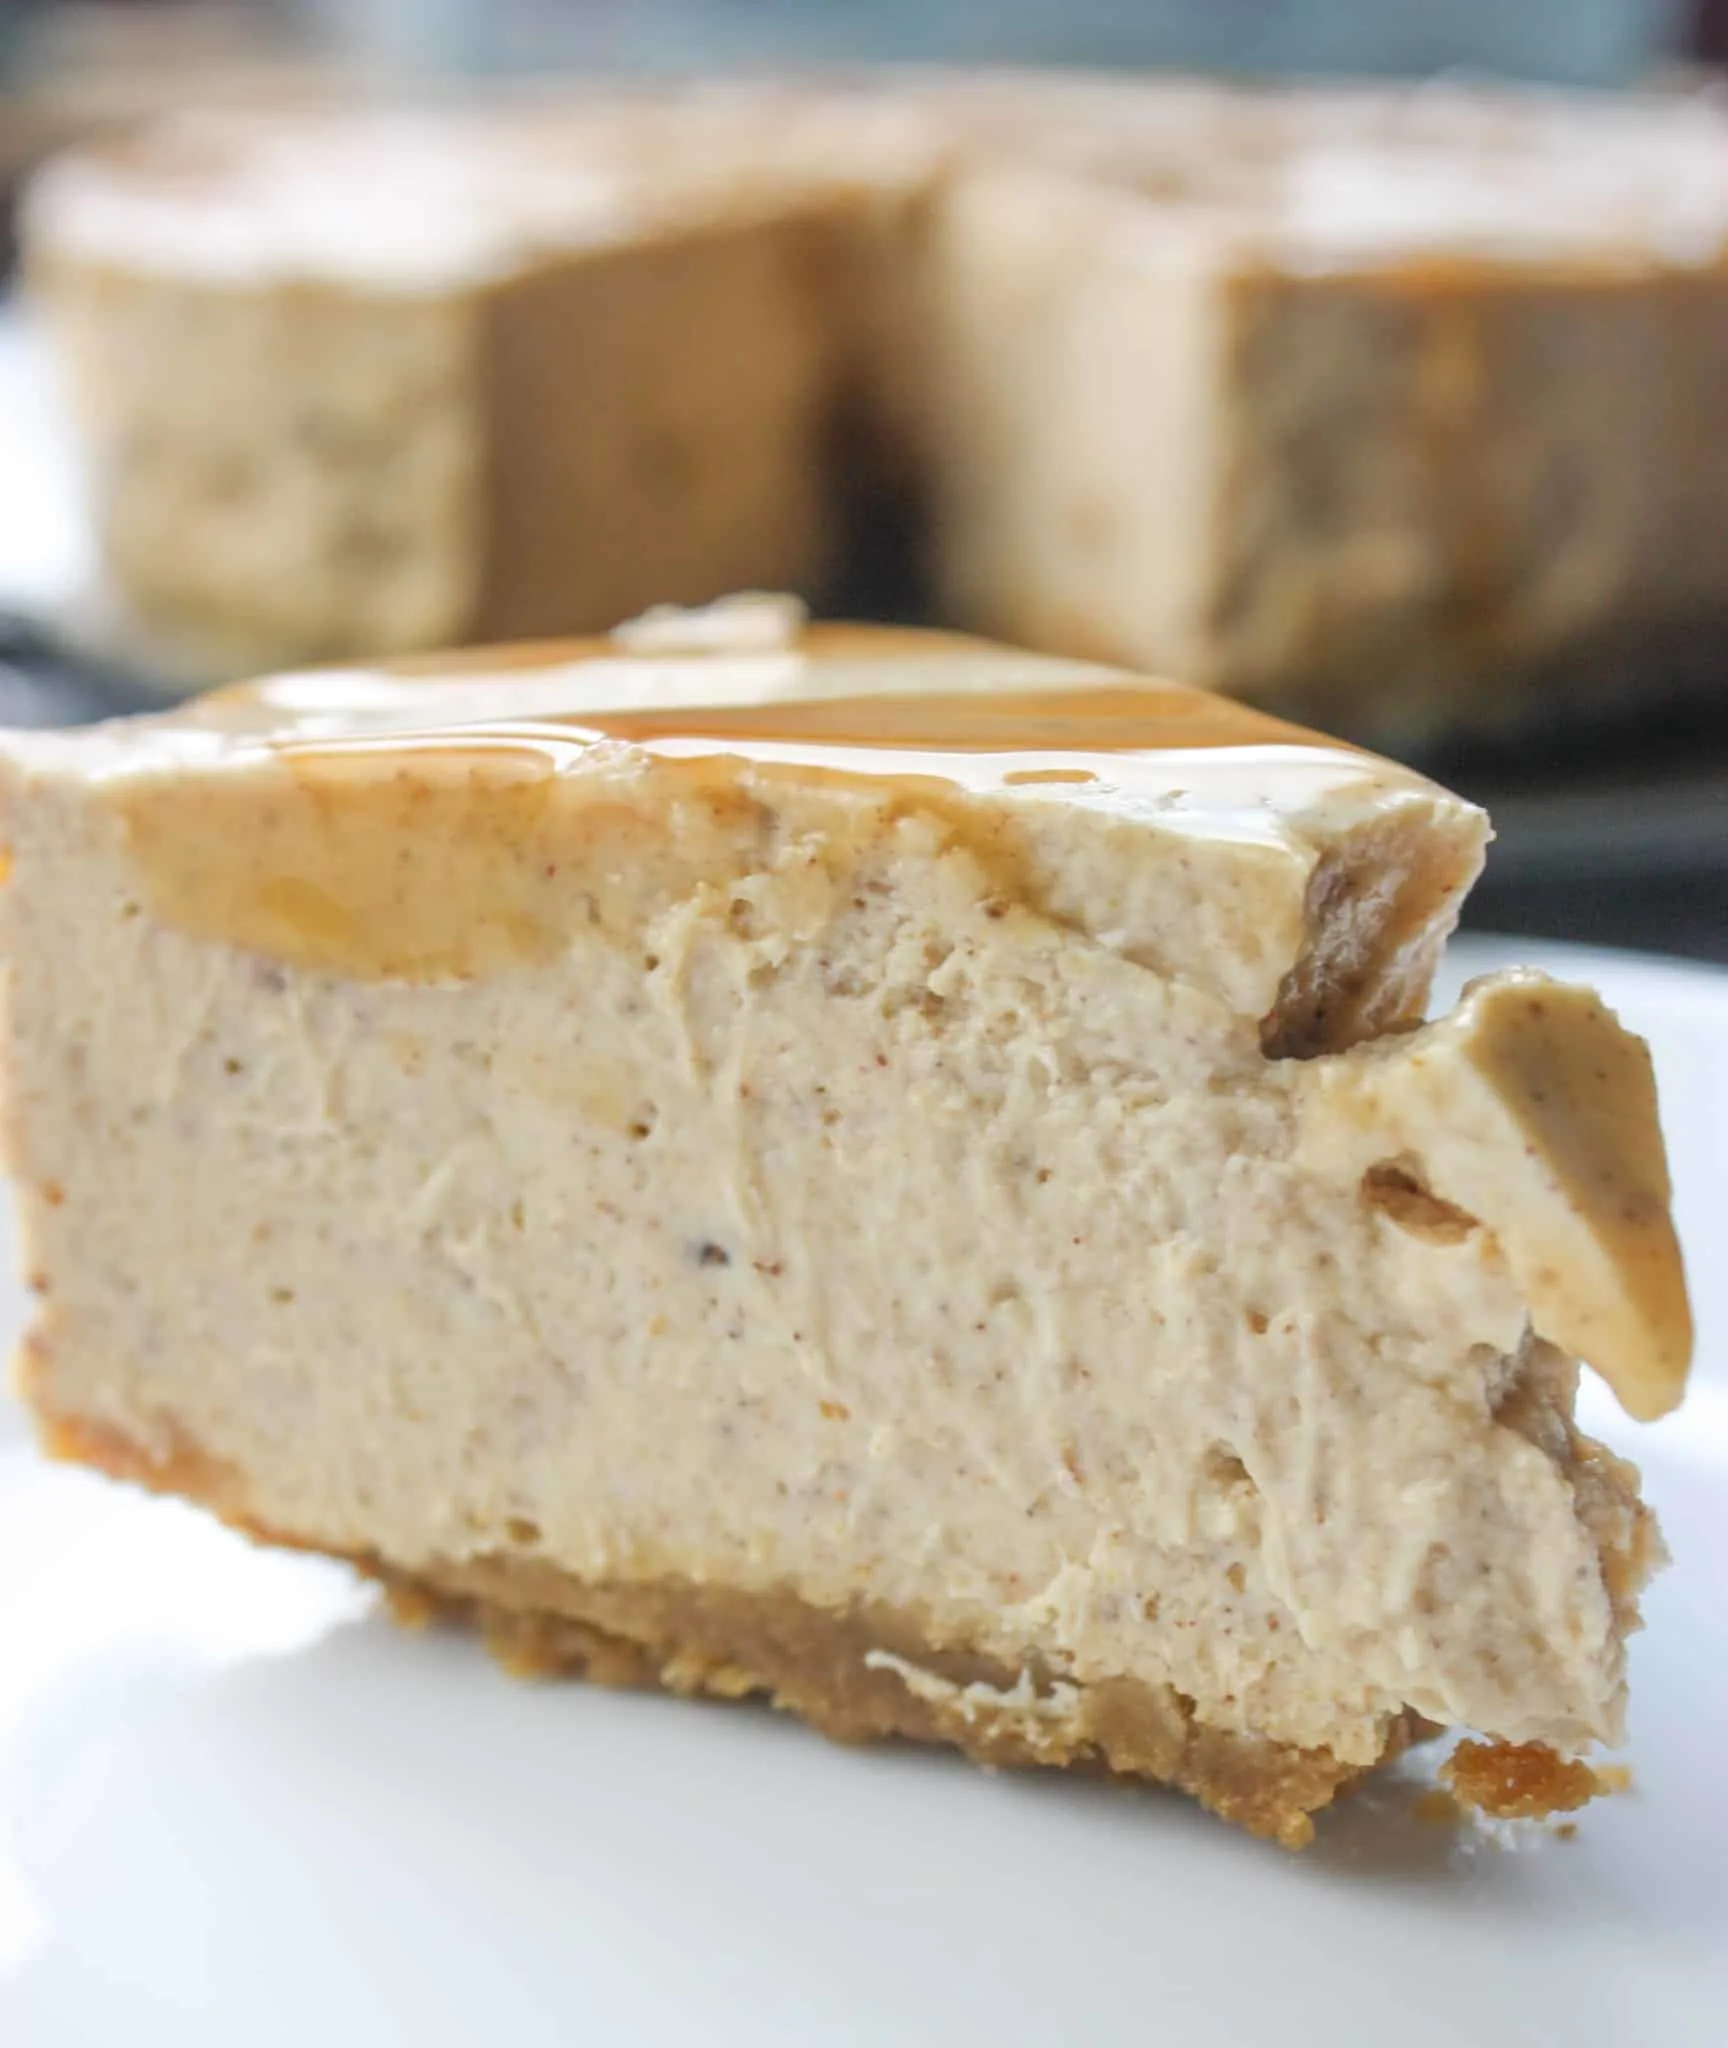
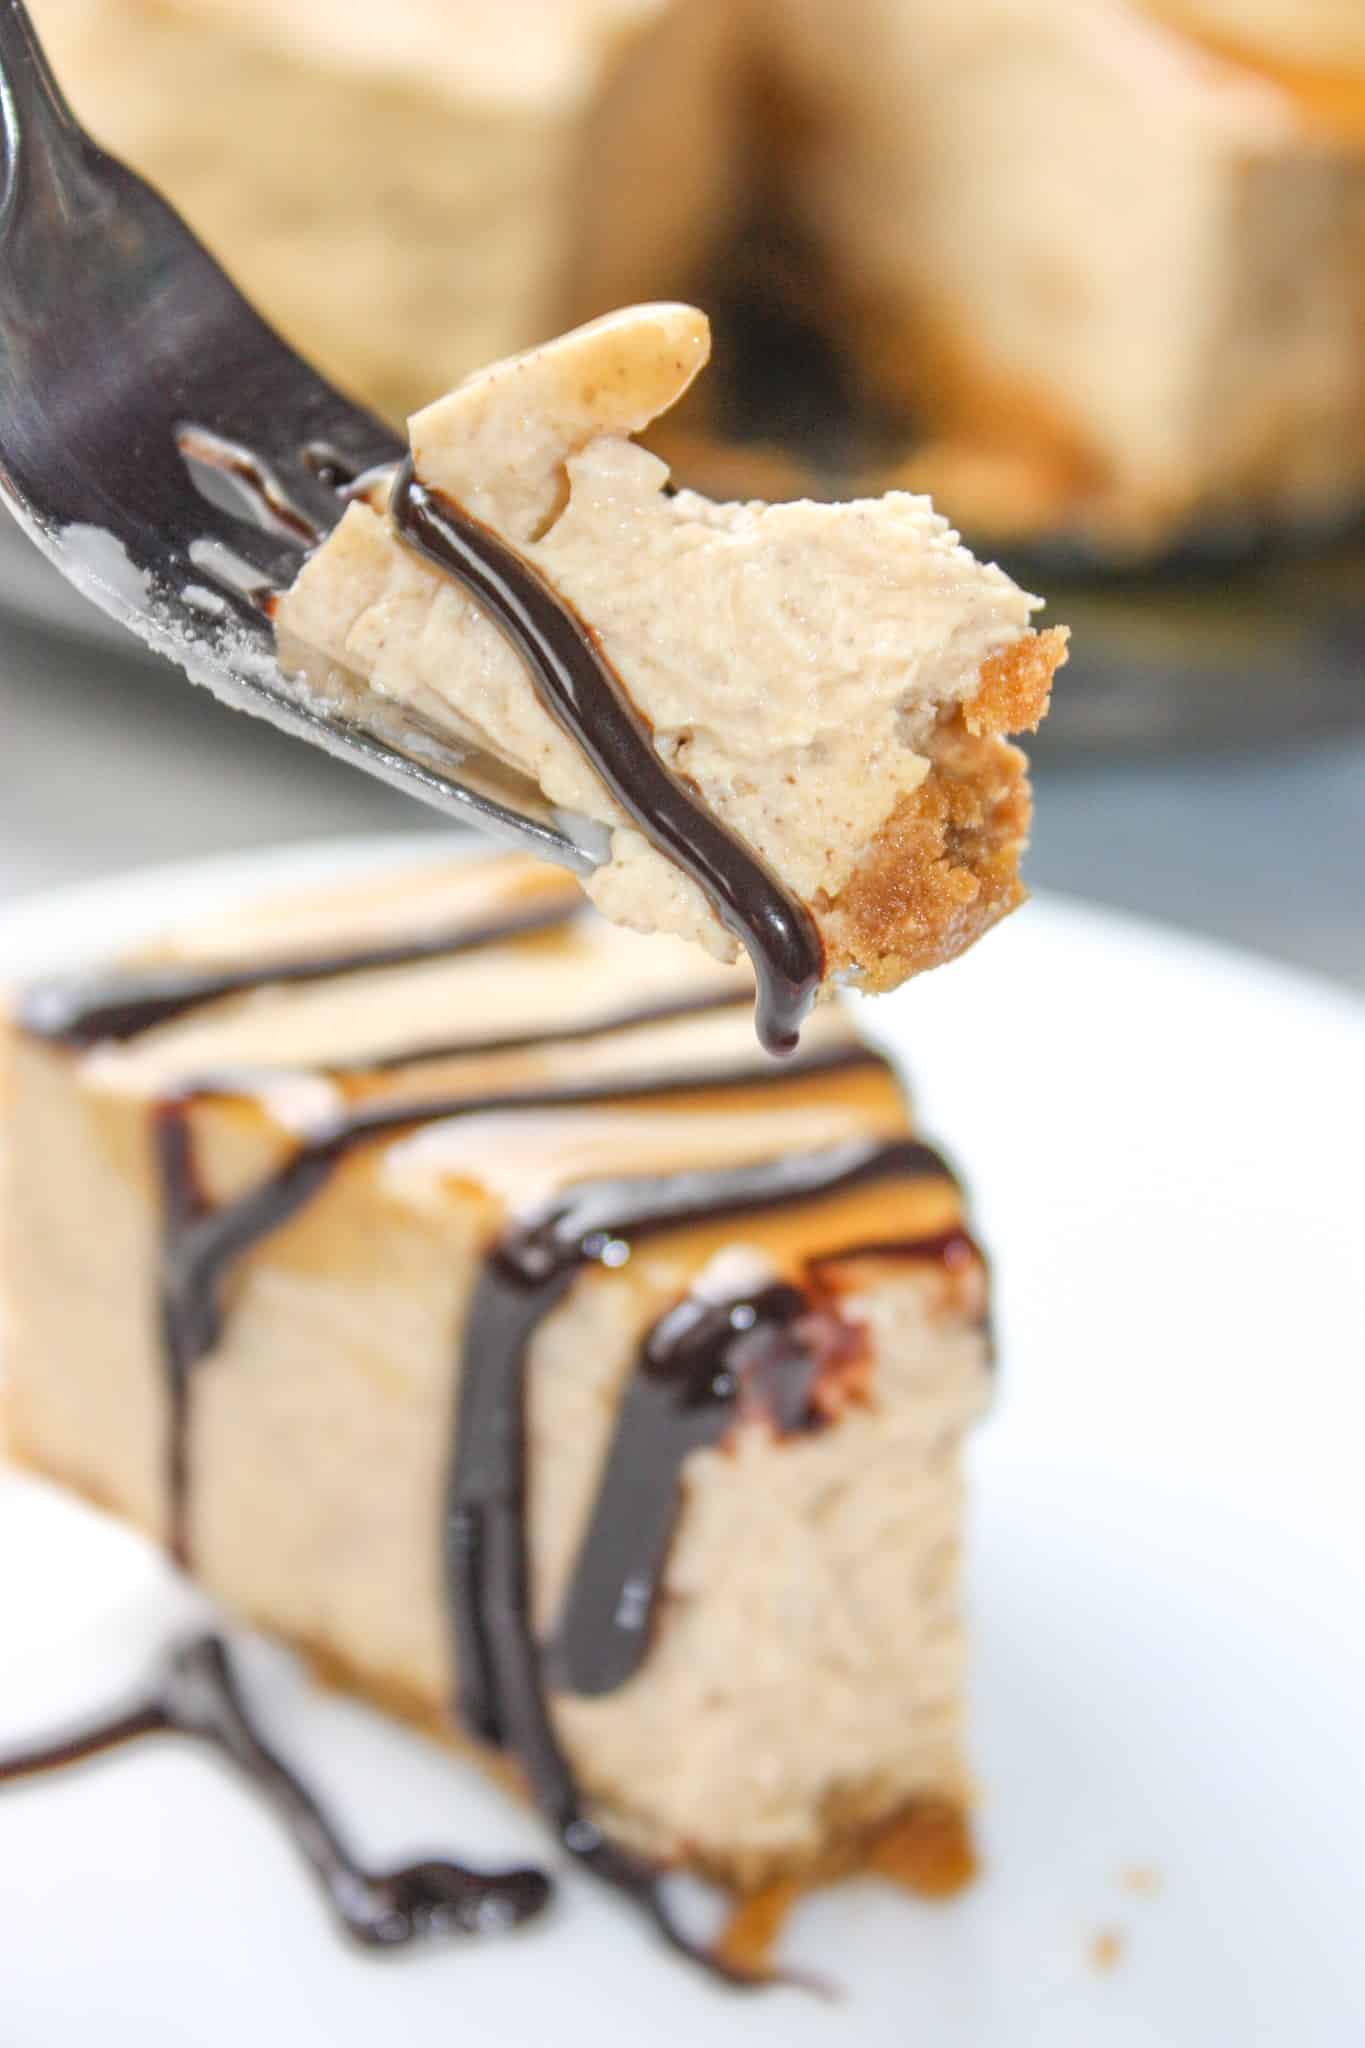
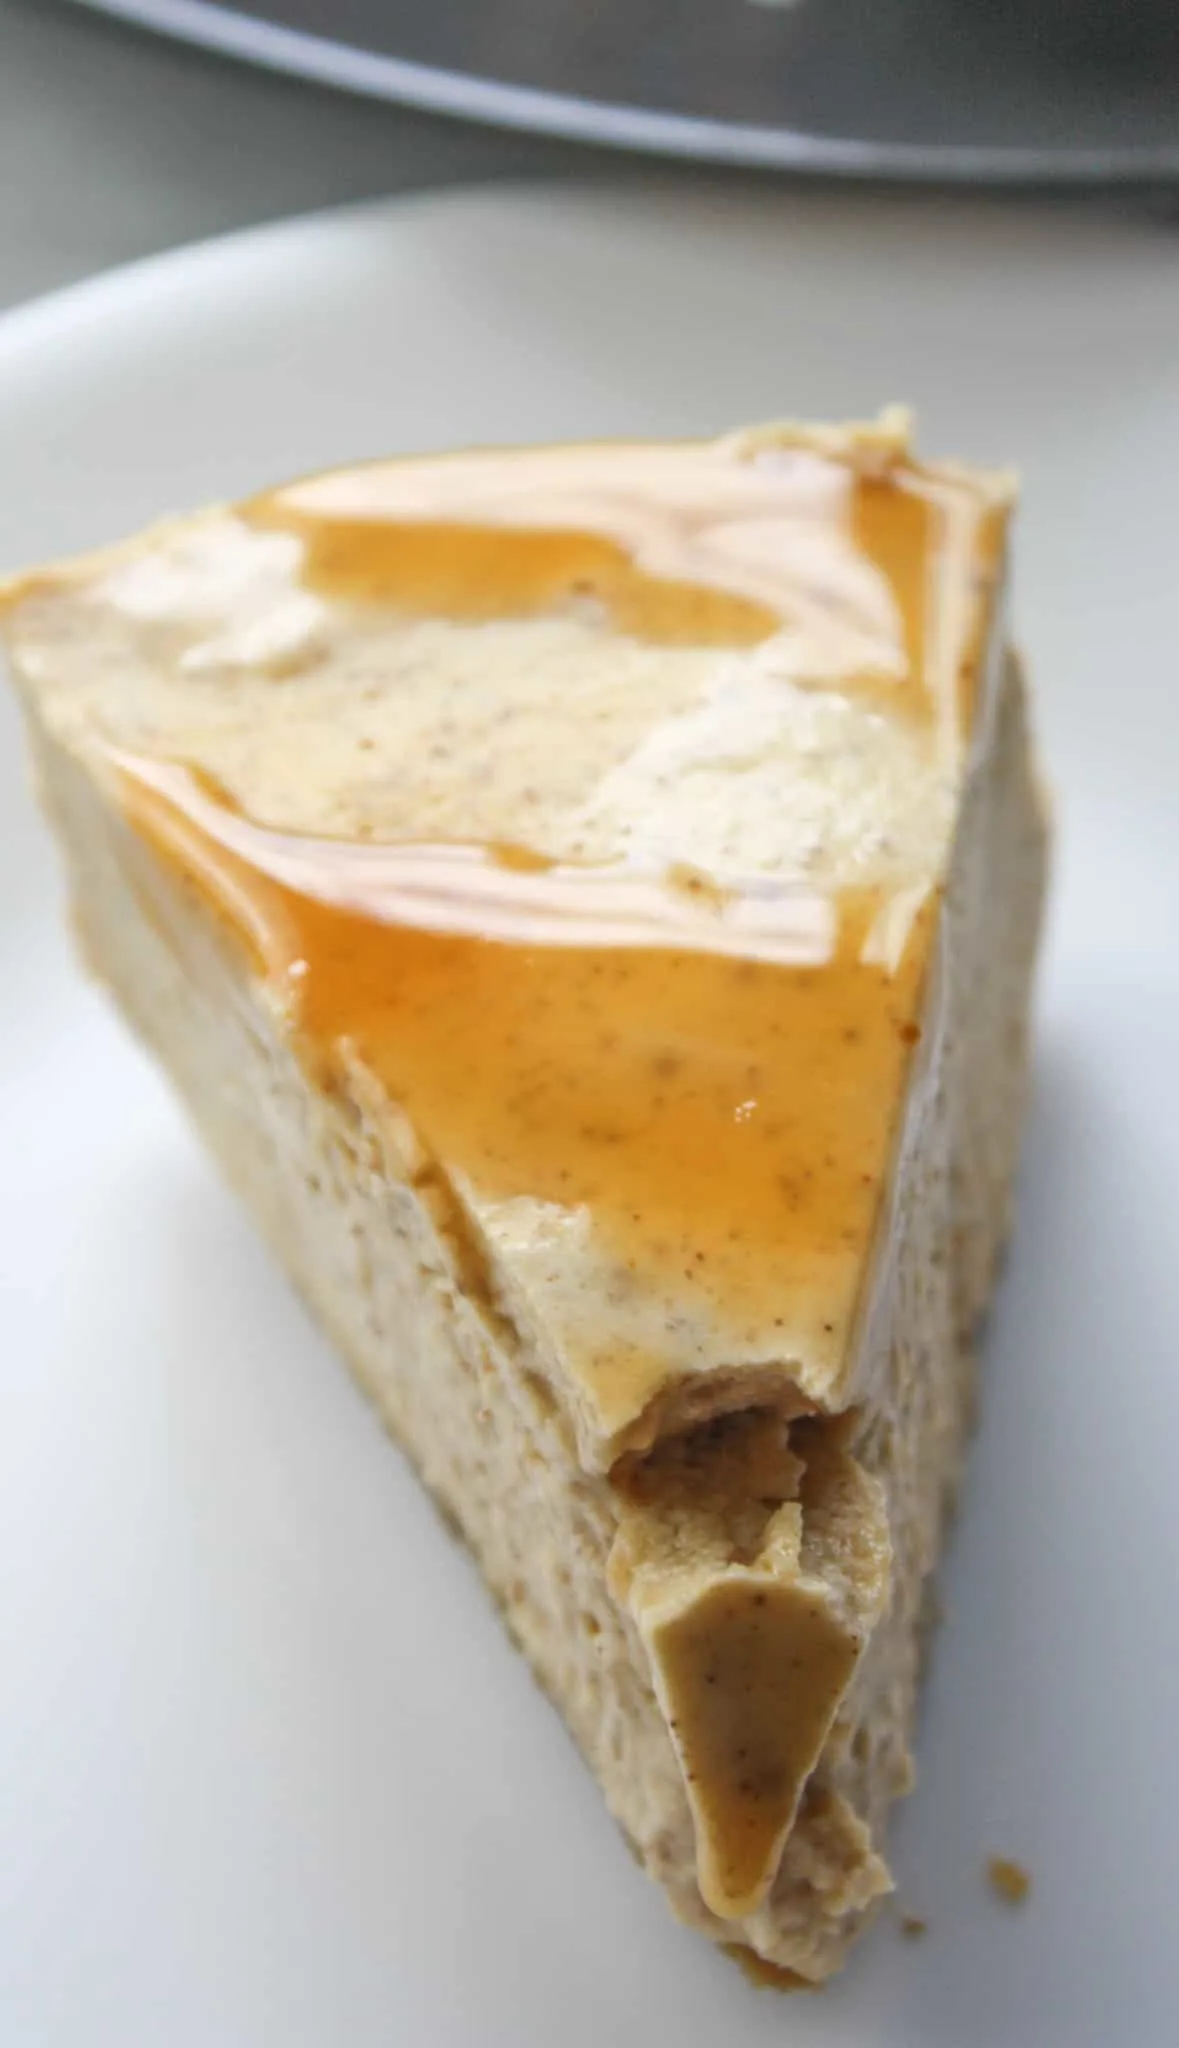
This Instant Pot Pumpkin Cheese Cake is so rich that you just need to cut it into small slices.

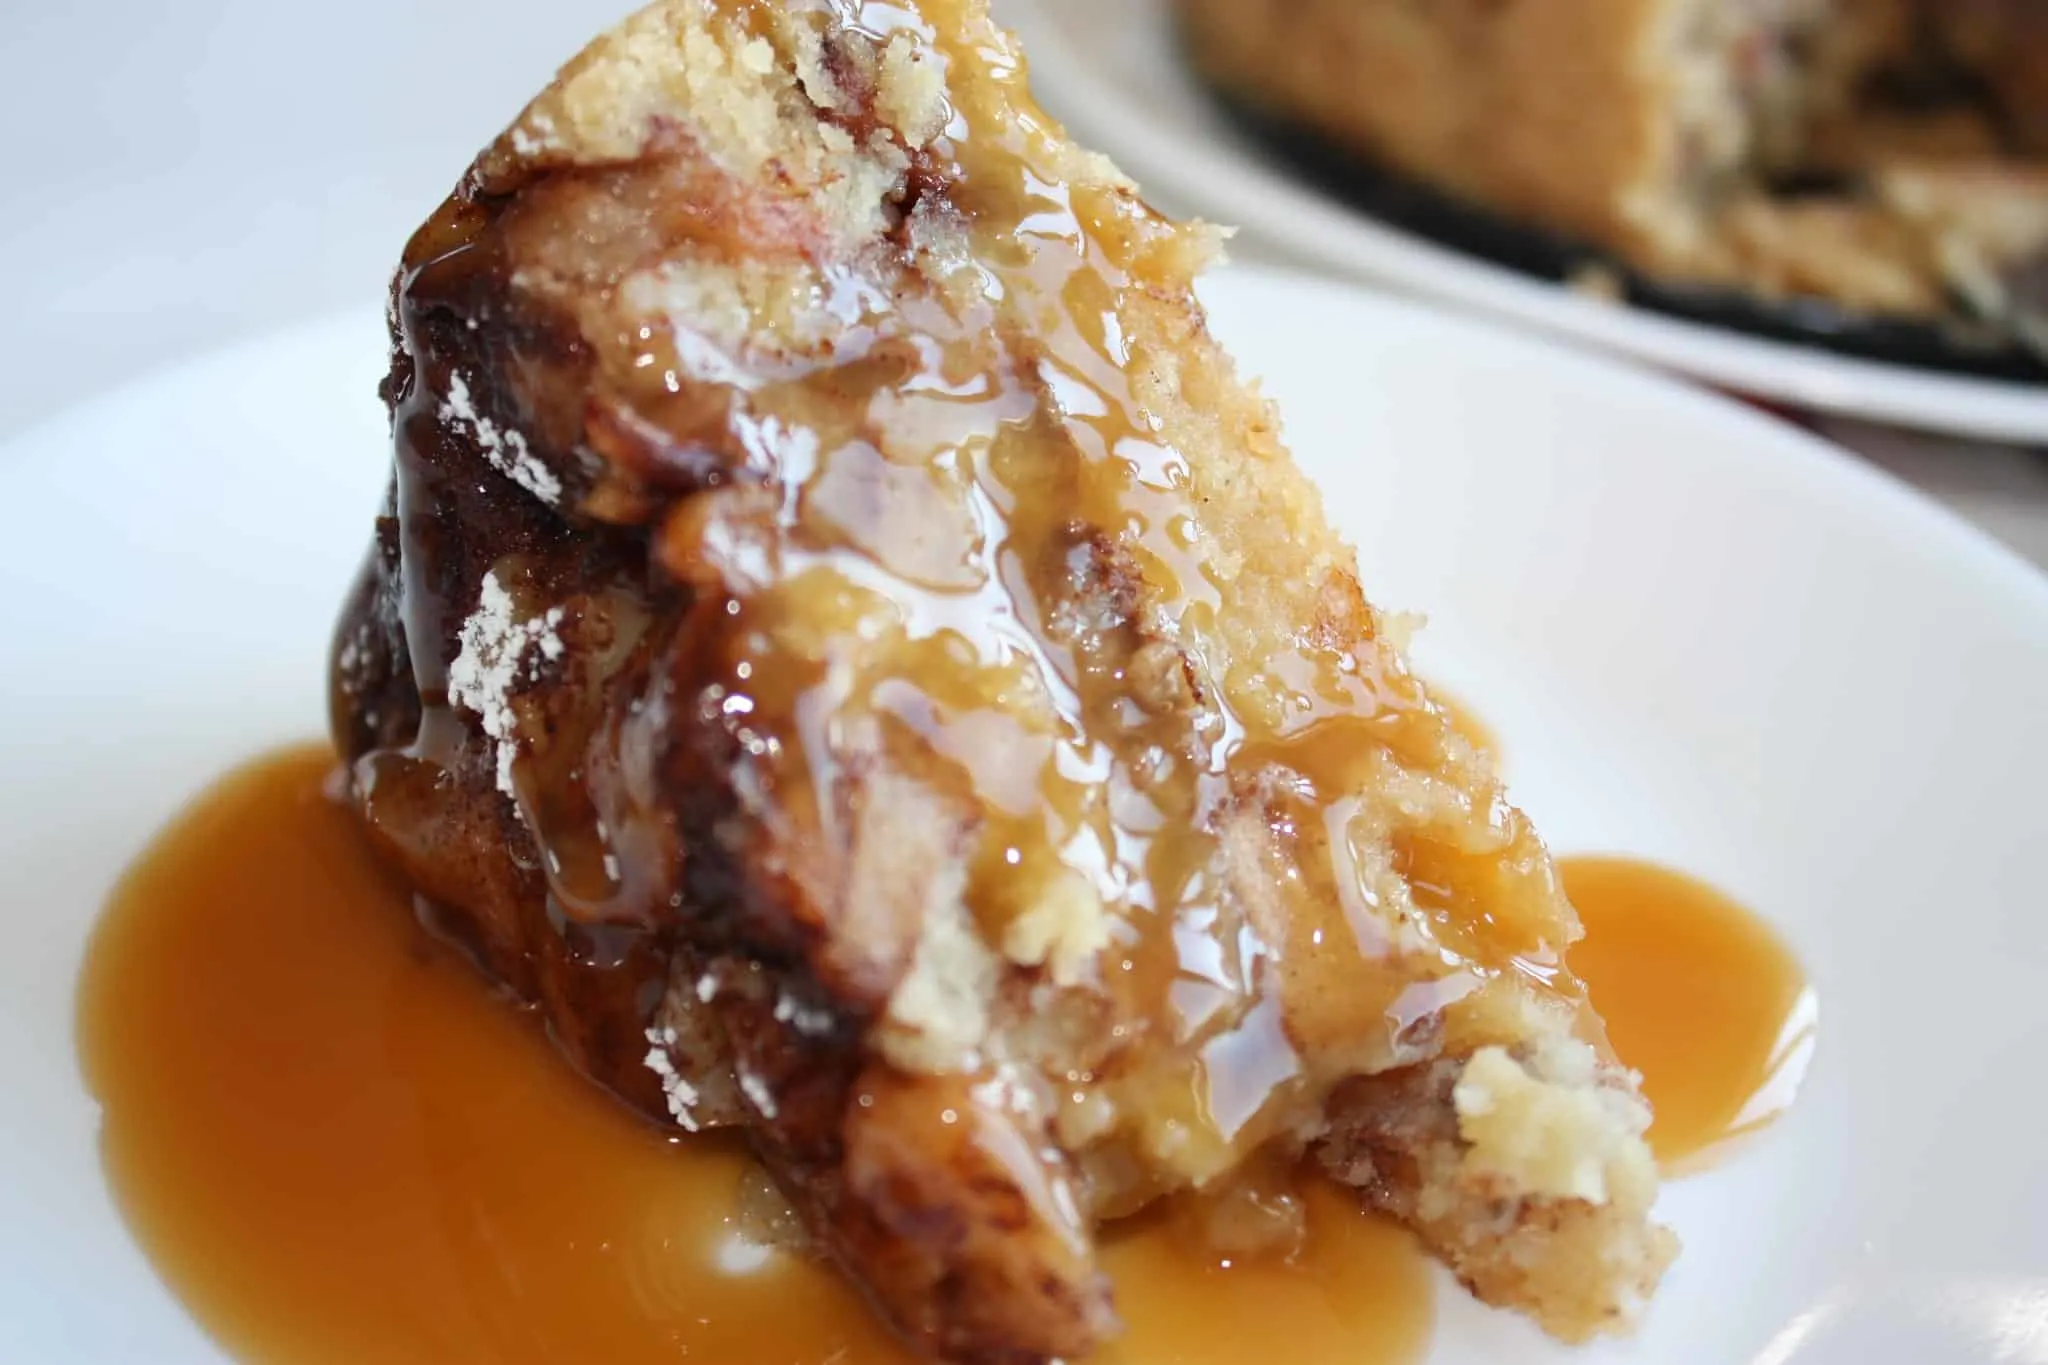
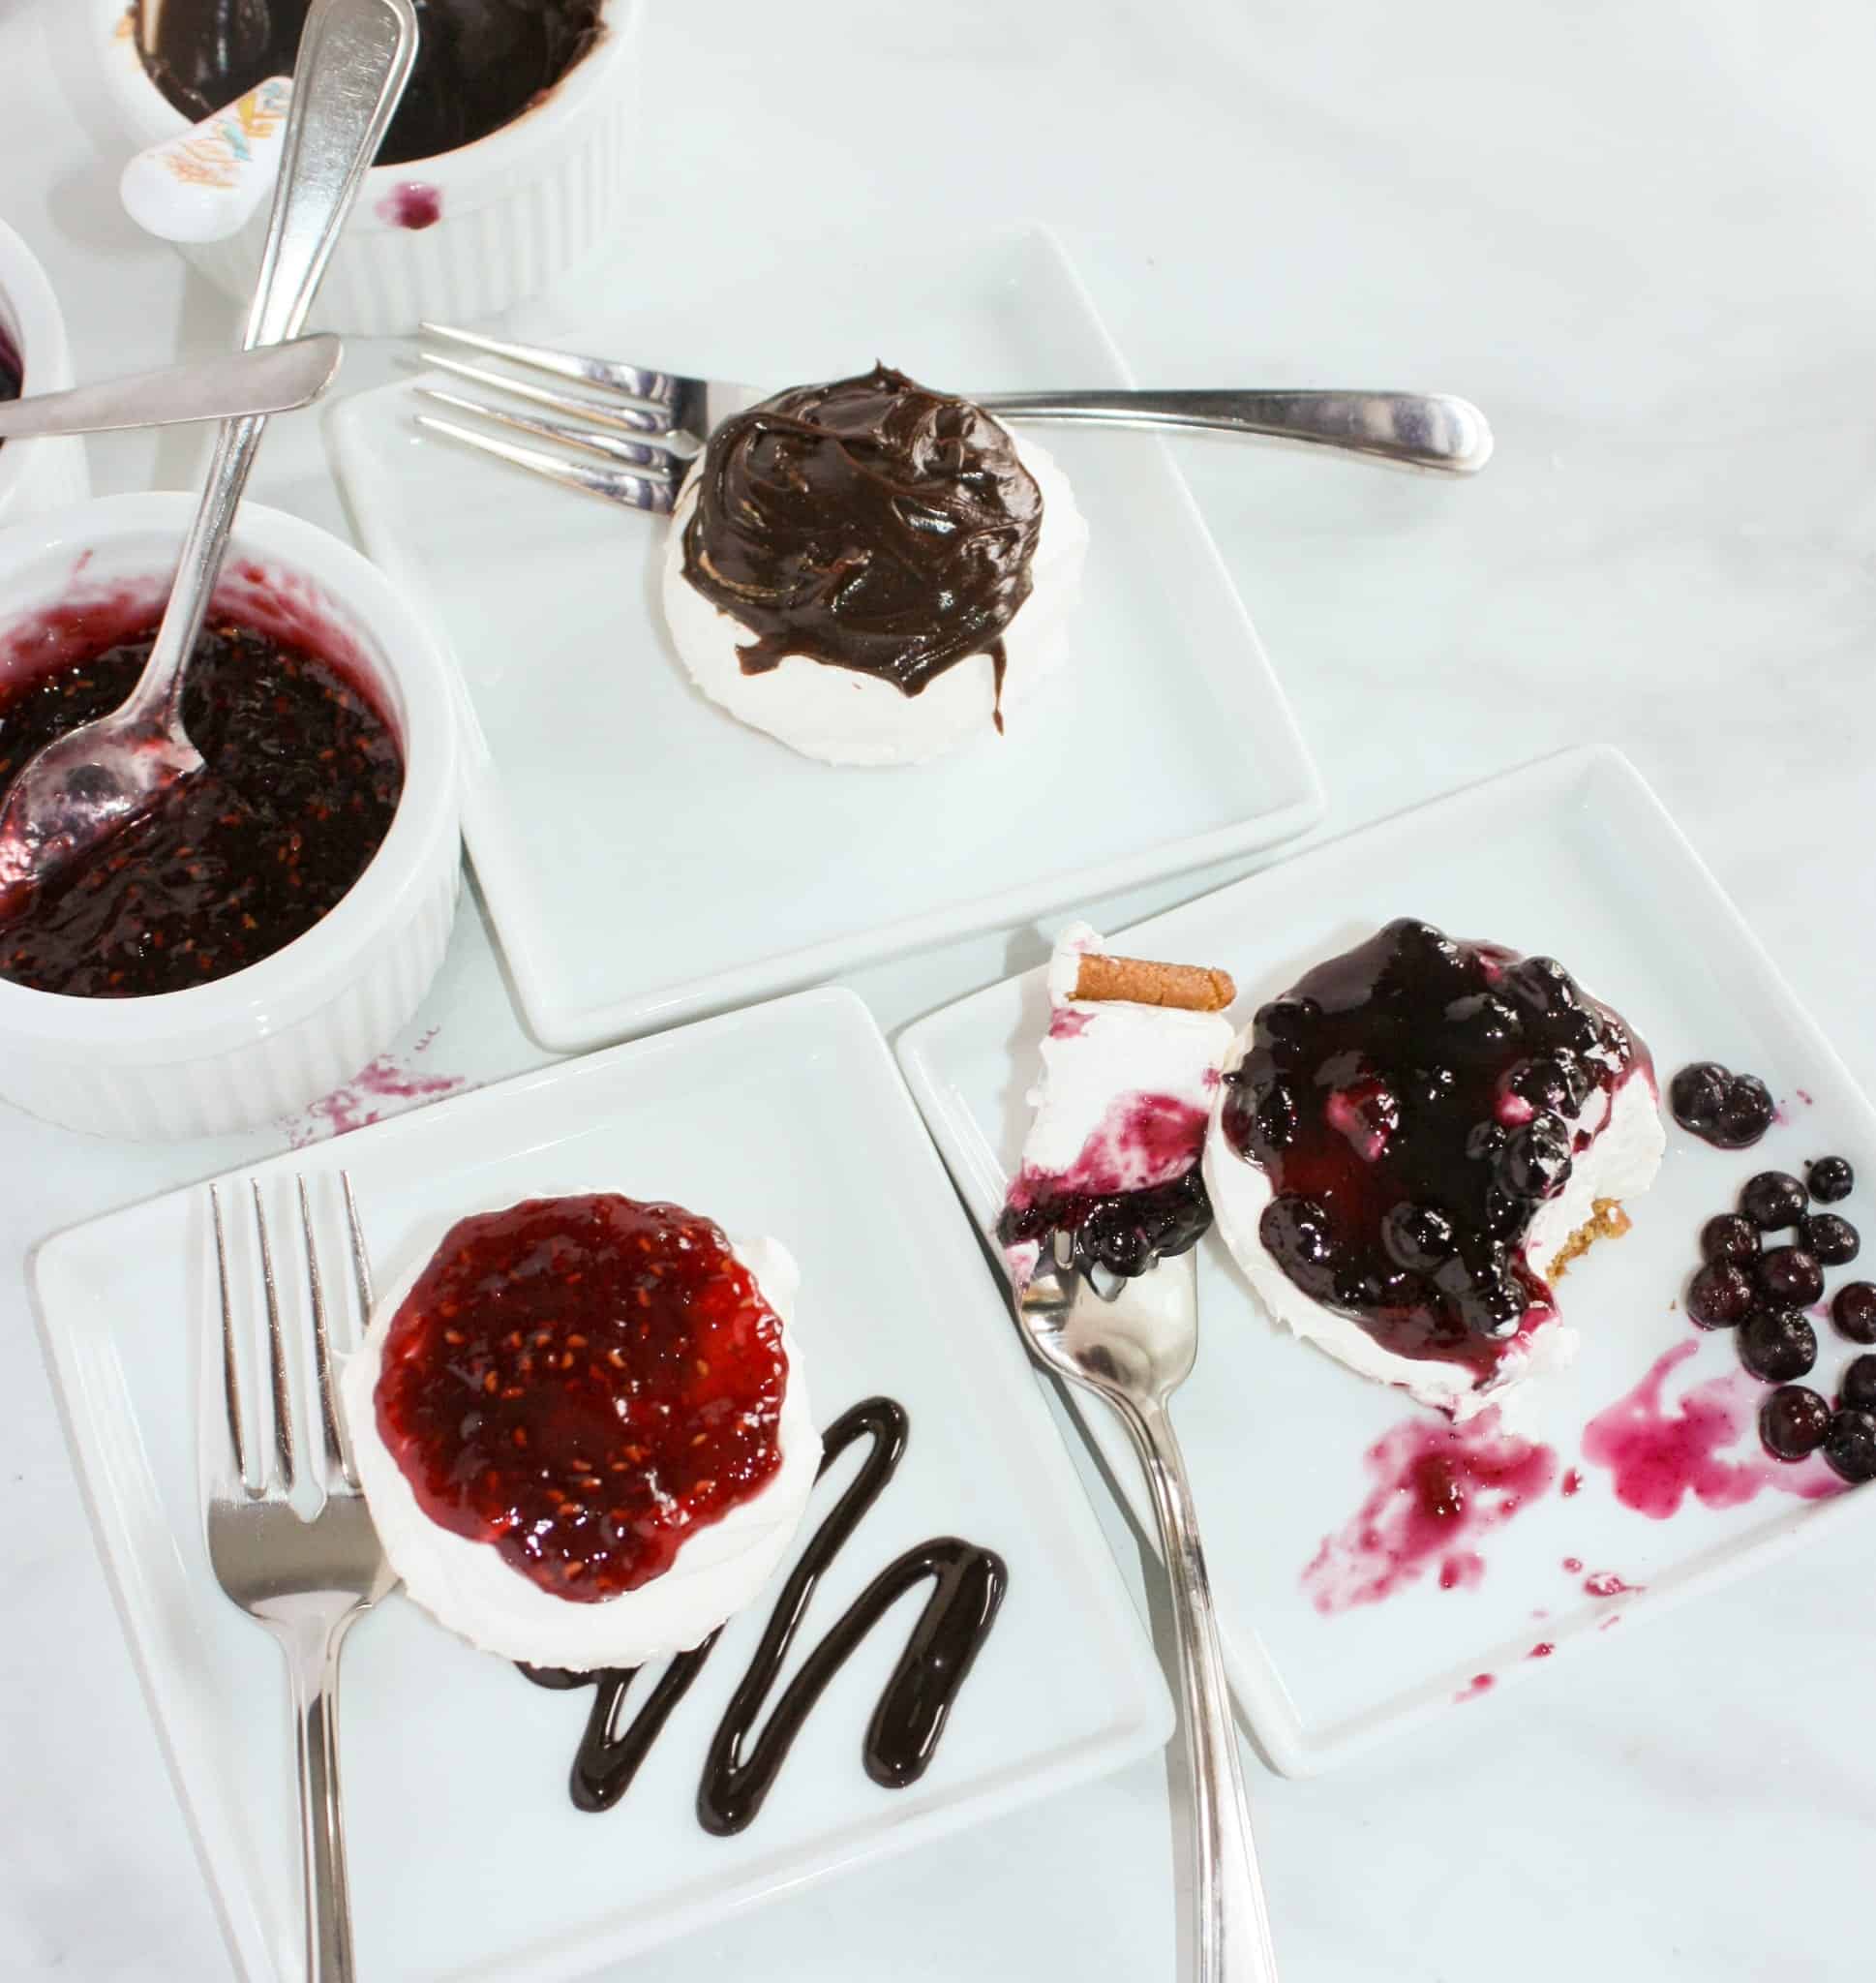
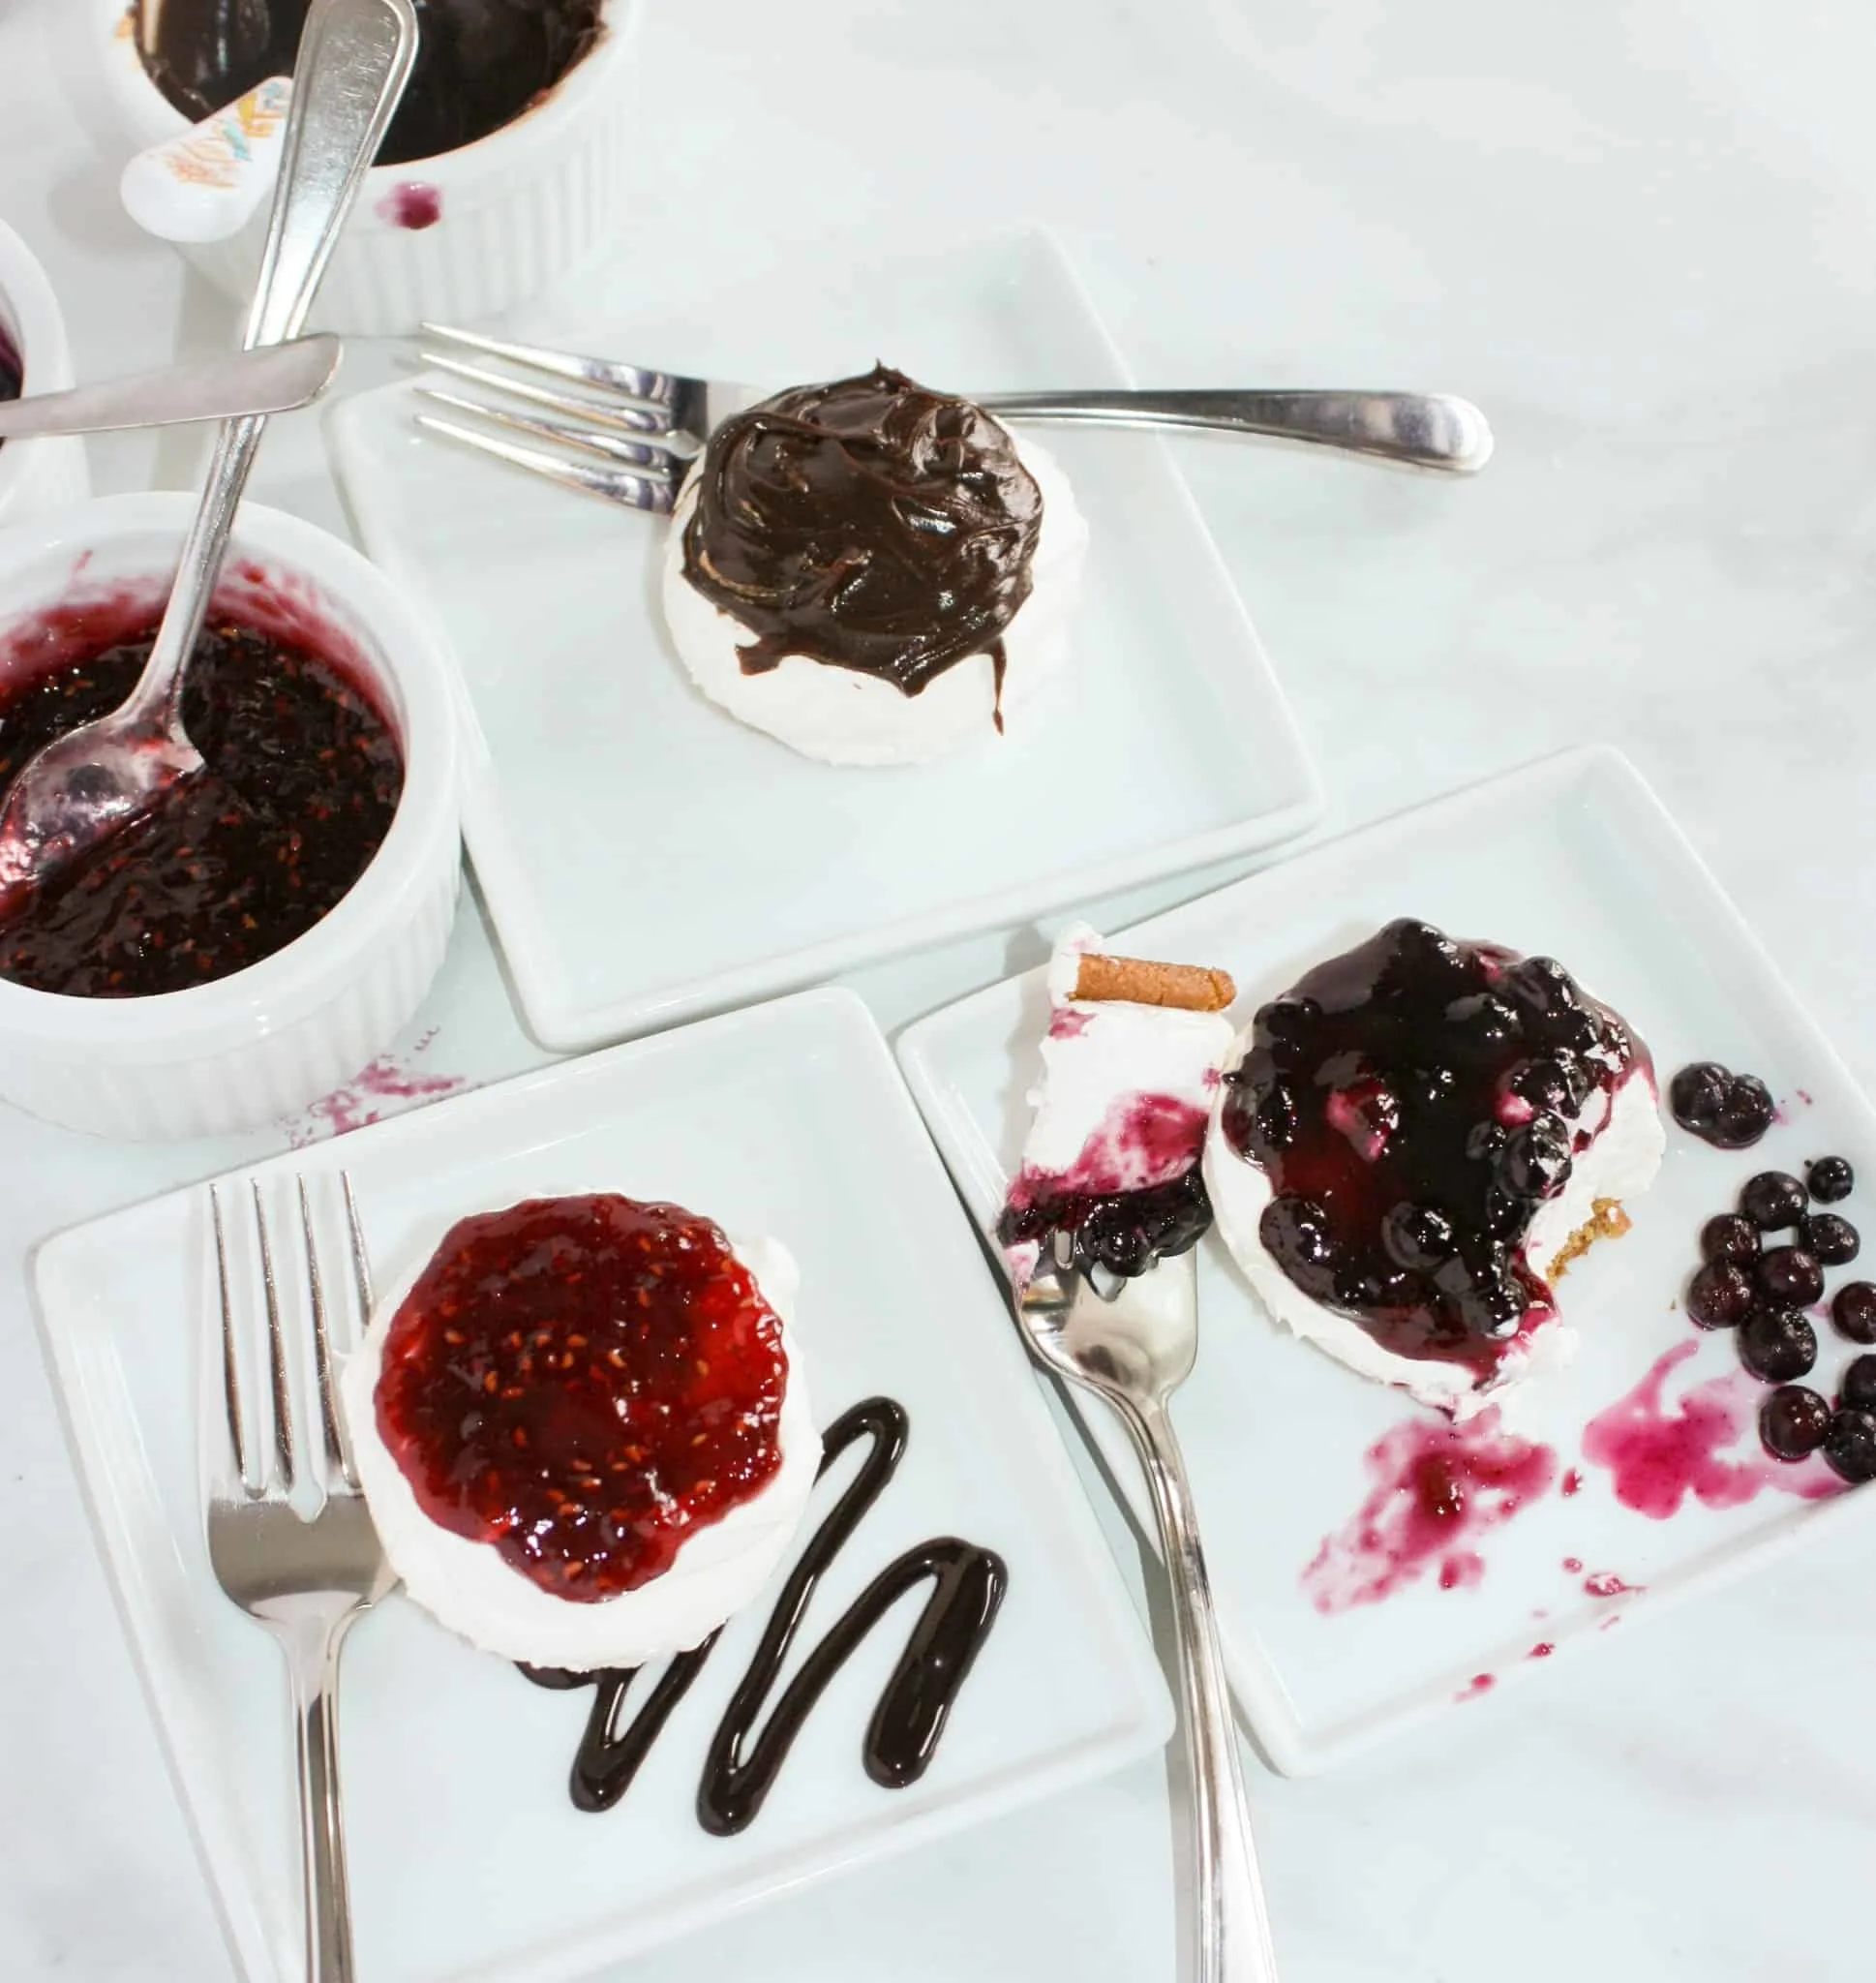
Another option for plating is to drizzle individual servings with chocolate sundae topping as well.

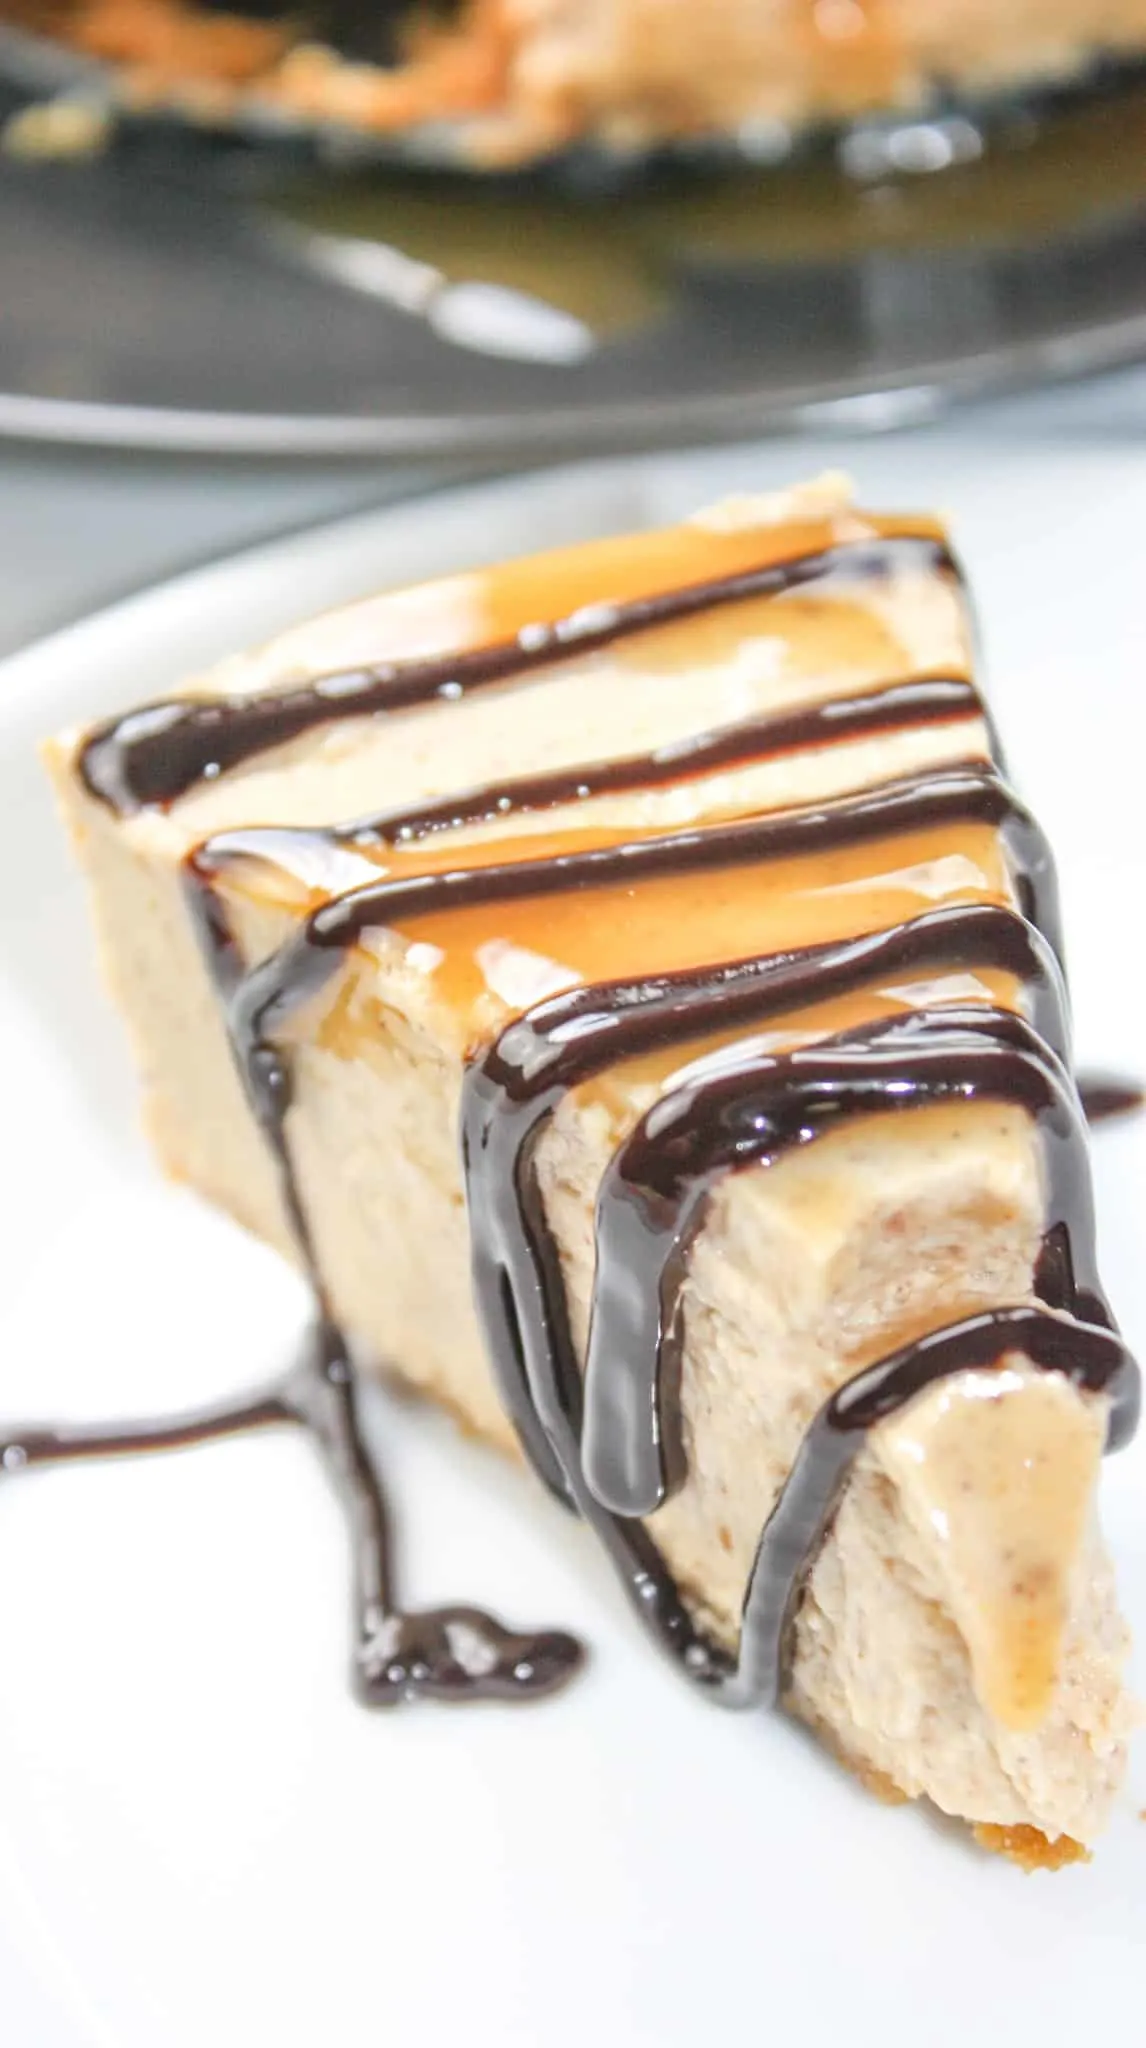
Savour each mouthful, with its wonderful blend of flavours and smooth creamy texture!

Printable Recipe Card with a Full List of Ingredients and Instructions is Located at the Bottom of the Post.
More Instant Pot Cake Recipes You Will Enjoy…


No Bake Cheesecakes…

A Sampling Of Other Pumpkin Recipes You Will Love…


PRINTABLE VERSION OF THE RECIPE CAN BE FOUND AT THE BOTTOM OF THE PAGE
Ingredients You’ll Need to Make this Instant Pot Pumpkin Cheesecake:
- 1 cup gluten free graham crumbs
- 1/4 cup margarine melted
- 16 oz dairy free cream cheese
- 1/2 cup granulated sugar
- 1/2 cup pure pumpkin puree
- 2 tsp vanilla extract
- 2 tbsp corn starch
- 1 tsp ground cinnamon
- 1/2 tsp ground ginger
- 1/4 tsp cloves
- 1/4 tsp nutmeg
- 2 eggs, large
- 2 cups water for Pot
How to Make Instant Pot Pumpkin Cheesecake:
- Grease a 7″ spring form pan.
- Dump graham crumbs into a small mixing bowl.
- Pour the melted margarine into the crumbs and stir to combine well.
- Press into the prepared springform pan and set in freezer while you prepare the filling.
- For filling dump the cream cheese and granulated sugar into a mixing bowl and use an electric hand mixer to beat until smooth.
- Add in the pure pumpkin puree, vanilla extract, corn starch, cinnamon, ginger, cloves and nutmeg. Stir with a wooden spoon or spatula until just combined.
- Add in the eggs, one at a time. Stirring until just combined.
- Remove the graham crust from the freezer and set it on a piece of tinfoil. Scrape the cheese filling into the pan.
- Cover the pan with a piece of paper towel and then tinfoil. Seal bottom and top tinfoil around pan to prevent moisture from entering.
- Pour the water into the Instant Pot. Place the pan on the trivet and lower it into the Pot.
- Place the lid on the Instant Pot, turn the steam release handle to the sealing position and set the Instant Pot to Pressure Cook High for 28 minutes.
- Once the Instant Pot is done cooking, allow it to do a Natural Release for 10 minutes before turning the steam release handle to the venting position.
- Remove the lid, lift out the trivet with the pan and immediately remove top foil and paper towel.
- Allow to cool for a bit before covering with plastic wrap and chilling for at least 6 to 8 hours.
- Before slicing drizzle whole cake with caramel sundae topping.
- If desired drizzle each serving with chocolate sundae topping as well.
- Enjoy!
FAQS:
What should I serve with gluten free, dairy free pumpkin cheesecake?
When serving gluten-free and dairy-free pumpkin cheesecake, you’ll want to consider complementary flavors and textures. Here are some ideas for side dishes or accompaniments:
- Dairy-Free Whipped Cream: You can make dairy-free whipped cream using coconut cream or almond milk, sweetened with a touch of maple syrup or powdered sugar. It adds a creamy element to contrast the cheesecake’s richness.
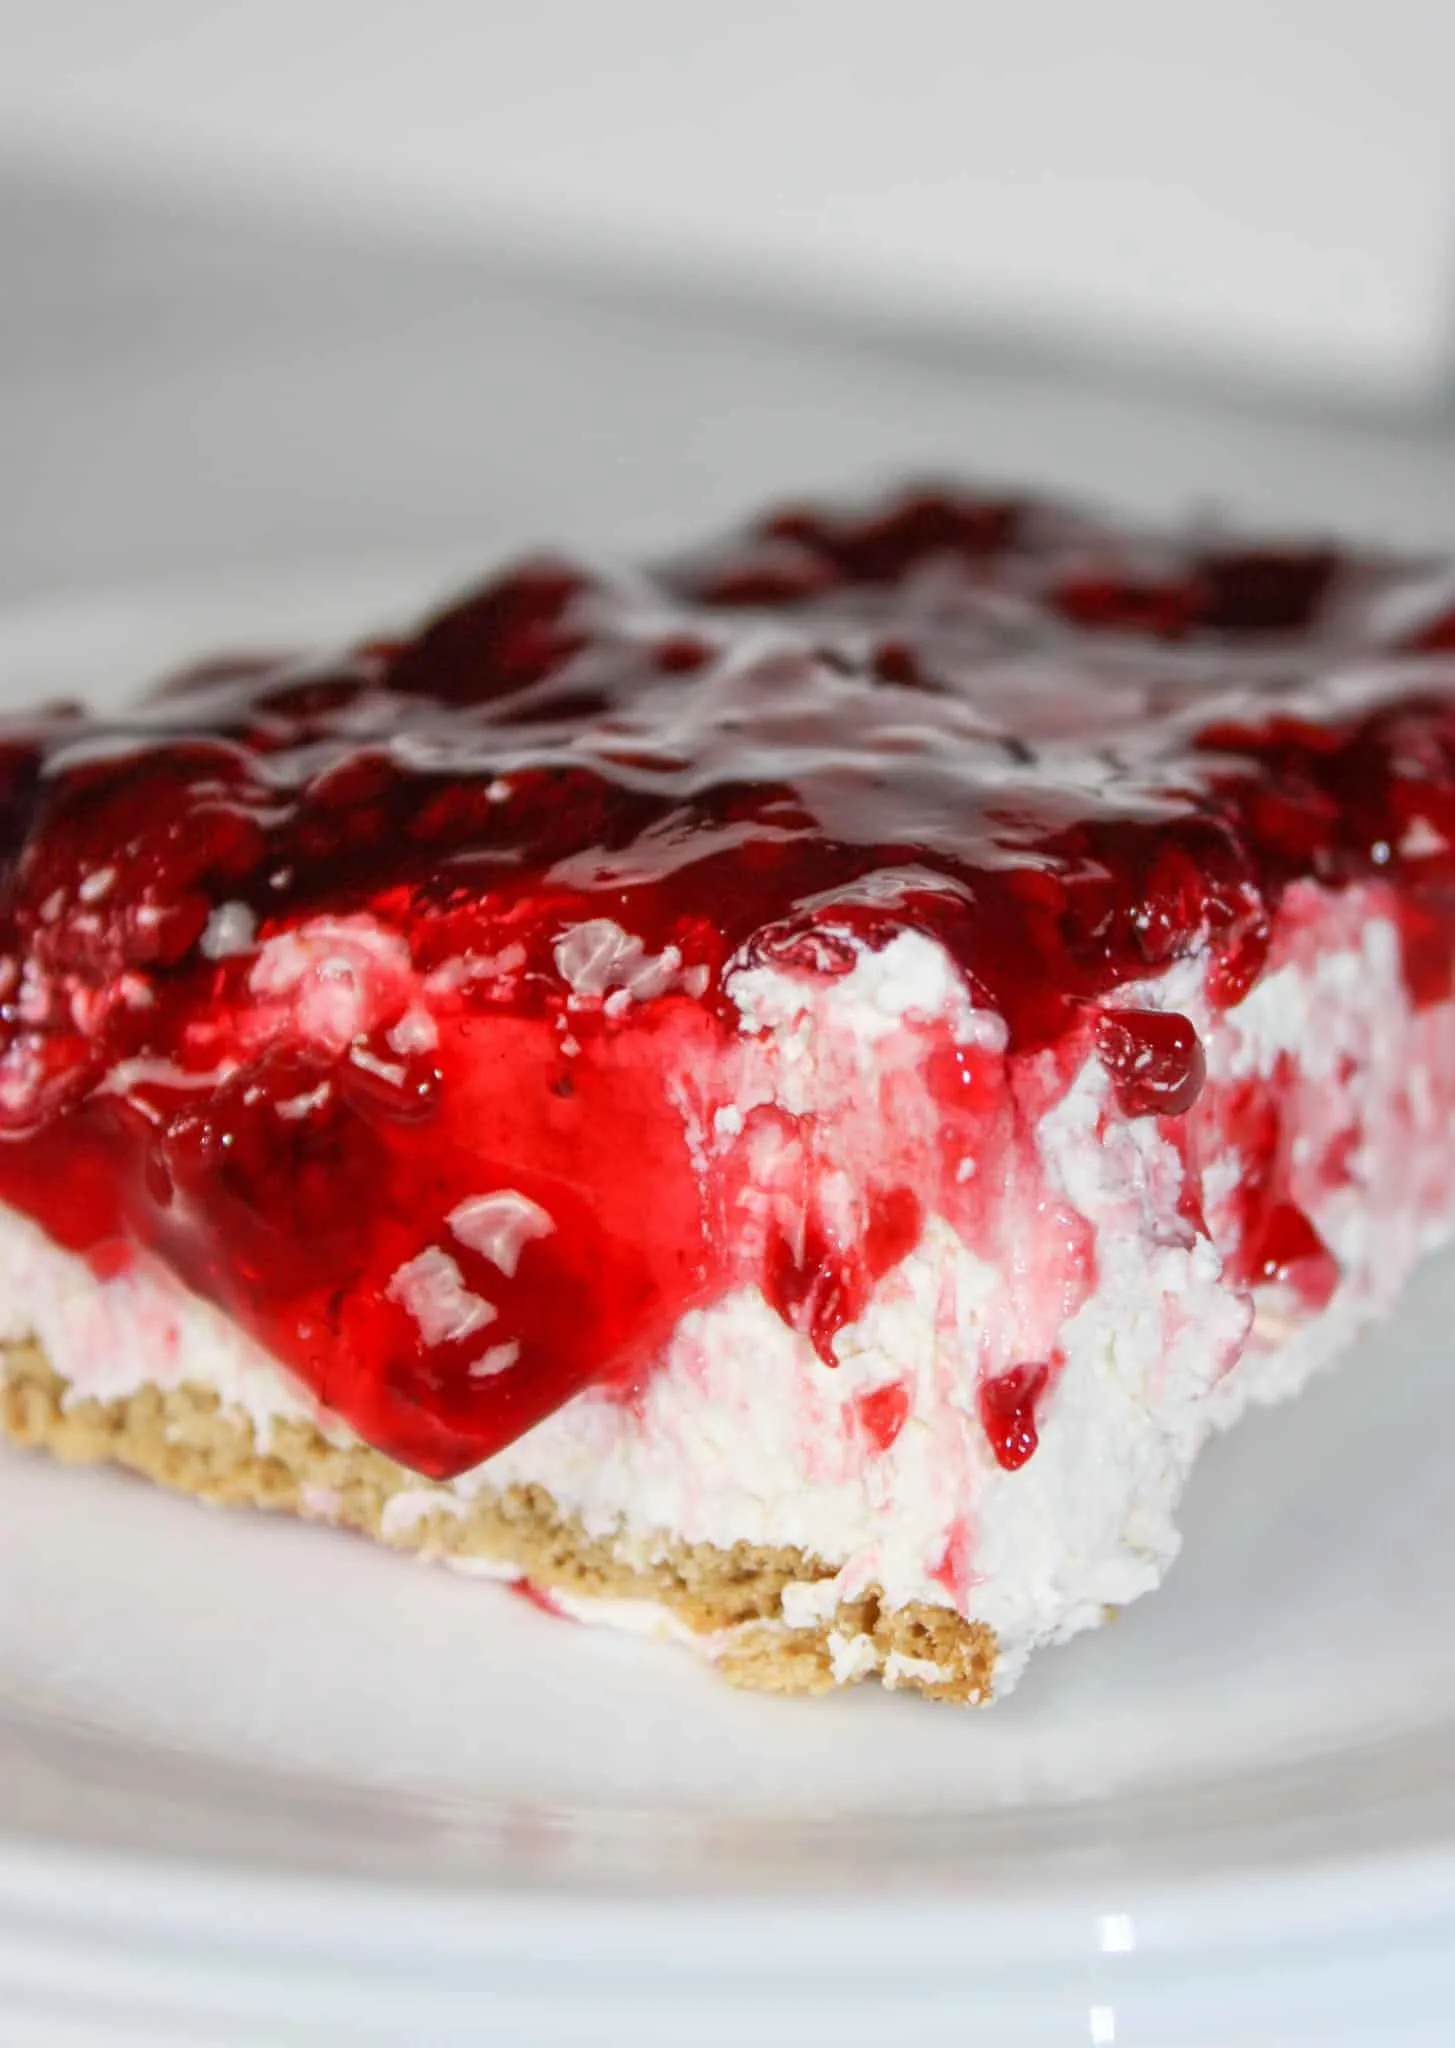
- Fresh Berries: Serve a mix of fresh berries like strawberries, blueberries, or raspberries. They provide a fruity, slightly tart contrast to the sweet and creamy cheesecake.
- Caramel Sauce: Make or purchase a dairy-free caramel sauce to drizzle over the cheesecake for extra richness and sweetness.
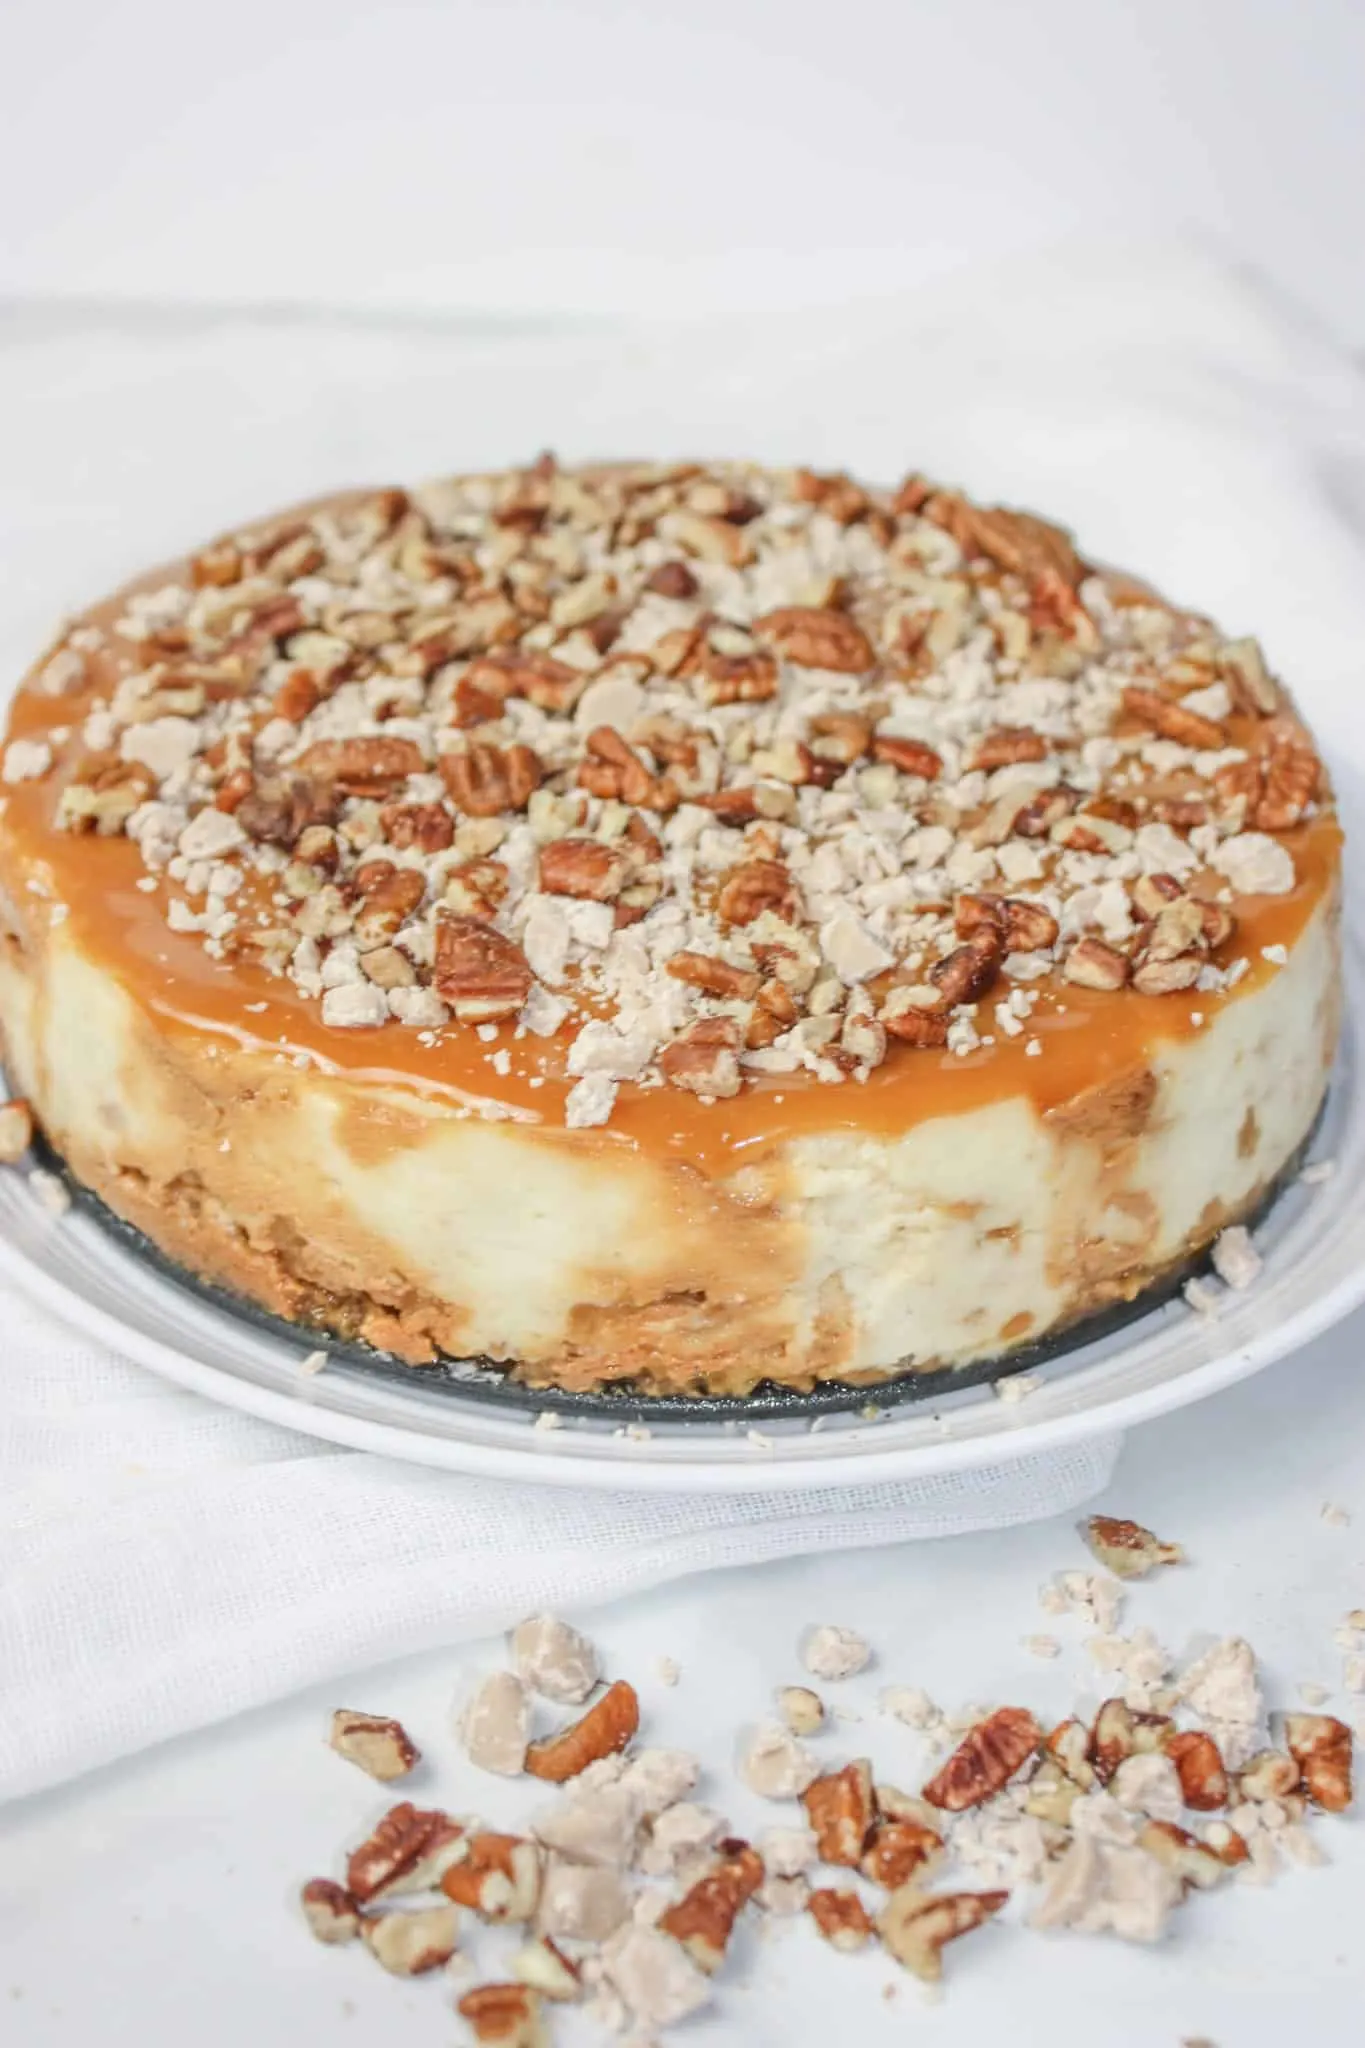
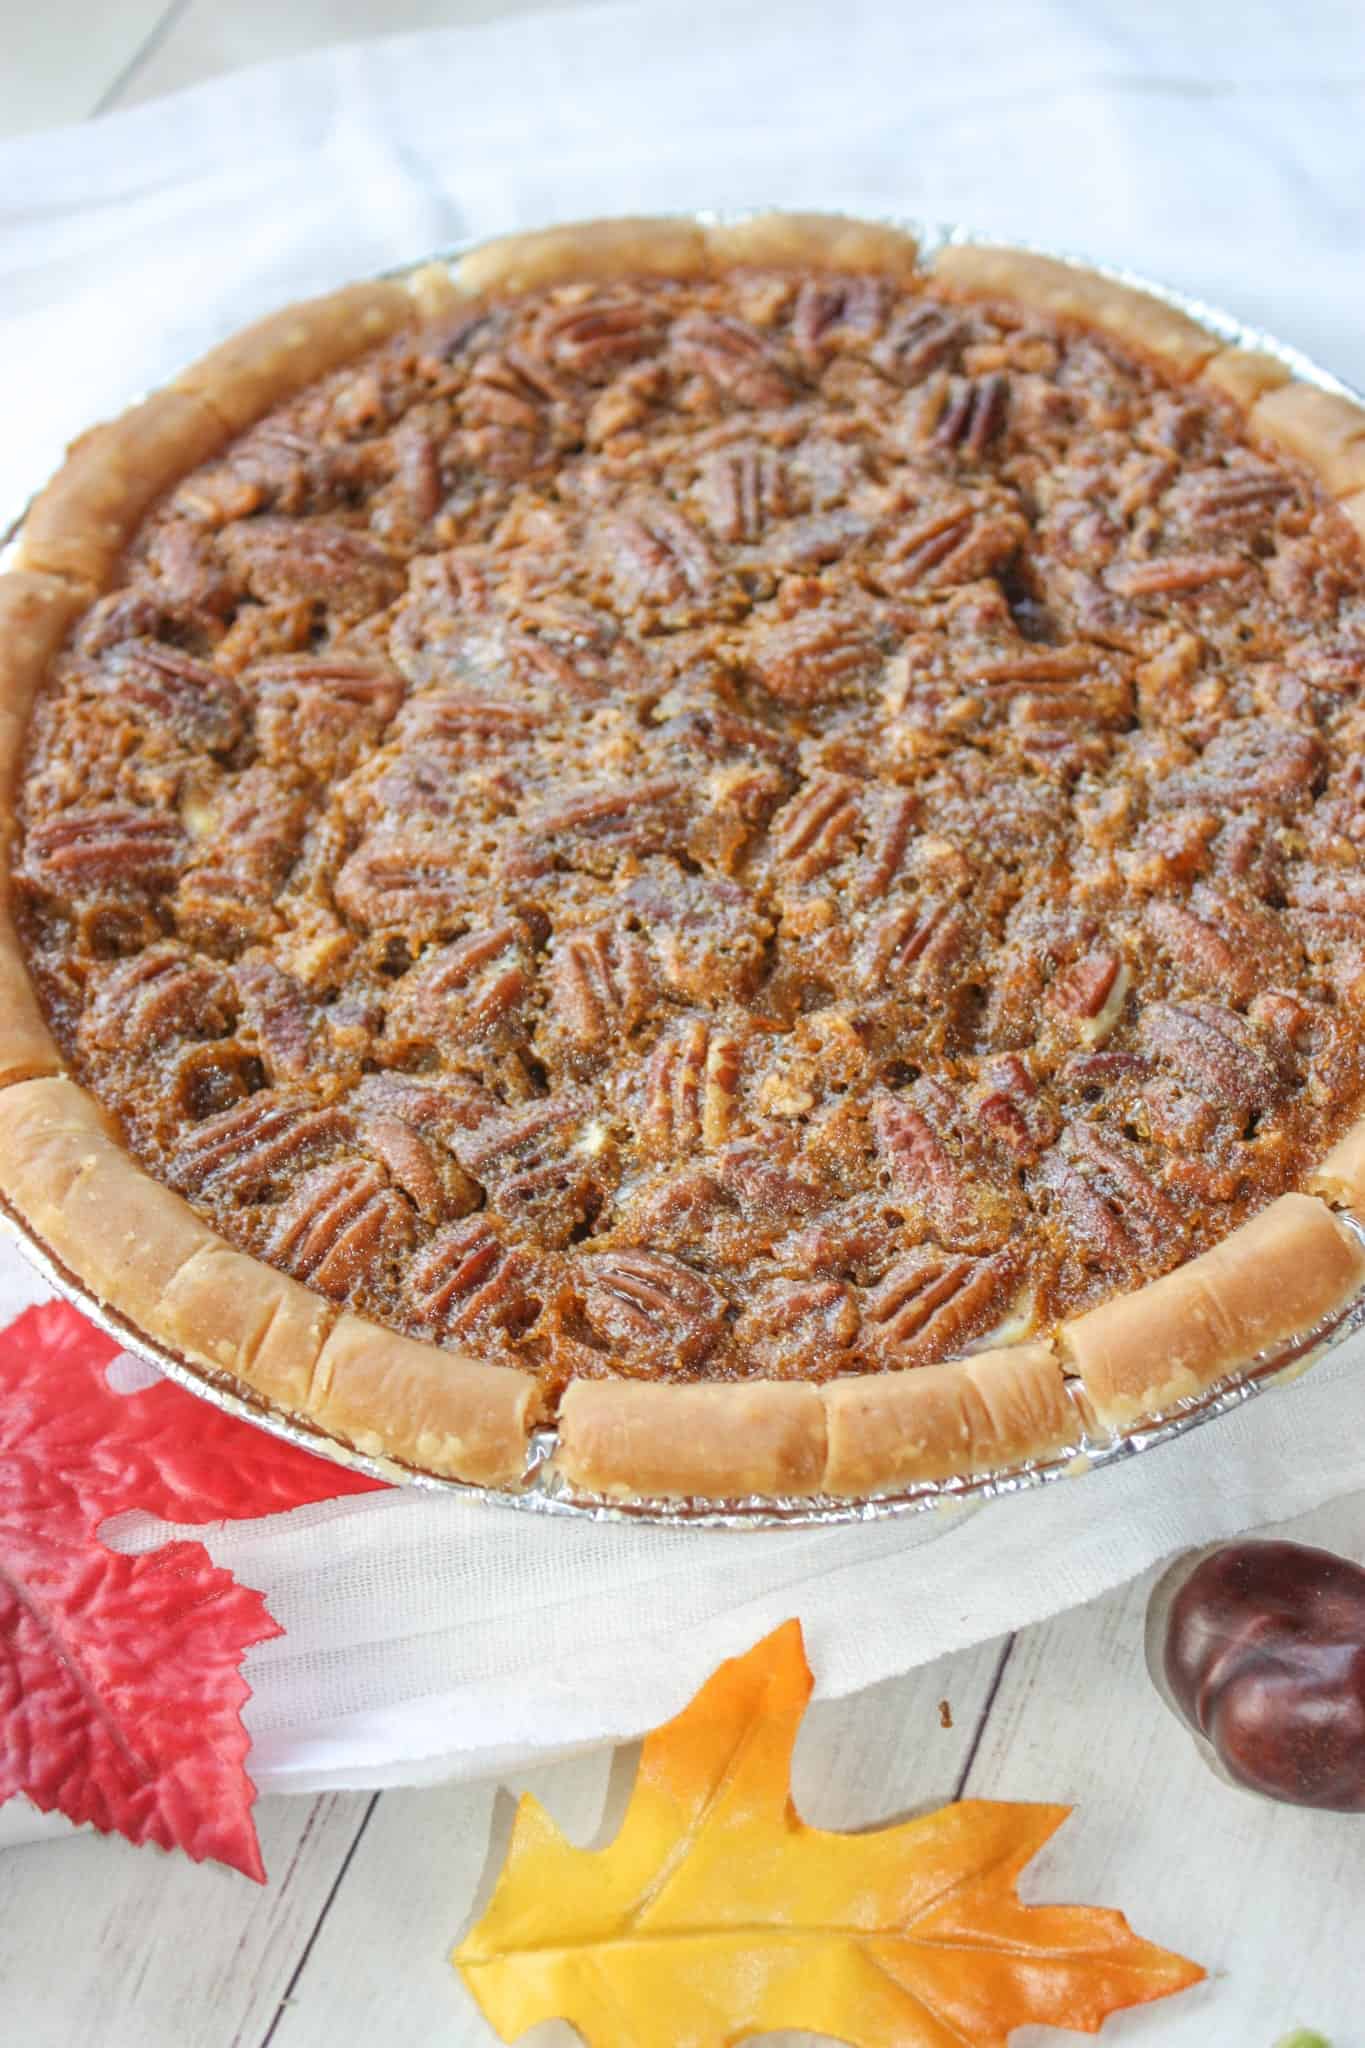
- Chopped Nuts: Sprinkle some chopped toasted nuts like pecans, walnuts, or almonds on top for a crunchy texture and nutty flavor.
- Chocolate Sauce: A drizzle of dairy-free chocolate sauce or ganache can complement the pumpkin flavor and add a touch of indulgence.
- Spiced Compote: Create a spiced fruit compote using apples, pears, or cranberries cooked with cinnamon, nutmeg, and a sweetener like maple syrup. The warm, spiced compote pairs well with the pumpkin cheesecake.
- Dairy-Free Ice Cream: Serve a scoop of dairy-free vanilla or coconut-based ice cream alongside the cheesecake for a delightful contrast in temperatures and textures.
- Fresh Mint: Garnish with a sprig of fresh mint or a sprinkle of finely chopped mint leaves to add a refreshing touch.
- Crumbled Gluten-Free Cookies: Crushed gluten-free graham crackers or cookies can be sprinkled on top or used as a crust for your cheesecake. This adds a delightful crunch and enhances the dessert’s flavor.
- Non-Dairy Yogurt: A dollop of dairy-free yogurt, such as coconut or almond yogurt, can provide a creamy, tangy element that complements the cheesecake.
Remember to accommodate any dietary restrictions and preferences of your guests, and feel free to mix and match these suggestions to create a well-balanced and delicious dessert presentation.
Storing gluten-free, dairy-free pumpkin cheesecake is similar to storing regular cheesecake, but there are a few considerations to ensure it stays fresh and delicious. Here’s how to do it:
- Allow It to Cool: After baking the cheesecake, allow it to cool completely at room temperature for an hour or so. Then, refrigerate it.
- Cover It: Use a piece of plastic wrap or aluminum foil to cover the cheesecake. Make sure the wrap is in direct contact with the surface of the cheesecake to prevent condensation from forming on top.
- Refrigerate: Place the cheesecake in the refrigerator. Keep it in the original pan or transfer it to an airtight container if you have one large enough. You can also place it on a plate and cover it with an airtight cake keeper.
- Avoid Odor Transfer: Cheesecake can absorb odors from the refrigerator, so make sure to store it away from strong-smelling foods like onions, garlic, or fish. It’s also a good idea to use a separate shelf if possible.
- Consume Promptly: While cheesecake can be refrigerated for up to 4-5 days, it’s best when consumed within the first couple of days for optimal freshness.
Remember that the exact storage duration may vary depending on the specific recipe and ingredients used, so it’s always a good idea to check for any recommendations mentioned in the recipe you used.
Can I freeze gluten free, dairy free pumpkin cheesecake?
Yes, you can freeze gluten-free, dairy-free pumpkin cheesecake. Freezing is a good way to extend the shelf life of cheesecake if you want to enjoy it at a later date. Here’s how you can do it:
- Allow the cheesecake to cool: Before freezing, make sure the cheesecake has cooled completely at room temperature. This helps prevent condensation from forming on the surface during freezing.
- Prepare for freezing: You can freeze the whole cheesecake or individual slices. If freezing individual slices, it’s a good idea to wrap each slice in plastic wrap and then place them in an airtight container.
- Wrap and seal: If you’re freezing the whole cheesecake, it’s best to wrap it in several layers of plastic wrap to prevent freezer burn. After wrapping it in plastic wrap, place it in an airtight container or a resealable plastic freezer bag. For slices, make sure they are wrapped well in plastic wrap to prevent moisture from getting in.
- Label and date: Don’t forget to label the container or bag with the date of freezing to keep track of its freshness.
- Freeze: Place the wrapped cheesecake or slices in the freezer. Make sure they are stored flat to prevent any deformation.
- Thawing: When you’re ready to enjoy the cheesecake, remove it from the freezer and let it thaw in the refrigerator for several hours or overnight. Slow thawing in the refrigerator helps maintain the texture and flavor of the cheesecake.
Keep in mind that freezing may alter the texture of the cheesecake slightly, but it should still taste delicious. Additionally, the longer you store it in the freezer, the more the texture might change. For best results, try to consume the frozen cheesecake within 1-2 months of freezing.
Pumpkin Cheesecake - Gluten Free, Dairy Free


Instant Pot Pumpkin Cheesecake is my first attempt at cheesecake. The pressure cooker made it so easy! This gluten free, dairy free version was a real treat.
Ingredients
- 1 cup gluten free graham crumbs
- 1/4 cup margarine melted
- 16 oz dairy free cream cheese
- 1/2 cup granulated sugar
- 1/2 cup pure pumpkin puree
- 2 tsp vanilla extract
- 2 tbsp corn starch
- 1 tsp ground cinnamon
- 1/2 tsp ground ginger
- 1/4 tsp cloves
- 1/4 tsp nutmeg
- 2 eggs, large
- 2 cups water for Pot
Instructions
- Grease a 7" spring form pan.
- Dump graham crumbs into a small mixing bowl.
- Pour the melted margarine into the crumbs and stir to combine well.
- Press into the prepared springform pan and set in freezer while you prepare the filling.
- For filling dump the cream cheese and granulated sugar into a mixing bowl and use an electric hand mixer to beat until smooth.
- Add in the pure pumpkin puree, vanilla extract, corn starch, cinnamon, ginger, cloves and nutmeg. Stir with a wooden spoon or spatula until just combined.
- Add in the eggs, one at a time. Stirring until just combined.
- Remove the graham crust from the freezer and set it on a piece of tinfoli. Scrape the cheese filling into the pan.
- Cover the pan with a piece of paper towel and then tinfoil. Seal bottom and top tinfoil around pan to prevent moisture from entering.
- Pour the water into the Instant Pot. Place the pan on the trivet and lower it into the Pot.
- Place the lid on the Instant Pot, turn the steam release handle to the sealing position and set the Instant Pot to Pressure Cook High for 28 minutes.
- Once the Instant Pot is done cooking, allow it to do a Natural Release for 10 minutes before turning the steam release handle to the venting position.
- Remove the lid, lift out the trivet with the pan and immediately remove top foil and paper towel.
- Allow to cool for a bit before covering with plastic wrap and chilling for at least 6 to 8 hours.
- Before slicing drizzle whole cake with caramel sundae topping.
- If desired drizzle each serving with chocolate sundae topping as well.
- Enjoy!
Notes
*This recipe was tested in an 8 quart Instant Pot Duo.
*This recipe was prepared using the Tofutti brand of cream cheese.
Nutrition Information:
Yield:
8Serving Size:
1Amount Per Serving: Calories: 378Total Fat: 28gSaturated Fat: 13gTrans Fat: 1gUnsaturated Fat: 12gCholesterol: 104mgSodium: 248mgCarbohydrates: 28gFiber: 1gSugar: 18gProtein: 6g
Alyssa
Tuesday 24th of November 2020
Would the cook time be the same if I make them in 3 mini spring forms?
Kathleen
Tuesday 24th of November 2020
Hi Alyssa, I know when people make the mini cheesecakes in those ramekin dishes they cook them for about 3 minutes. So yes it would take less time. Time depends on size of your pans. So anywhere maybe from 3 to 7 minutes I would think. Like I said would depend on size of your mini spring form pans... Hope this helps, Kathleen
Alyssa
Thursday 10th of September 2020
What brand df cream cheese did you use?
Kathleen
Thursday 10th of September 2020
Hi Alyssa, I used the Tofutti brand of cream cheese. It turned out soooo good!! I will add that to the notes section of the recipe for others. Not sure if that brand is available everywhere or not... Take care, Kathleen