
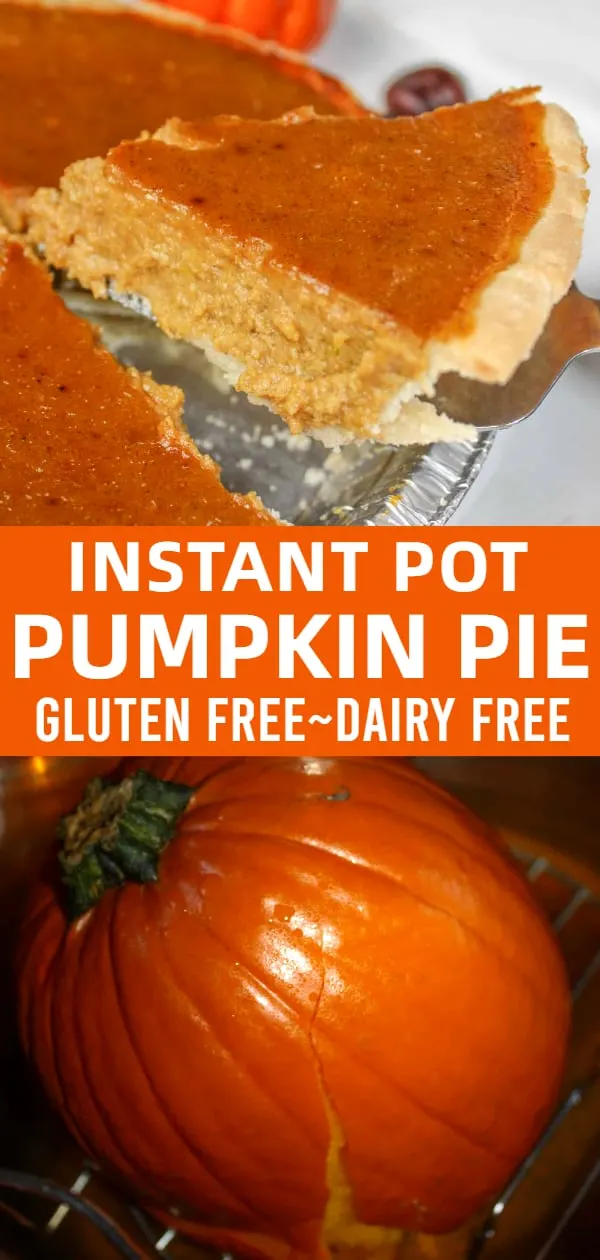
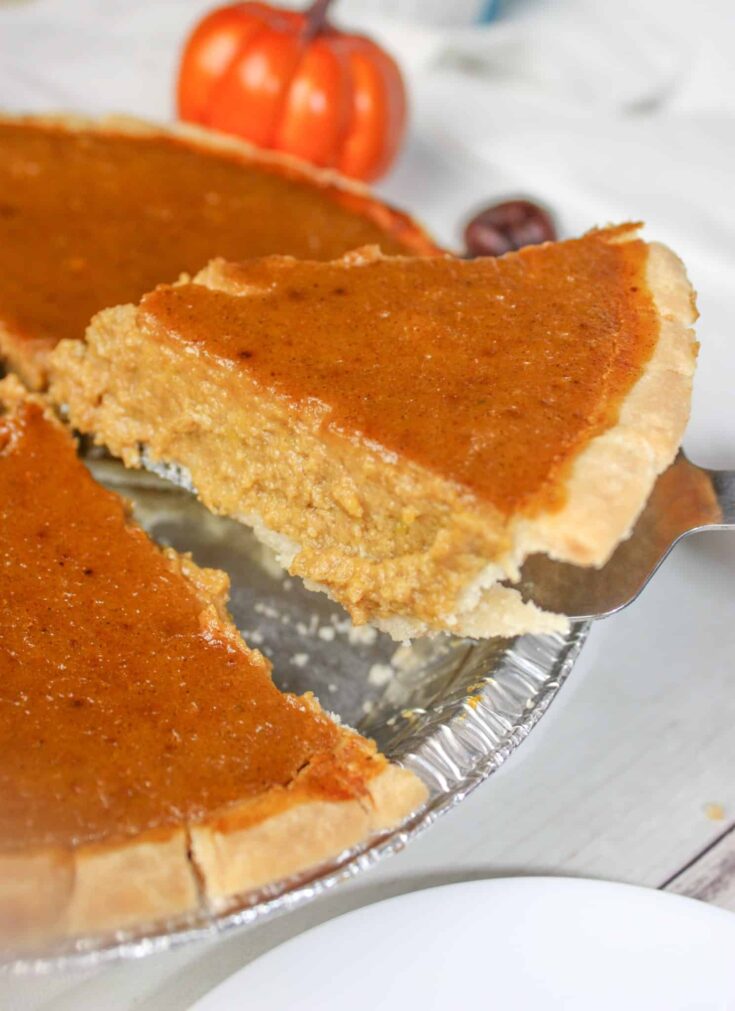
Thanksgiving would not be Thanksgiving without Pumpkin Pie. This gluten free, dairy free version makes it possible for everyone to enjoy this traditional holiday dessert!

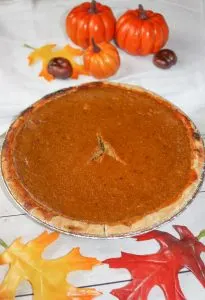
This Pumpkin pie yields 7 servings and will be enjoyed by all, not just those that need to avoid gluten and dairy.

This time I decided to make my own pumpkin puree and the result was such a nice, light filling that would make for a great dessert after a holiday meal.
This will account for the extended time on the recipe.

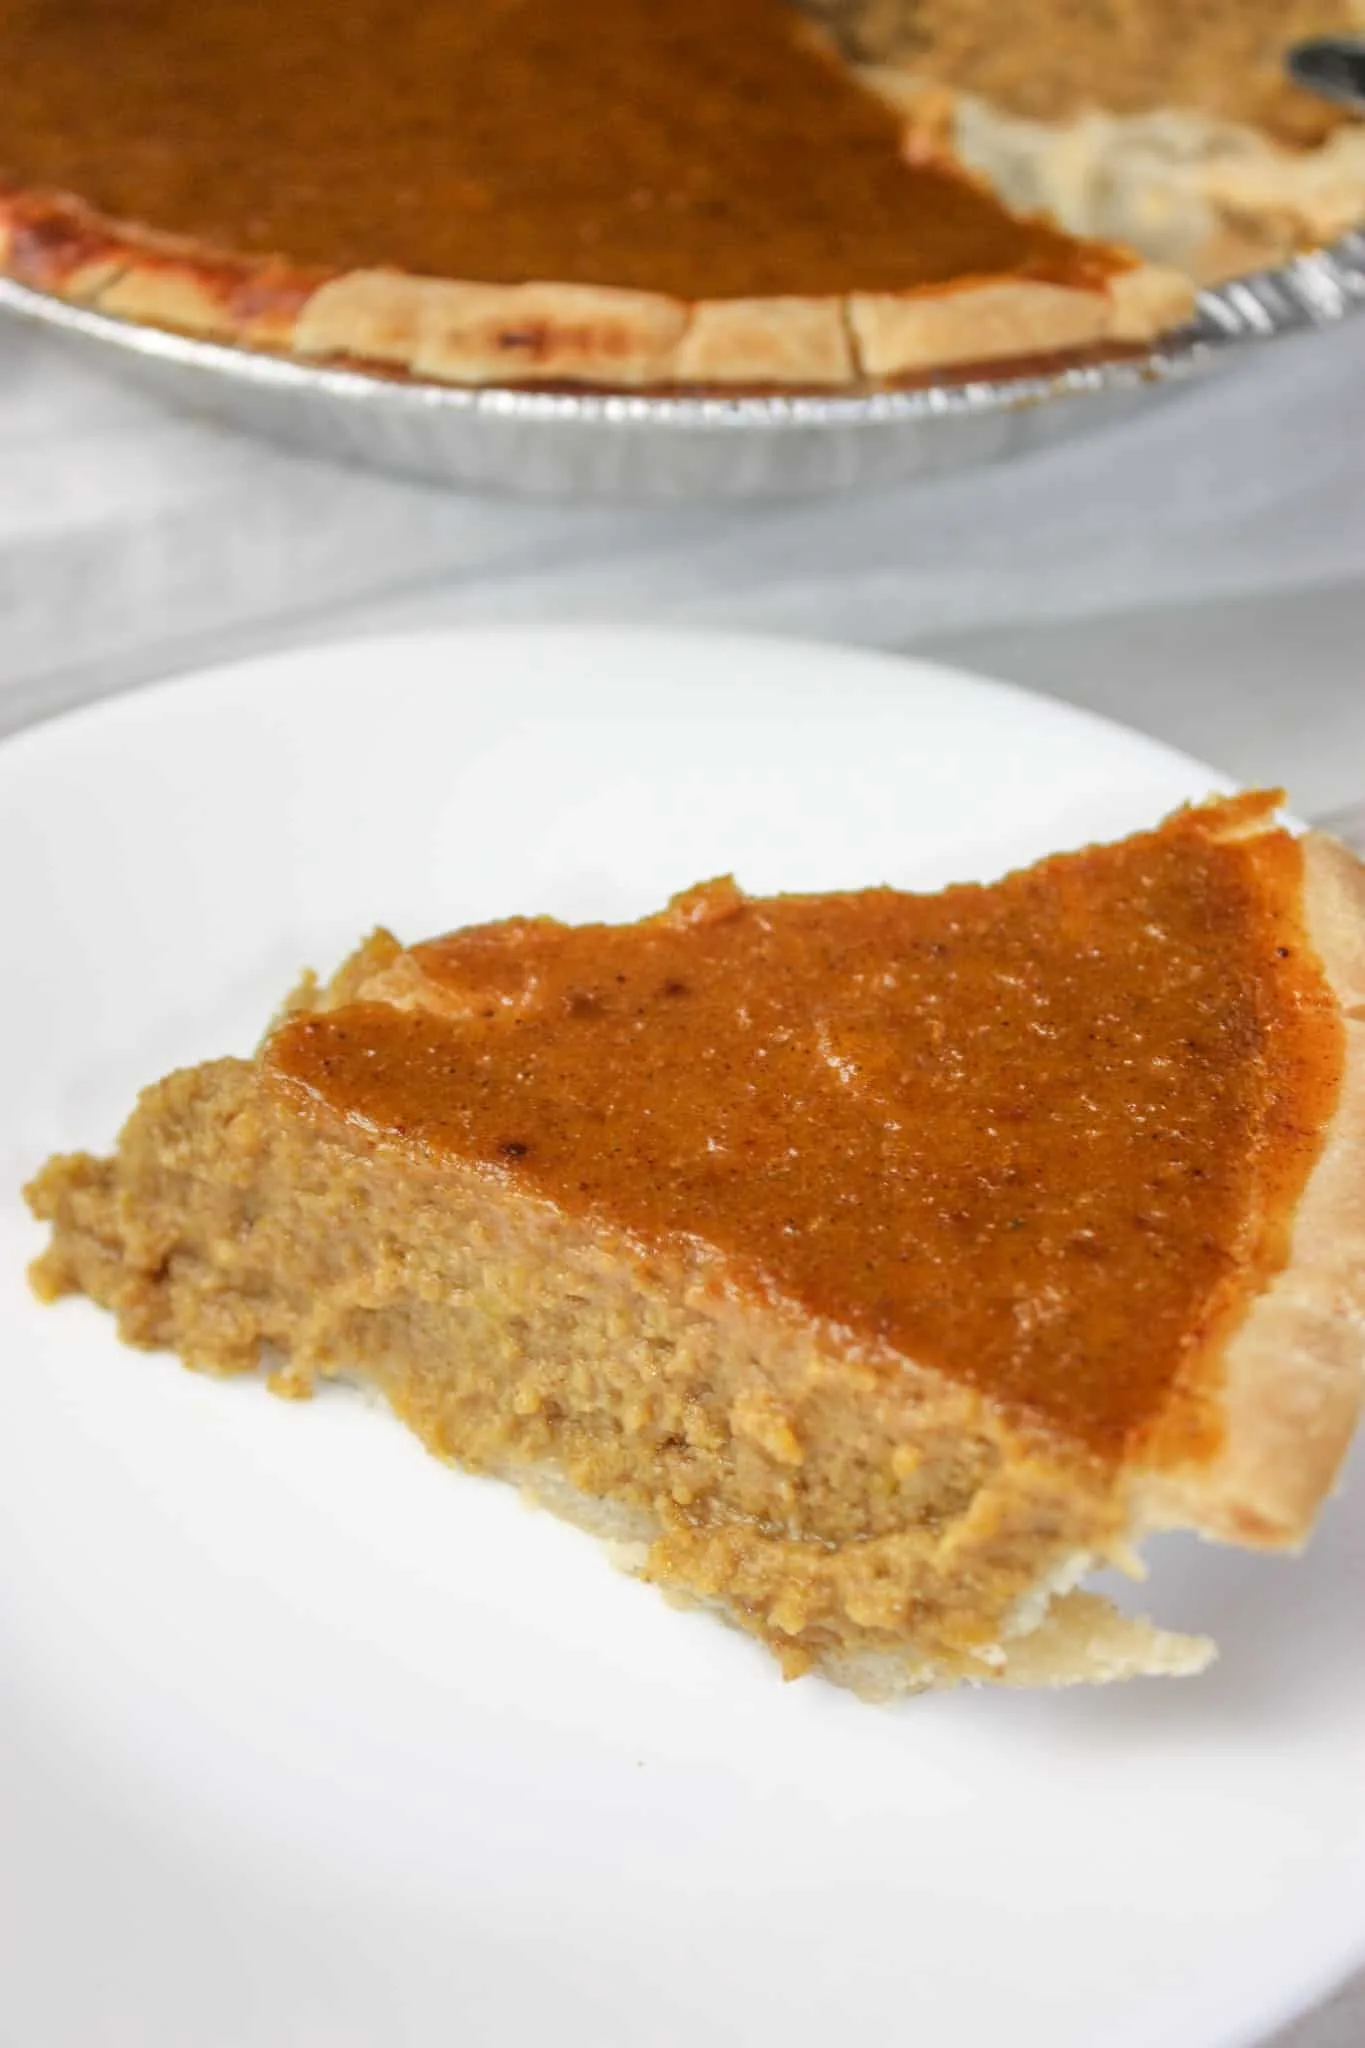
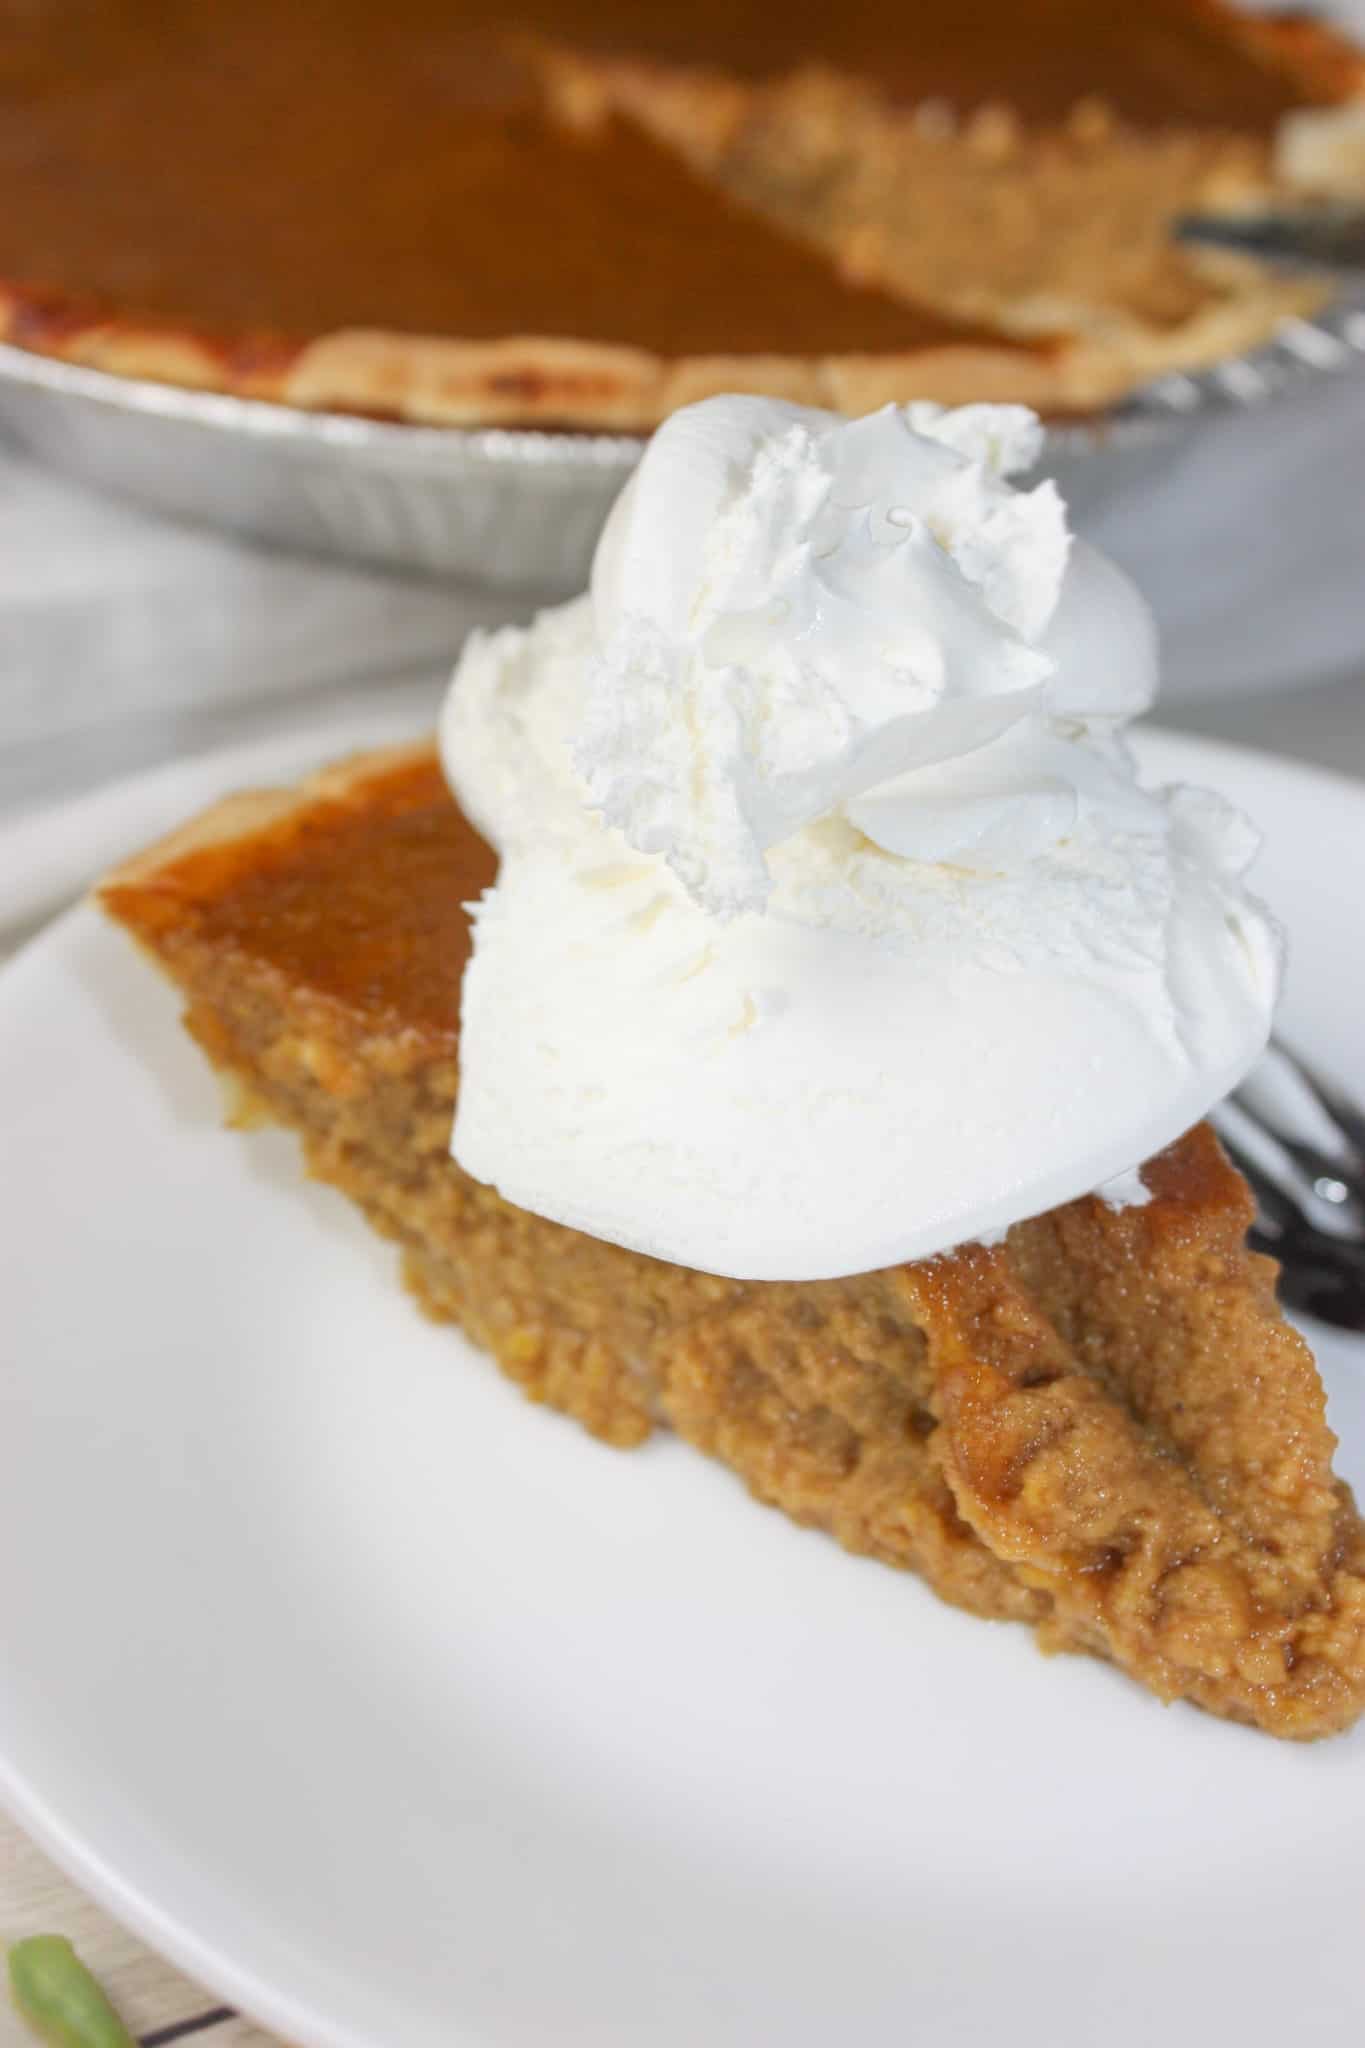
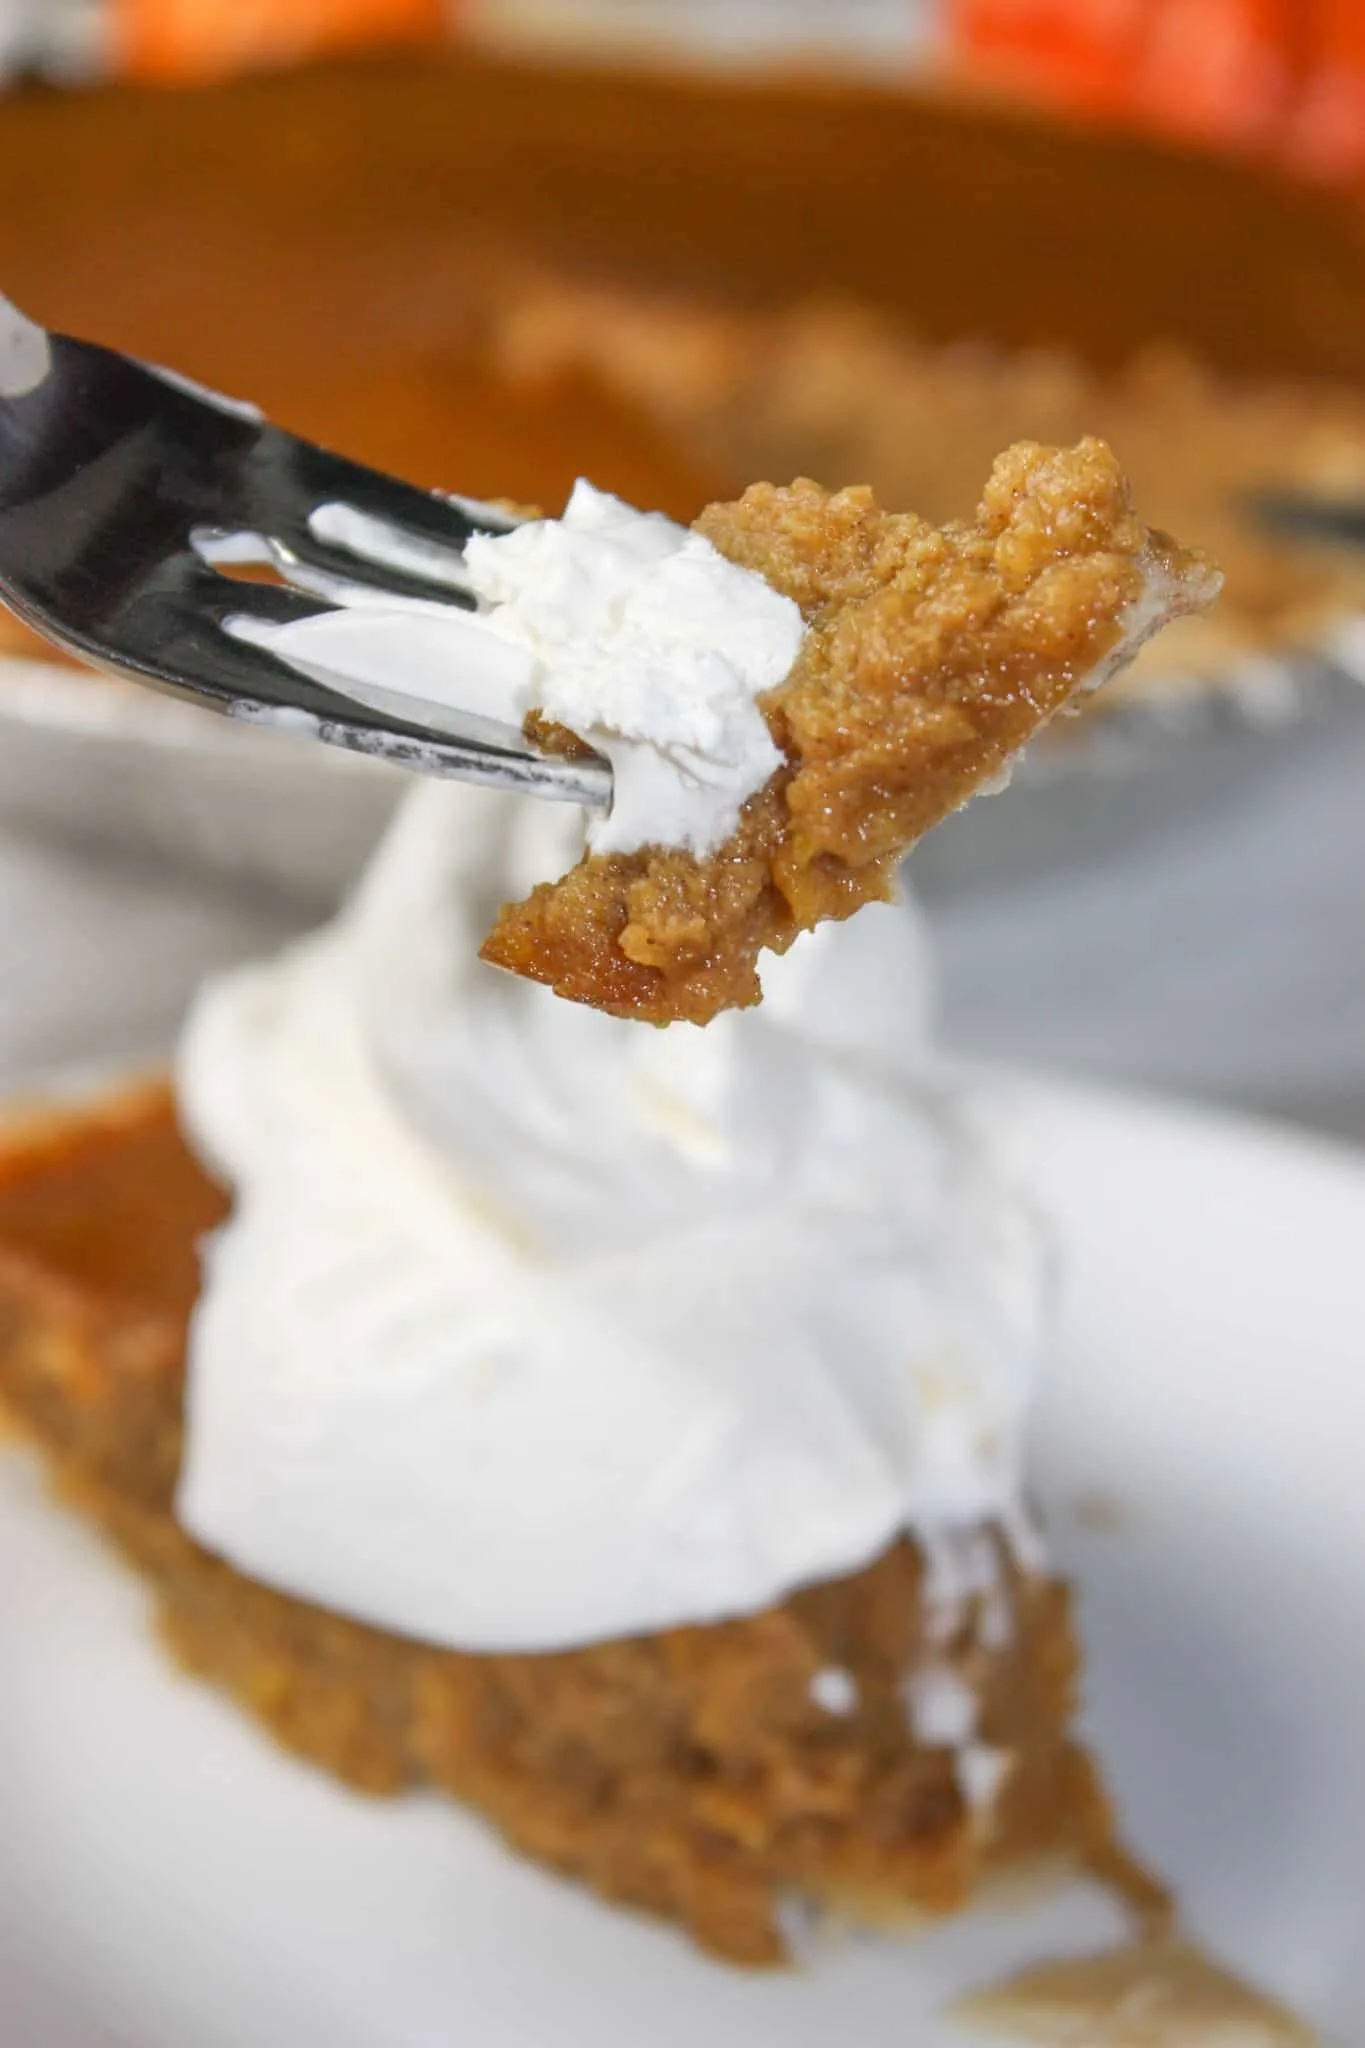
Serve it plain to enjoy the fall flavours of pumpkin and pumpkin spices or you could top it off with some whipped cream or ice cream.

Printable Recipe Card with a Full List of Ingredients and Instructions is Located at the Bottom of the Post.
Be sure to read through the entire post so that you don’t miss out on any important tips and tricks!
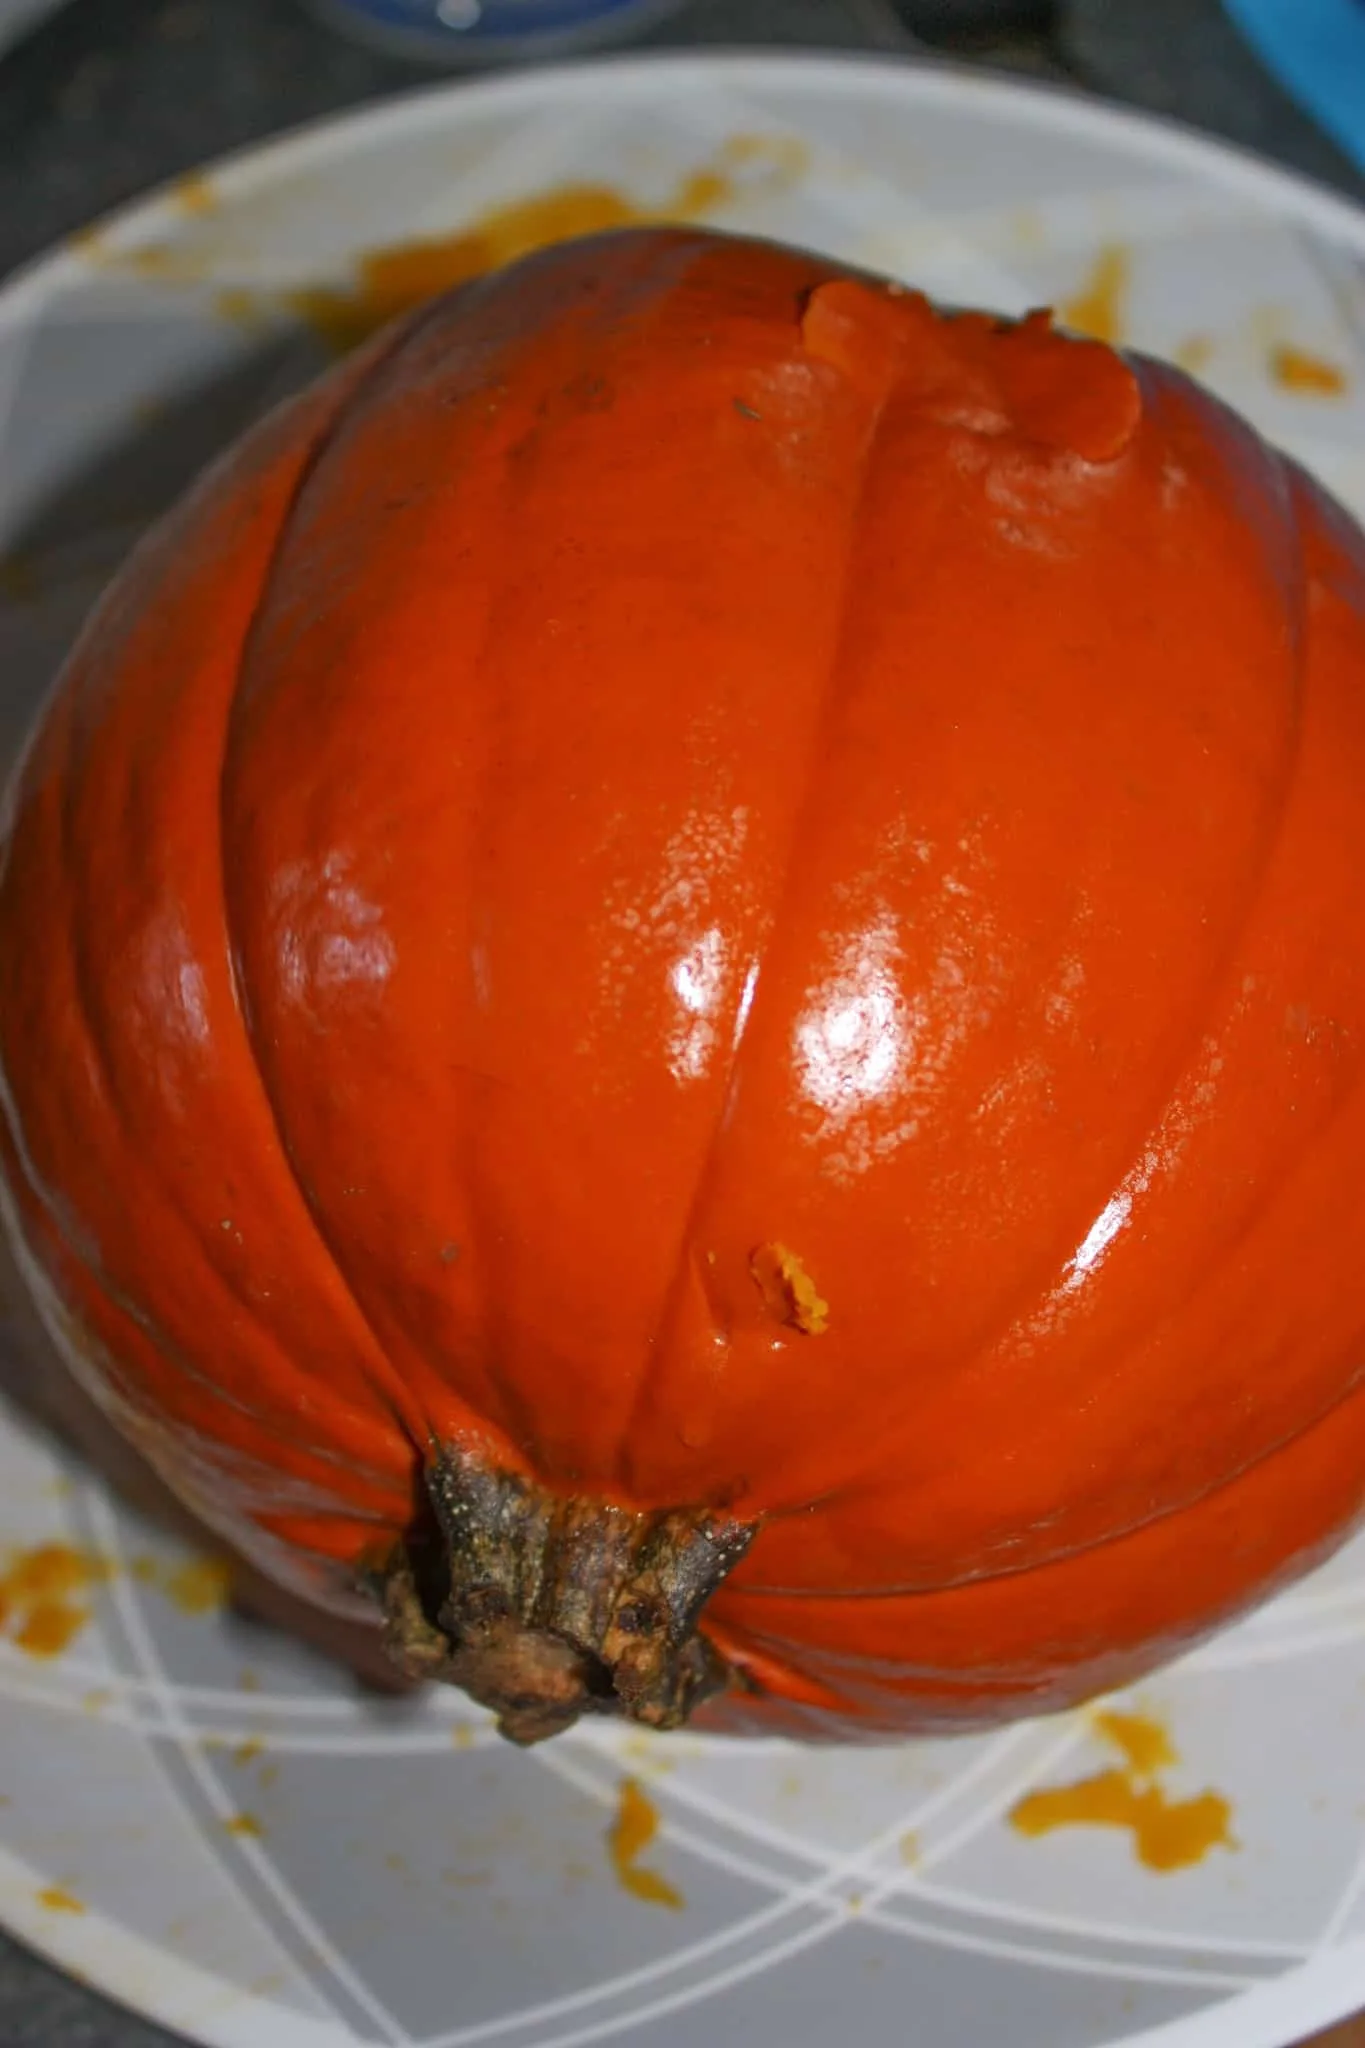
I decided to try making my own pumpkin puree this year so I put some water into my Instant Pot and then set a pie pumpkin on the trivet.
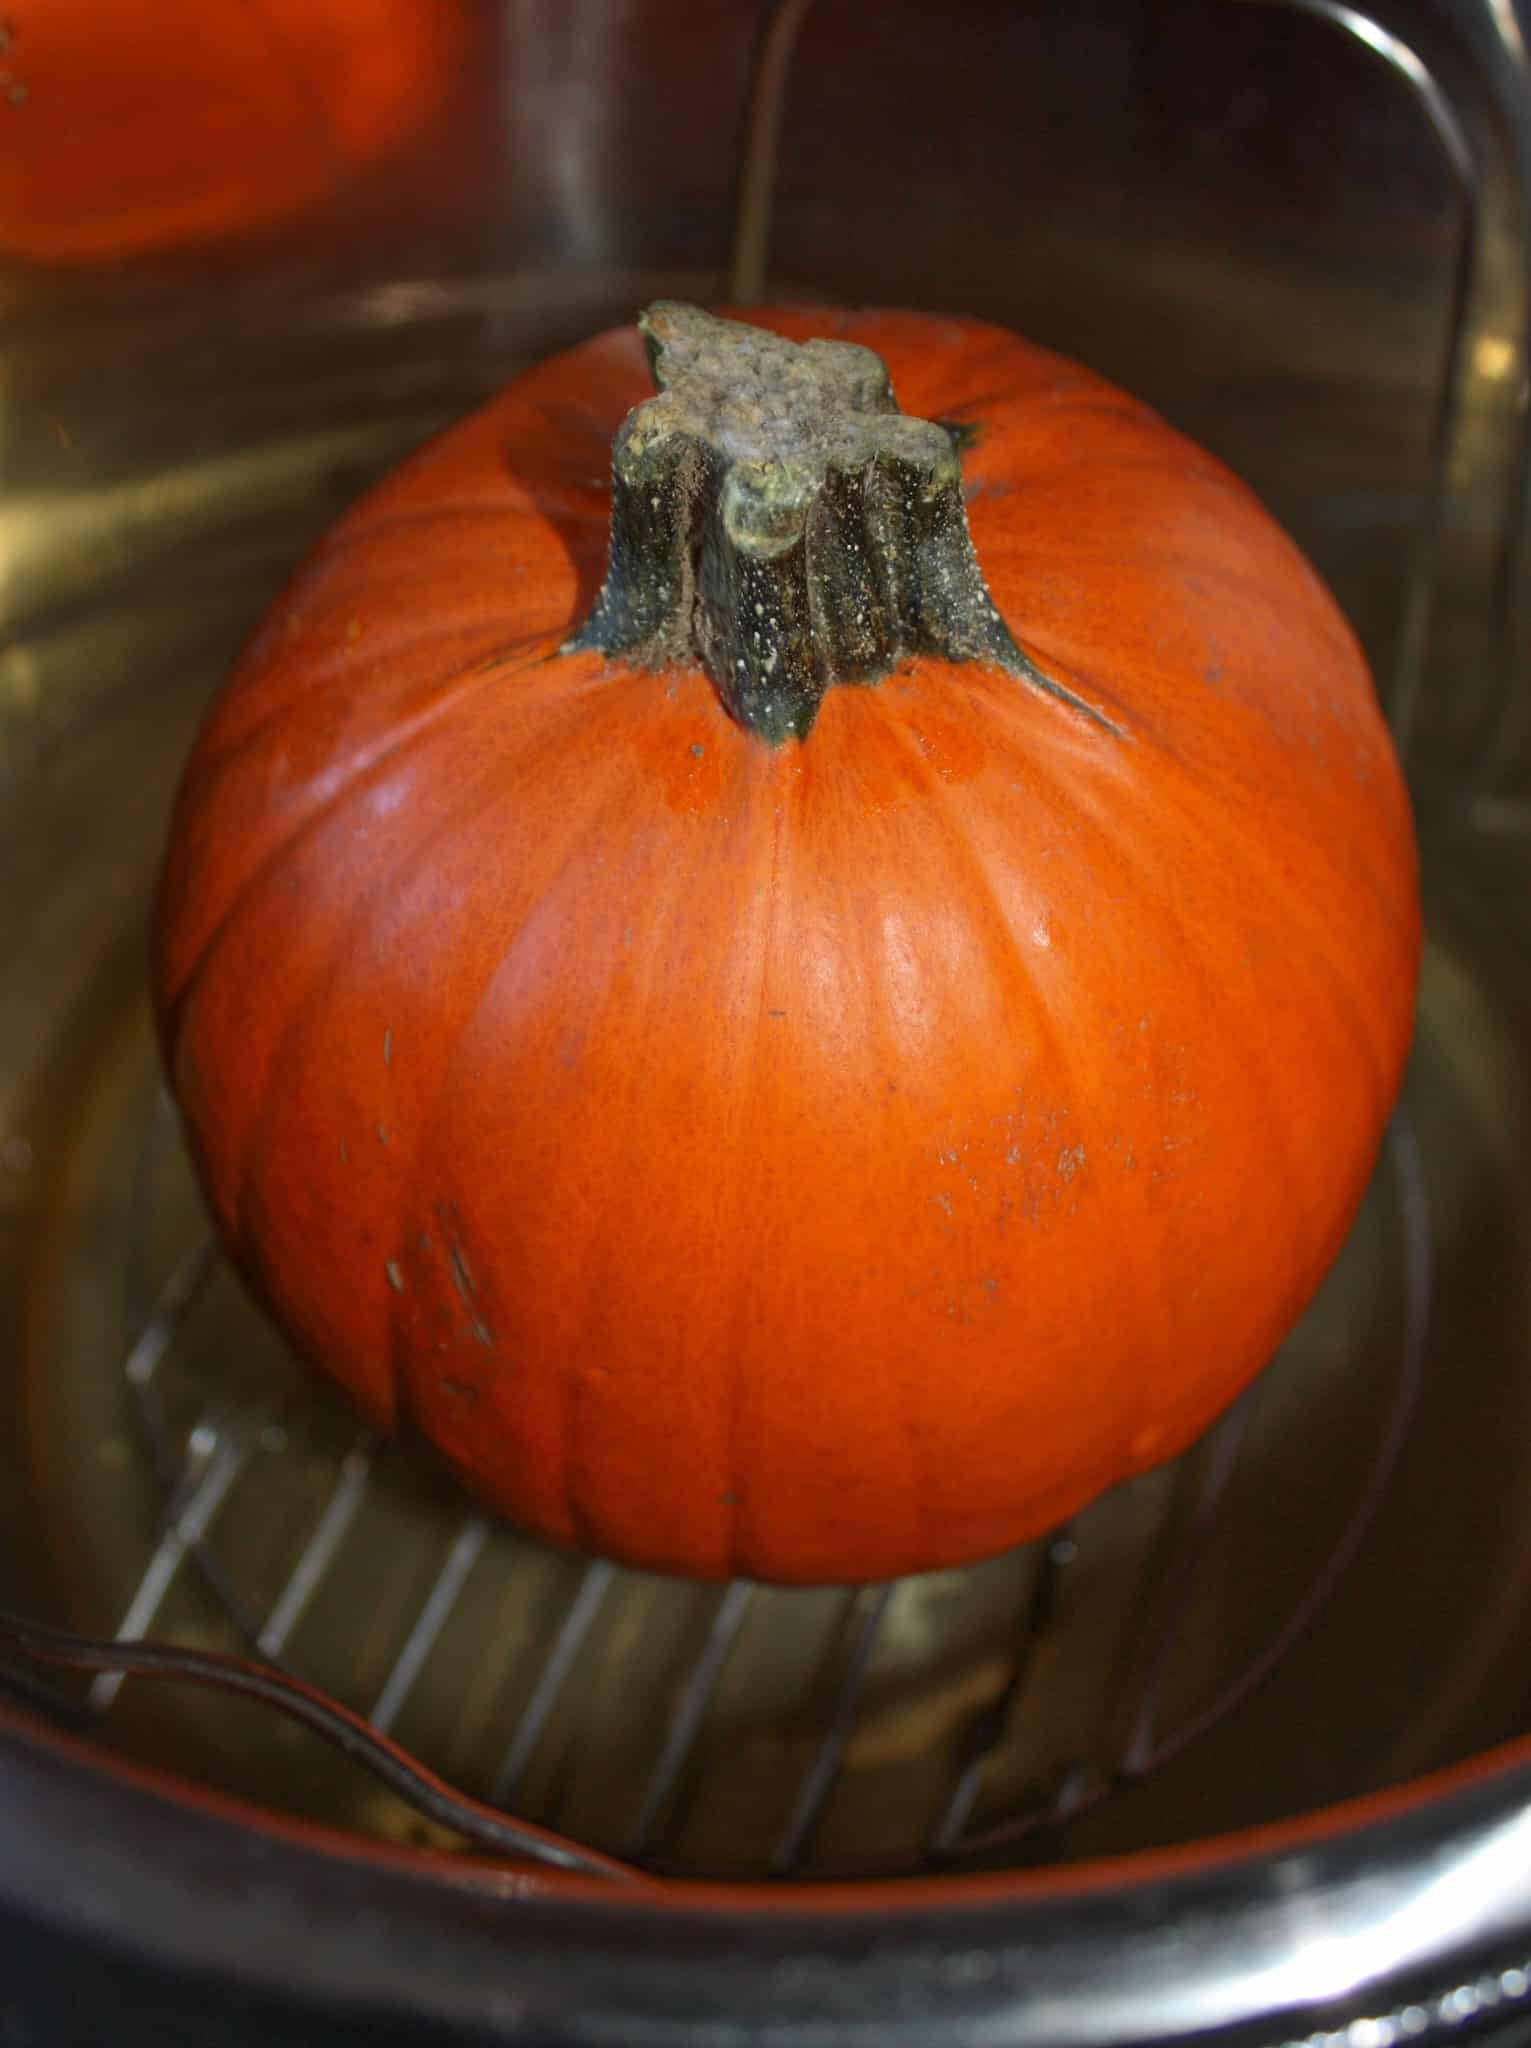
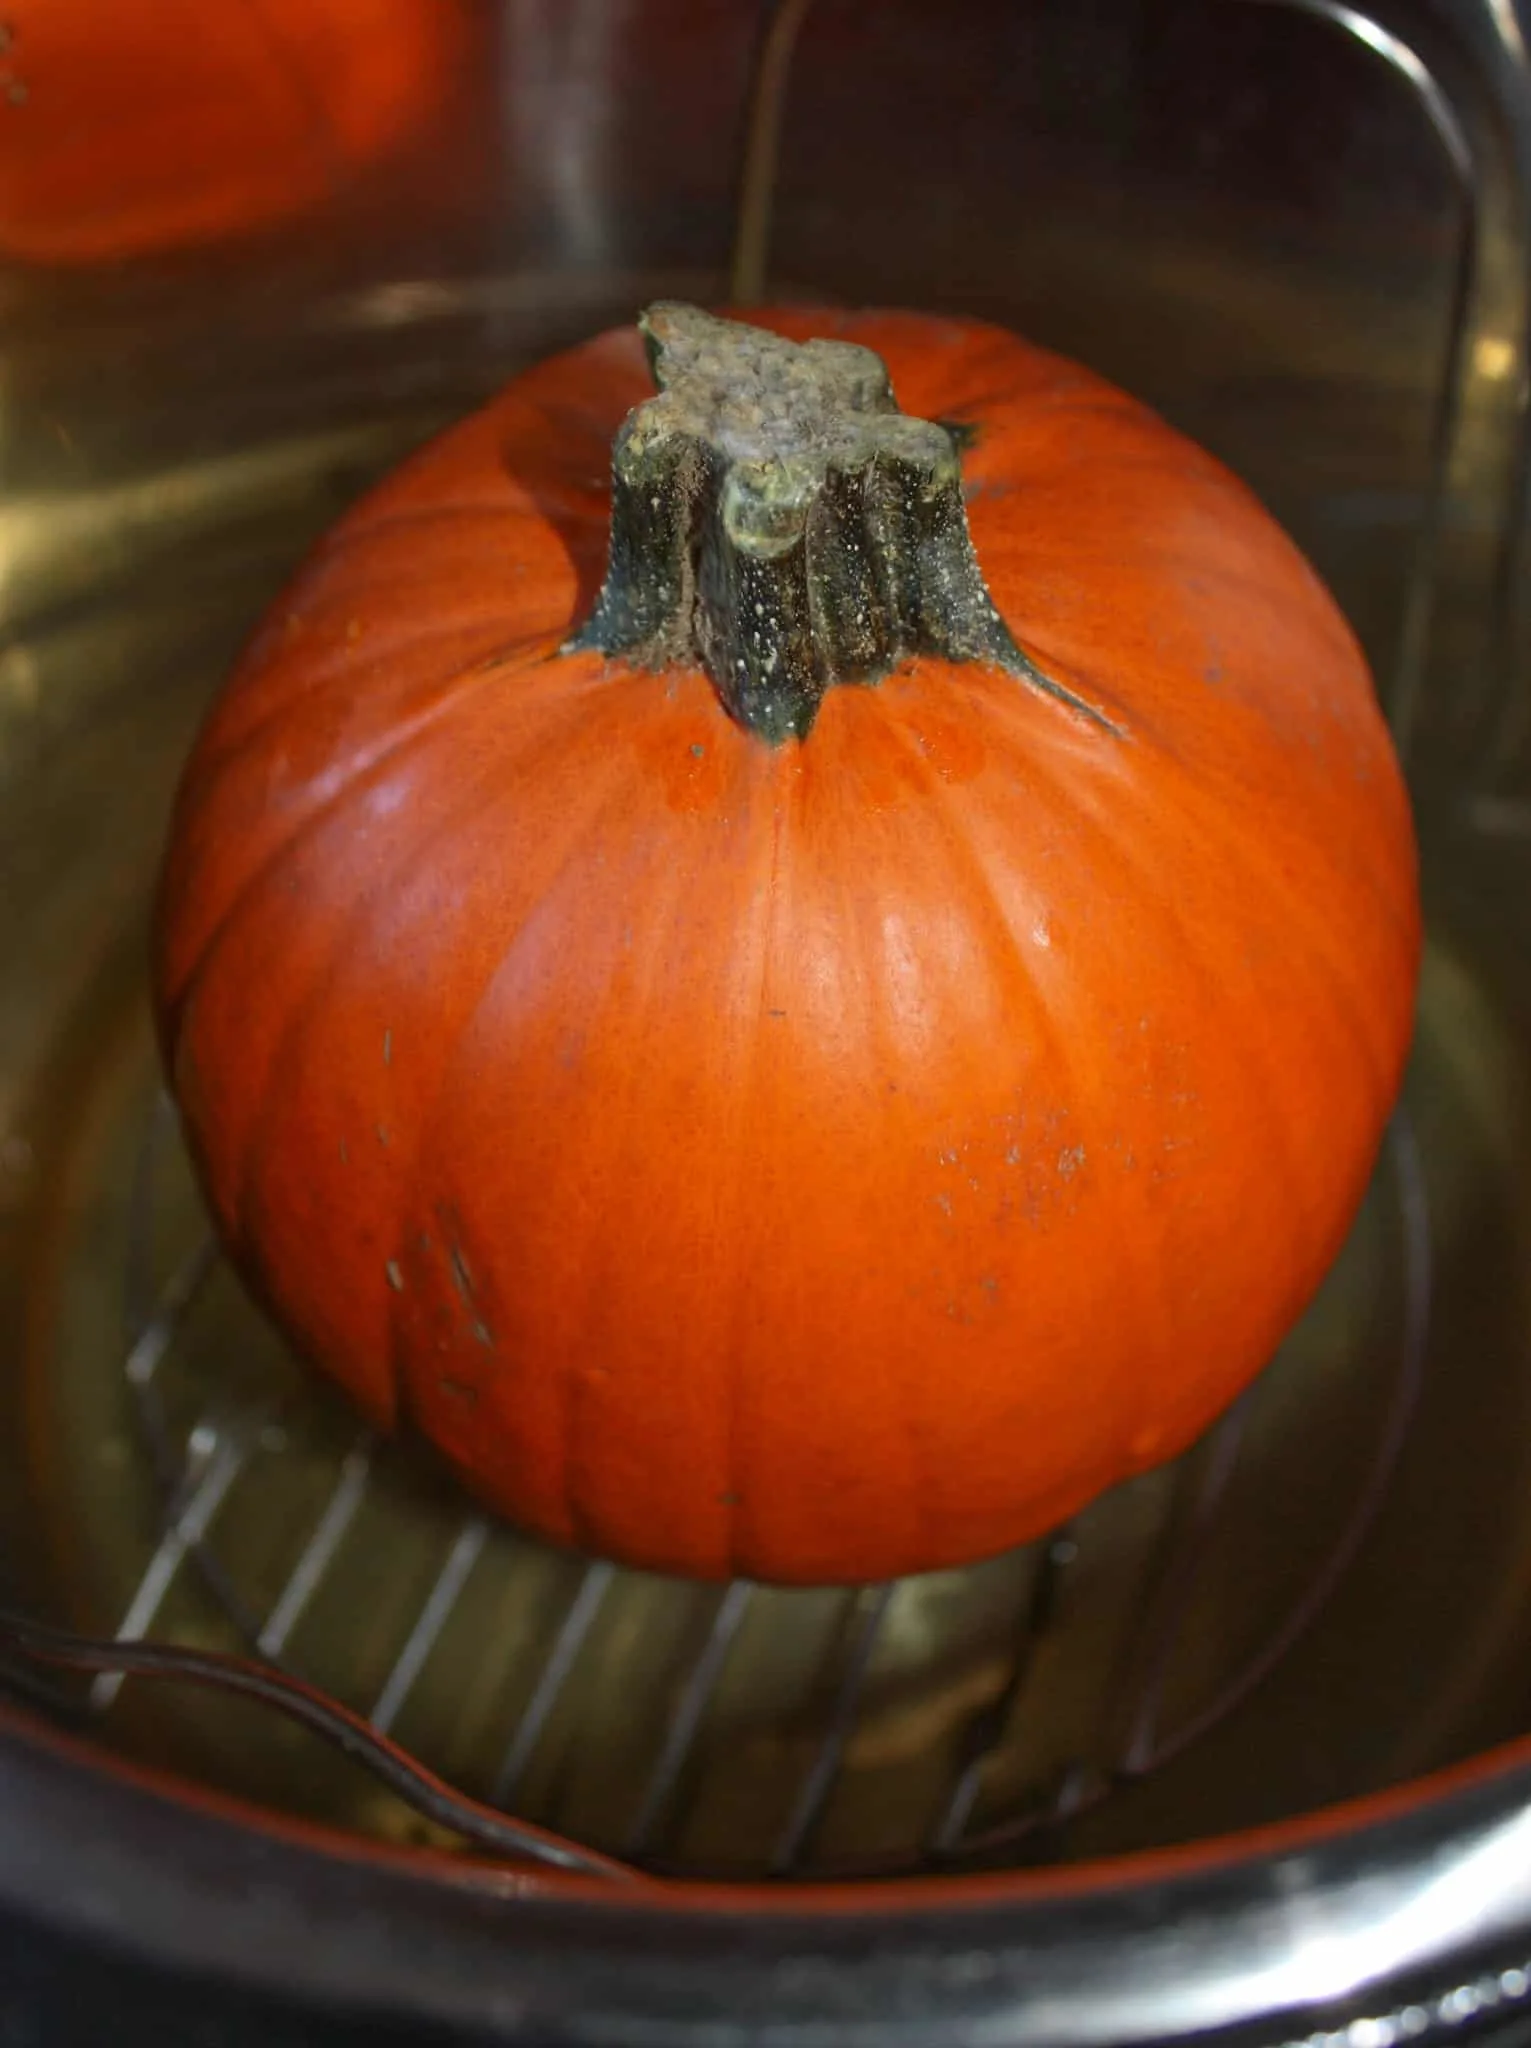
Then I placed the lid on the Instant Pot, turned the steam release handle to the sealing position and set the Instant Pot to Pressure Cook High for 12 minutes.
Once the Instant Pot was done cooking, I allowed it to do a full Natural Release.
I removed the lid and carefully lifted out the trivet and the pumpkin.
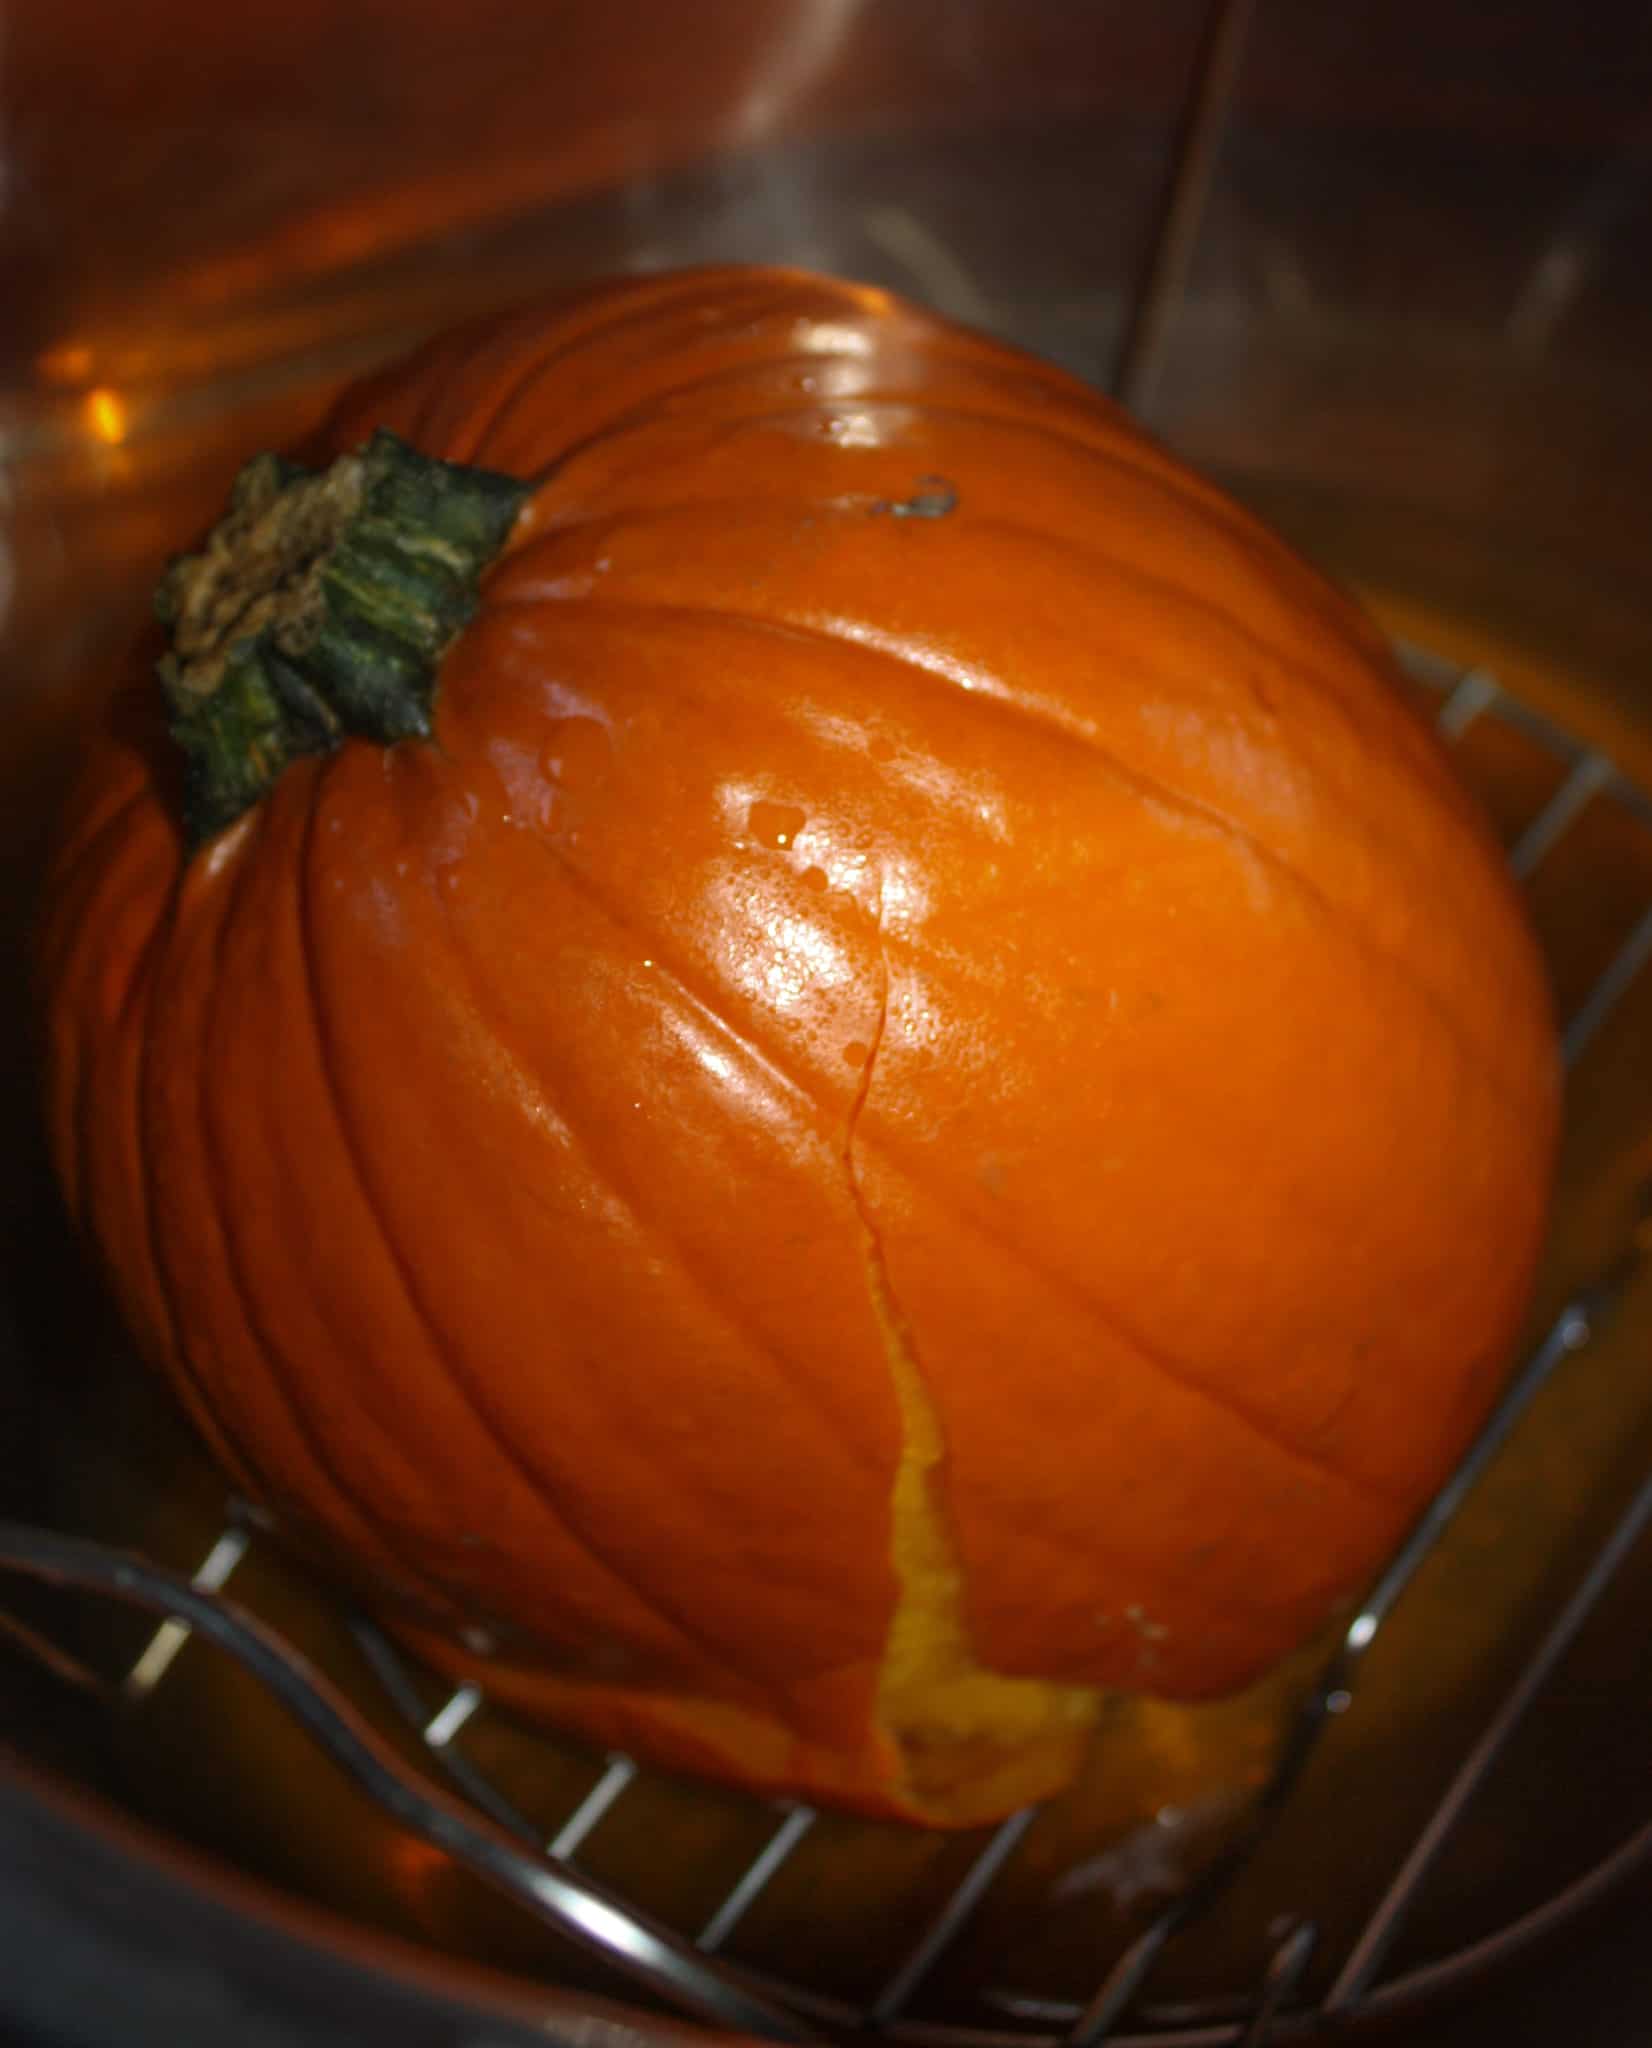
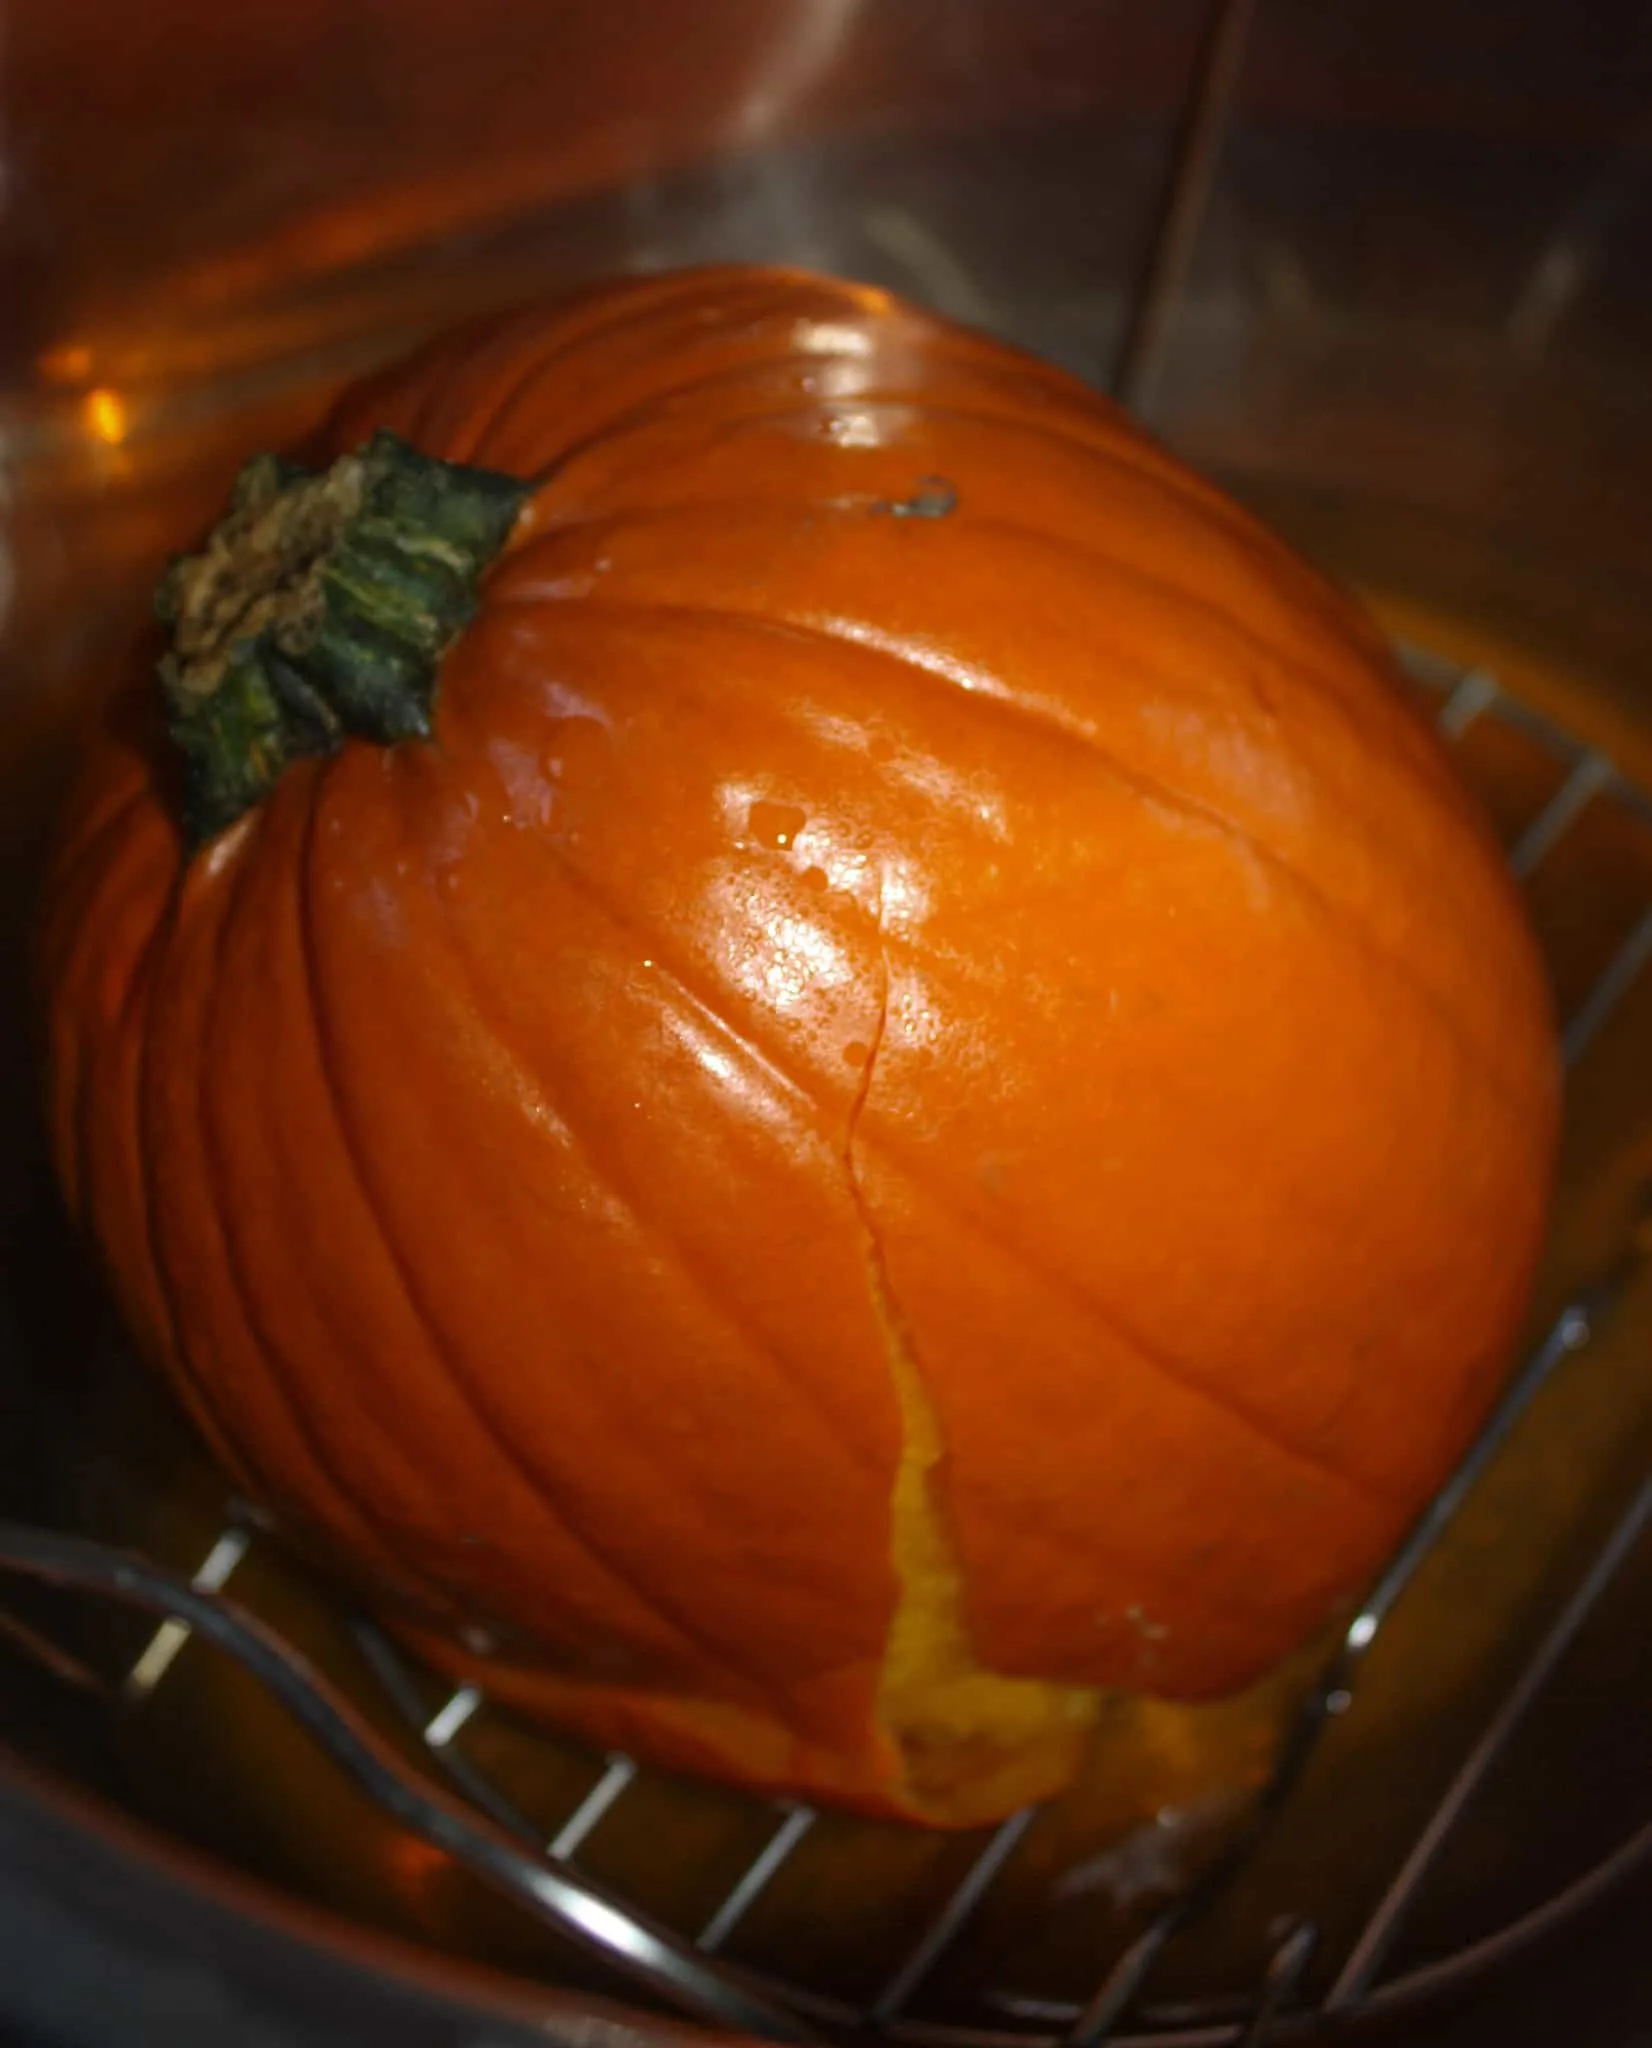
I let it cool for a few minutes on a plate.

Then I used a fork to peel off the skin.
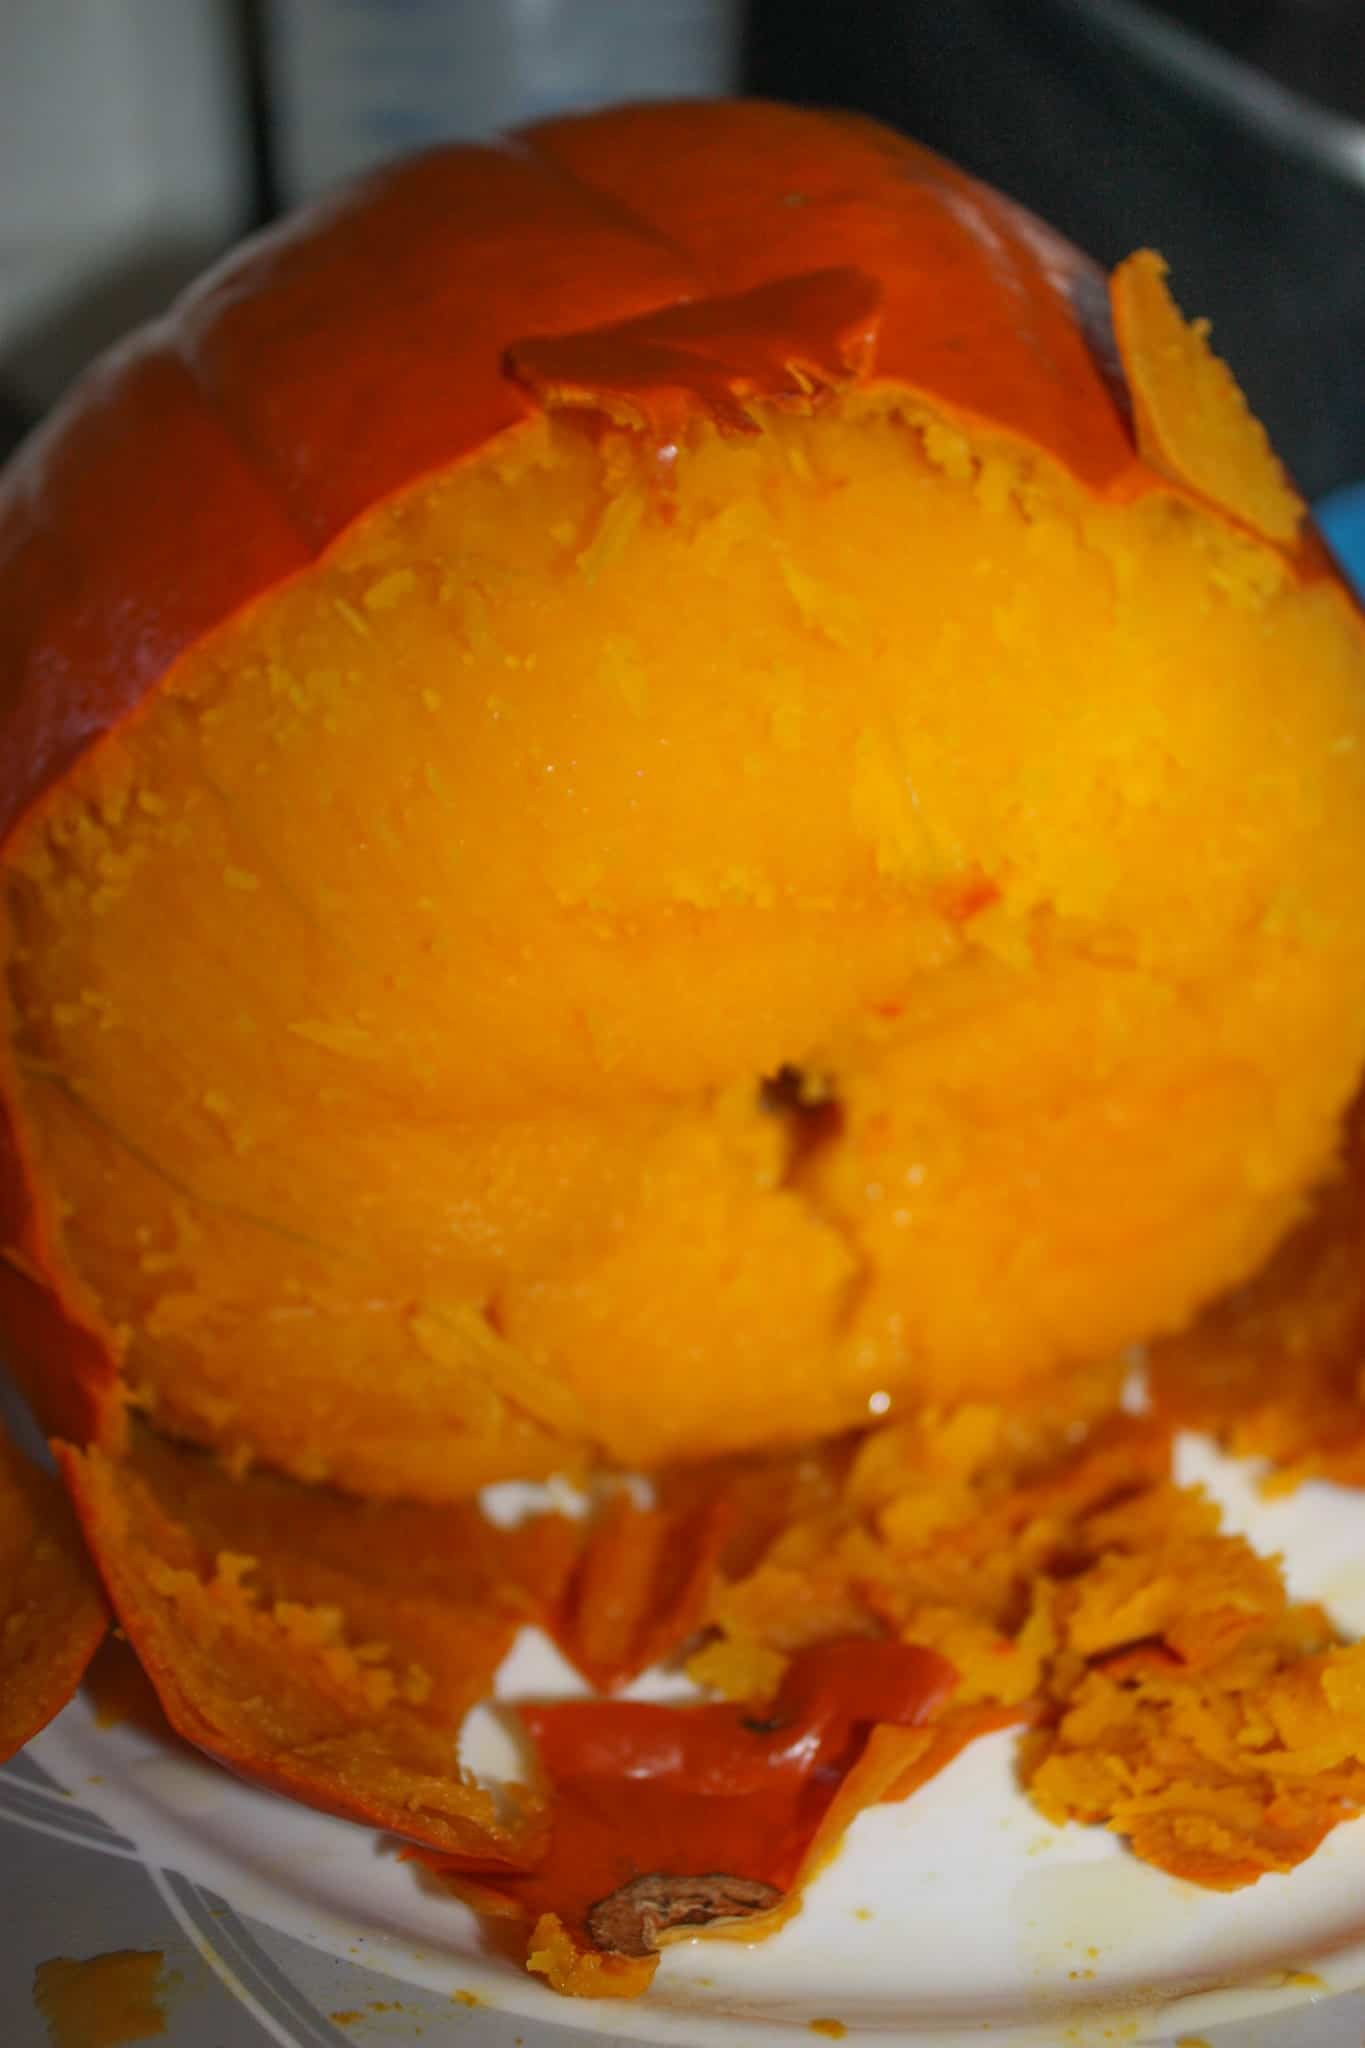
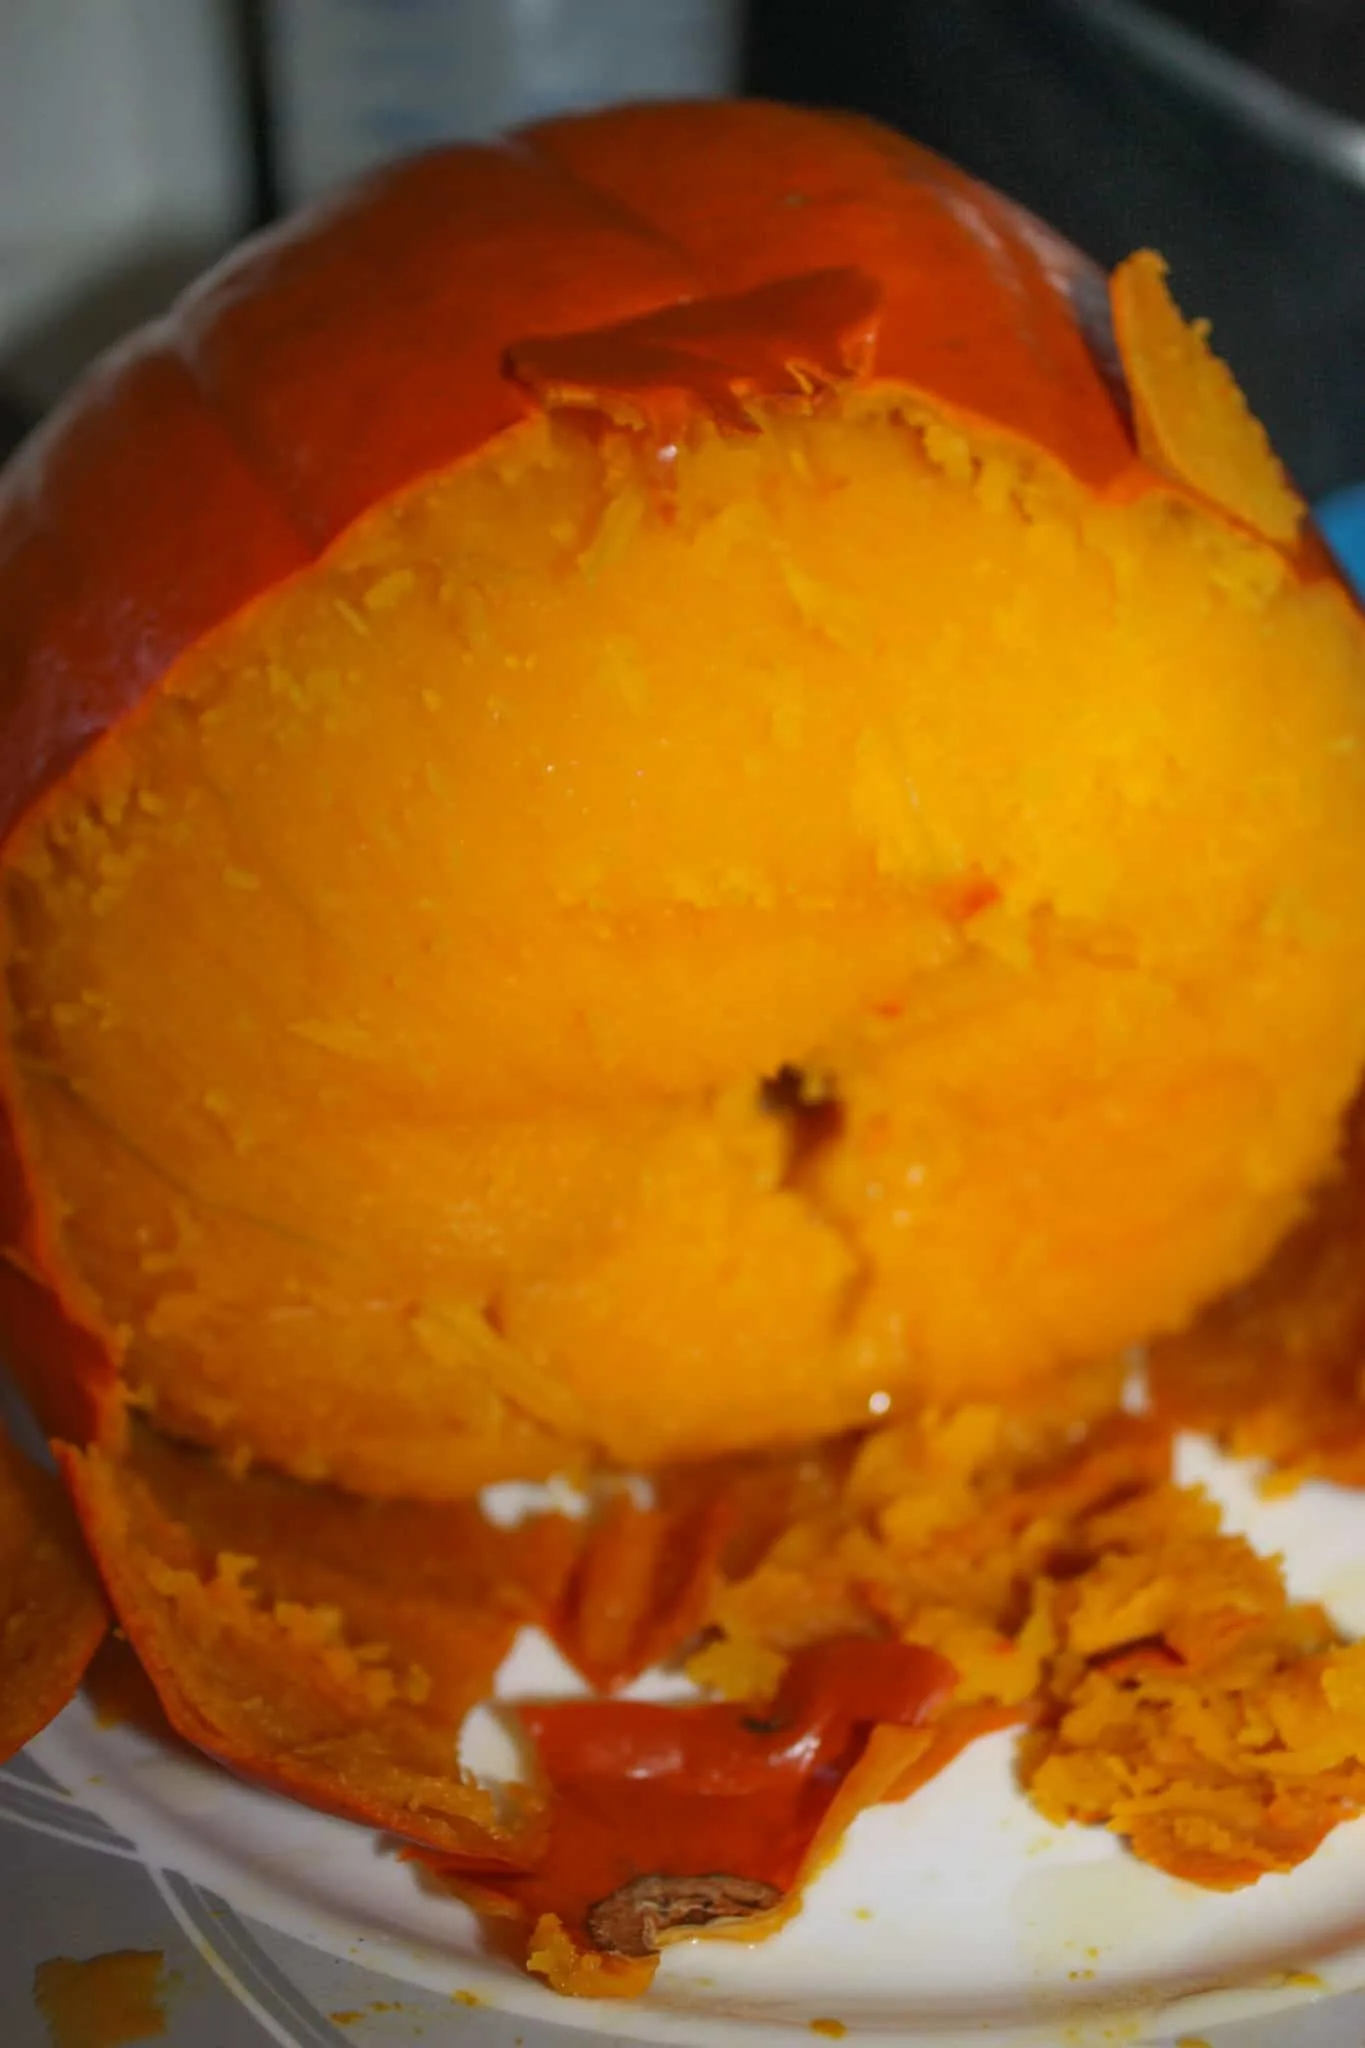
Next I cut the pie pumpkin in half.

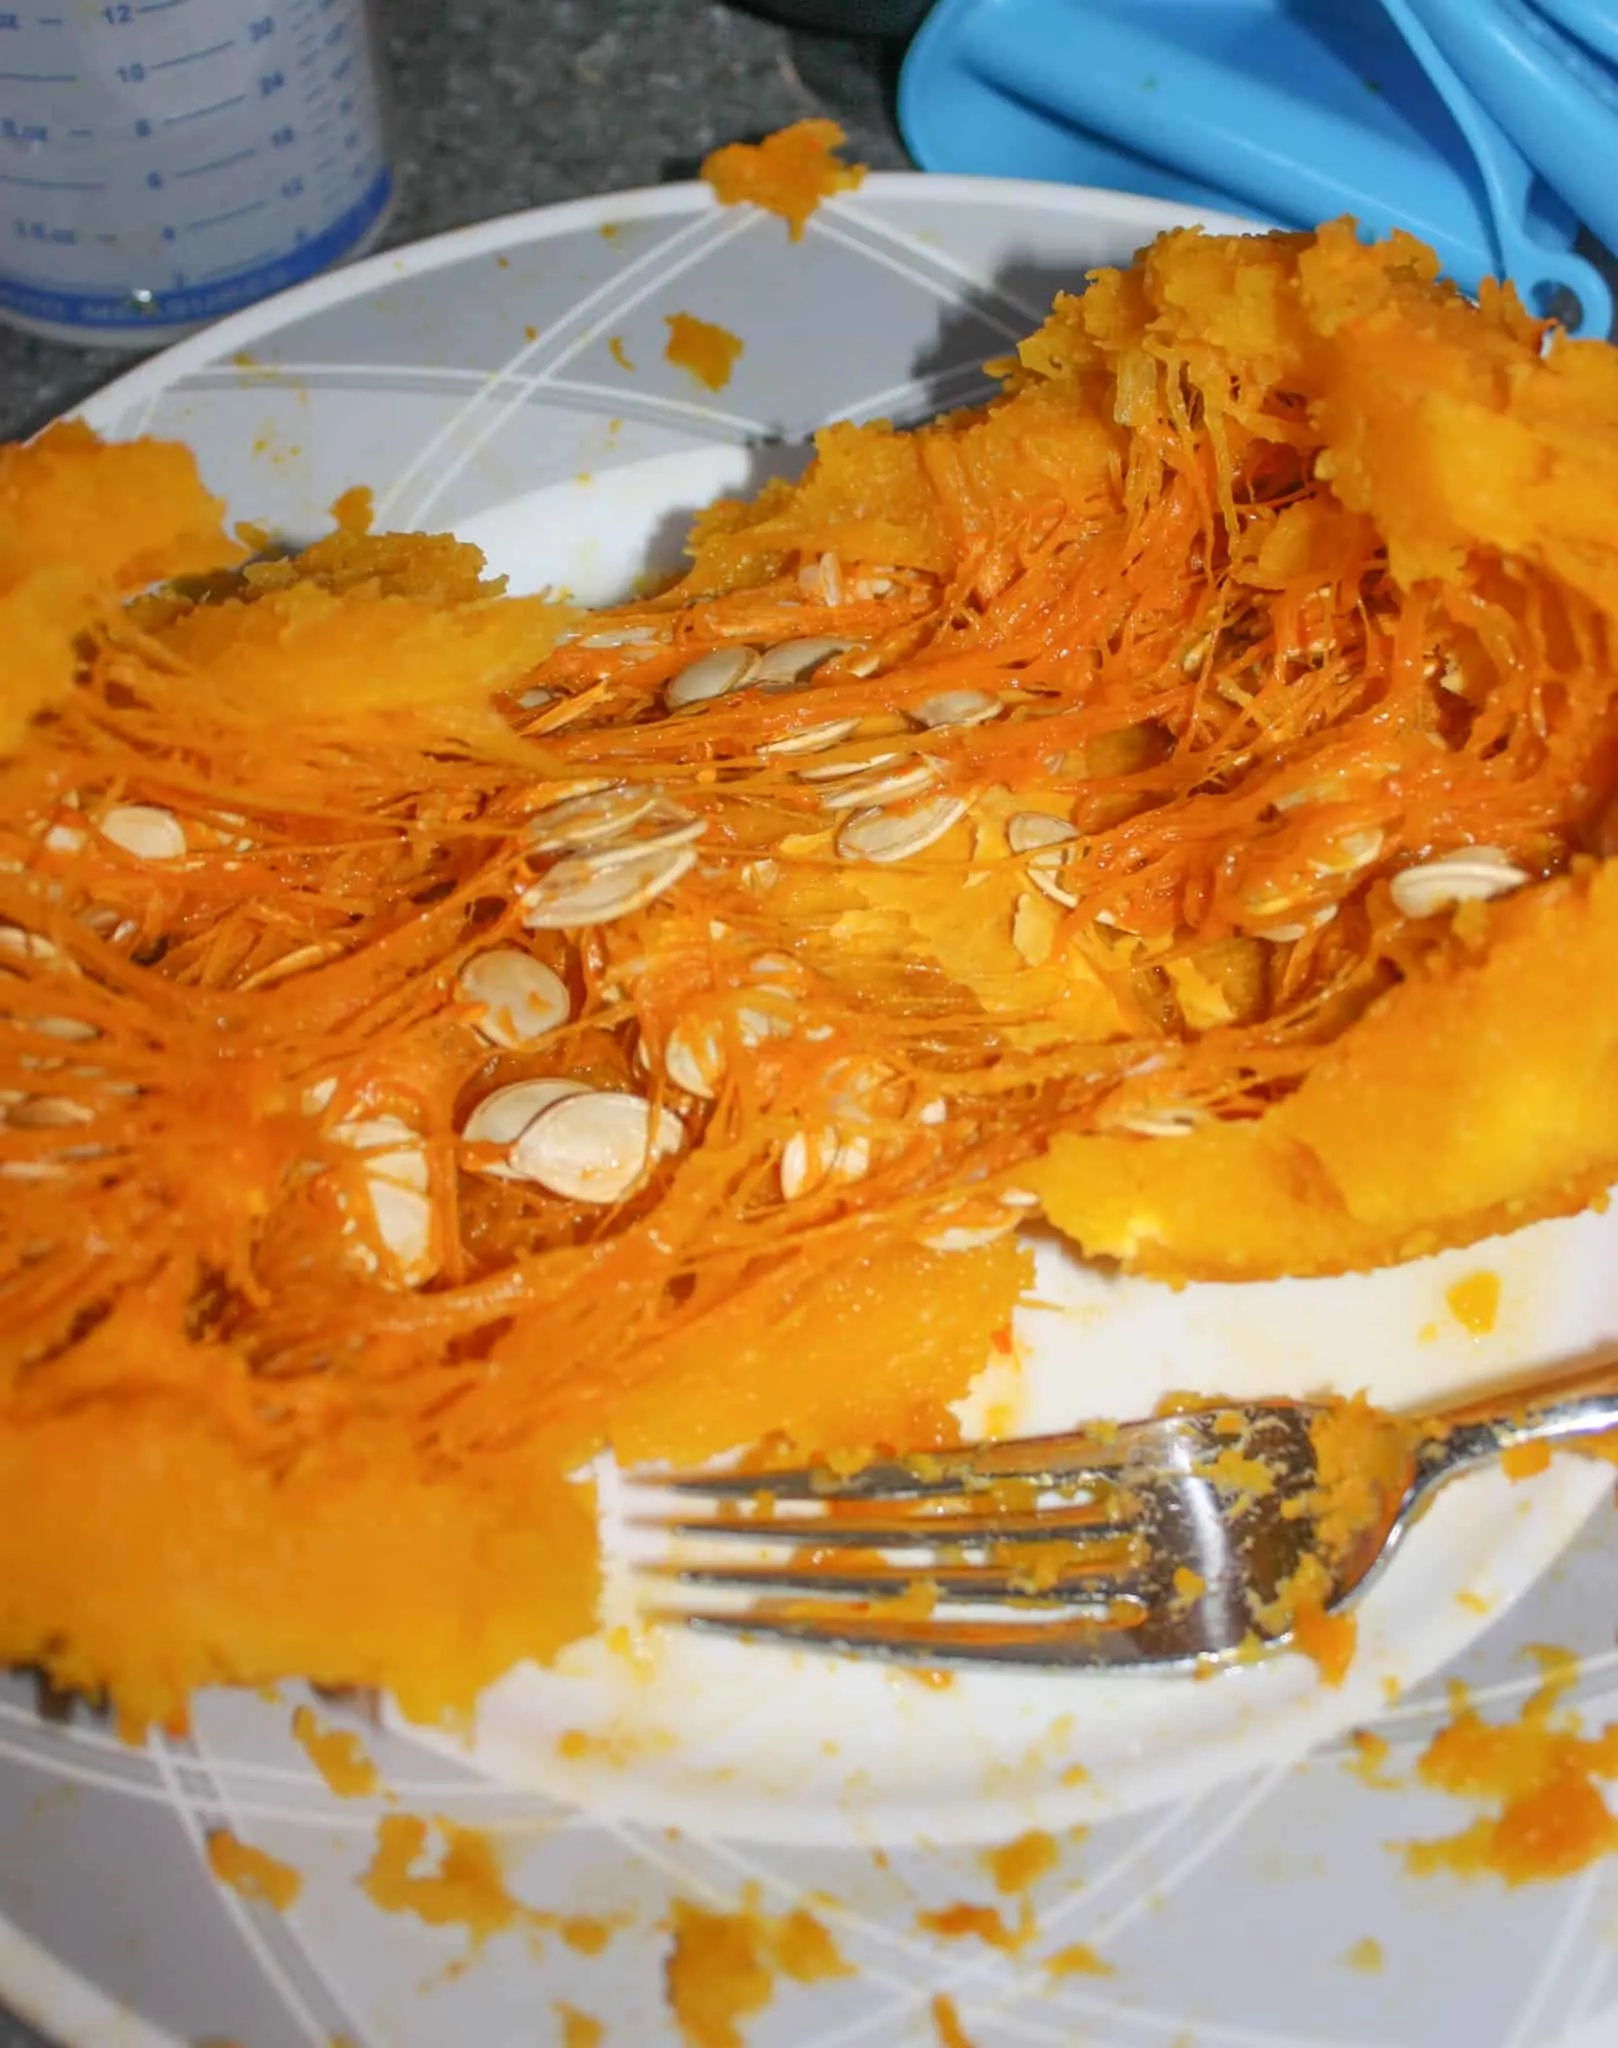
I scraped off all the seeds and guts.


Then I put it in my blender.
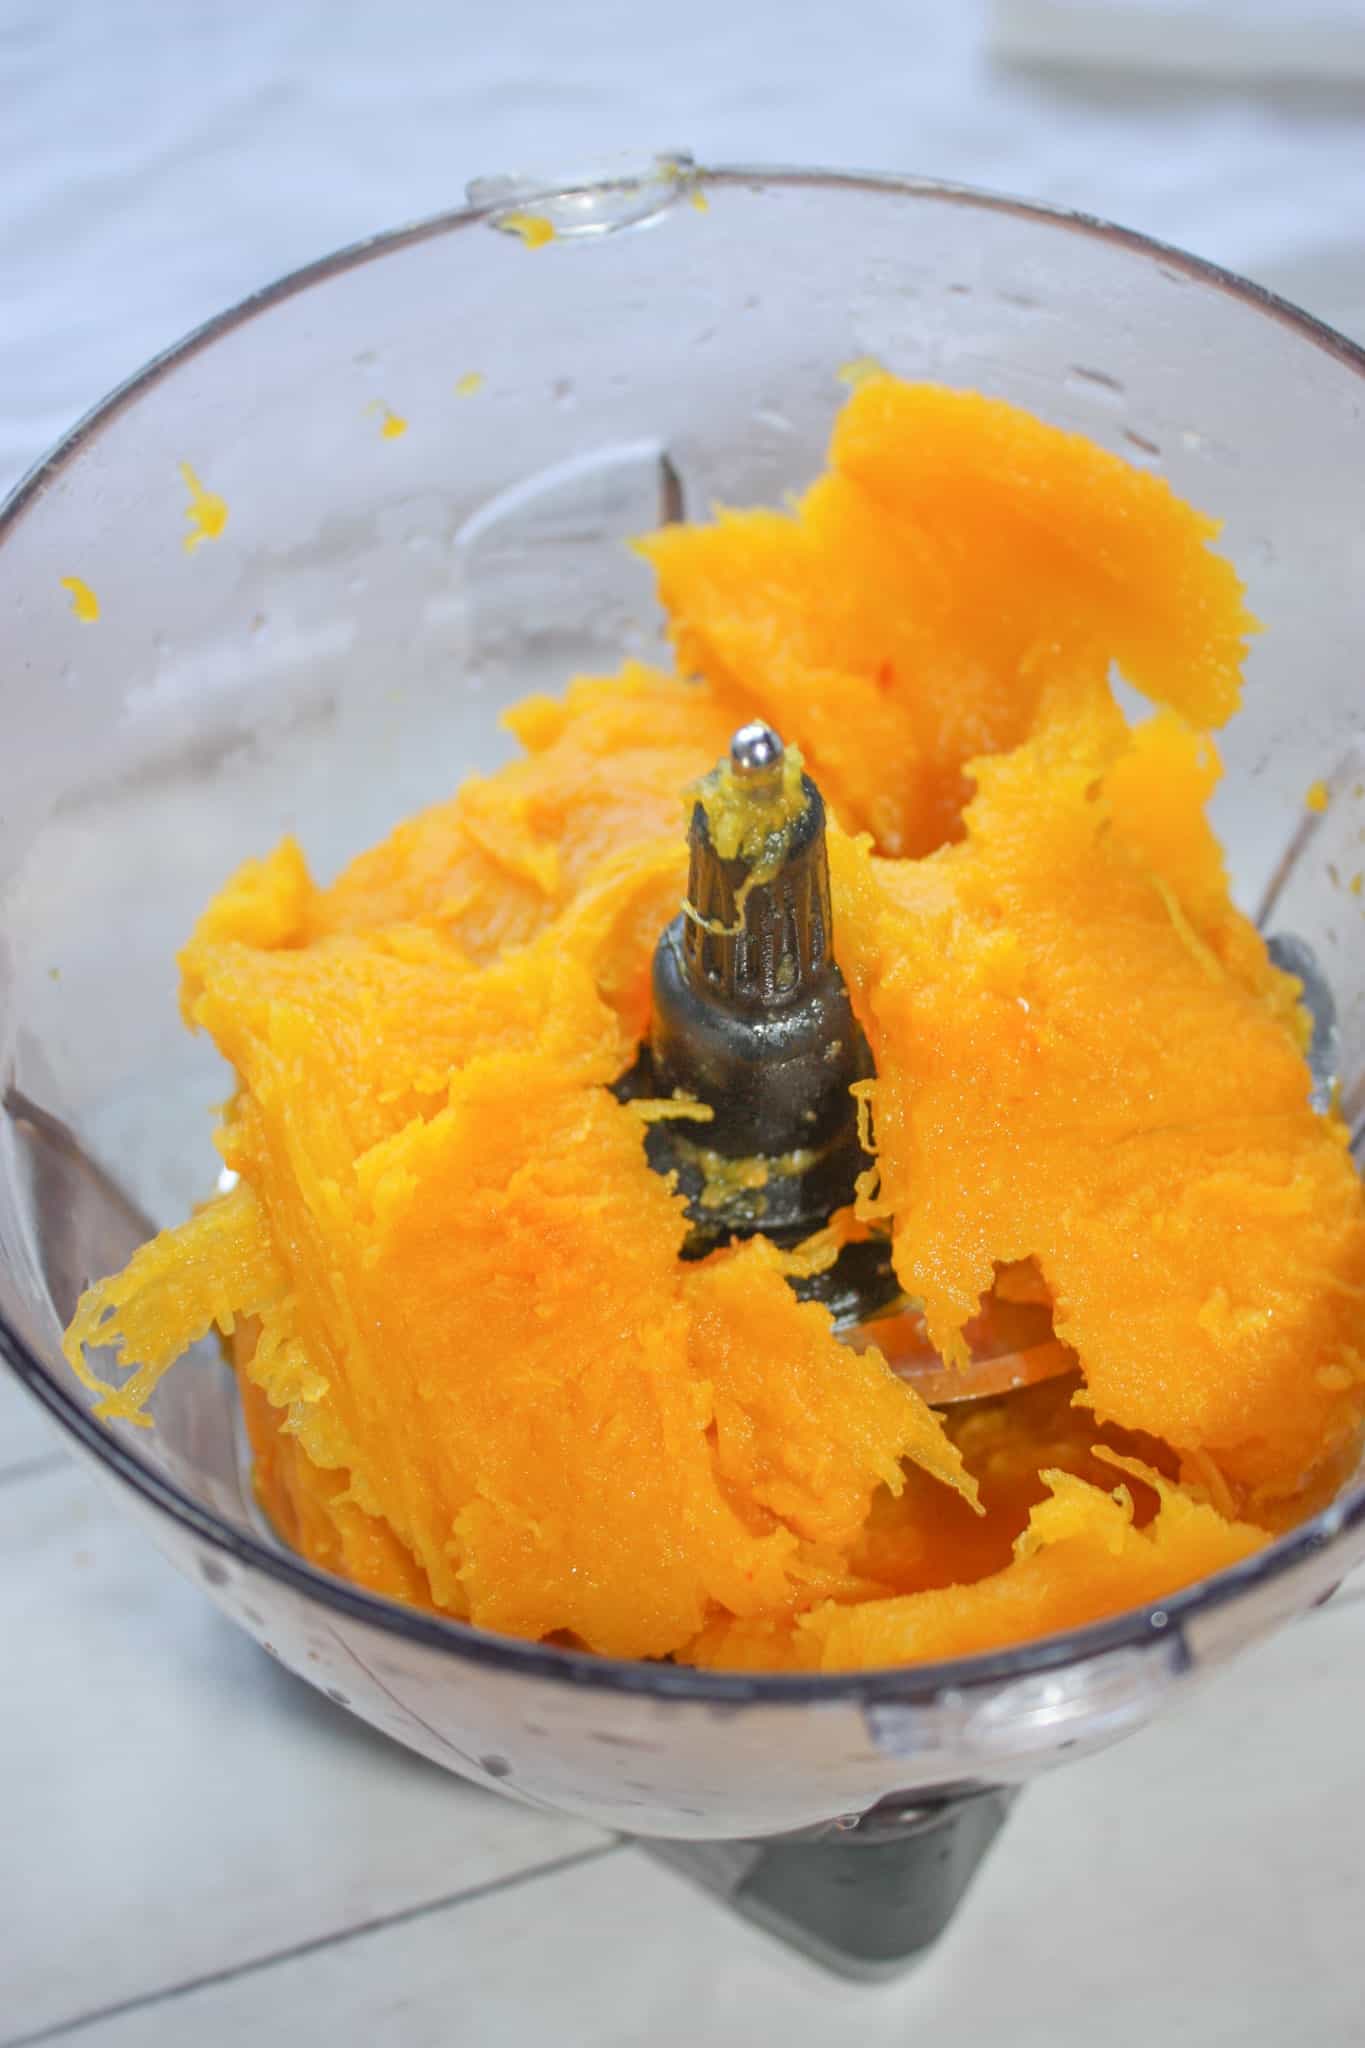

I blended it until it was the consistency of puree.

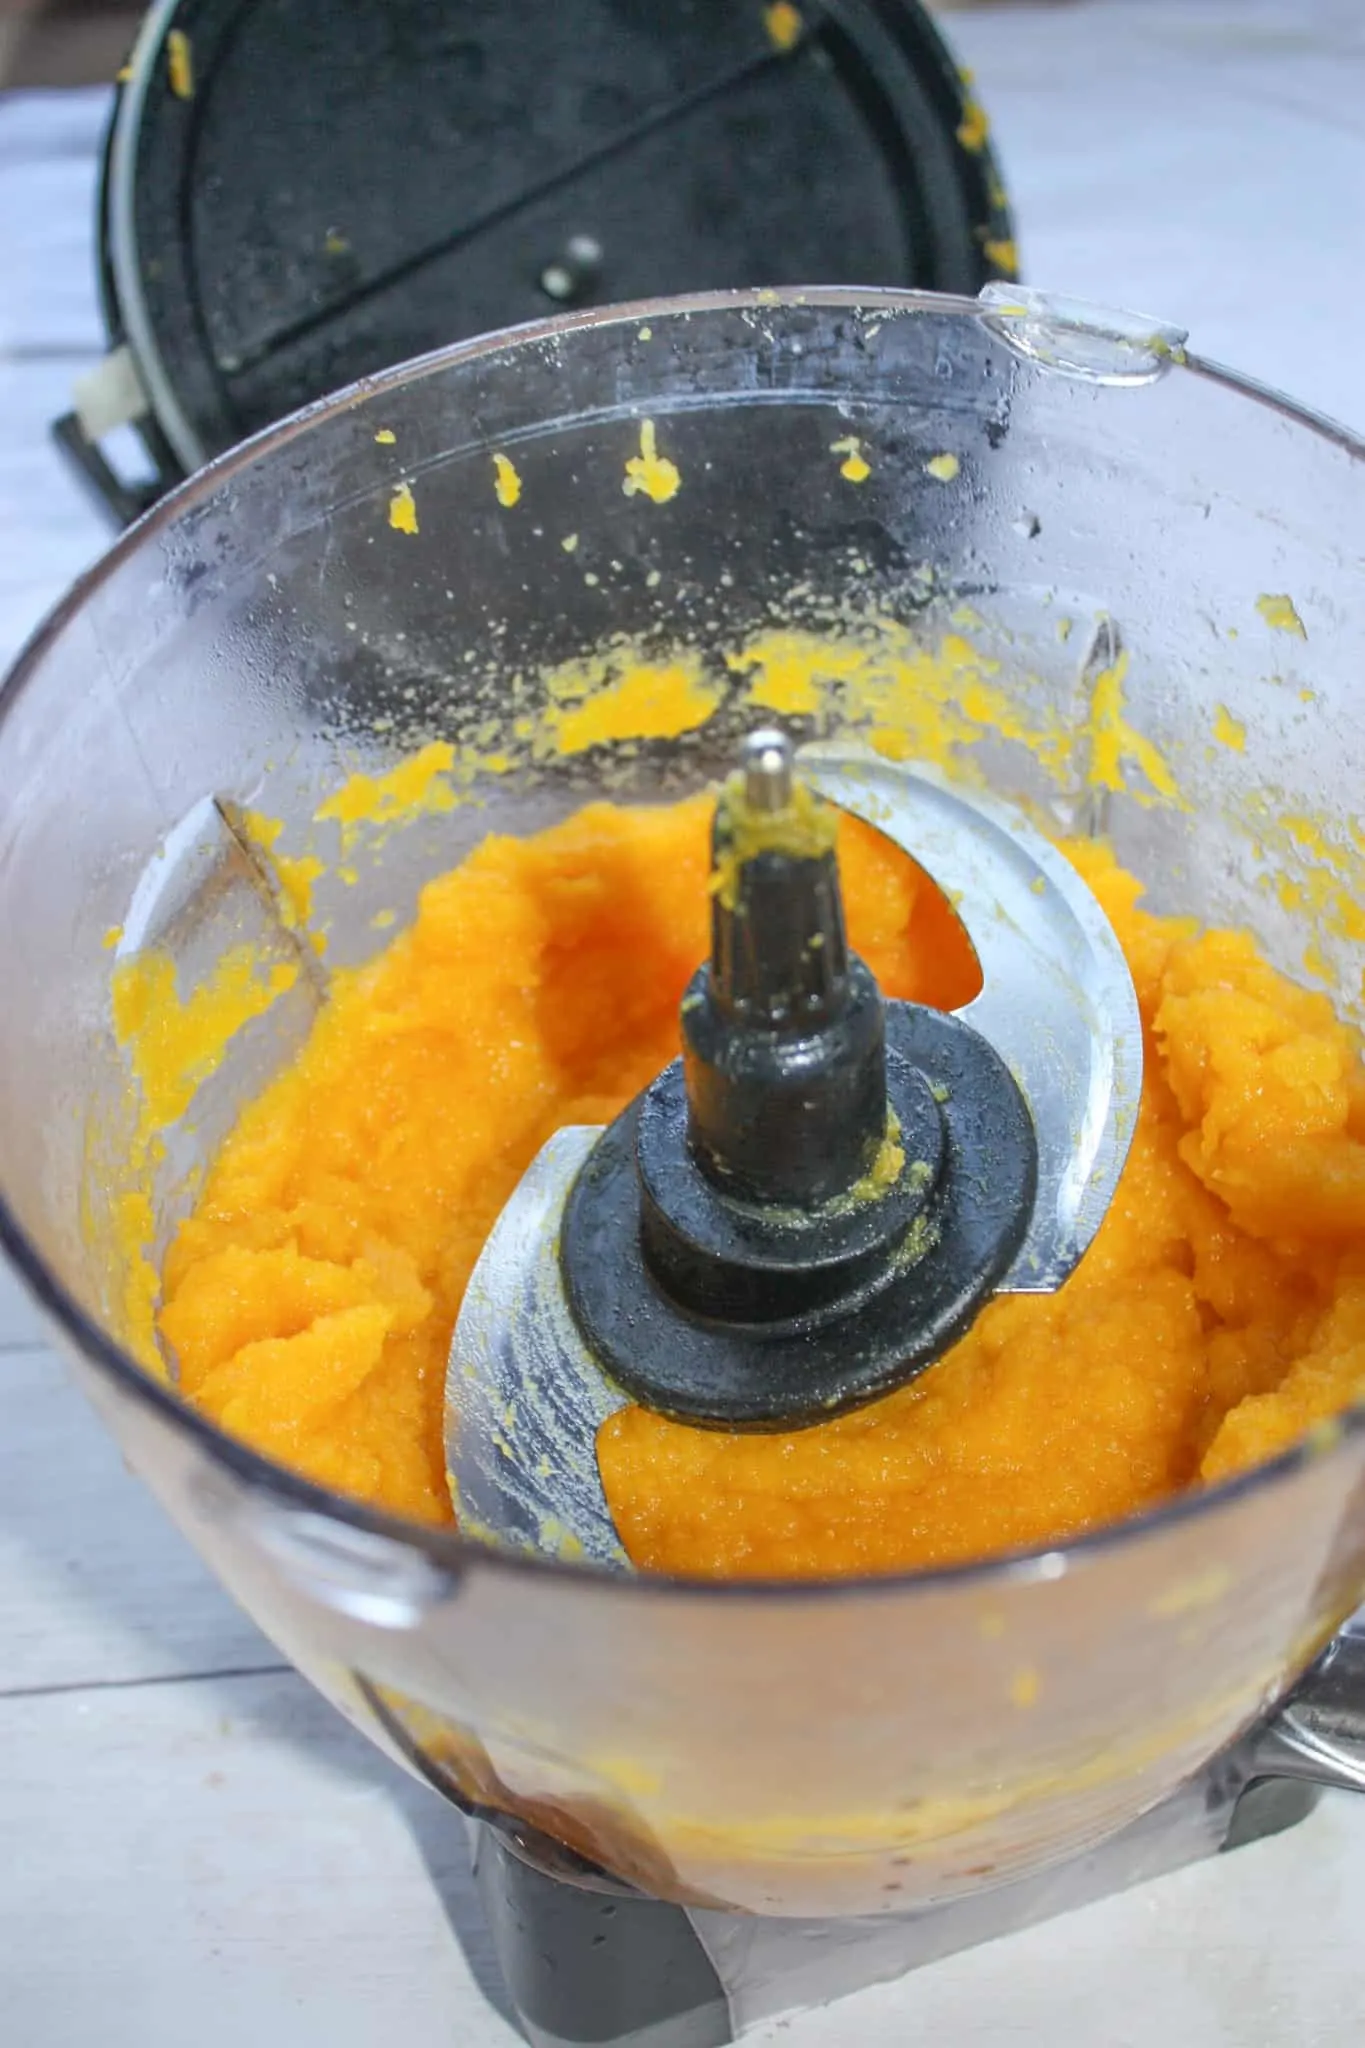
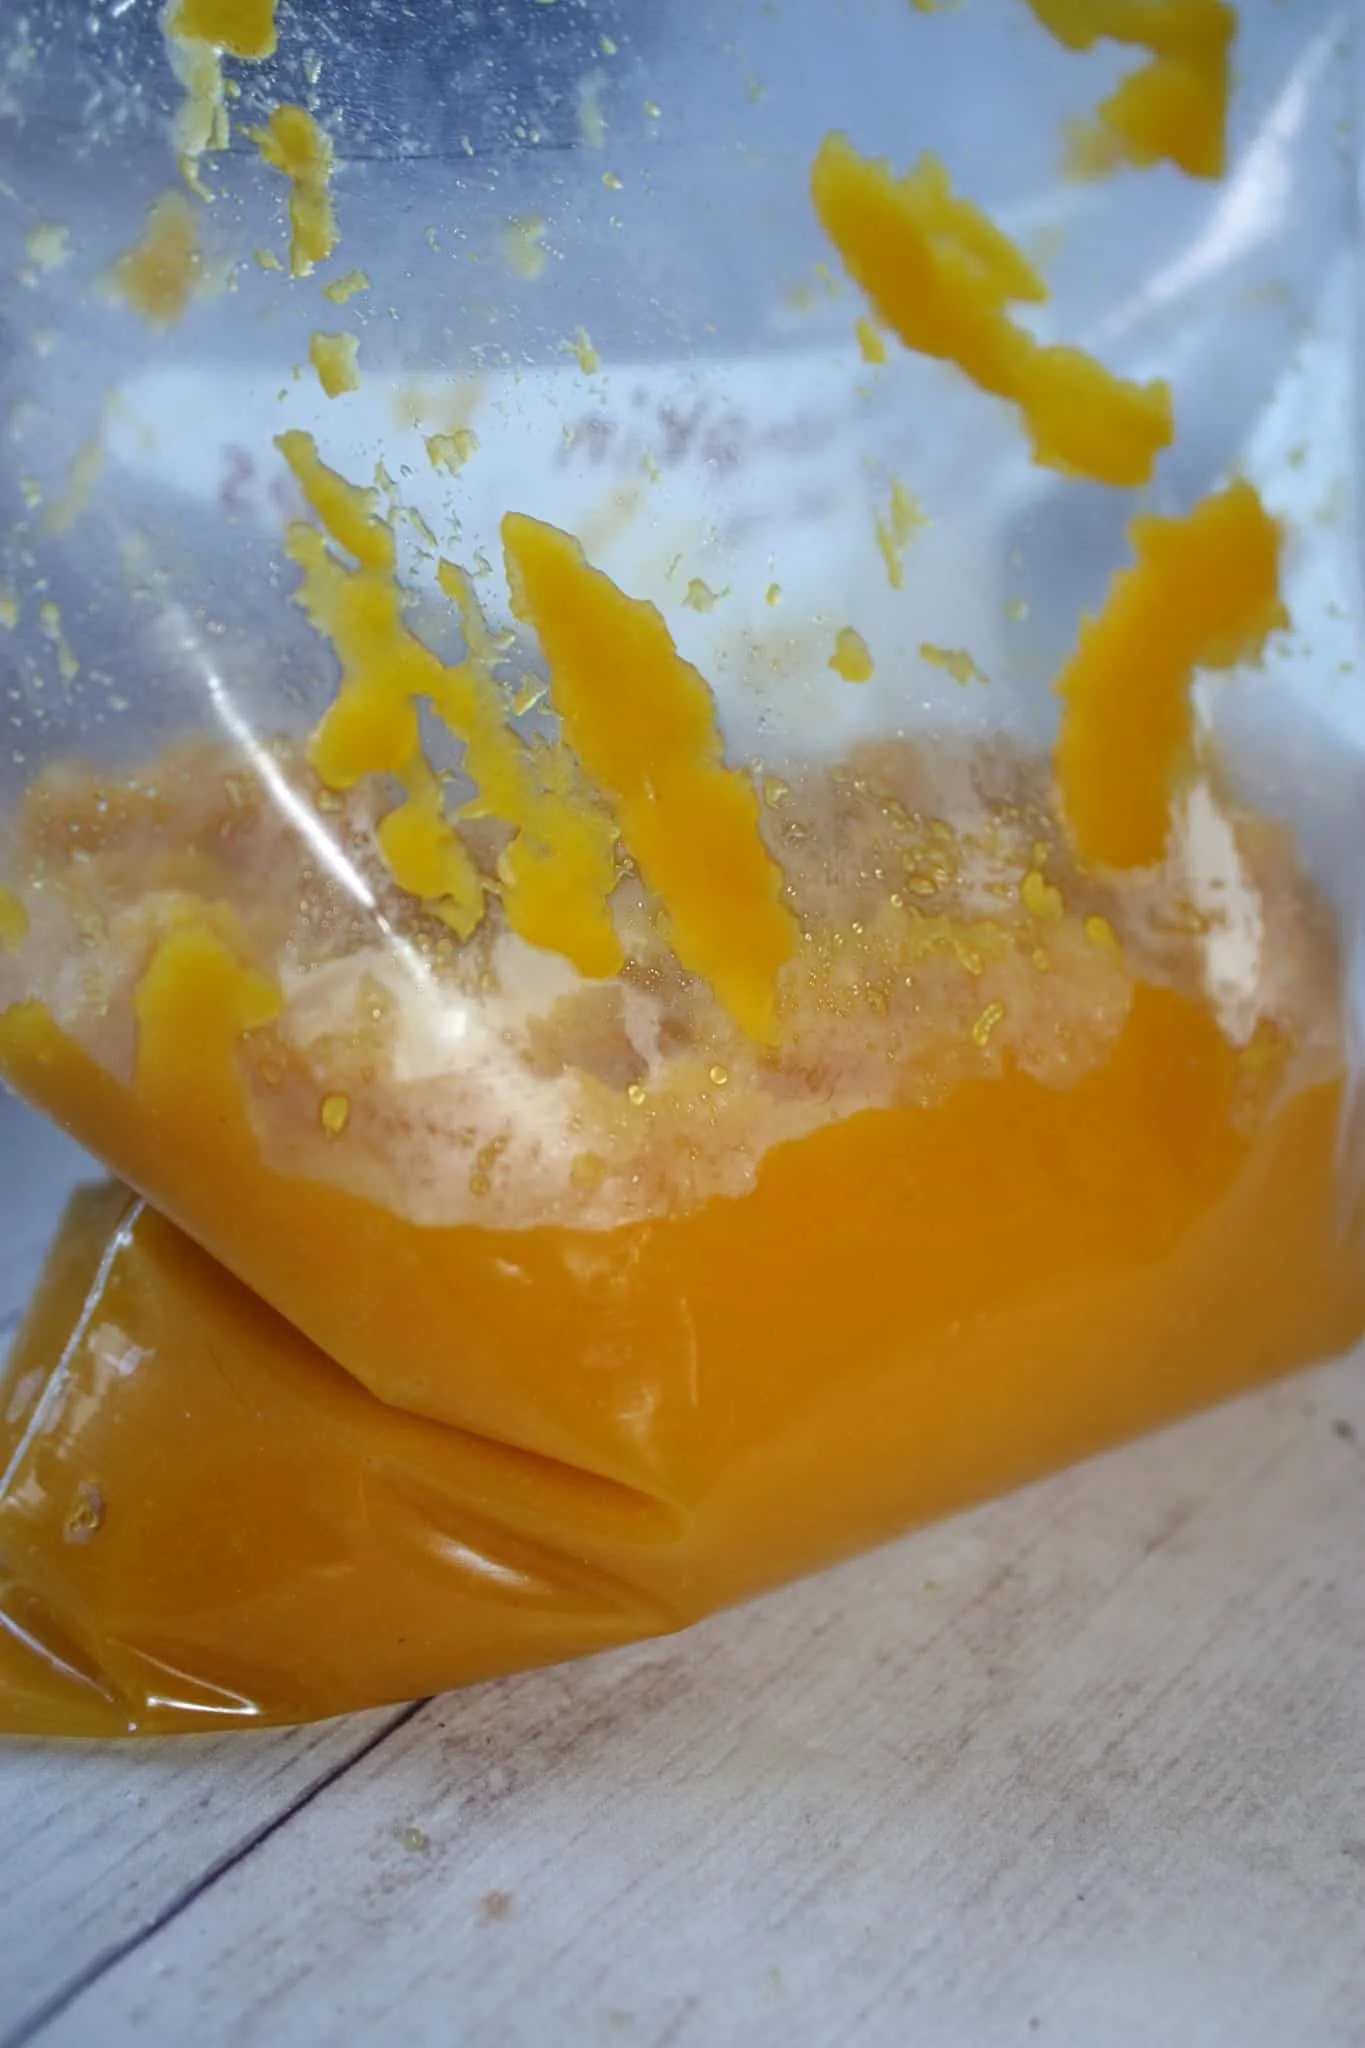
If you are not using the puree right away you can put it in a freezer bag.

I wanted to use my puree to make Pumpkin Pie.
To begin this process I dumped some brown sugar, ground cinnamon,ground ginger, nutmeg, cloves and salt into a mixing bowl.
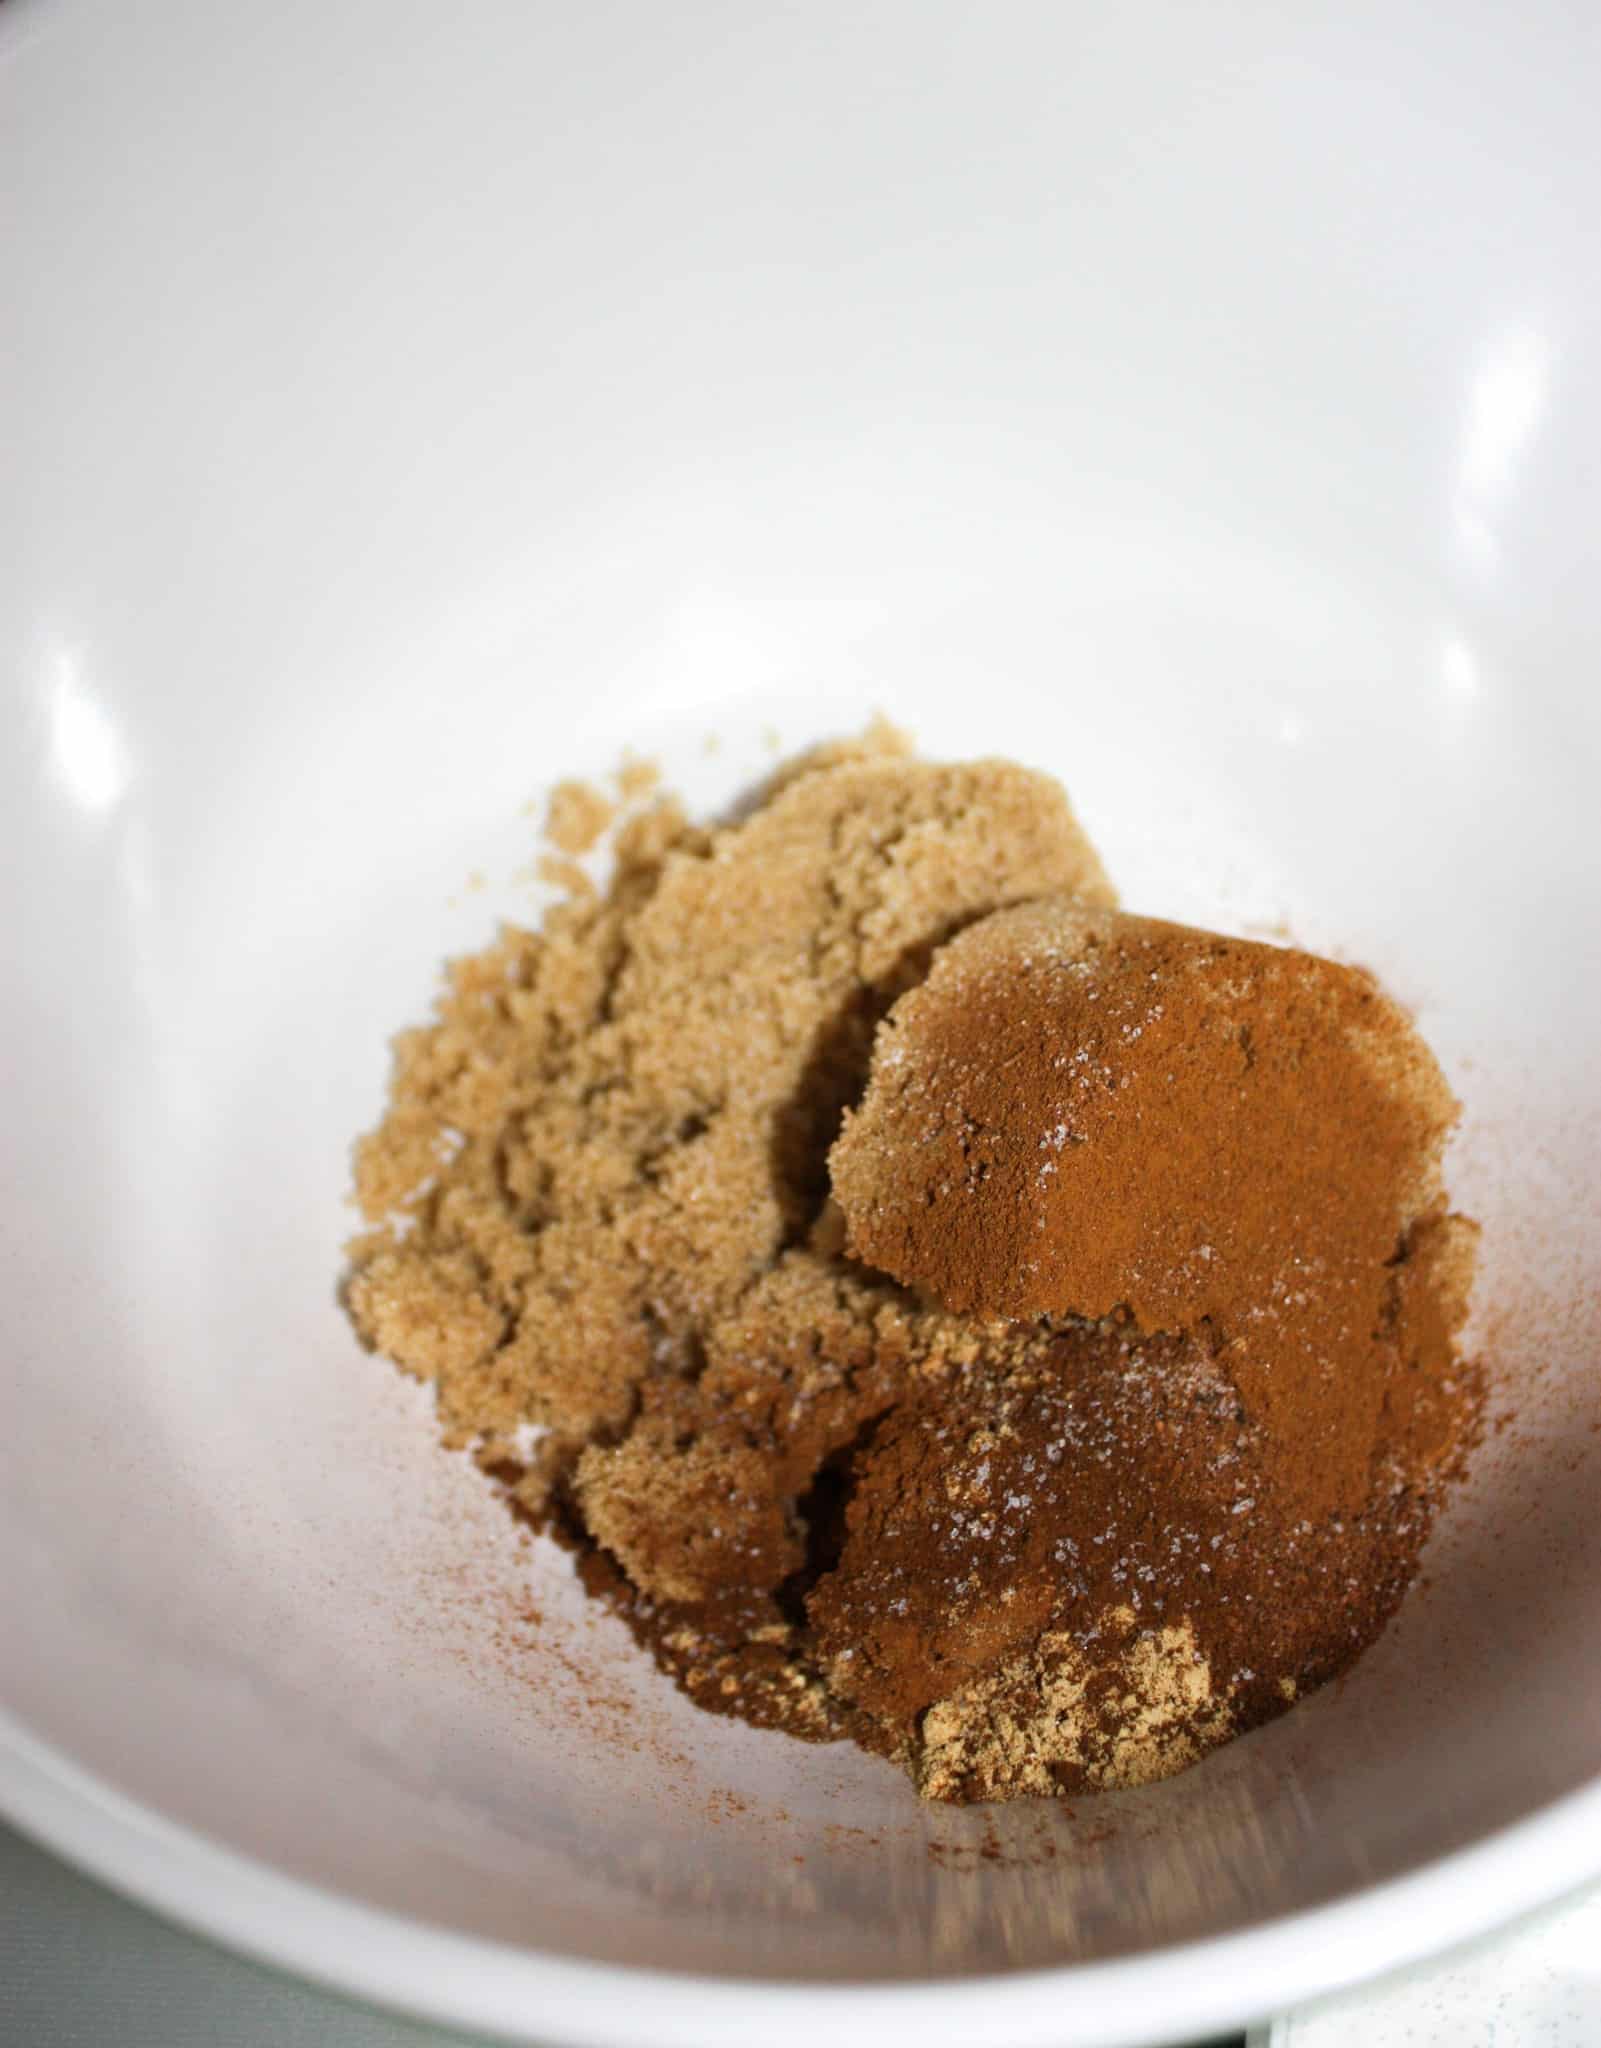

I blended the brown sugar and spices together before adding in the two cups of fresh pumpkin puree.

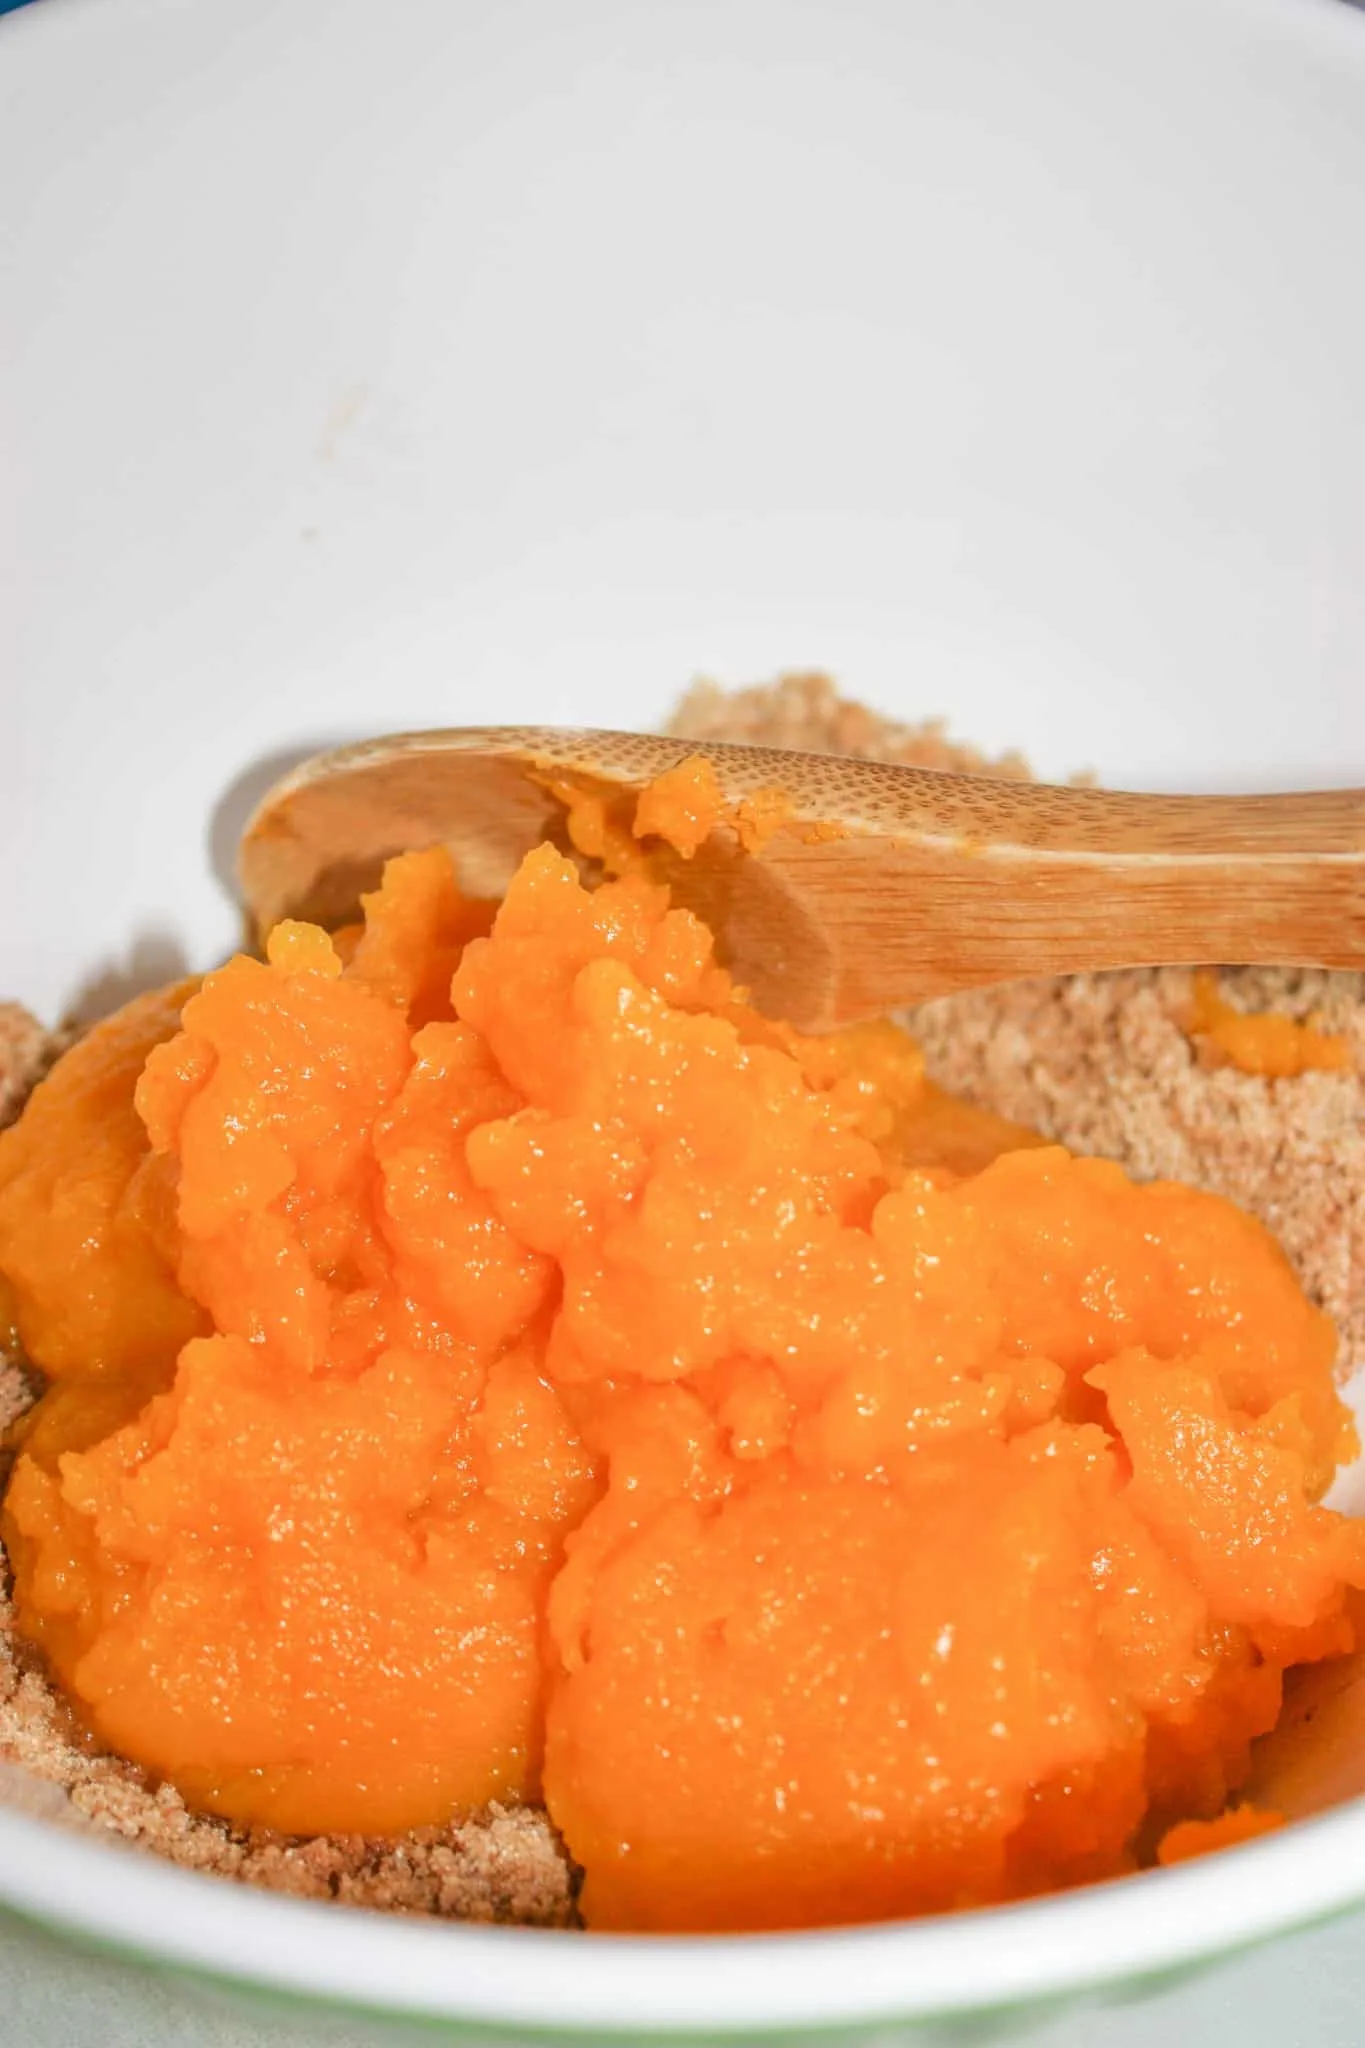
I used the wooden spoon to stir together the ingredients.
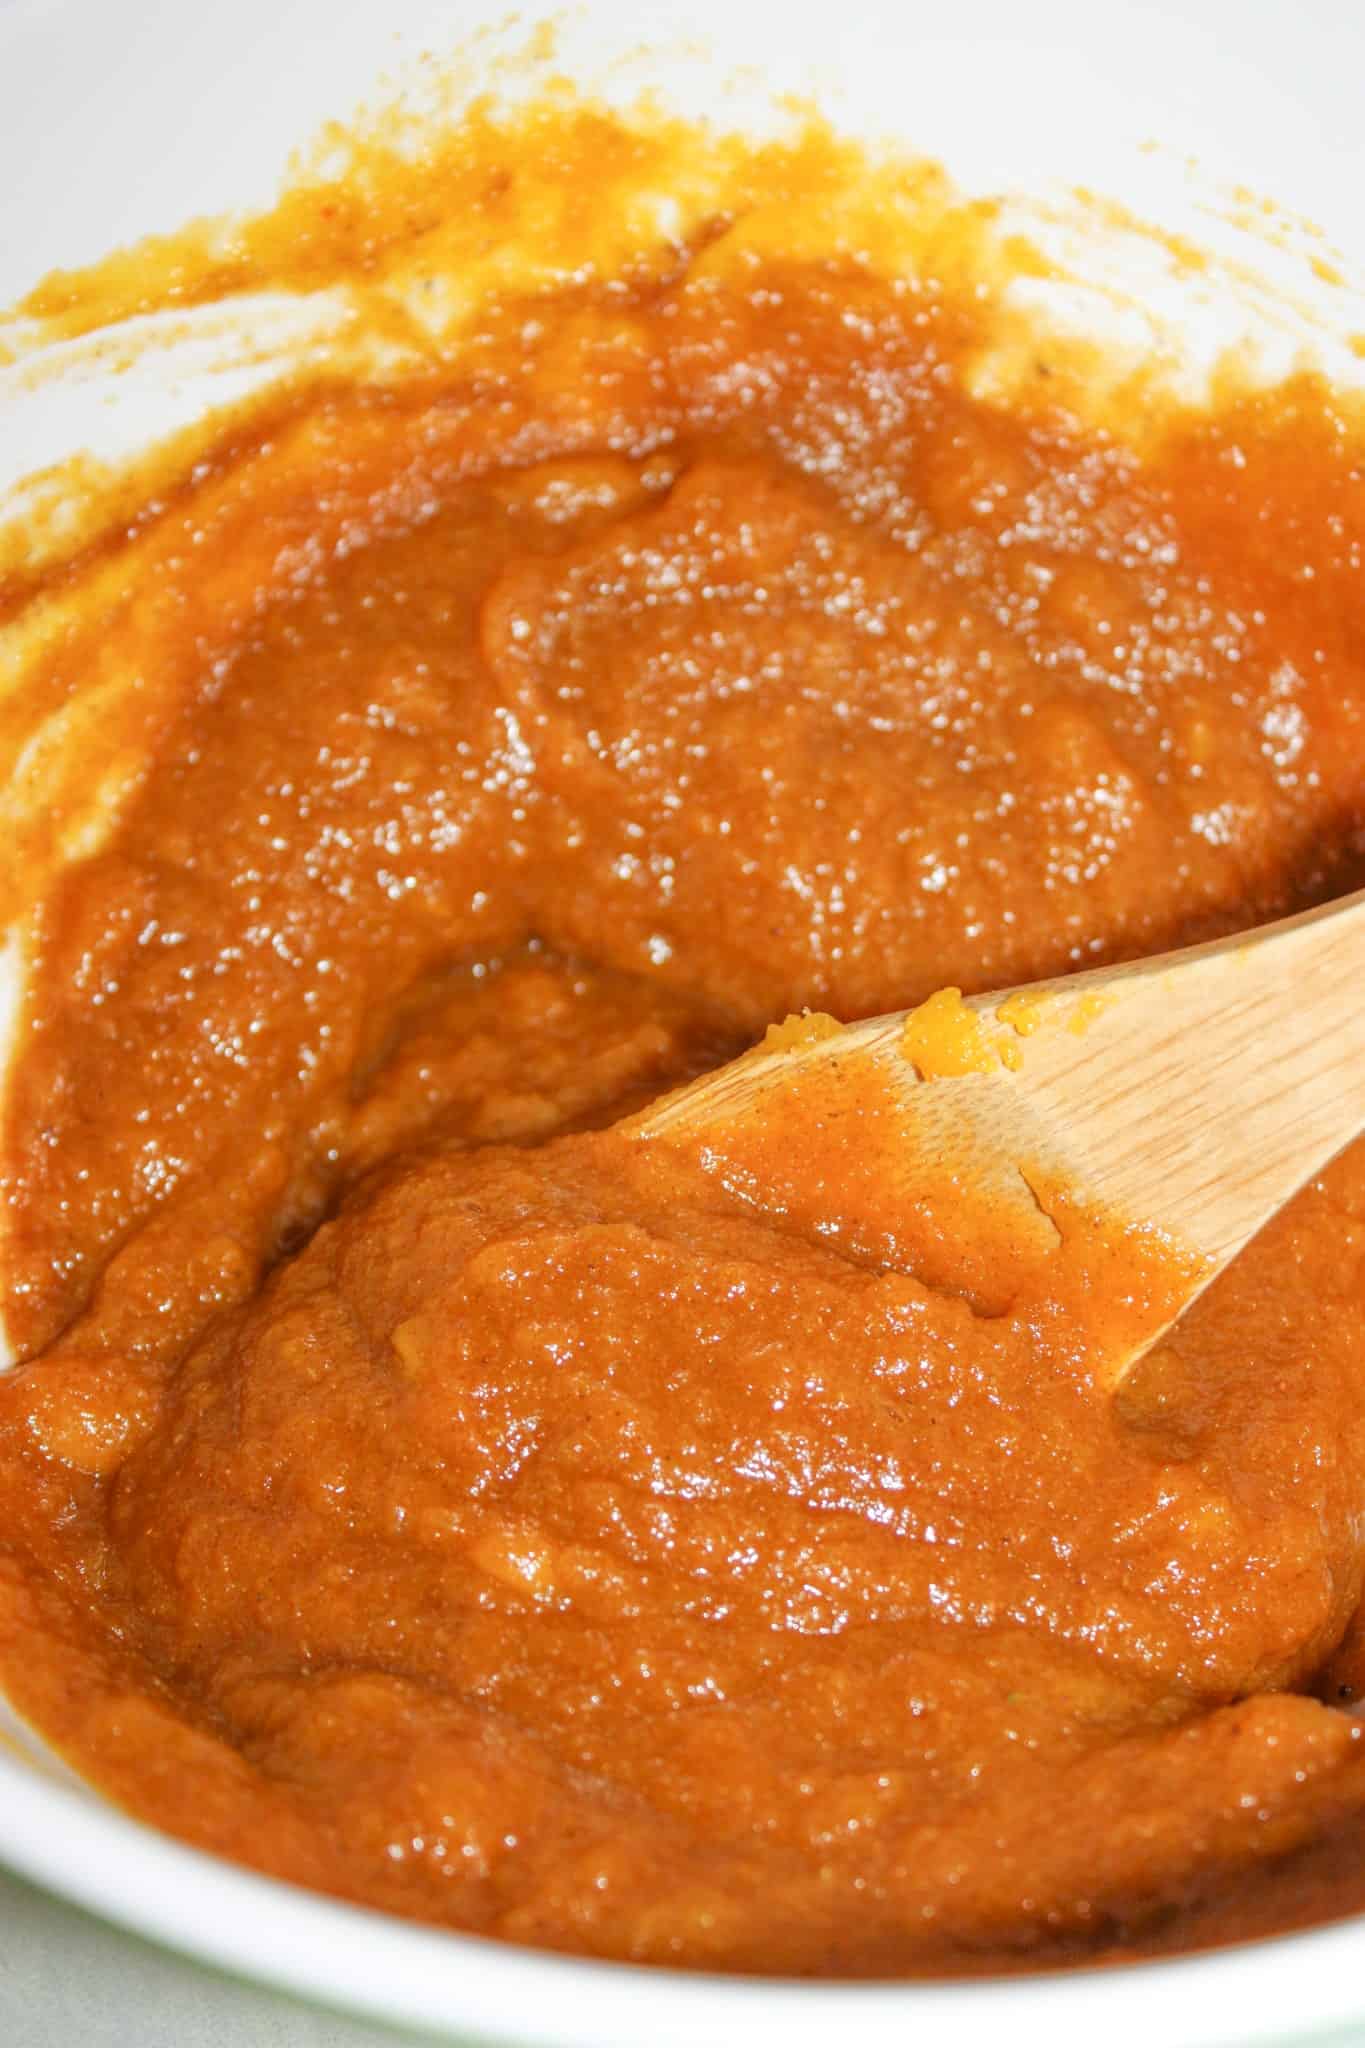
Then I added in two large eggs.
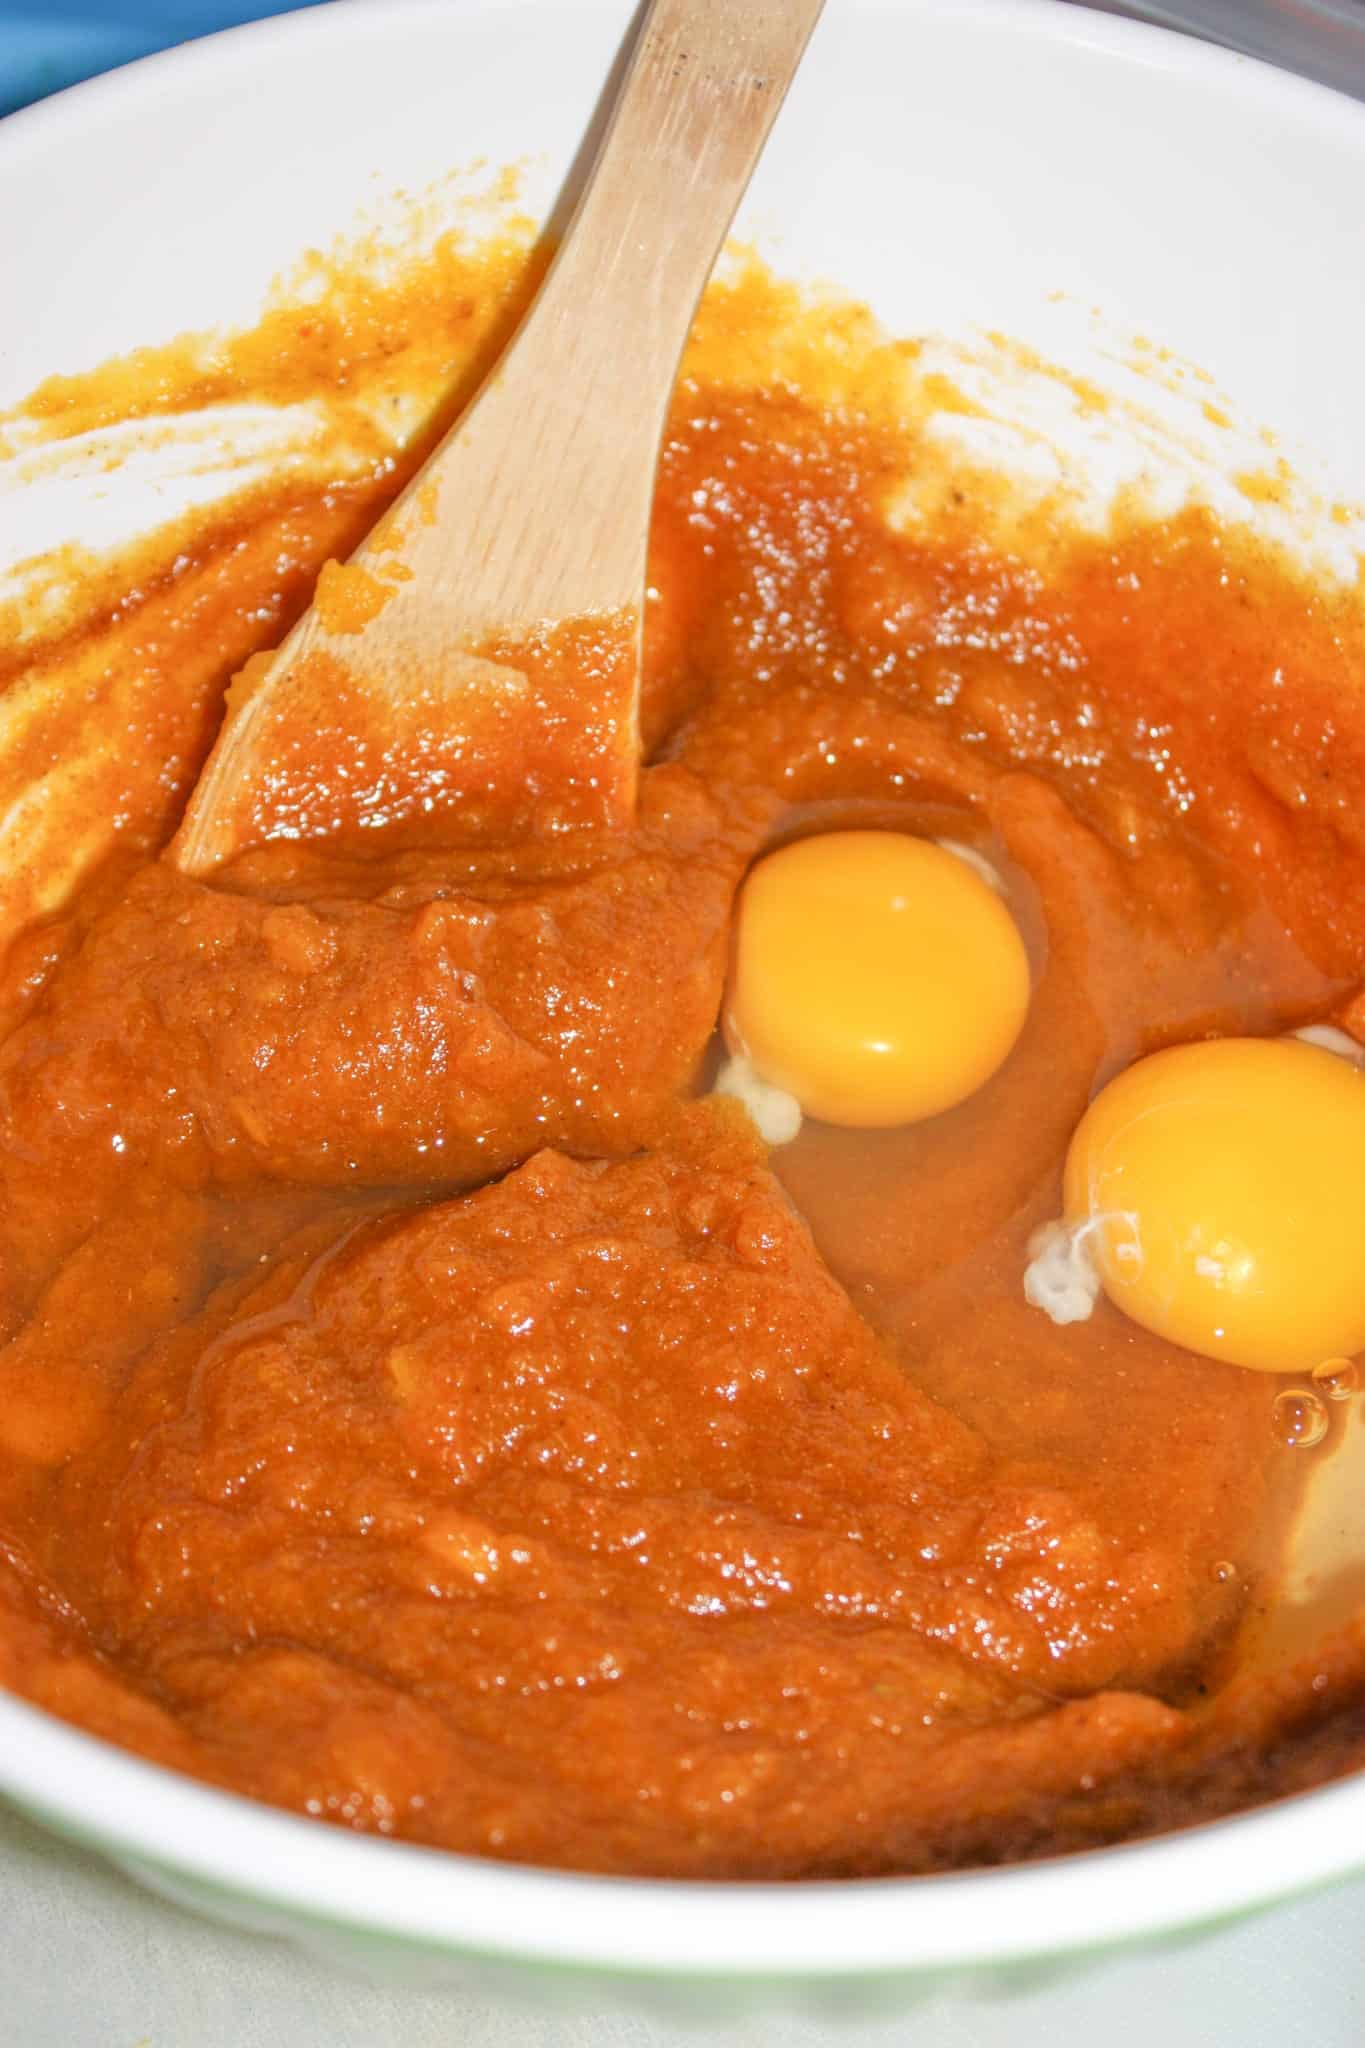
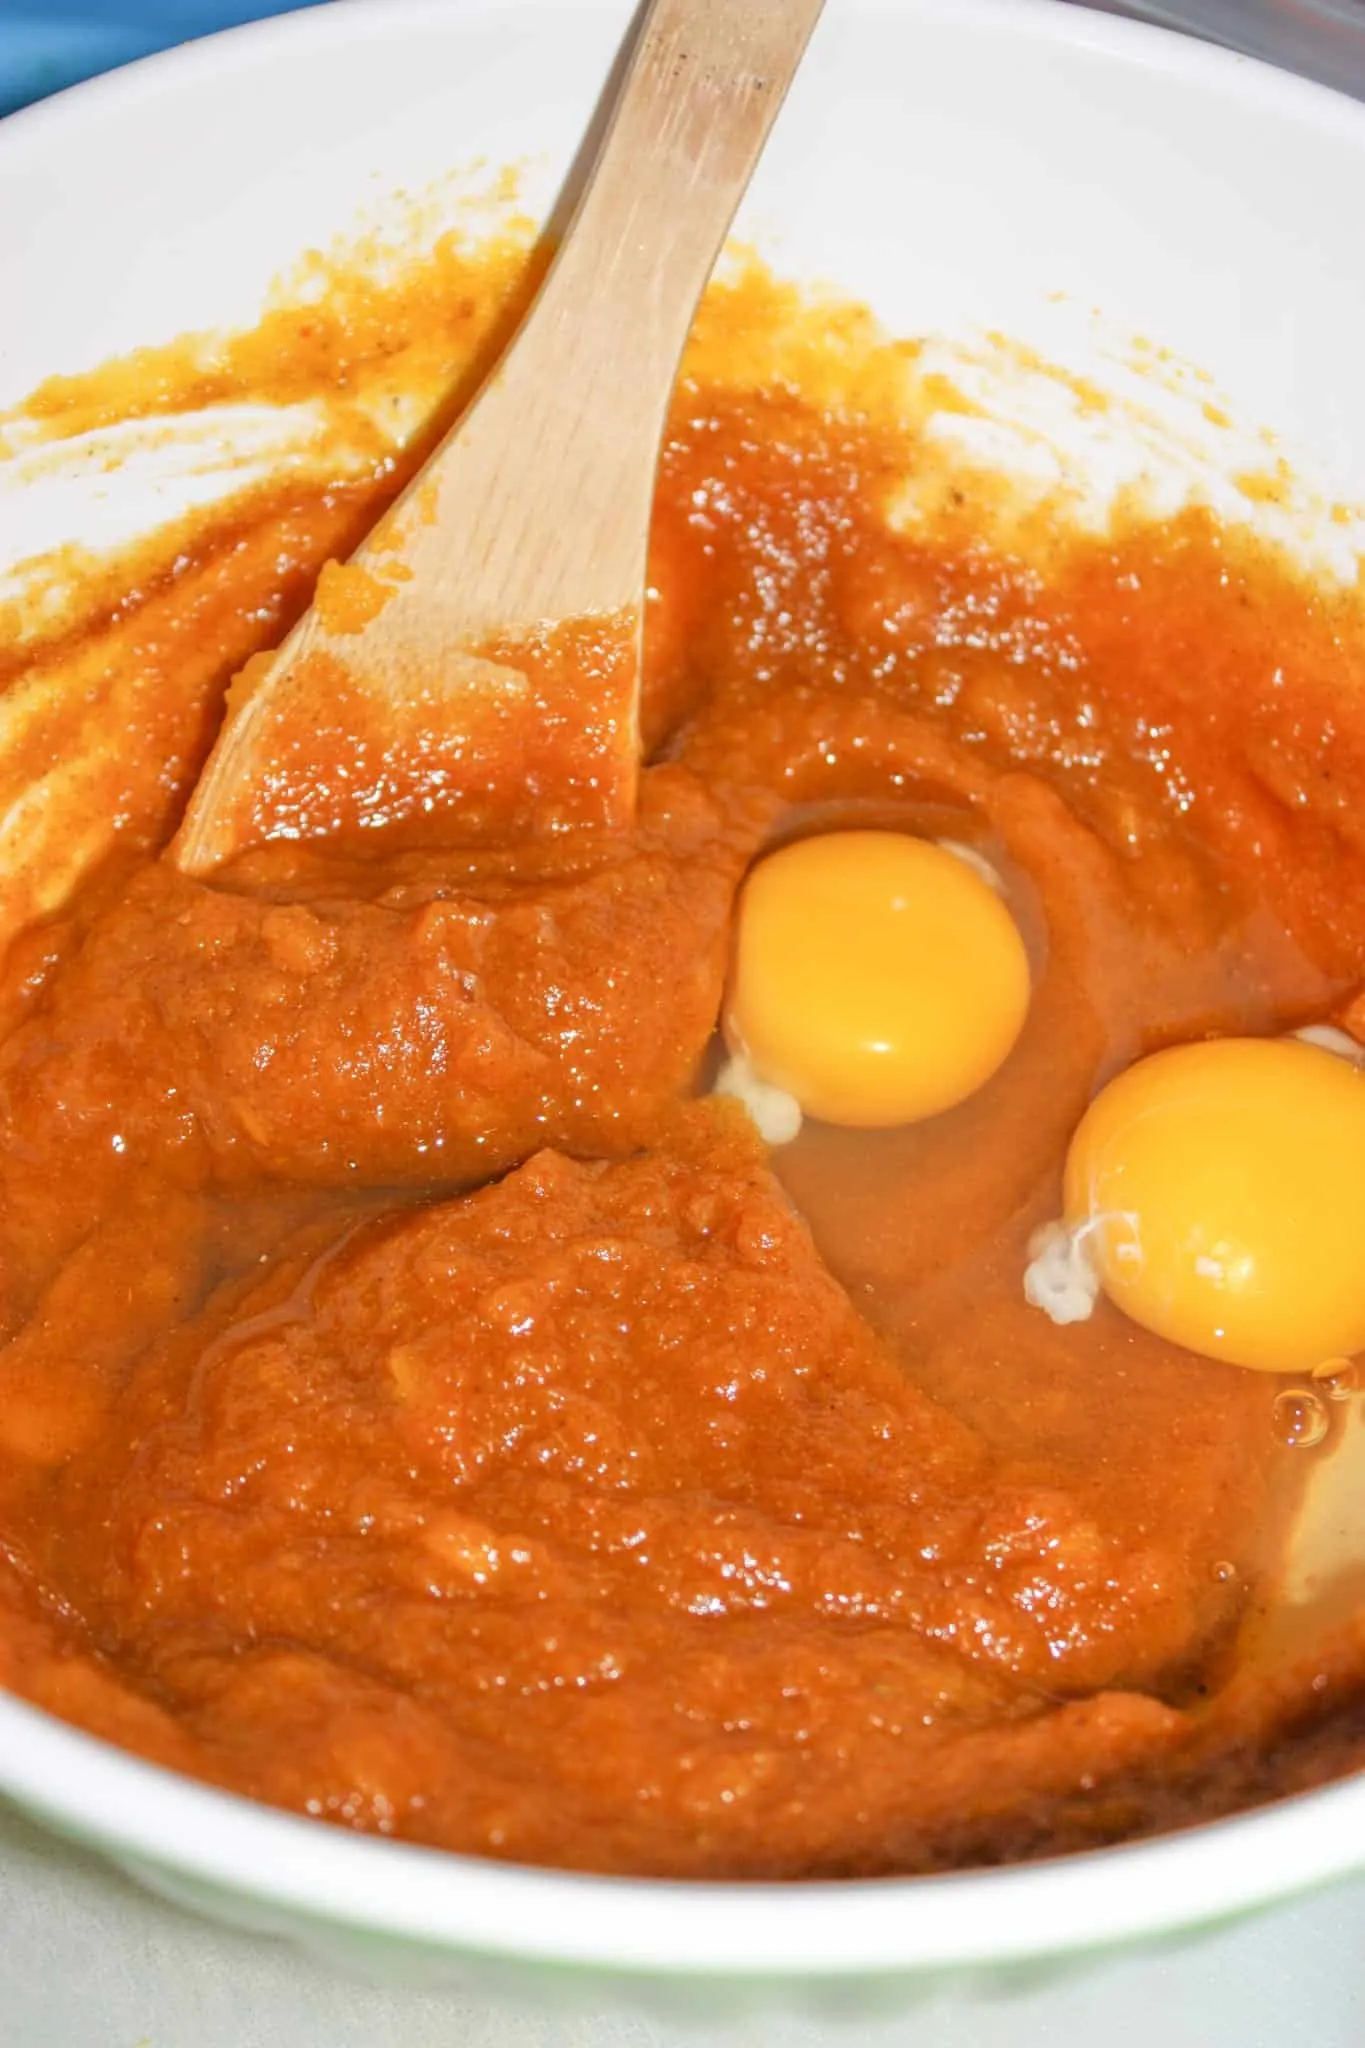
I stirred in the eggs until they were fully incorporated into the pumpkin mixture.
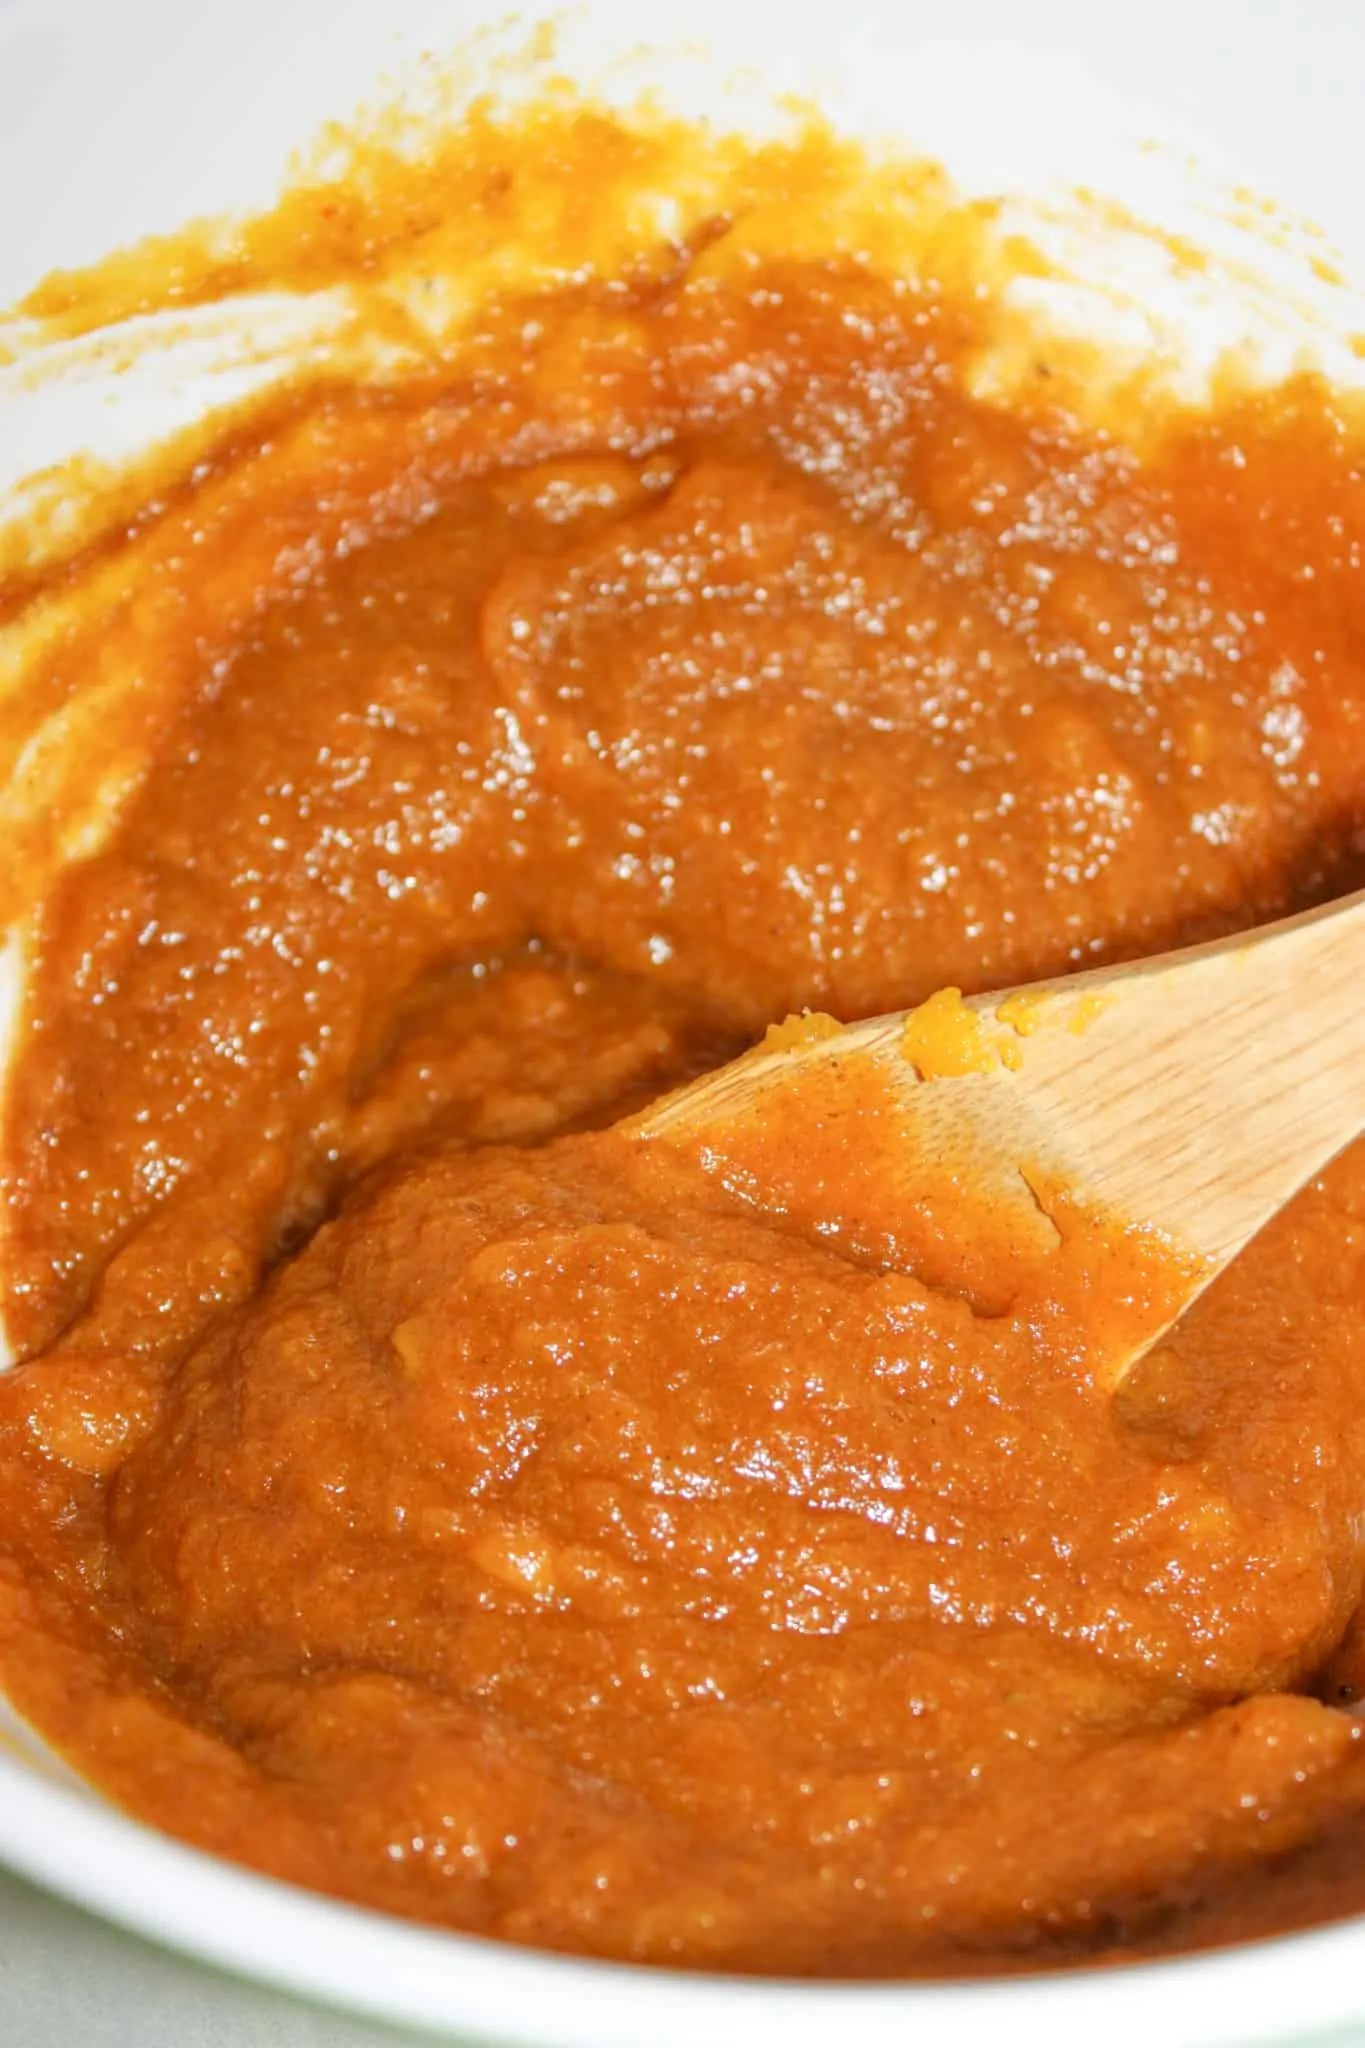
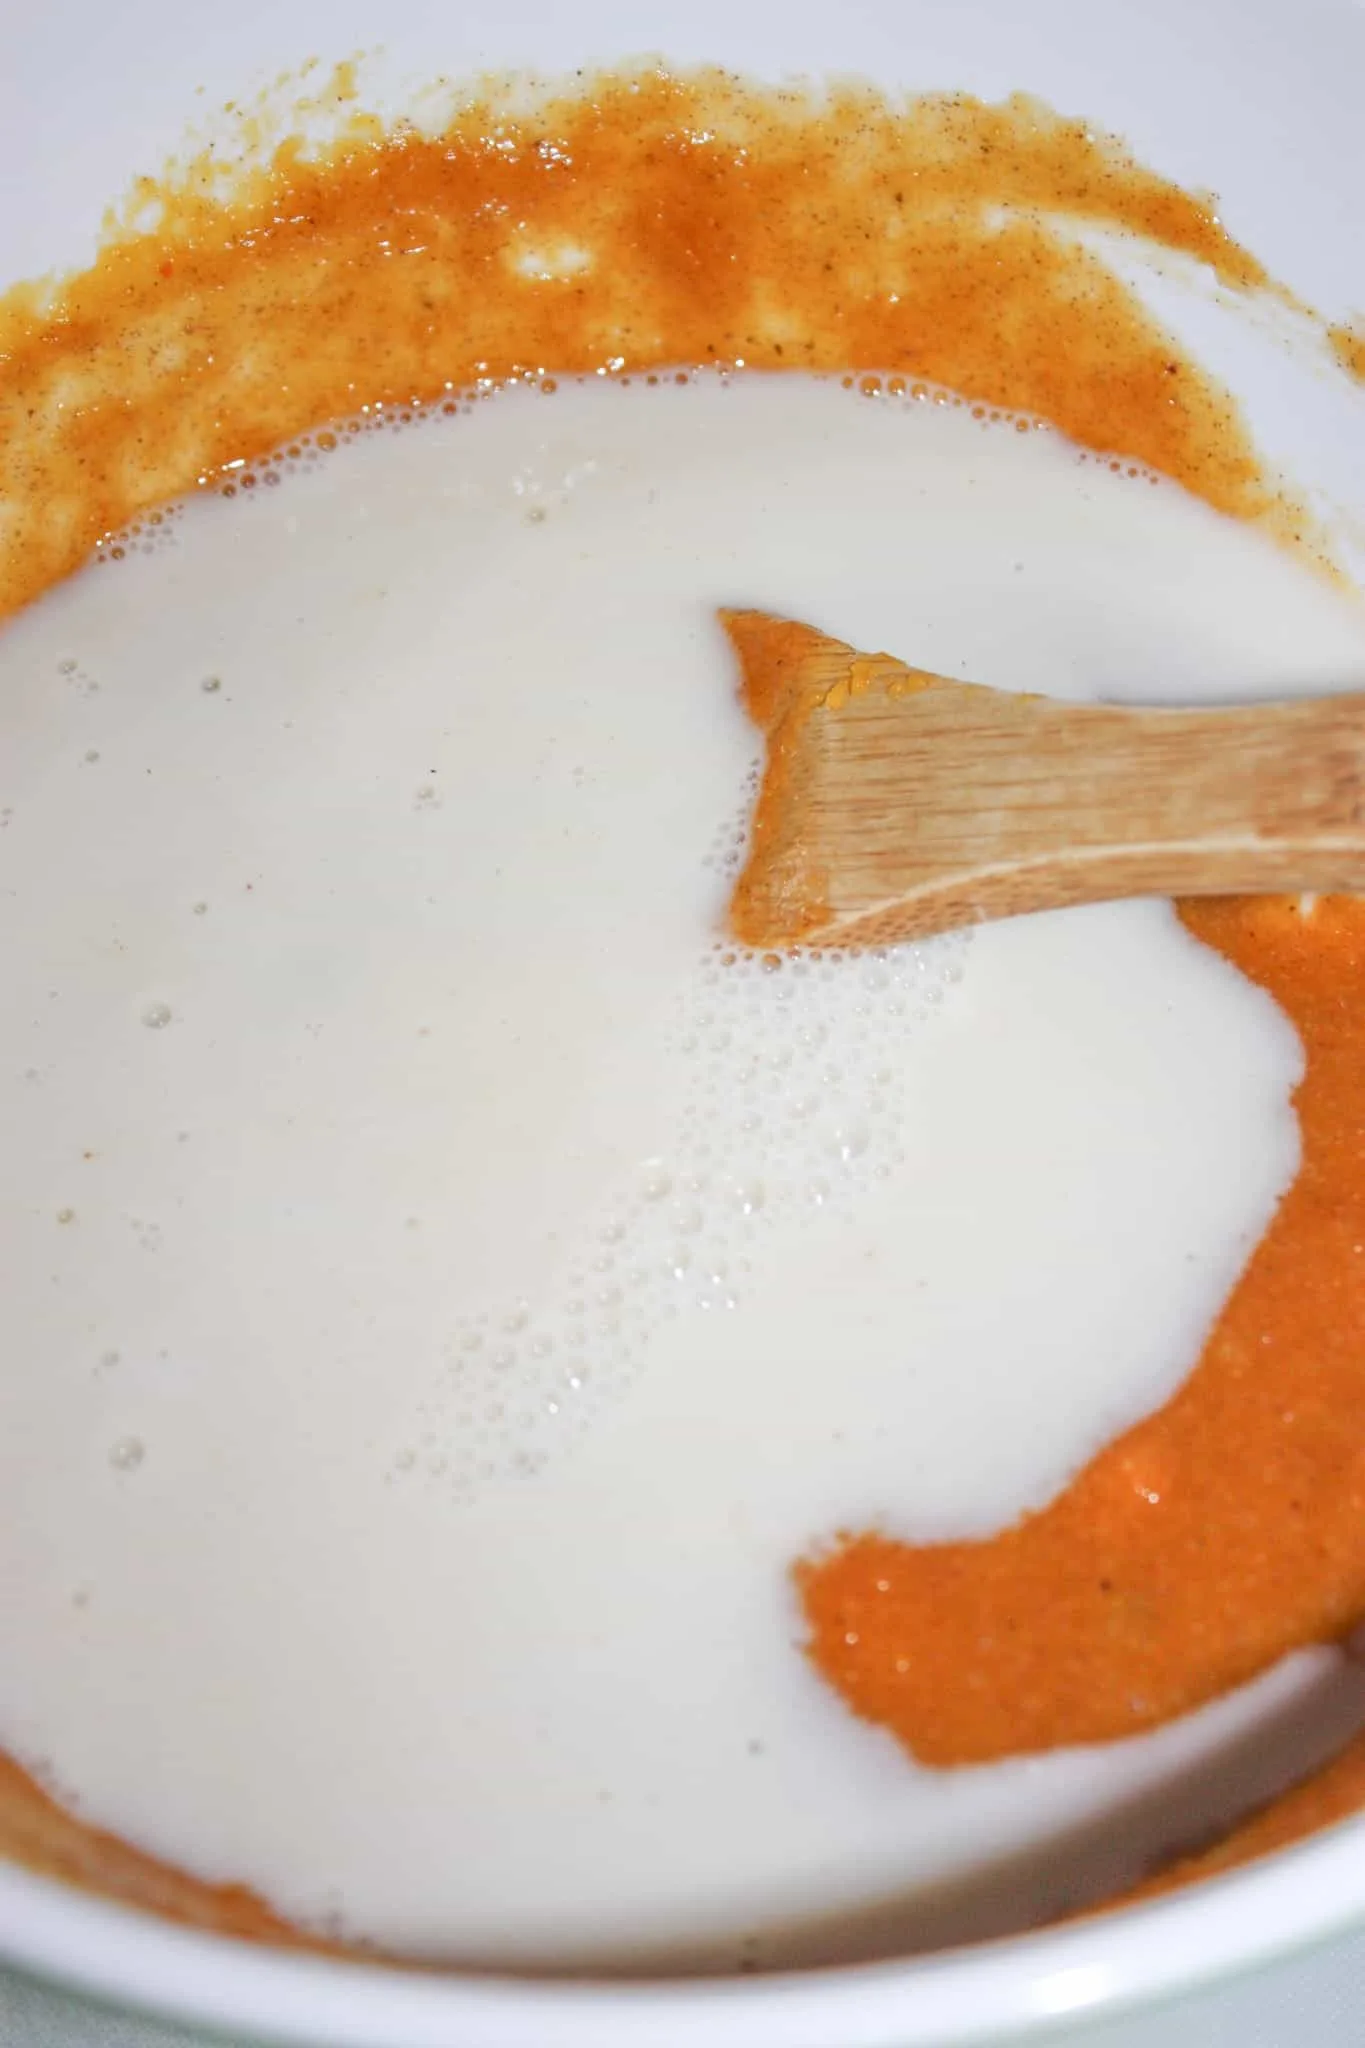
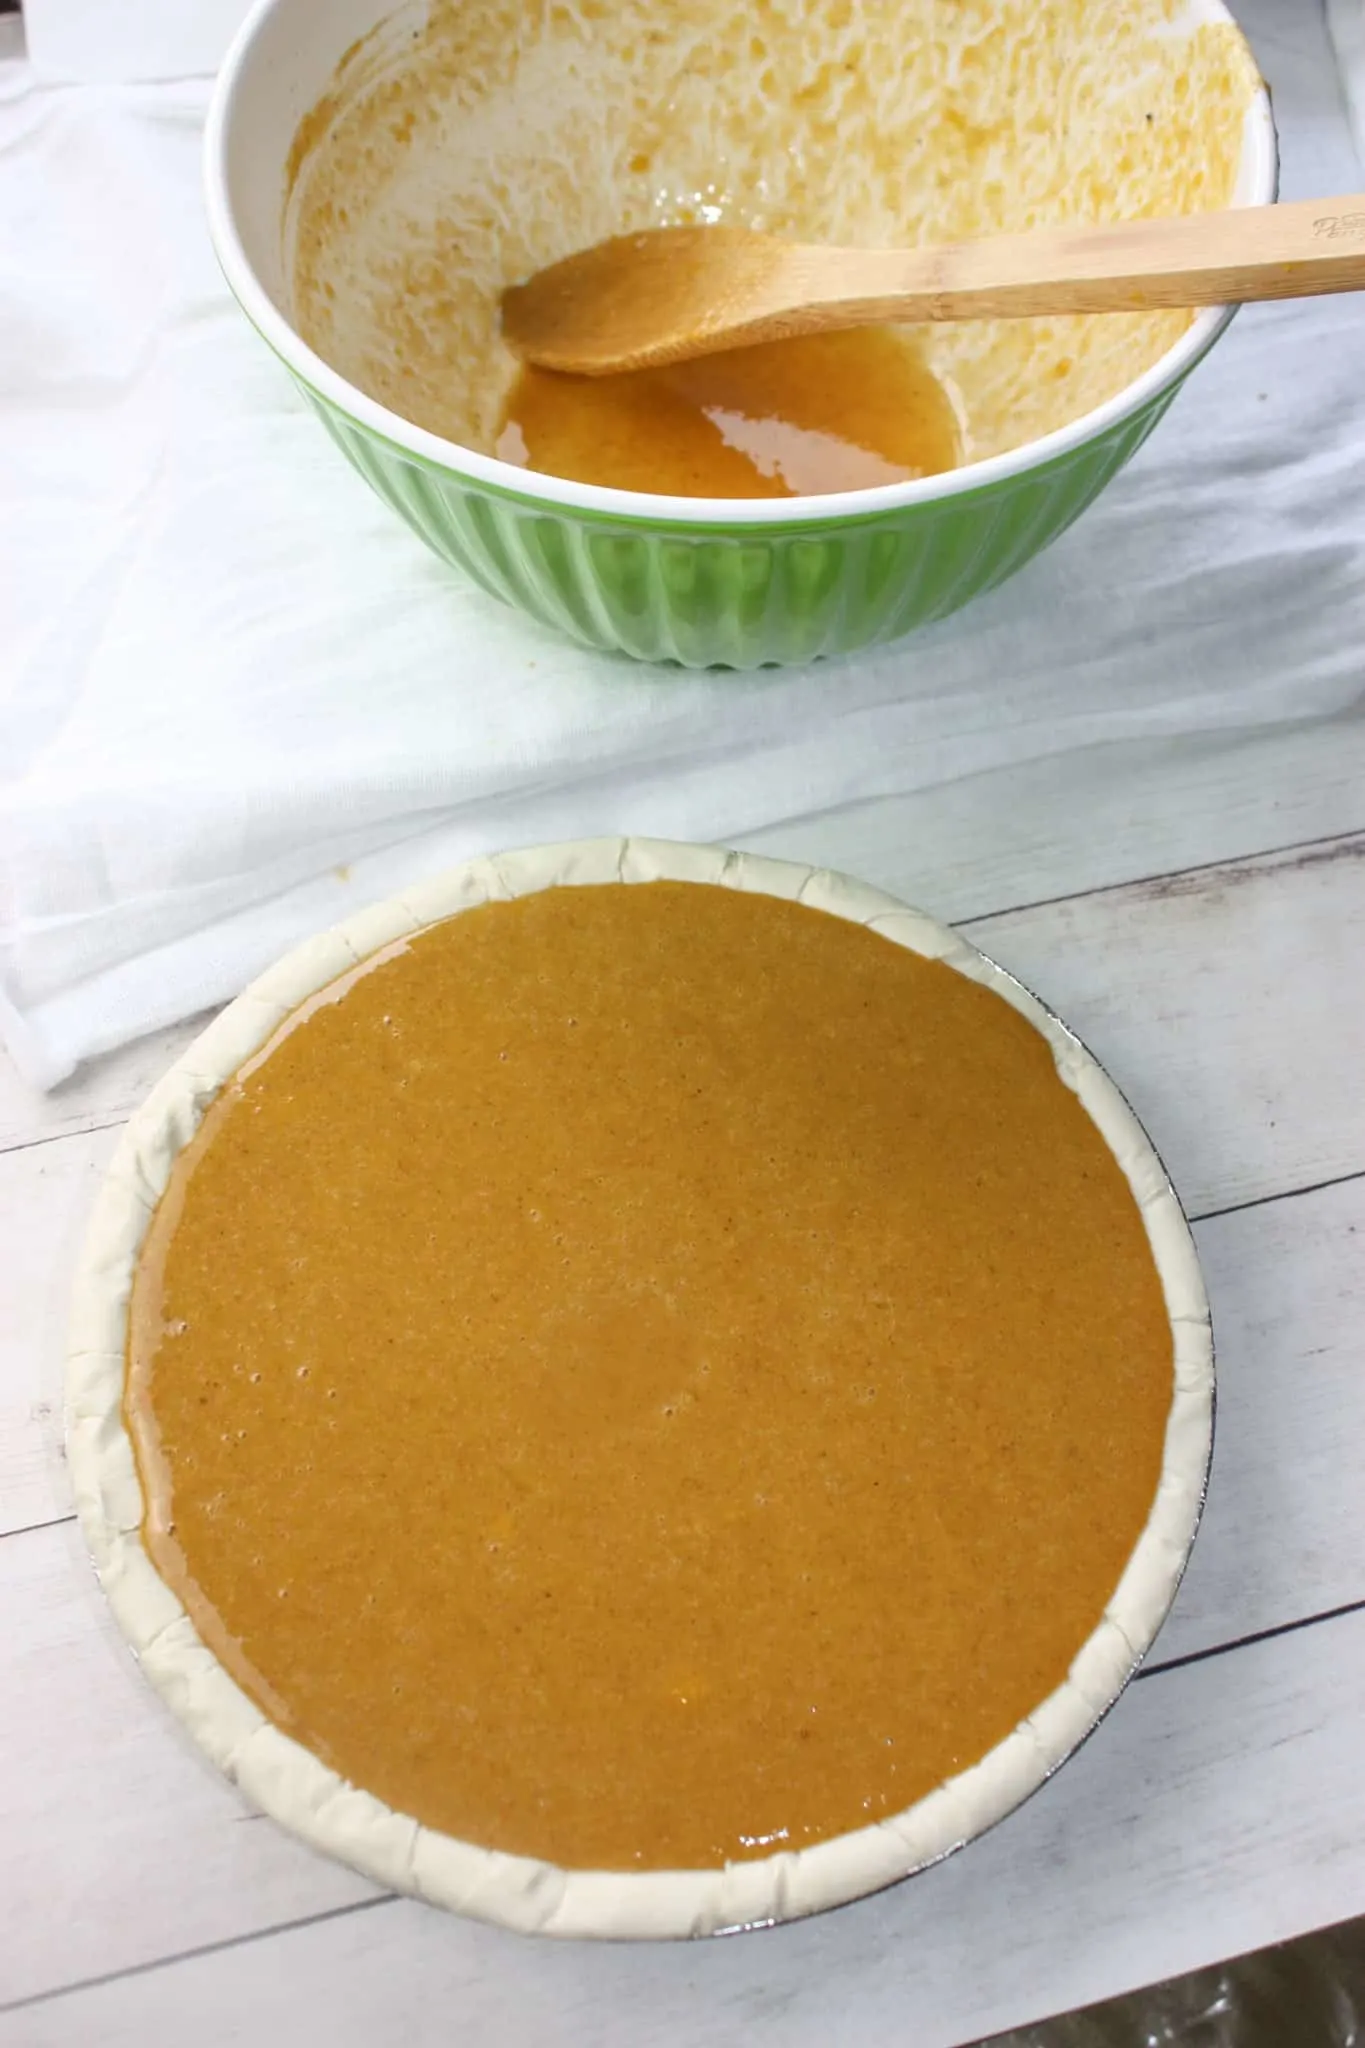
Next I poured in some almond milk and stirred again until well blended.

For this recipe I used a prepared gluten free pie shell since I was already making the pumpkin puree. You could also use this recipe link for Gluten Free Pastry

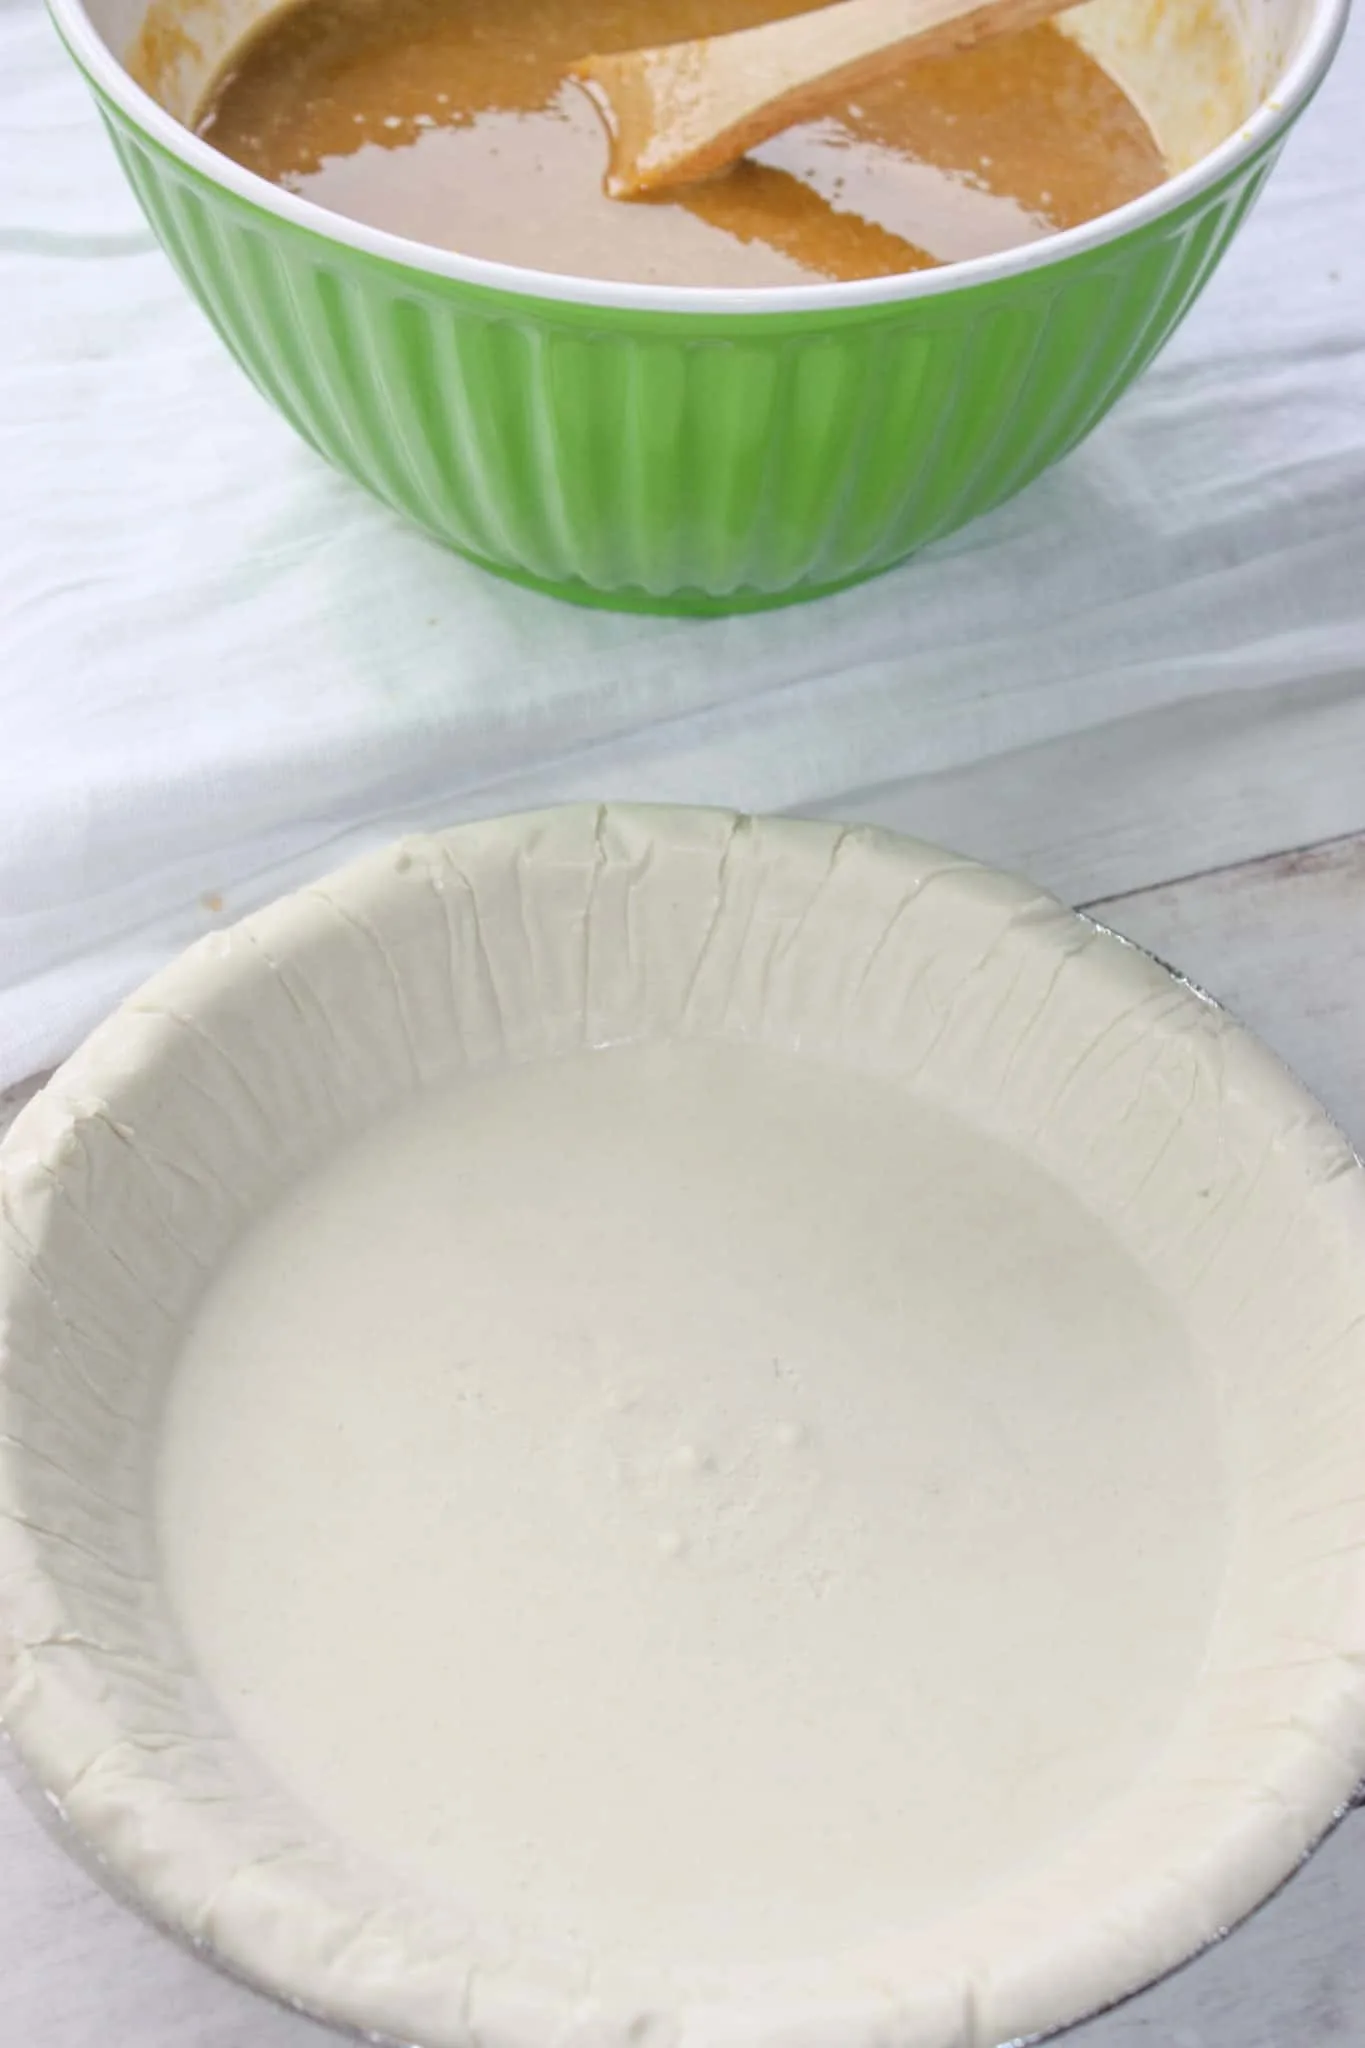
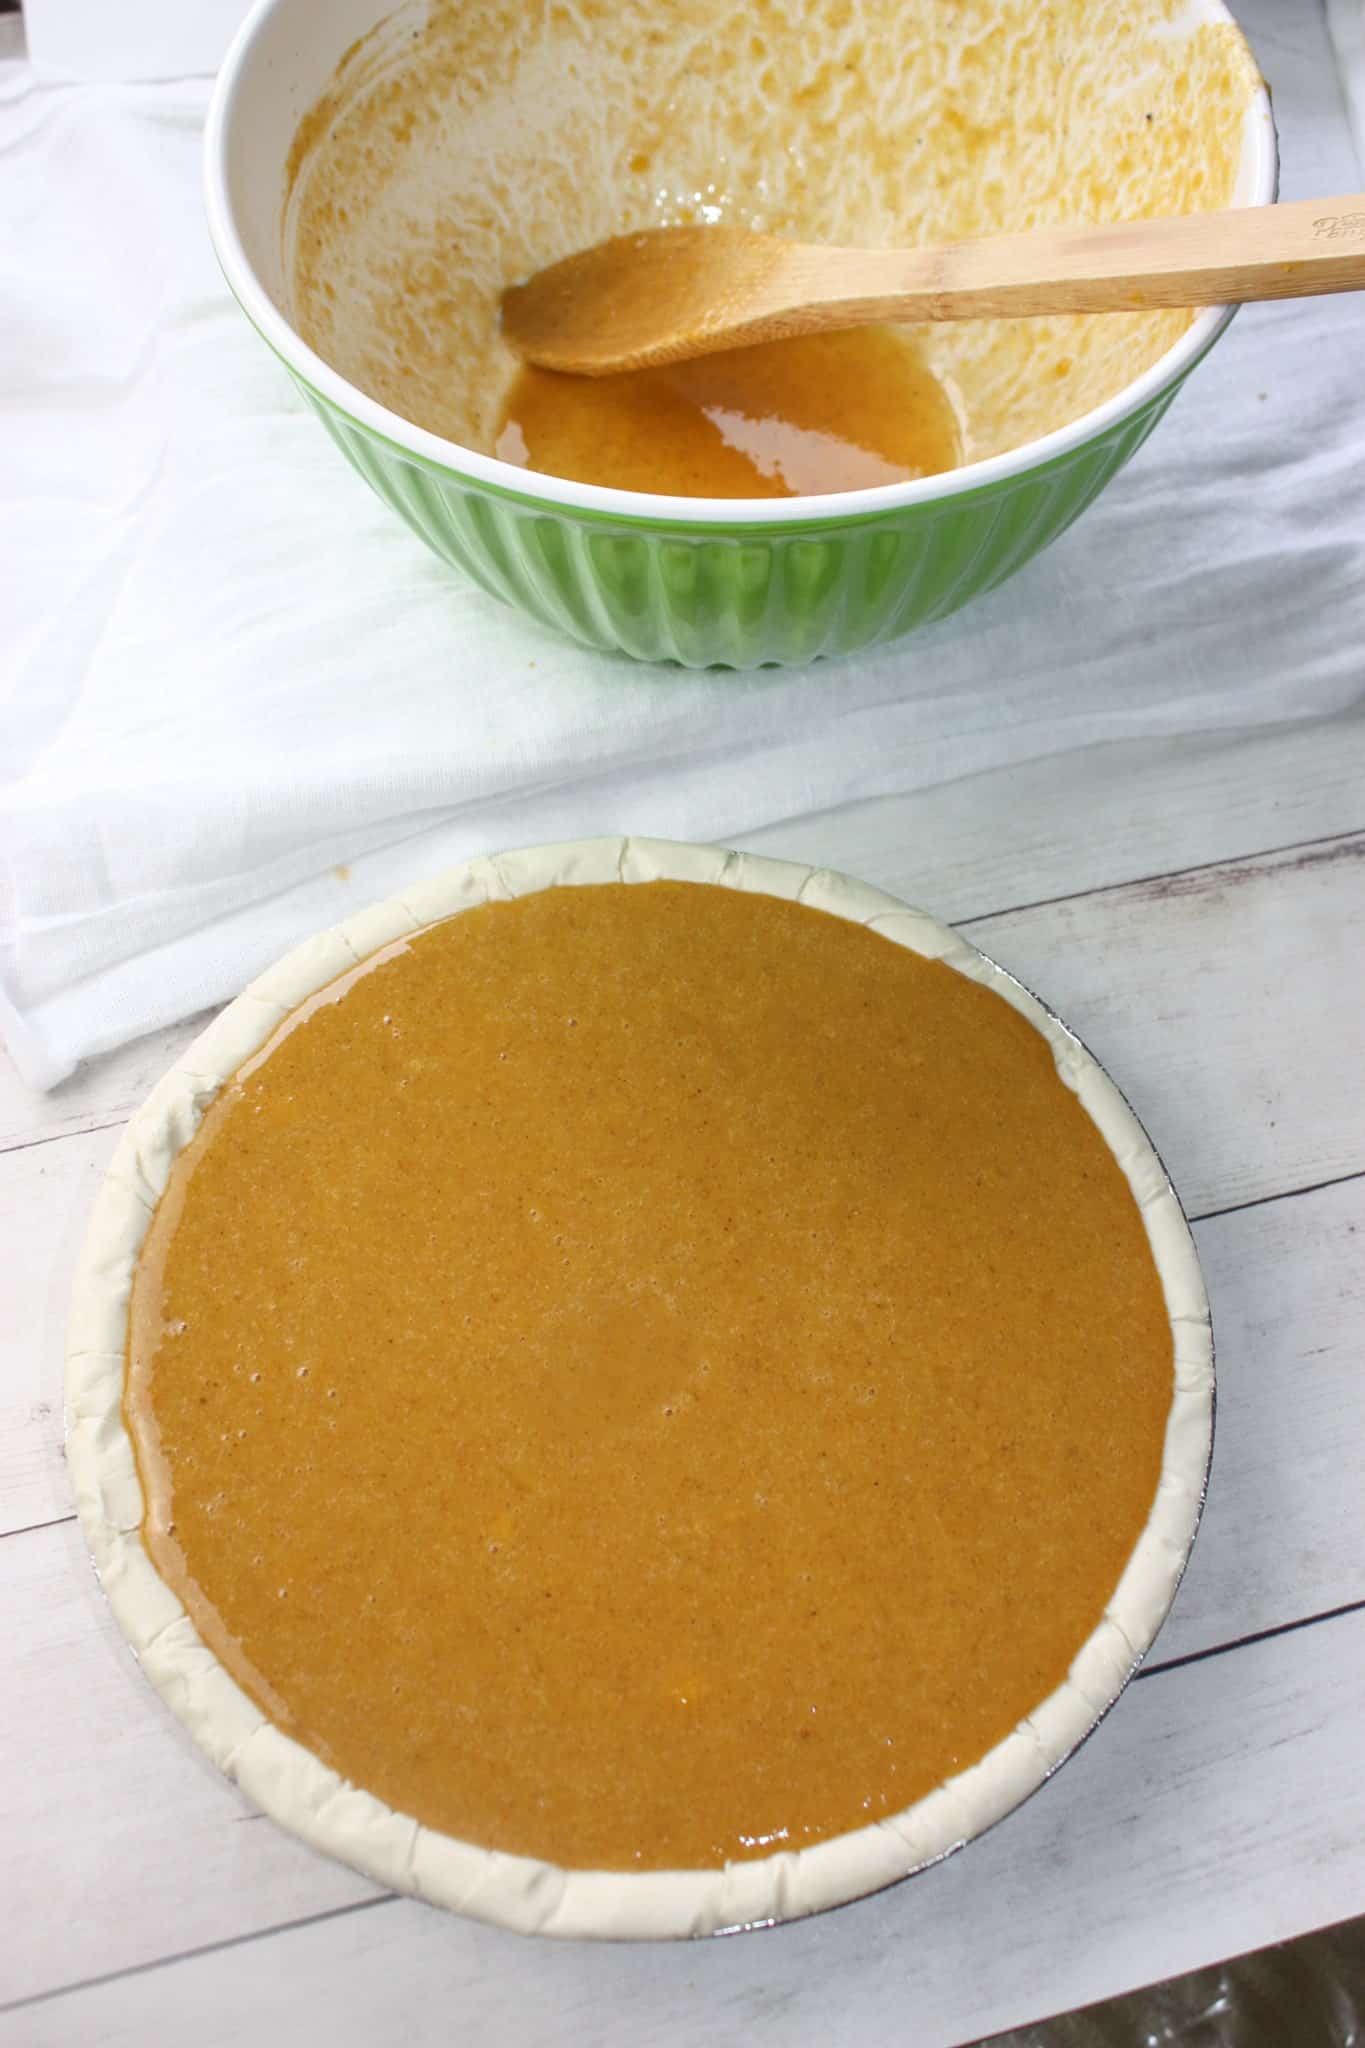
I ladled the batter into the pie shell, covered the edges with tinfoil and then placed it in a preheated 450F for 15 minutes.
Then I lowered the heat to 350F for 60 to 70 more minutes or until a knife inserted in center came out clean.
I find it takes a little longer to cook pumpkin pie when using almond milk instead of the evaporated milk most recipes call for.
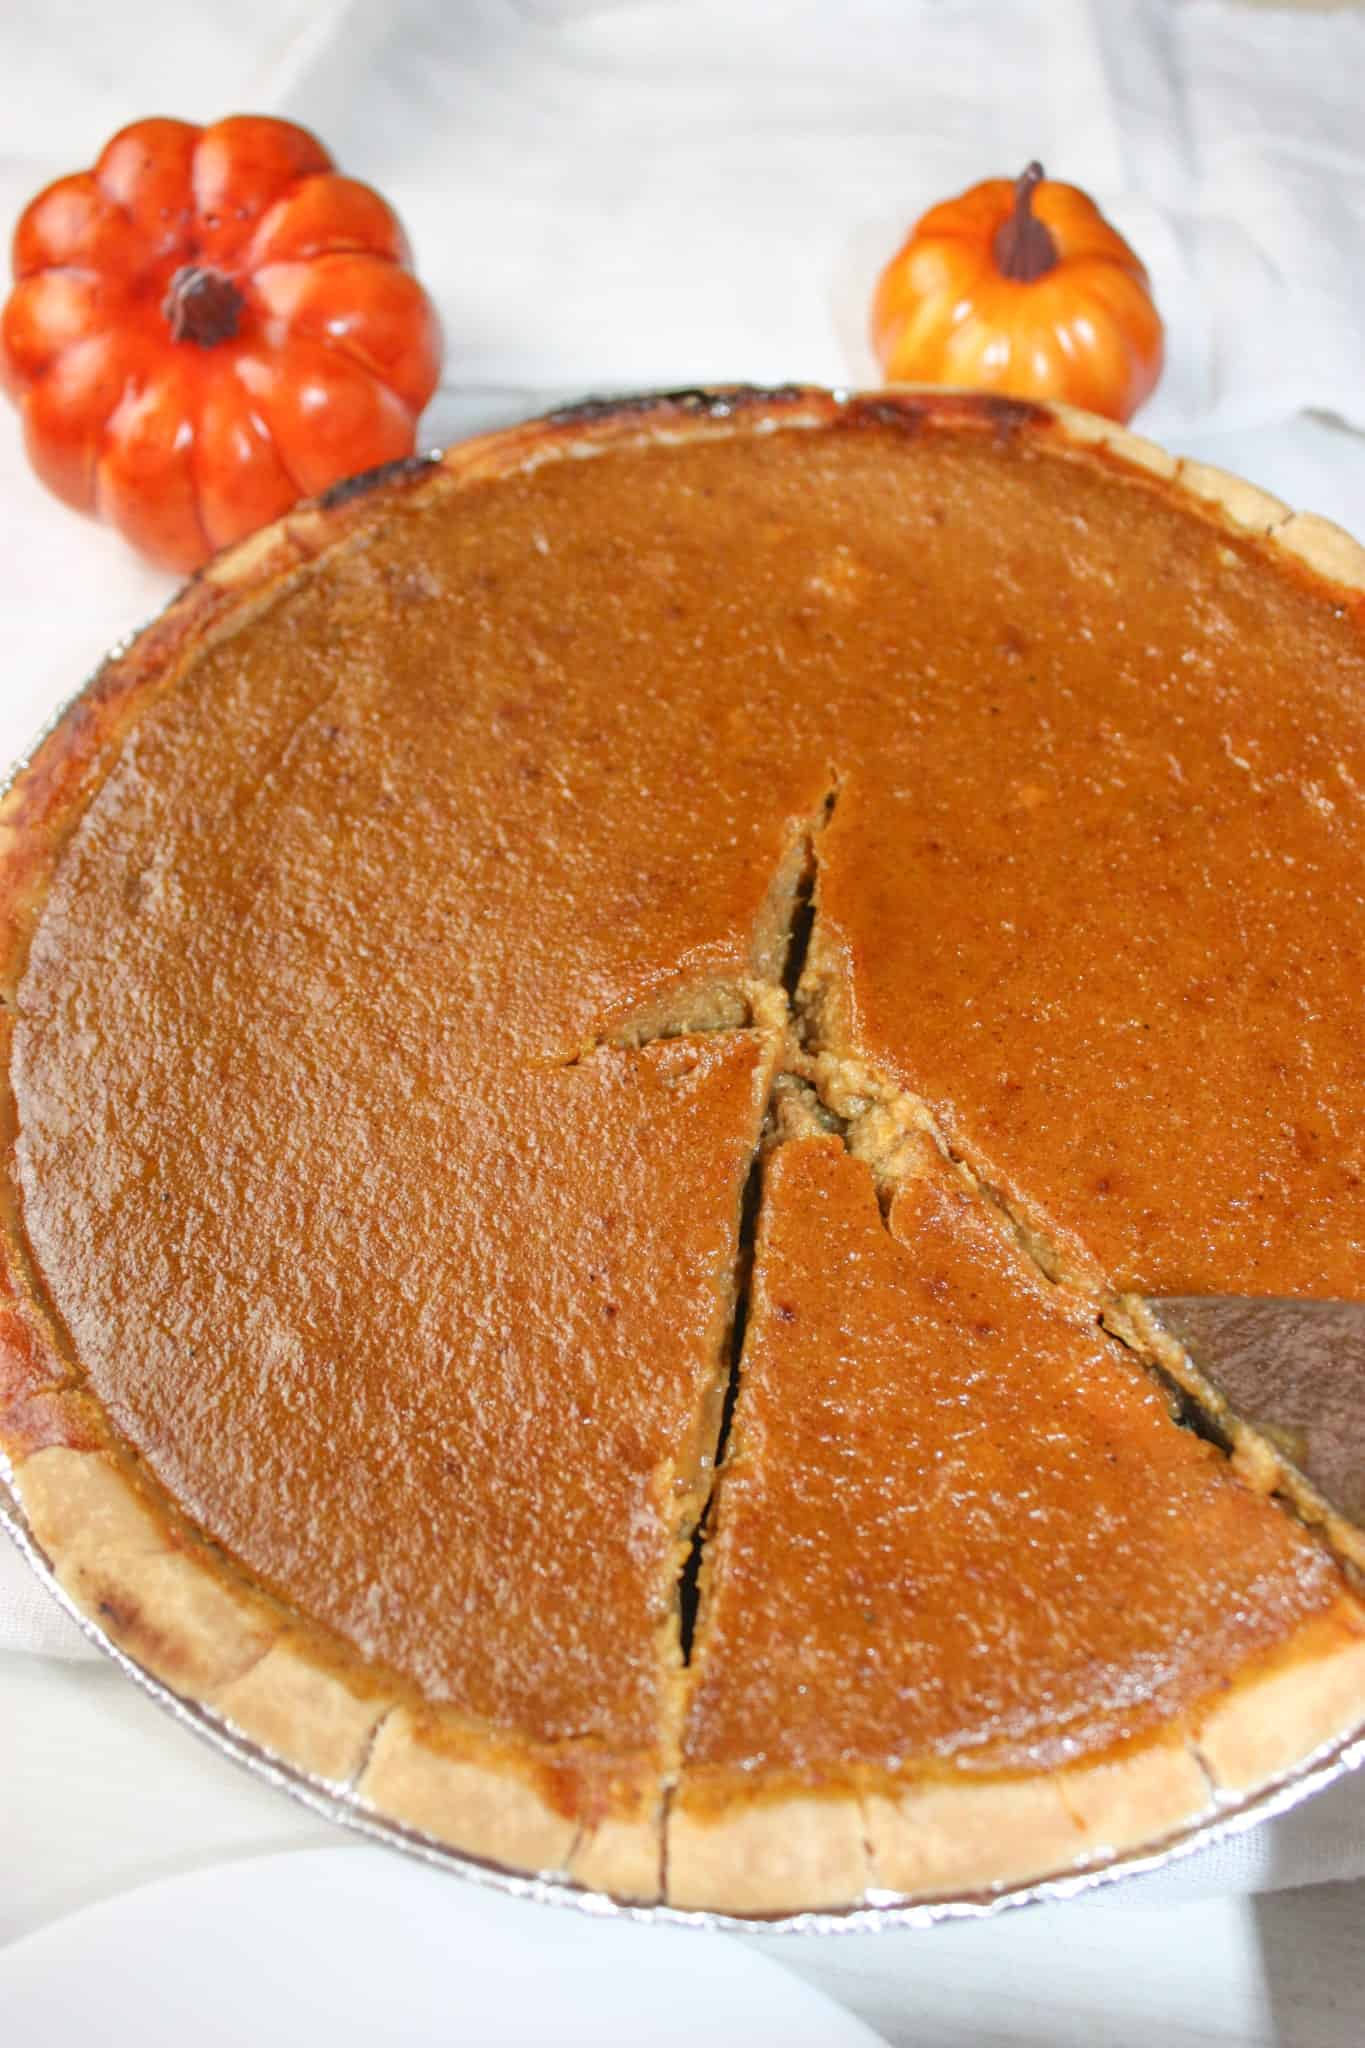
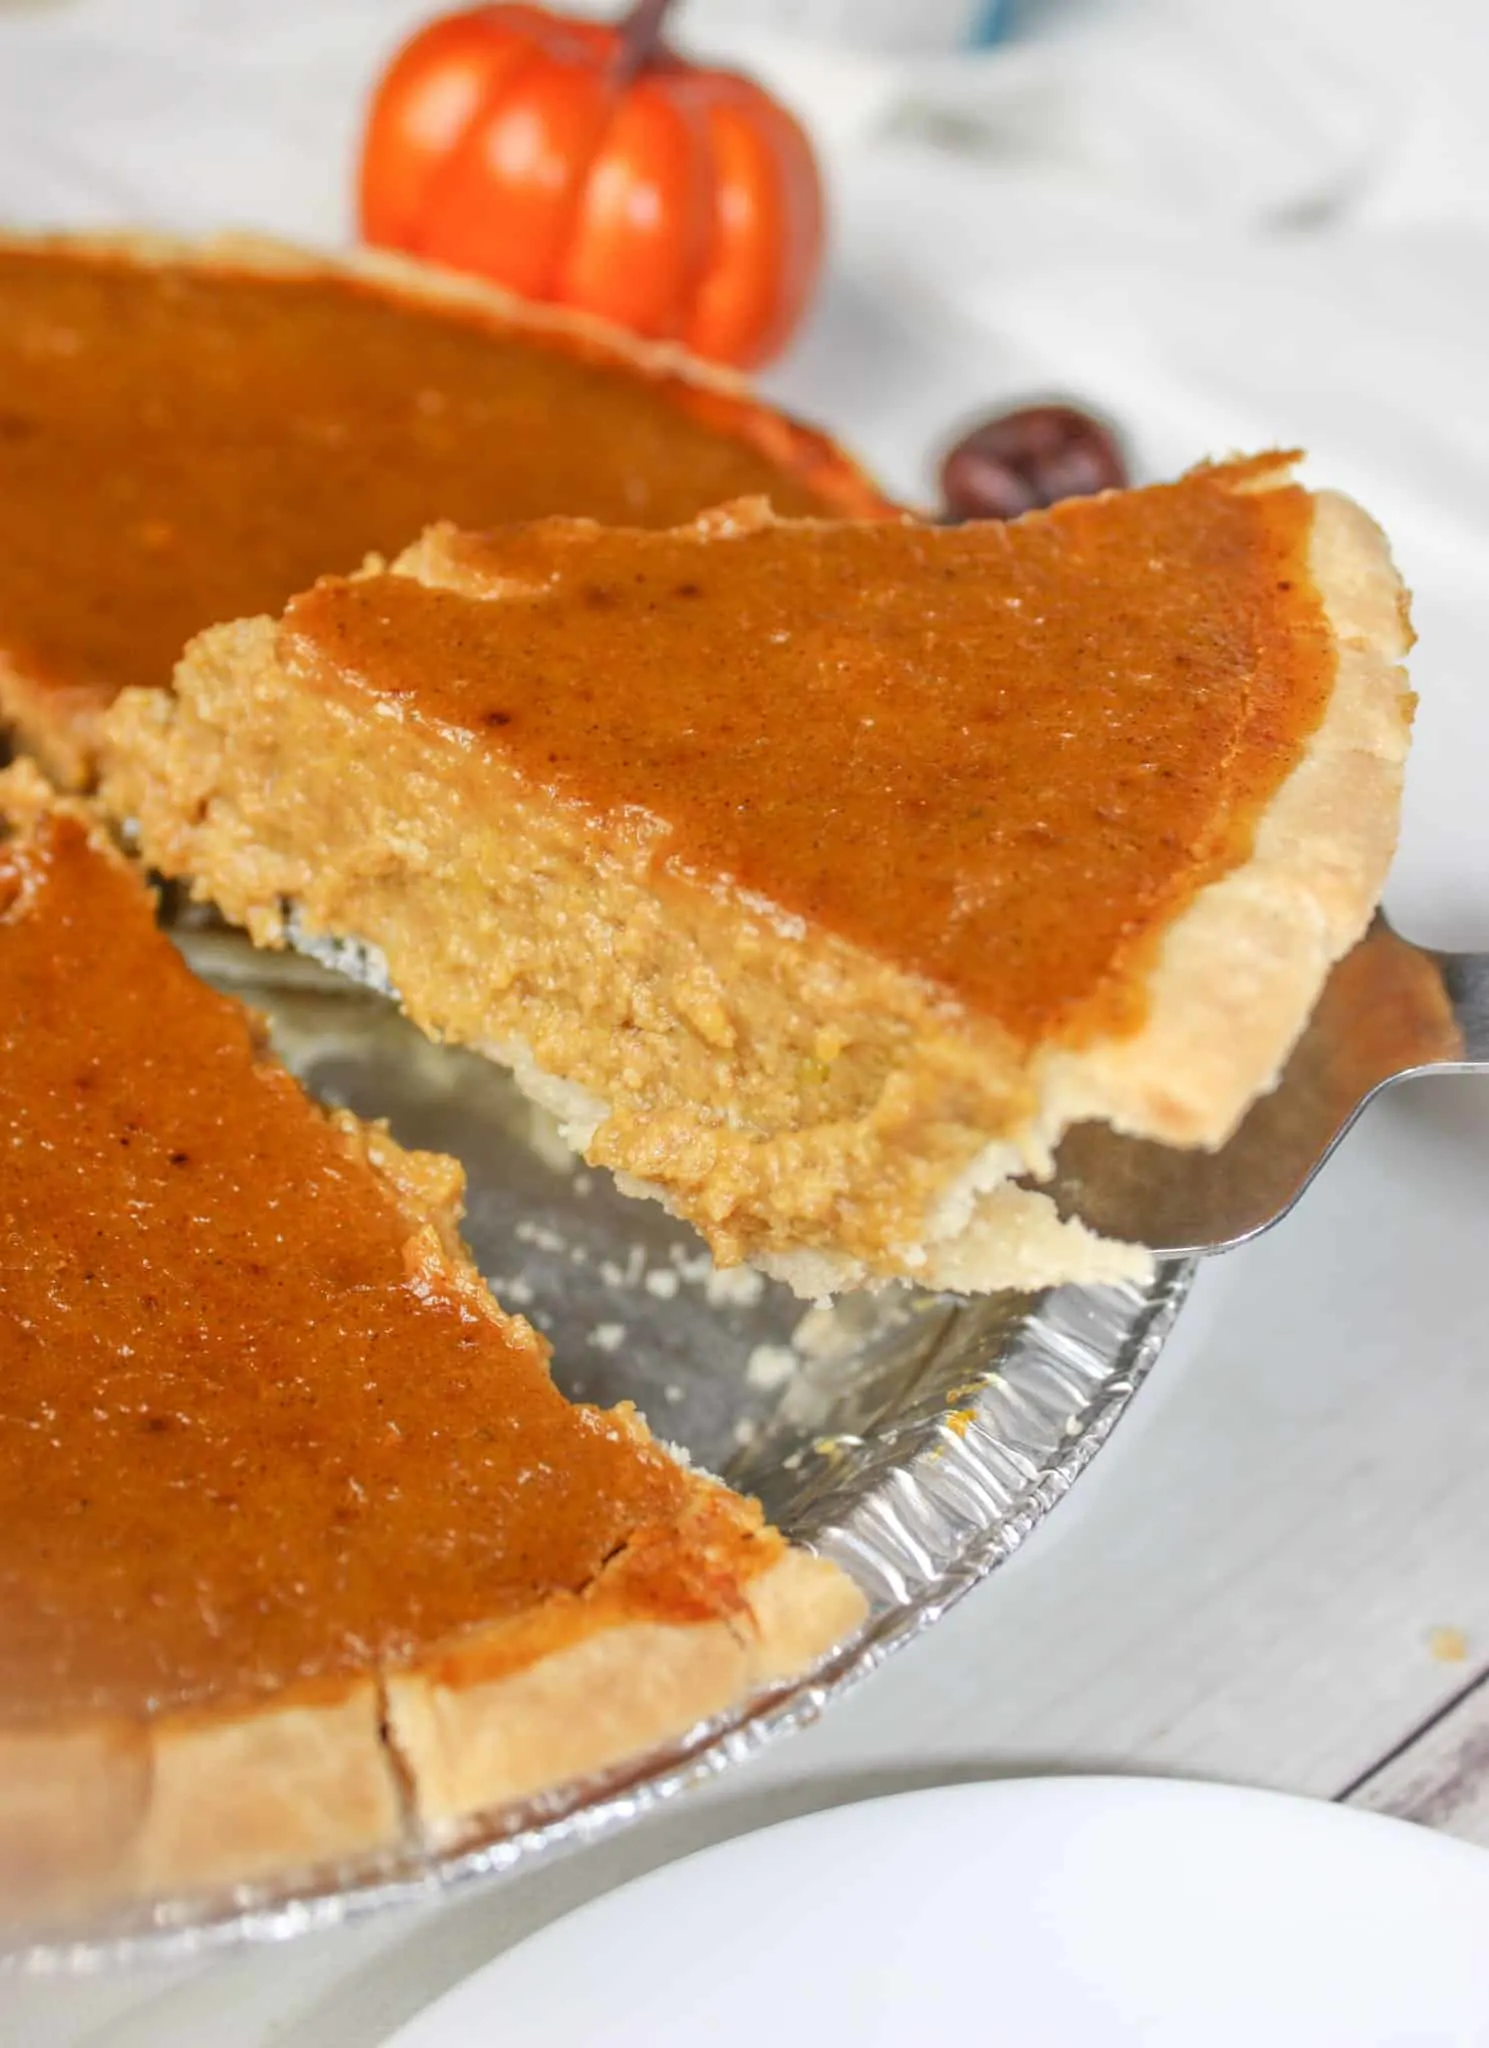
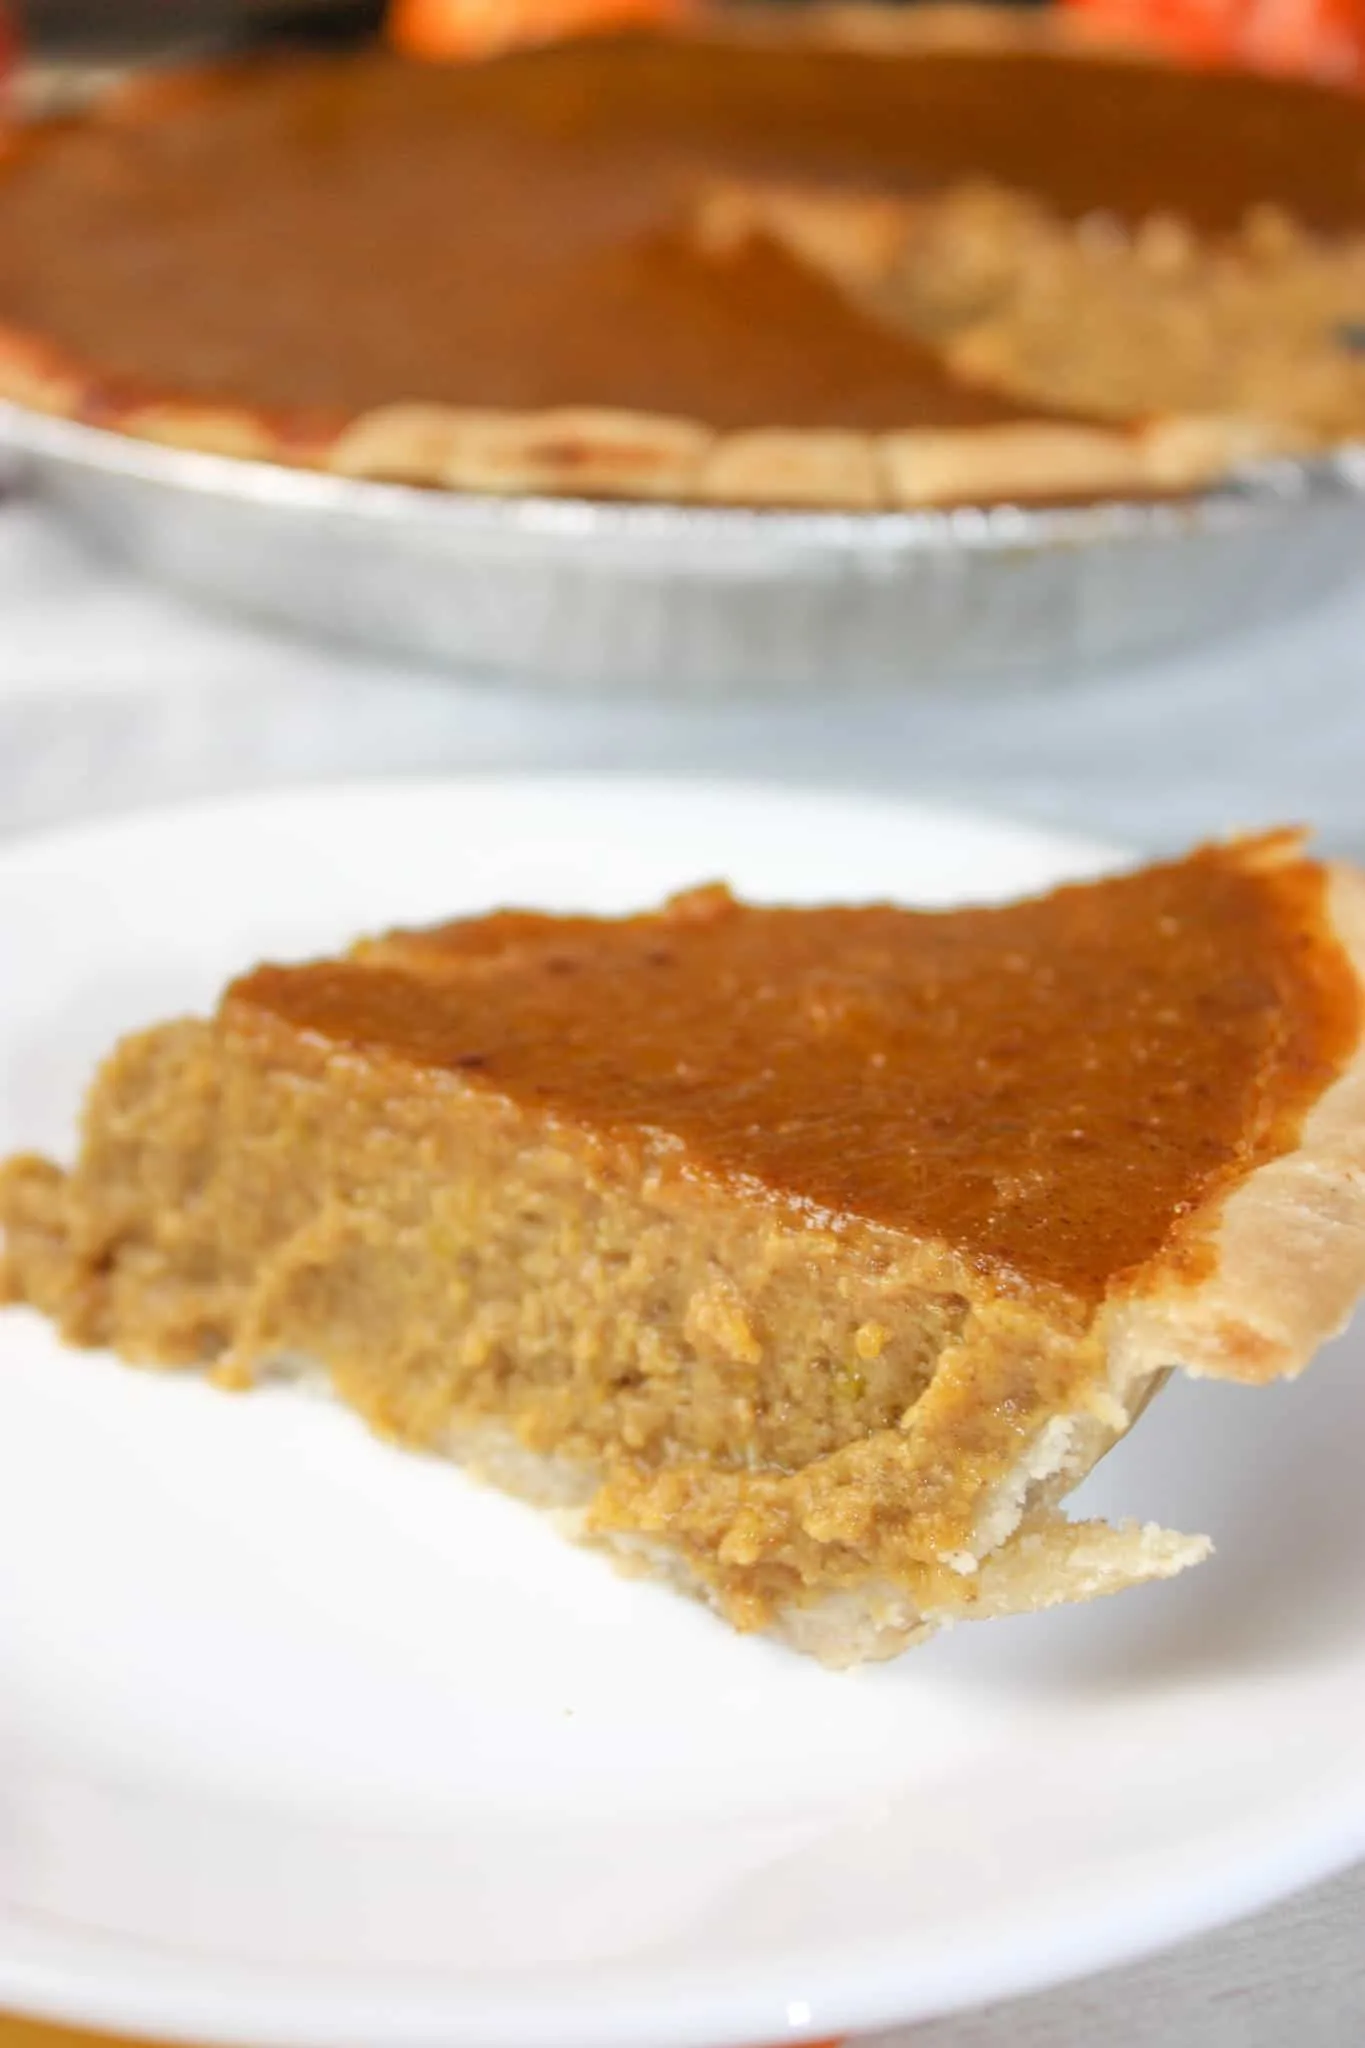
When the pie was ready I removed it from the oven and let it cool.

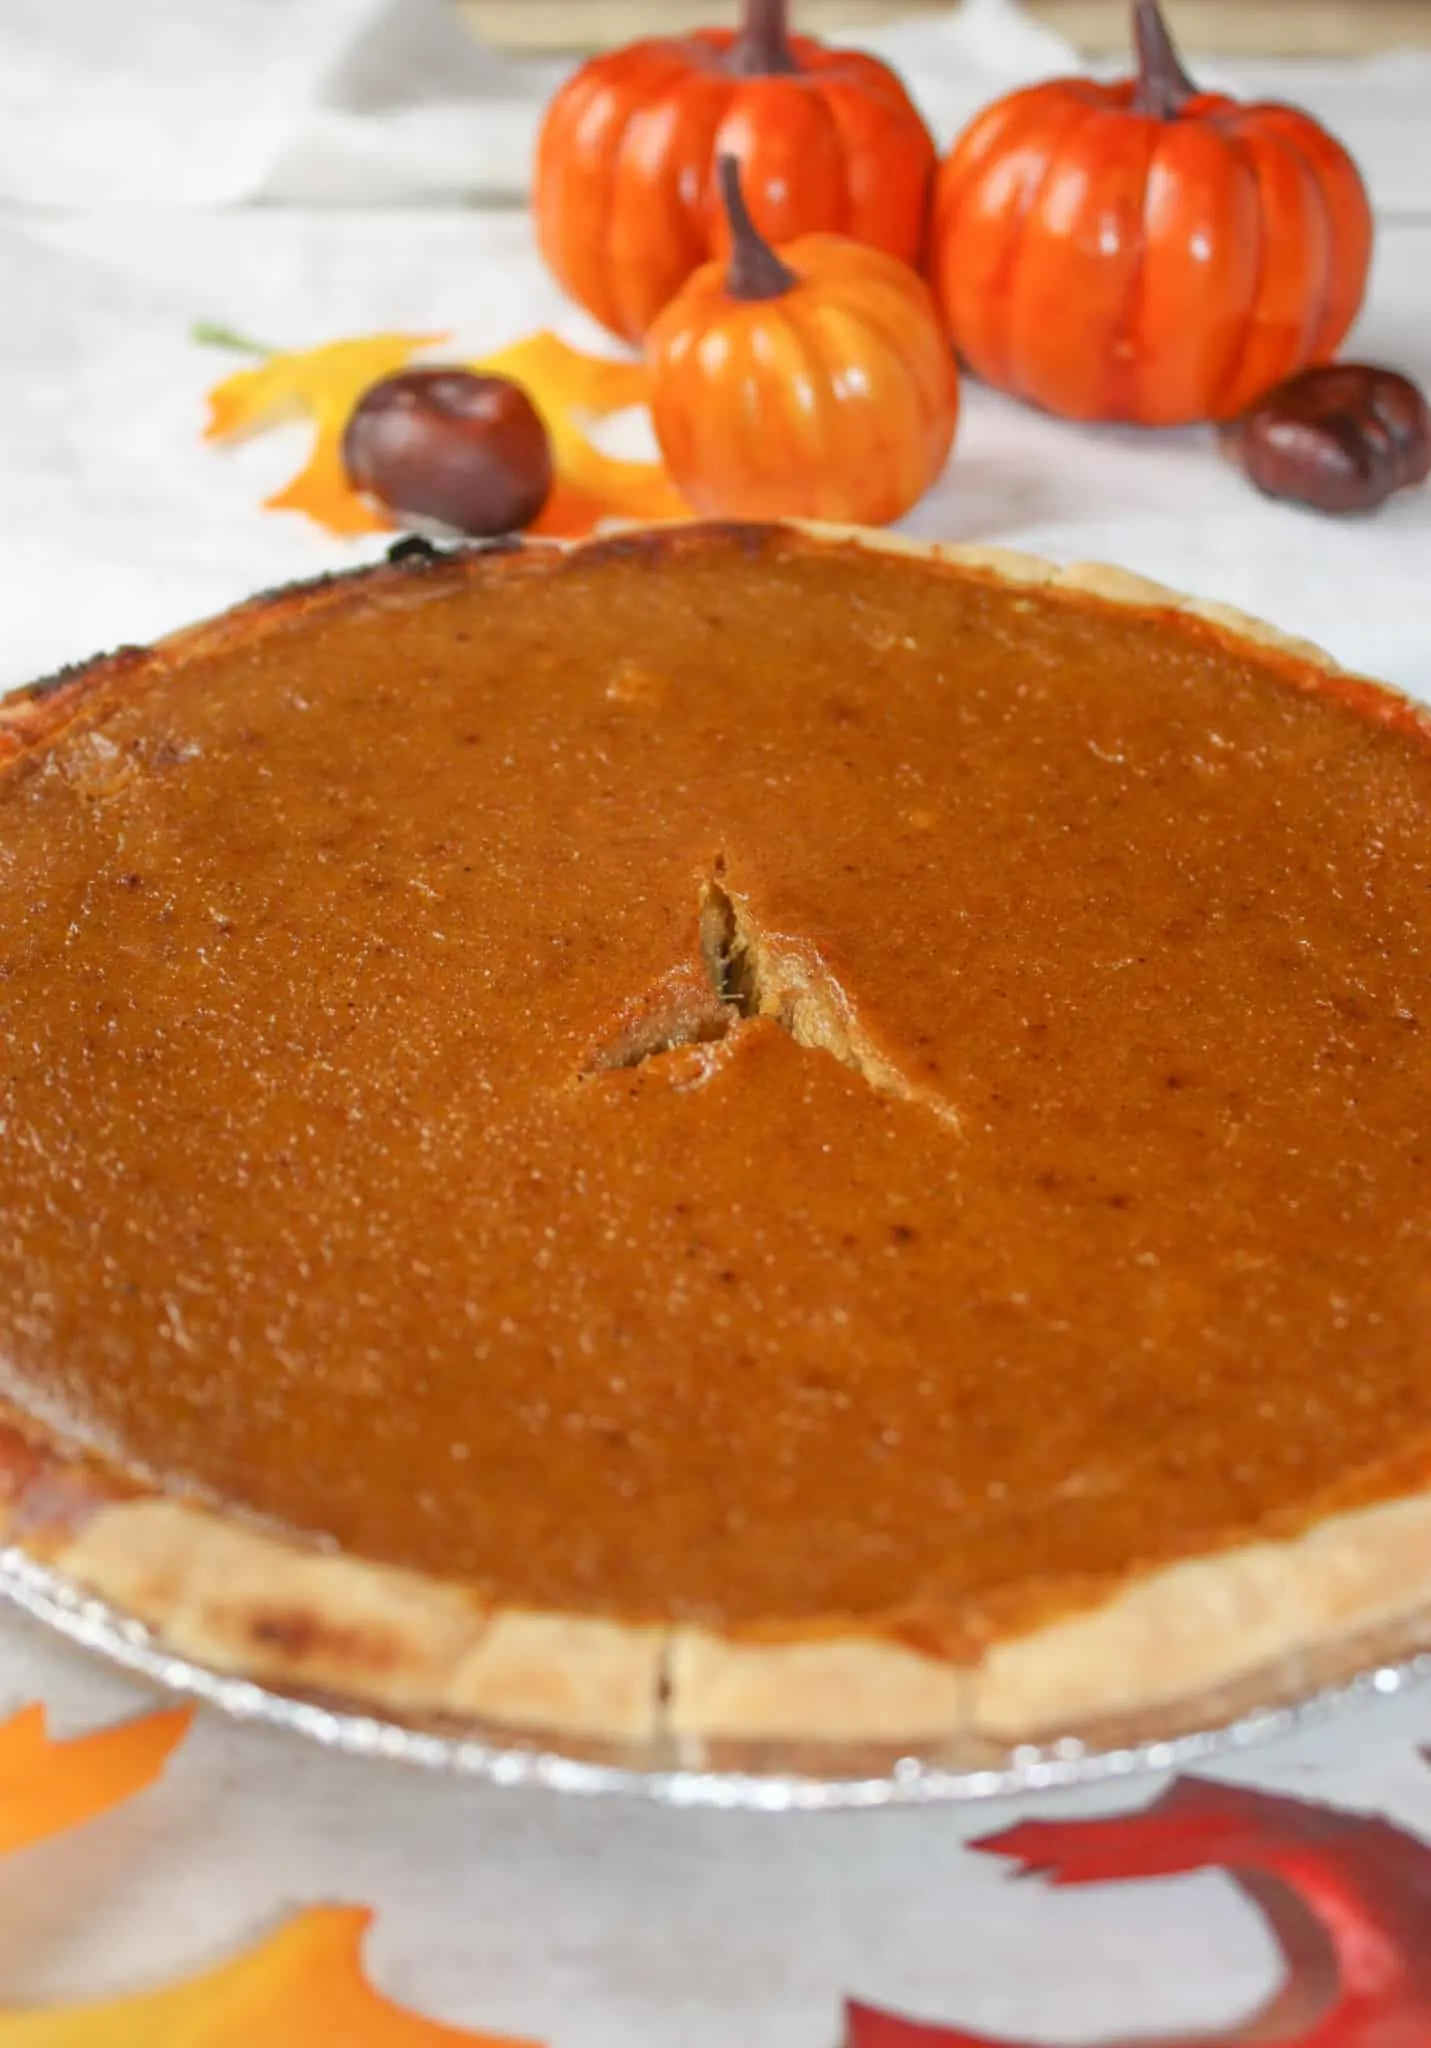
This gluten free, dairy free version of Pumpkin Pie was a hit at our holiday dinner.

We found this recipe created the lightest Pumpkin Pie we have ever had.
Top it with whipped cream or ice cream or eat it plain. Either way you will enjoy this amazing dessert.

Enjoy every mouthful of this delicious Pumpkin Pie knowing that you are still following your gluten free or dairy free diet!

Printable Recipe Card with a Full List of Ingredients and Instructions is Located at the Bottom of the Post.
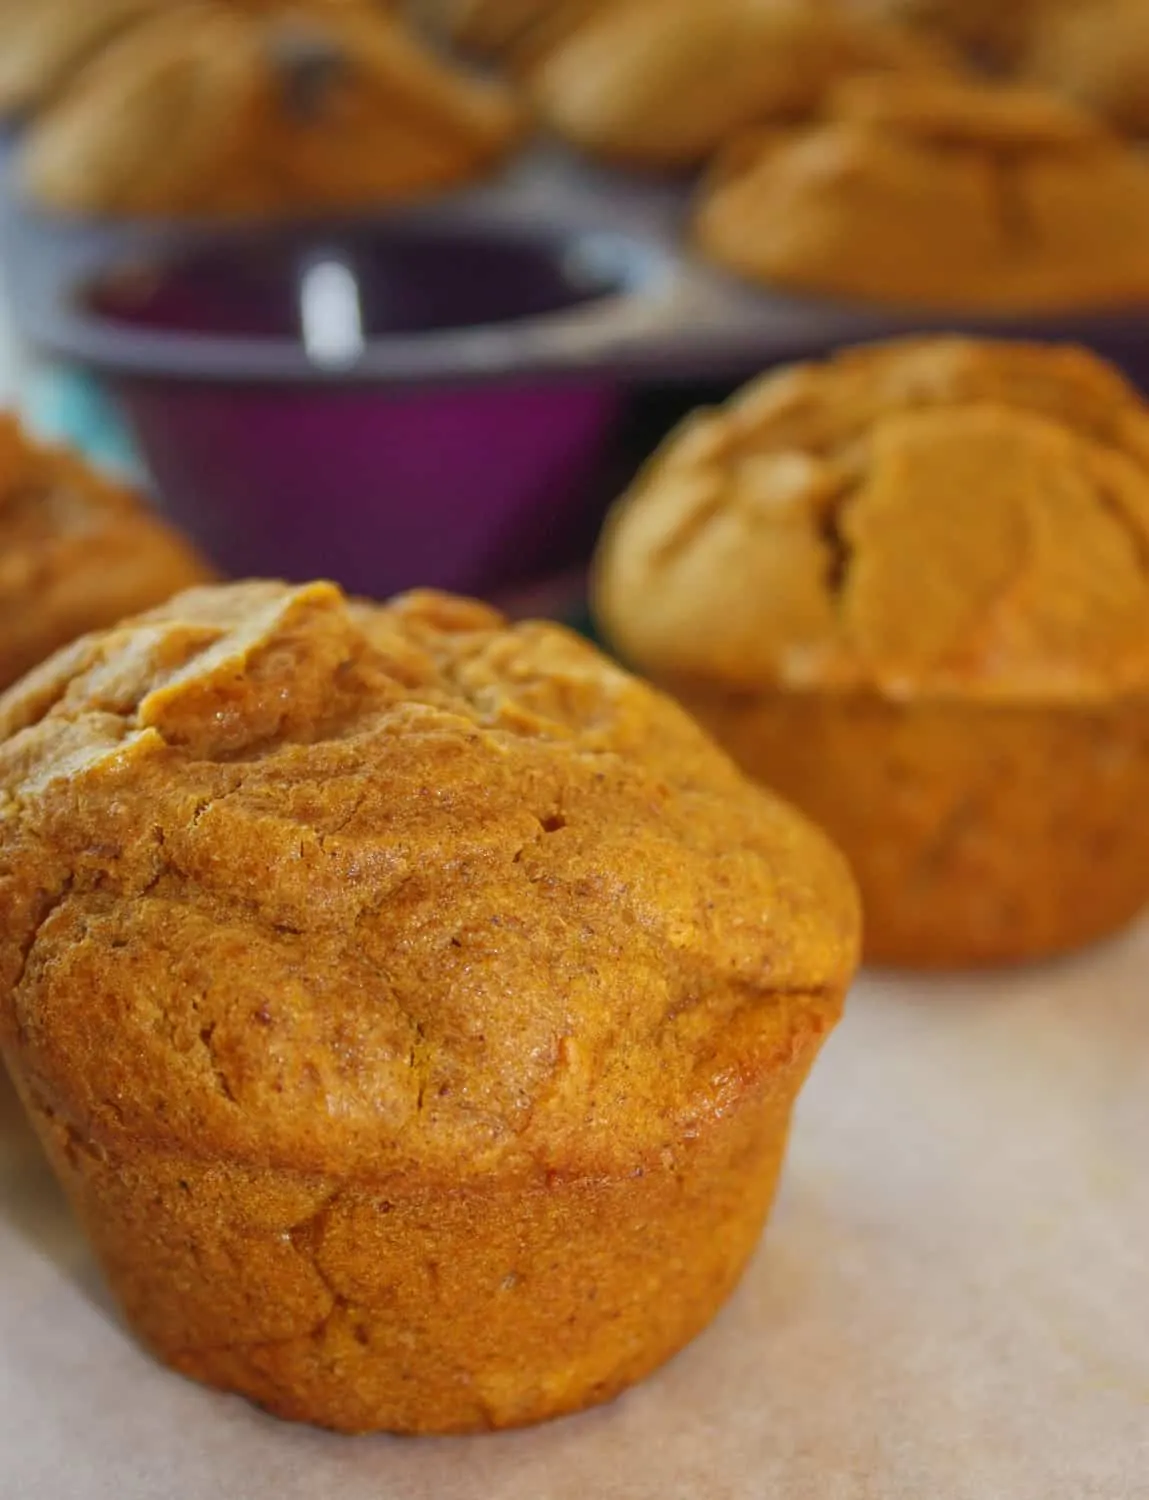
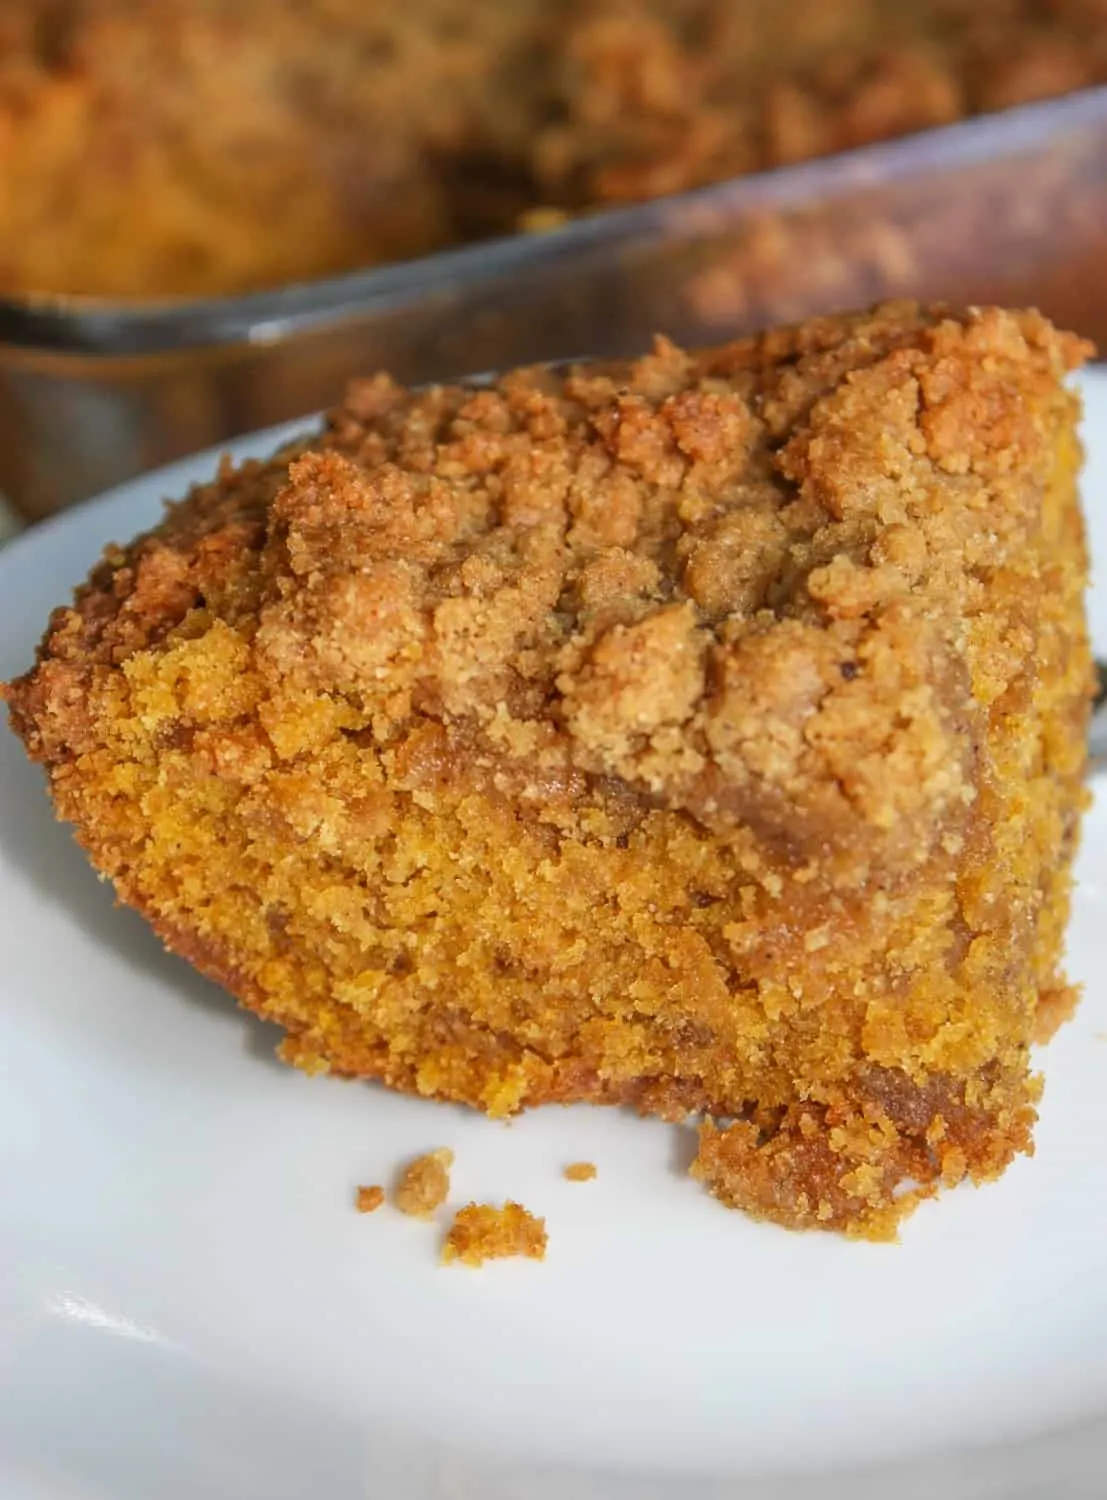
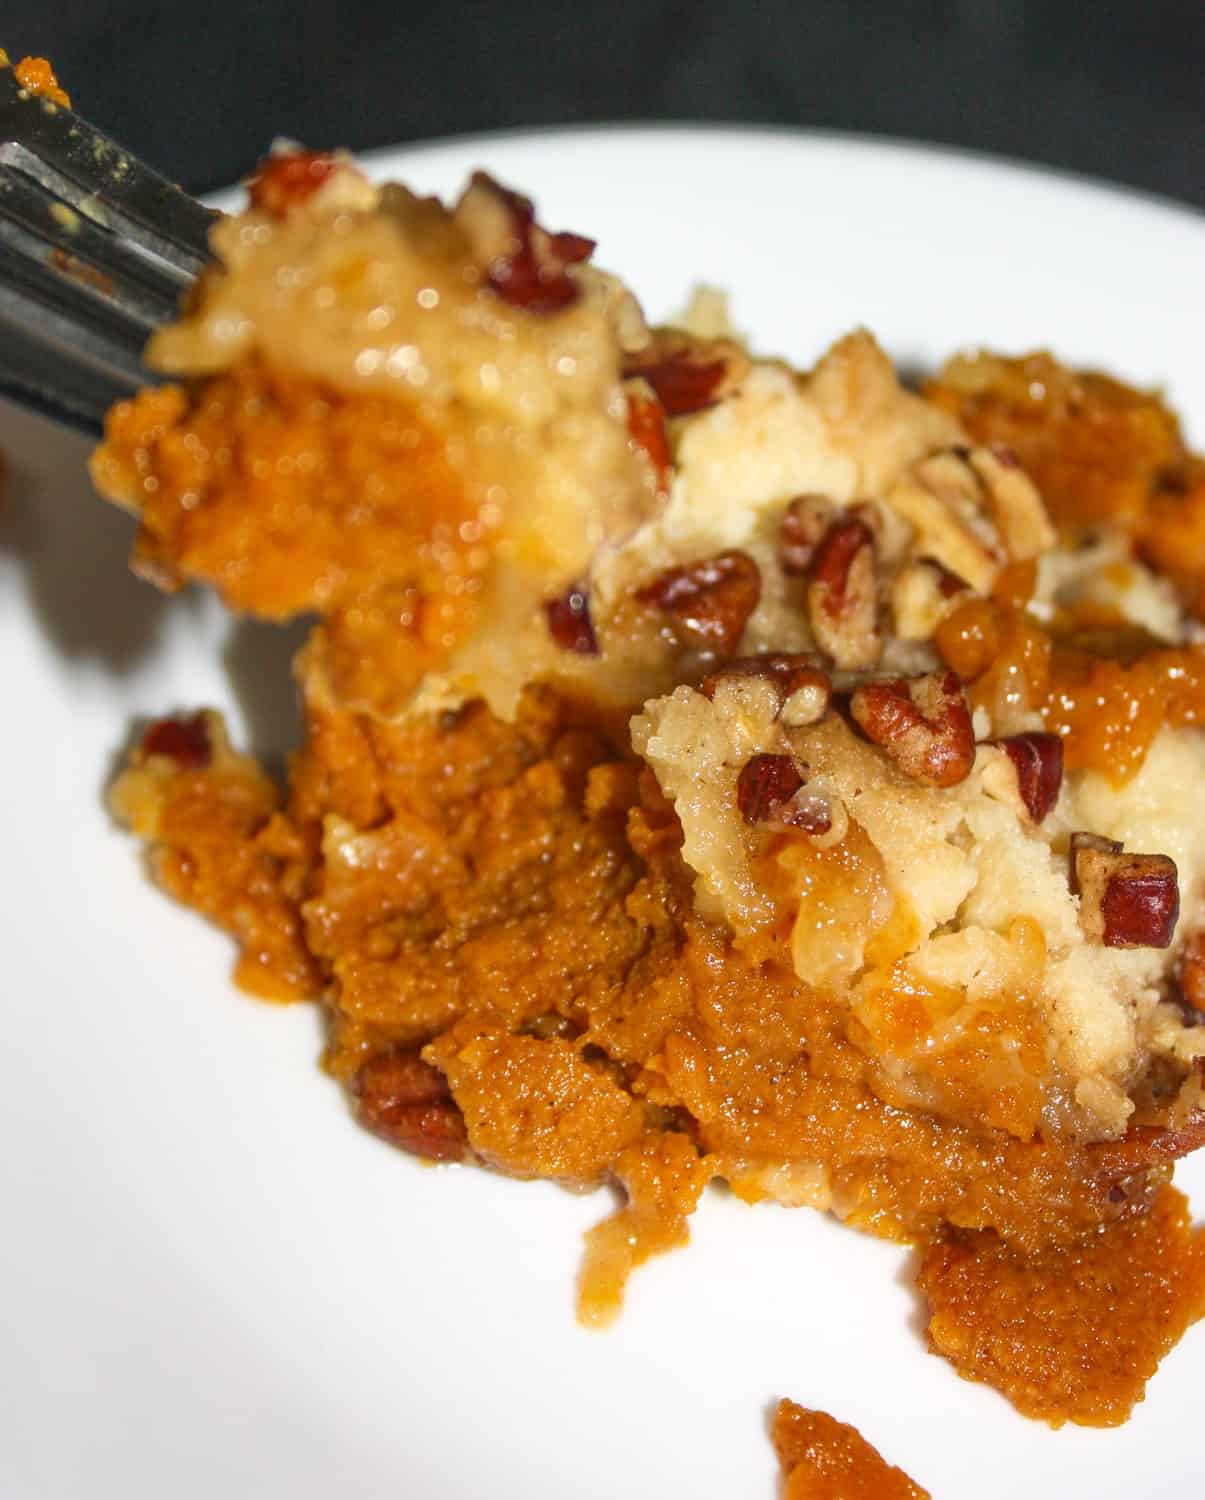
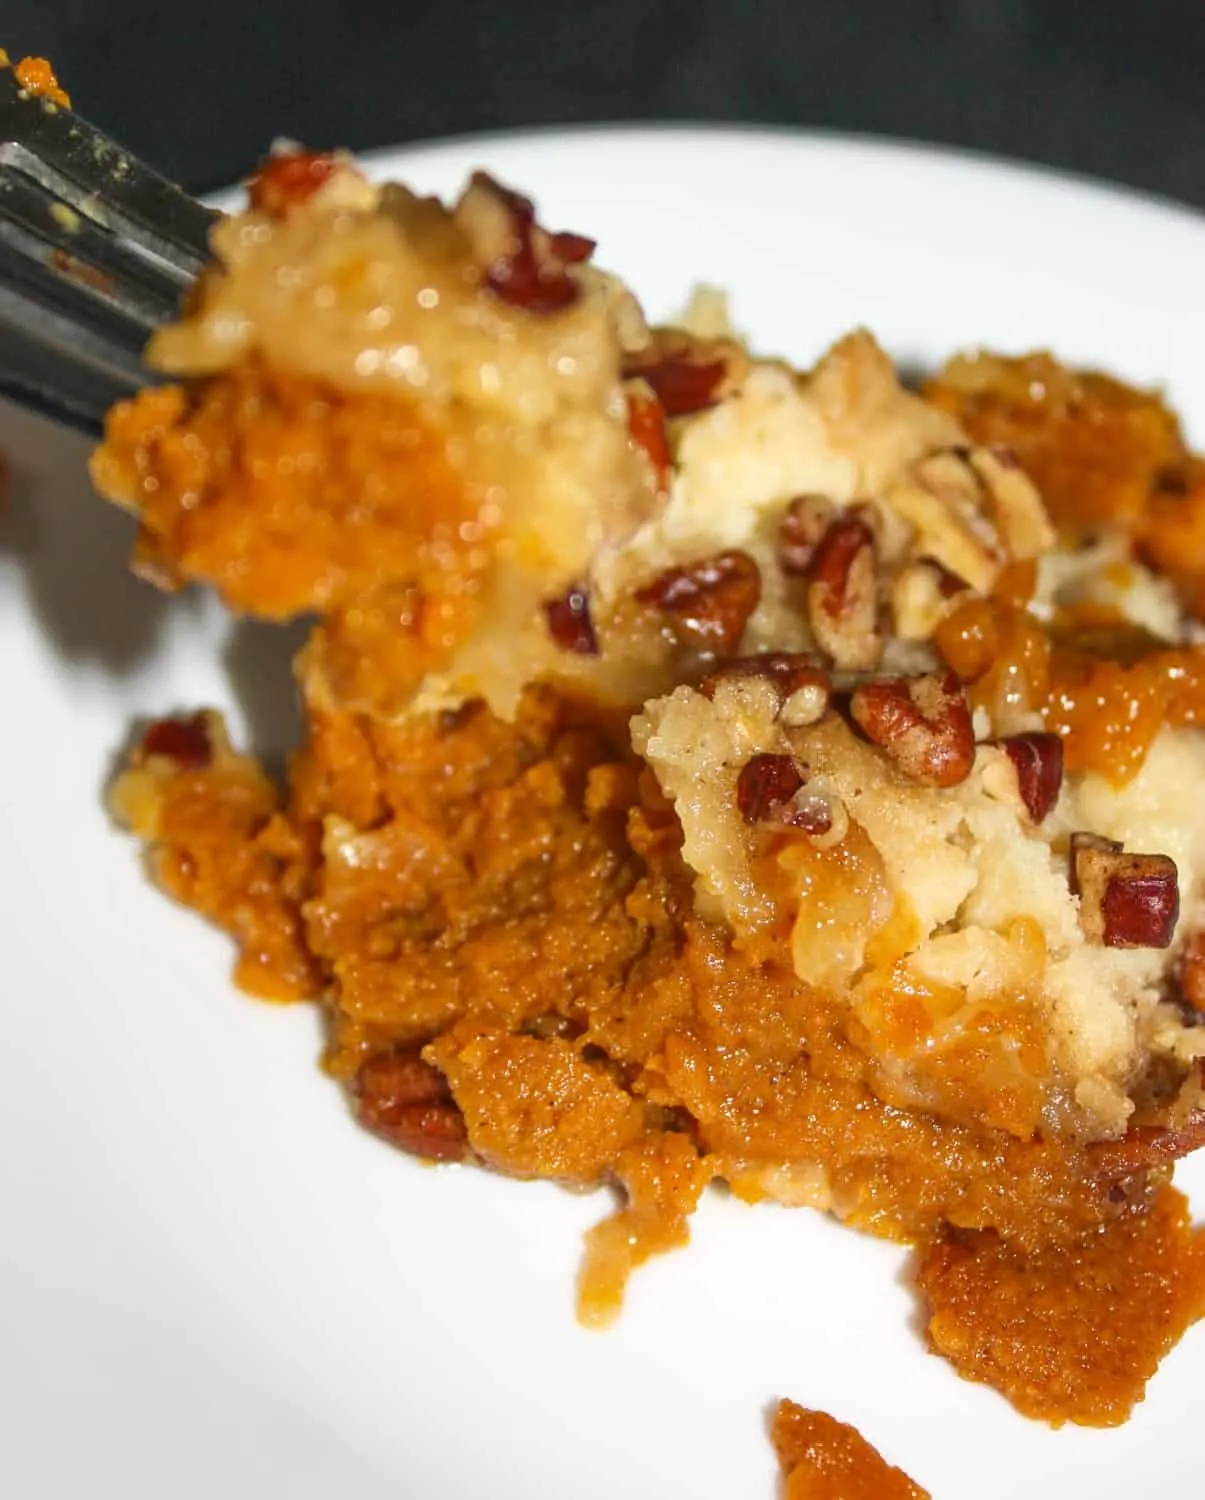
More Pumpkin Recipes You Will Love…


PRINTABLE VERSION OF THE RECIPE CAN BE FOUND AT THE BOTTOM OF THE PAGE
Ingredients You’ll Need to Make this Pumpkin Pie:
- Pumpkin Puree:
- 1 pie pumpkin
- 1 1/2 cups water for Pot
Pie Filling: - 3/4 cup lightly packed brown sugar
- 1 1/2 tsp ground cinnamon
- 1 tsp ground ginger
- 1/2 tsp nutmeg
- 1/2 tsp salt
- 1/4 tsp cloves
- 2 cups pumpkin puree
- 2 eggs, large
- 1 cup almond milk
- 9″ gluten free pie shell
How to Make Pumpkin Pie:
- If making pumpkin puree pour 1 1/2 cups of water into the Instant Pot. Place the pie pumpkin on the trivet and lower into Pot.
- Place the lid on the Instant Pot, turn the steam release handle to the sealing position and set the Instant Pot to Pressure Cook High for 12 minutes.
- Once the Instant Pot is done cooking, allowing it to do a full Natural Release.
- Remove the lid when the pin has lowered and carefully lift out the pie pumpkin.
- Use a fork to peel the skin off the pumpkin. Then cut it in half to scrape out seeds and guts.
- Place pumpkin into a blender or food processor and puree. Set aside.
- For pumpkin pie, preheat the oven to 450F.
- Dump the brown sugar, ground cinnamon, ground ginger, nutmeg, salt and cloves into a mixing bowl and combine.
- Add in the pumpkin puree and stir to combine.
- Stir in the eggs until well incorporated.
- Add the almond milk. Stir.
- Pour into prepared 9″ pie shell.
- Bake in the 450F oven for 15 minutes.
- Reduce heat to 350F and continue baking for about 60 more minutes or until a knife inserted in center comes out clean.
- Remove from oven and allow to cool.
- Serve plain or with a dollop of whipped cream or a bit of ice cream.
- Enjoy!
FAQS:
What should I serve with pumpkin pie?
When serving gluten-free and dairy-free pumpkin pie, it’s a great idea to complement it with dishes that align with these dietary restrictions and enhance the overall dining experience. Here are some delicious options to serve alongside your pumpkin pie:
- Coconut Whipped Cream: Top your pumpkin pie with a dollop of dairy-free coconut whipped cream. It’s a rich and creamy alternative to traditional whipped cream.
- Dairy-Free Ice Cream: Serve a scoop of dairy-free ice cream, such as coconut, almond, or soy-based ice cream, alongside the pumpkin pie for a delightful combination of flavors and textures.
- Fruit Salad: A fresh fruit salad with a mix of seasonal fruits adds a refreshing and healthy element to the dessert spread.
- Mixed Nuts: Roasted or spiced mixed nuts can provide a crunchy contrast to the smooth texture of the pie.
- Pumpkin Seed Brittle: Create a gluten-free and dairy-free pumpkin seed brittle for a crunchy and sweet treat that complements the pumpkin flavor.
- Caramel Sauce (Dairy-Free): Prepare a dairy-free caramel sauce using coconut milk or other non-dairy alternatives to drizzle over the pie.
- Almond Cookies: Offer some gluten-free almond cookies on the side. They can be an excellent addition to the dessert spread and pair well with the pumpkin pie.
- Spiced Hot Cider: Warm spiced apple cider is a comforting and seasonal beverage choice to serve with the pie.
- Vegan Chocolate Truffles: Indulge in some dairy-free vegan chocolate truffles for a decadent treat alongside the pumpkin pie.
- Tea or Coffee: Offer a selection of tea or coffee to accompany the dessert and provide a warm and comforting beverage option.
Remember to always check the labels of packaged items to ensure they are genuinely gluten-free and dairy-free, as some products might contain hidden sources of these ingredients. By offering a variety of delicious and allergy-friendly options, you can create a satisfying and inclusive dessert experience for all your guests.
How do I store pumpkin pie?
To store pumpkin pie properly, follow these steps:
- Cool the pie: Allow the pumpkin pie to cool completely at room temperature before storing it. This prevents condensation from forming inside the container and keeps the crust from becoming soggy.
- Wrap the pie: Once cooled, cover the pumpkin pie with plastic wrap or aluminum foil. Make sure the wrap is airtight to prevent air from getting in, which could cause the pie to dry out.
- Refrigerate the pie: Place the wrapped pumpkin pie in the refrigerator. It’s essential to store pumpkin pie in the fridge because it contains perishable ingredients like eggs.
- Use a refrigerator drawer or shelf: Keep the pumpkin pie on a flat surface in the refrigerator, such as a shelf or drawer, where it won’t be disturbed or crushed by other items.
- Consume within a few days: While refrigeration helps extend the shelf life, pumpkin pies are best consumed within 3-4 days of baking for the best taste and texture.
Can I freeze pumpkin pie?
Yes, you can freeze pumpkin pie! Freezing pumpkin pie is a great way to extend its shelf life and enjoy it at a later date. Here’s a step-by-step guide on how to freeze pumpkin pie properly:
- Cool the pie: Allow the pumpkin pie to cool completely at room temperature. This step is essential to prevent condensation from forming inside the packaging during freezing.
- Protect the pie: Wrap the pumpkin pie tightly with plastic wrap or aluminum foil. Make sure to cover it thoroughly, sealing all edges to prevent freezer burn and maintain the pie’s quality.
- Place in a freezer-safe container: After wrapping the pie, you can place it in a freezer-safe container or a resealable plastic bag for added protection.
- Label and date: Don’t forget to label the container or bag with the contents and the date of freezing. This will help you keep track of how long the pie has been in the freezer.
- Freeze the pie: Put the wrapped and containerized pie in the freezer and ensure it is placed on a flat surface to maintain its shape. Keep it away from potential crushing or pressure.
Pumpkin pies can typically be frozen for up to two months without any significant loss of quality. When you’re ready to enjoy the pie, remove it from the freezer, thaw it in the refrigerator overnight, and then reheat it in the oven or microwave before serving.
While freezing pumpkin pie is generally safe and preserves its taste and texture, keep in mind that freezing can alter the texture slightly. So, while it’s still safe to eat, the quality might be slightly different compared to freshly baked pie.
Pumpkin Pie - Instant Pot - Gluten Free, Dairy Free

Thanksgiving would not be Thanksgiving without Pumpkin Pie. This gluten free, dairy free version makes it possible for everyone to enjoy this traditional holiday dessert!
Ingredients
- Pumpkin Puree:
- 1 pie pumpkin
- 1 1/2 cups water for Pot
- Pie Filling:
- 3/4 cup lightly packed brown sugar
- 1 1/2 tsp ground cinnamon
- 1 tsp ground ginger
- 1/2 tsp nutmeg
- 1/2 tsp salt
- 1/4 tsp cloves
- 2 cups pumpkin puree
- 2 eggs, large
- 1 cup almond milk
- 9" gluten free pie shell
Instructions
- If making pumpkin puree pour 1 1/2 cups of water into the Instant Pot. Place the pie pumpkin on the trivet and lower into Pot.
- Place the lid on the Instant Pot, turn the steam release handle to the sealing position and set the Instant Pot to Pressure Cook High for 12 minutes.
- Once the Instant Pot is done cooking, allowing it to do a full Natural Release.
- Remove the lid when the pin has lowered and carefully lift out the pie pumpkin.
- Use a fork to peel the skin off the pumpkin. Then cut it in half to scrape out seeds and guts.
- Place pumpkin into a blender or food processor and puree. Set aside.
- For pumpkin pie, preheat the oven to 450F.
- Dump the brown sugar, ground cinnamon, ground ginger, nutmeg, salt and cloves into a mixing bowl and combine.
- Add in the pumpkin puree and stir to combine.
- Stir in the eggs until well incorporated.
- Add the almond milk. Stir.
- Pour into prepared 9" pie shell.
- Bake in the 450F oven for 15 minutes.
- Reduce heat to 350F and continue baking for about 60 more minutes or until a knife inserted in center comes out clean.
- Remove from oven and allow to cool.
- Serve plain or with a dollop of whipped cream or a bit of ice cream.
- Enjoy!
Notes
*Pumpkin puree was made in an 8 quart Instant Pot Duo.
Nutrition Information:
Yield:
7Serving Size:
1Amount Per Serving: Calories: 630Total Fat: 24gSaturated Fat: 8gTrans Fat: 0gUnsaturated Fat: 14gCholesterol: 58mgSodium: 604mgCarbohydrates: 101gFiber: 6gSugar: 55gProtein: 8g