
Almond Flour Peanut Butter Cookies
Looking for a quick and easy cookie recipe? These gluten free Almond Flour Peanut Butter Cookies only use 4 ingredients and really hit the spot!
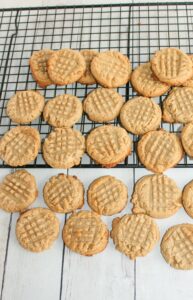
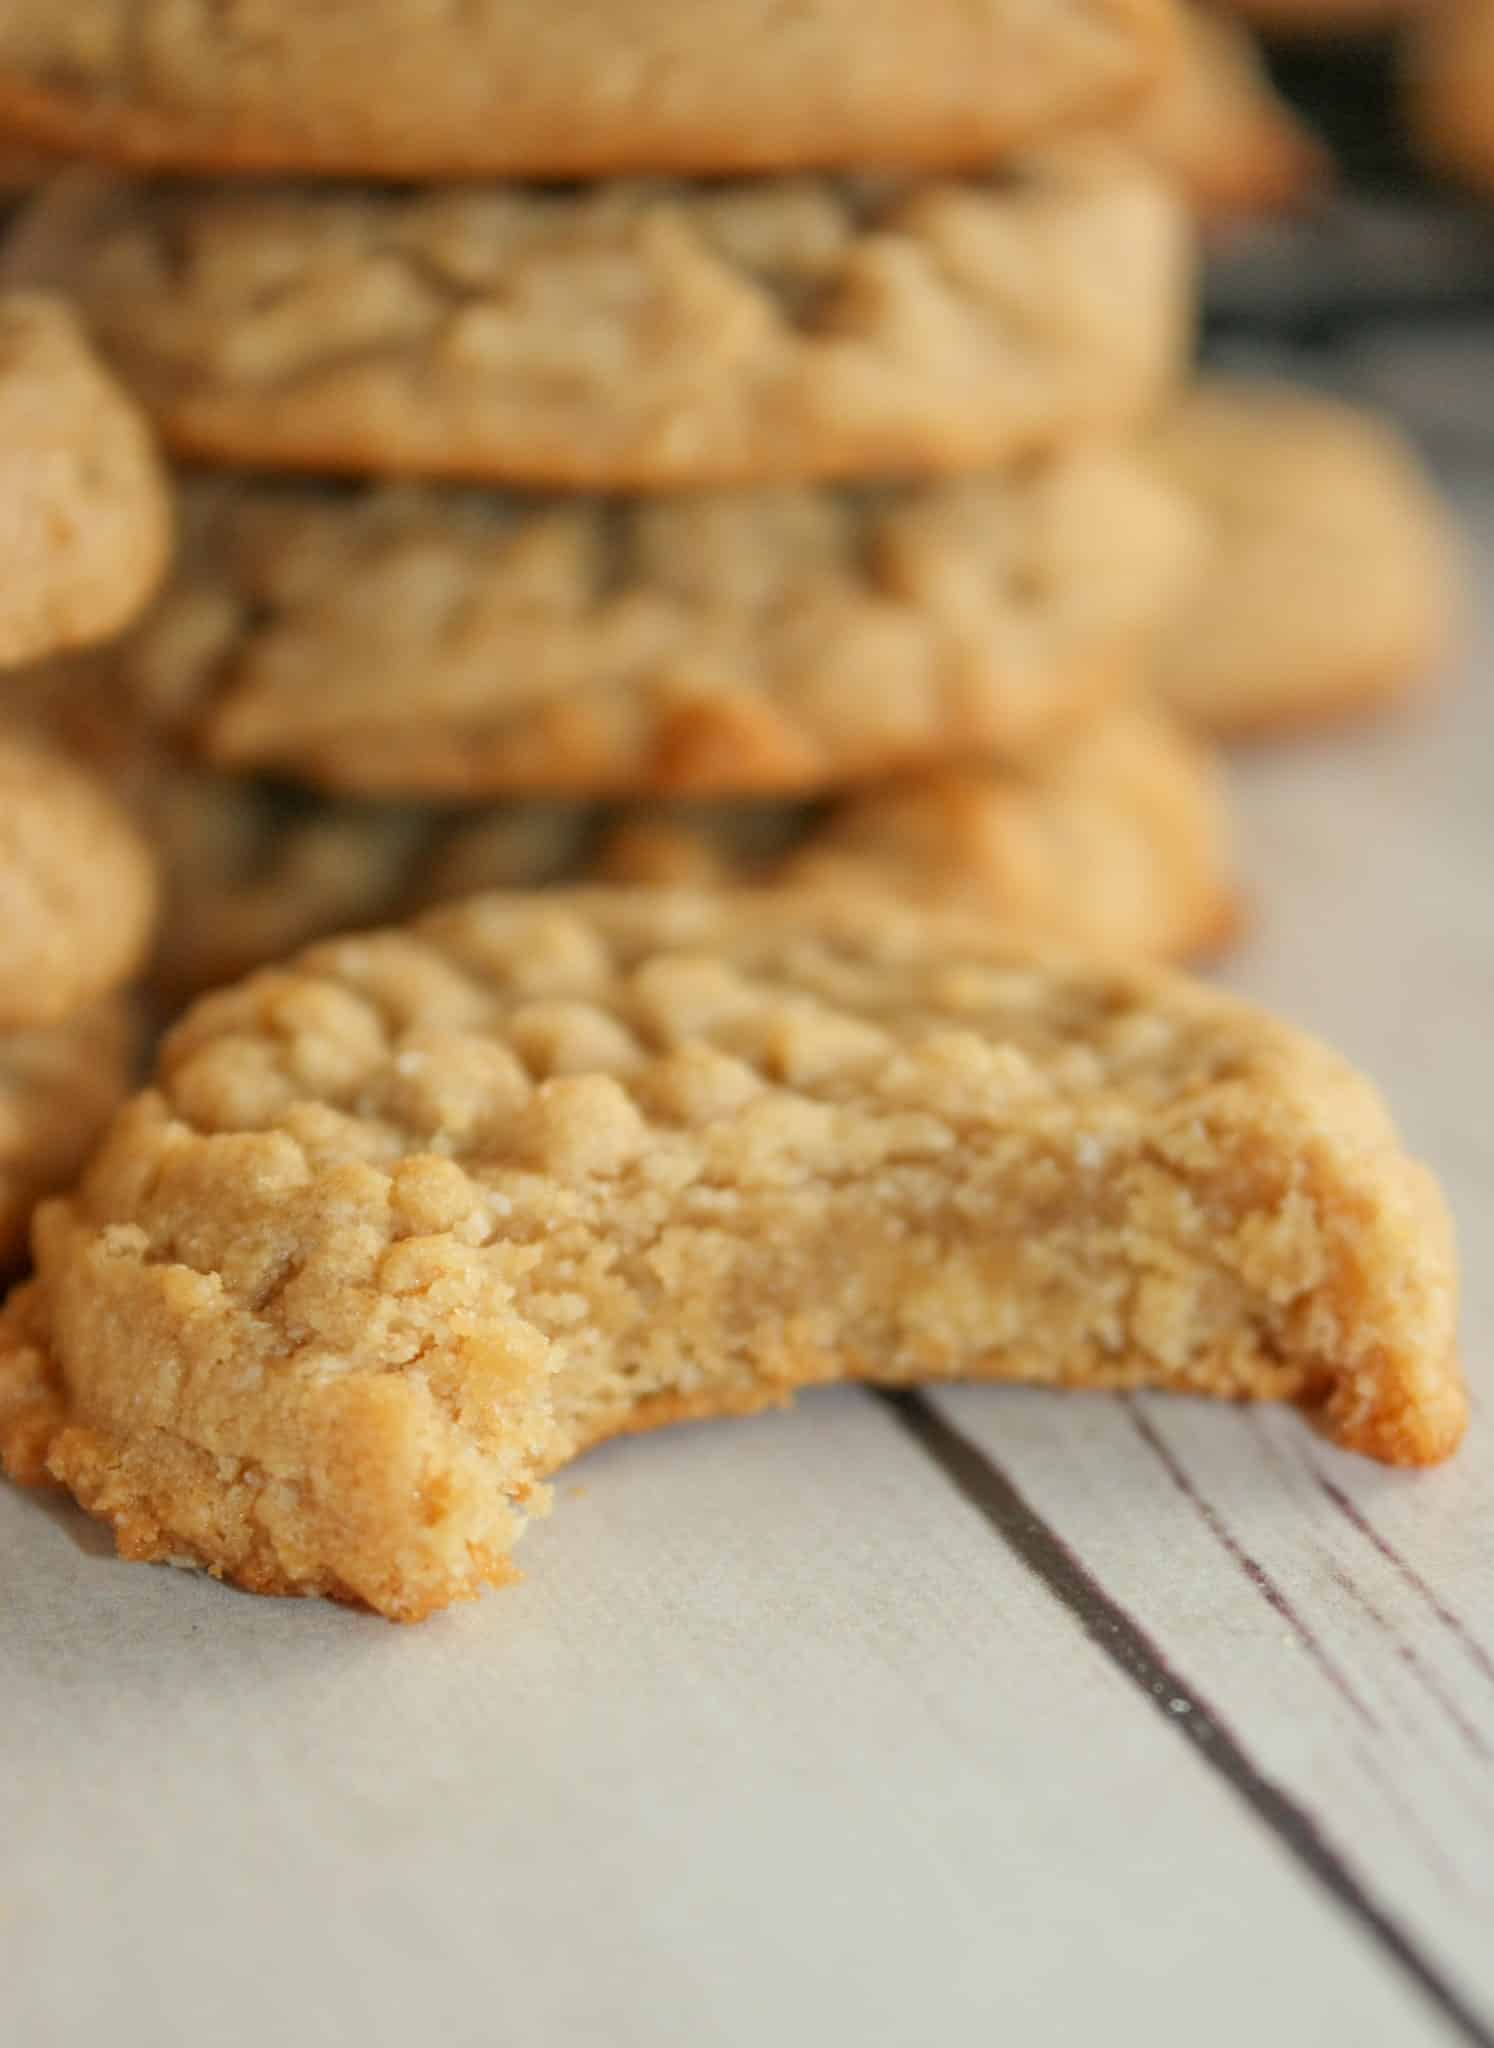
The almond flour gives these cookies a nice chewy texture.
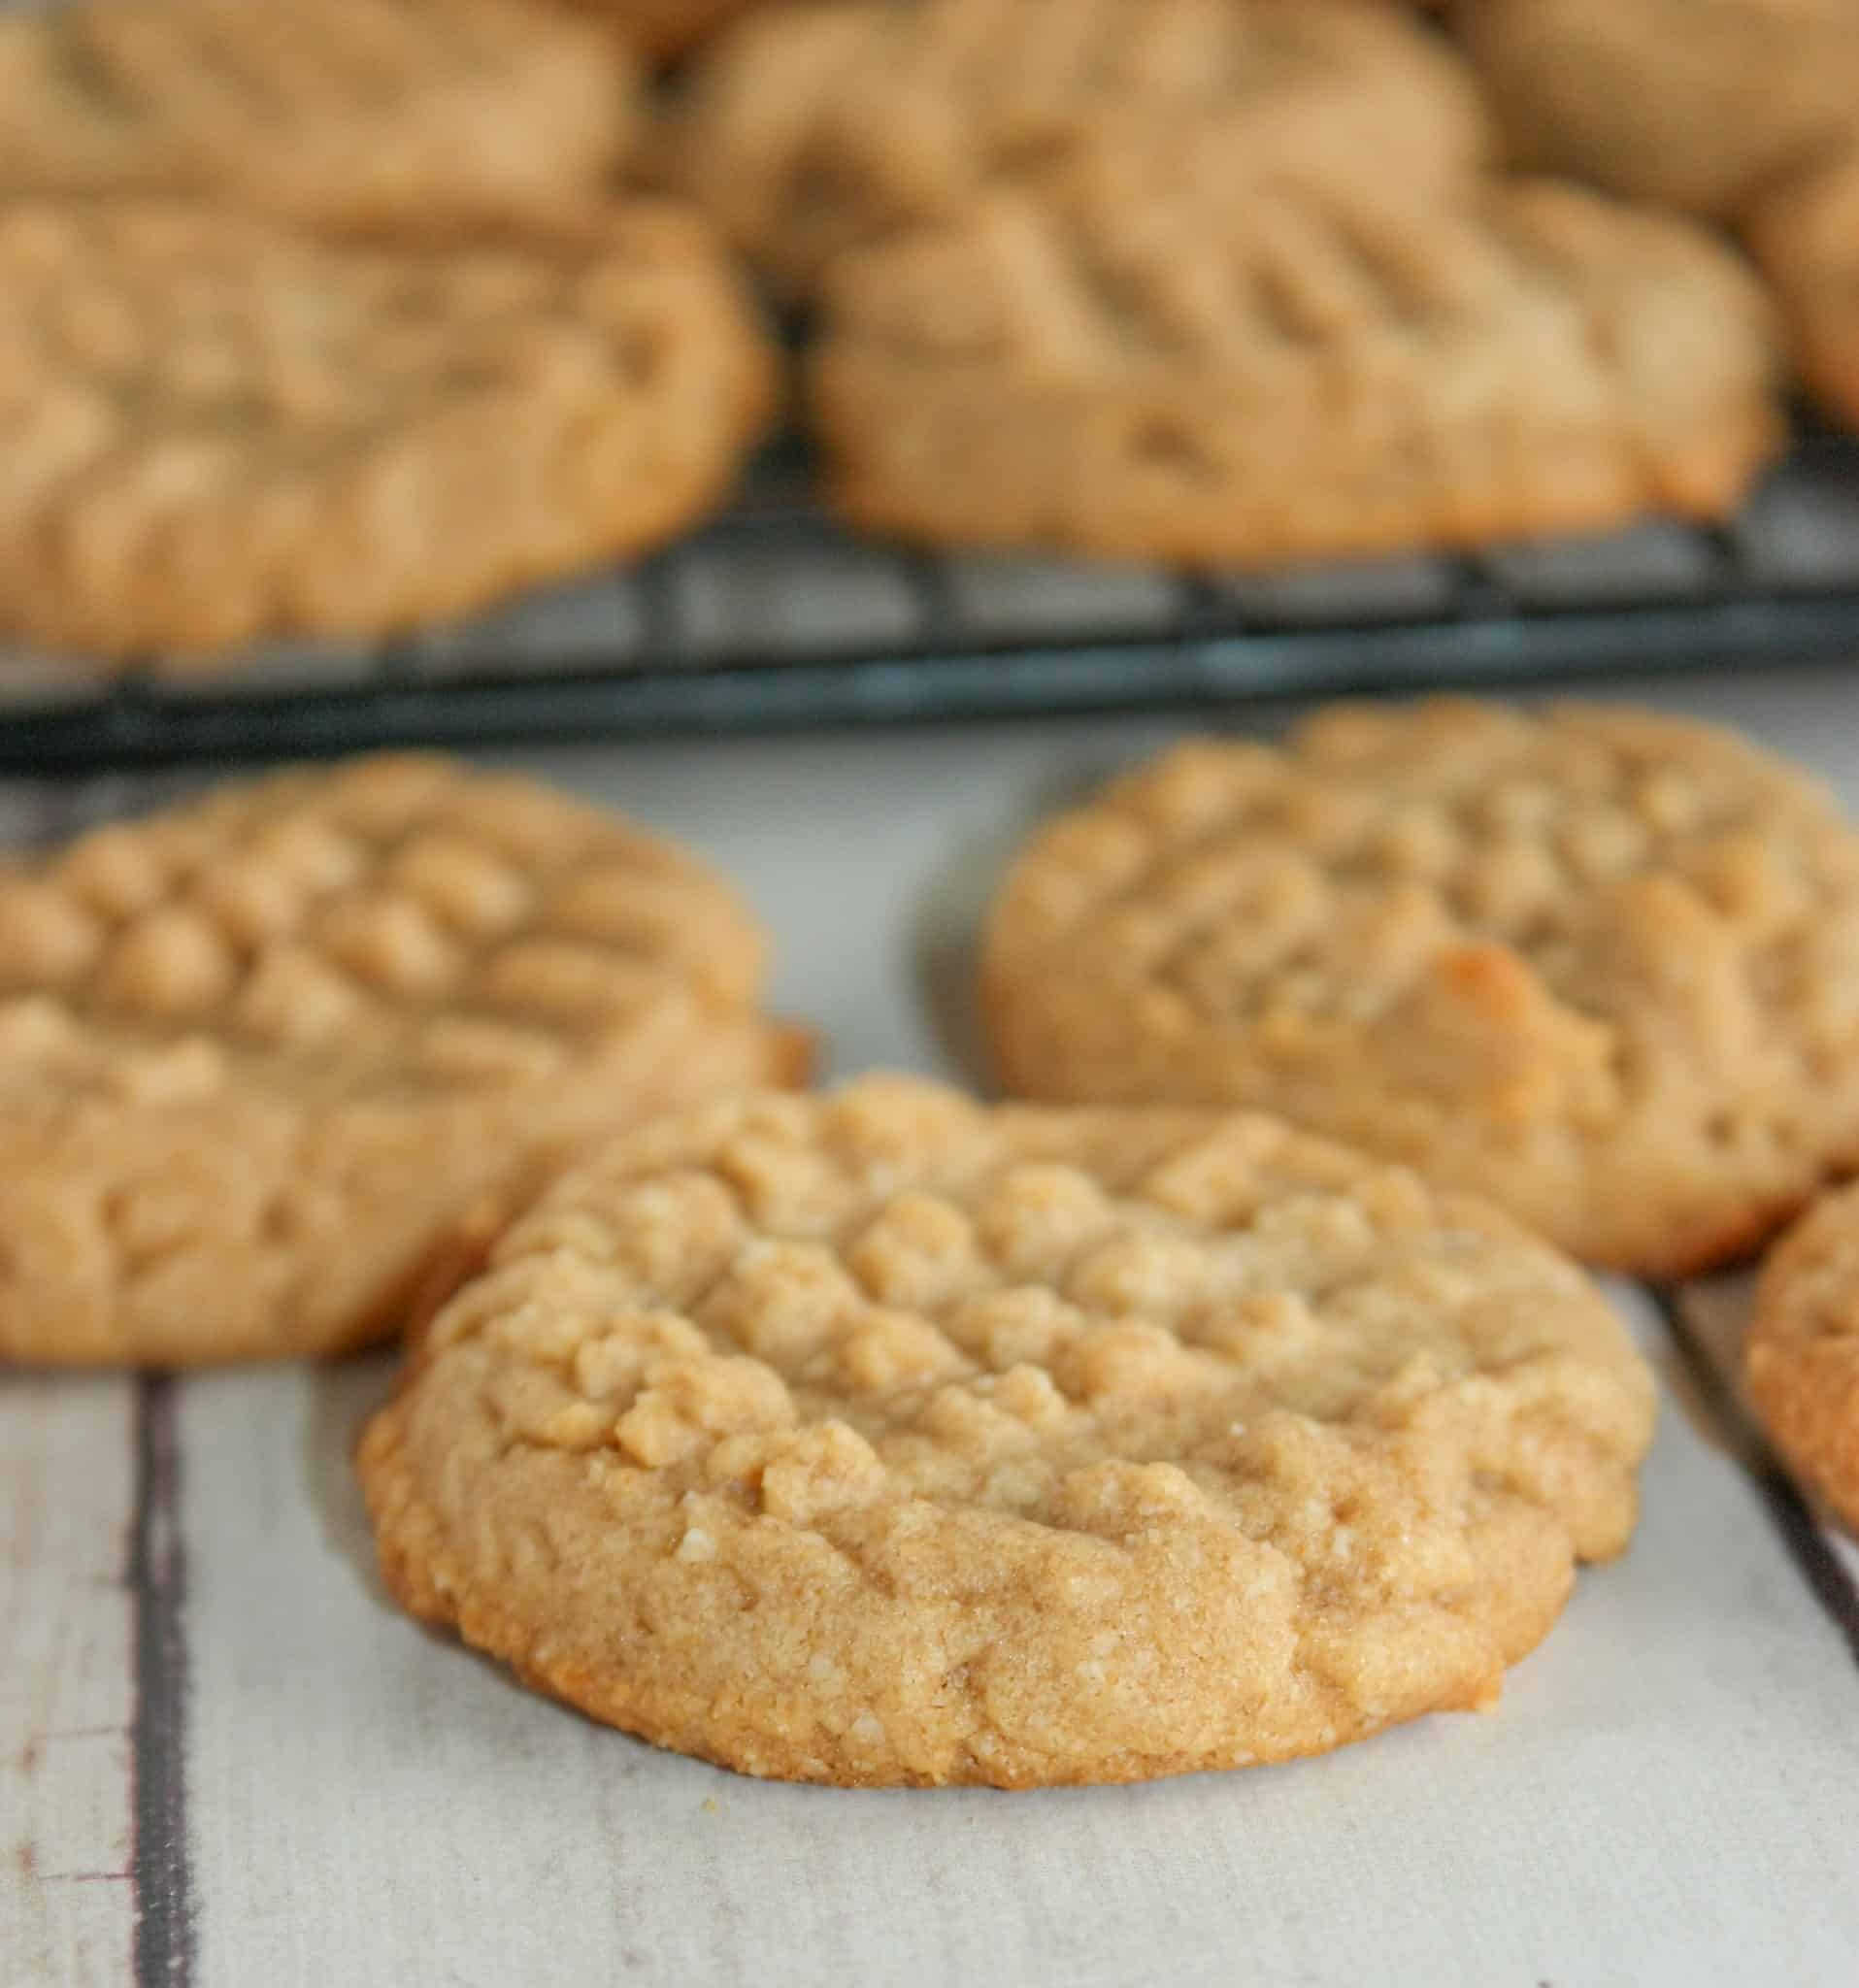
This tasty cookie recipe yields 30 cookies when using a 1 tablespoon scoop.
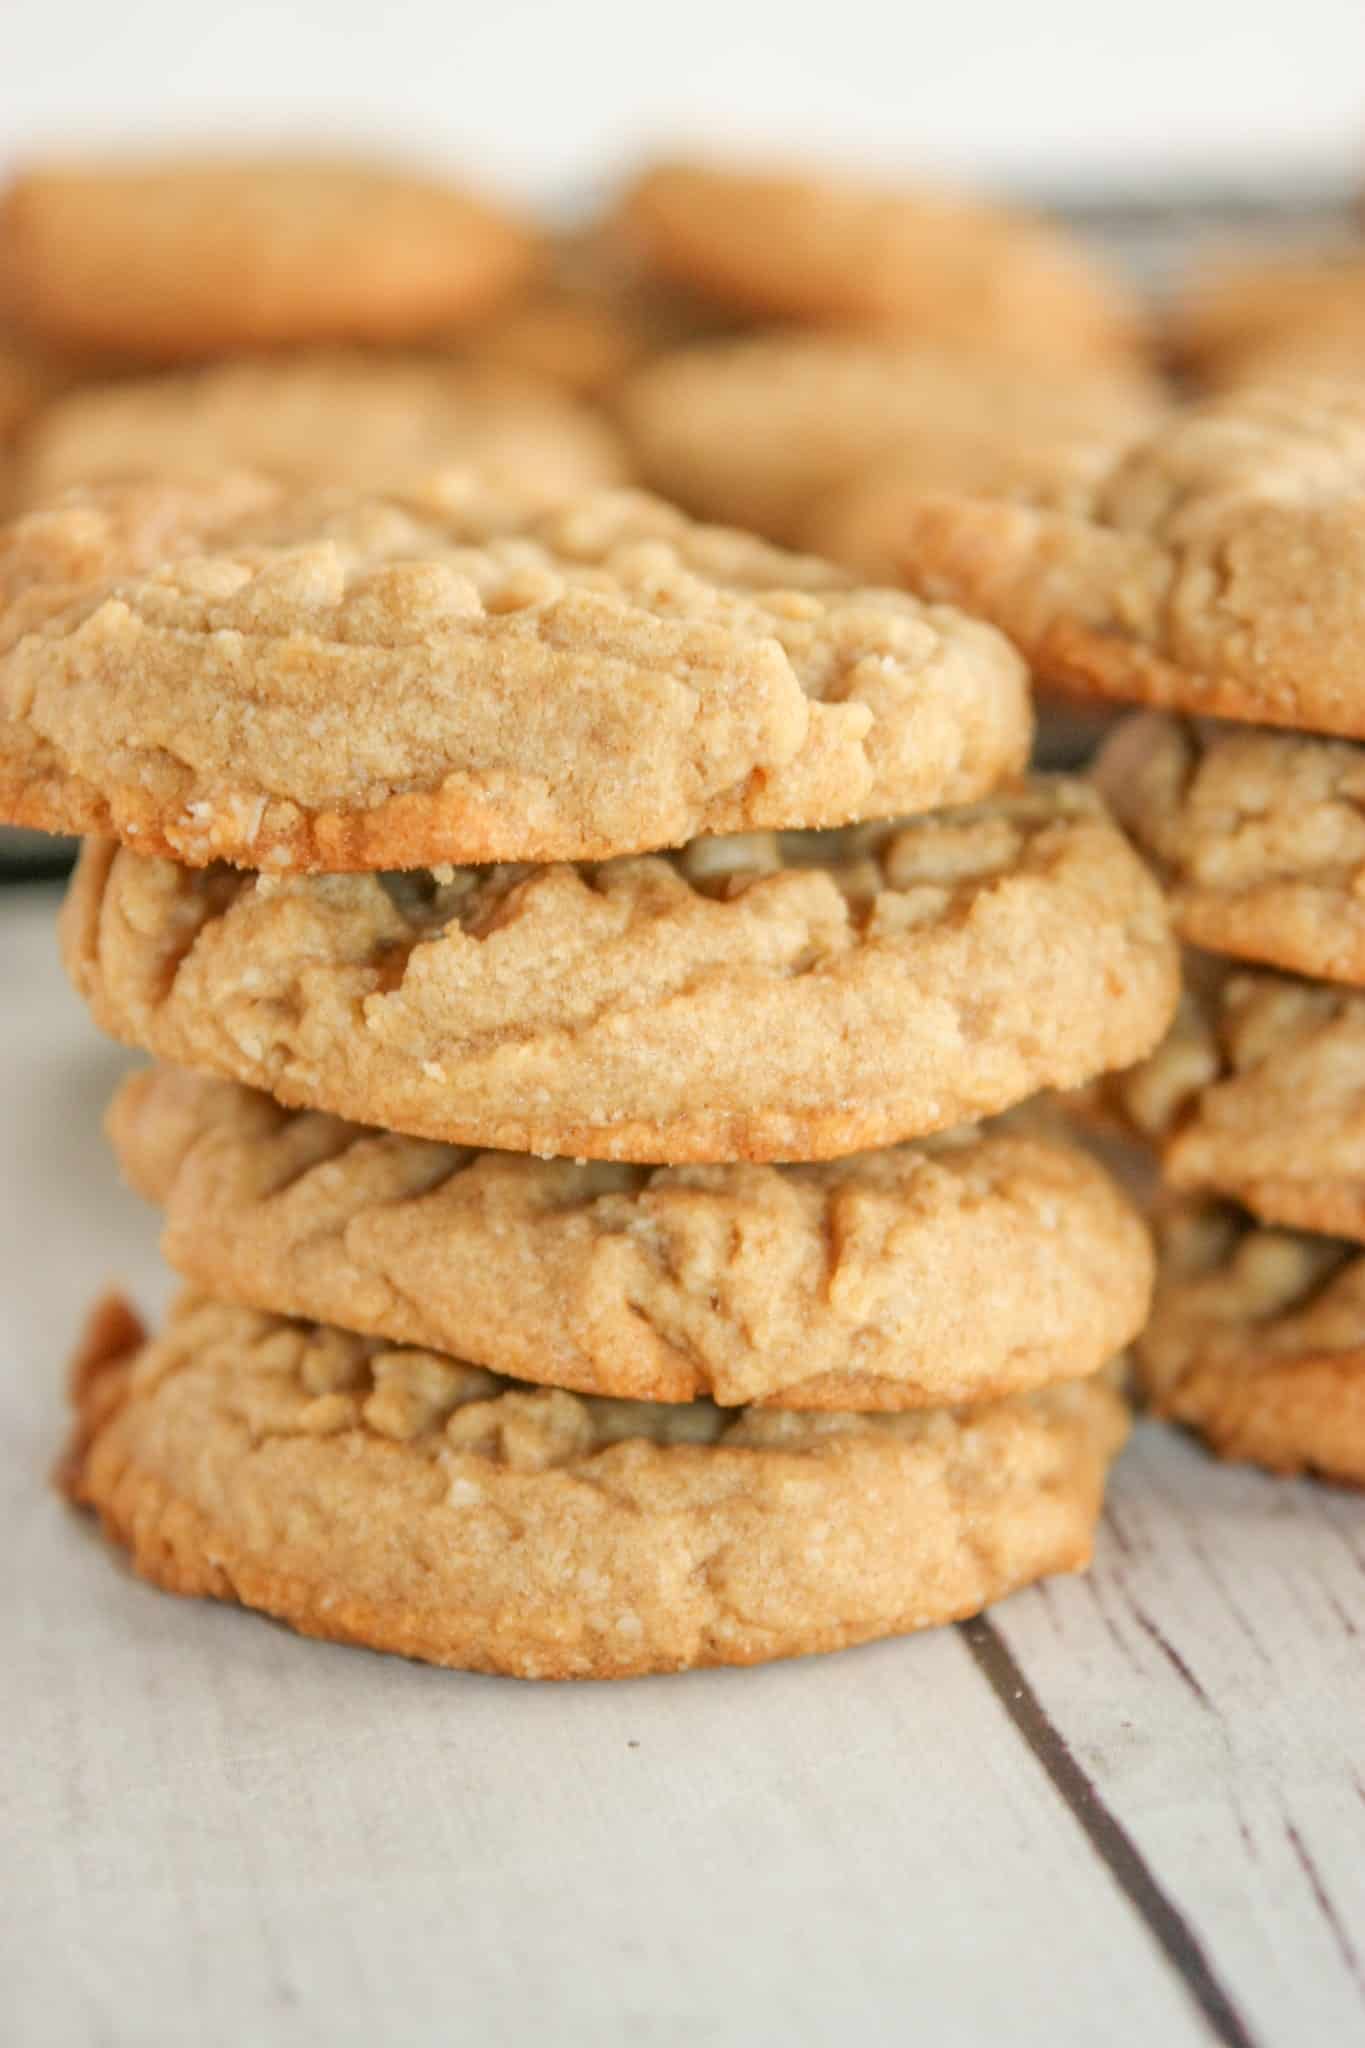
Every chewy bite is loaded with peanut butter flavour.
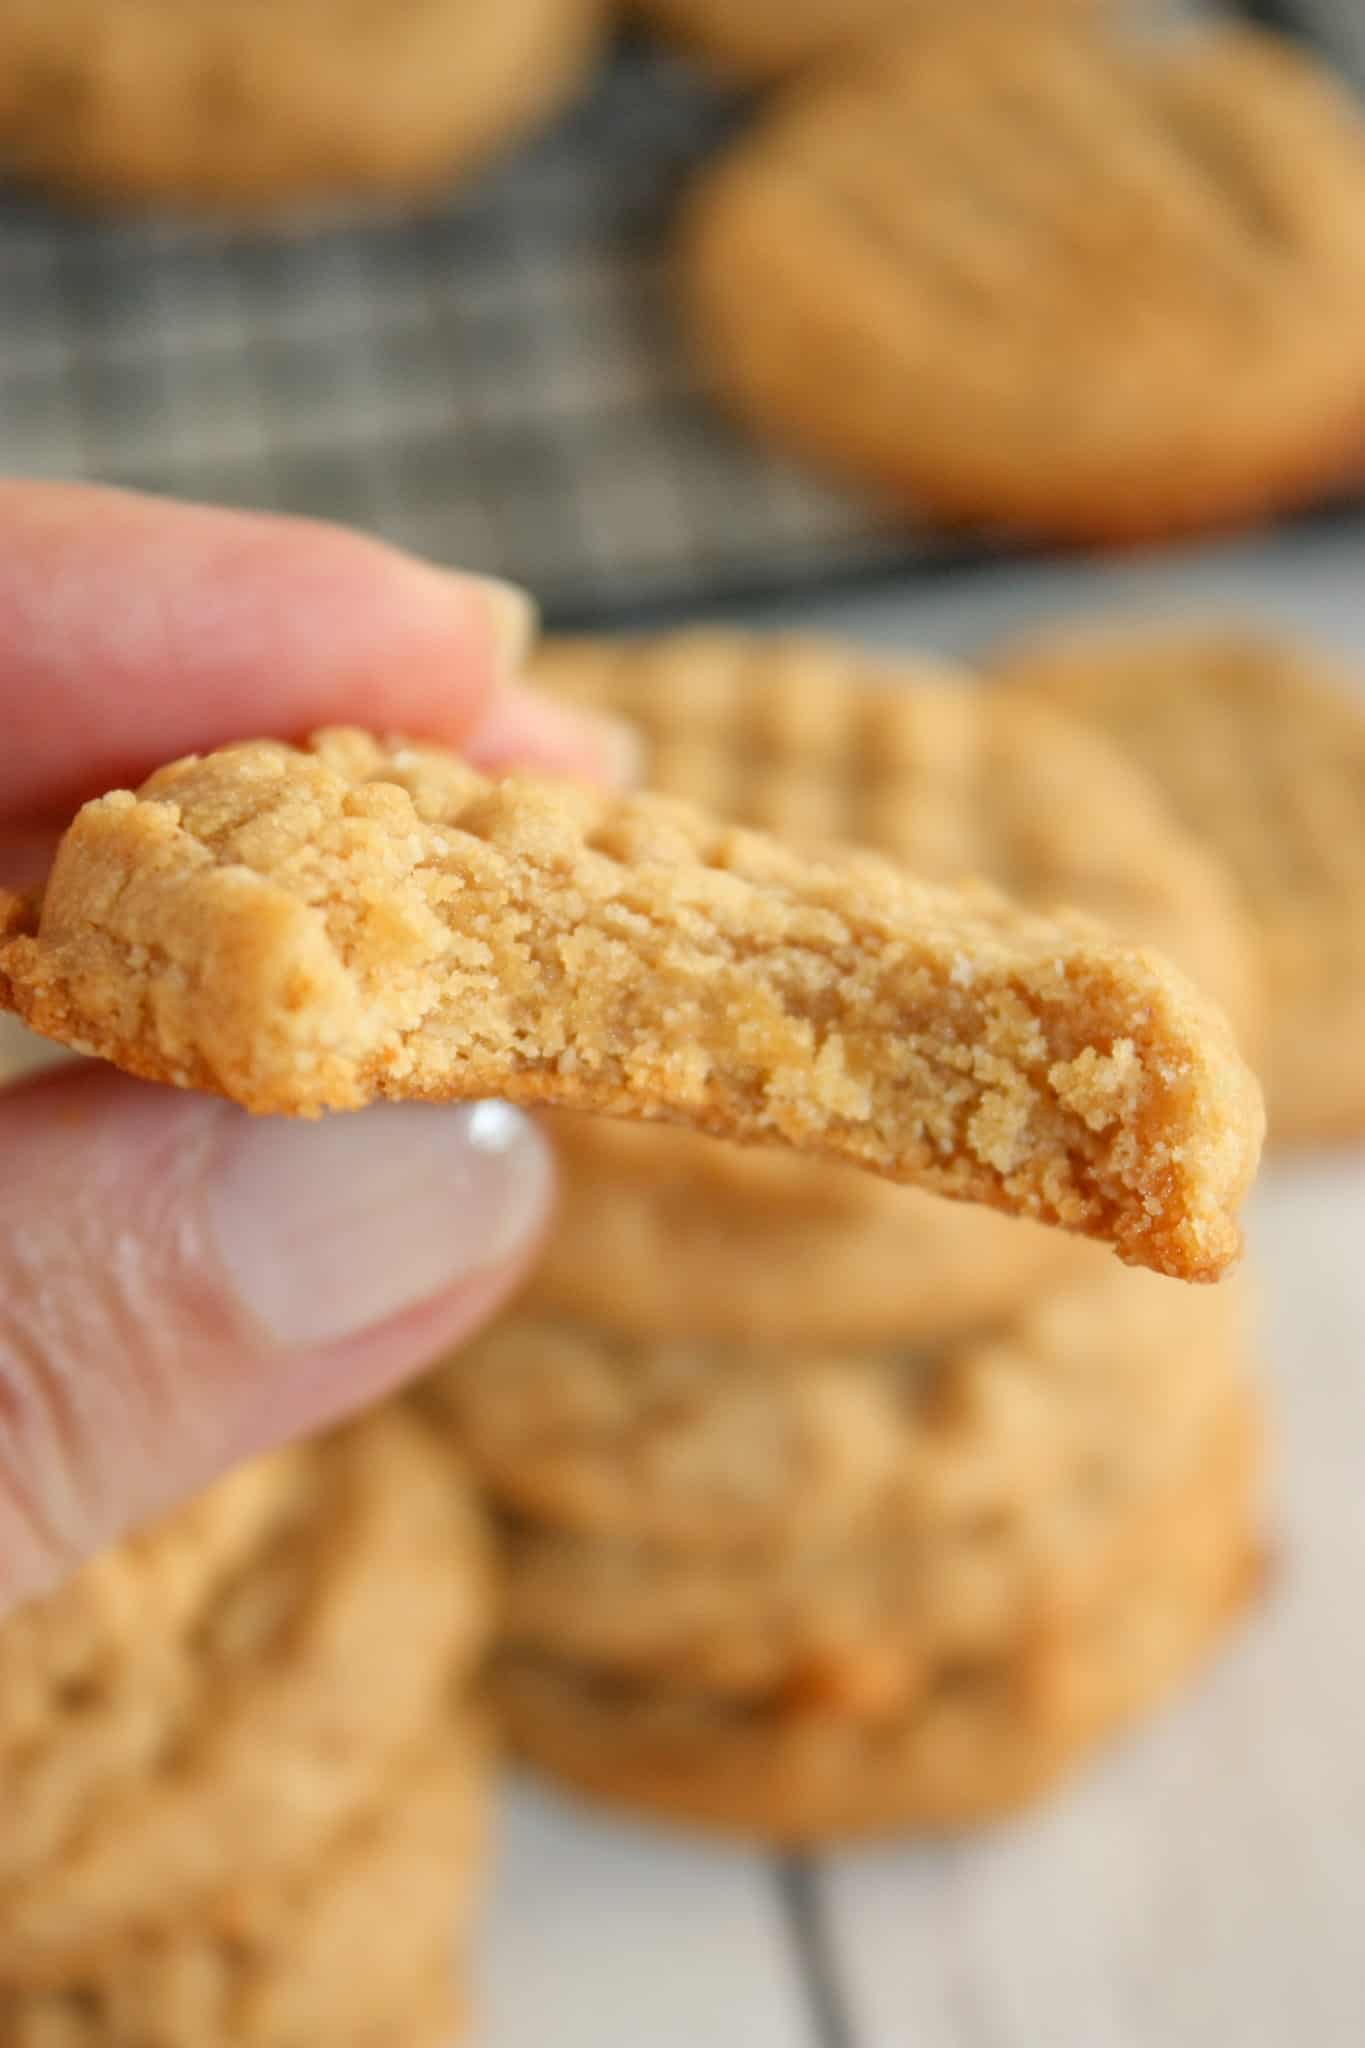
Printable Recipe Card with a Full List of Ingredients and Instructions is Located at the Bottom of the Post.
Be sure to read through the entire post so that you don’t miss out on any important tips and tricks!
The first thing that I did to create these Almond Flour Peanut Butter Cookies was to add peanut butter and brown sugar to a large mixing bowl.
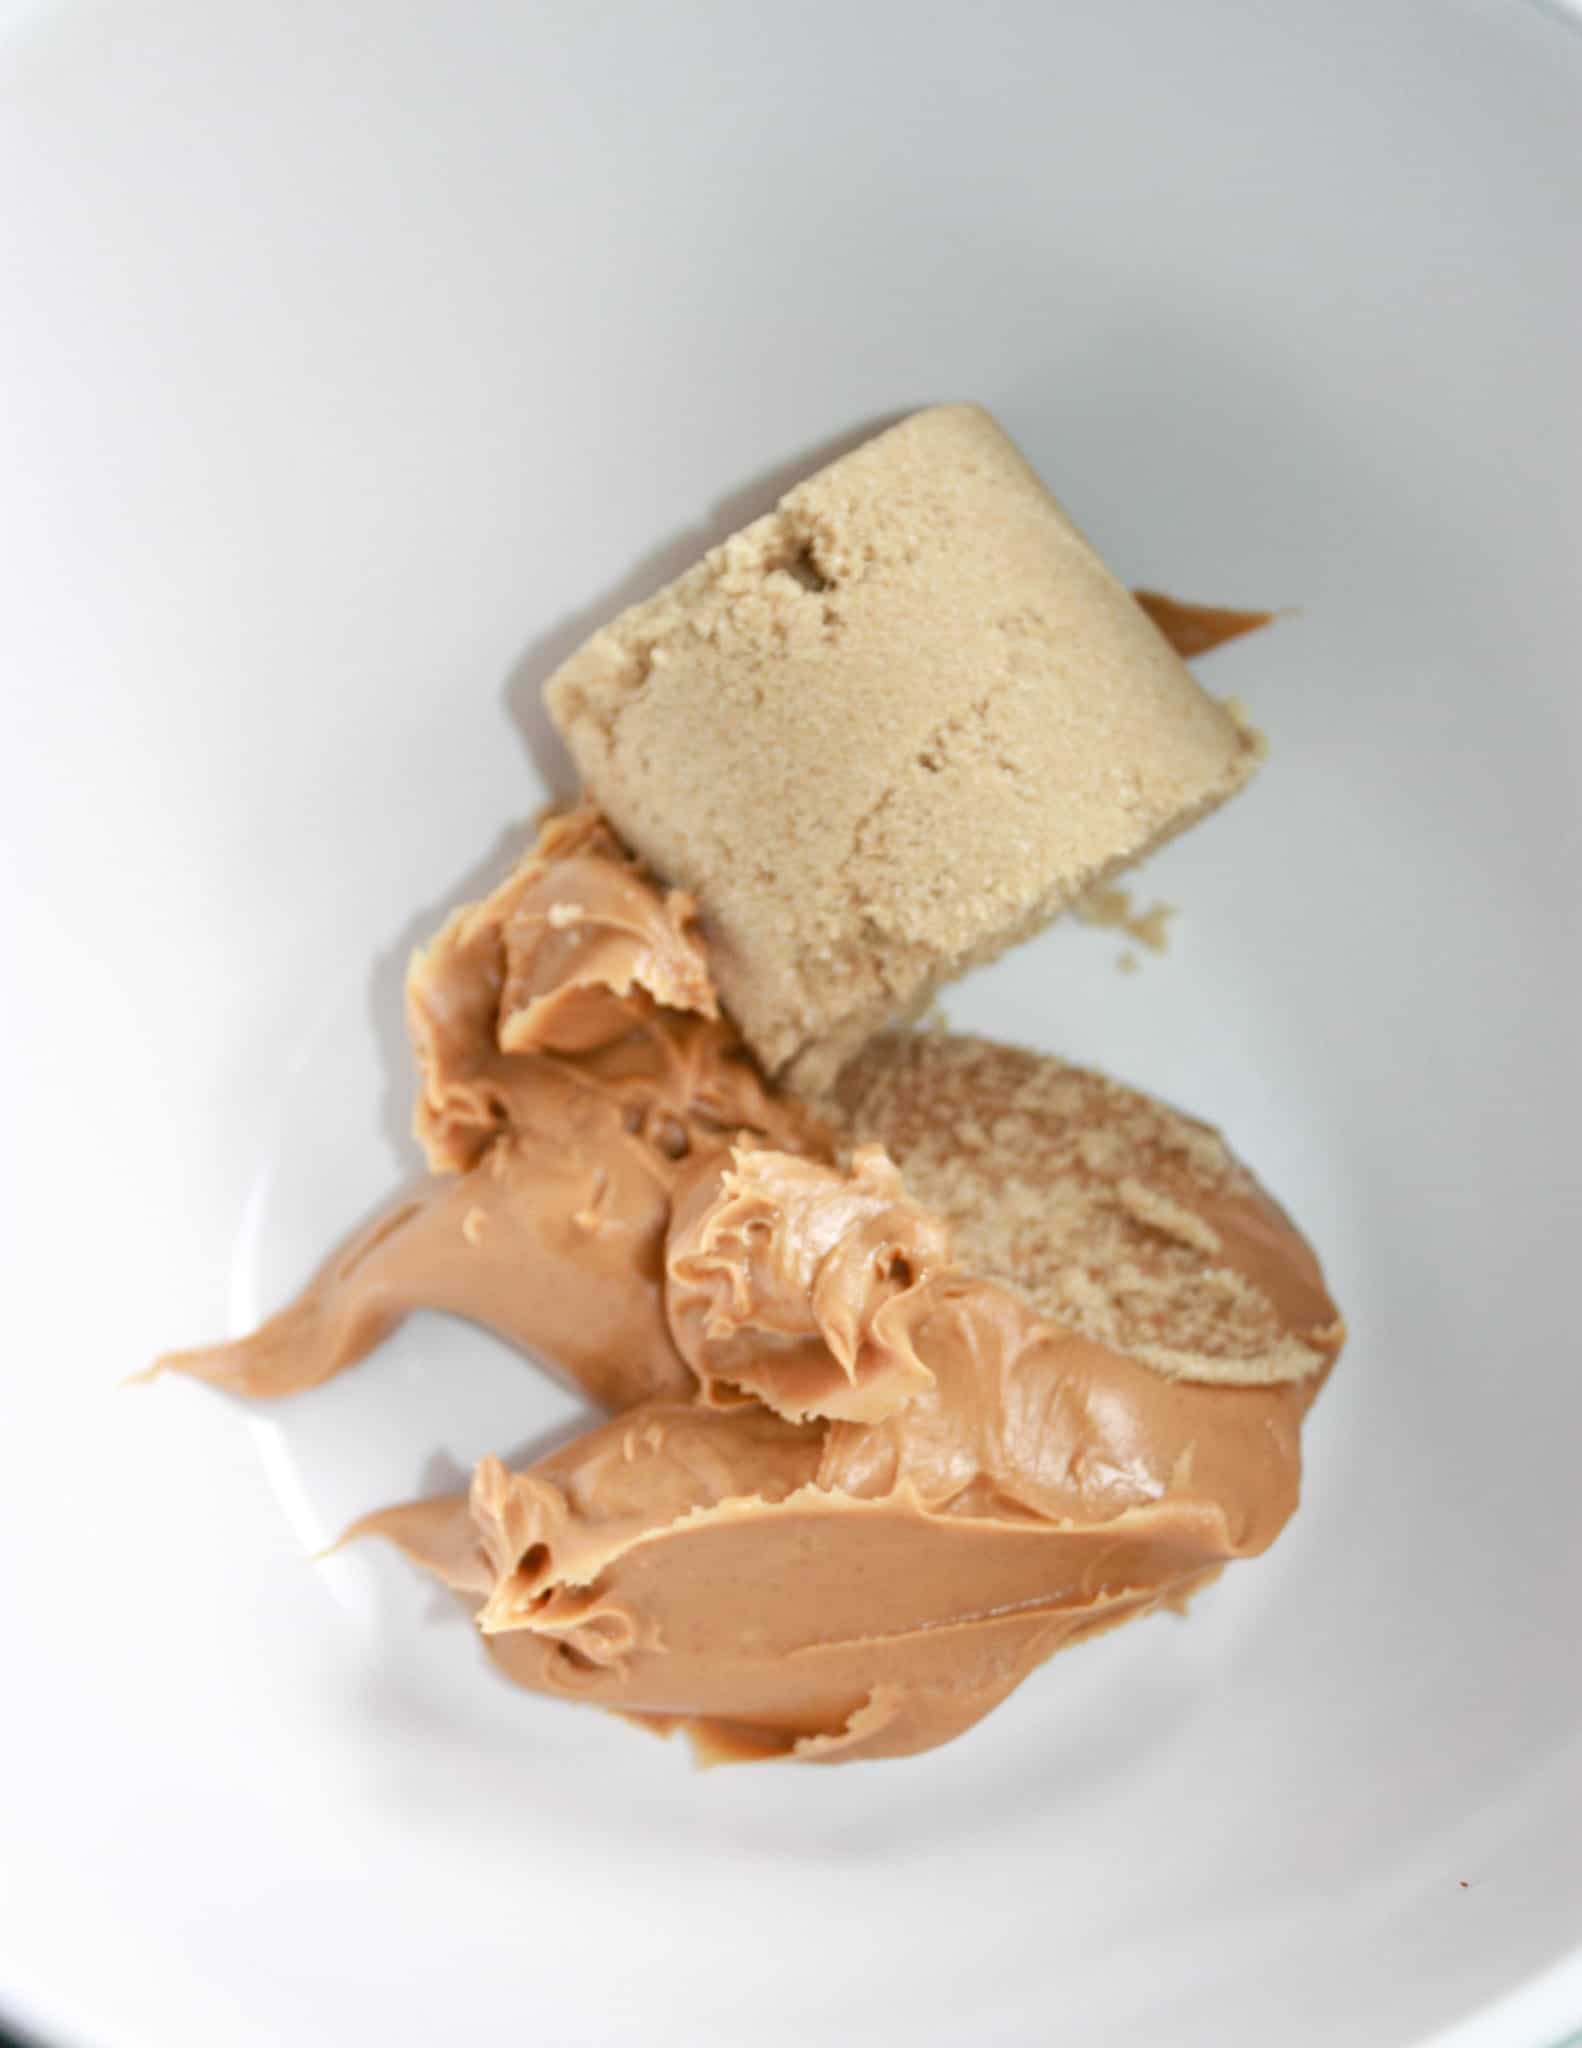
I then used an electric mixer to cream these two ingredients together before beating in one large egg.
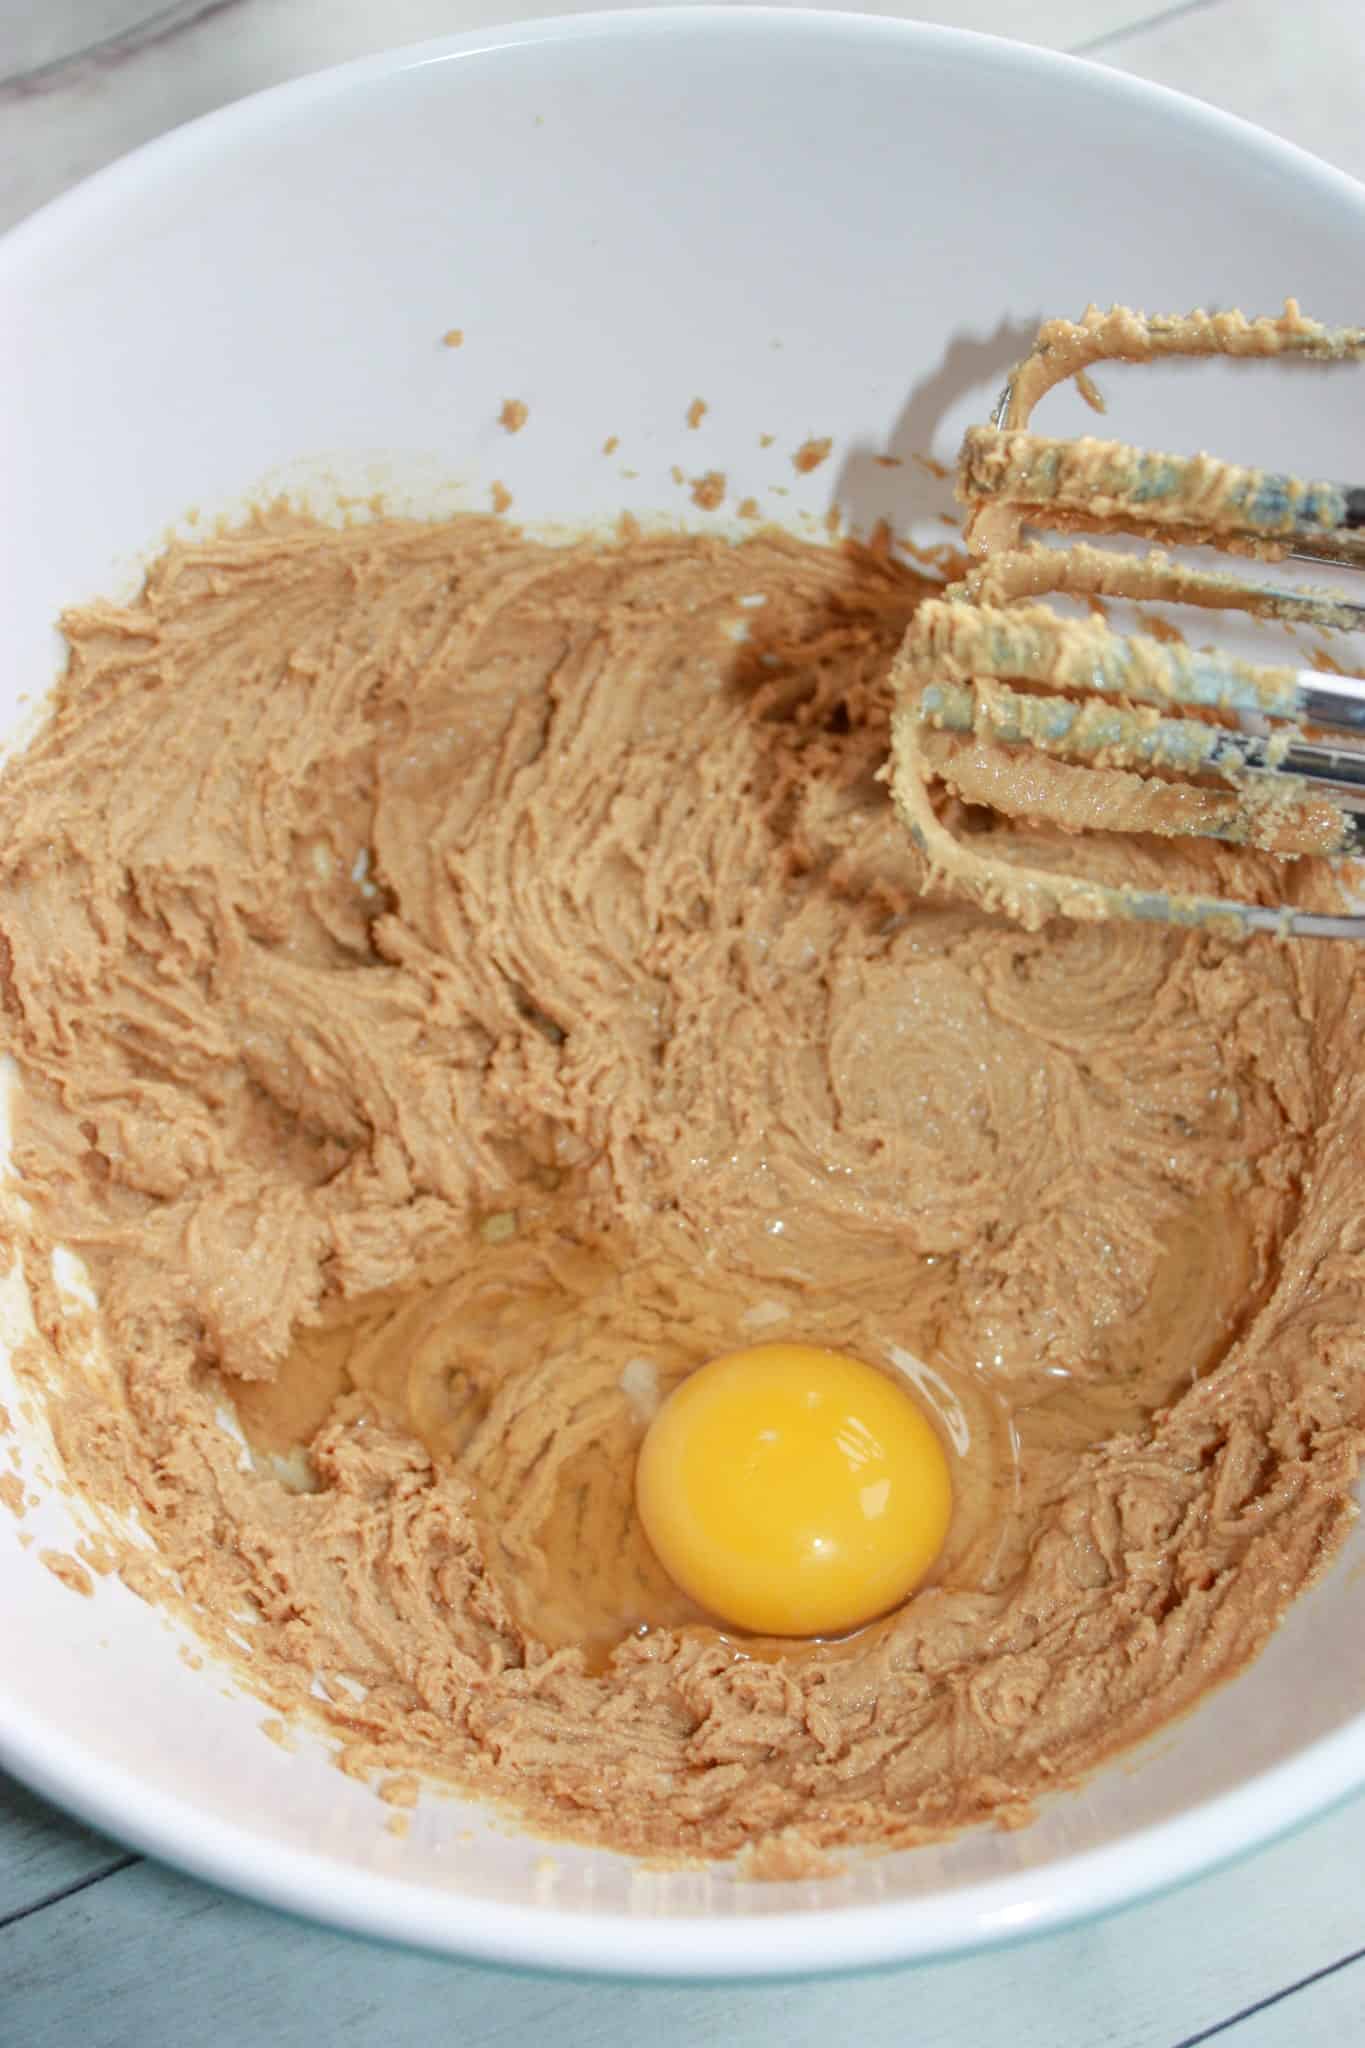
Next I measured in some almond flour and used the electric hand mixer again. You may need to finish off the mixing with a large spoon.
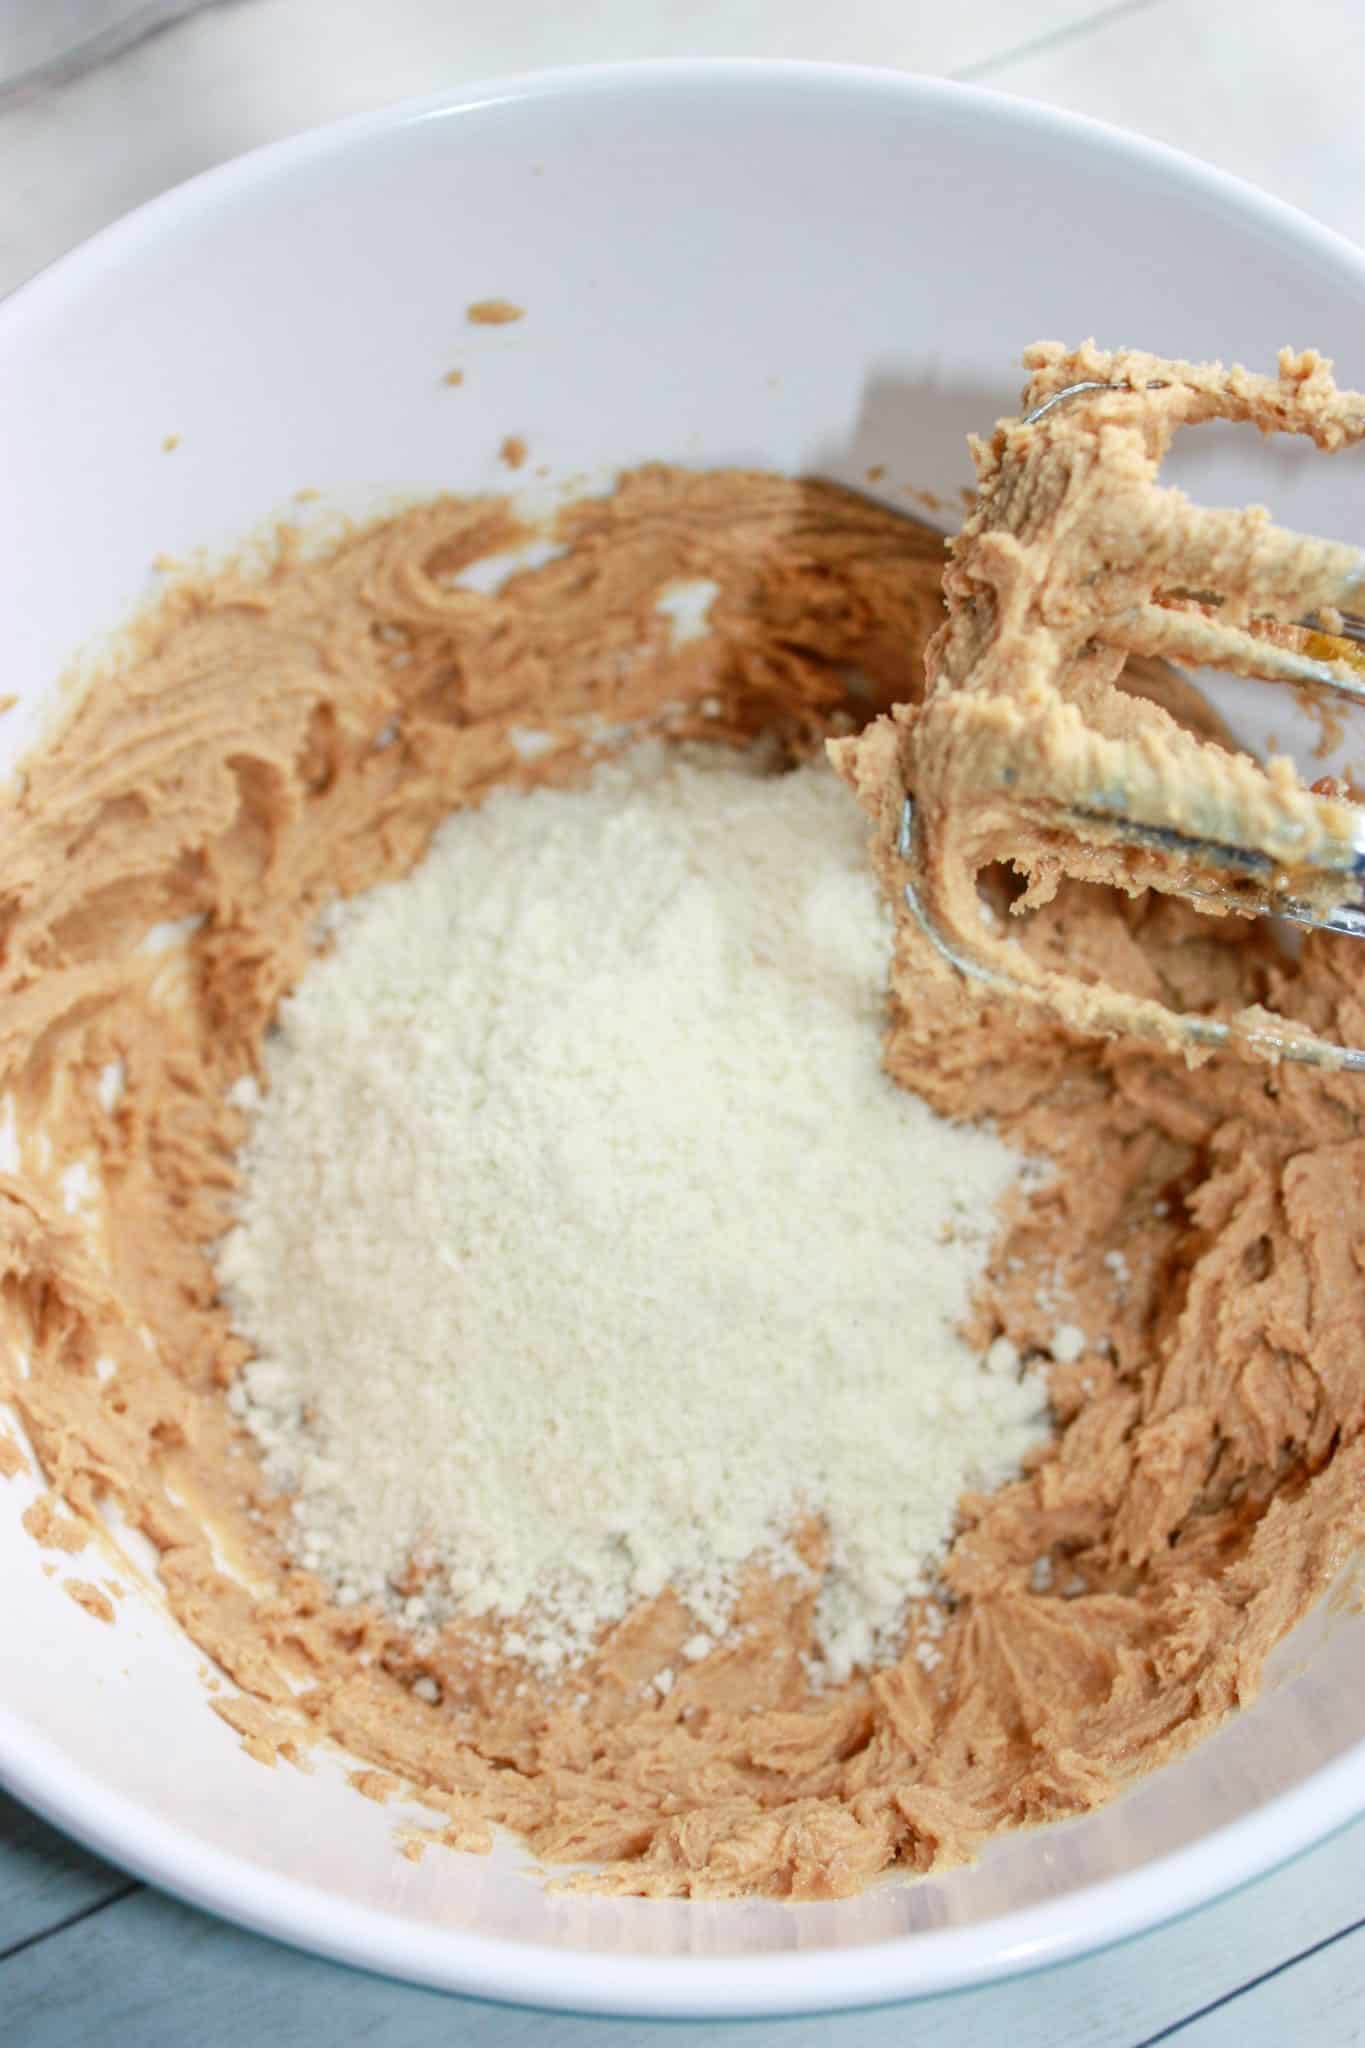
I made sure that all of the almond flour was incorporated into the batter.
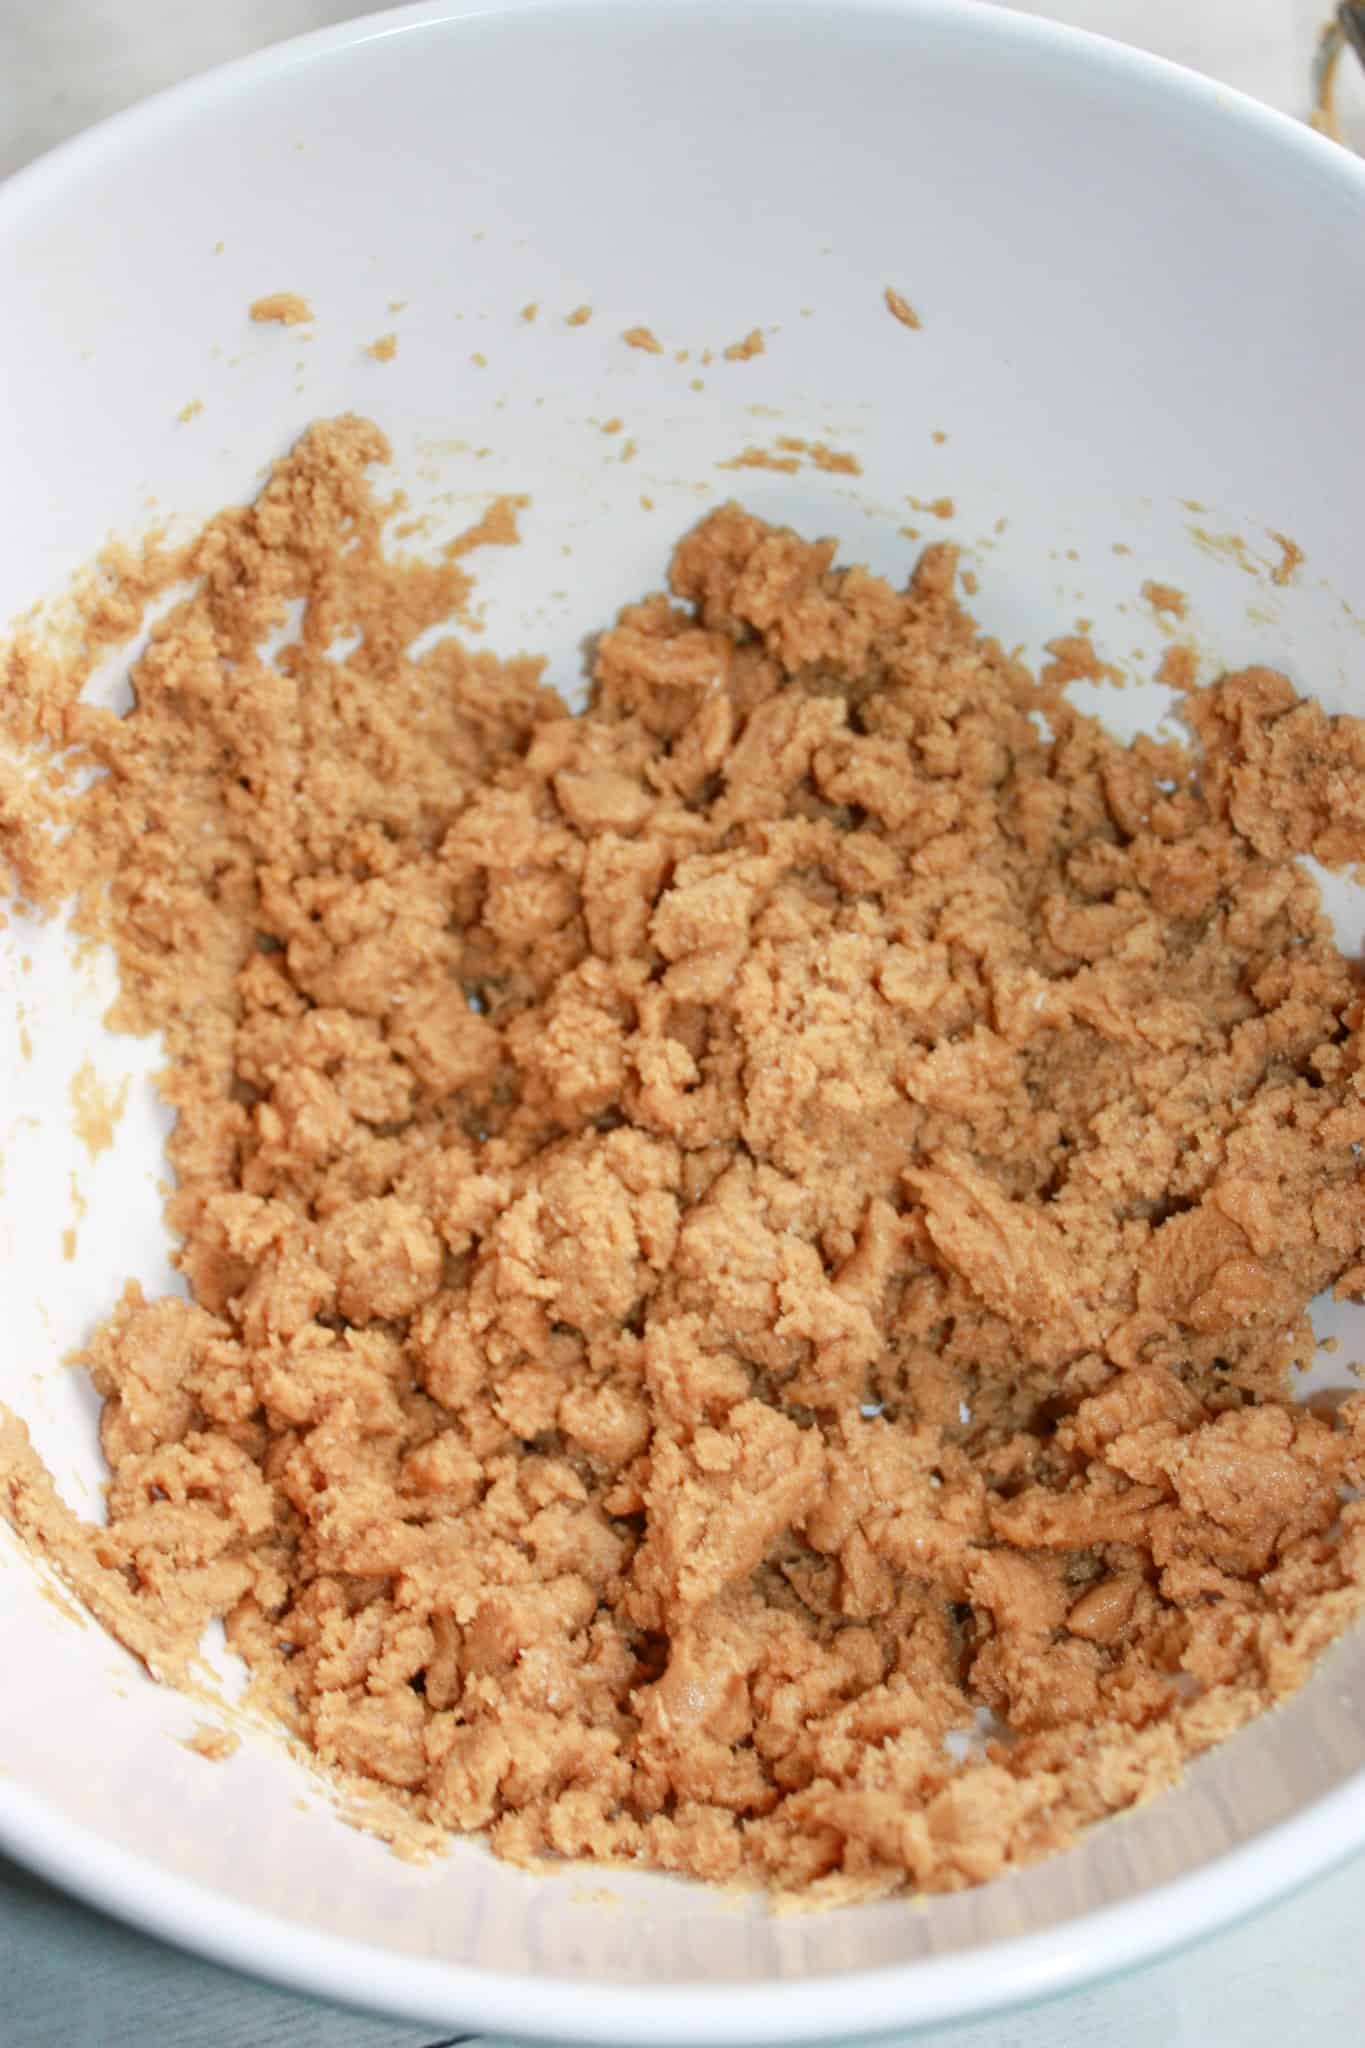
Then I lined a baking sheet with parchment paper and used a 1 tablespoon scoop to drop balls onto the sheet.
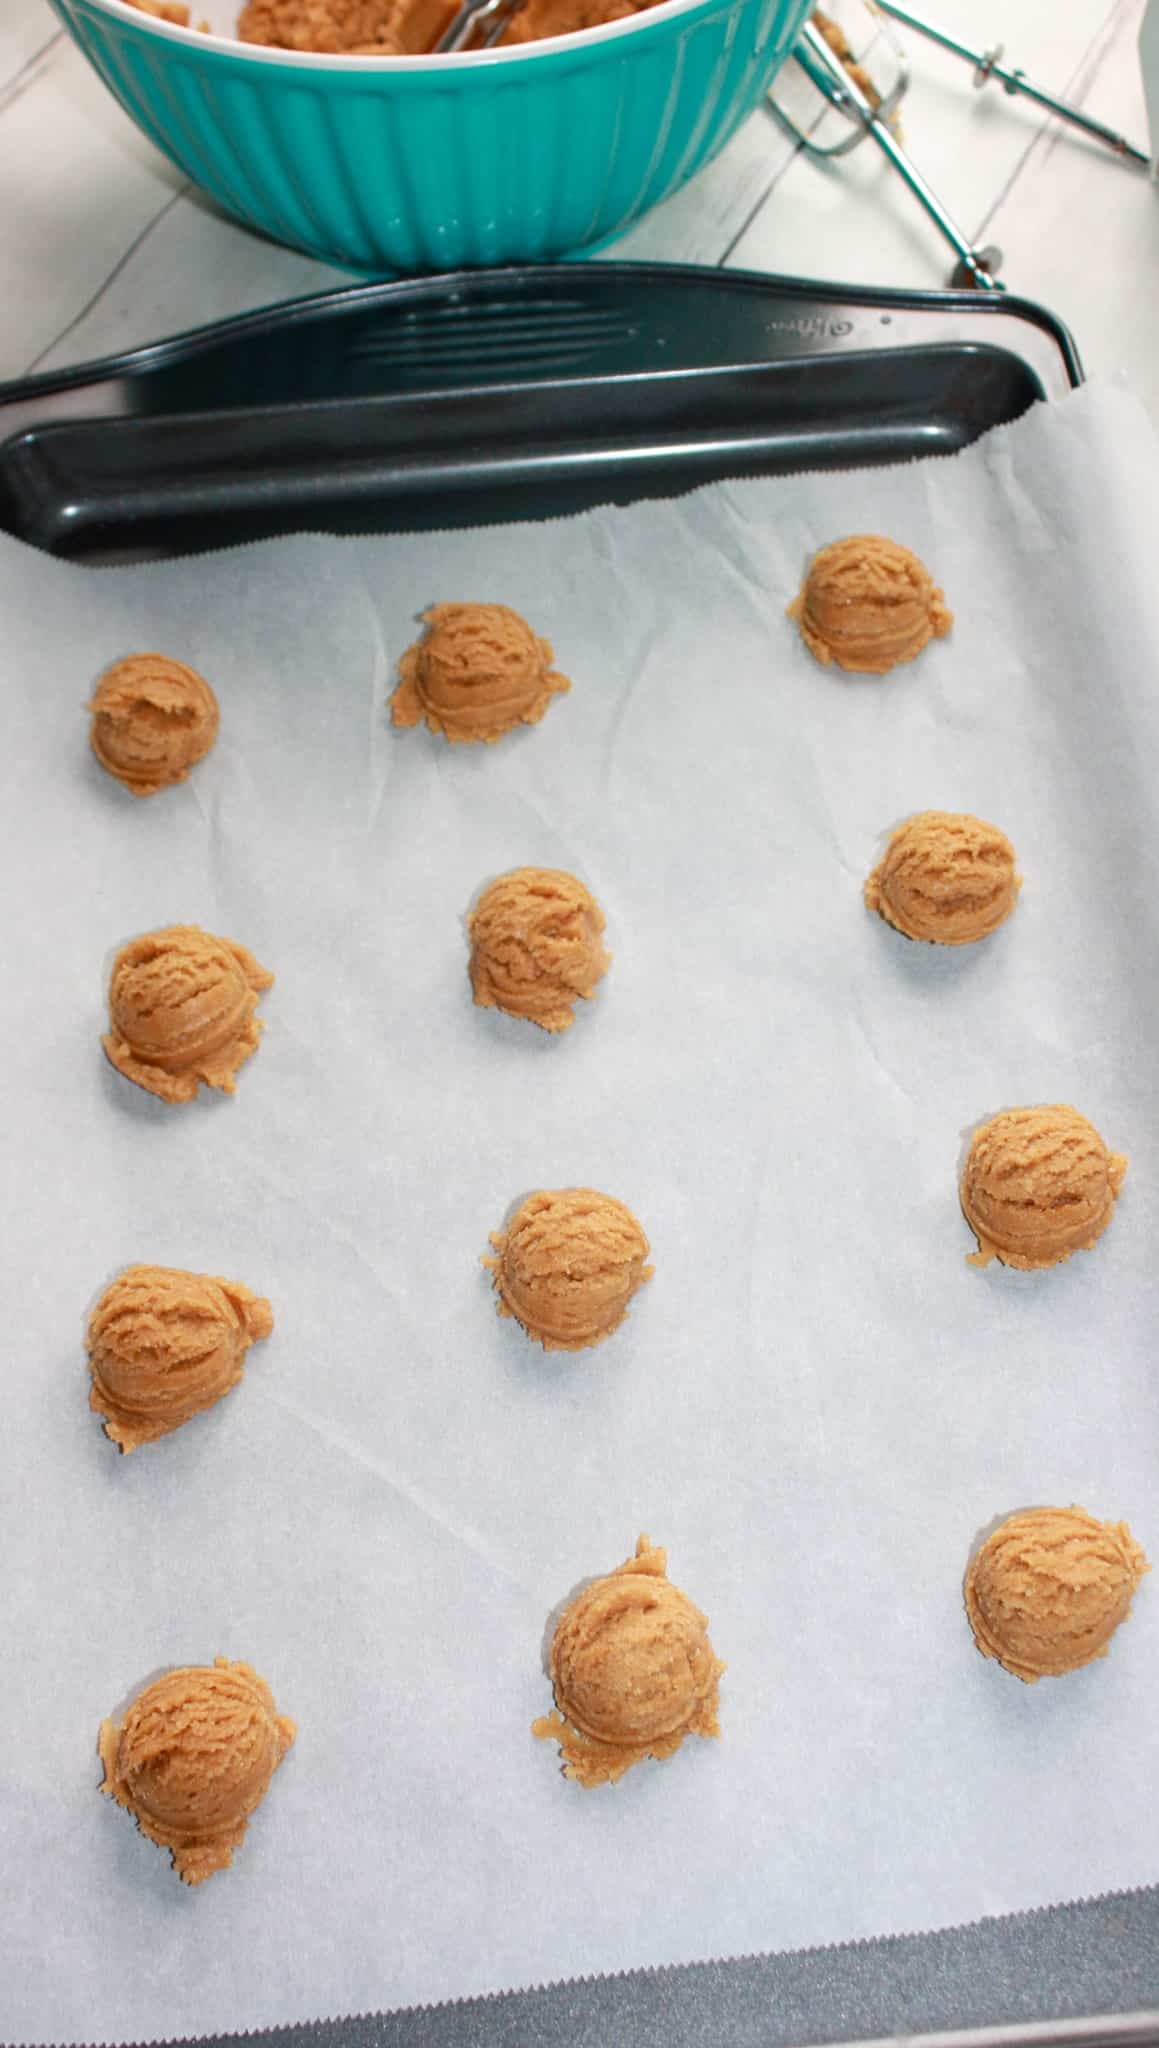
I pressed down the balls of cookie dough with a fork before baking them in the oven.
After 8 - 10 minutes, or when they were turning golden brown around the bottom edges, I removed them from the oven. I allowed the cookies to cool for a few minutes before removing them to a cooling rack.
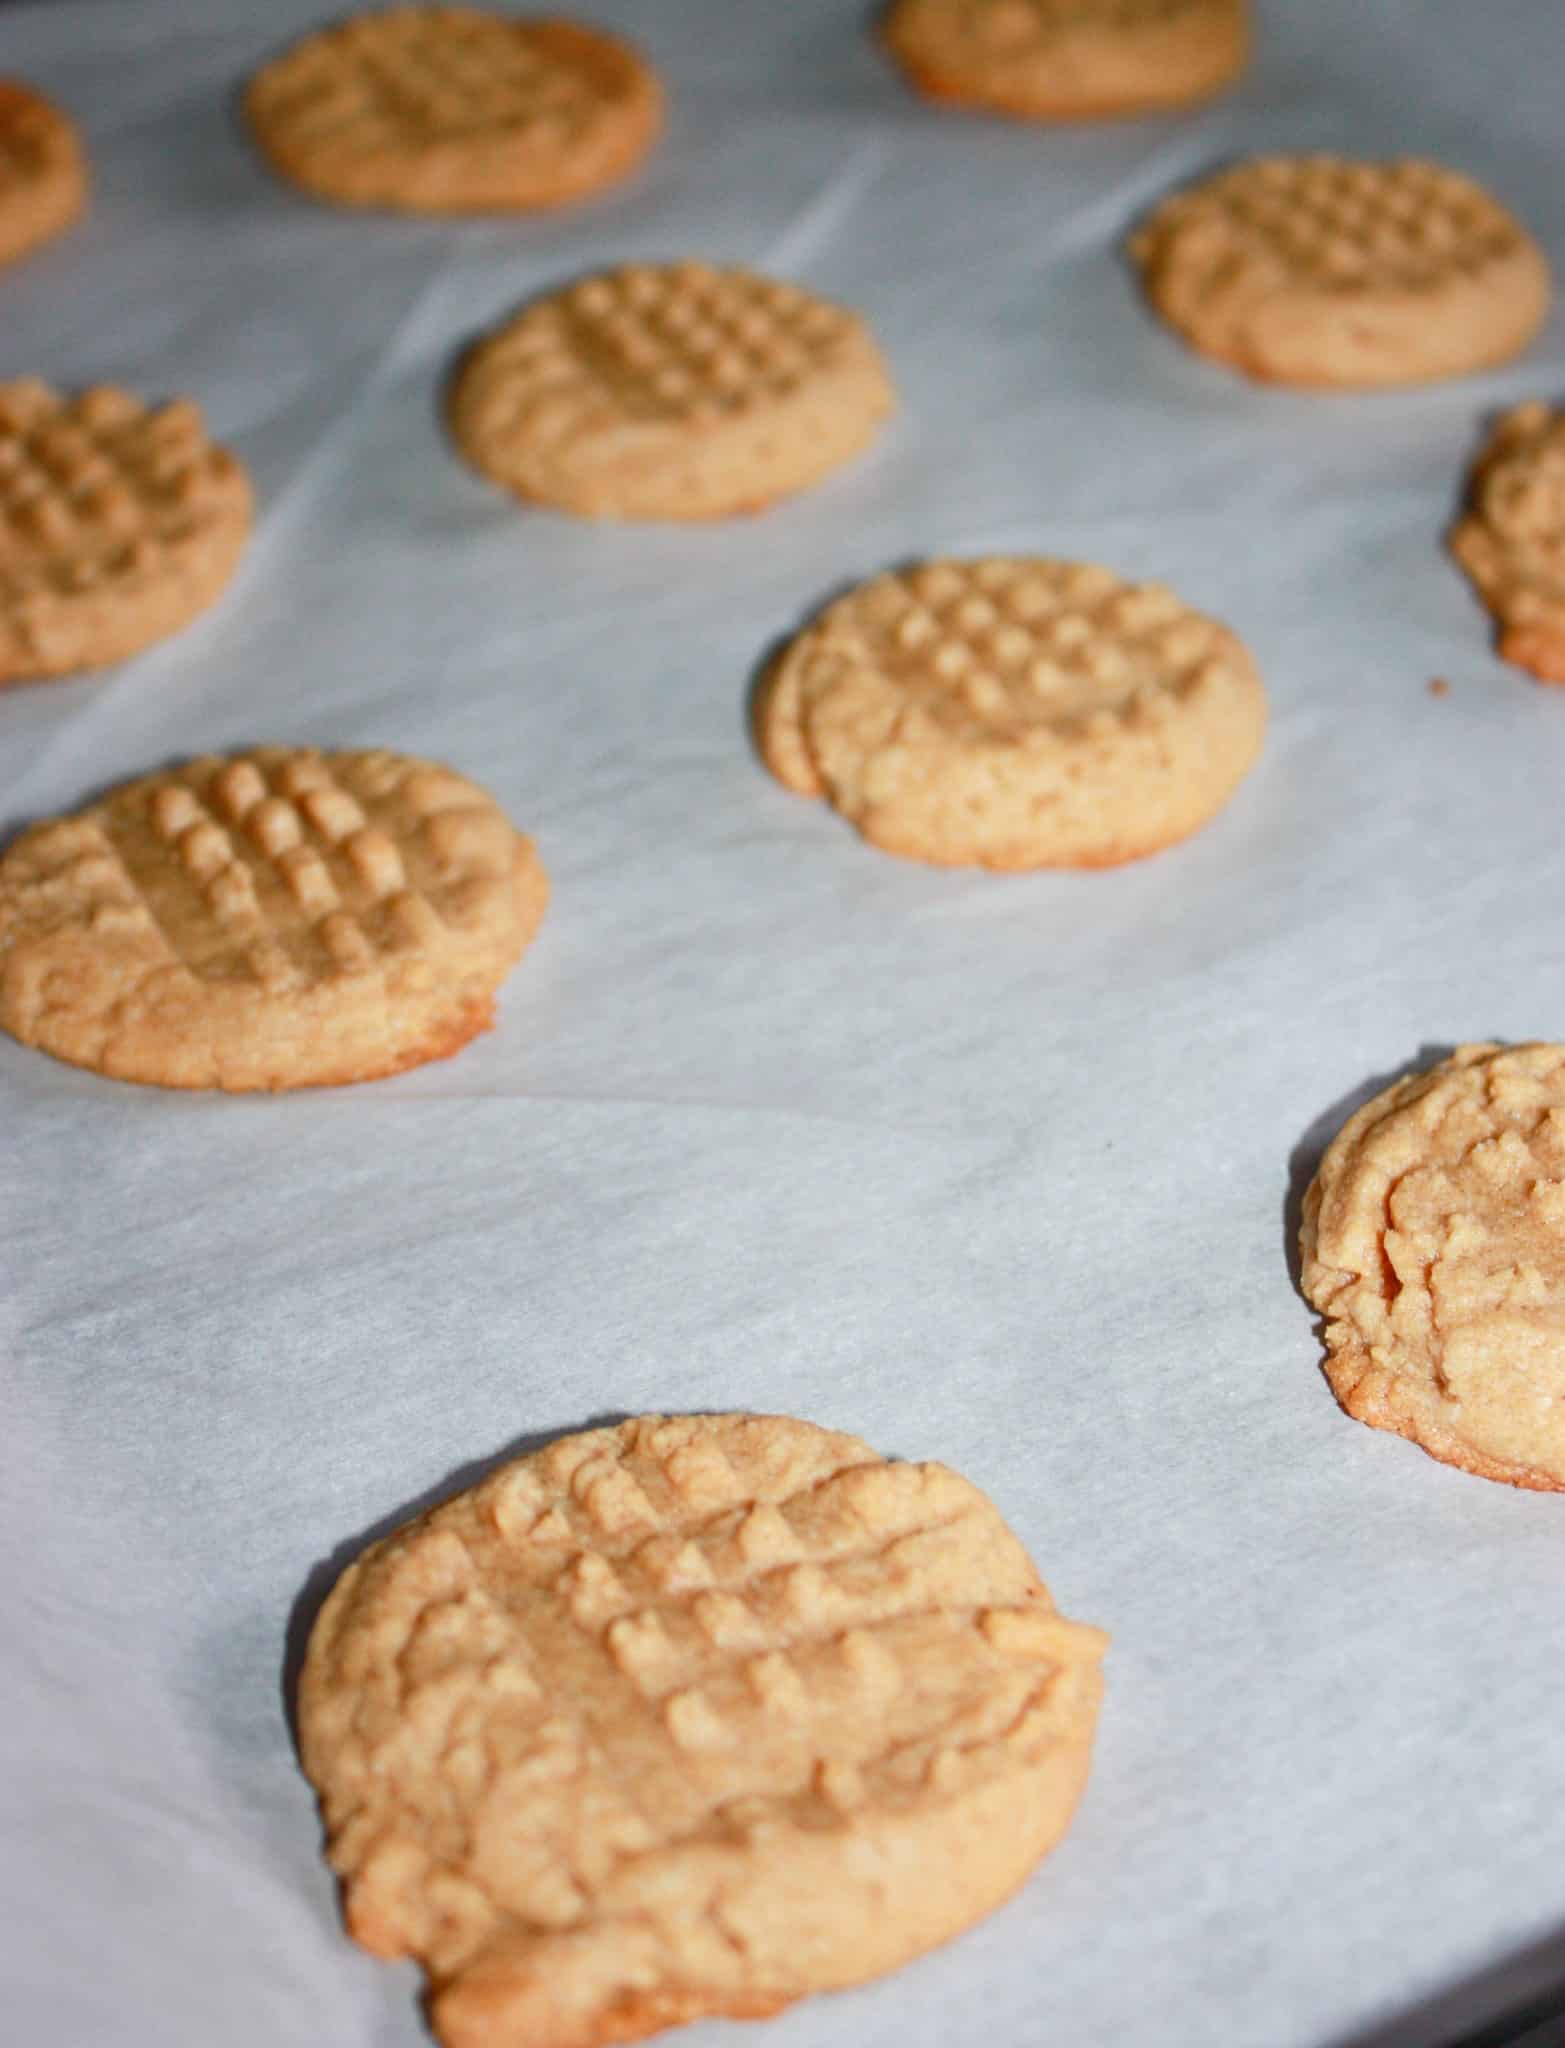
I allowed them to completely cool on the rack.
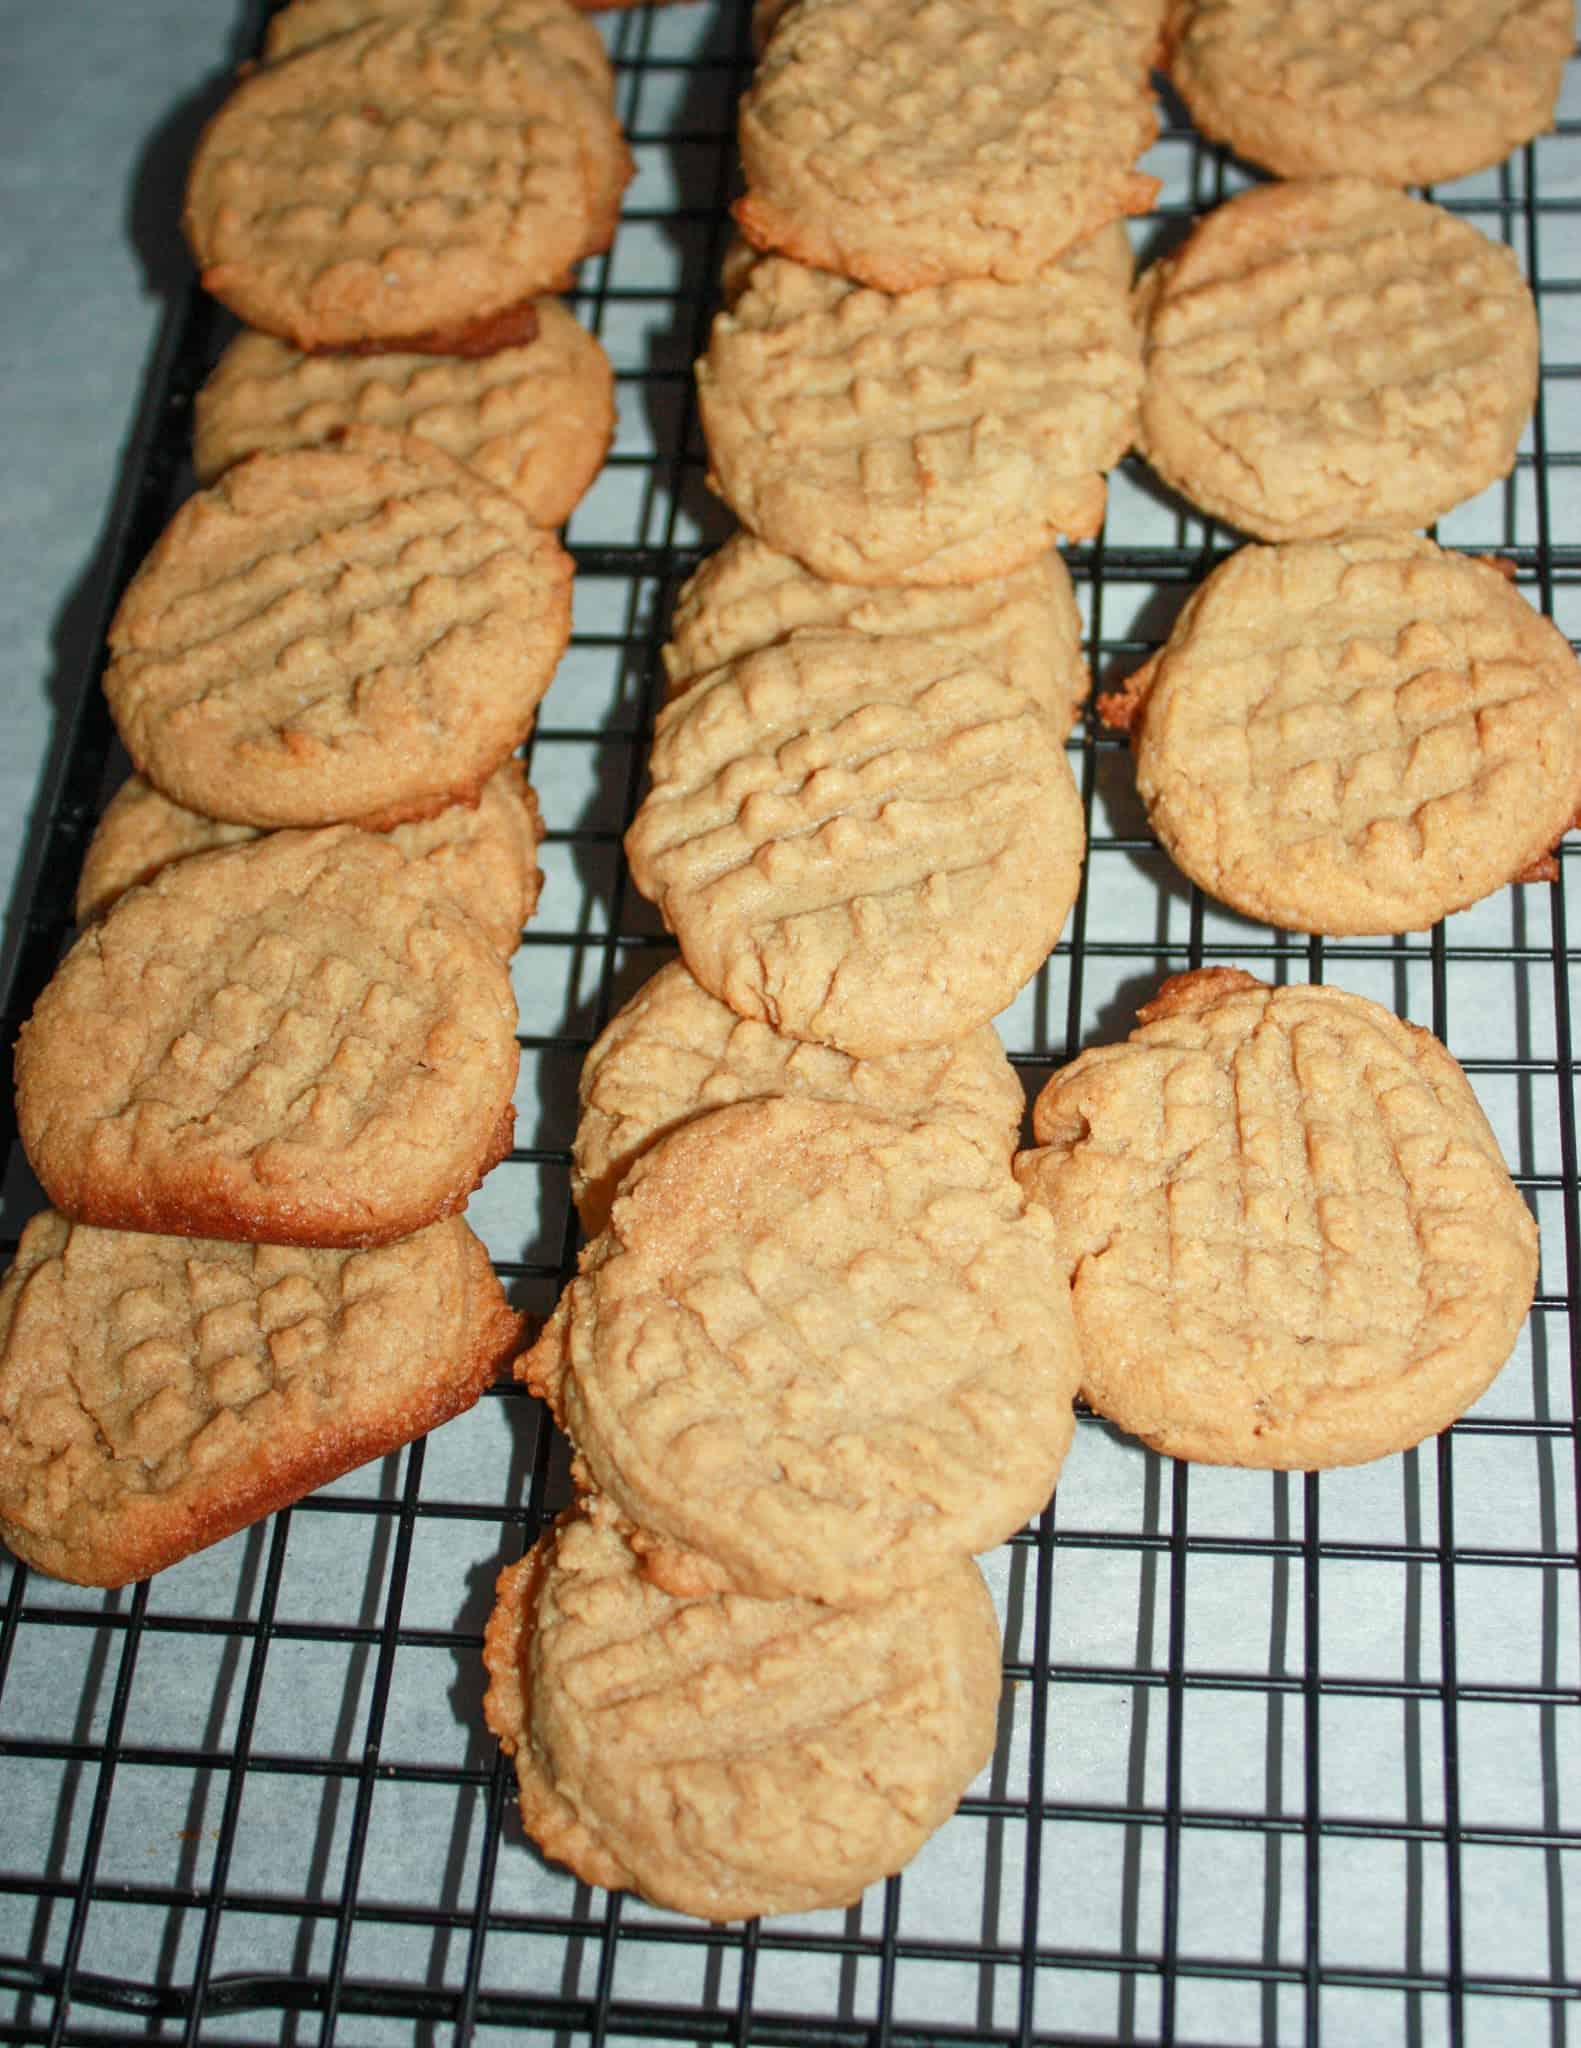
These soft chewy cookies are filled with flavour and are so easy to whip up when you have a peanut butter craving.
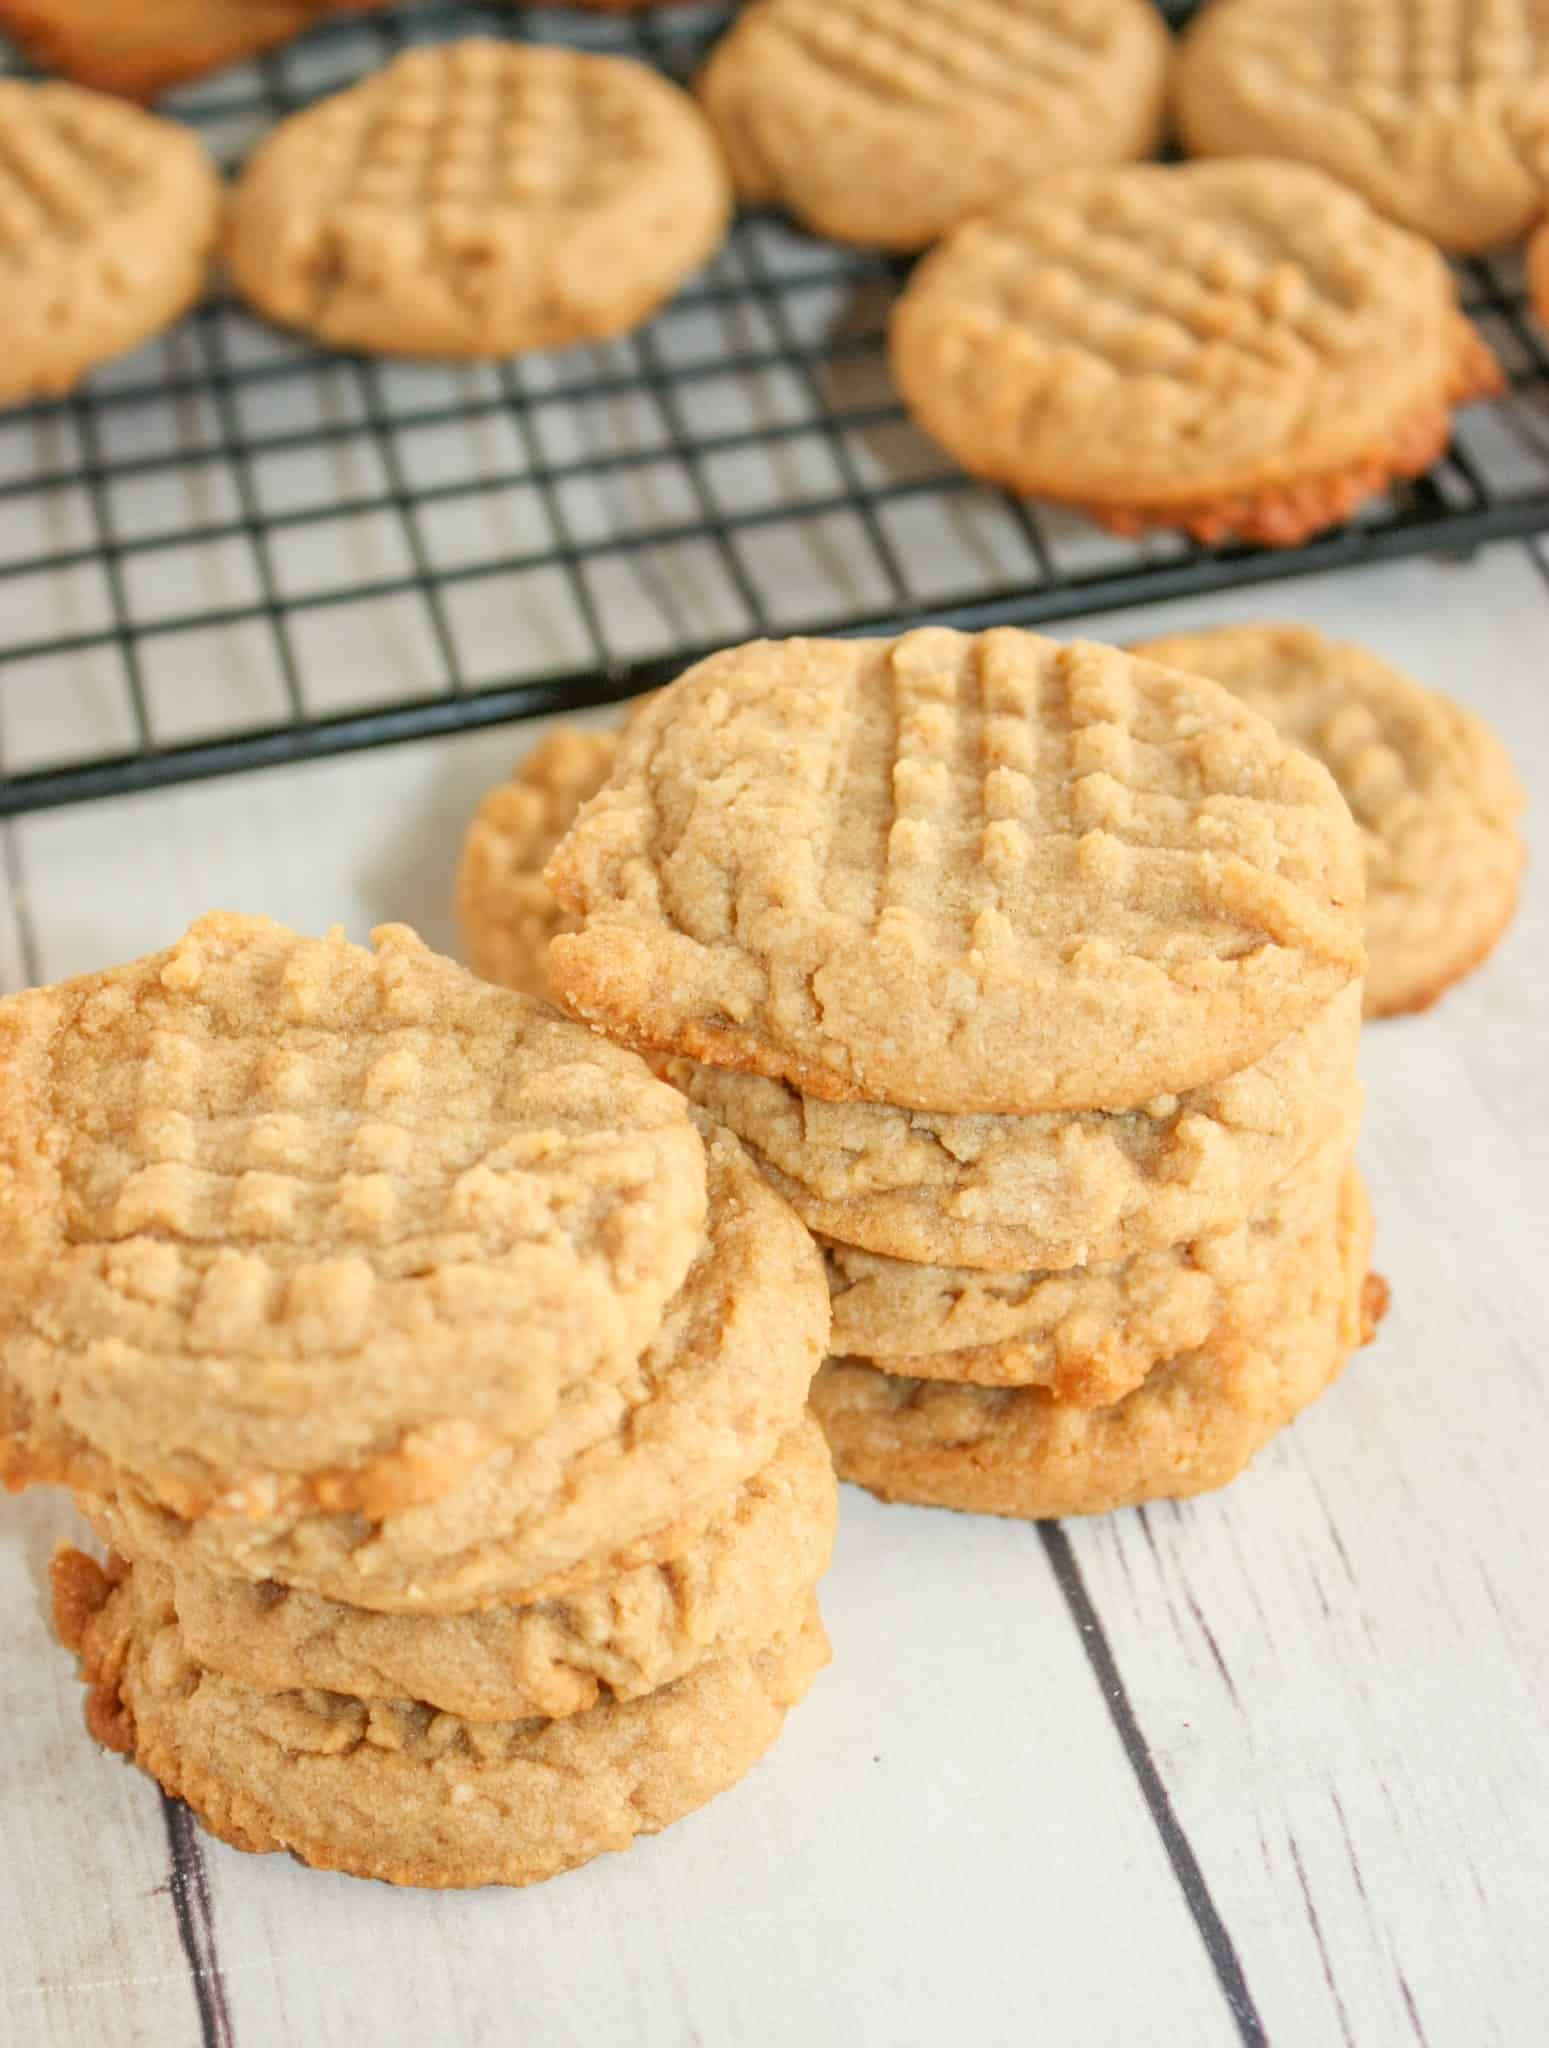
Grab one for a quick snack or pack them in lunches where peanut butter is allowed.
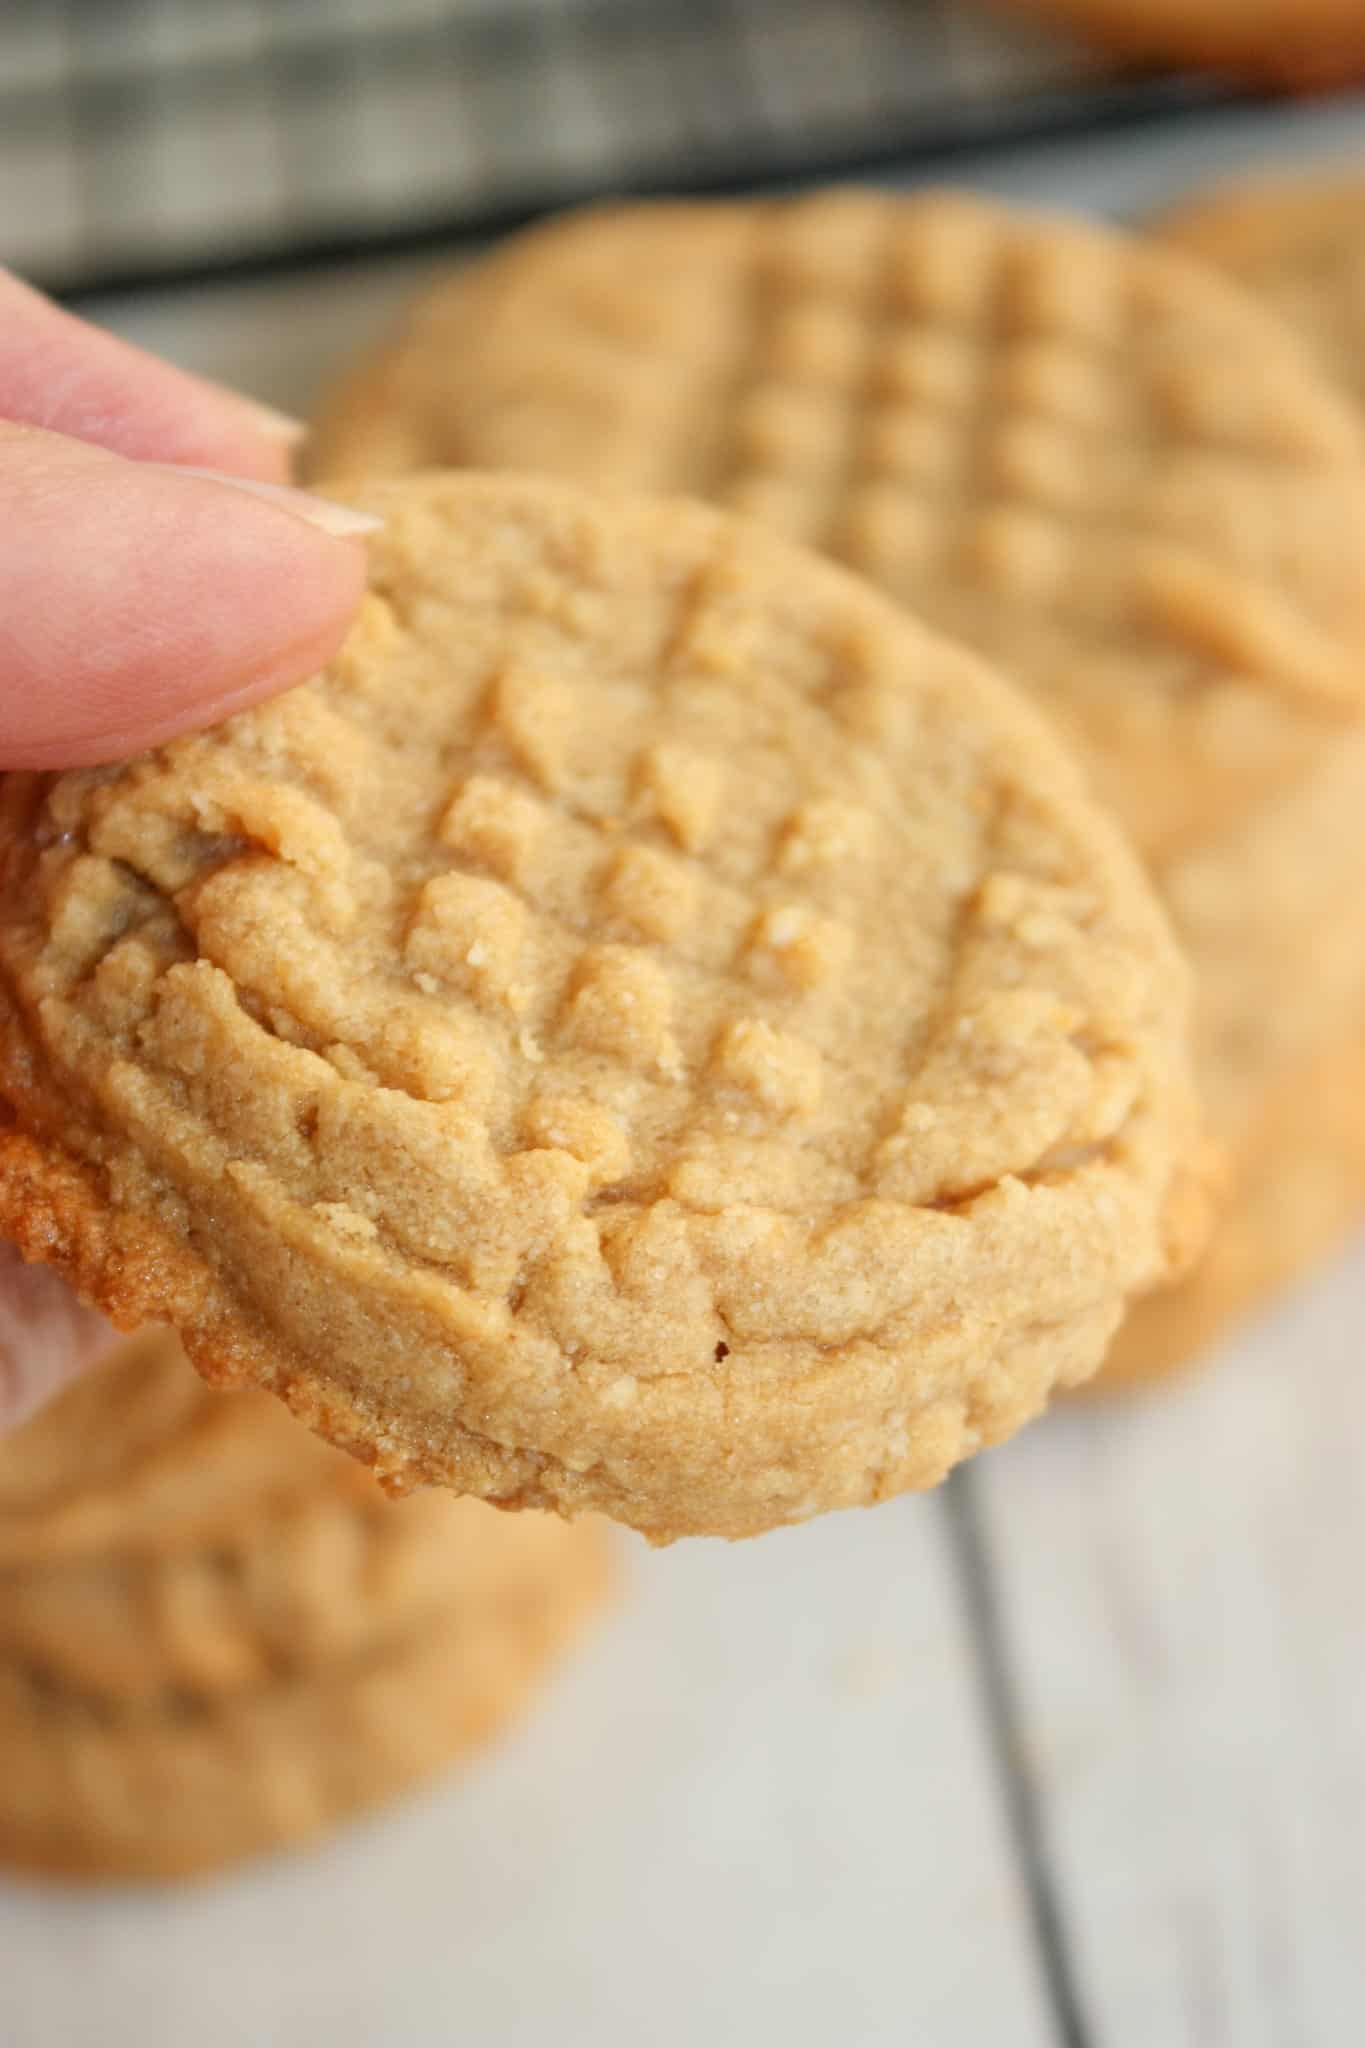
Almond Flour Peanut Butter Cookies are sure to be a hit in your home with young and old alike!
Printable Recipe Card with a Full List of Ingredients and Instructions is Located at the Bottom of the Post.
More Cookies Recipes You Will Enjoy...
PRINTABLE VERSION OF THE RECIPE CAN BE FOUND AT THE BOTTOM OF THE PAGE
Ingredients You'll Need to Make these Almond Flour Peanut Butter Cookies:
- 1 cup peanut butter
- ¾ cup brown sugar
- ¾ cup almond flour
- 1 egg, large
How to Make Almond Flour Peanut Butter Cookies:
- Preheat oven to 350F.
- Line a baking sheet with parchment paper.
- Add peanut butter and brown sugar to a large mixing bowl.
- Use an electric mixer to cream these ingredients together.
- Add the large egg and beat again using electric mixer.
- Add the almond flour.
- Blend in the almond flour using the electric mixer.
- Use a scoop or tablespoon to drop balls of dough onto a parchment lined baking sheet.
- Use a fork to slightly flatten the dough.
- Place in the preheated oven and bake for 8 -10 minutes.
- Remove from oven when edges are turning brown.
- Allow to cool for a few minutes on the baking sheet before transferring them to a cooling rack.
- Enjoy!
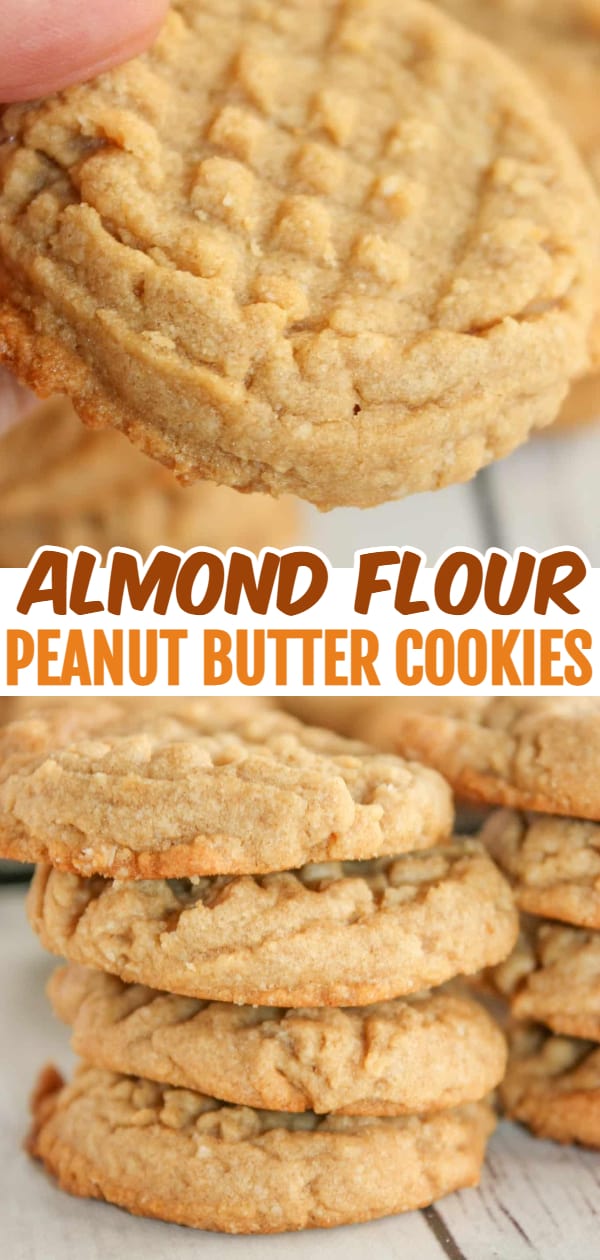
Almond Flour Peanut Butter Cookies
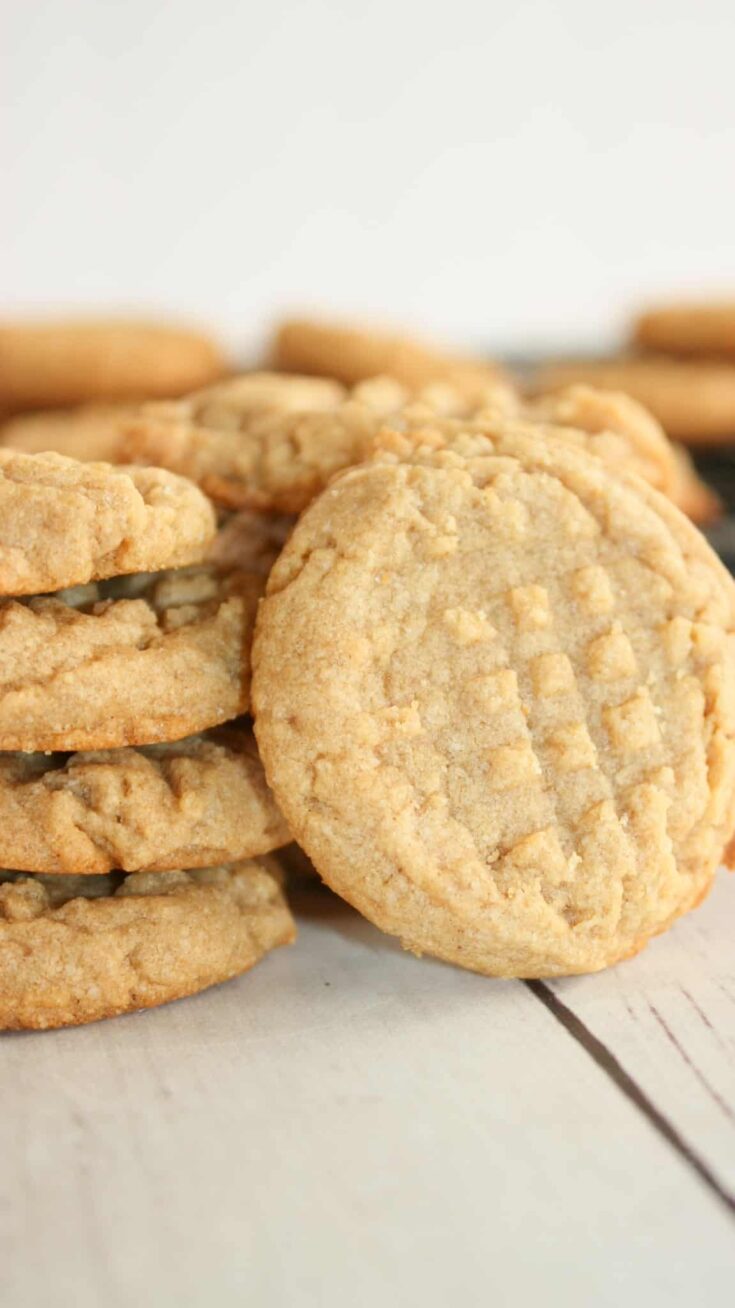
Looking for a quick and easy cookie recipe? These gluten free Almond Flour Peanut Butter Cookies only use 4 ingredients and really hit the spot!
Ingredients
- 1 cup peanut butter
- ¾ cup brown sugar
- ¾ cup almond flour
- 1 egg, large
Instructions
- Preheat oven to 350F.
- Line a baking sheet with parchment paper.
- Add peanut butter and brown sugar to a large mixing bowl.
- Use an electric mixer to cream these ingredients together.
- Add the large egg and beat again using electric mixer.
- Add the almond flour.
- Blend in the almond flour using the electric mixer.
- Use a scoop or tablespoon to drop balls of dough onto a parchment lined baking sheet.
- Use a fork to slightly flatten the dough.
- Place in the preheated oven and bake for 8 -10 minutes.
- Remove from oven when edges are turning brown.
- Allow to cool for a few minutes on the baking sheet before transferring them to a cooling rack.
- Enjoy!
Nutrition Information:
Yield:
30Serving Size:
1Amount Per Serving: Calories: 87Total Fat: 6gSaturated Fat: 1gTrans Fat: 0gUnsaturated Fat: 4gCholesterol: 6mgSodium: 45mgCarbohydrates: 7gFiber: 1gSugar: 5gProtein: 3g

My first attempt to make Keto peanut butter cookies. They turned out so yummy will be making this again!!
Hi Carolyn,
I am so glad you enjoyed the recipe! Thanks for taking the time to leave a review.
Take care,
Kathleen
Can we use Brown Swerve to make this to keep it low carb?
Hi Felicia,
I have never heard of Brown Swerve. If you do try this substitution please let us know how the cookies turn out.
Thanks,
Kathleen
Hello getting ready to try this recipe can I refrigerate the dough?
Hi Mona,
I don't see why you couldn't. I have never done that but can't see it causing issues with how they turn out. Let us know...
Thank you,
Kathleen
Made these tonight using raw sugar instead of brown sugar. Had to bake an extra five minutes, cooling now but can't wait to try them.
Hi Jo Ann
I hope you enjoy them as much as we do!! Let us know what you think...
Take care,
Kathleen
I'm prediabetic. Can the brown sugar be replaced with Swerve brown sugar and still bake up right?
Hi Annie,
I am not familiar with that type of brown sugar but will leave your question here in case someone else can help you with this...
Take care,
Kathleen
@Annie, I know this is late, but I have T2 diabetes and have used Truvia and Swerve brown sugar sweeteners as replacements for regular brown sugar in various recipes. Either of these two has worked fine for me. I haven't yet made this particular recipe but plan to with either the Swerve or Truvia.
KSG
I made these for my son, he’s a T1D he said they are so good. I used Truvia brown sugar and I baked them for 7 minutes. Very good low carb cookies.
Hi Brenda,
I am so glad to hear that your son enjoyed this recipe! Thank you for sharing your alterations with us as others might like to make these changes as well.
Take care,
Kathleen
Is it natural peanut butter that you use. They sound delish. Can't wait to try them.
Hi Shelina,
I used regular smooth peanut butter. I am sure you could use natural peanut butter as well.
Take care,
Kathleen
I don't like the list of ingredients in the craft peanut butter. Can I use natural peanut butter would they still work and taste delicious?
Hi Basia,
I have had someone else ask the same thing. I understand about the Kraft peanut butter. We are about to switch to Jiff. I think it should be ok with natural. If you try it be sure to let us know!!
Take care,
Kathleen
I used natural (peanuts and salt only) peanut butter on first half of the batch and they were too dry, thick and crumbly. Since regular peanut butter like Jif, Skippy, etc all have hydrogenated vegetable oils in them, so on the second half of the batch I added a tablespoon or more of coconut oil and it worked more like you would want the cookies to be but not quite as smooth and just a little granular. I would probably try butter next time as you can taste the coconut oil (which was actually pretty good if you like that flavor) and maybe an extra egg to bind it more and smooth it out. So for next time for the full recipe I would try adding two tablespoons of butter and two eggs when using the pure peanut butter. They definitely taste good but just need a little tweaking.
Hi Don,
Thank you so much for taking the time to share your baking experience with us. I used Jif because I thought it would help with the crumbling and it did. So glad you shared your "tweaks" for using natural peanut butter. I prefer the natural peanut butter as well; so will definitely be trying out your tweaks!
Thanks,
Kathleen
@Don, thanks for these hints. I’m going to try them now!
I’m making these now, and my first pan of cookies did not spread at all. Not even a little. They look the same as they did when I put them in. So, I used a spoon to flatten them about, and now I’m cooking them for a few more minutes.
I’ve never had that happen to me when making cookies. Not sure what went wrong.
Hi Courtney,
I am not sure whey they did not spread at all. Mine have always turned out fine. I hope your next batch was a success!
Take care,
Kathleen