
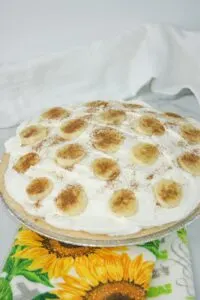
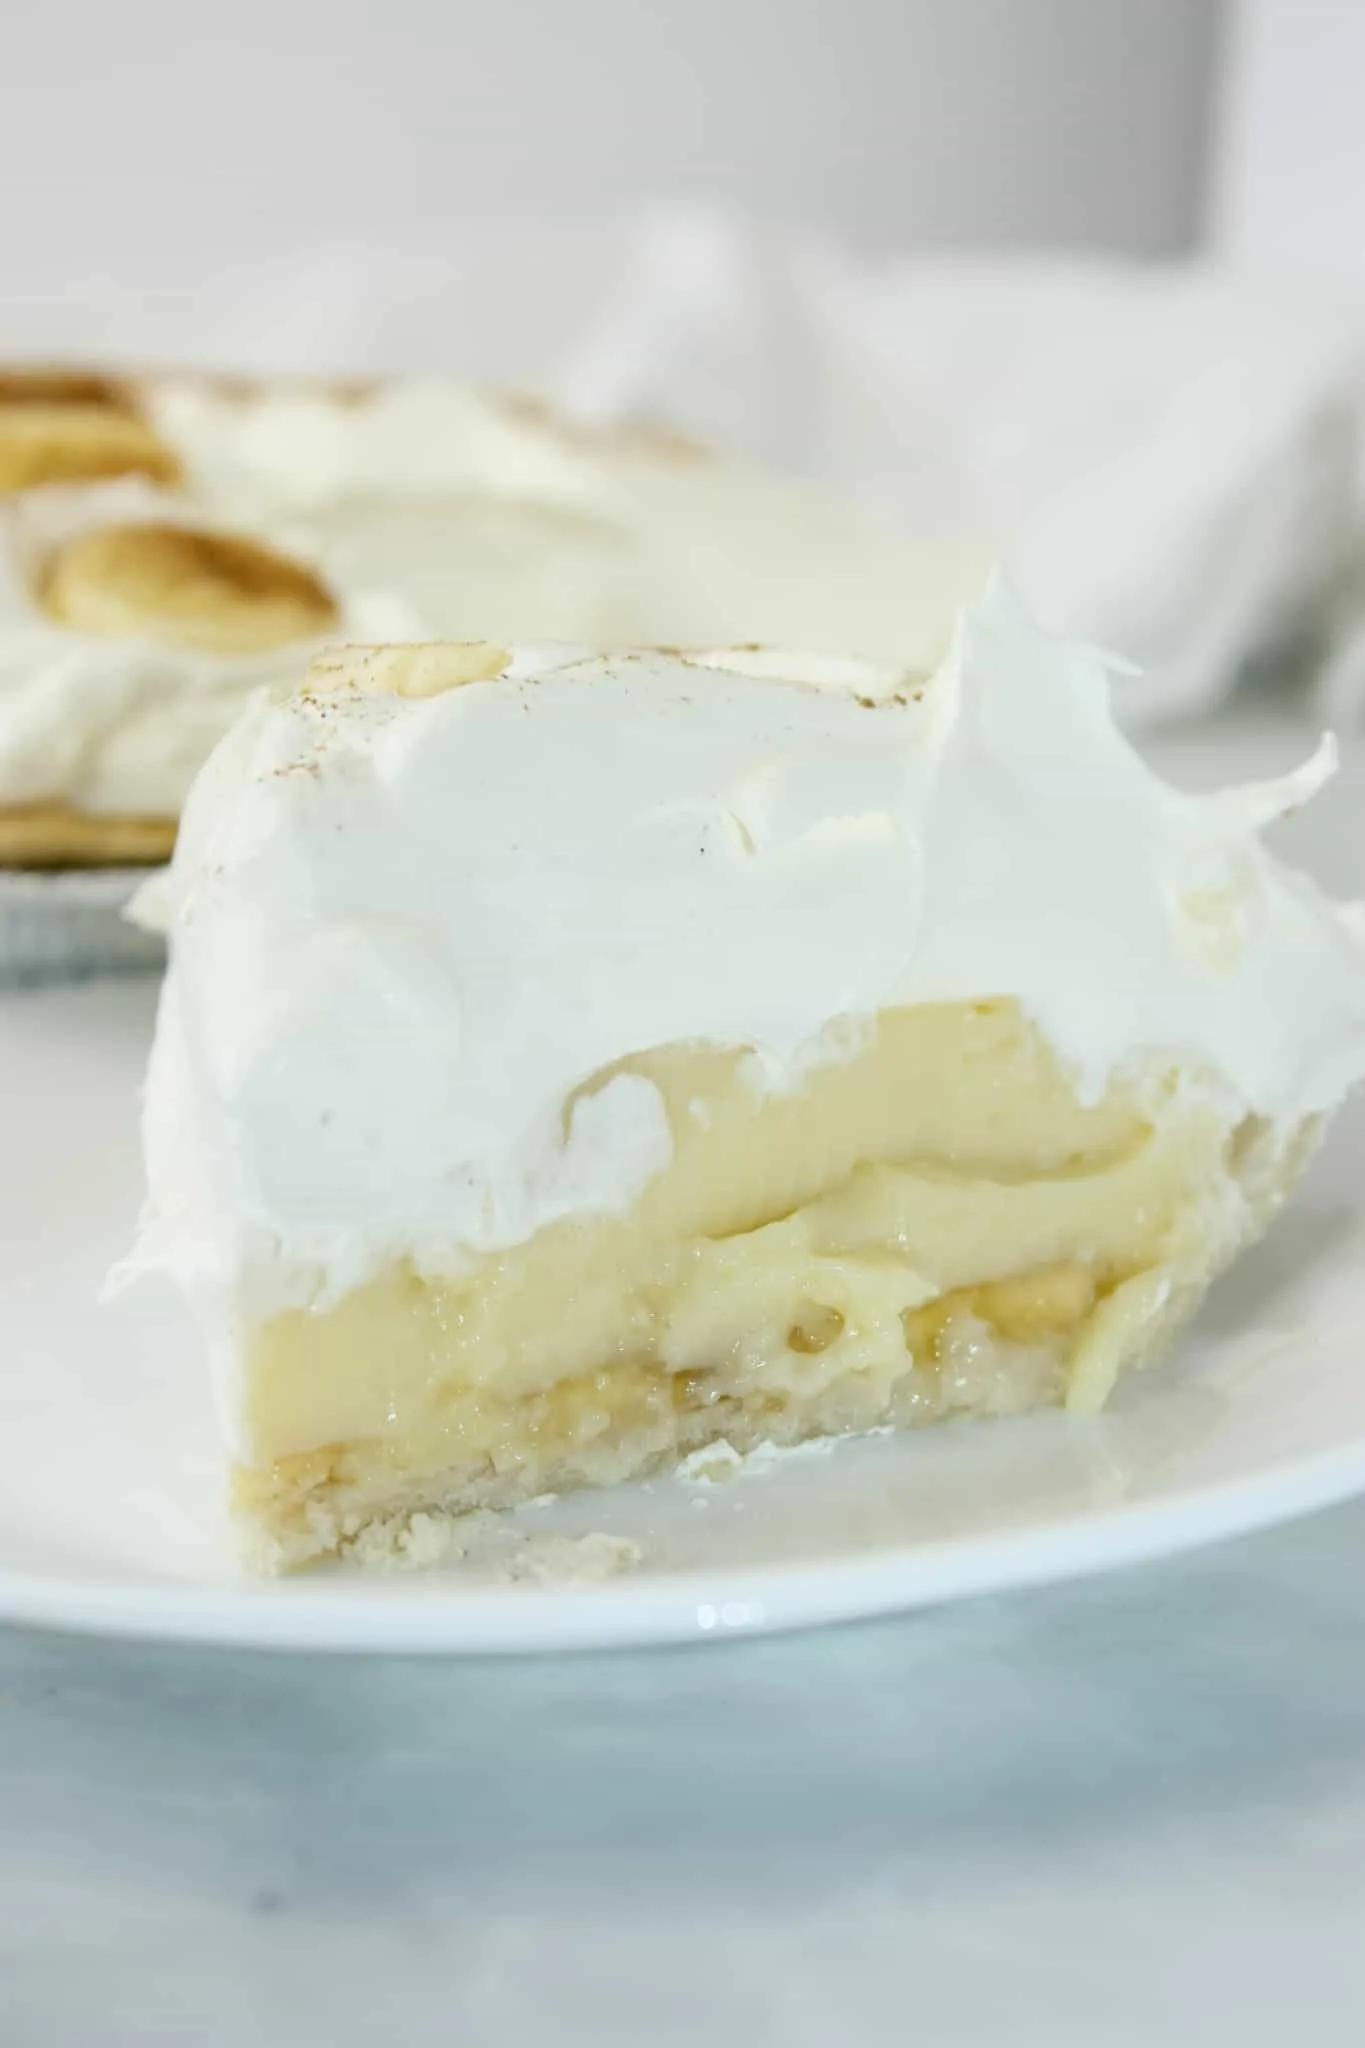
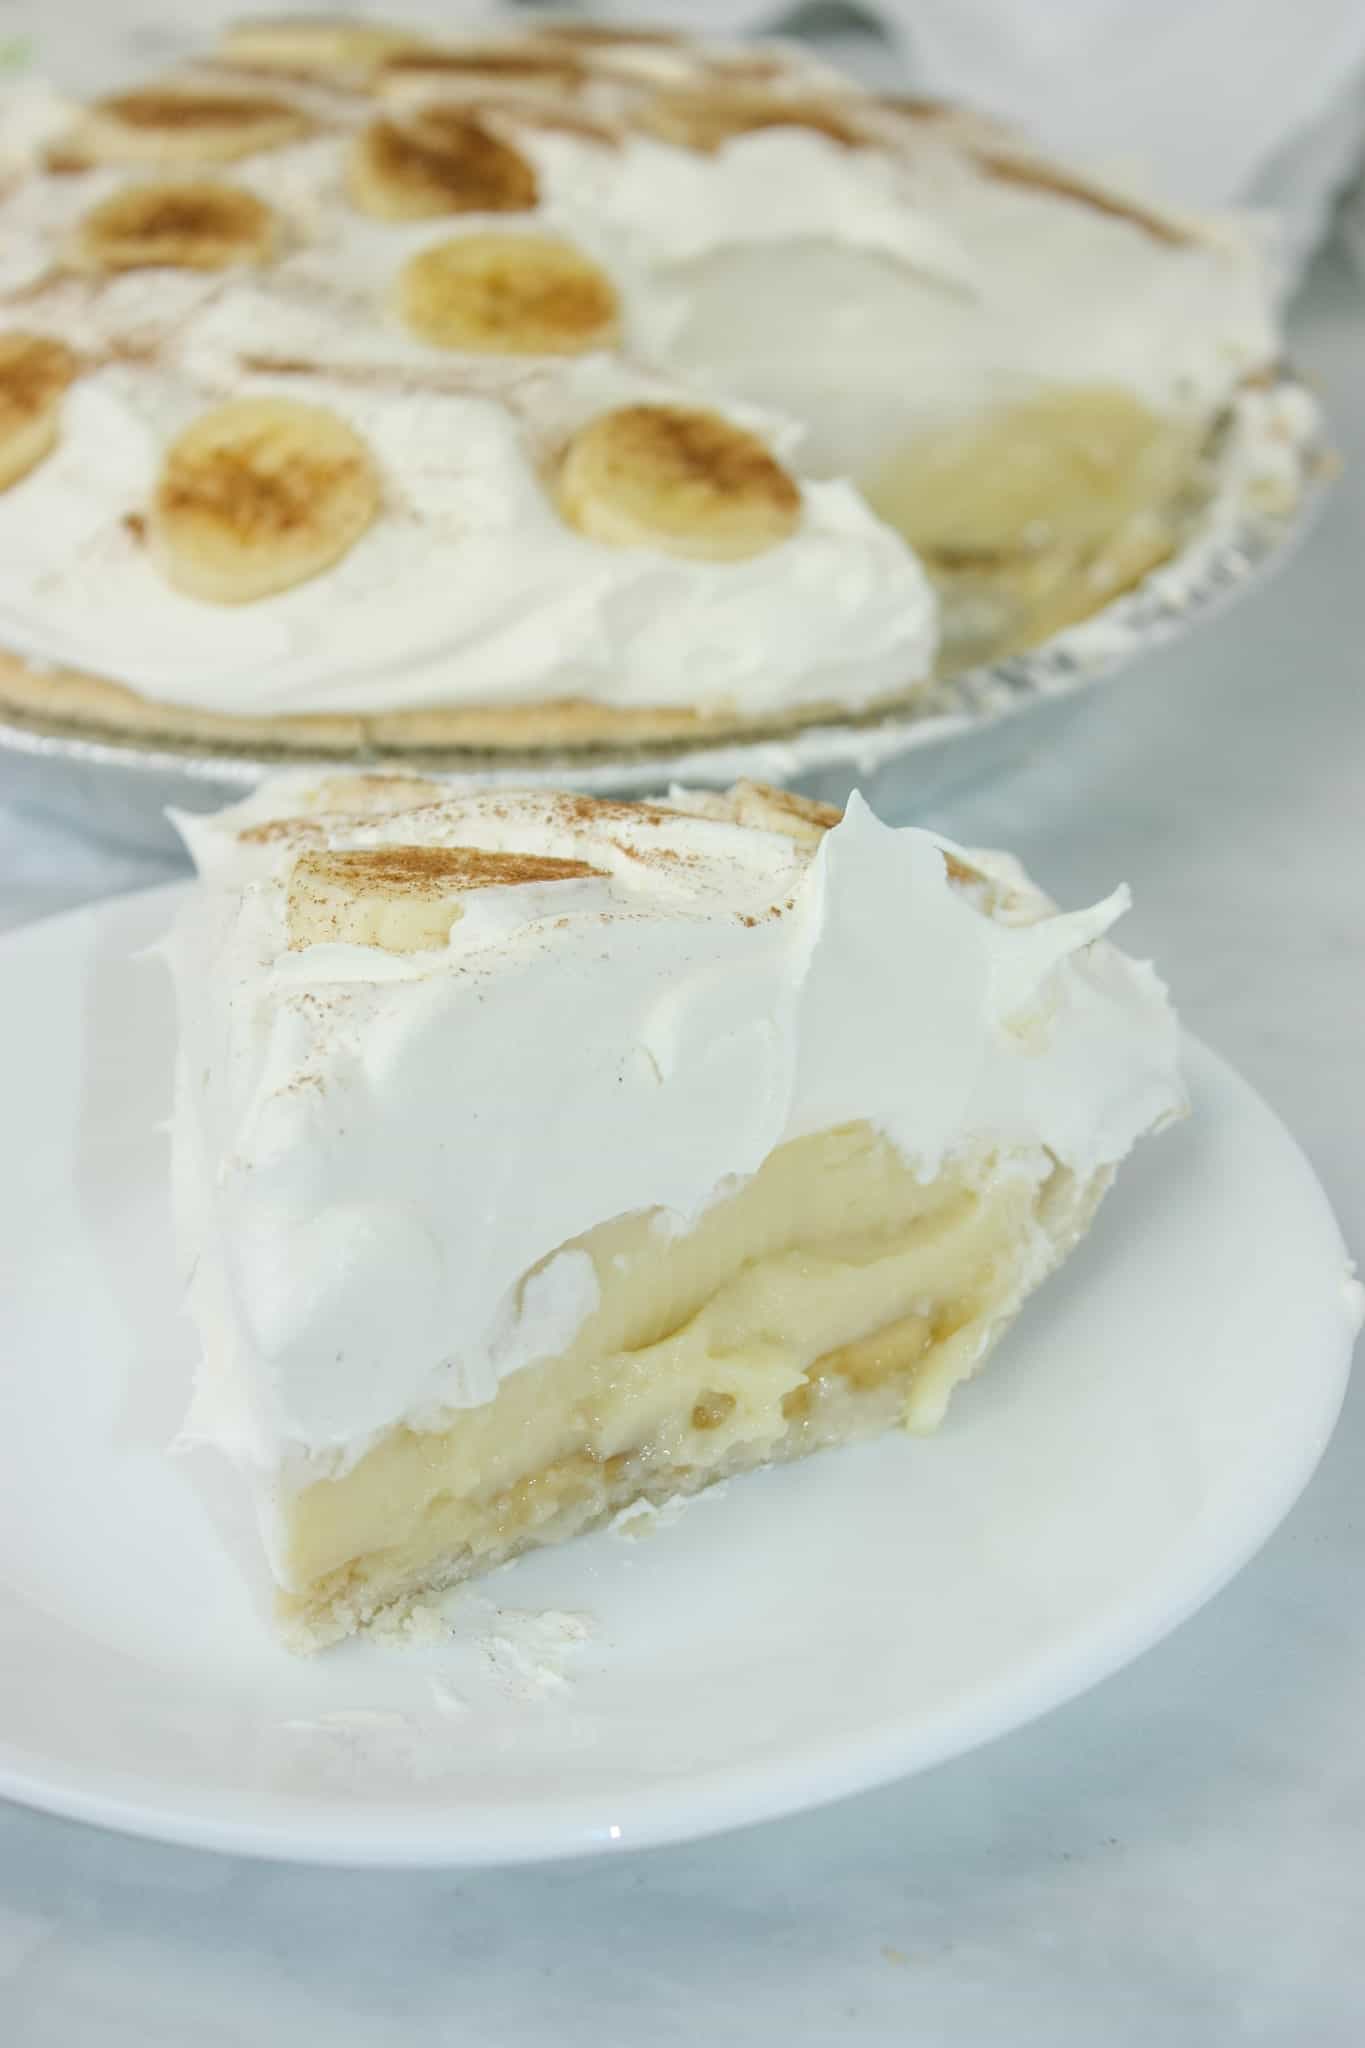
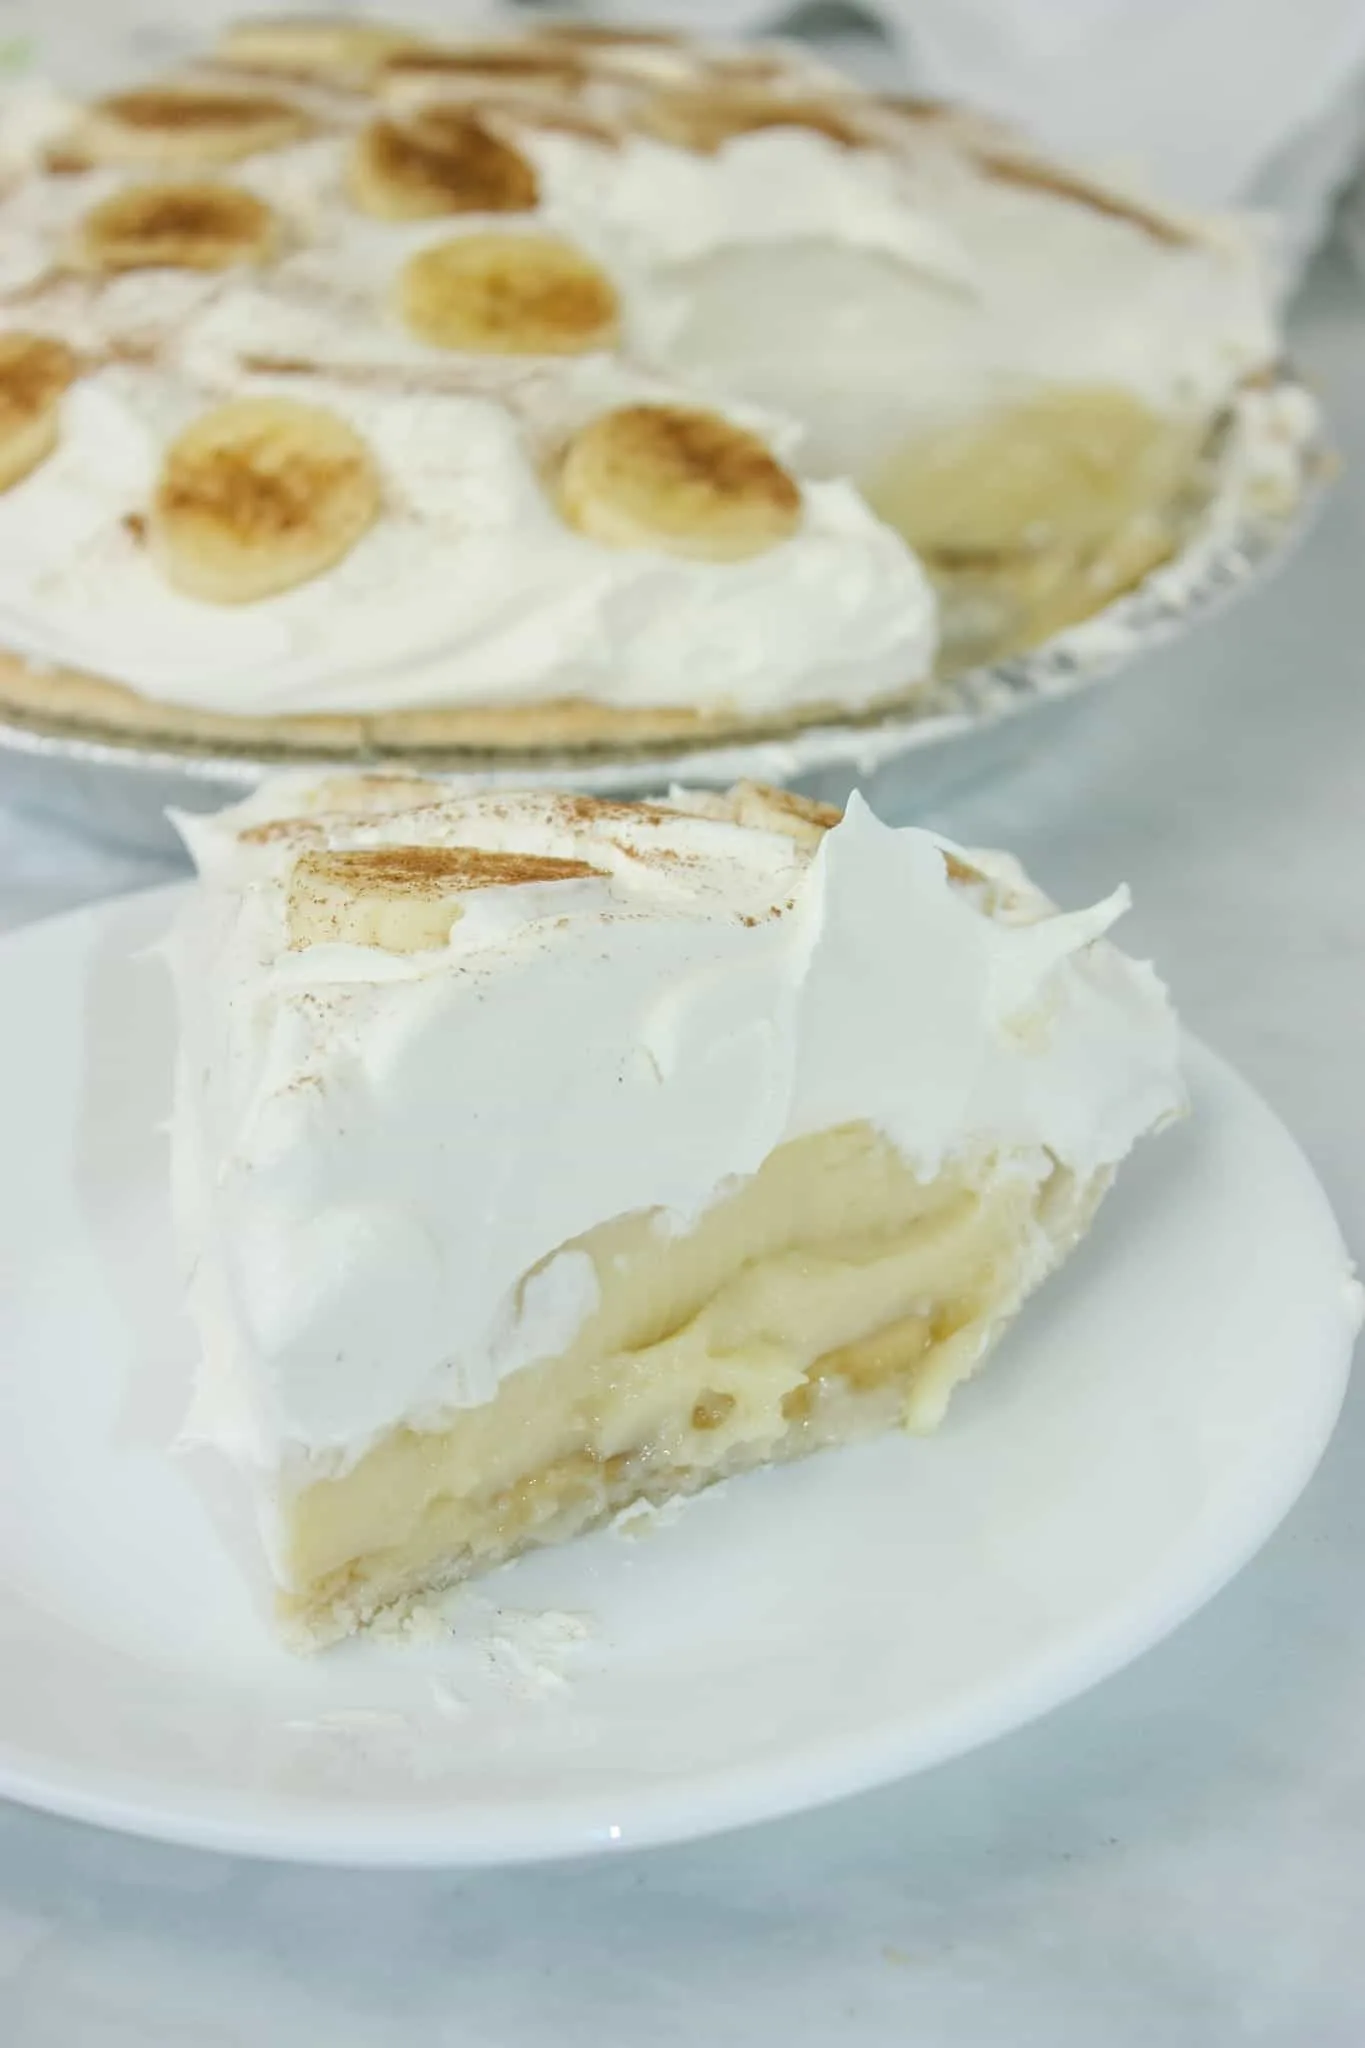
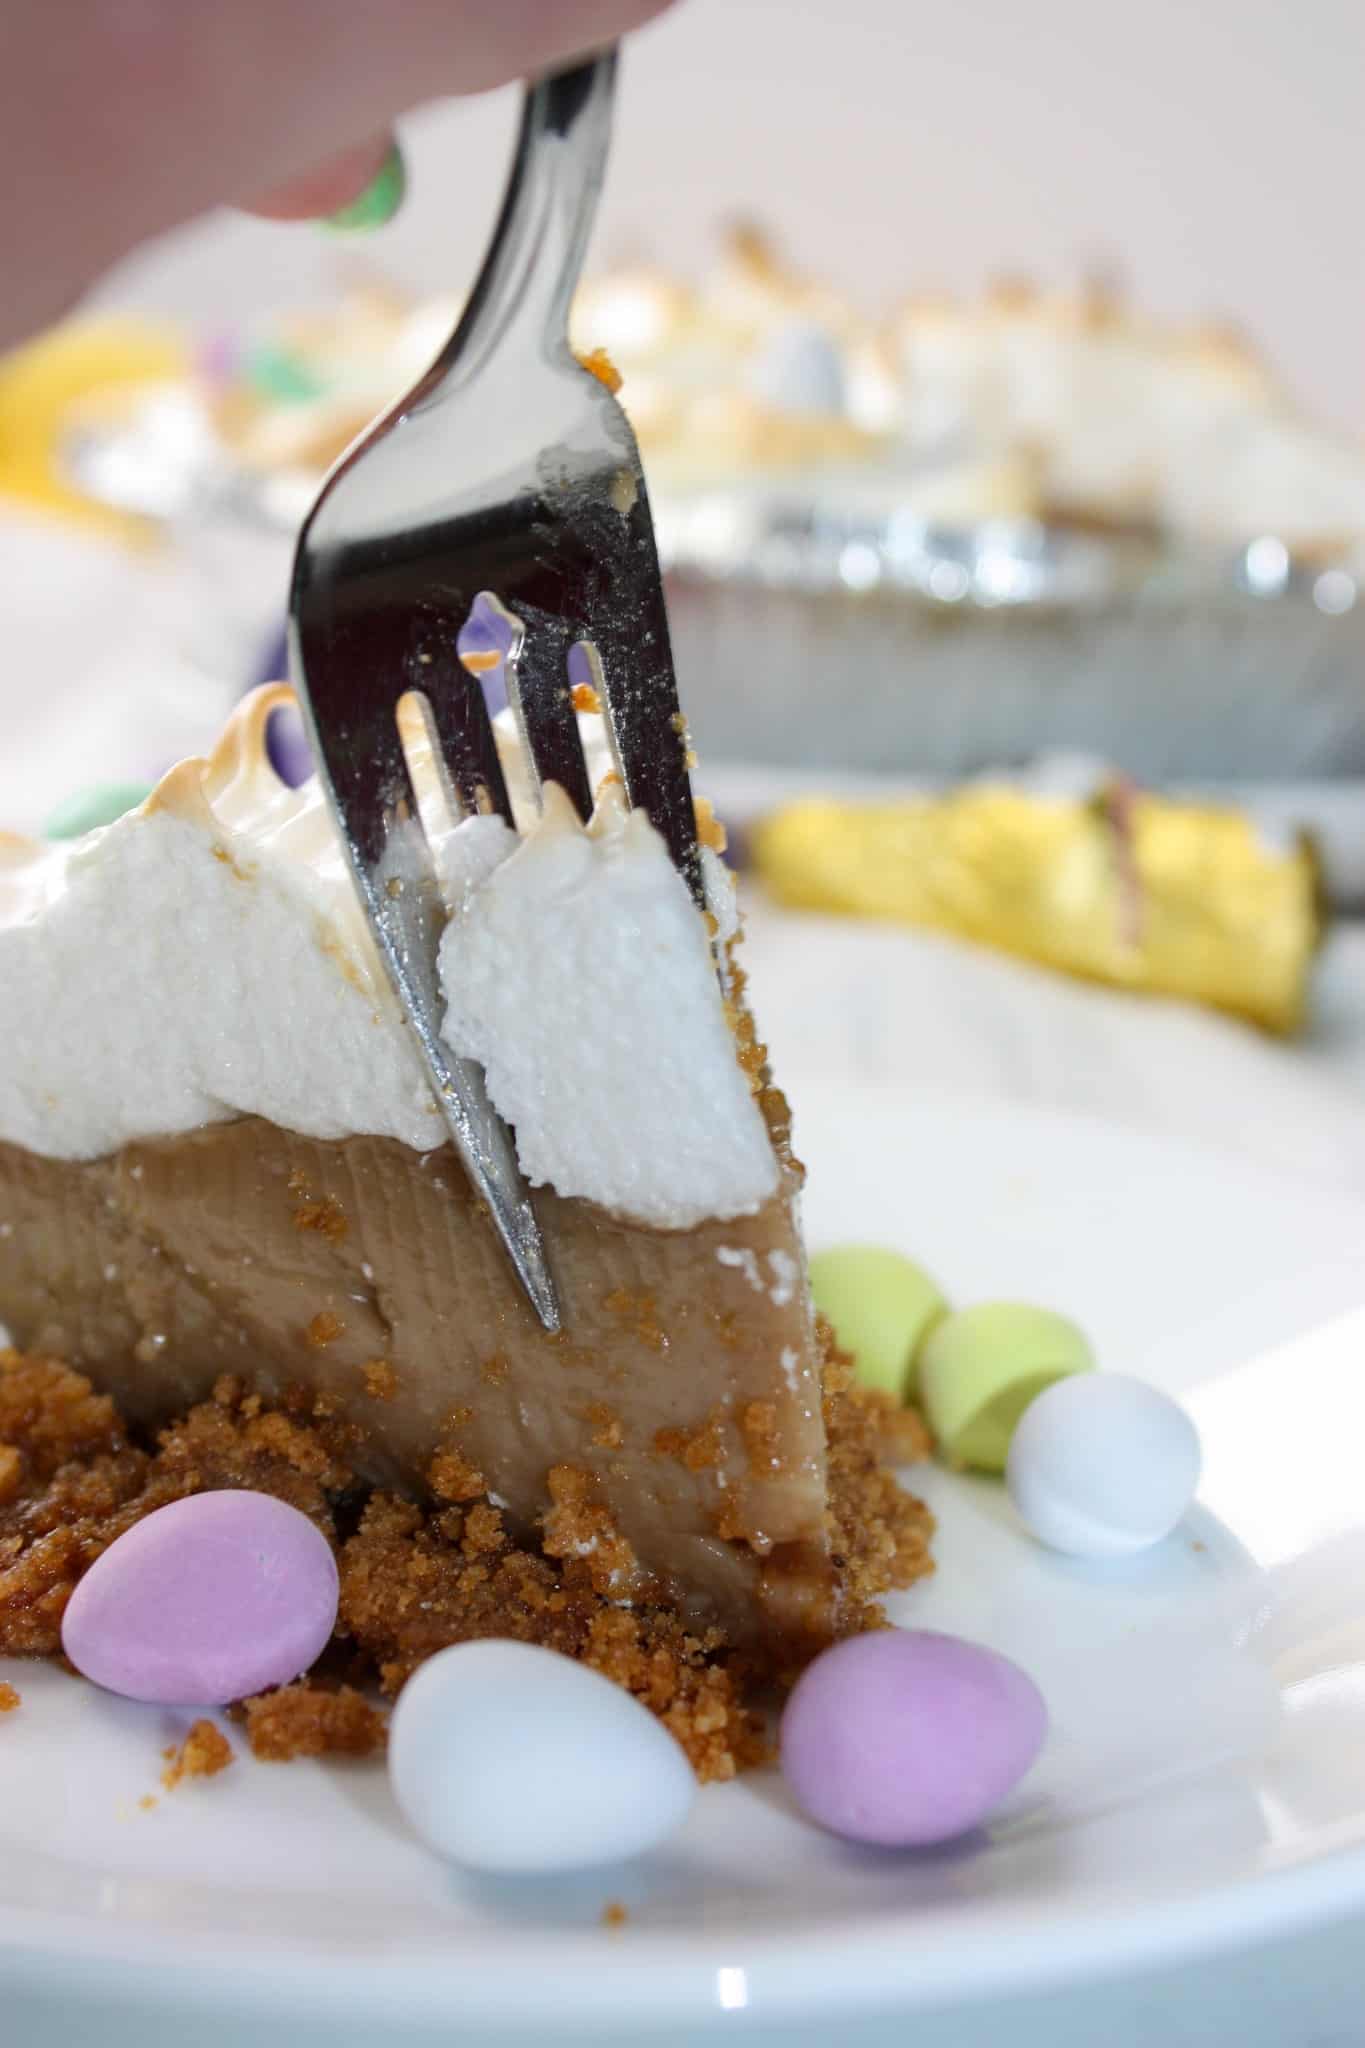
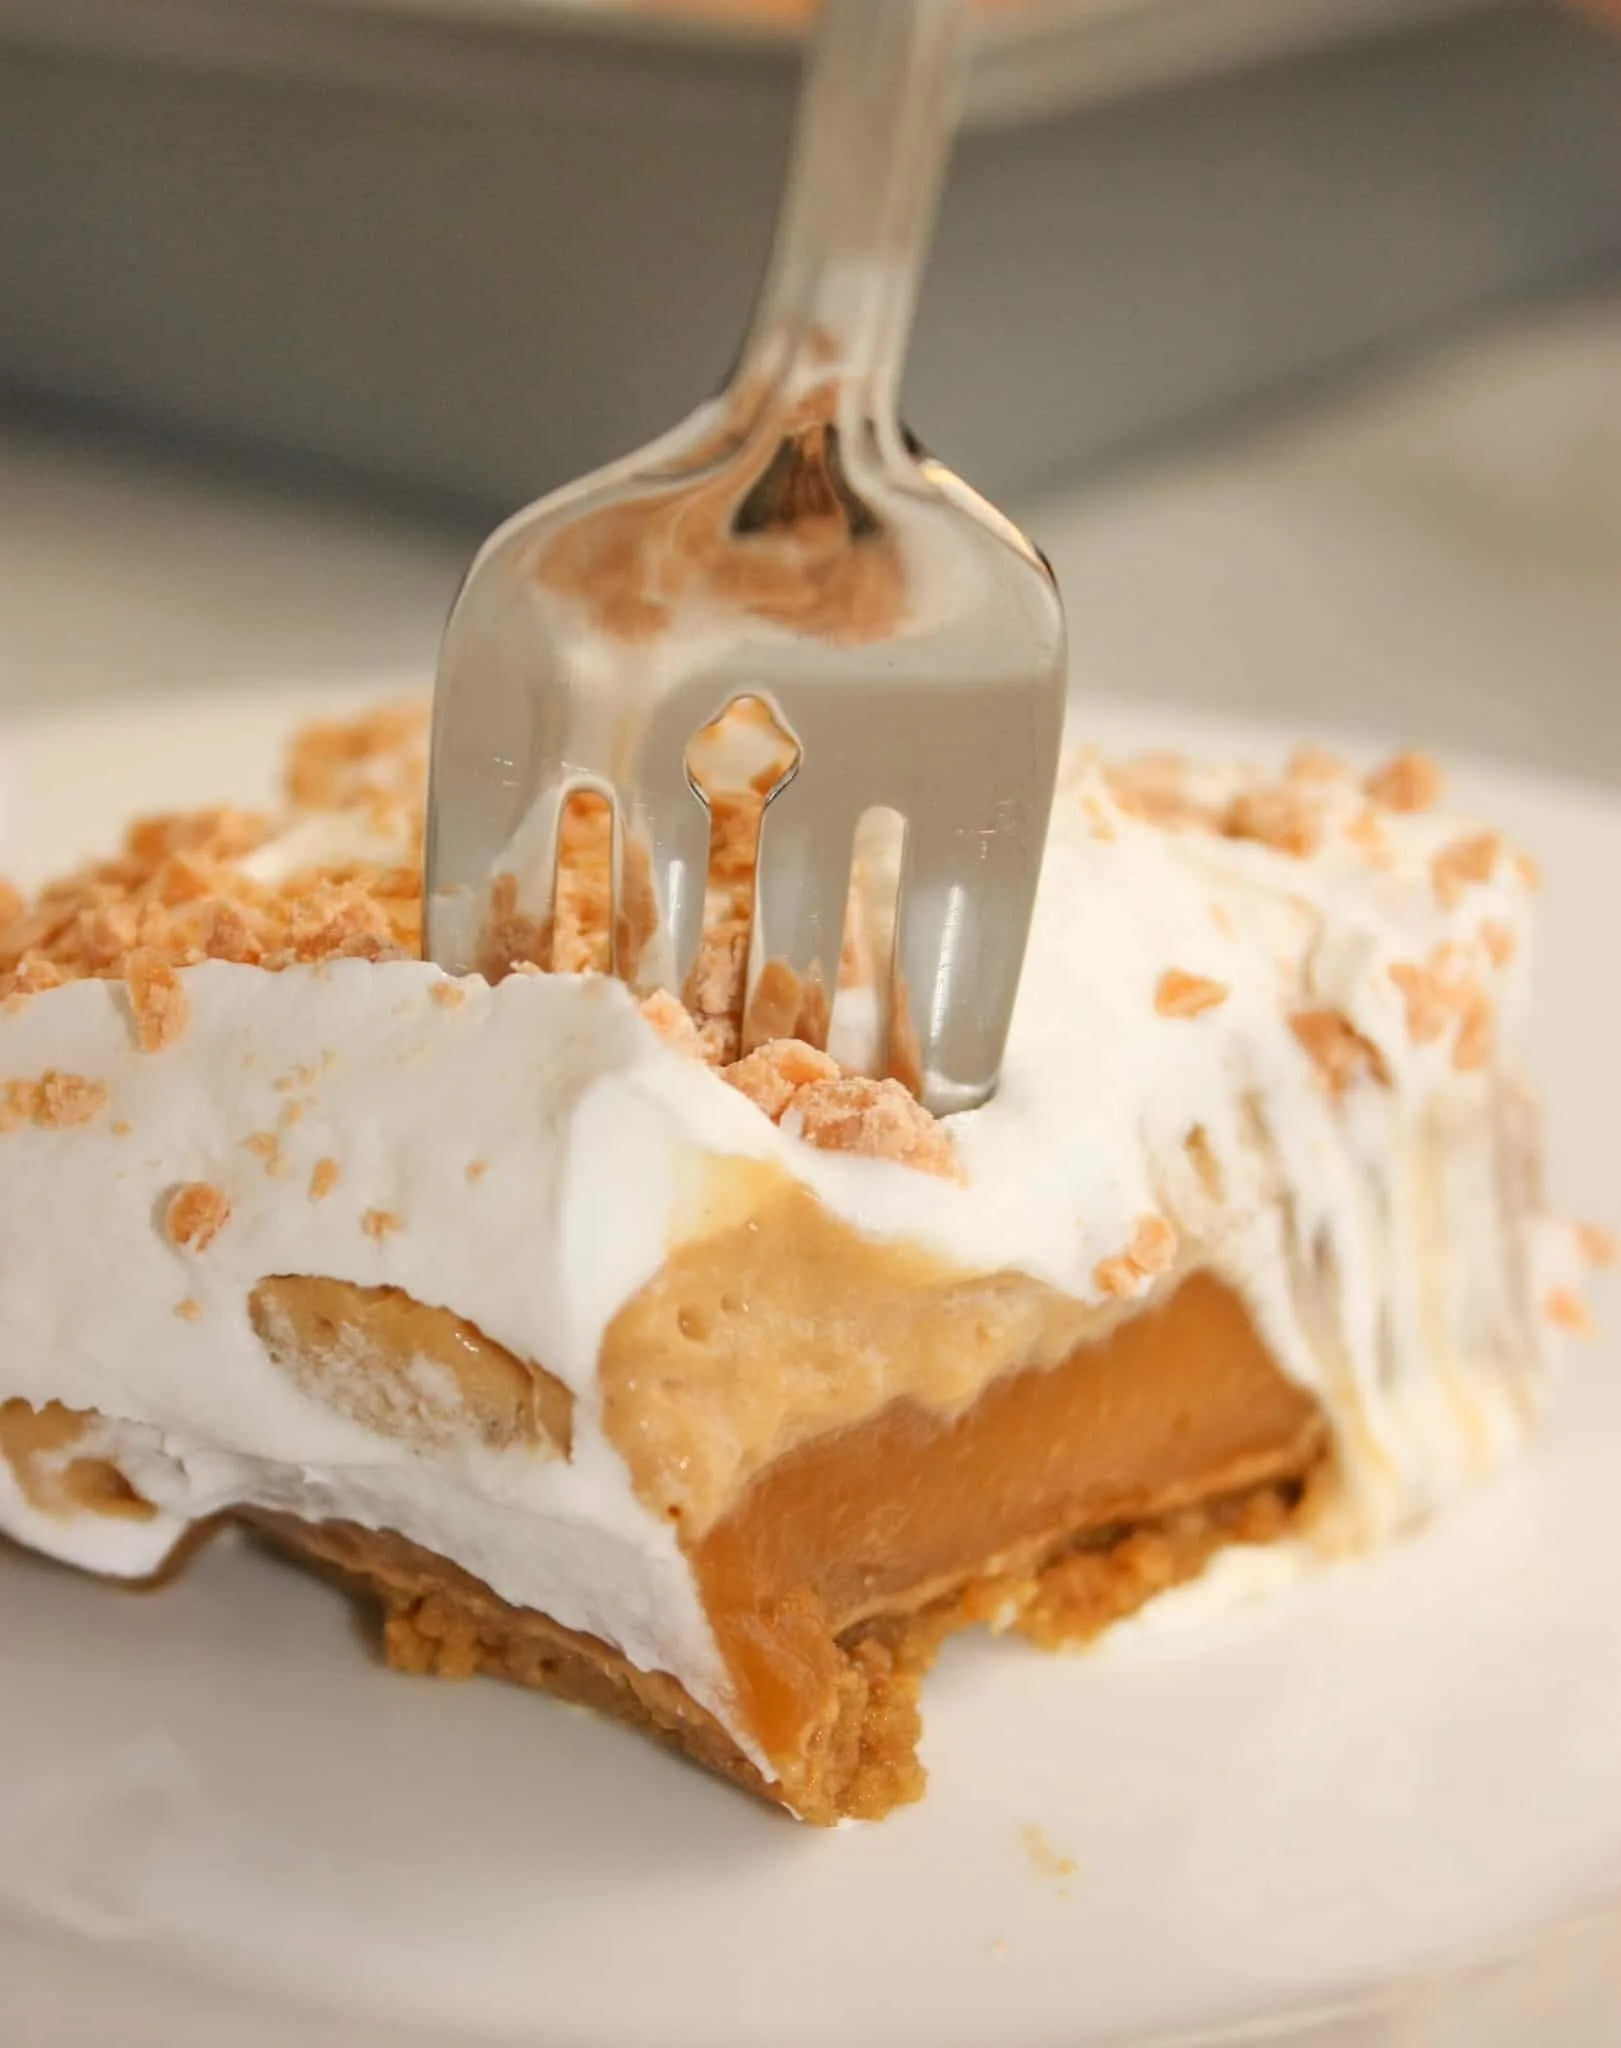
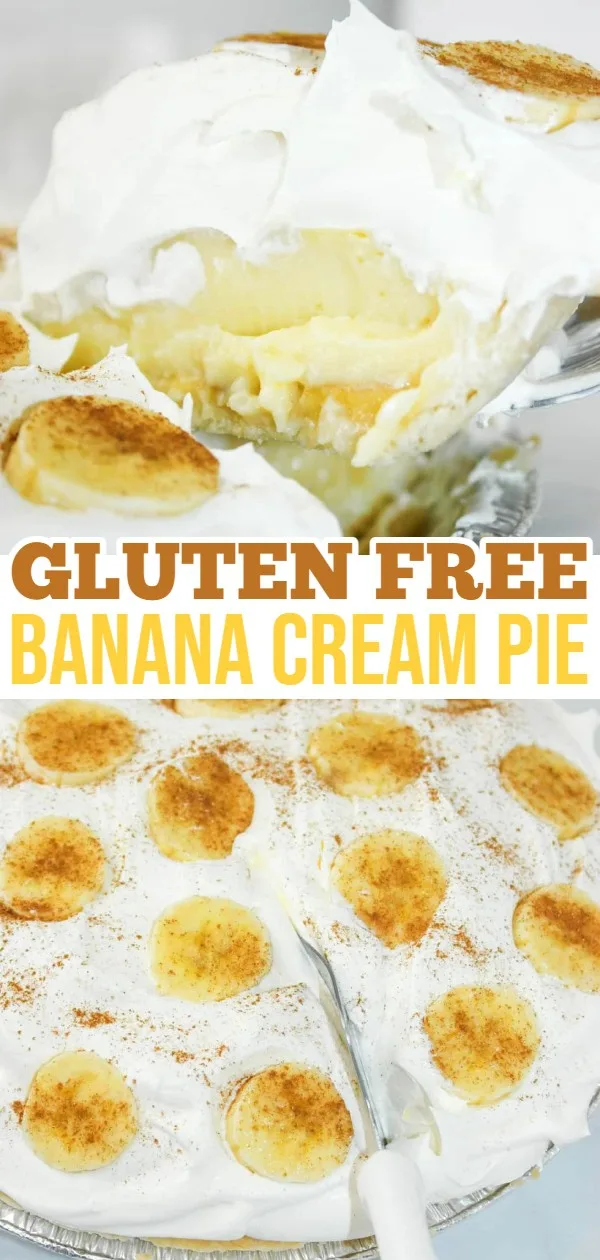
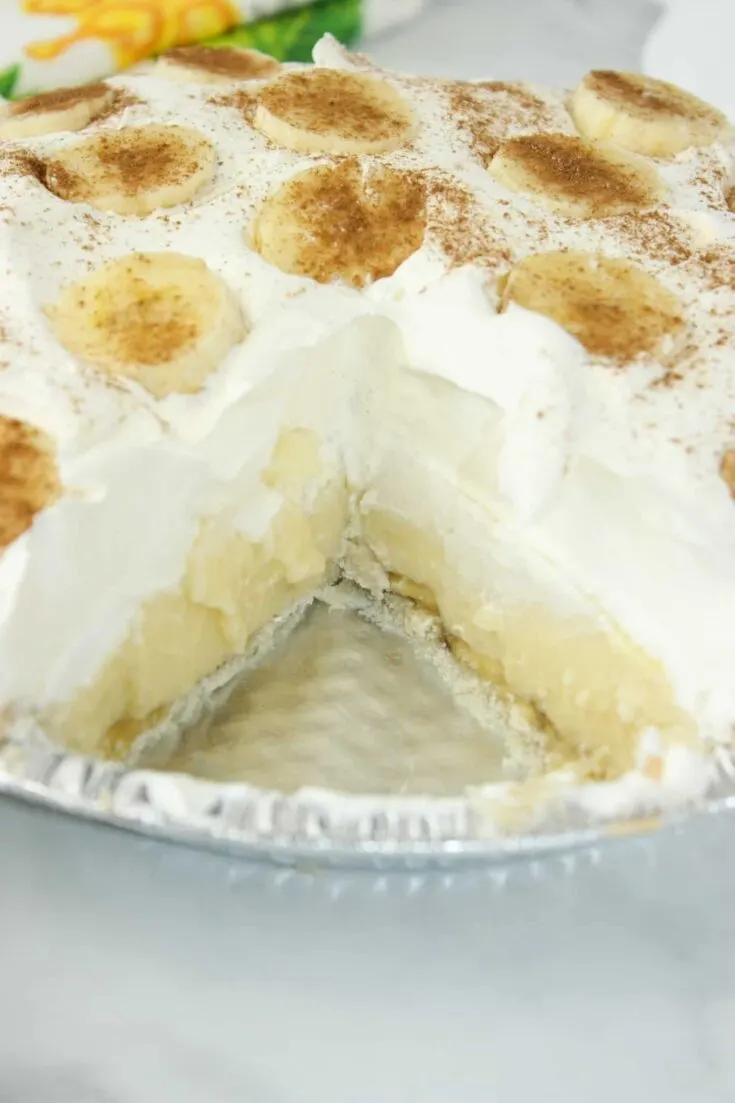
This Gluten Free Banana Cream Pie was a delicious treat for me, as well as for those without any intolerances. Layers of banana, custard filling and Cool Whip topping, contribute to the creaminess of this dessert.

I substituted almond milk and a gluten free pie crust and no one was any the wiser.

This recipe yields 7 slices but that will vary depending on how you choose to cut it up.
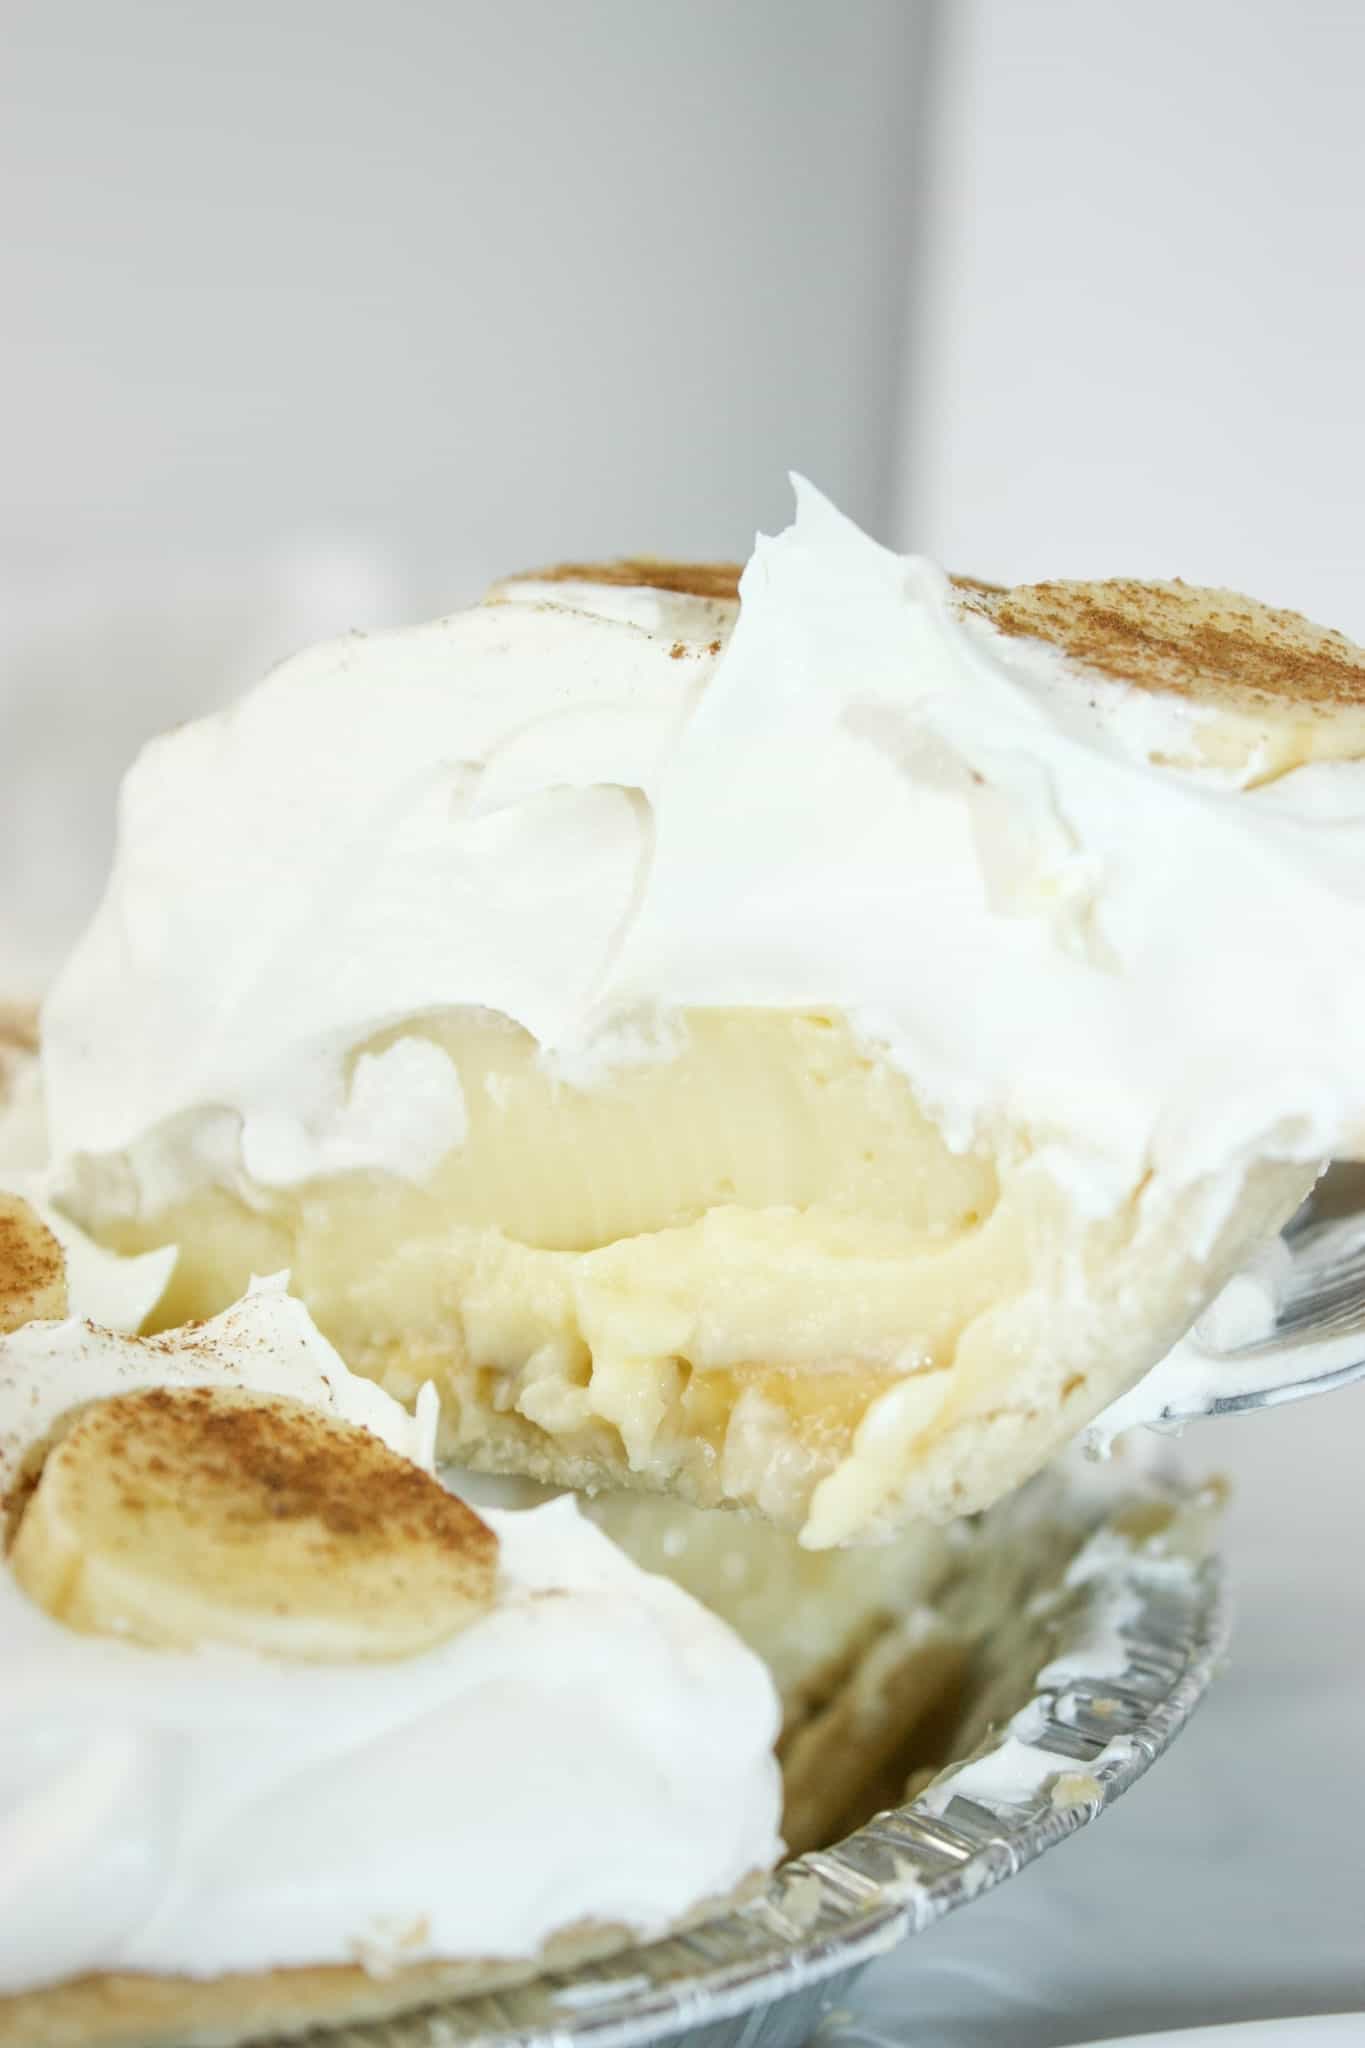
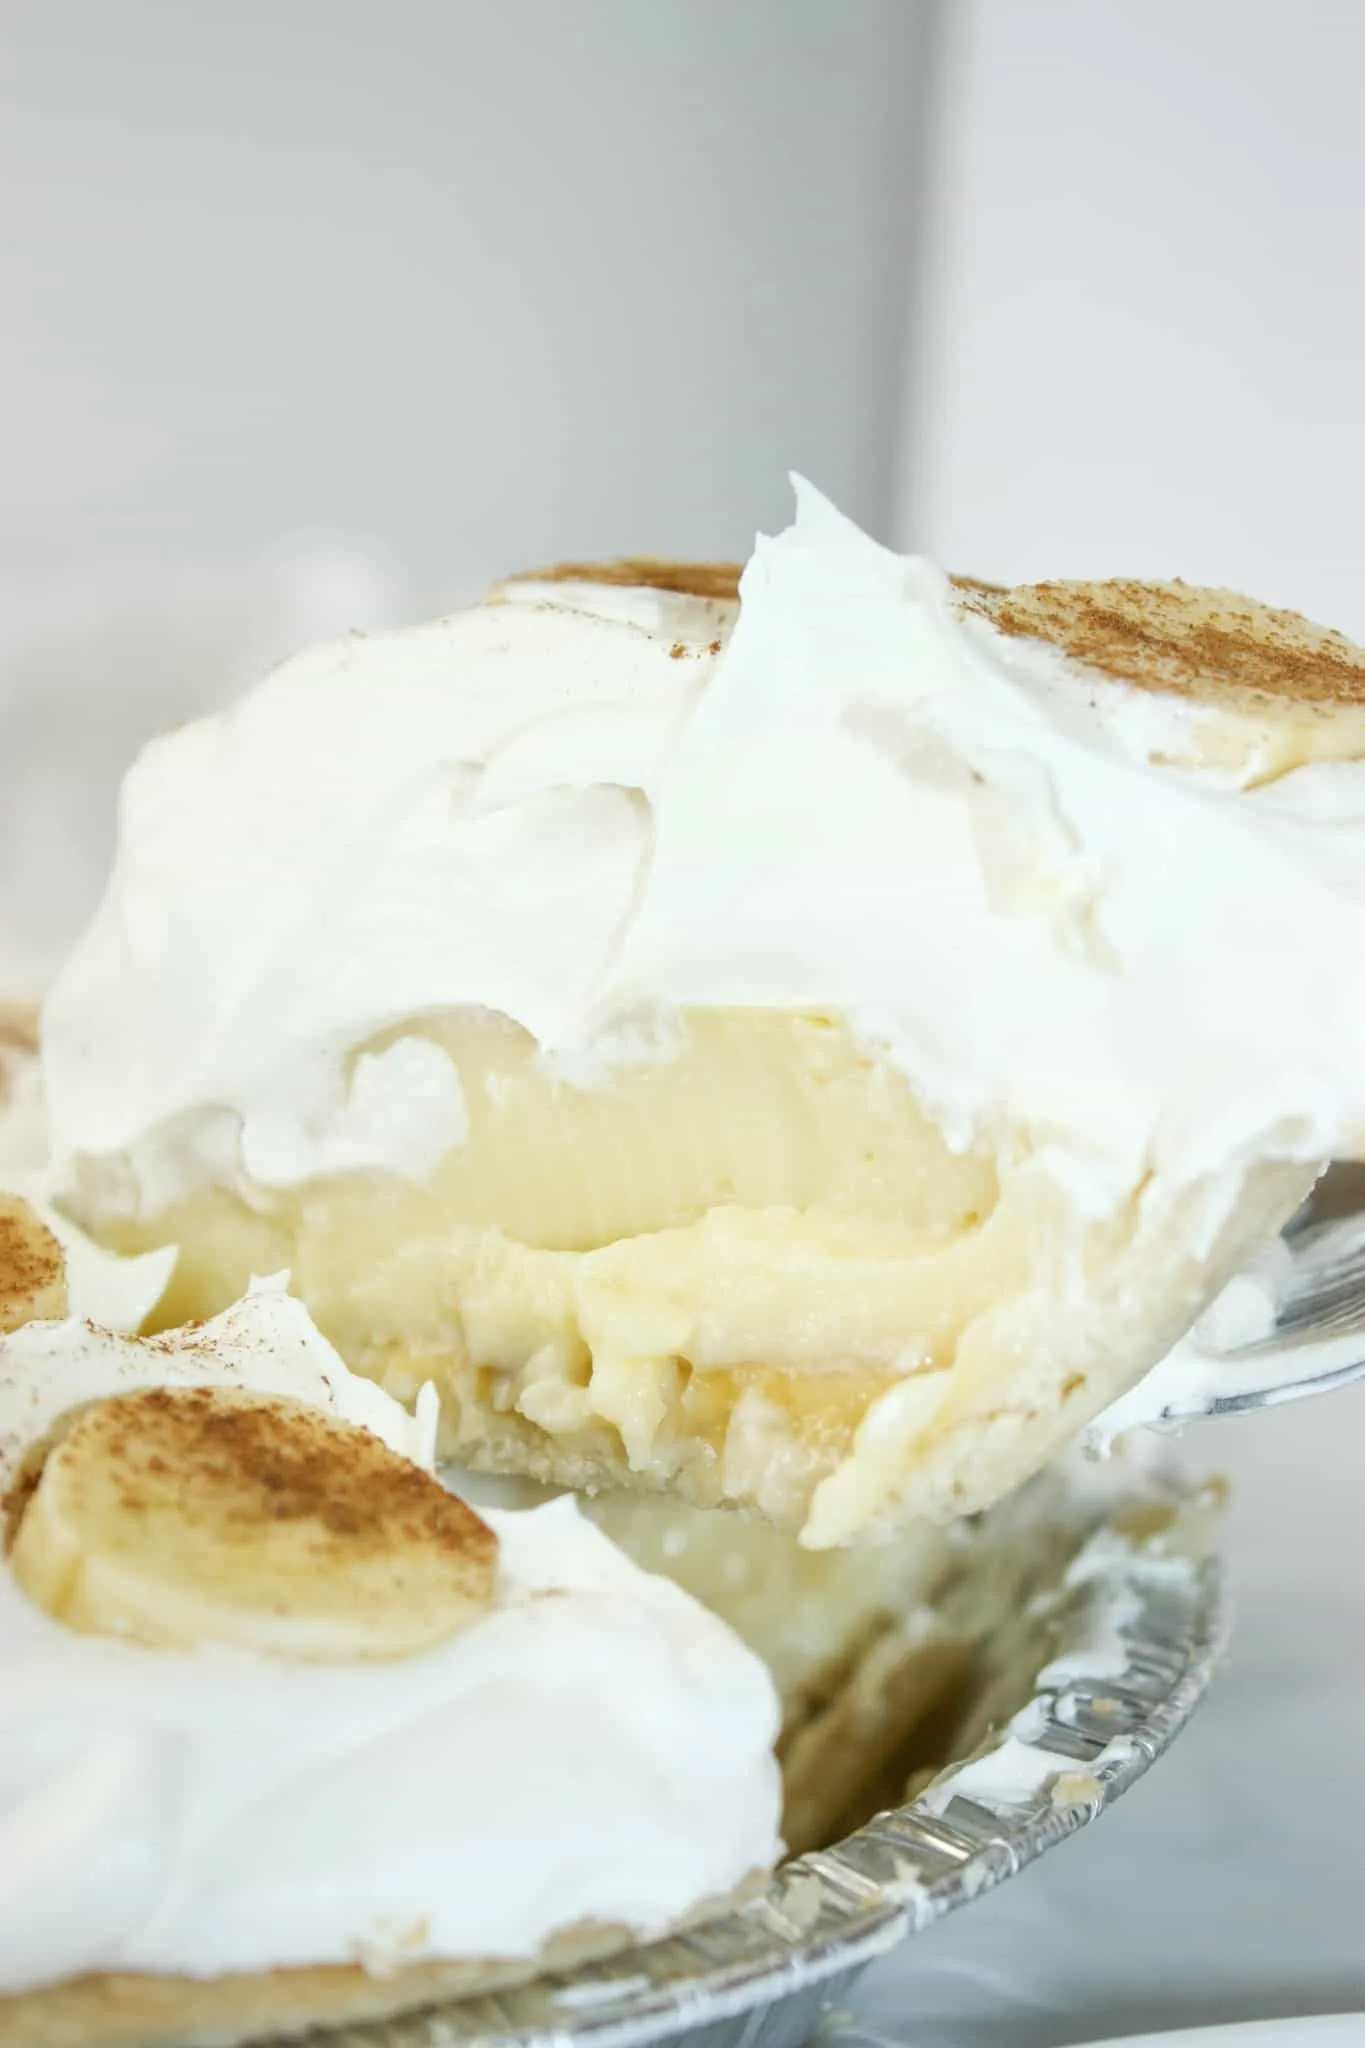
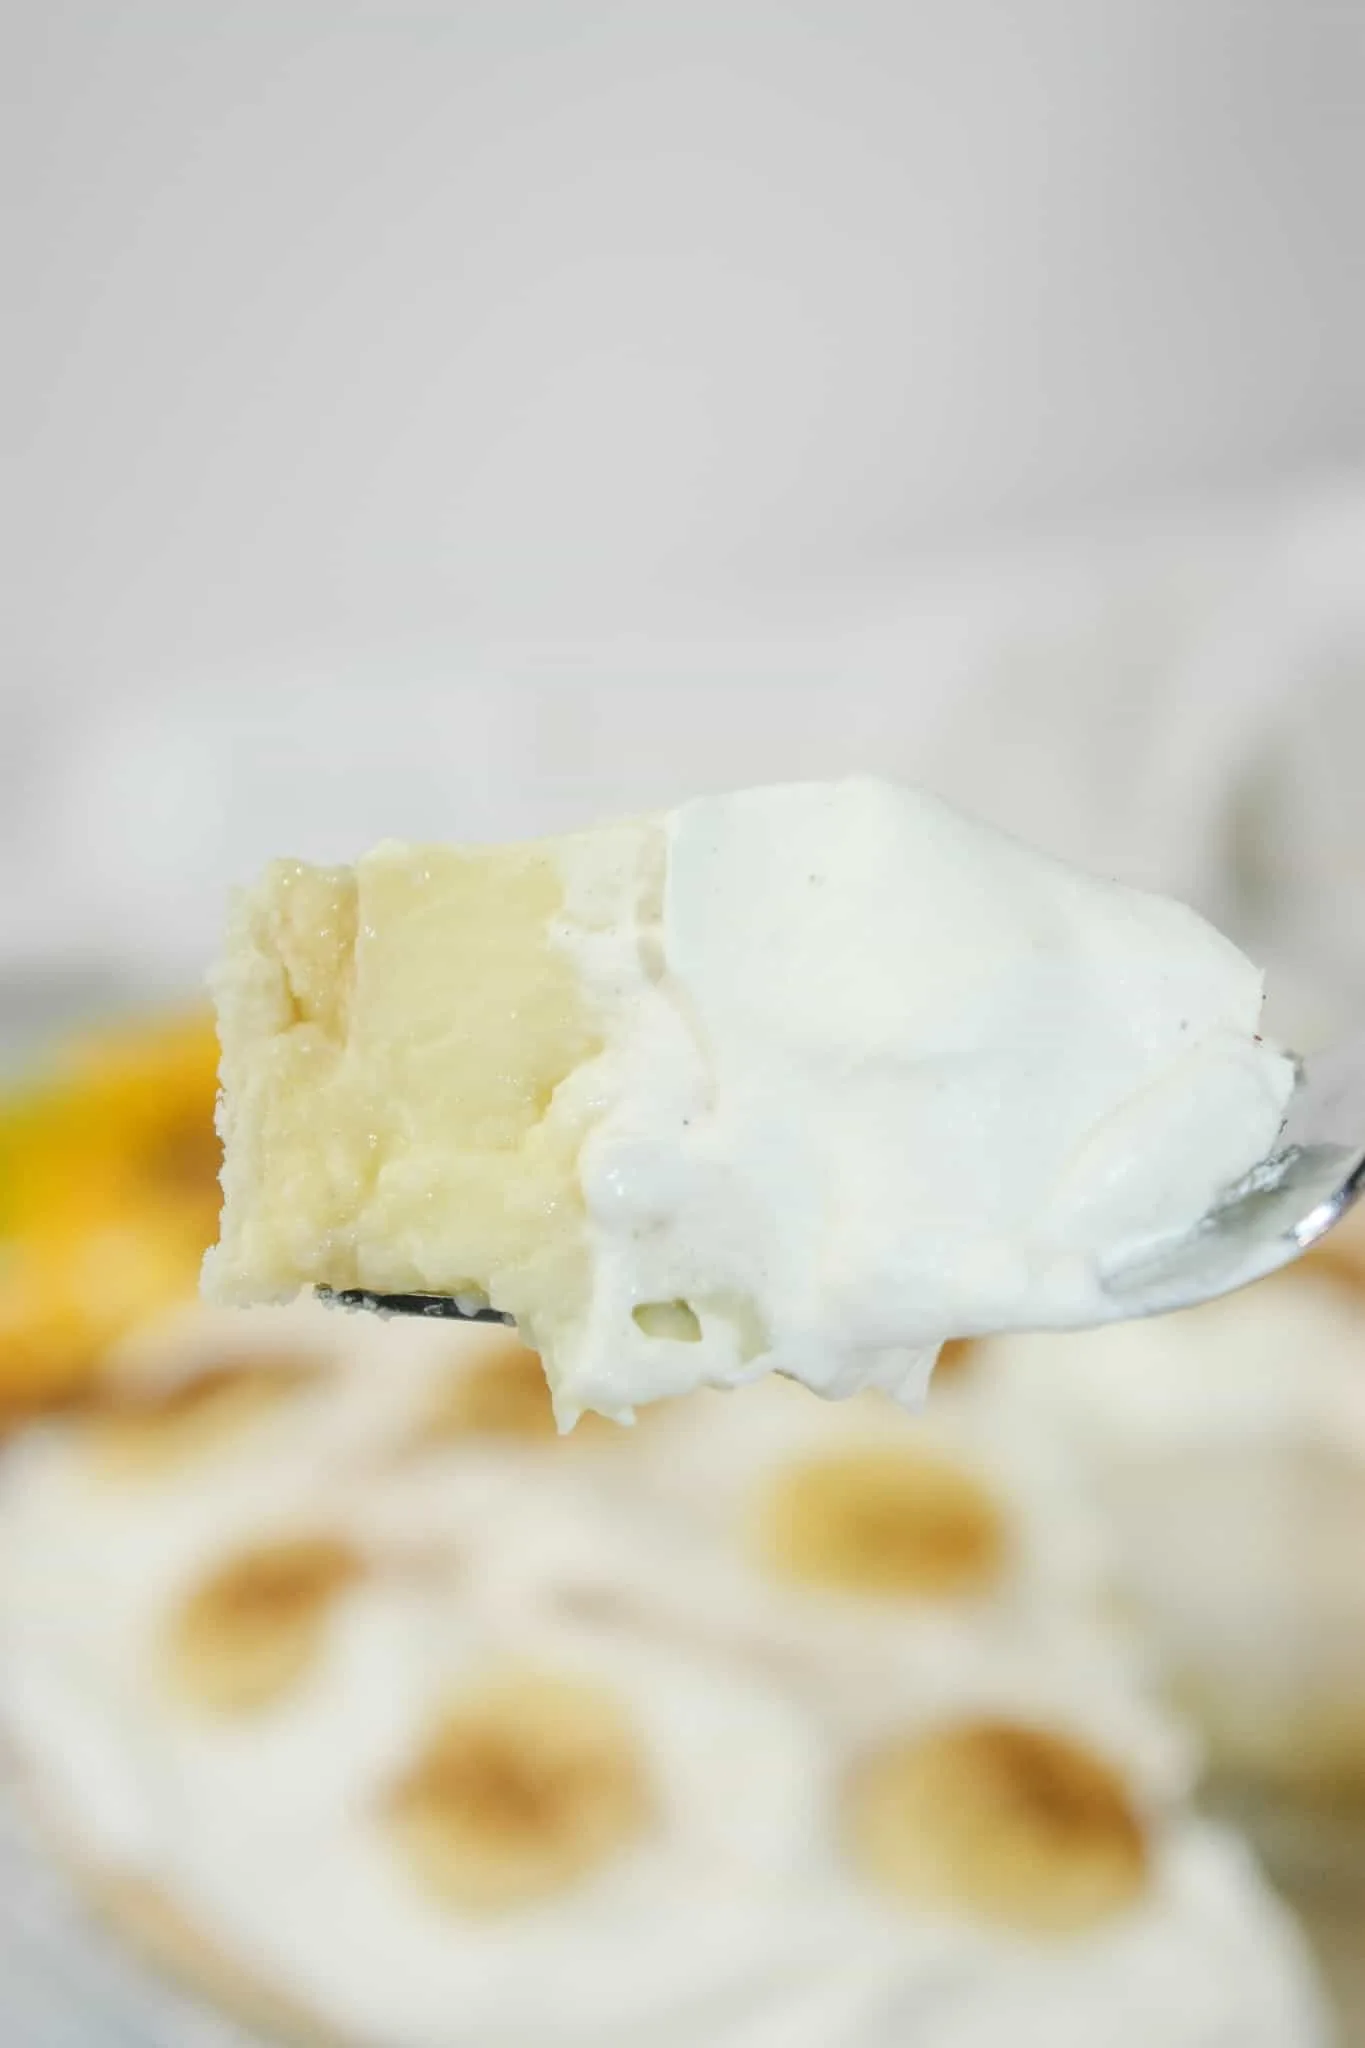
Smooth creamy pudding, loaded with vanilla or banana extract, does not disappoint the taste buds.

Enjoy sliced banana in every bite.

This is a perfect dessert to complement any meal.

Printable Recipe Card with a Full List of Ingredients and Instructions is Located at the Bottom of the Post.
Be sure to read through the entire post so that you don’t miss out on any important tips and tricks!
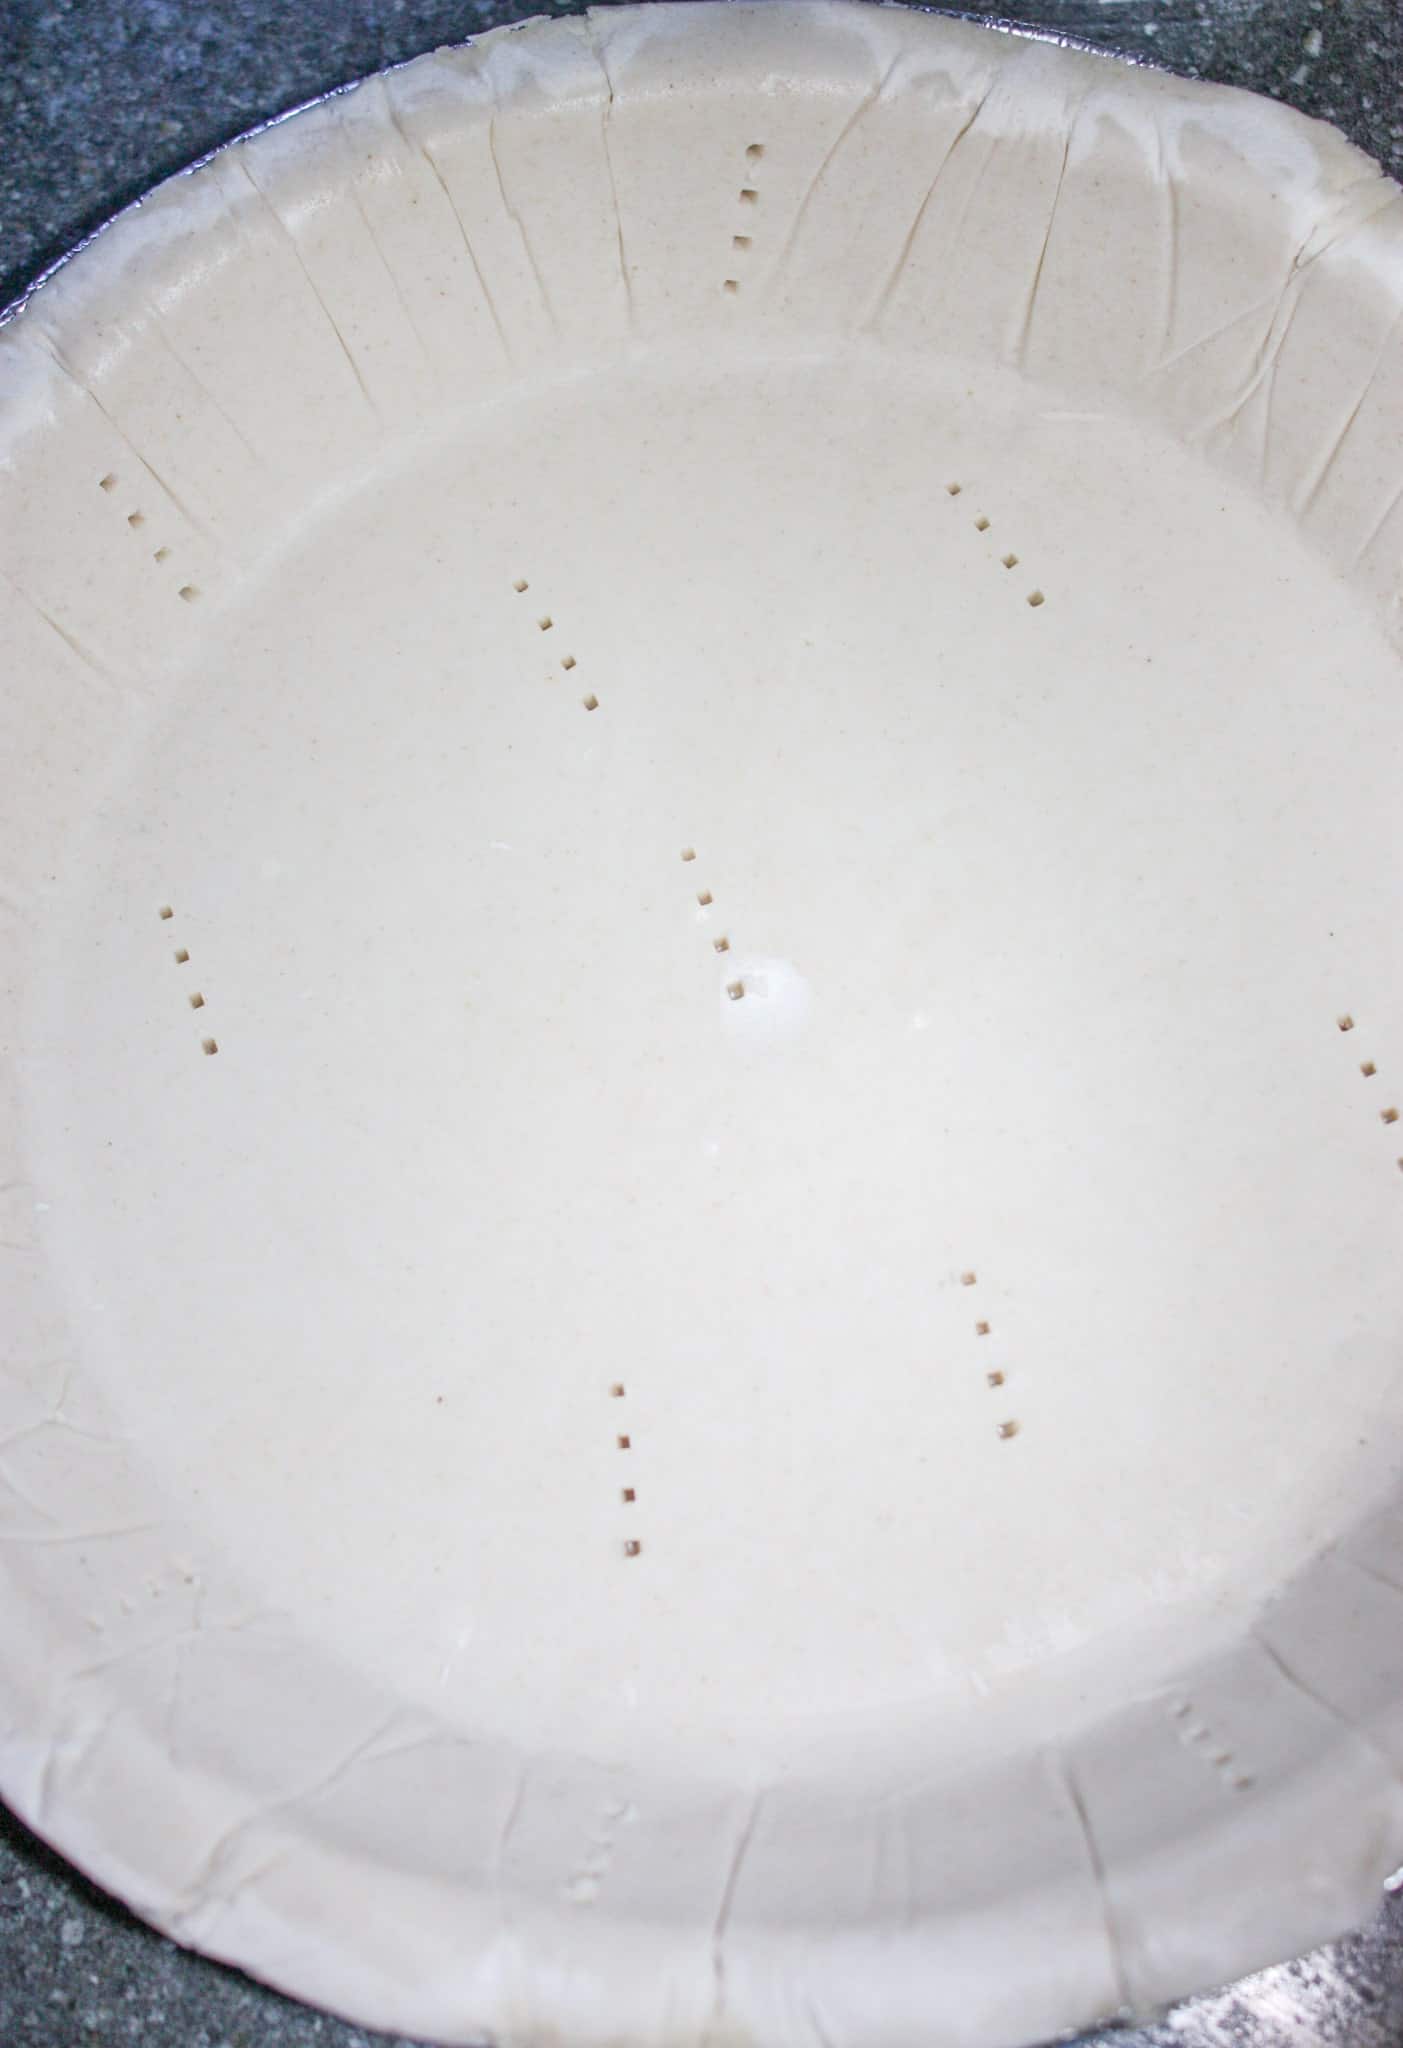
To begin making Gluten Free Banana Cream Pie I decided to use a prepared gluten free pie shell. You could also make your own Gluten Free Pastry.
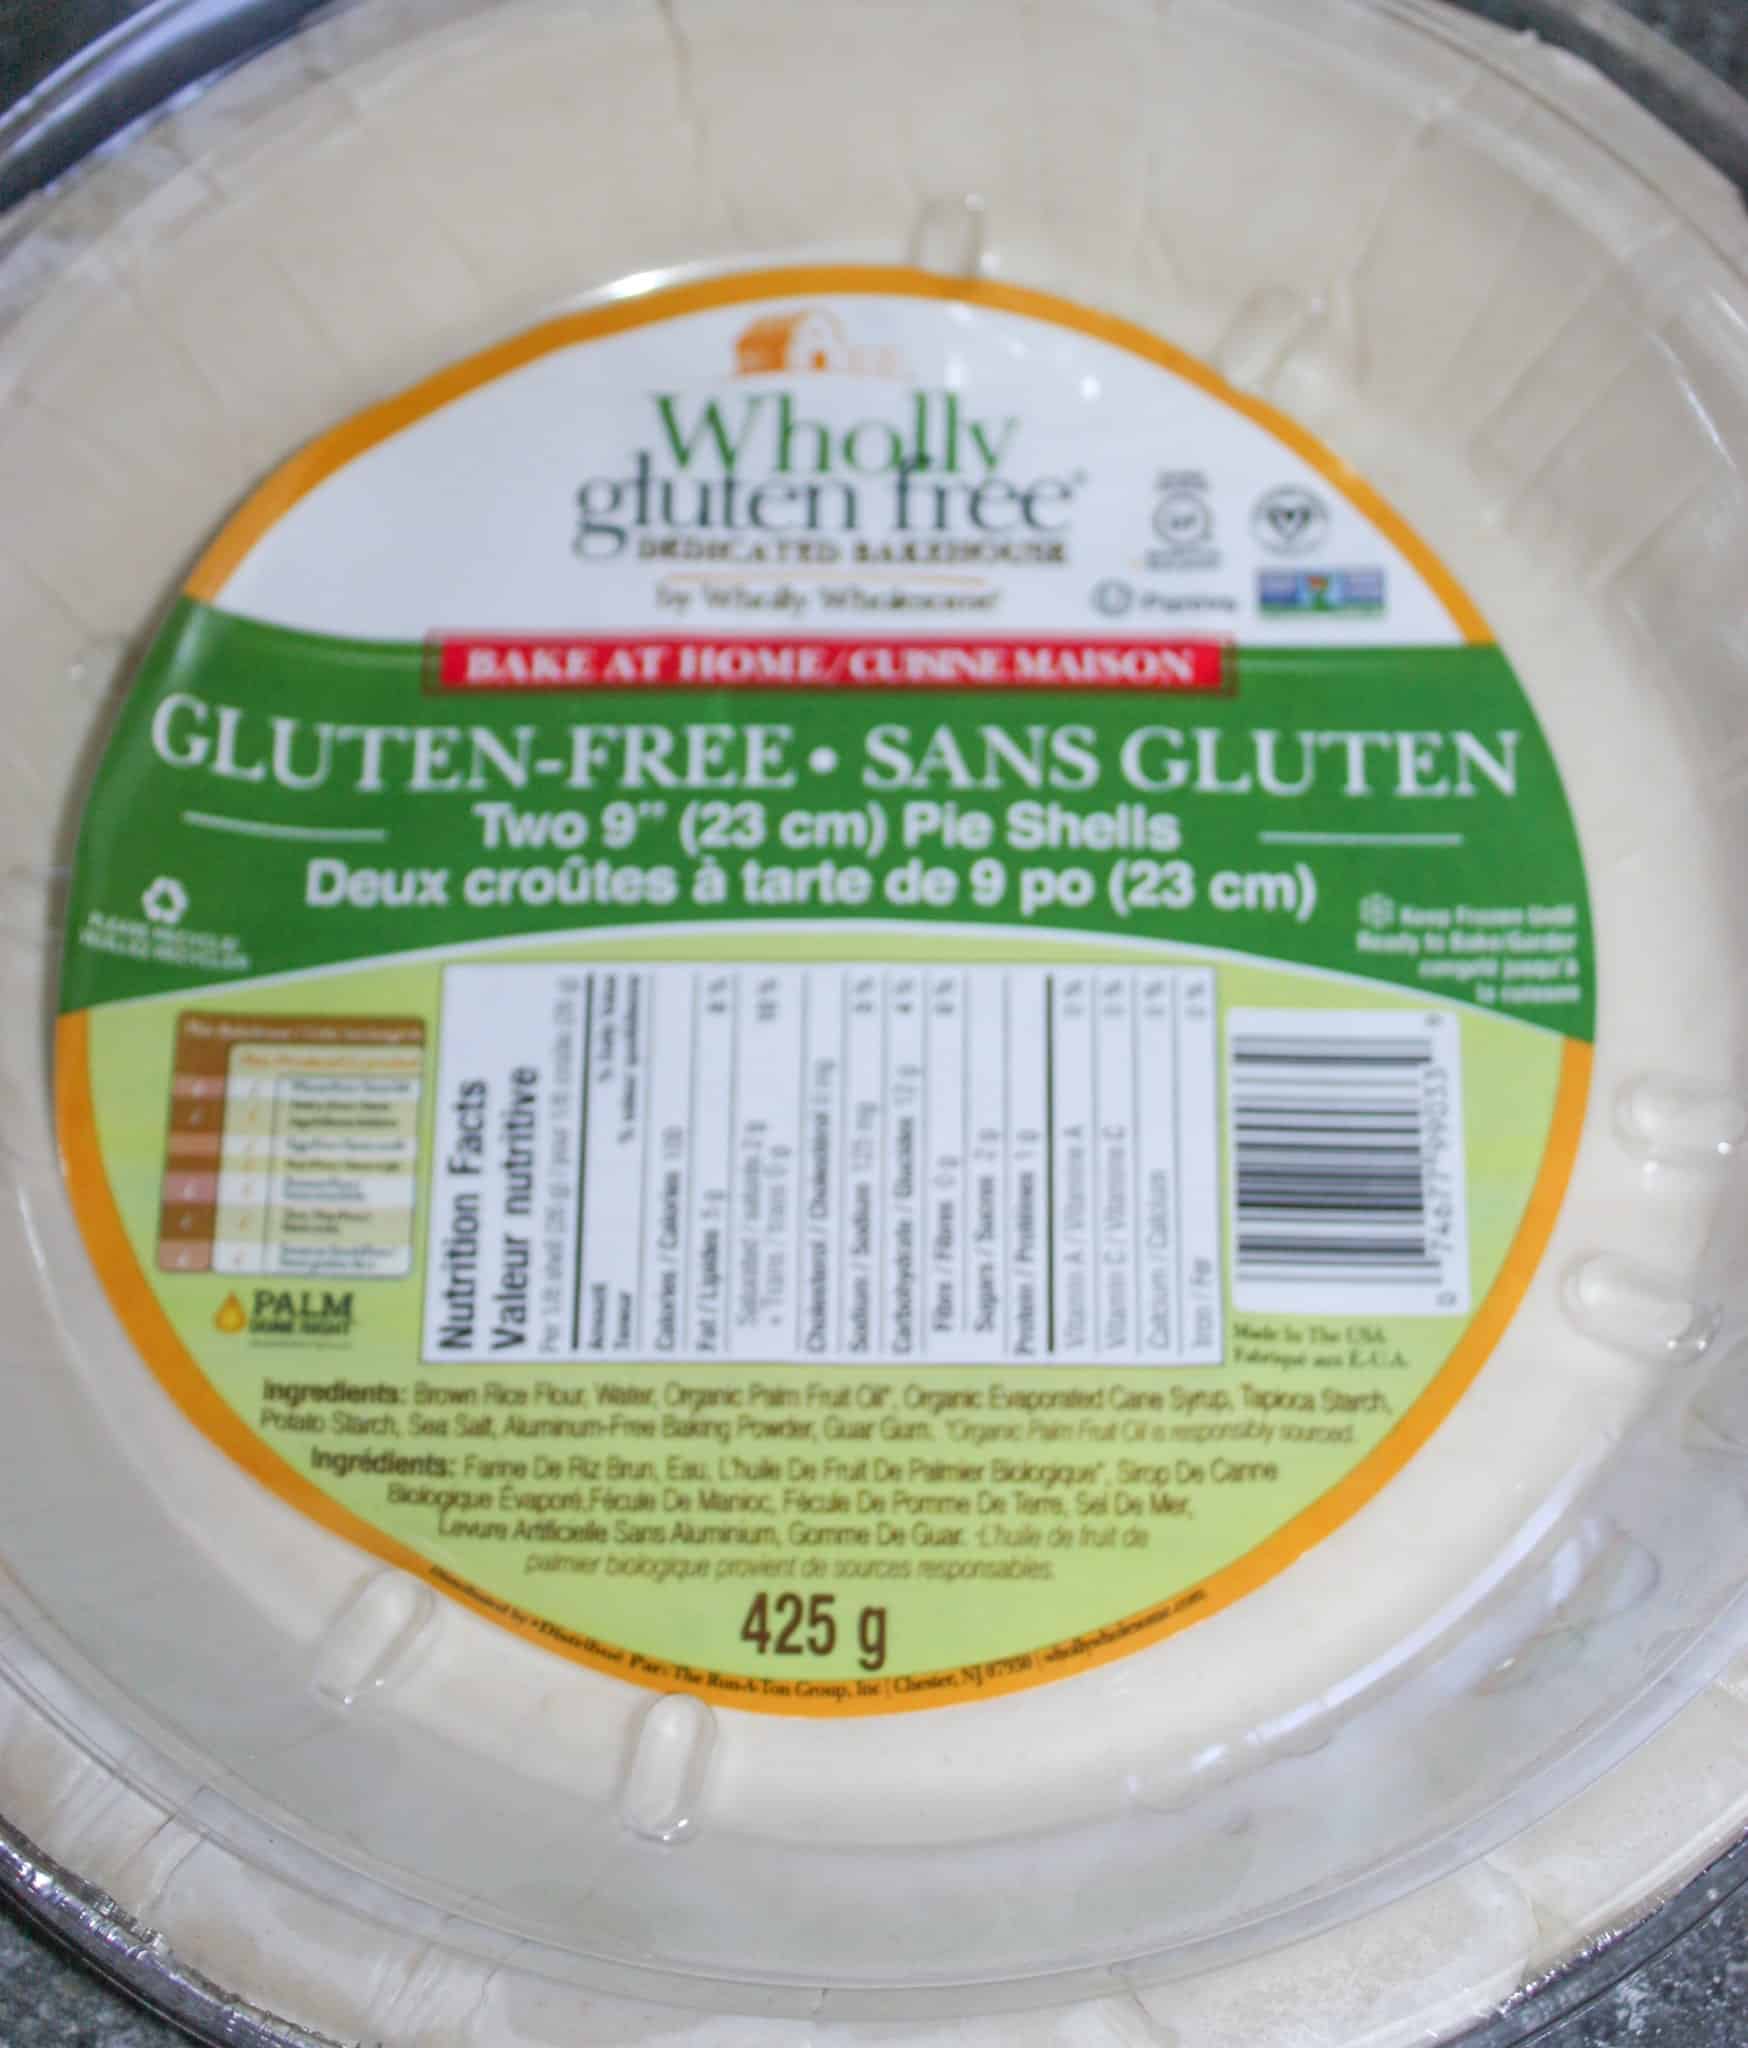

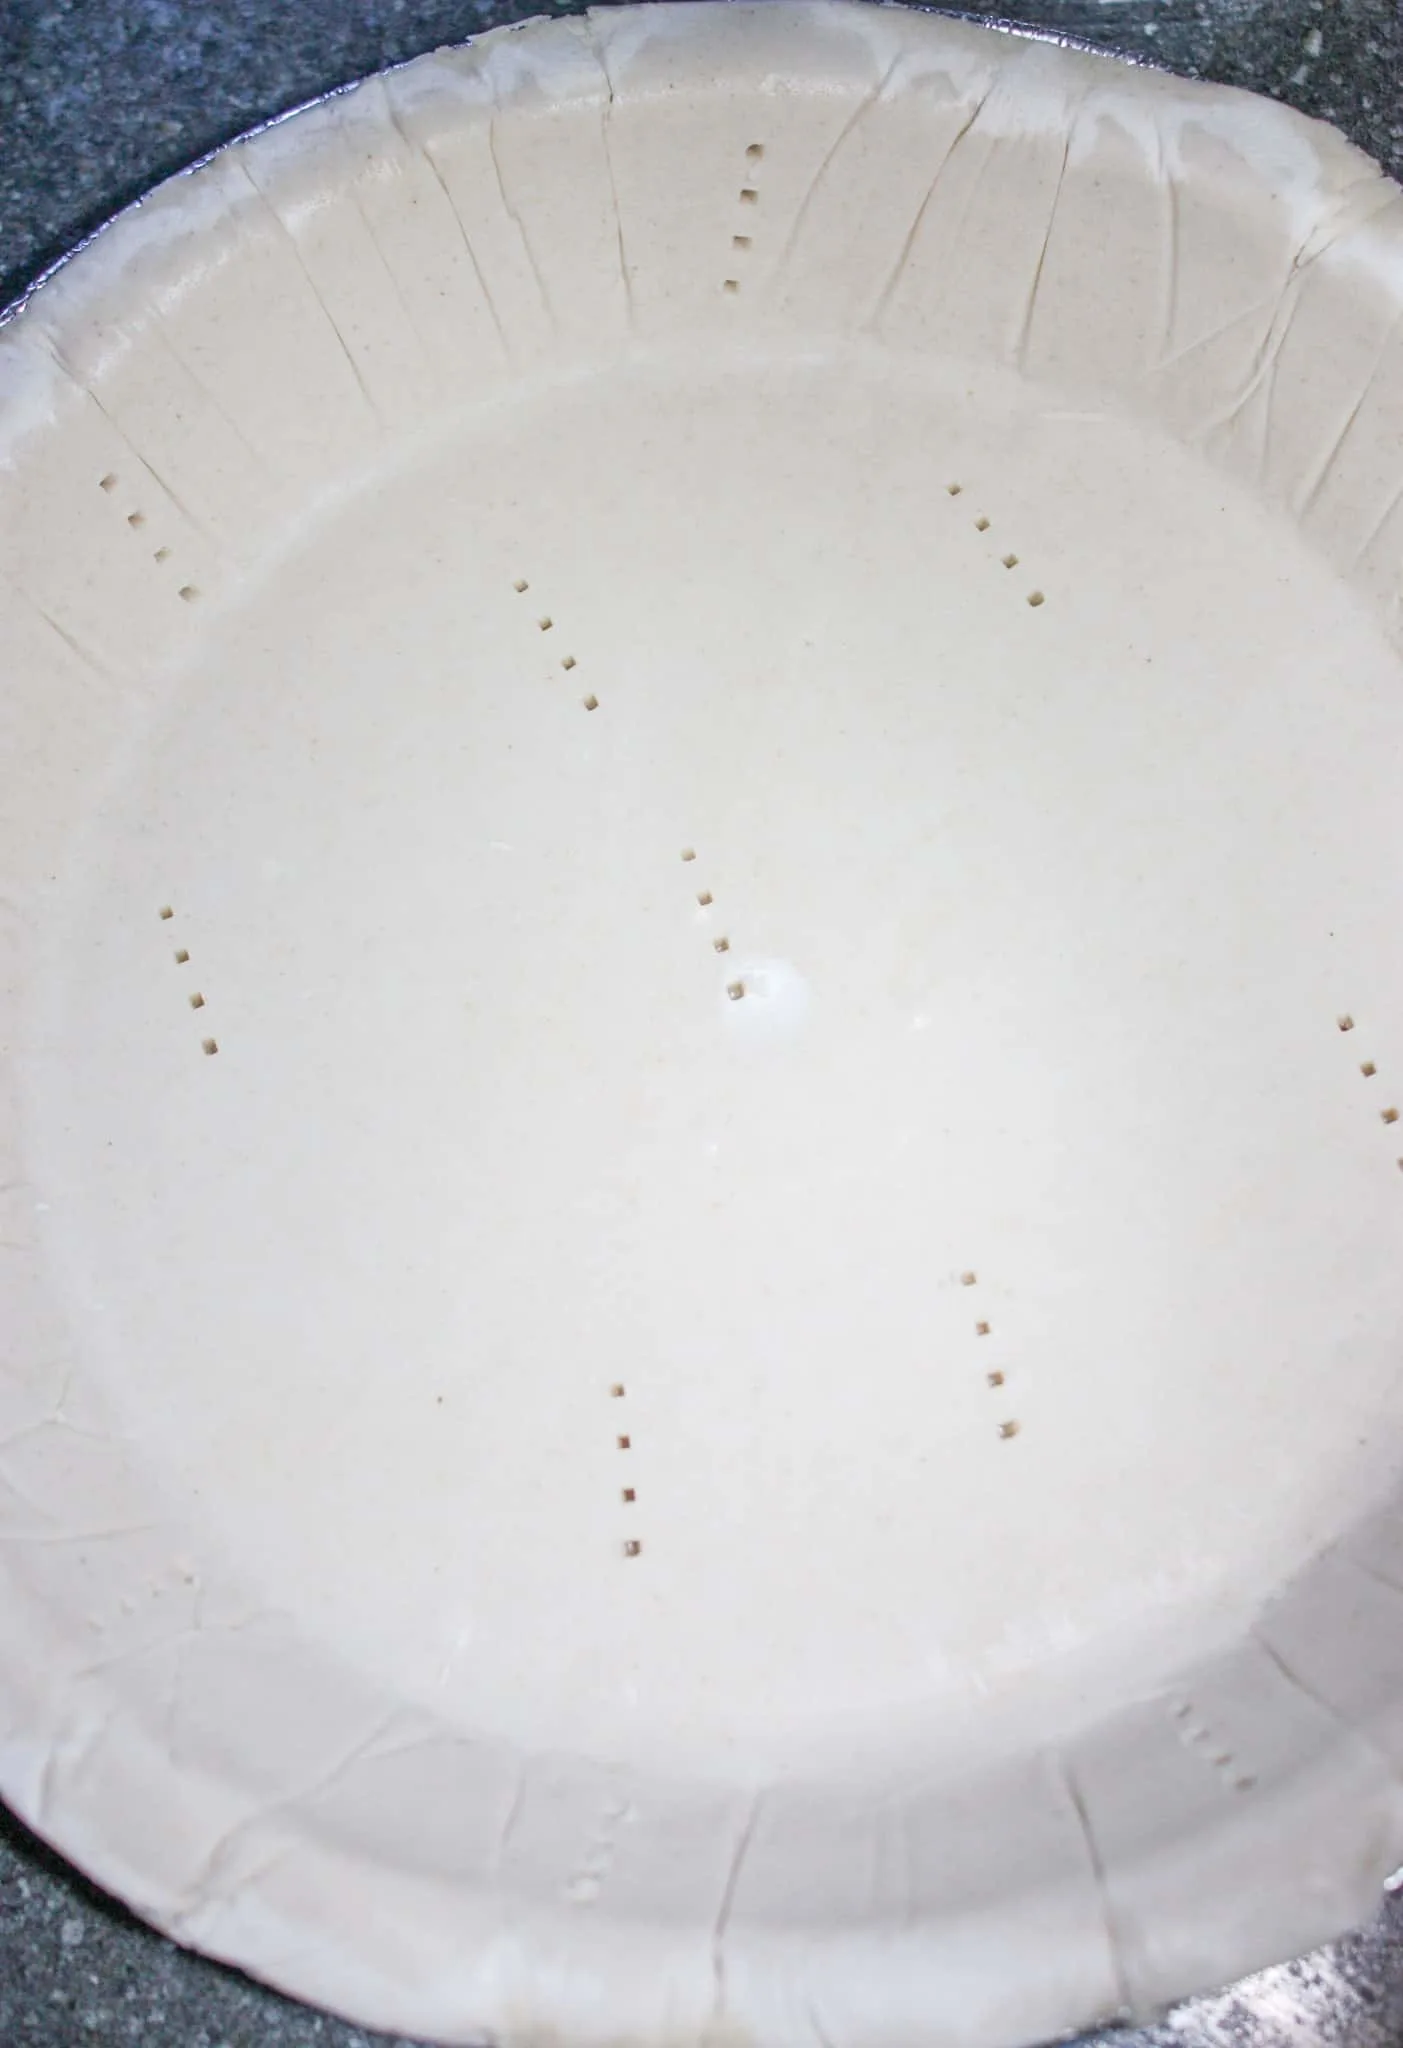
I pricked the pie shell with a fork before baking.
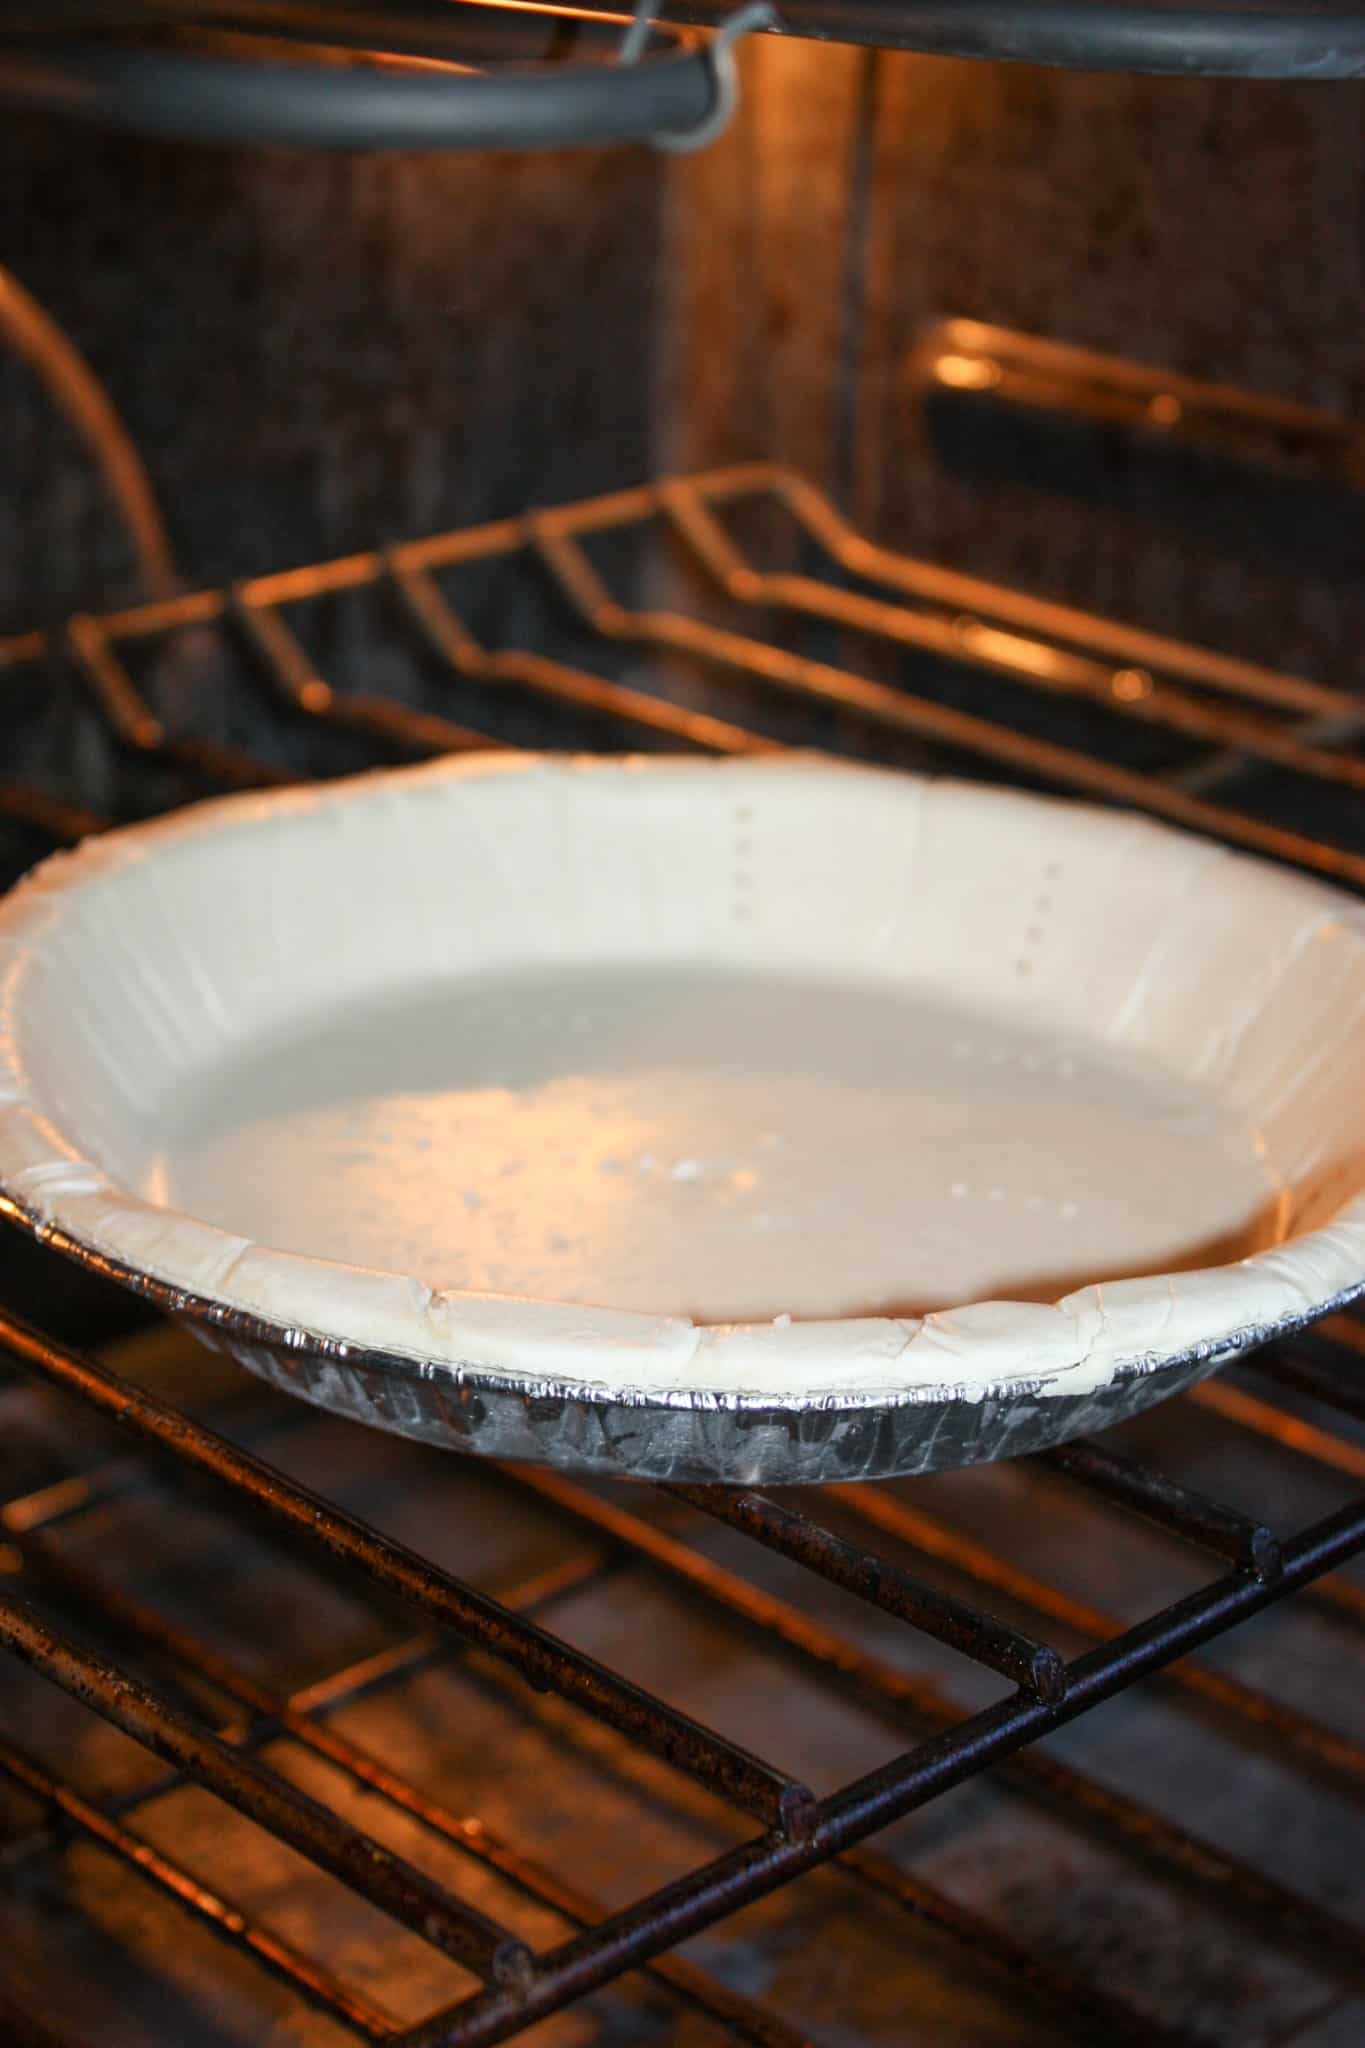
Then I put the pie shell in a preheated 400F oven for 8 – 10 minutes.

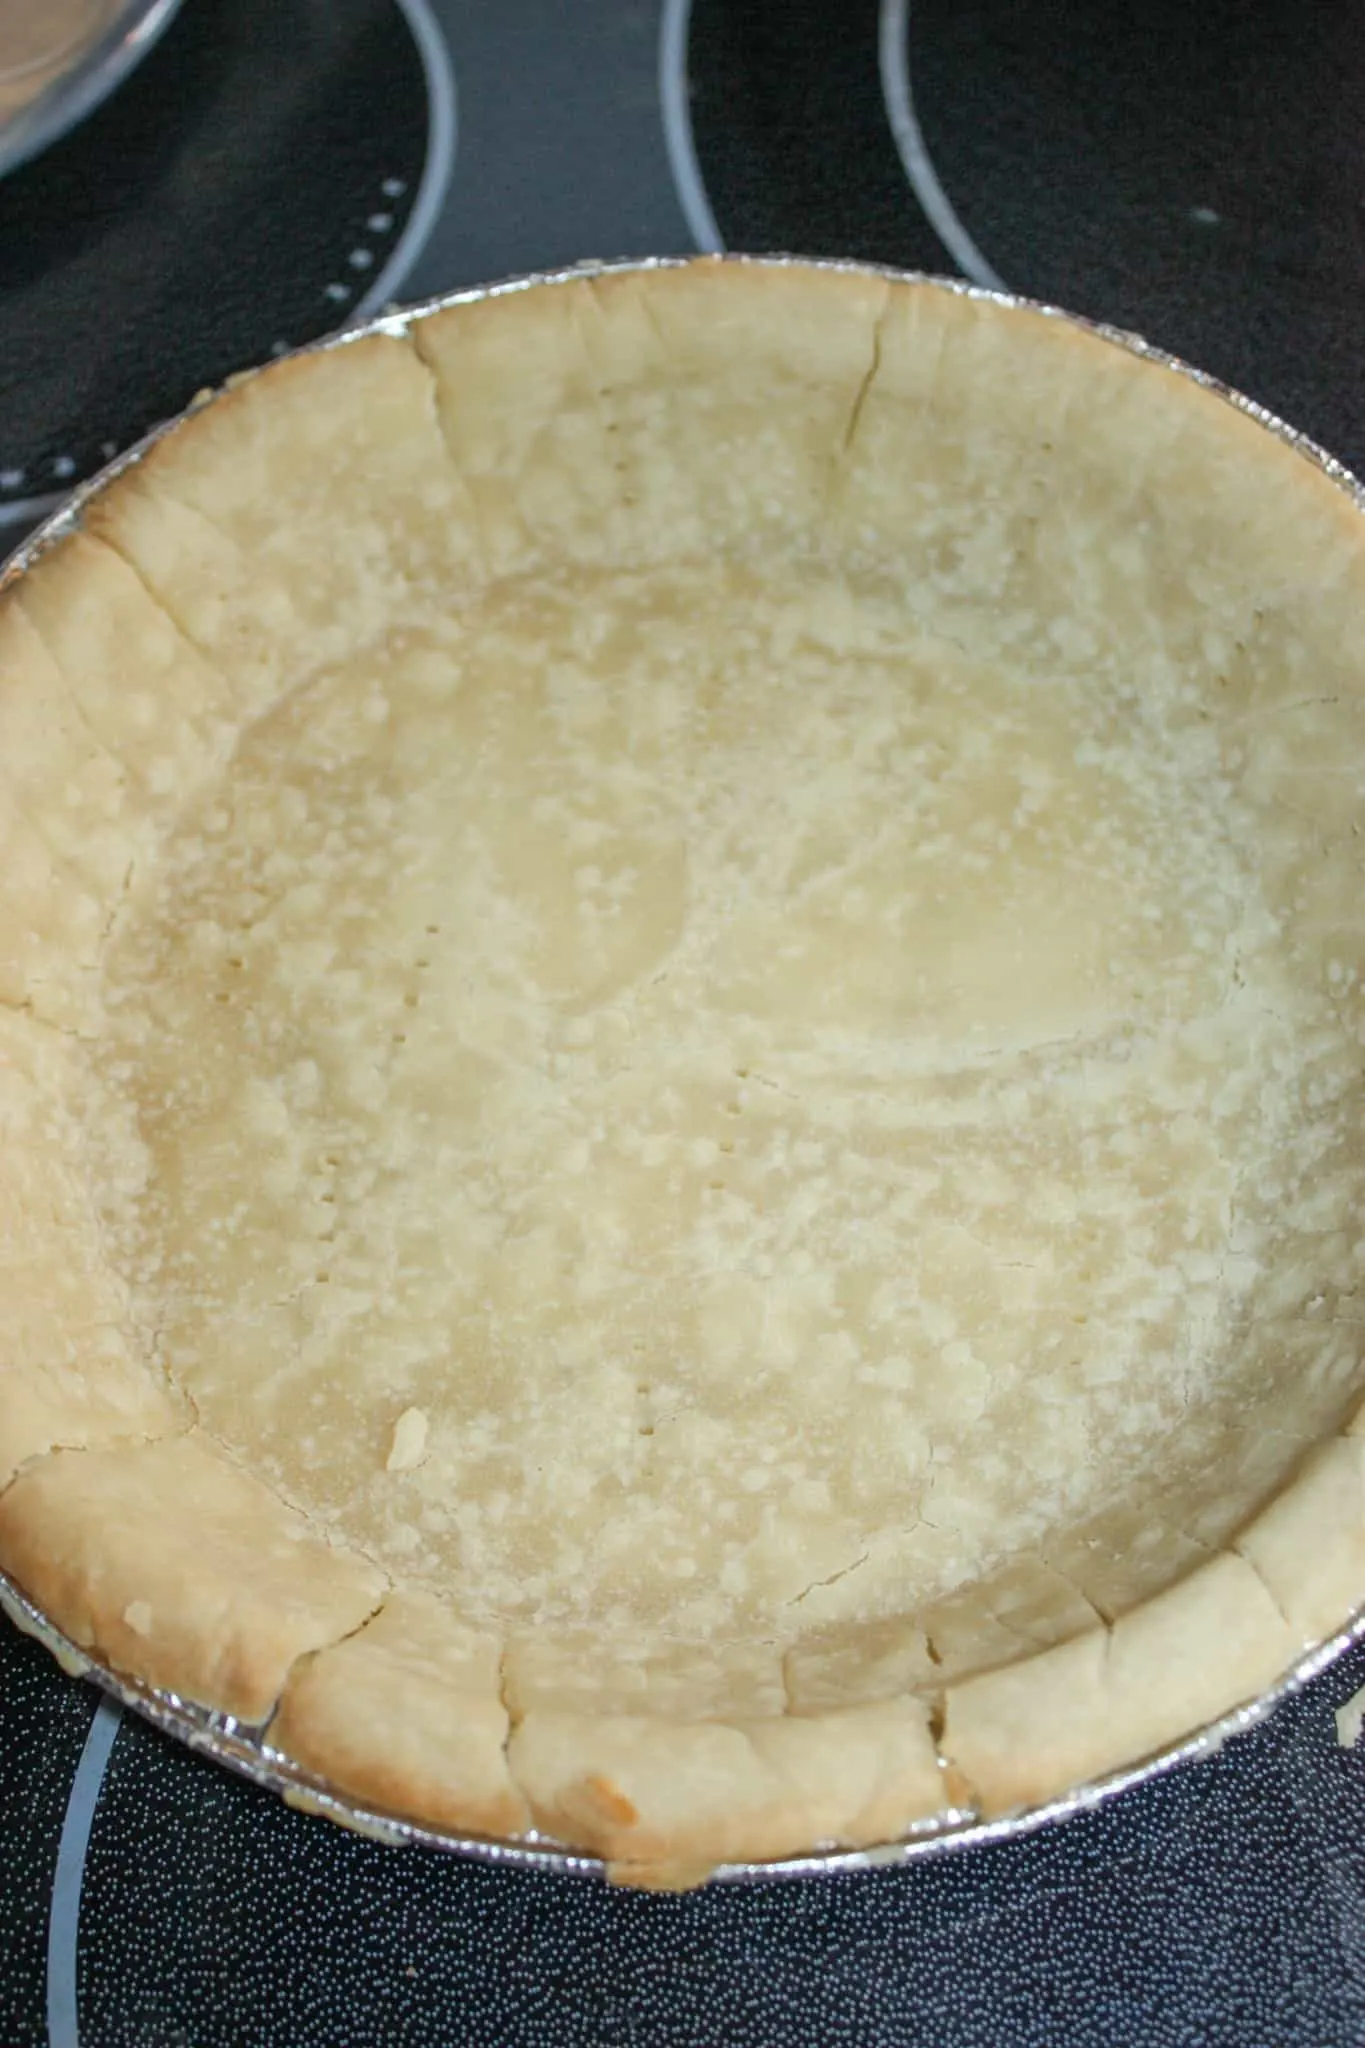
I allowed the pie shell to cool while I prepared the rest of the ingredients for the pie.

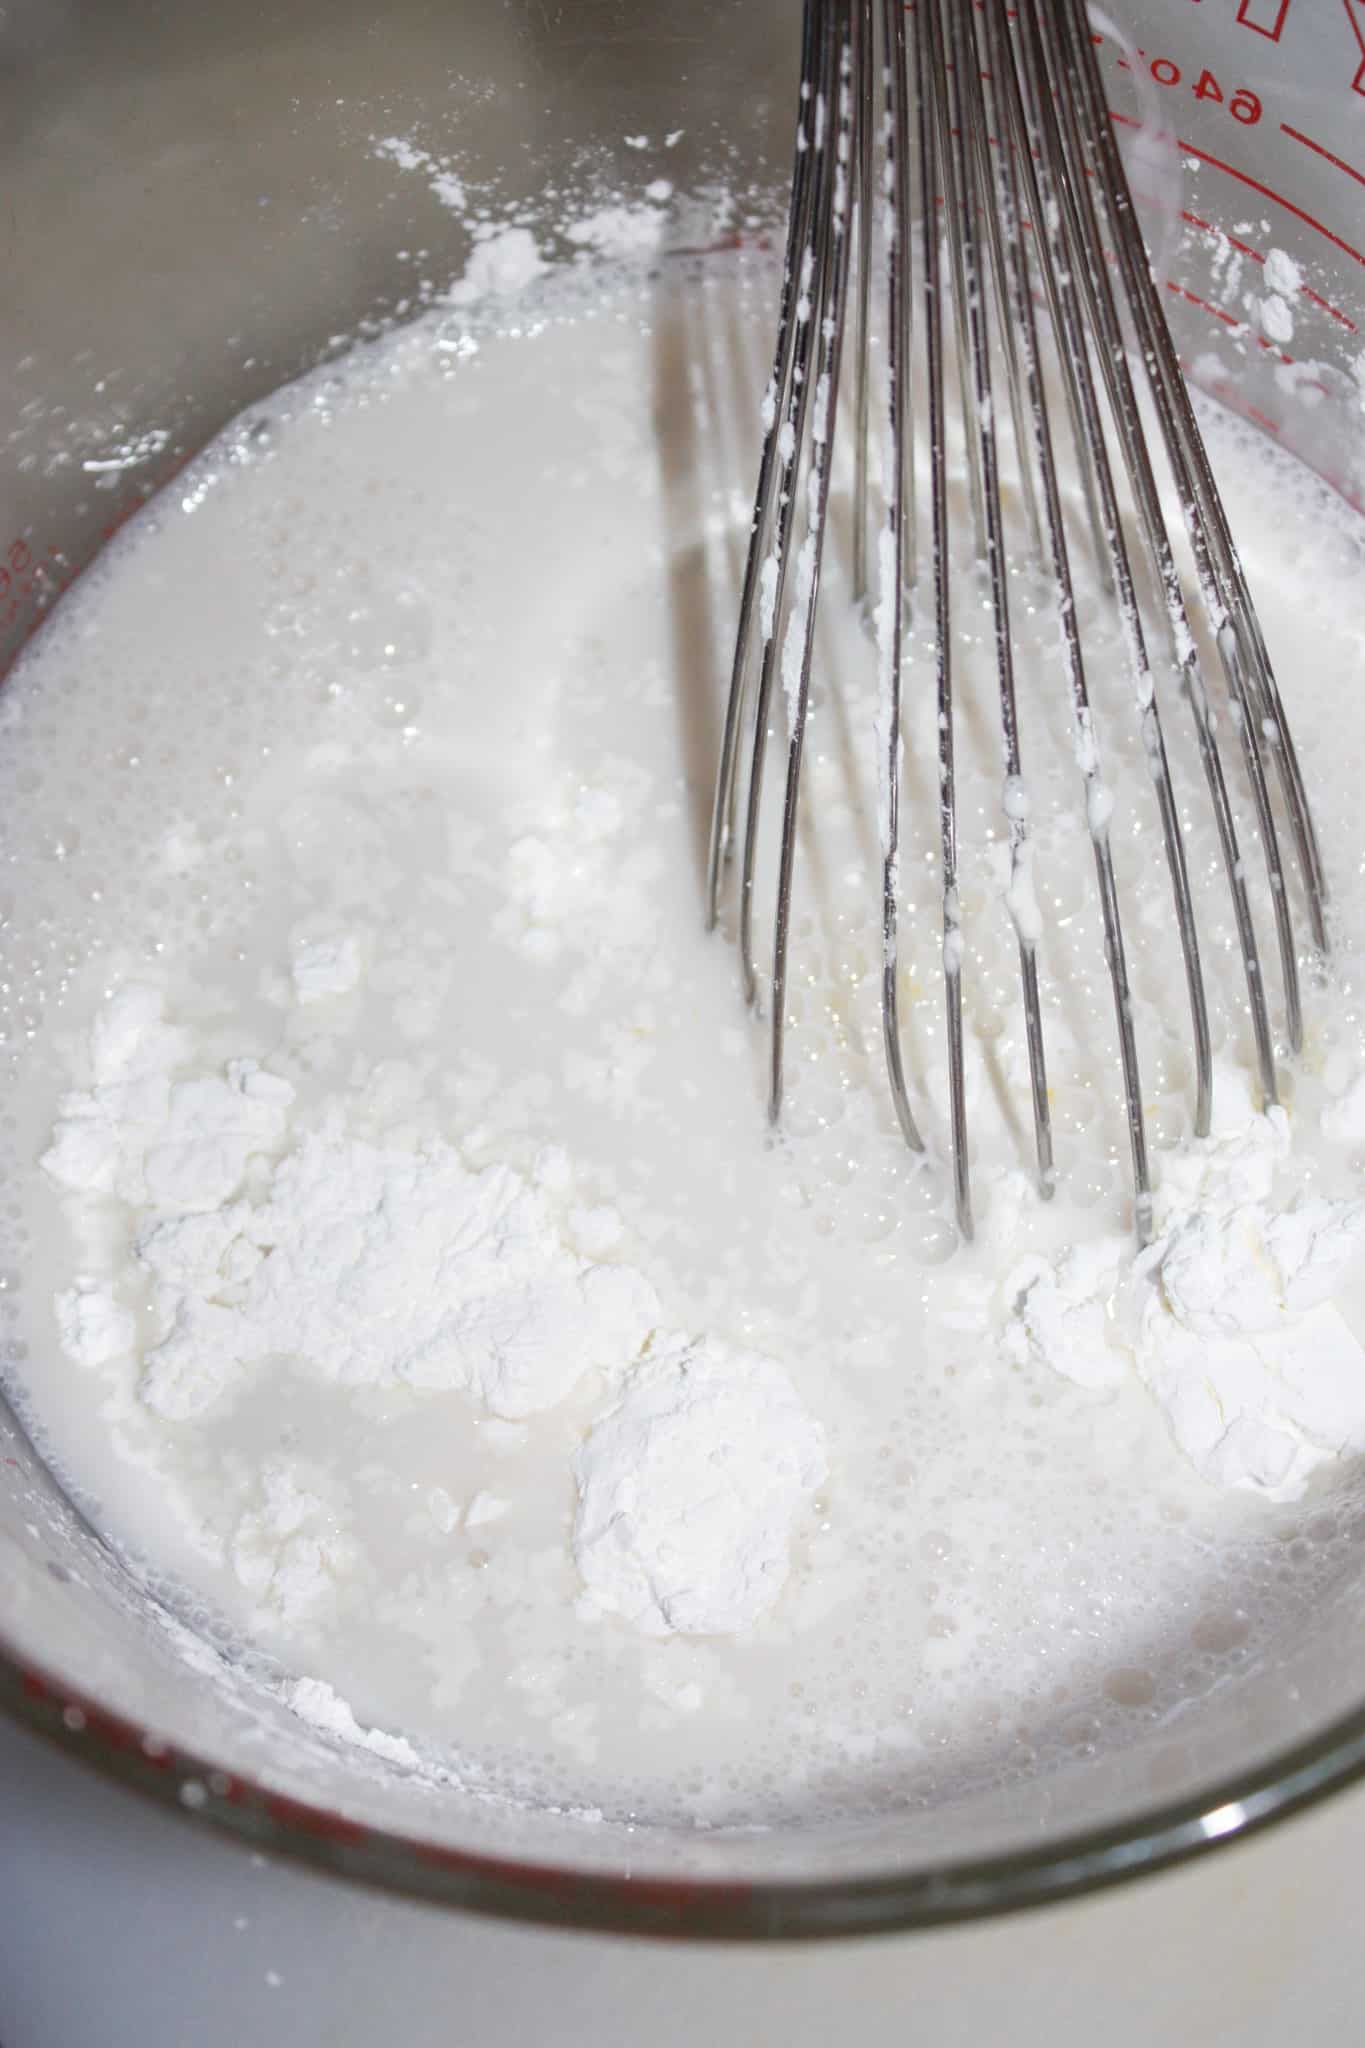
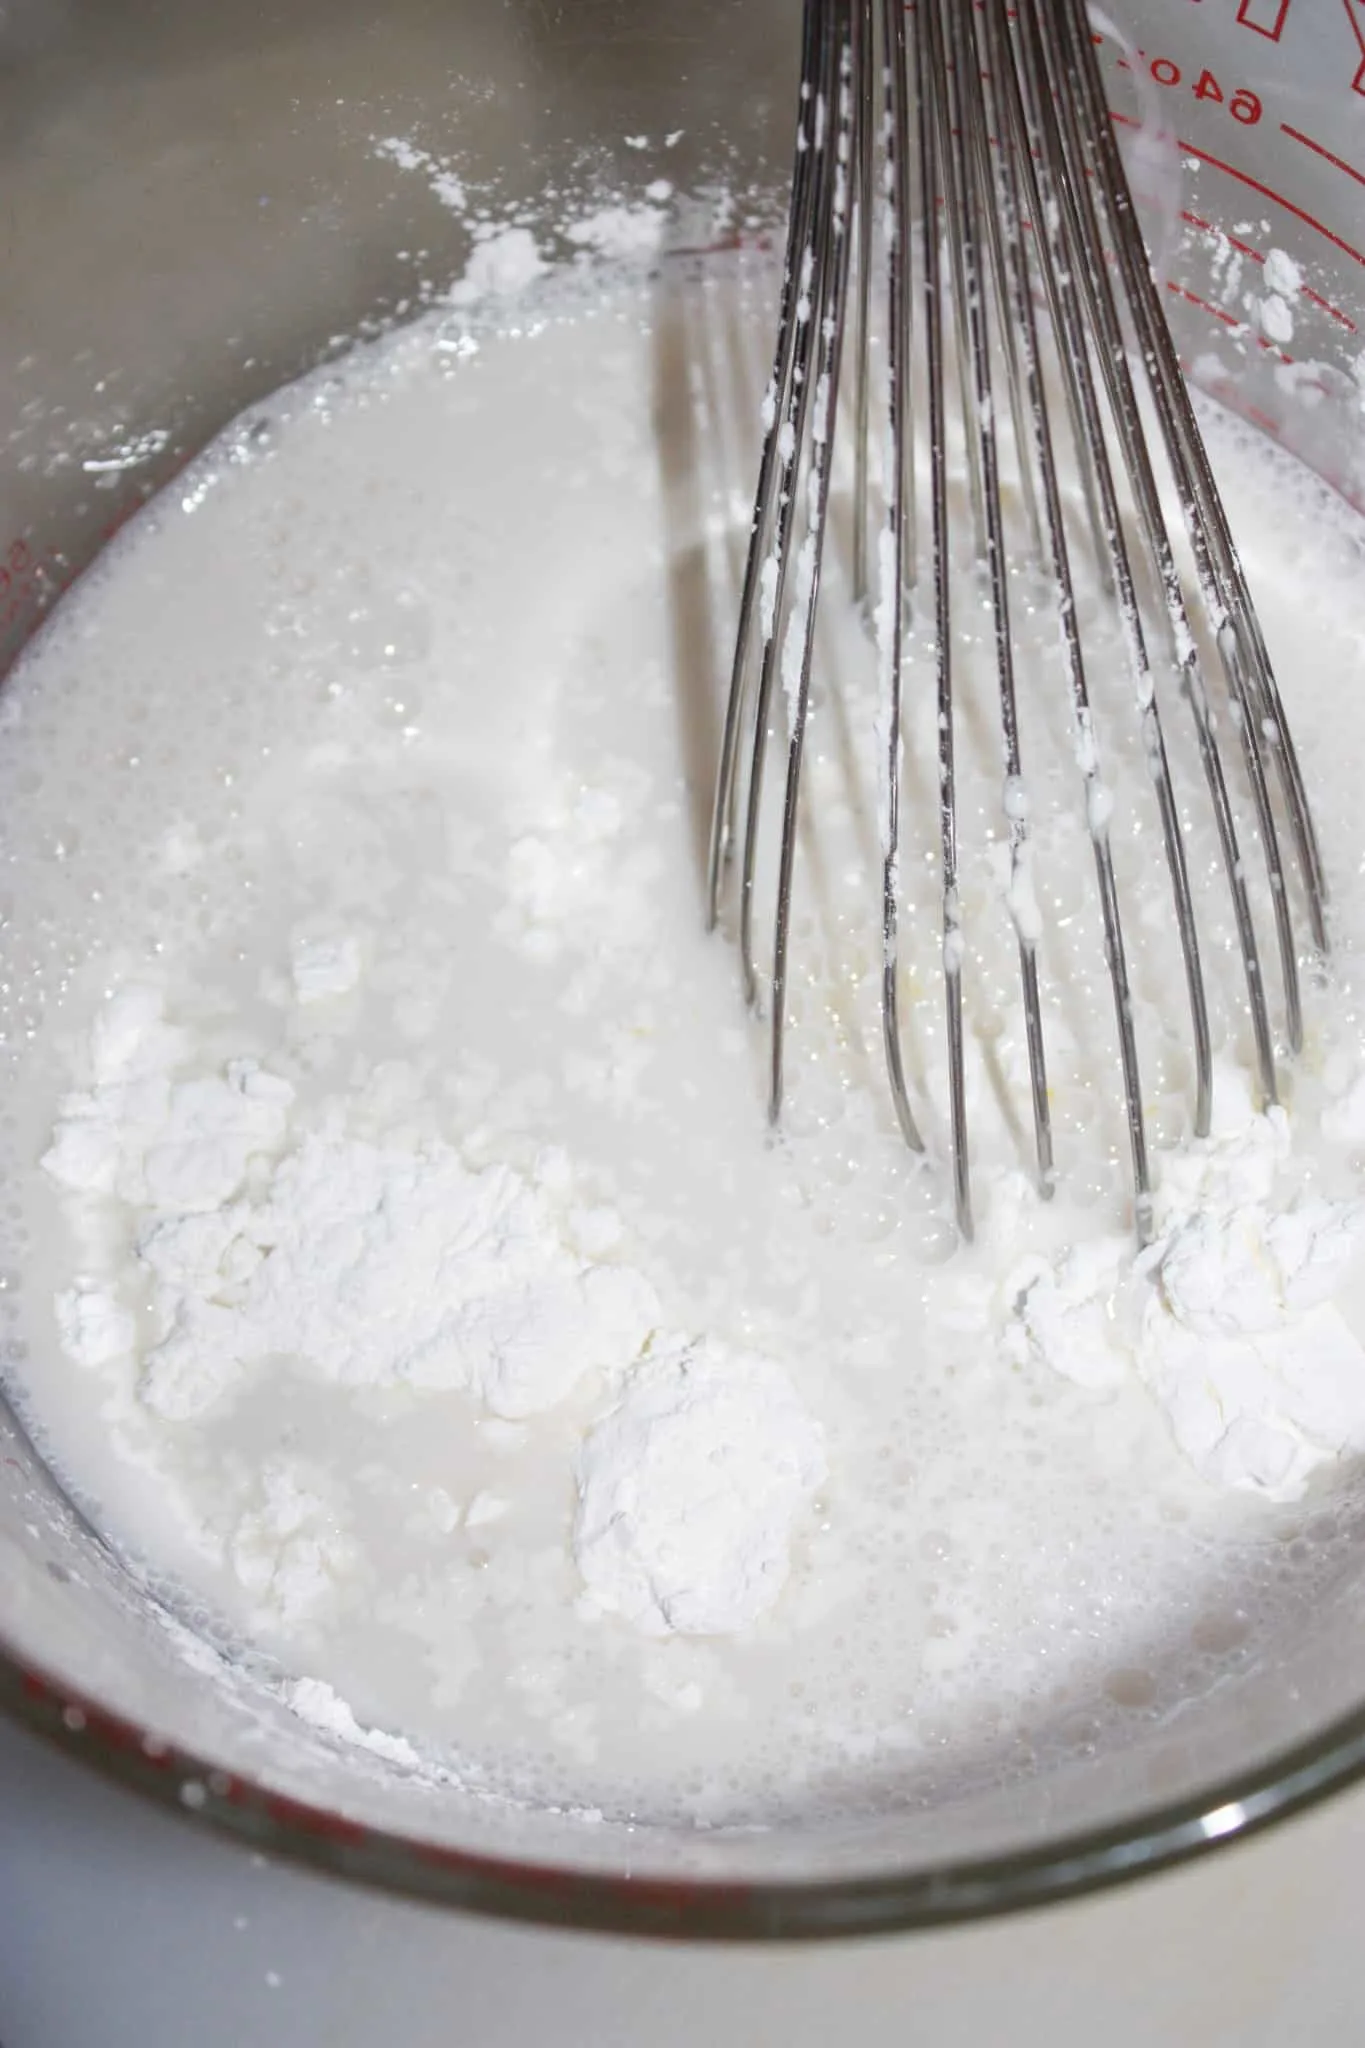
To begin making the pie filling I dumped some almond milk, granulated sugar, egg yolks and corn starch into a large microwaveable measuring cup.
Then I used a wire whisk to blend these ingredients together.
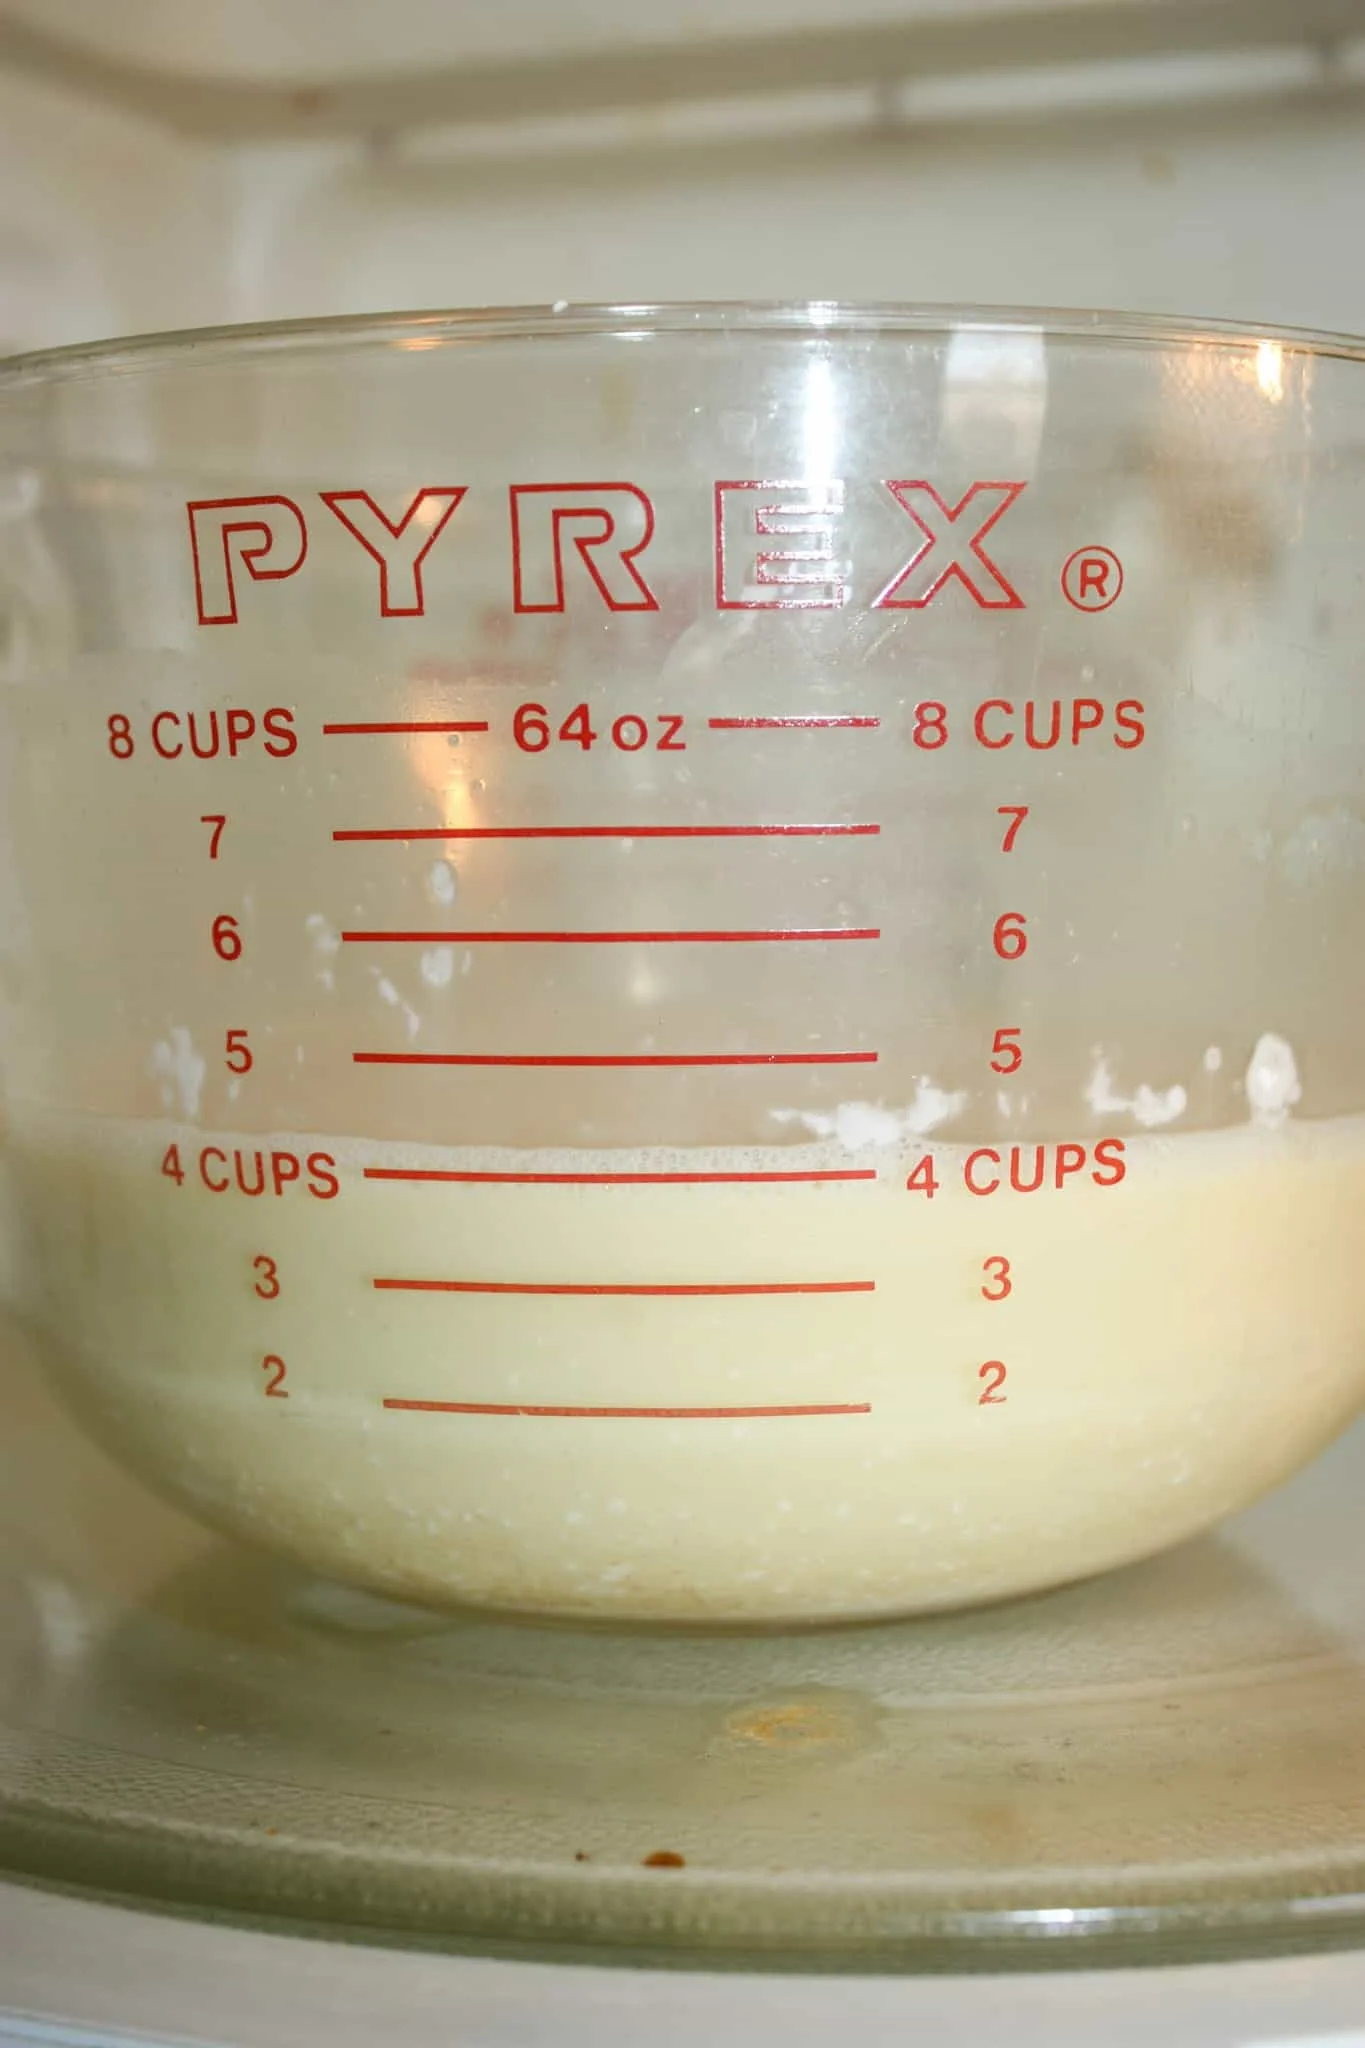
Next I put the measuring cup into the microwave on High Power for 4 – 6 minutes, stirring every two minutes.

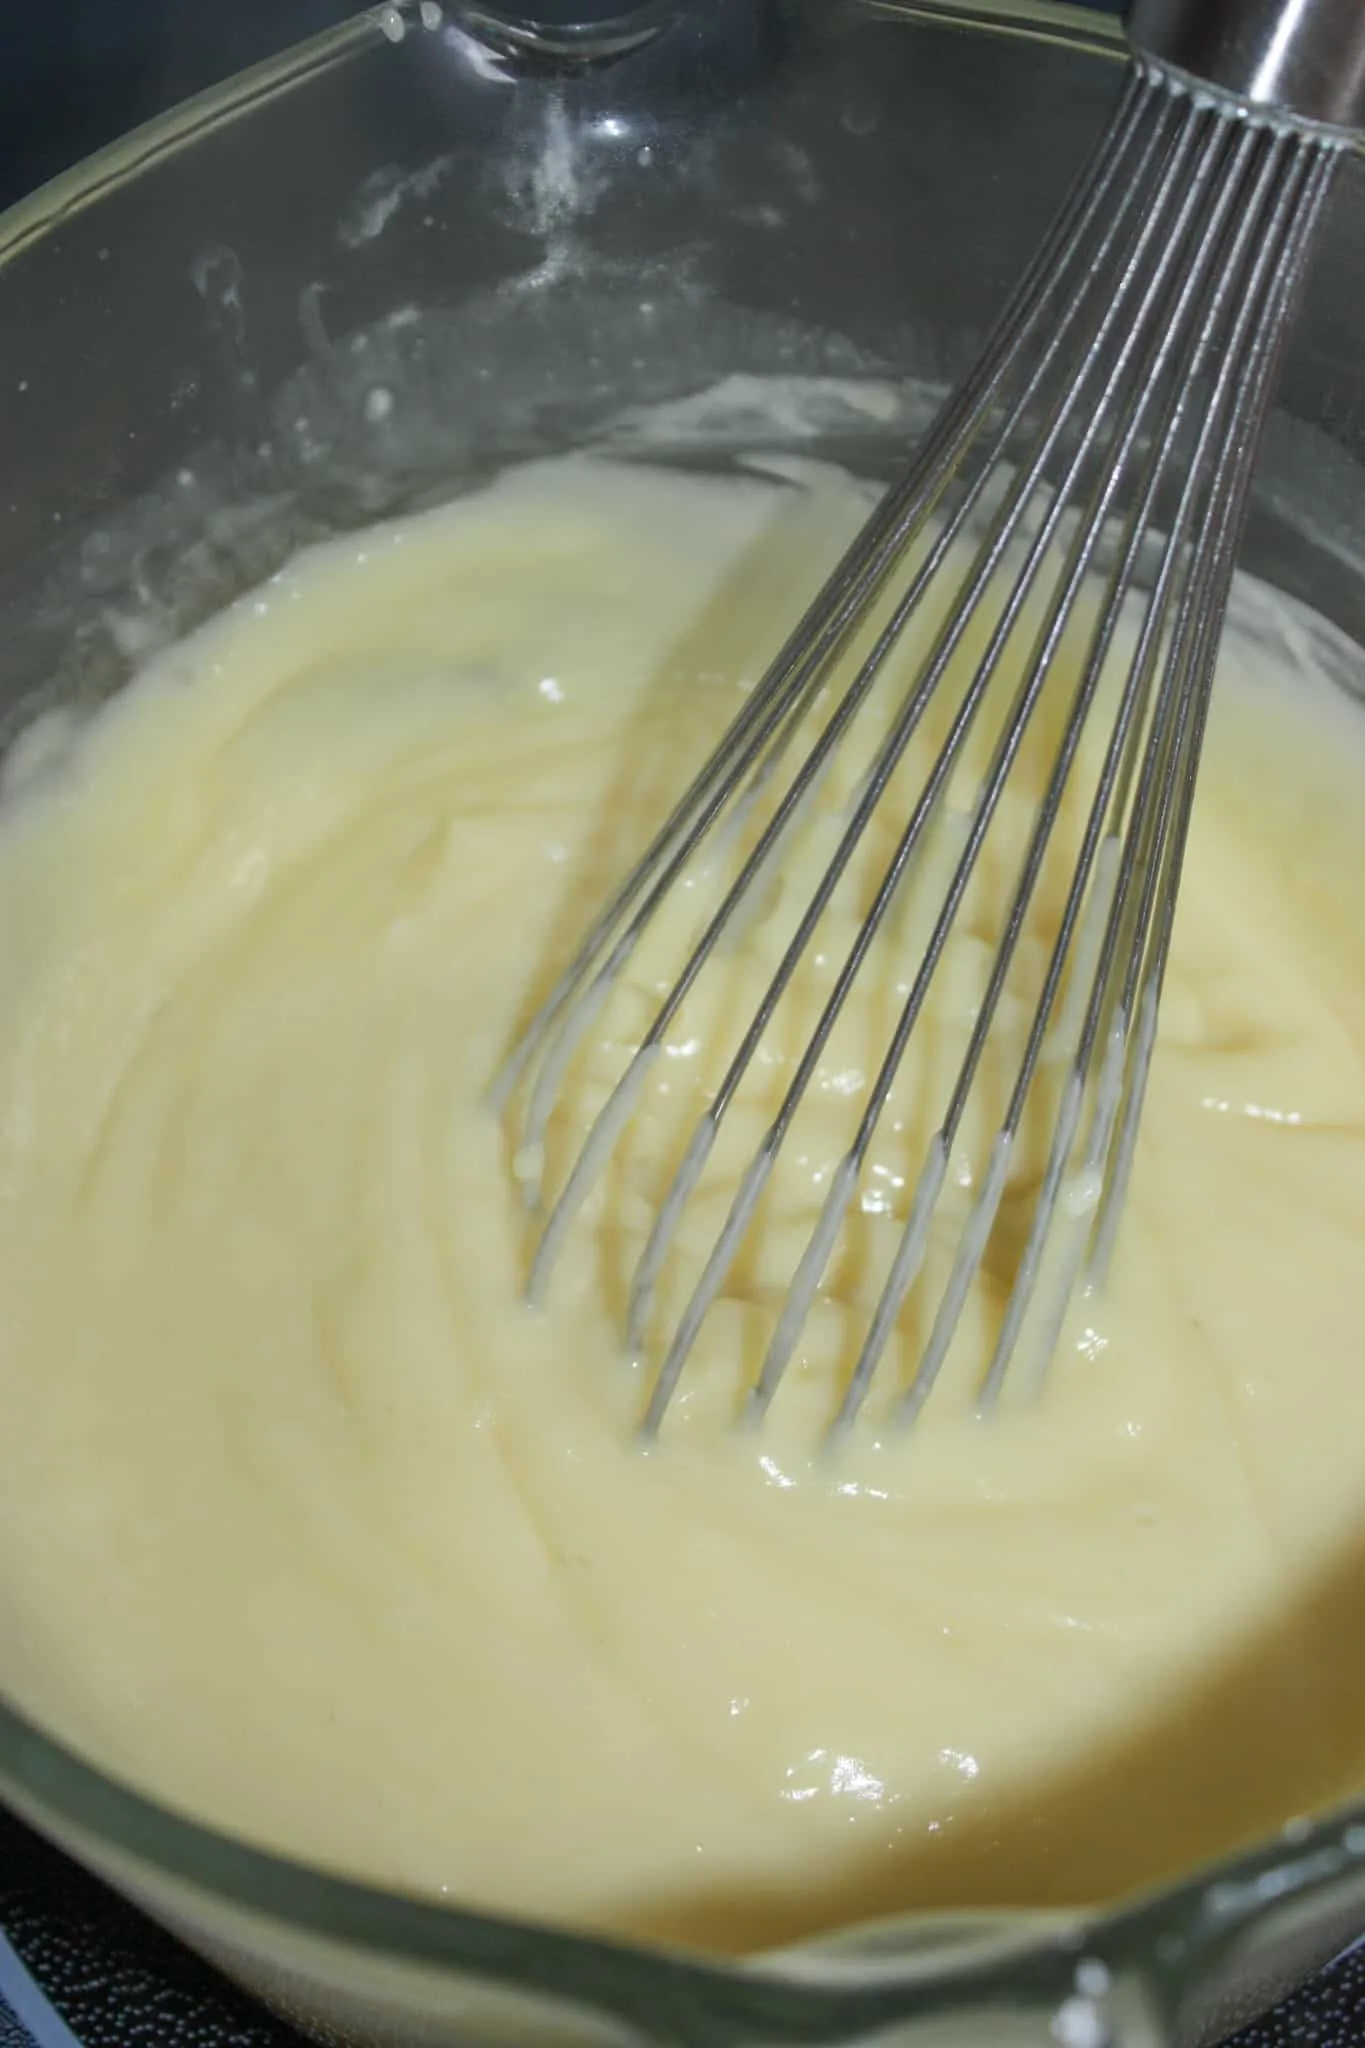
The pudding was ready once it boiled and thickened.
After removing it from the microwave I stirred in some banana extract. Sometimes I use vanilla extract. You can use either one. Stir twice while it cools for about ten minutes.

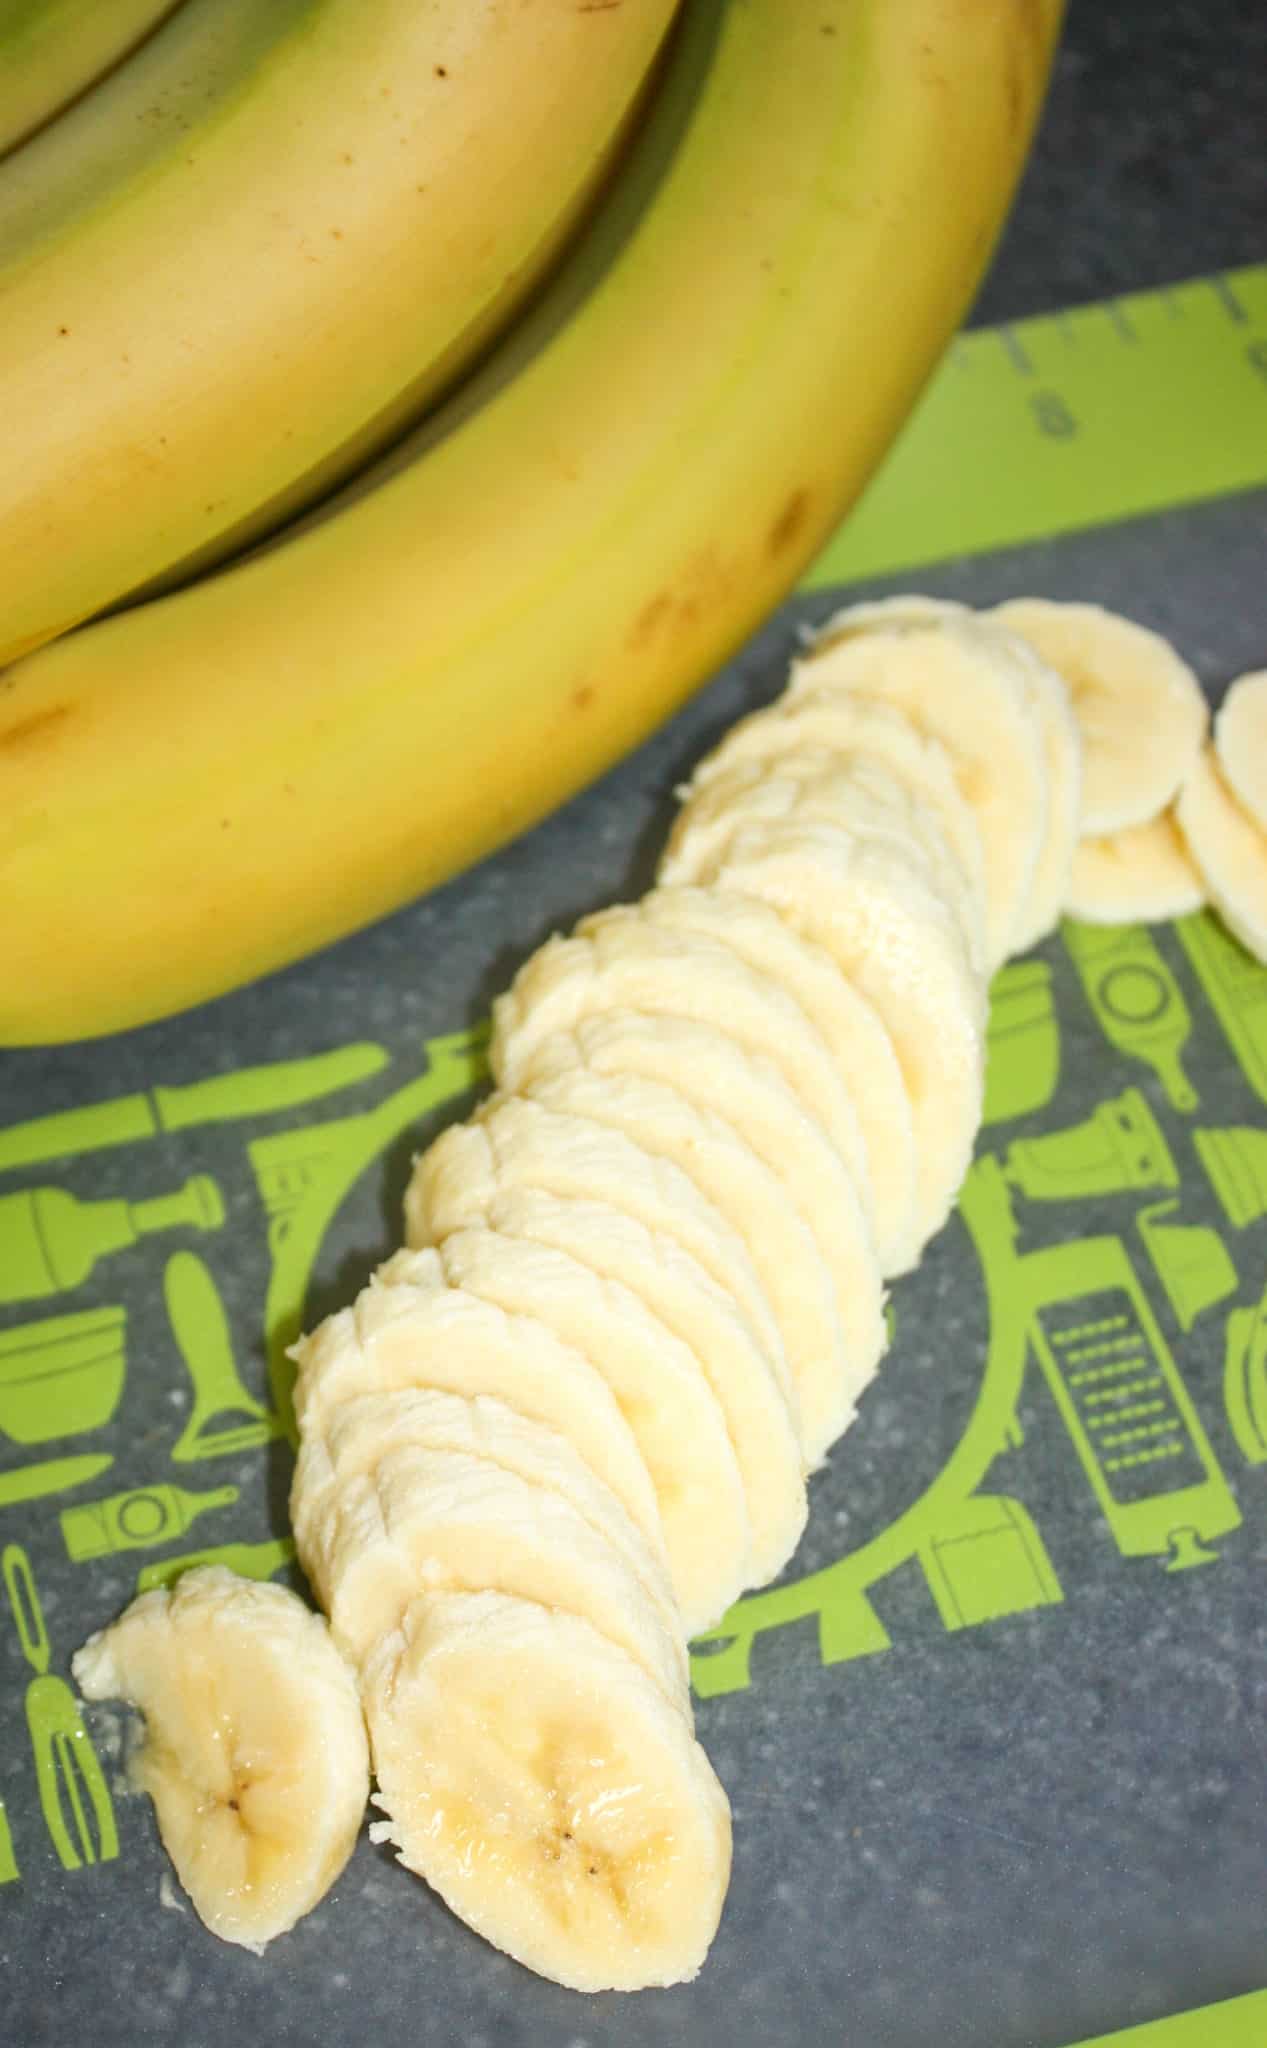
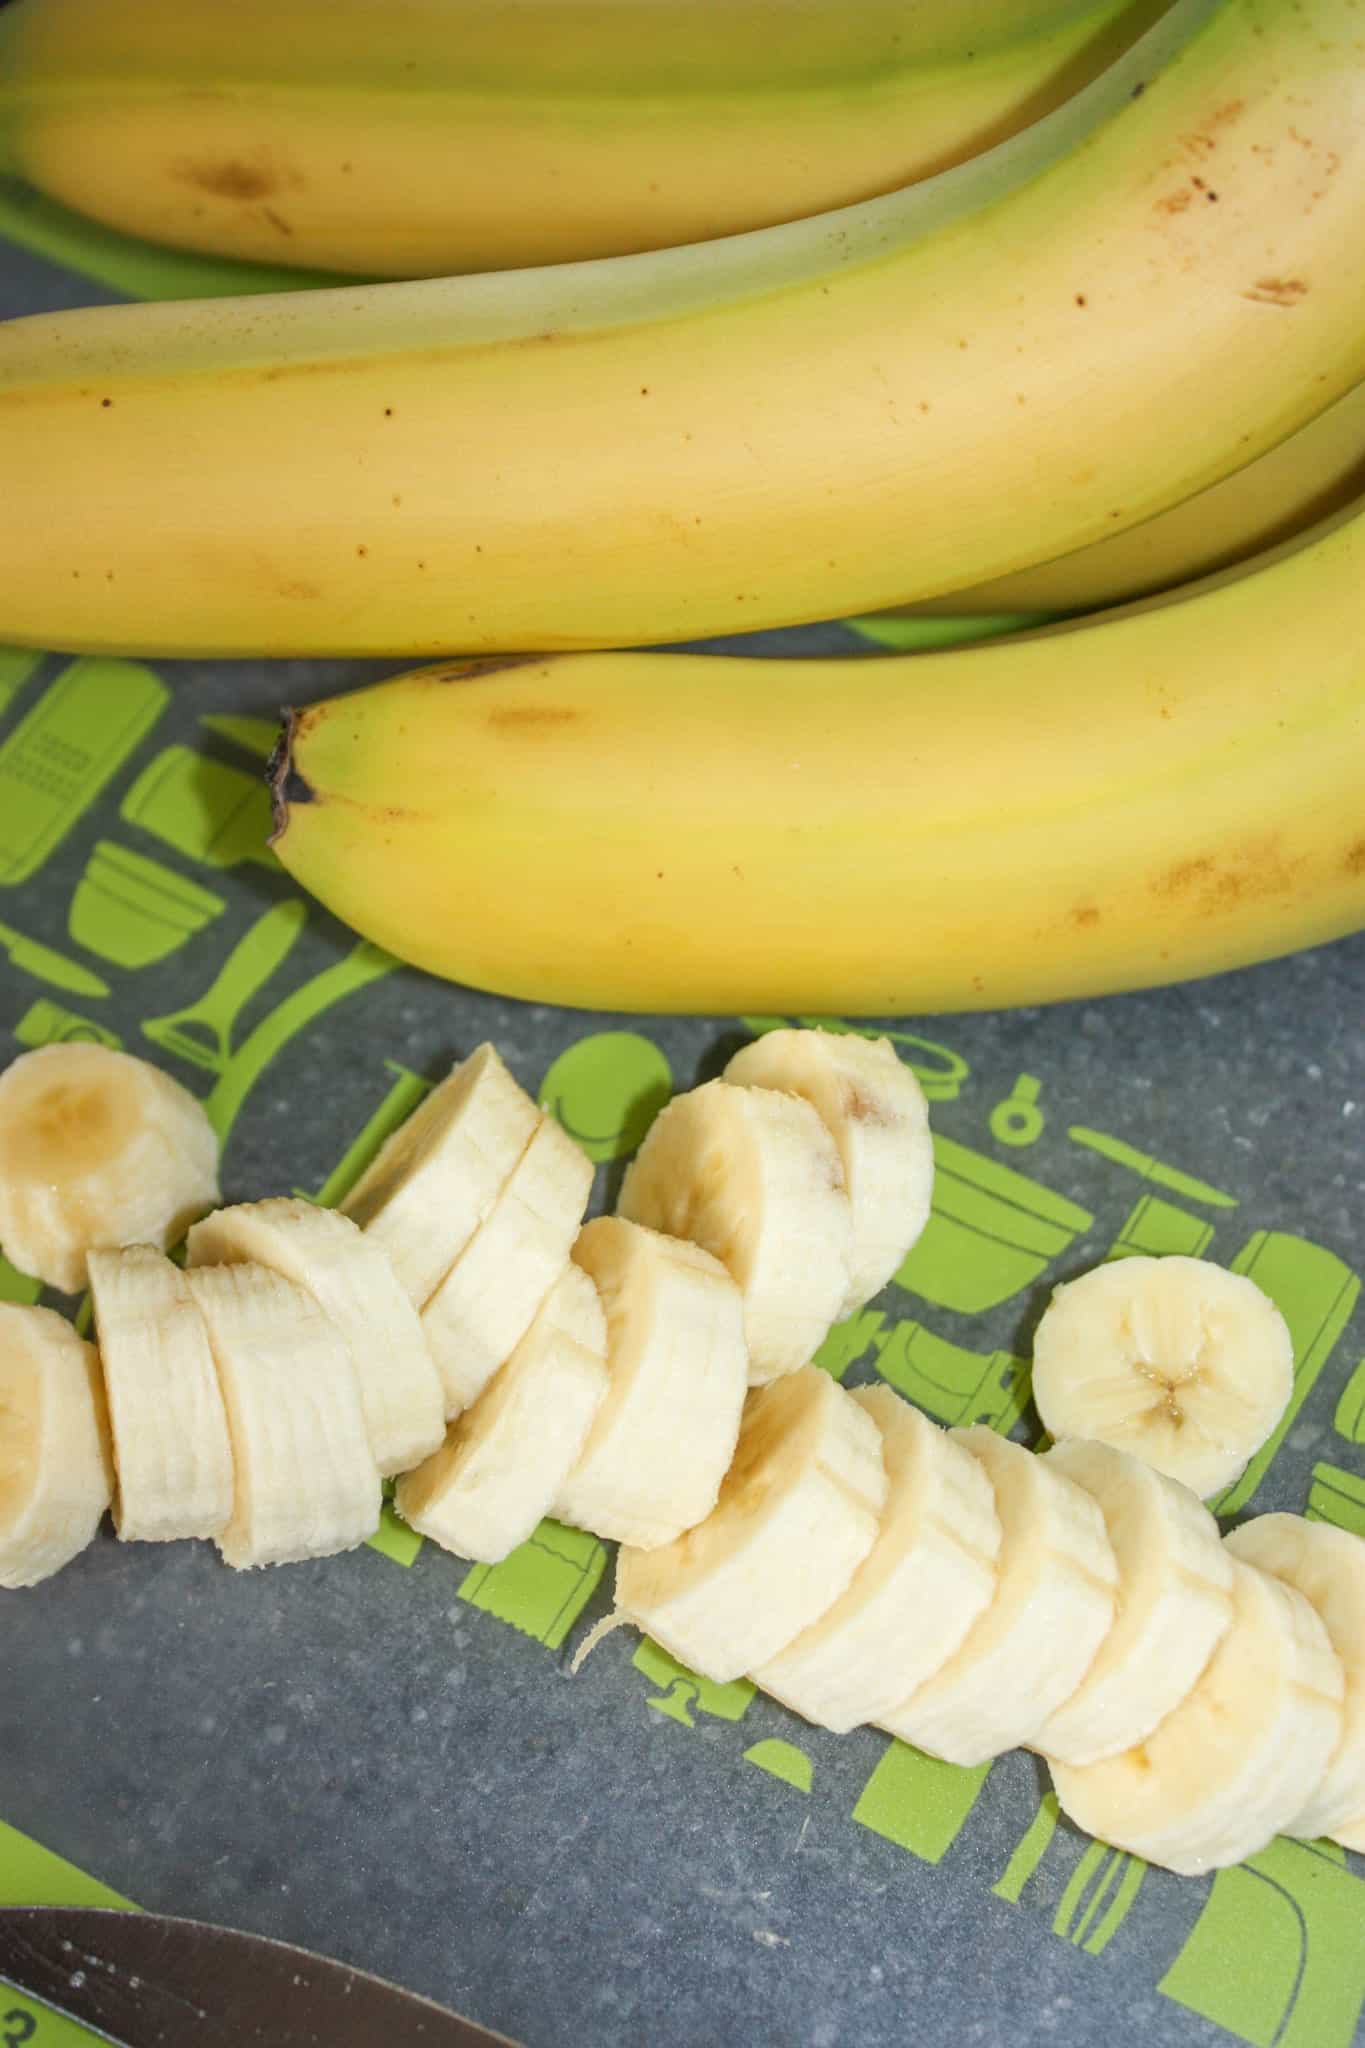
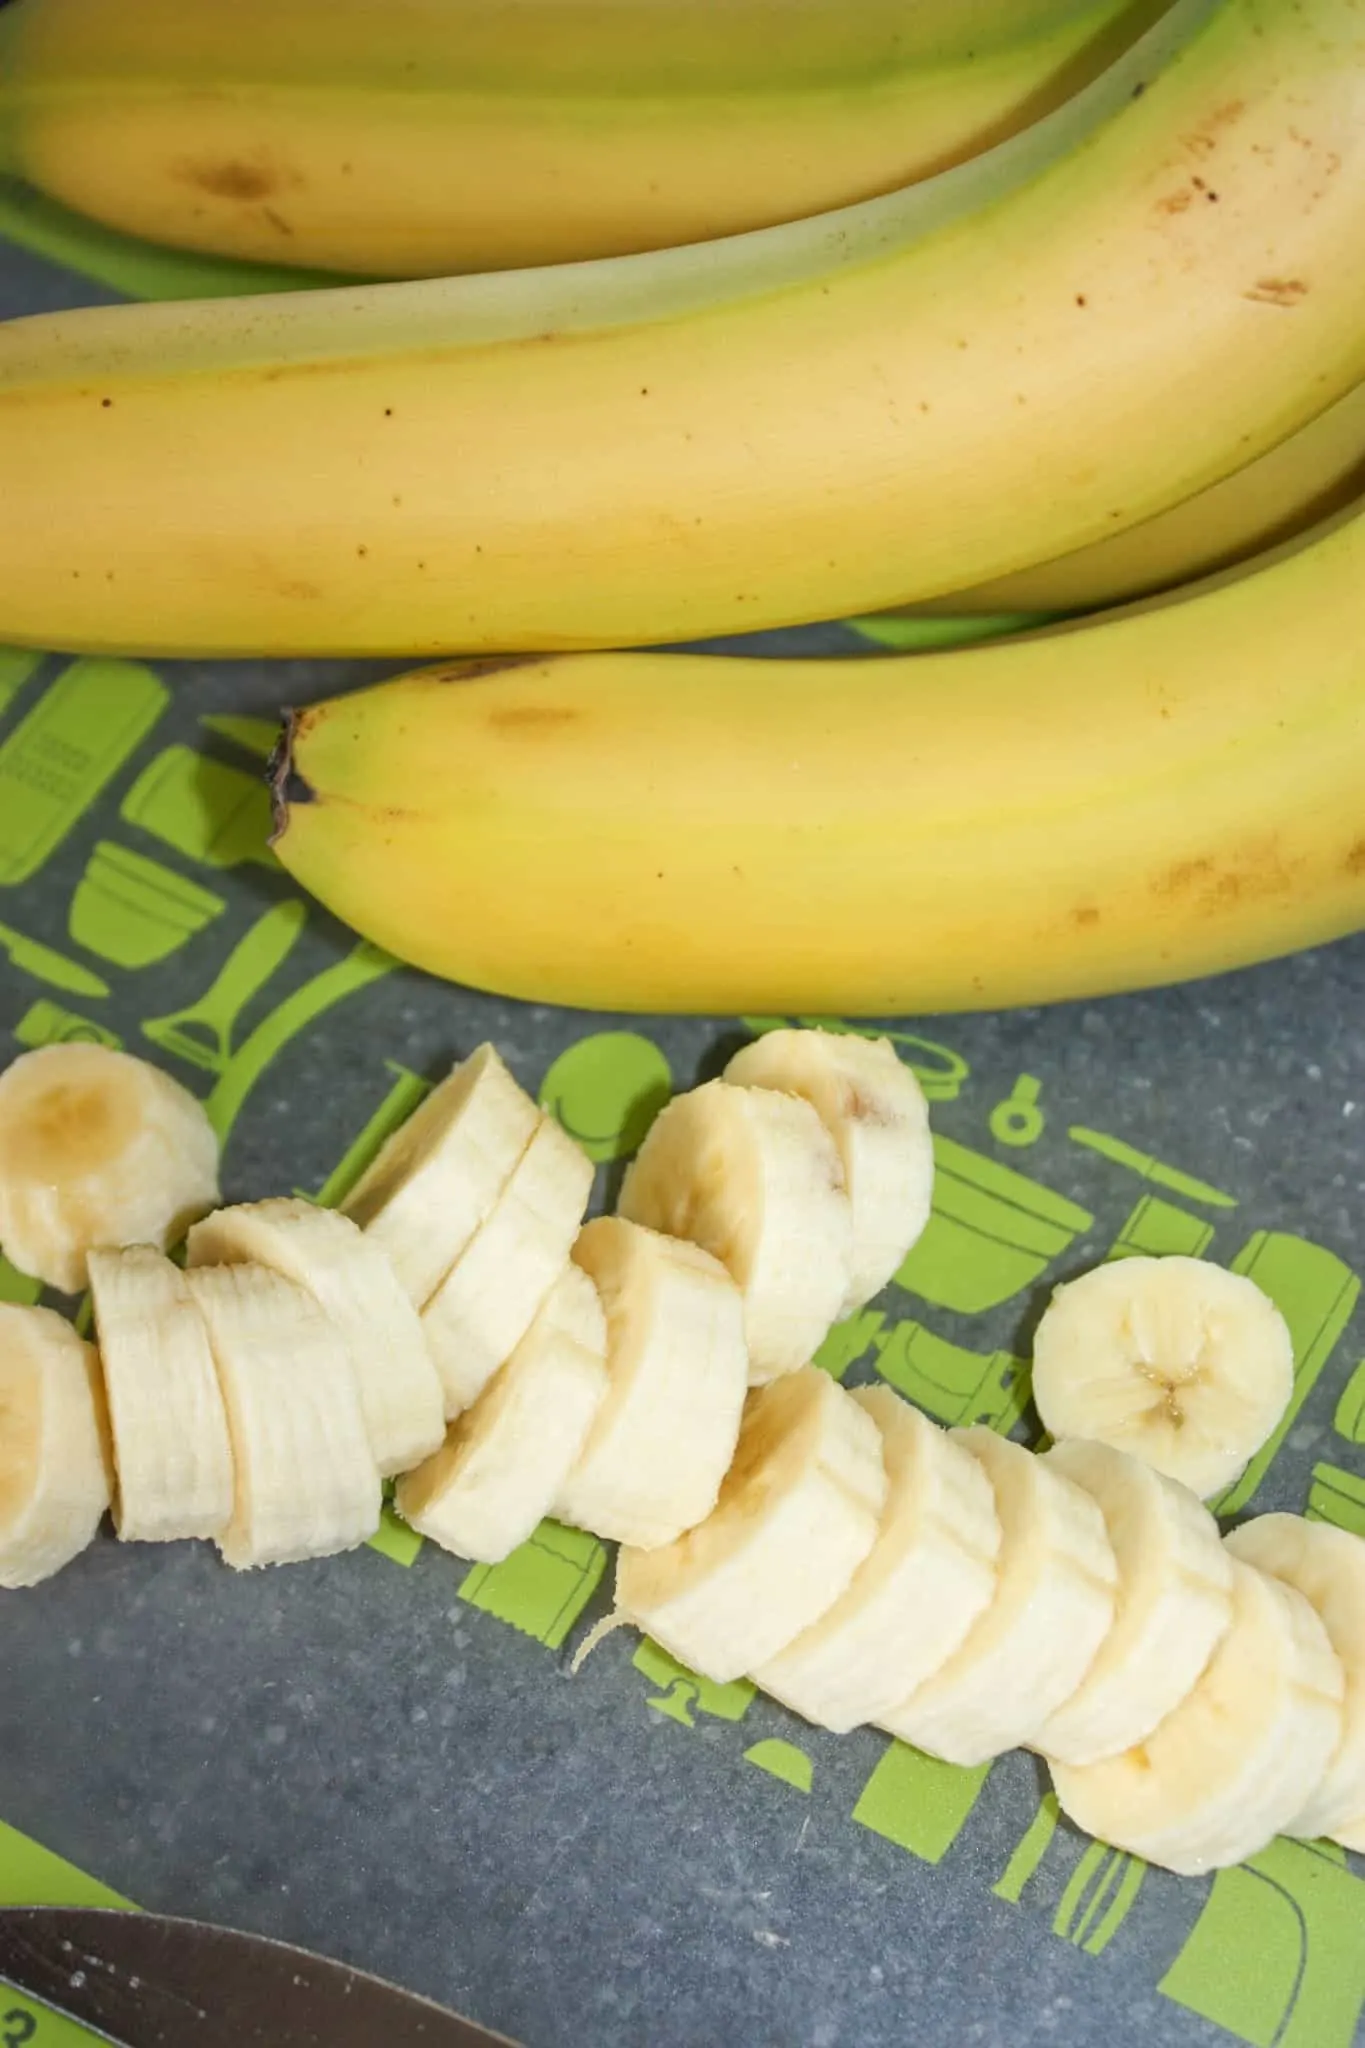
While the pudding was cooling slightly, I sliced up one large banana. You need enough slices to cover the bottom of the pie shell.

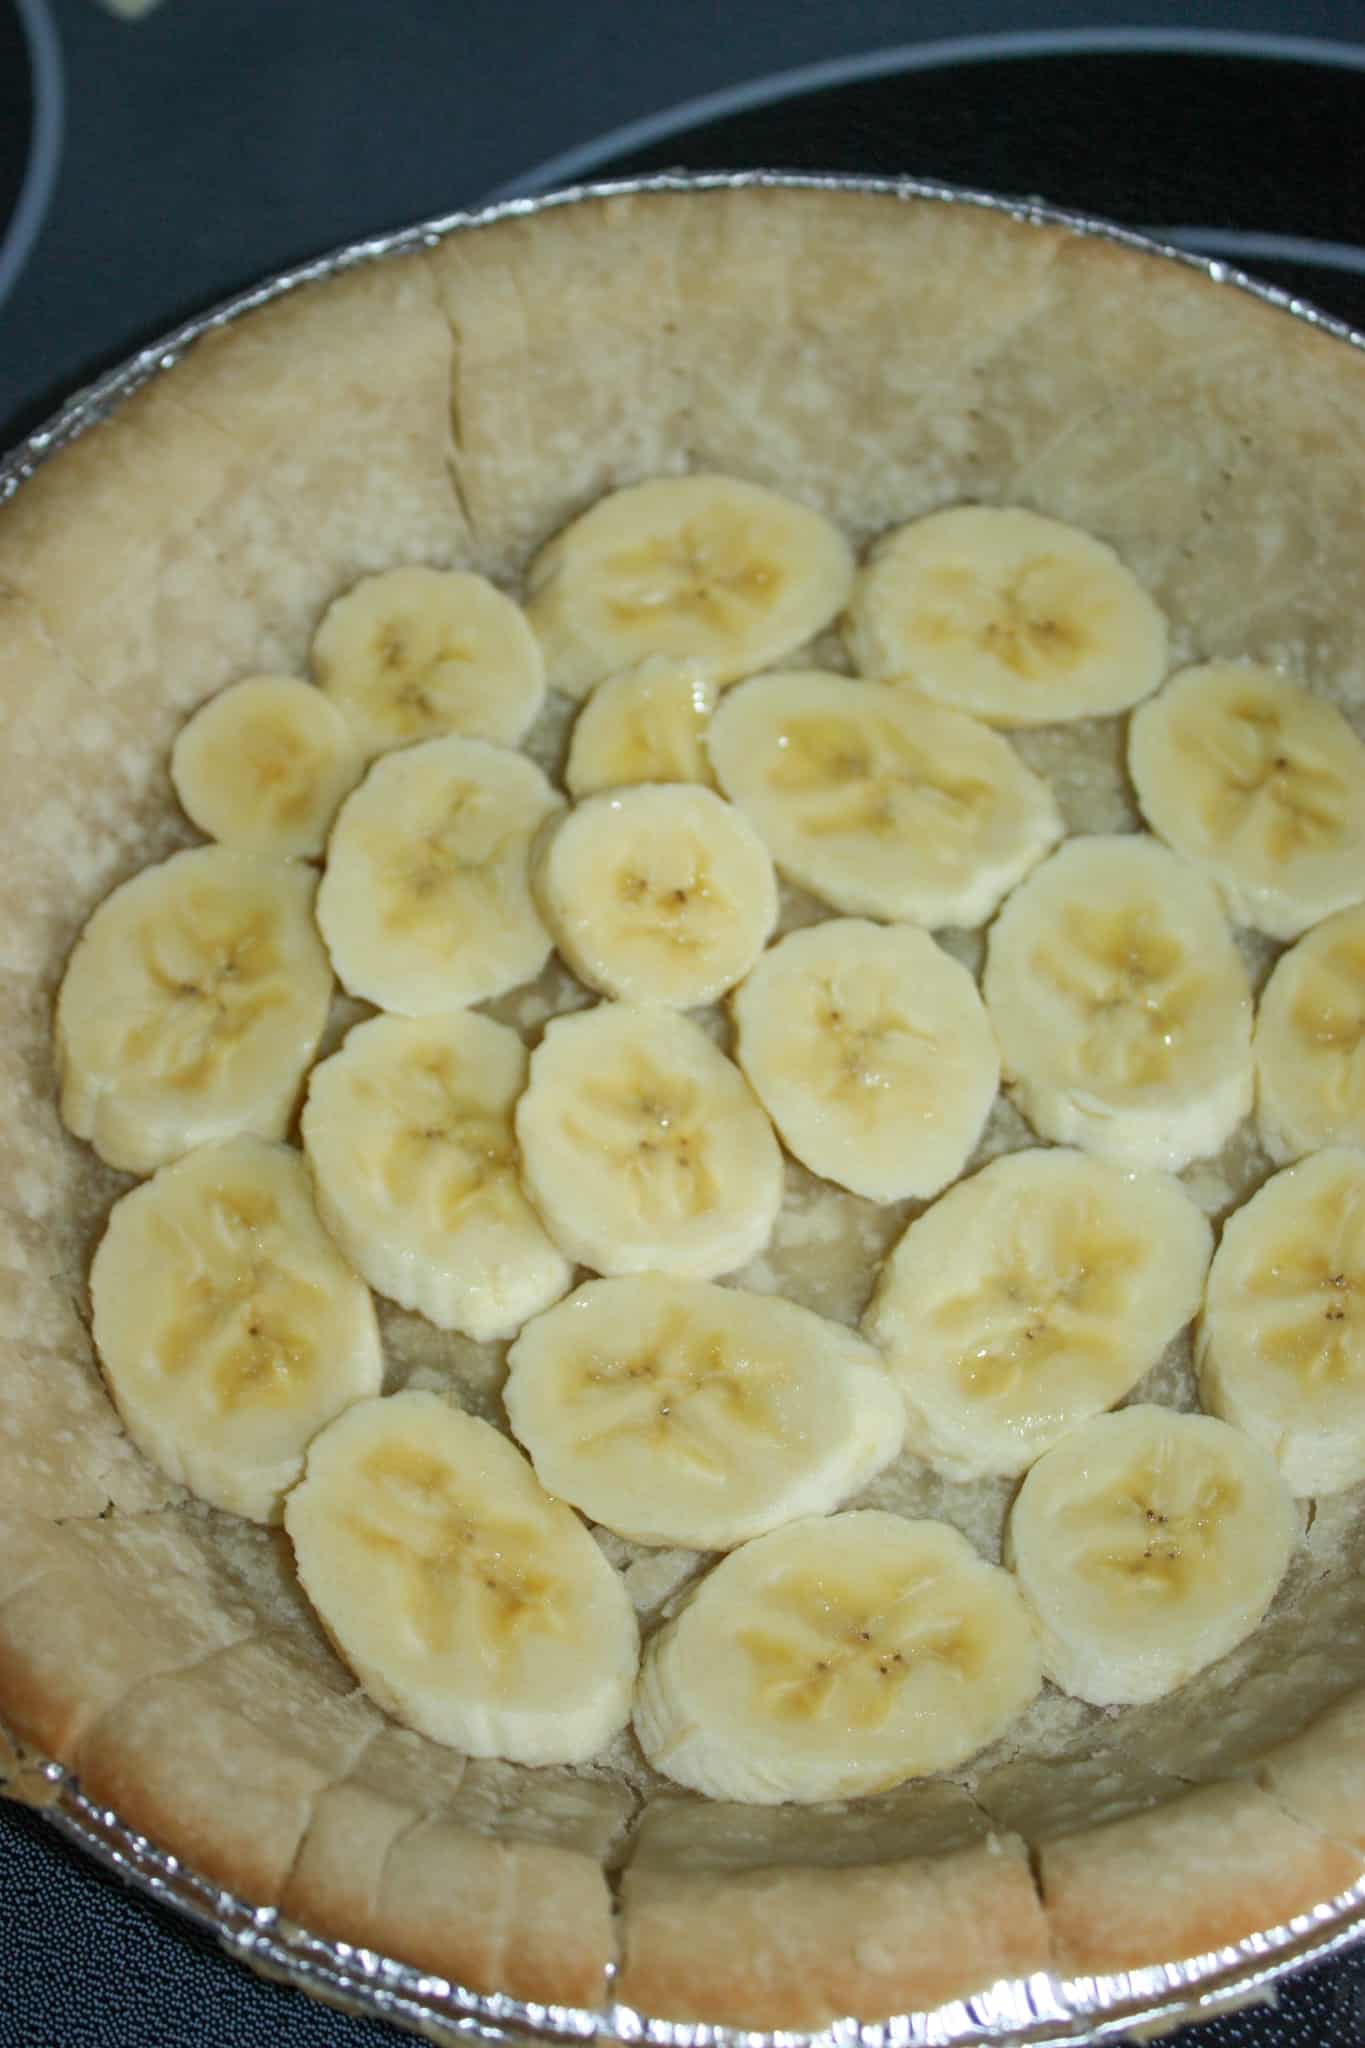
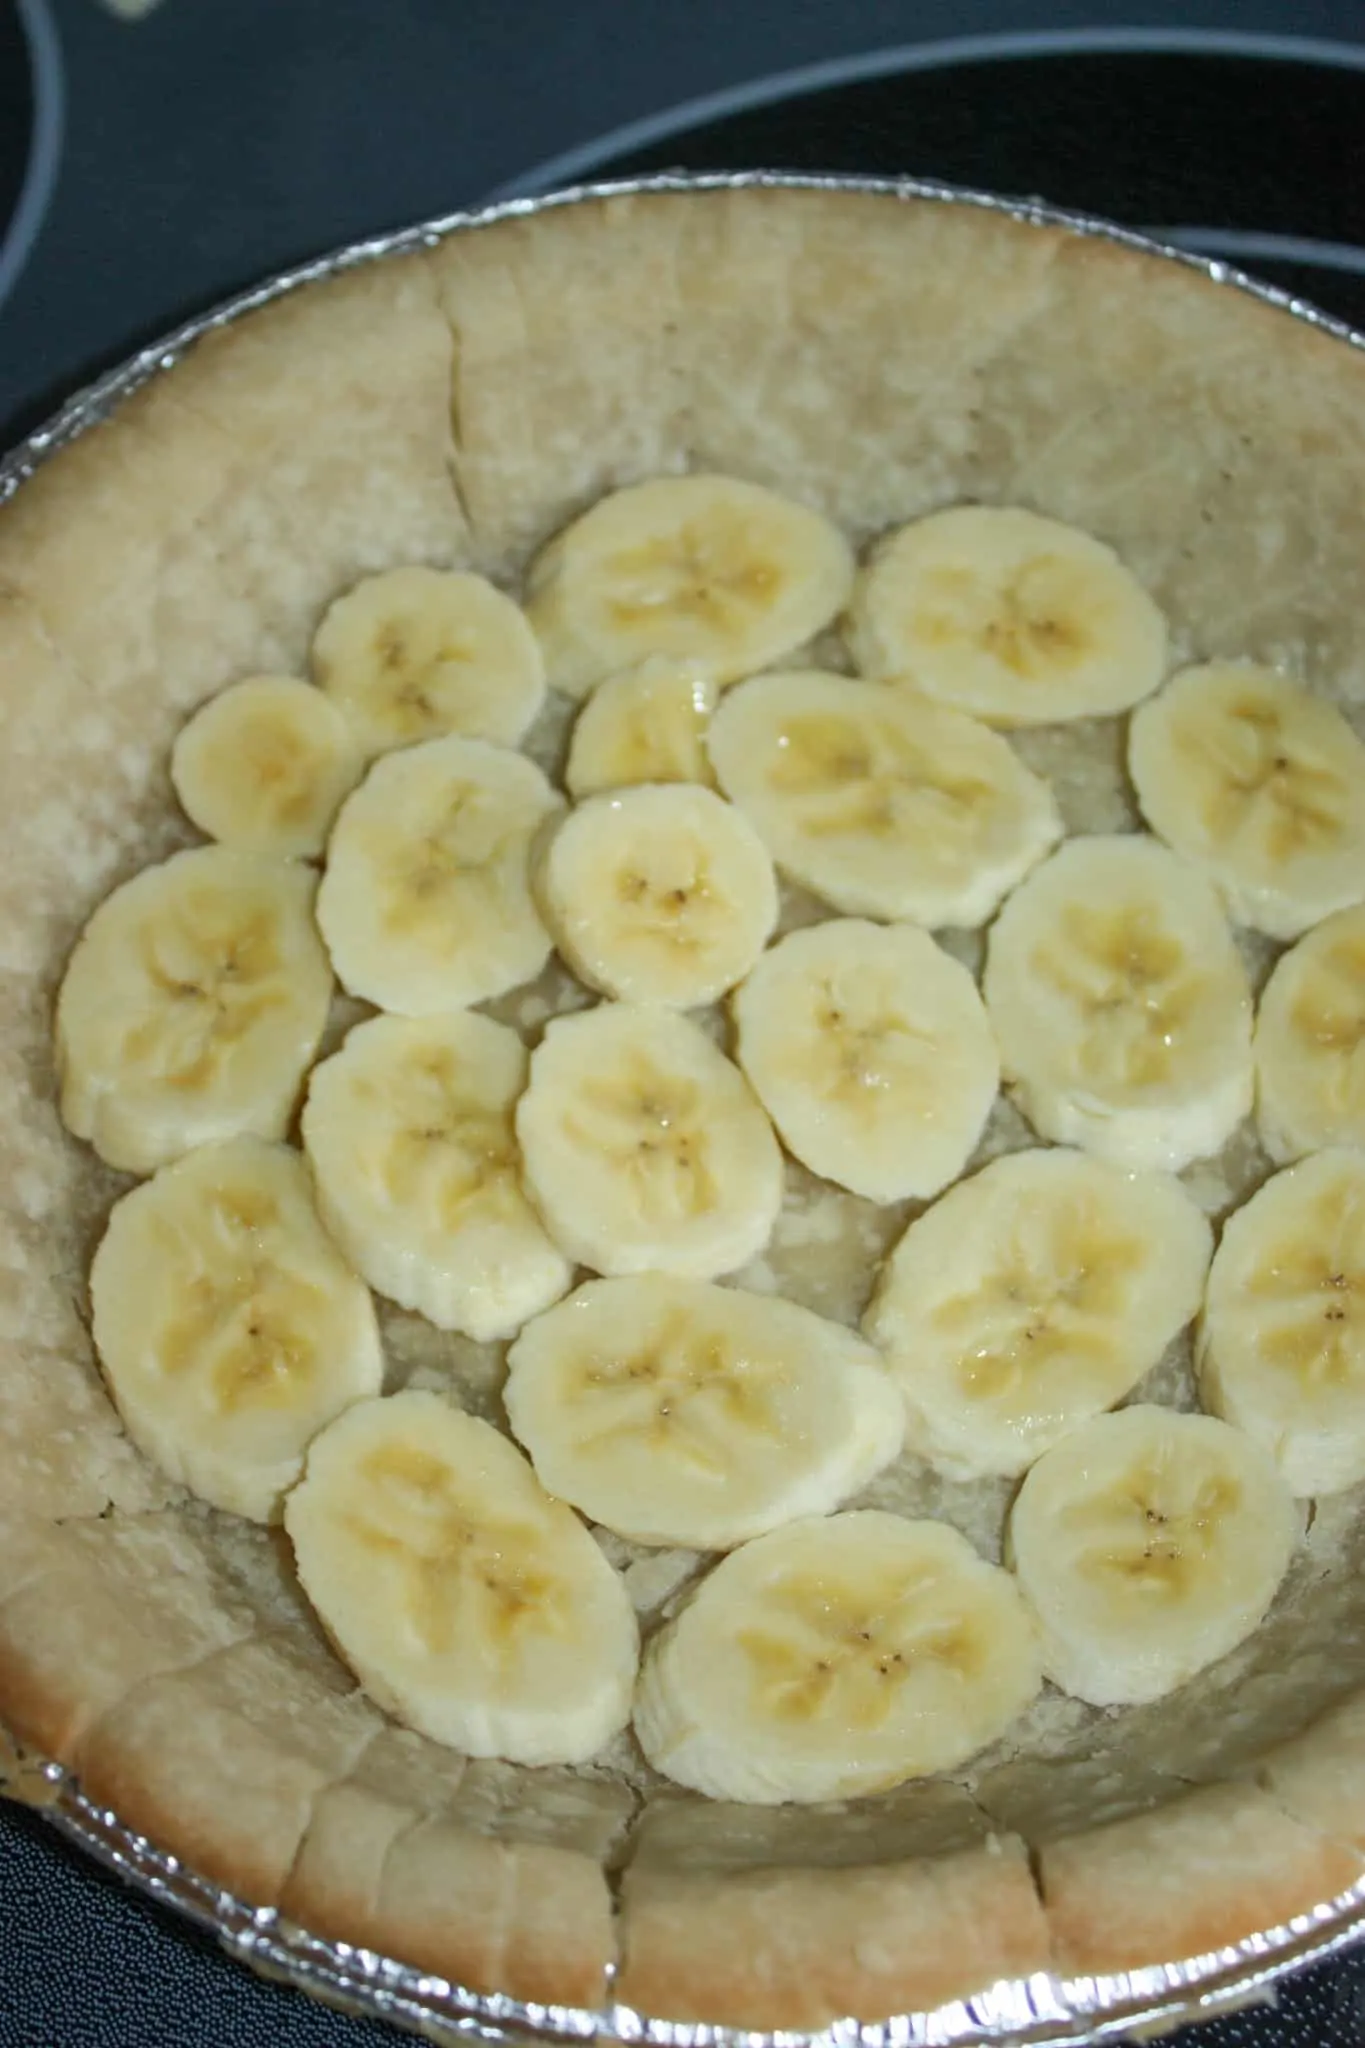
Then I arranged the banana slices in a single layer in the cooled pie shell.
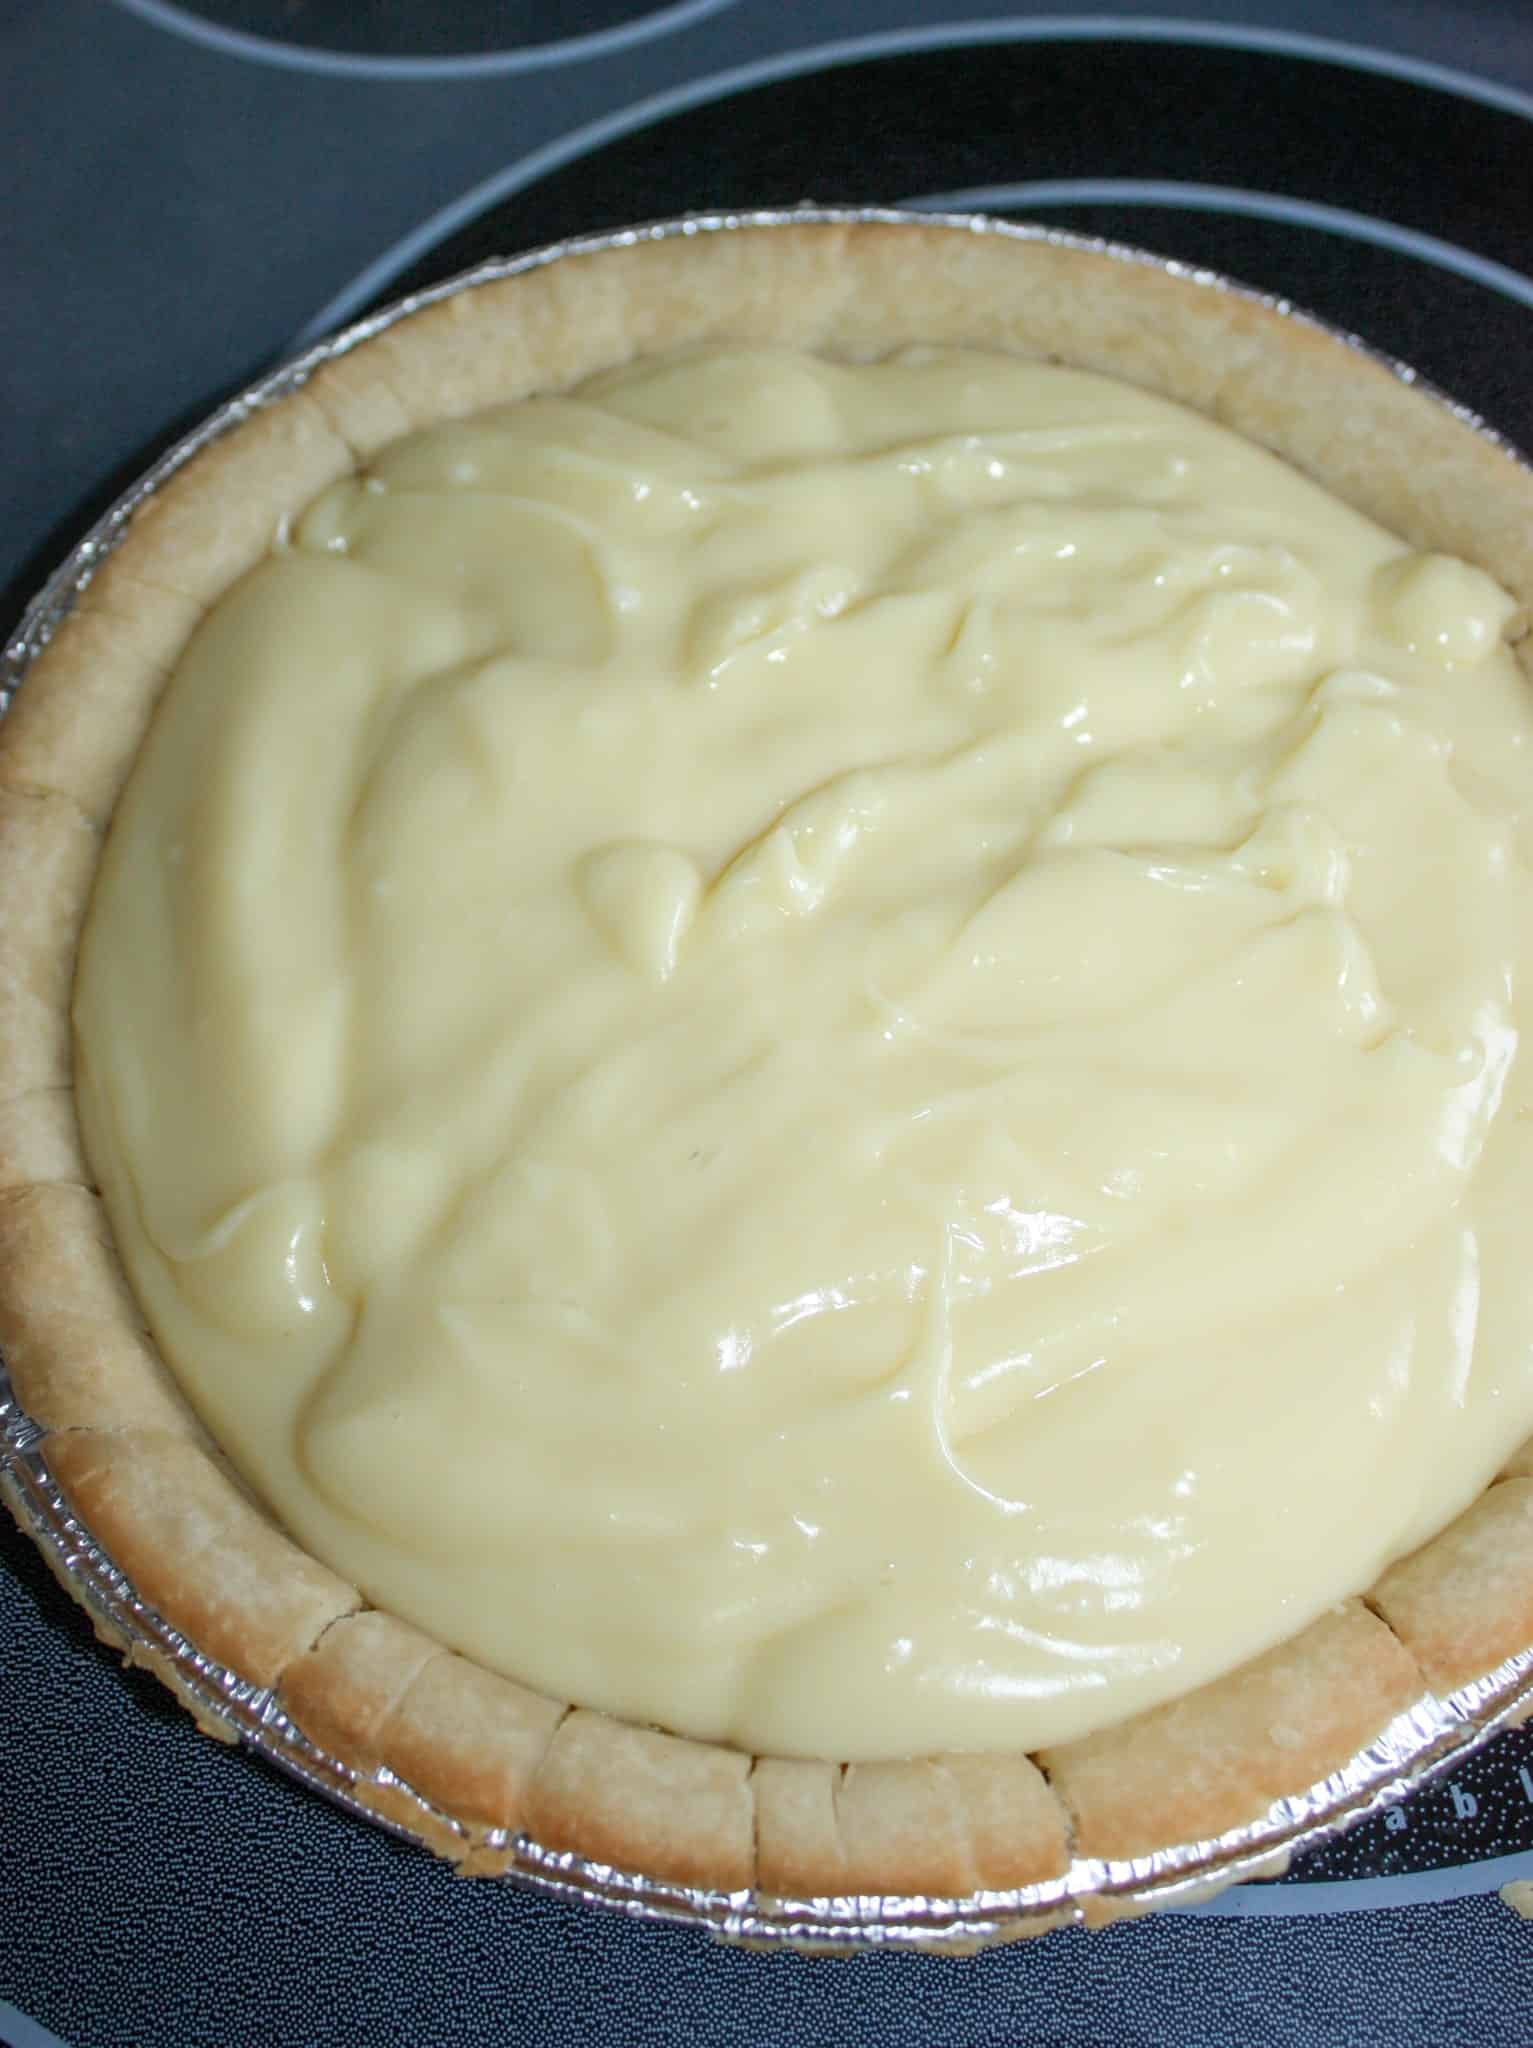
Then I poured the pudding into the pie shell on top of the banana slices.

Allow the pudding to chill. If you are not serving until much later the pie can be refrigerated once it has cooled.
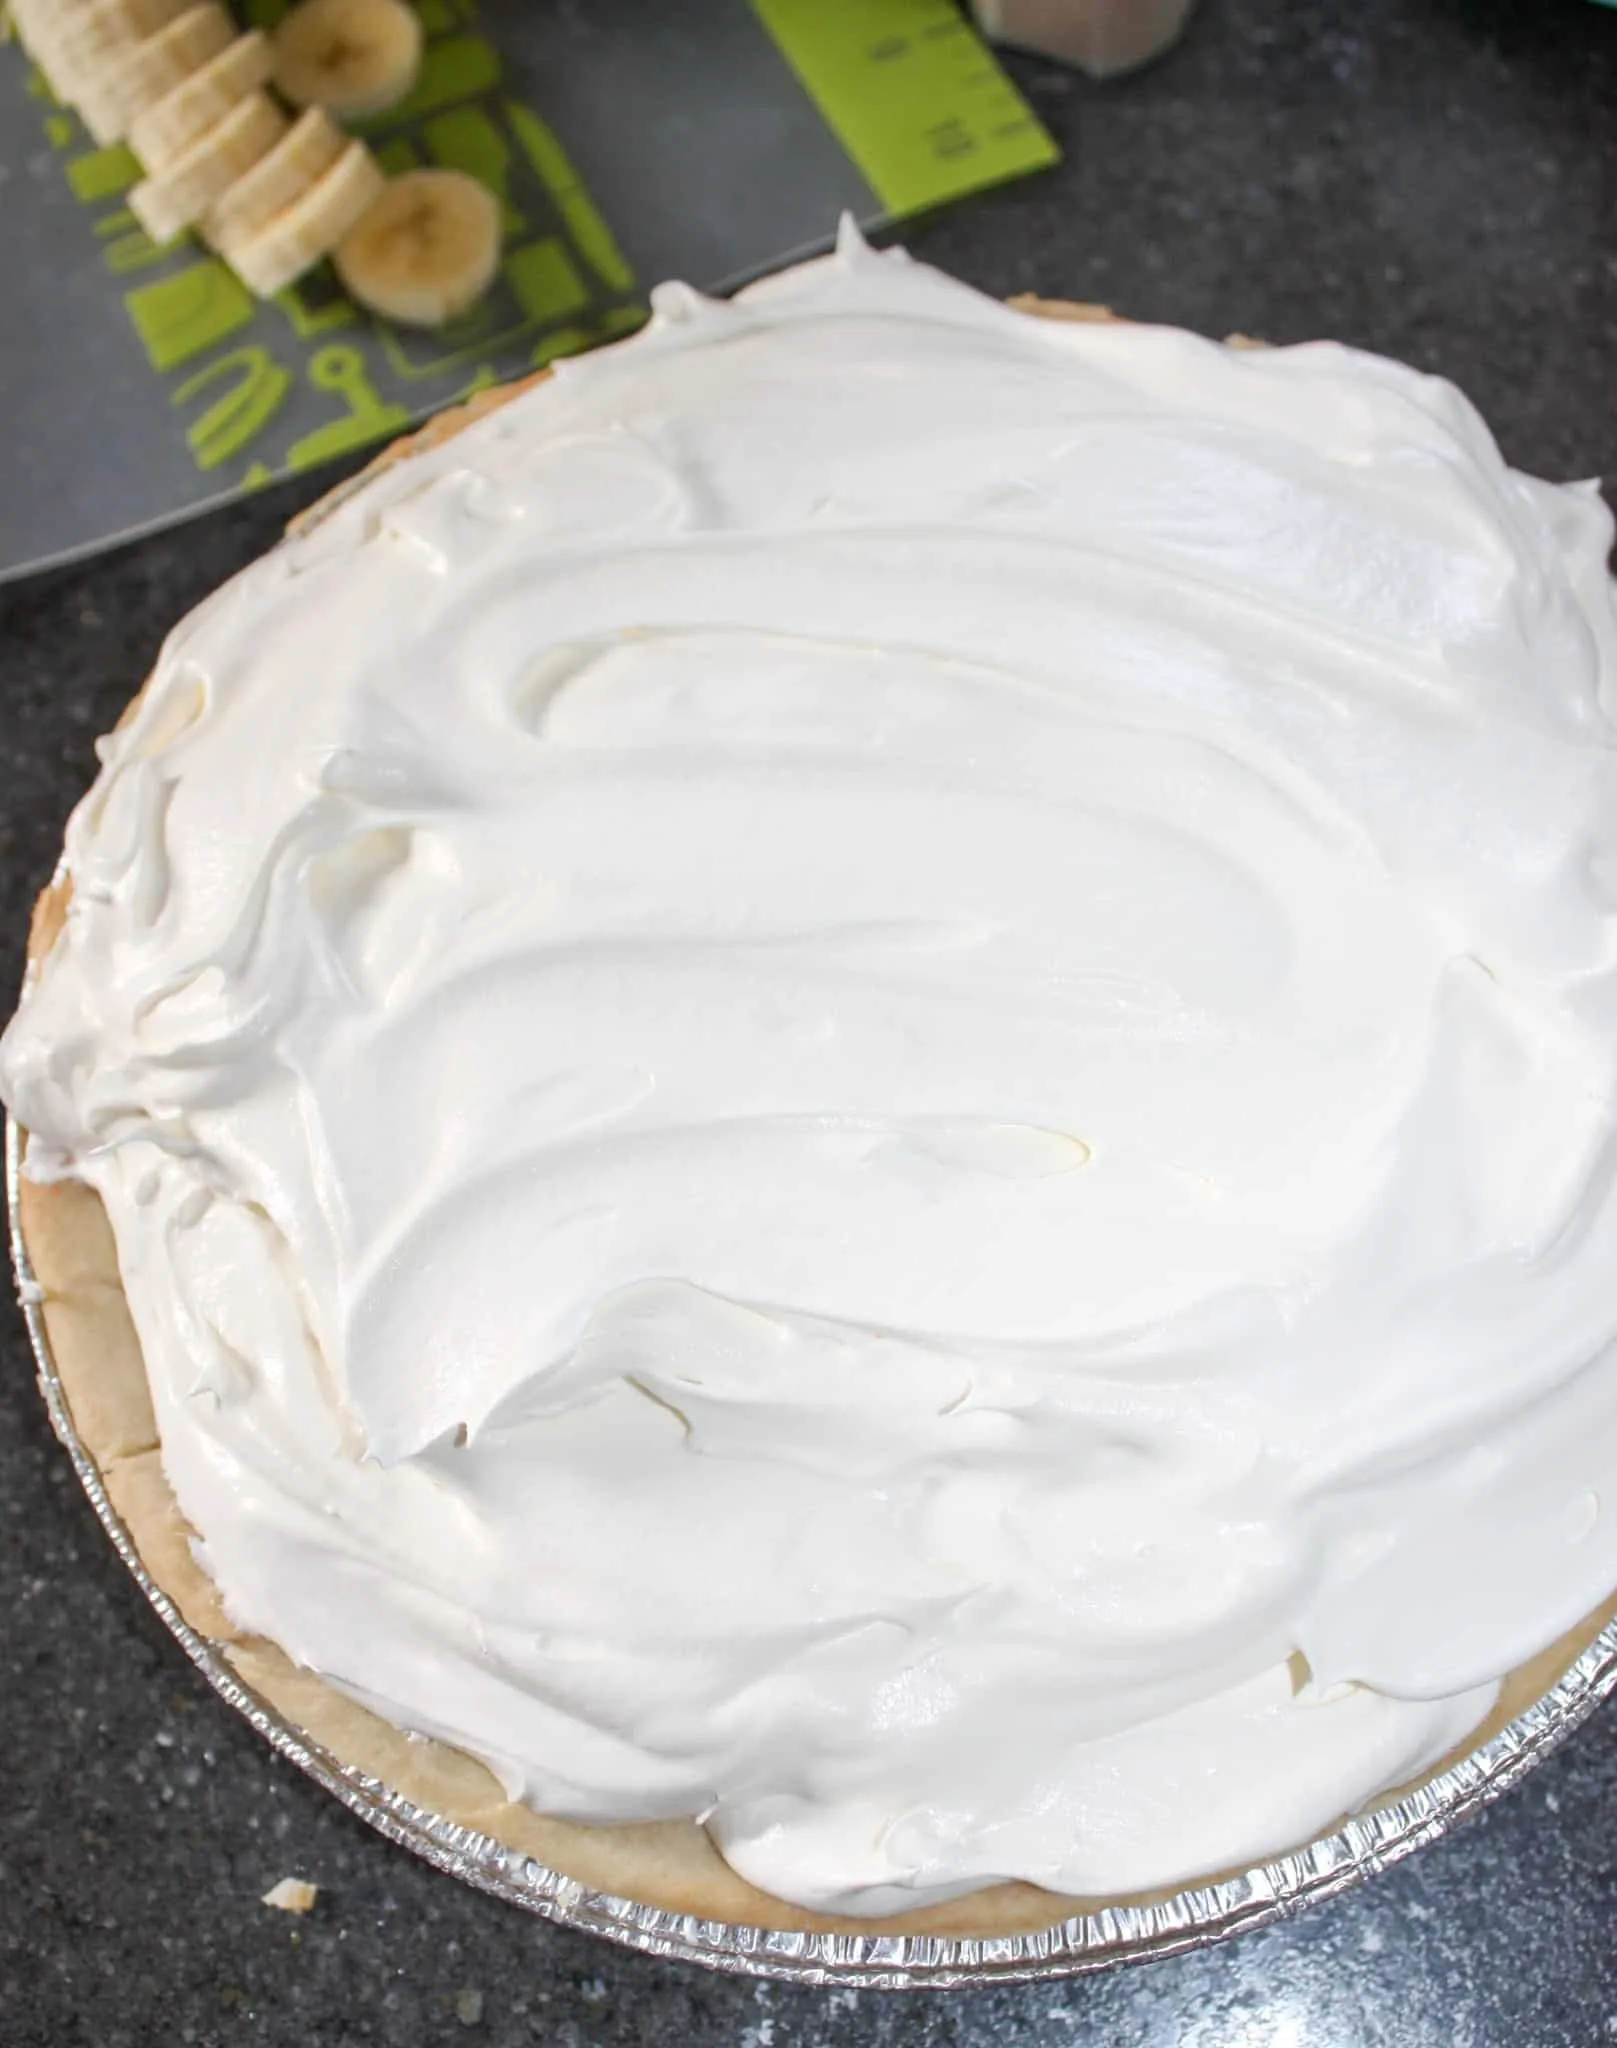
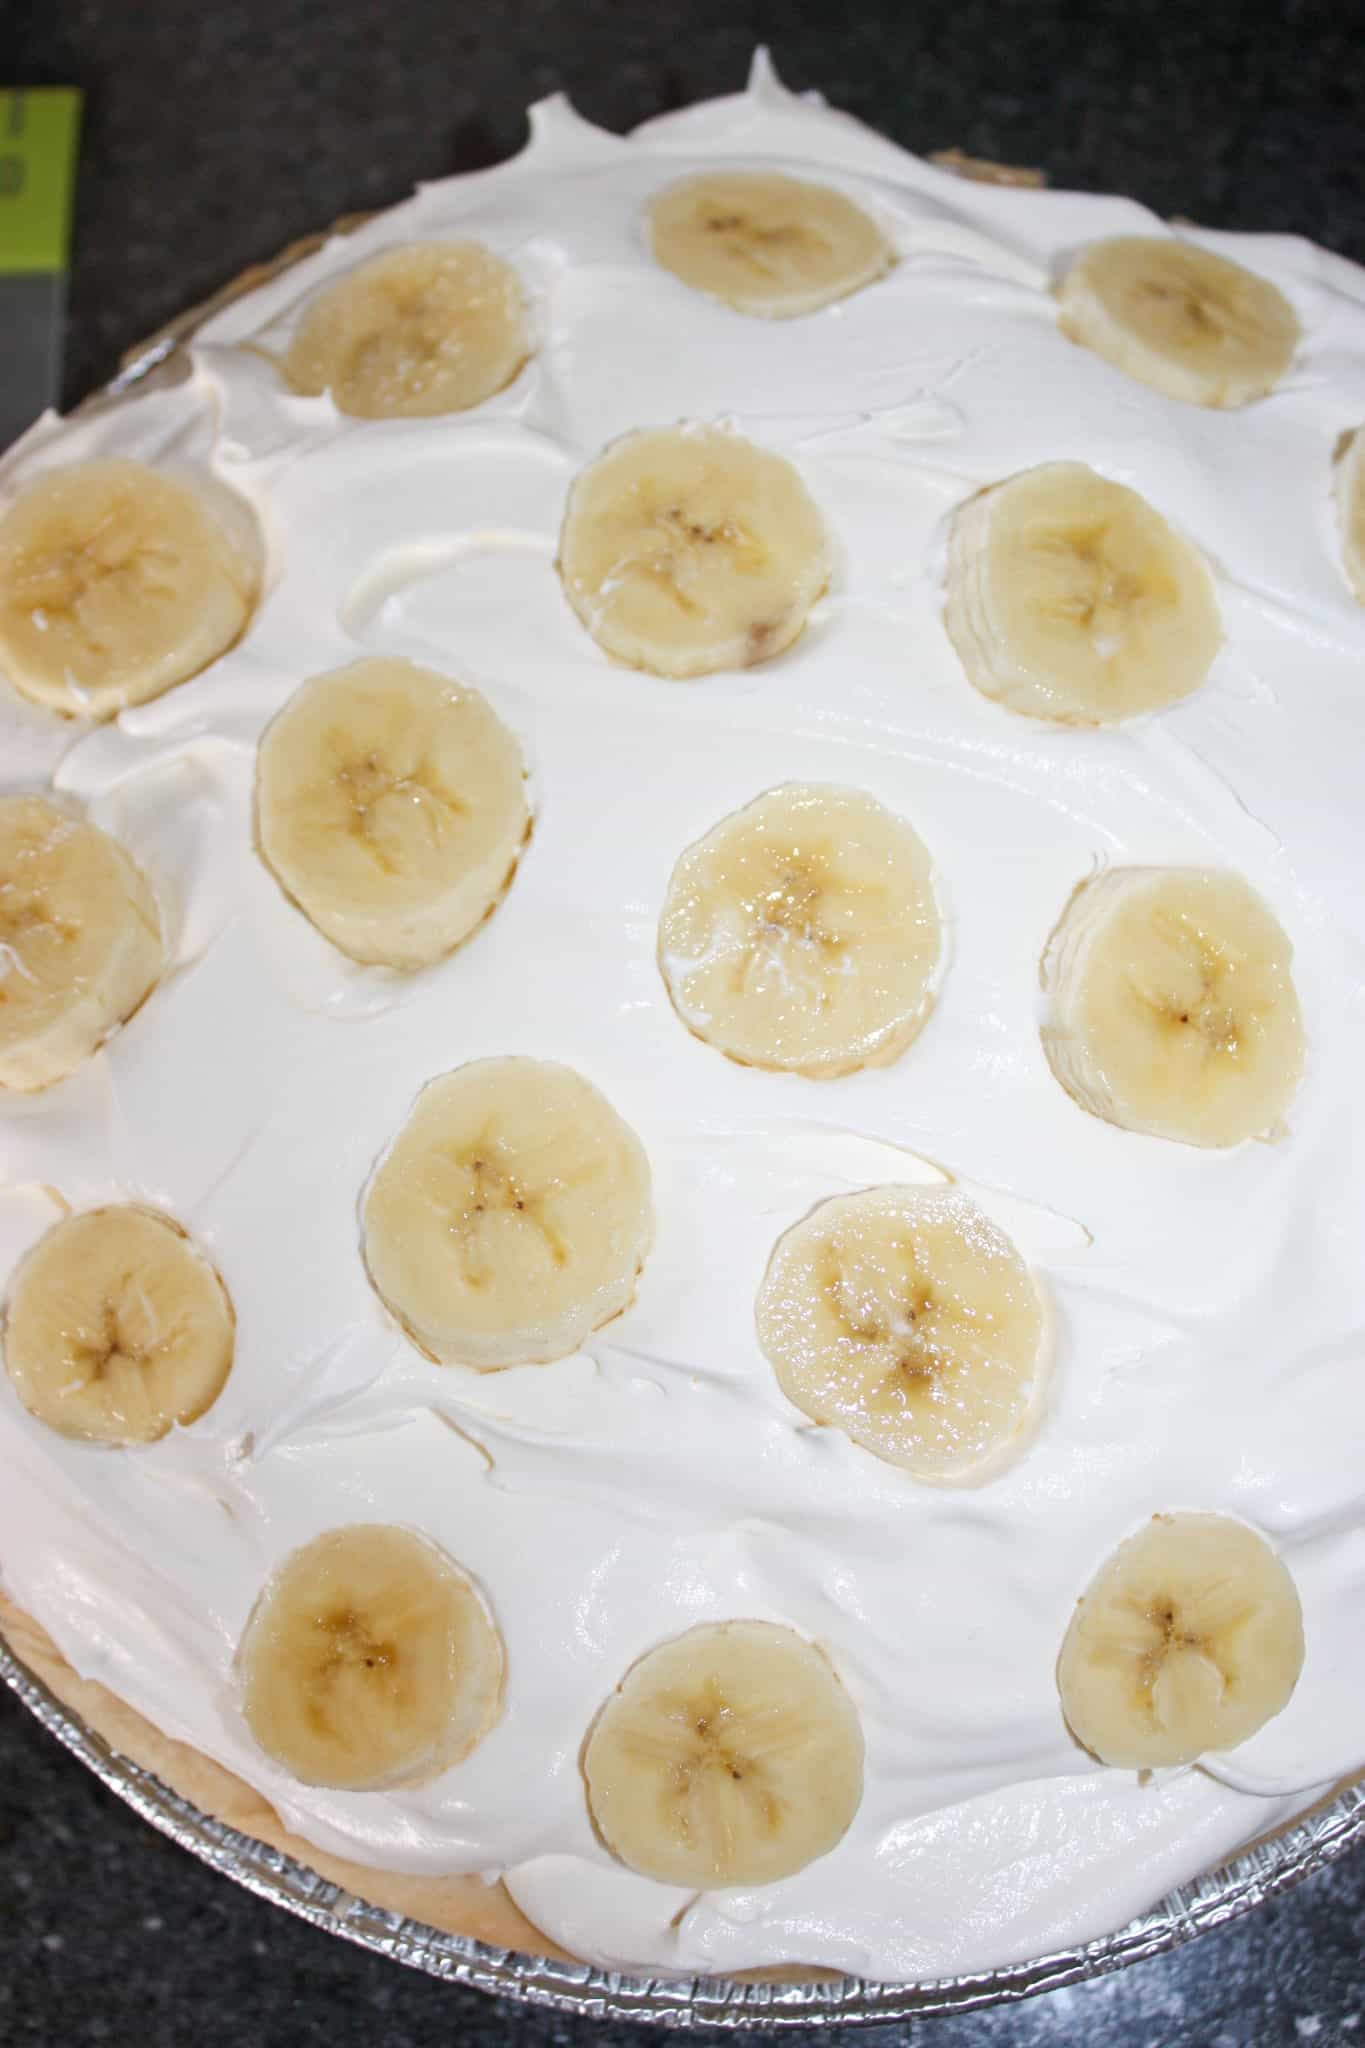
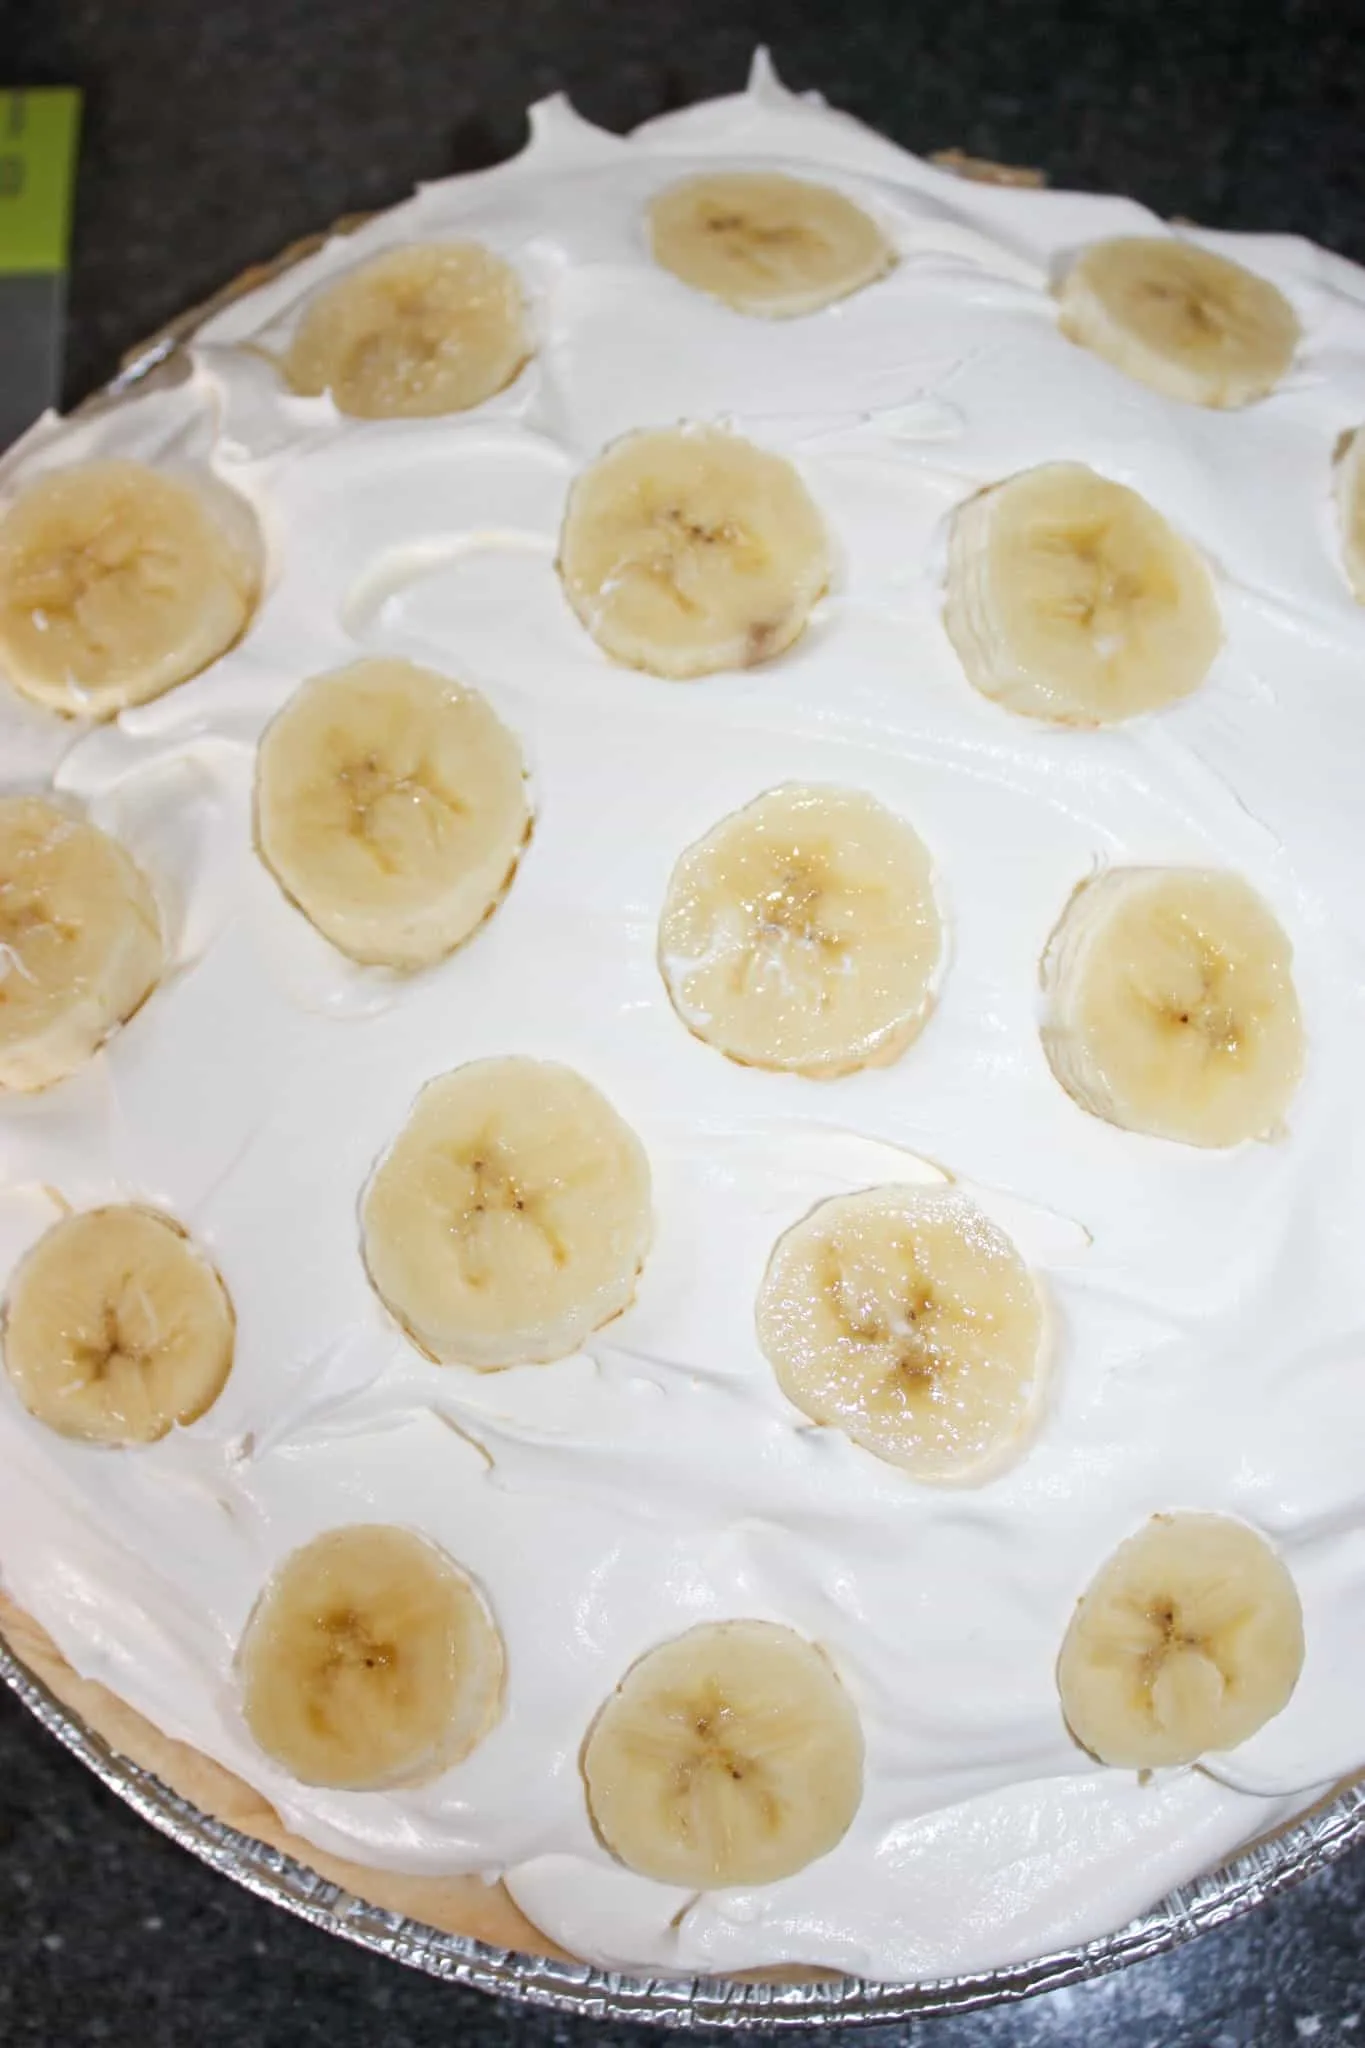
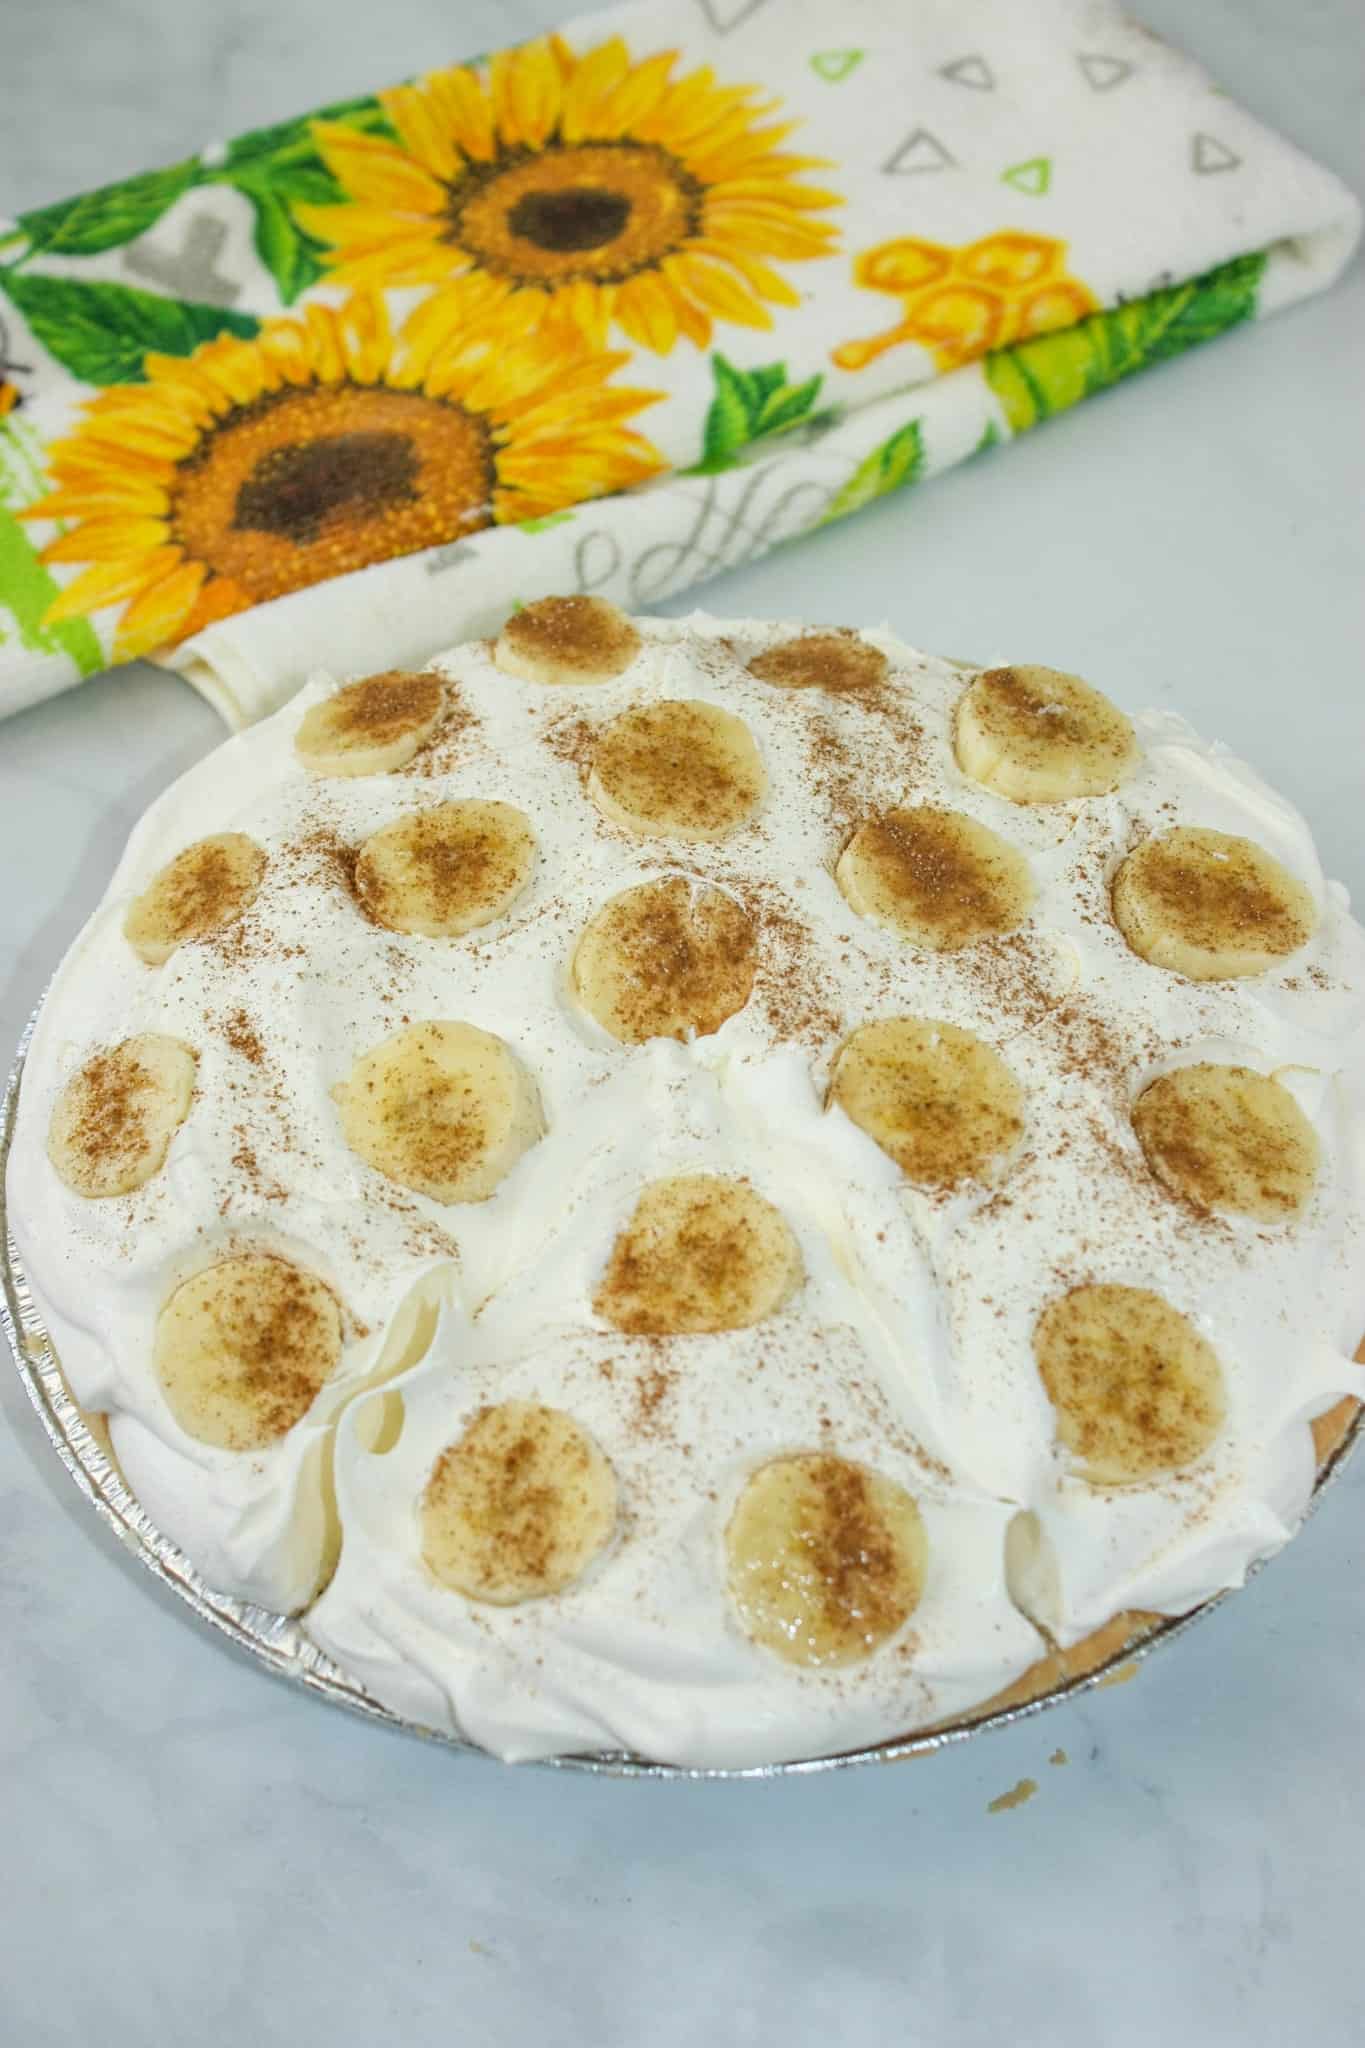
Just before serving the Gluten Free Banana Cream Pie spoon some Cool Whip dessert topping on the pie.
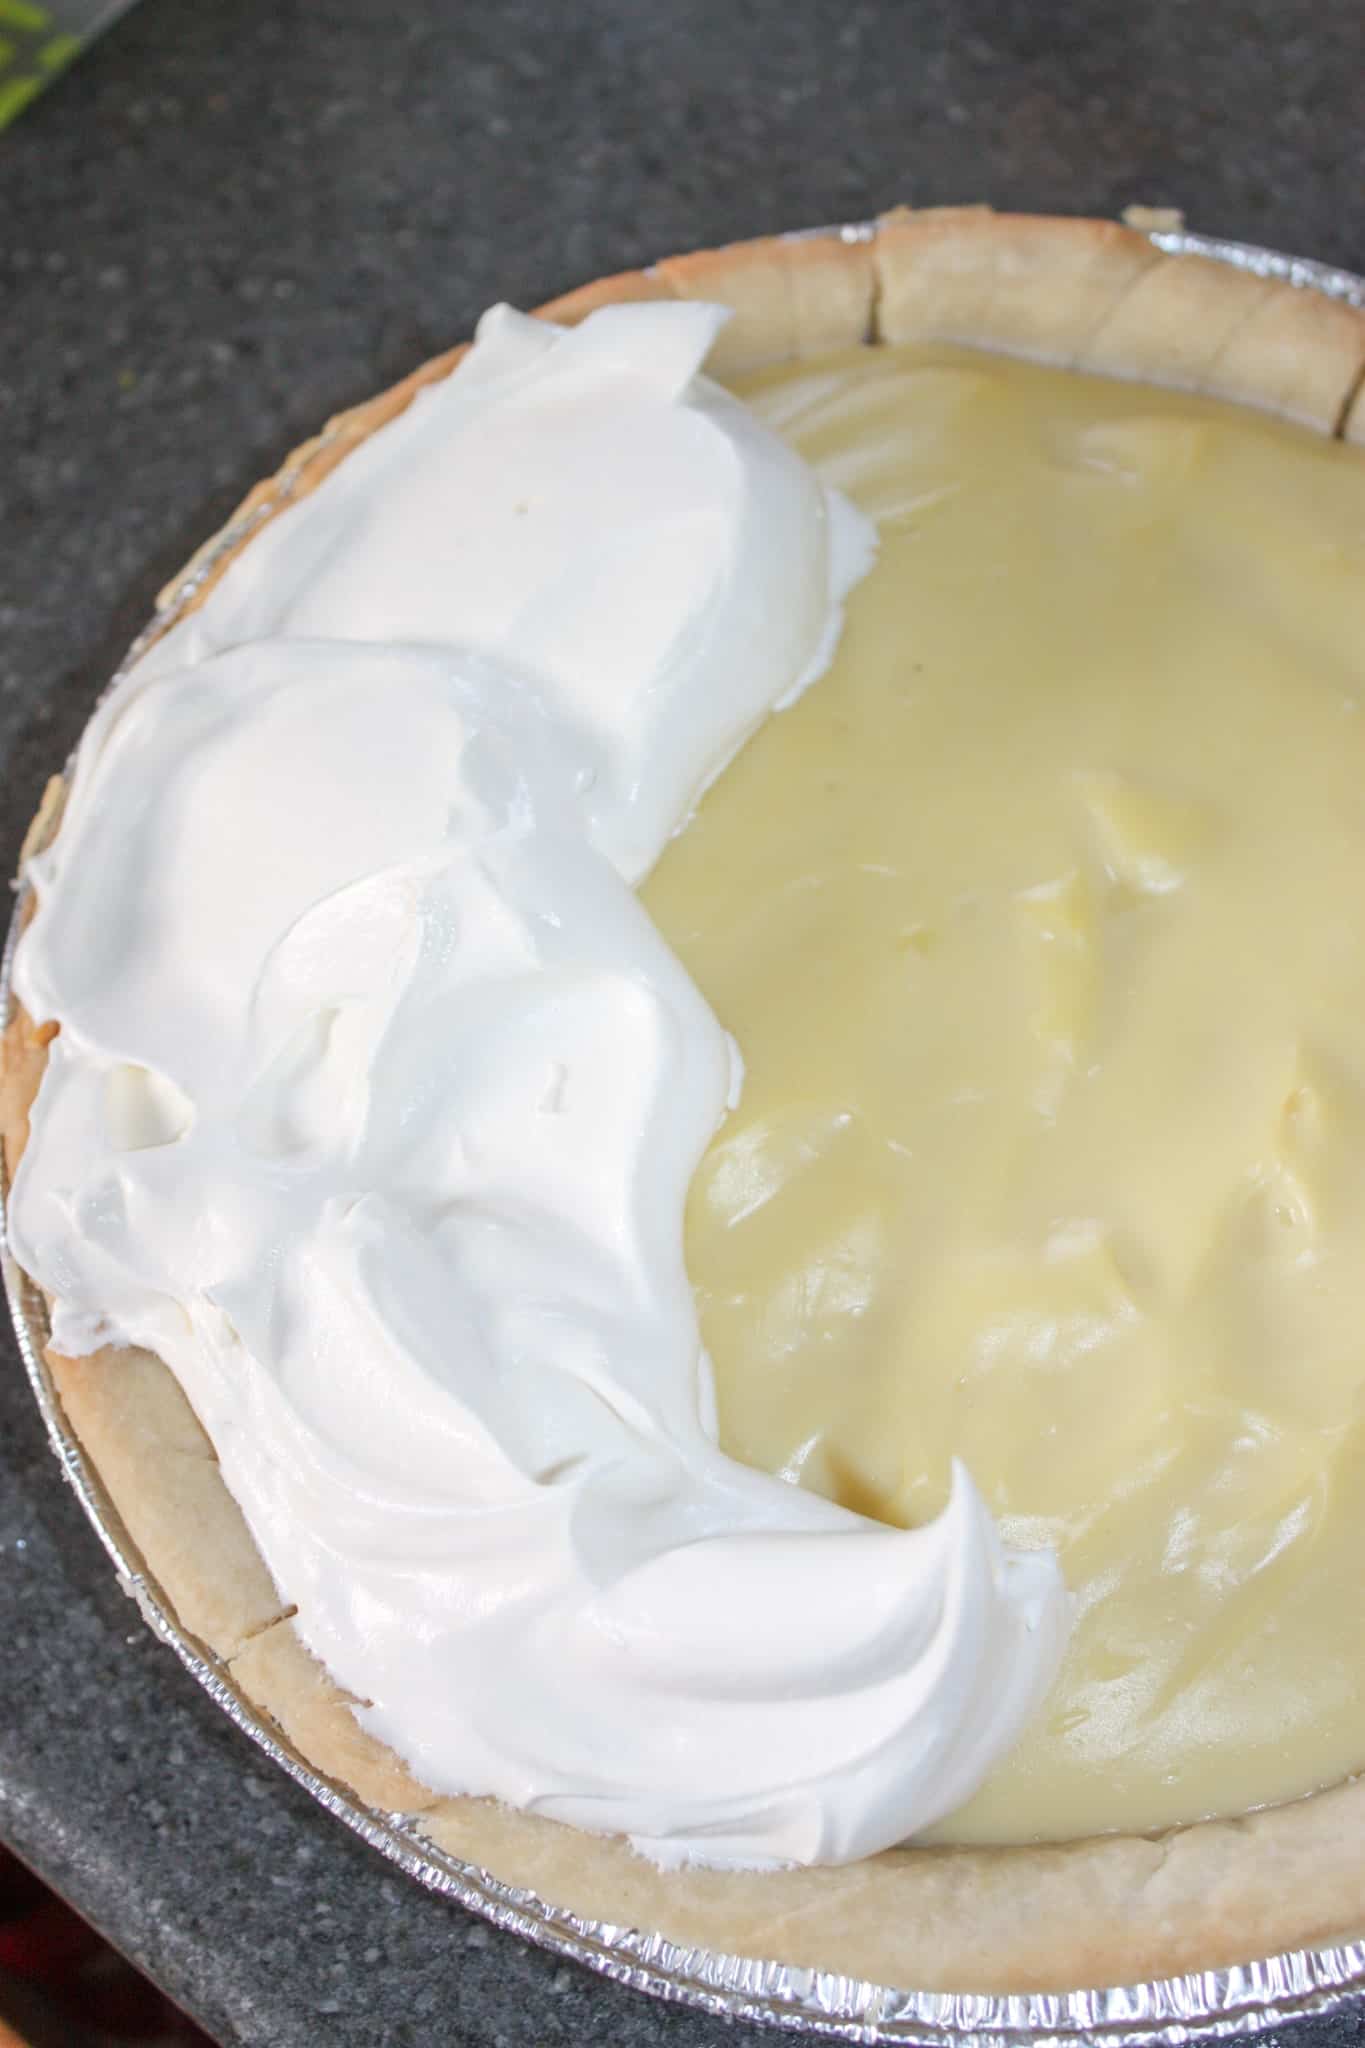

I made sure to spread the Cool Whip right to the edges.

Next I sliced up another banana.
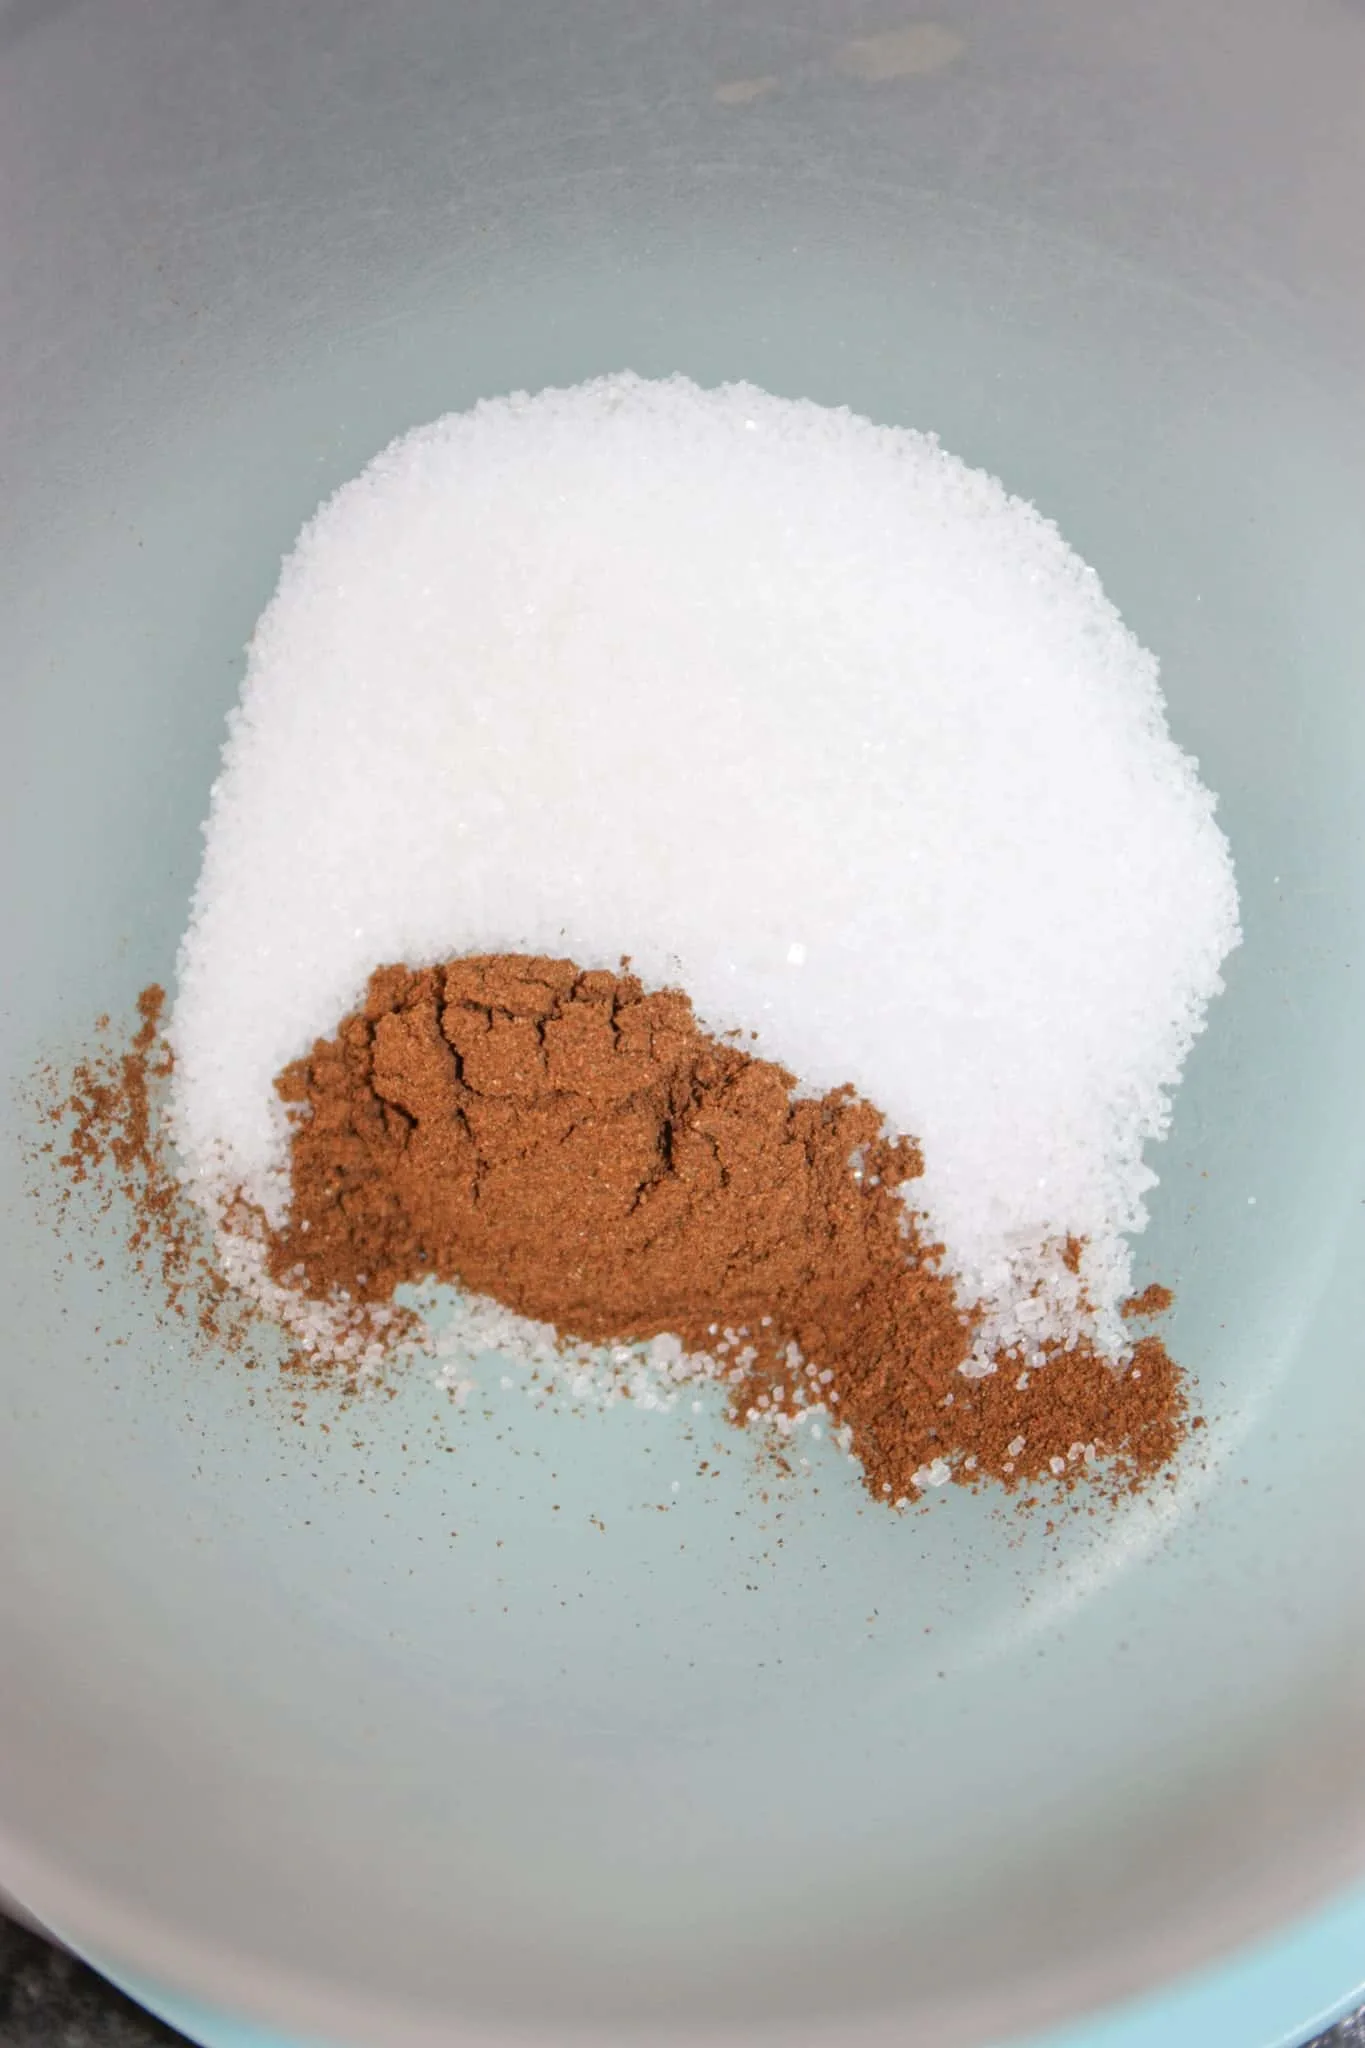
Then I mixed together a little bit of granulated sugar and ground cinnamon.

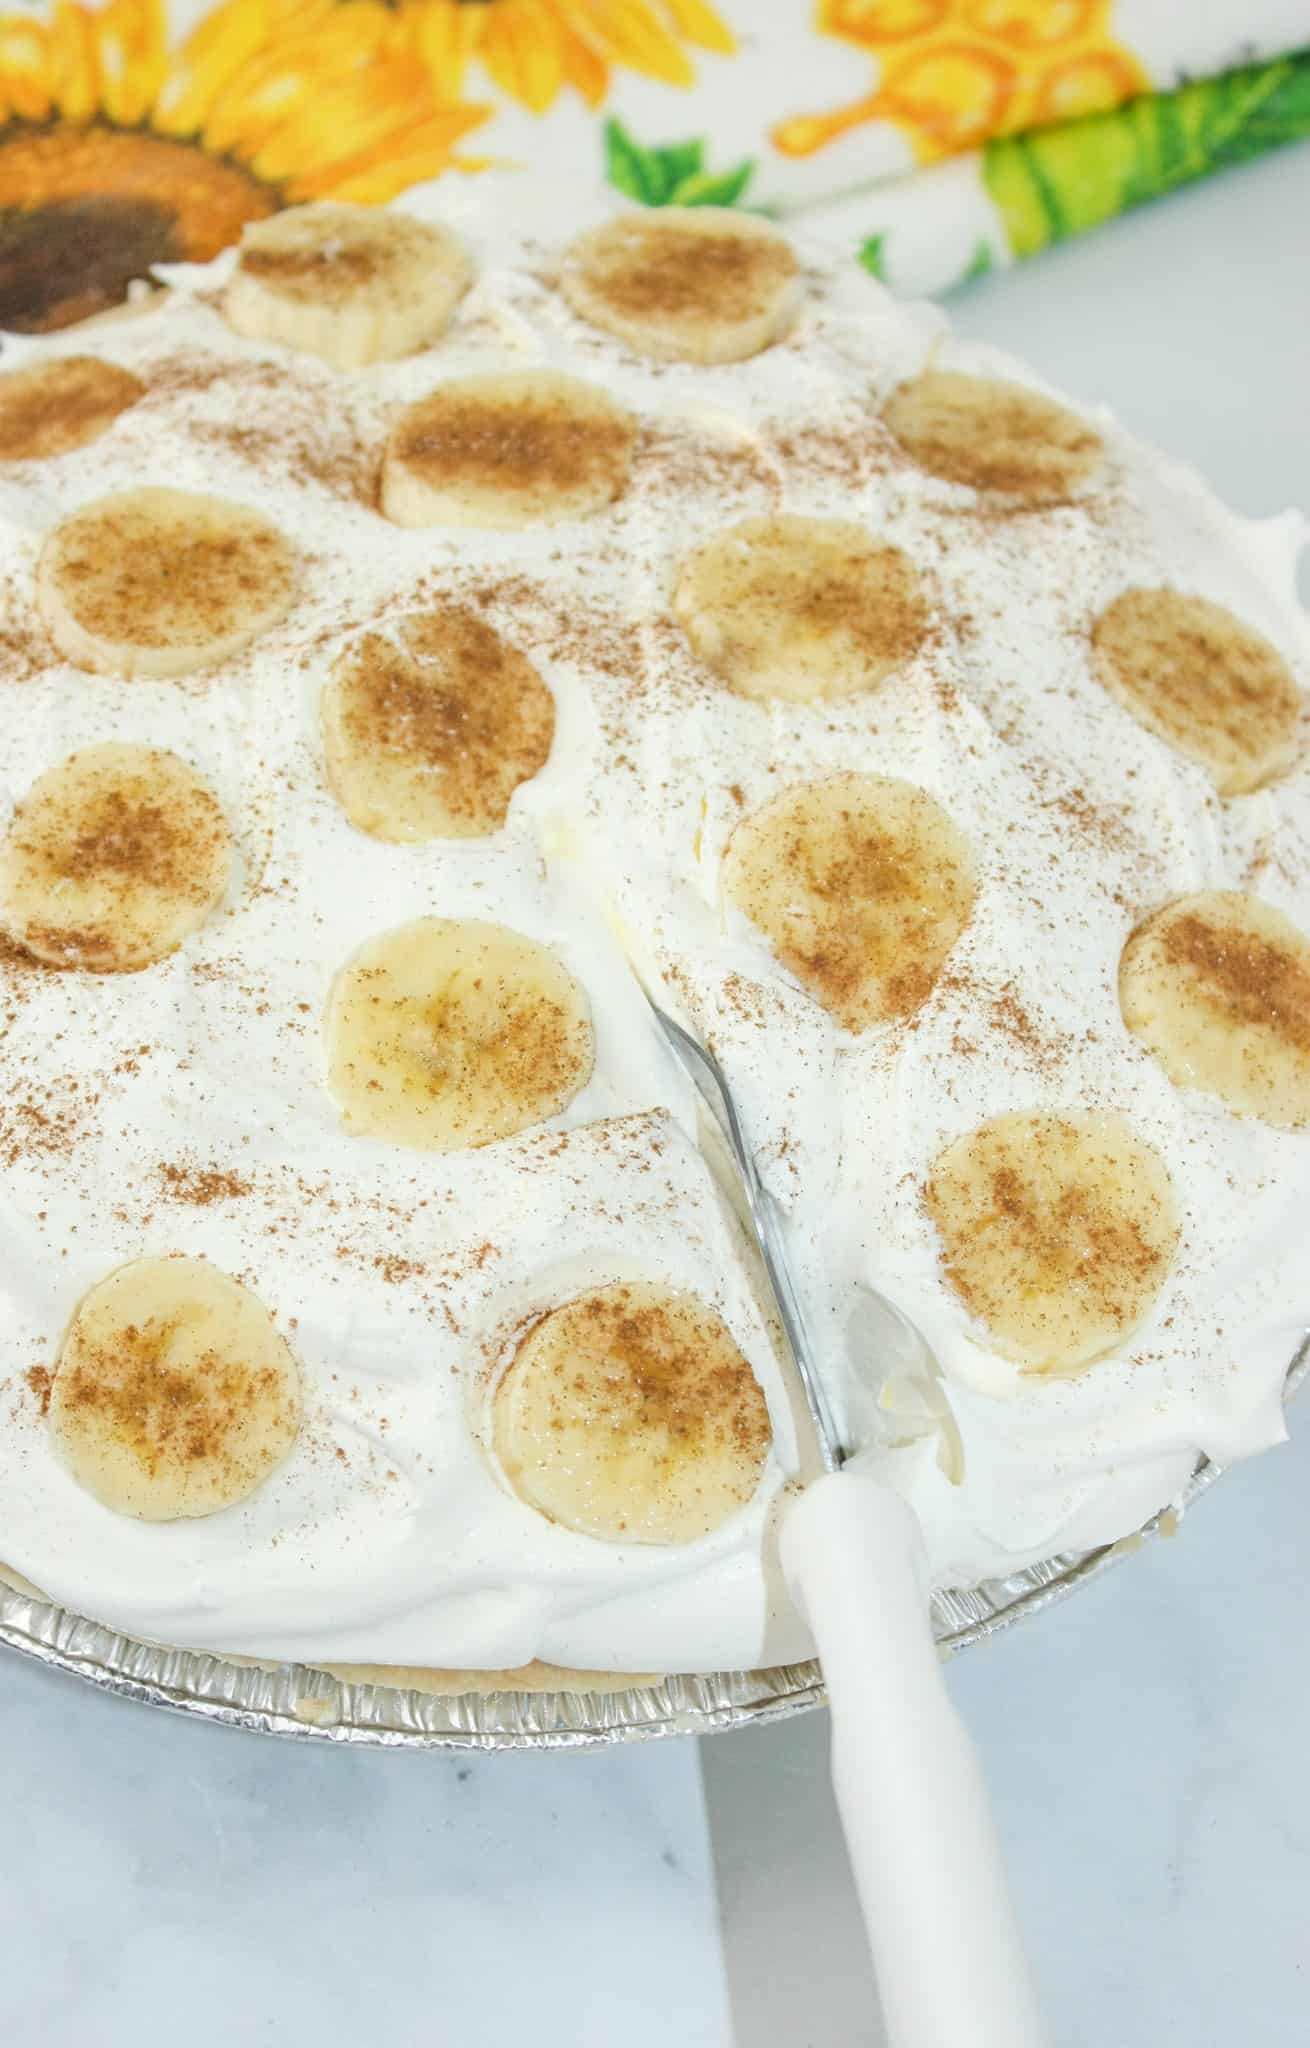
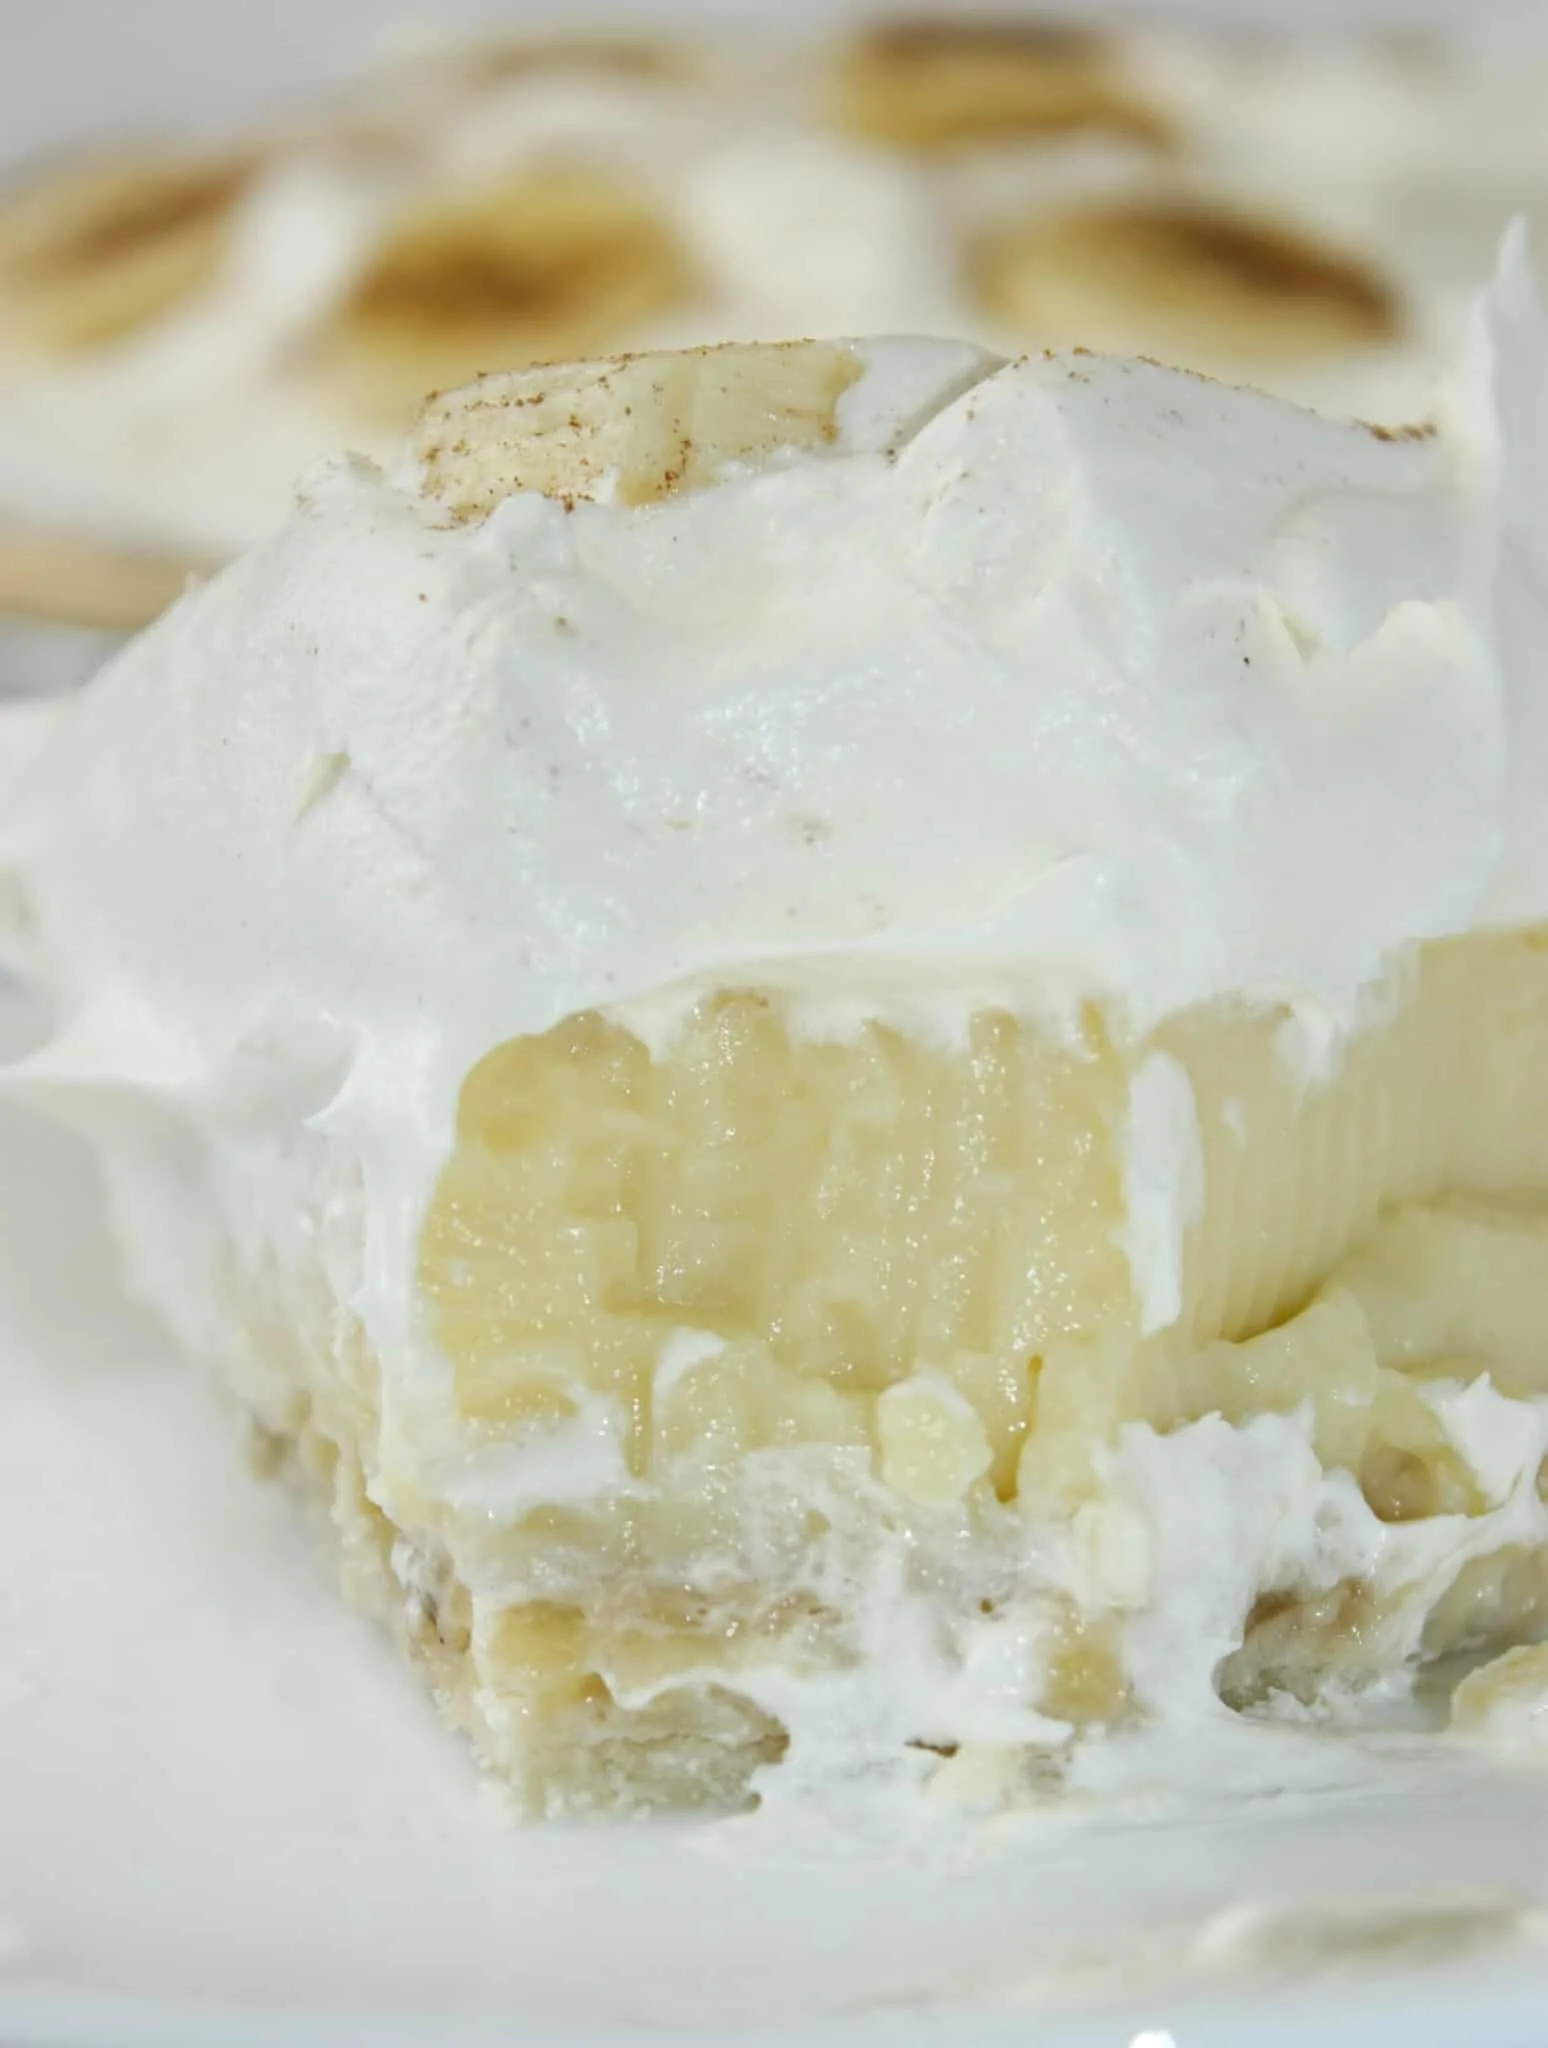
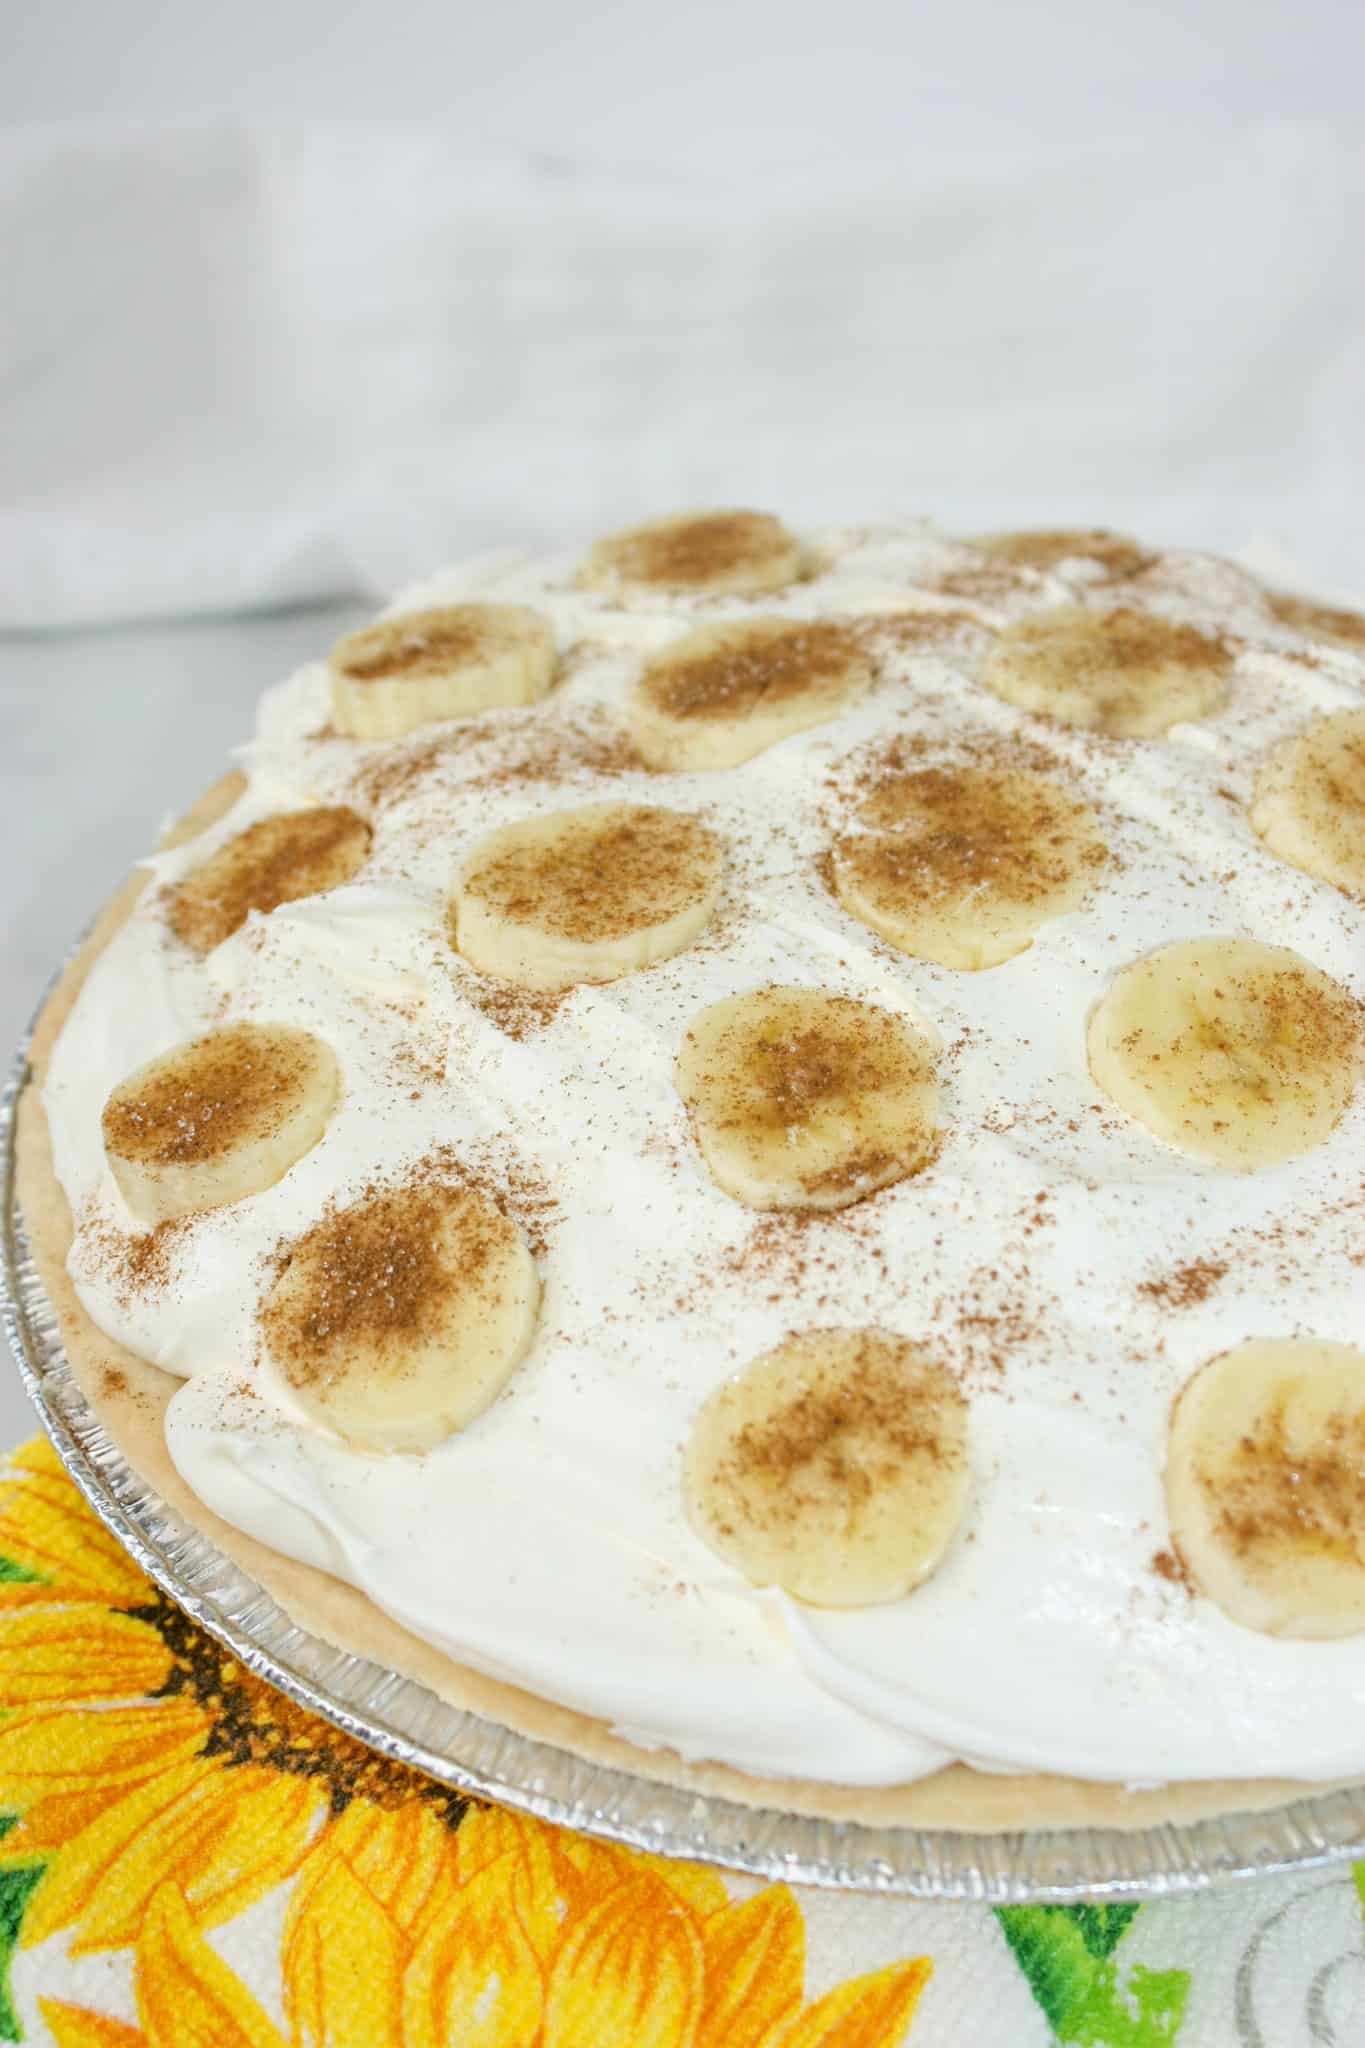
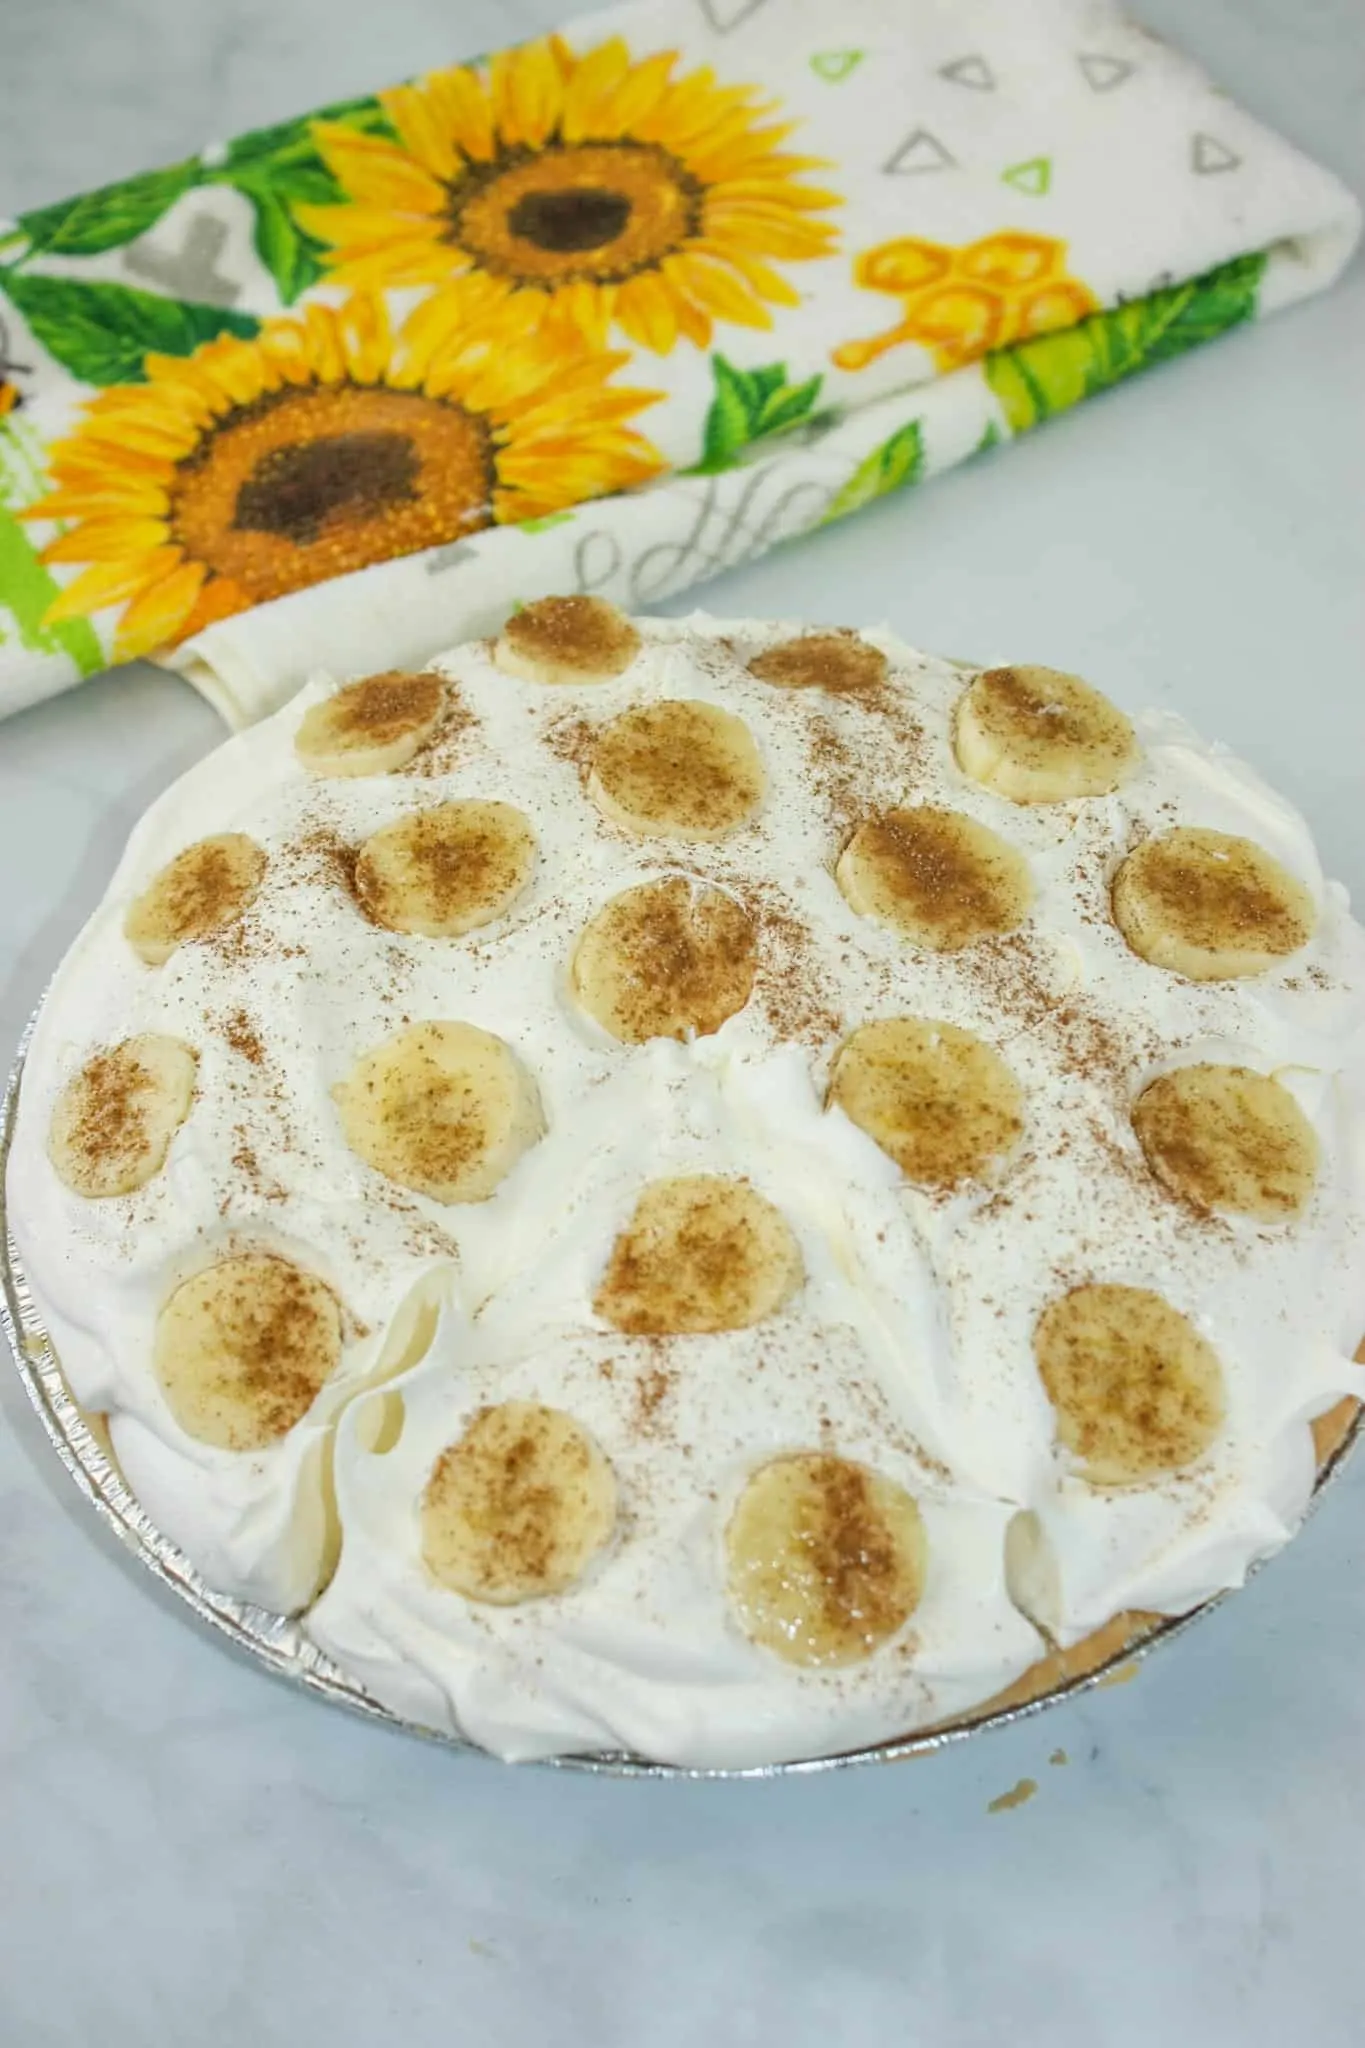
I arranged the sliced bananas on top of the Cool Whip.
Then I sprinkled the cinnamon mixture on top of the pie.

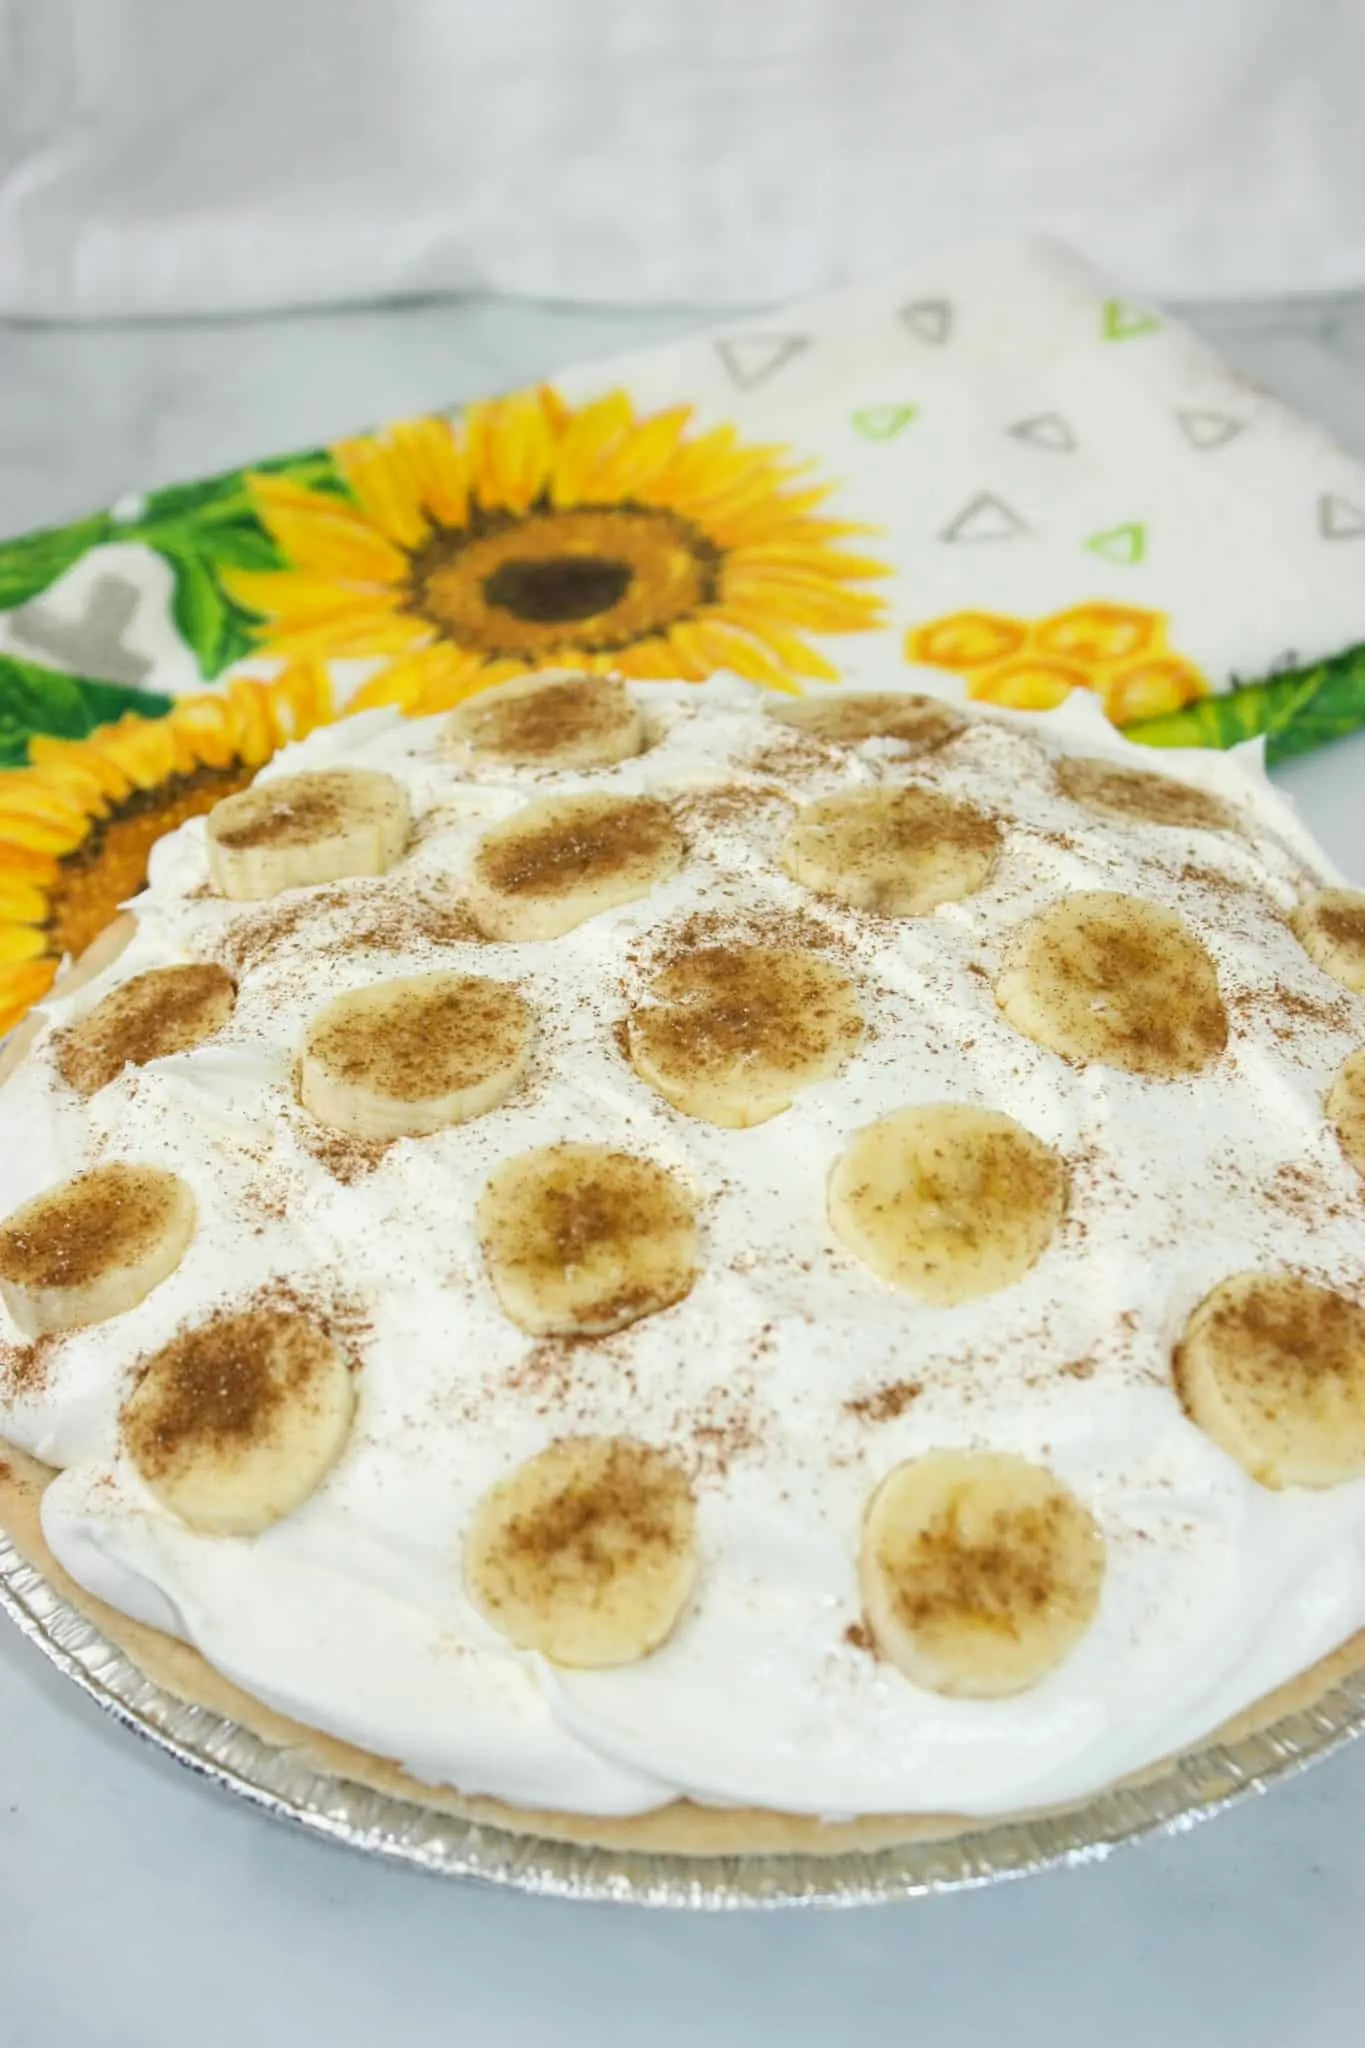
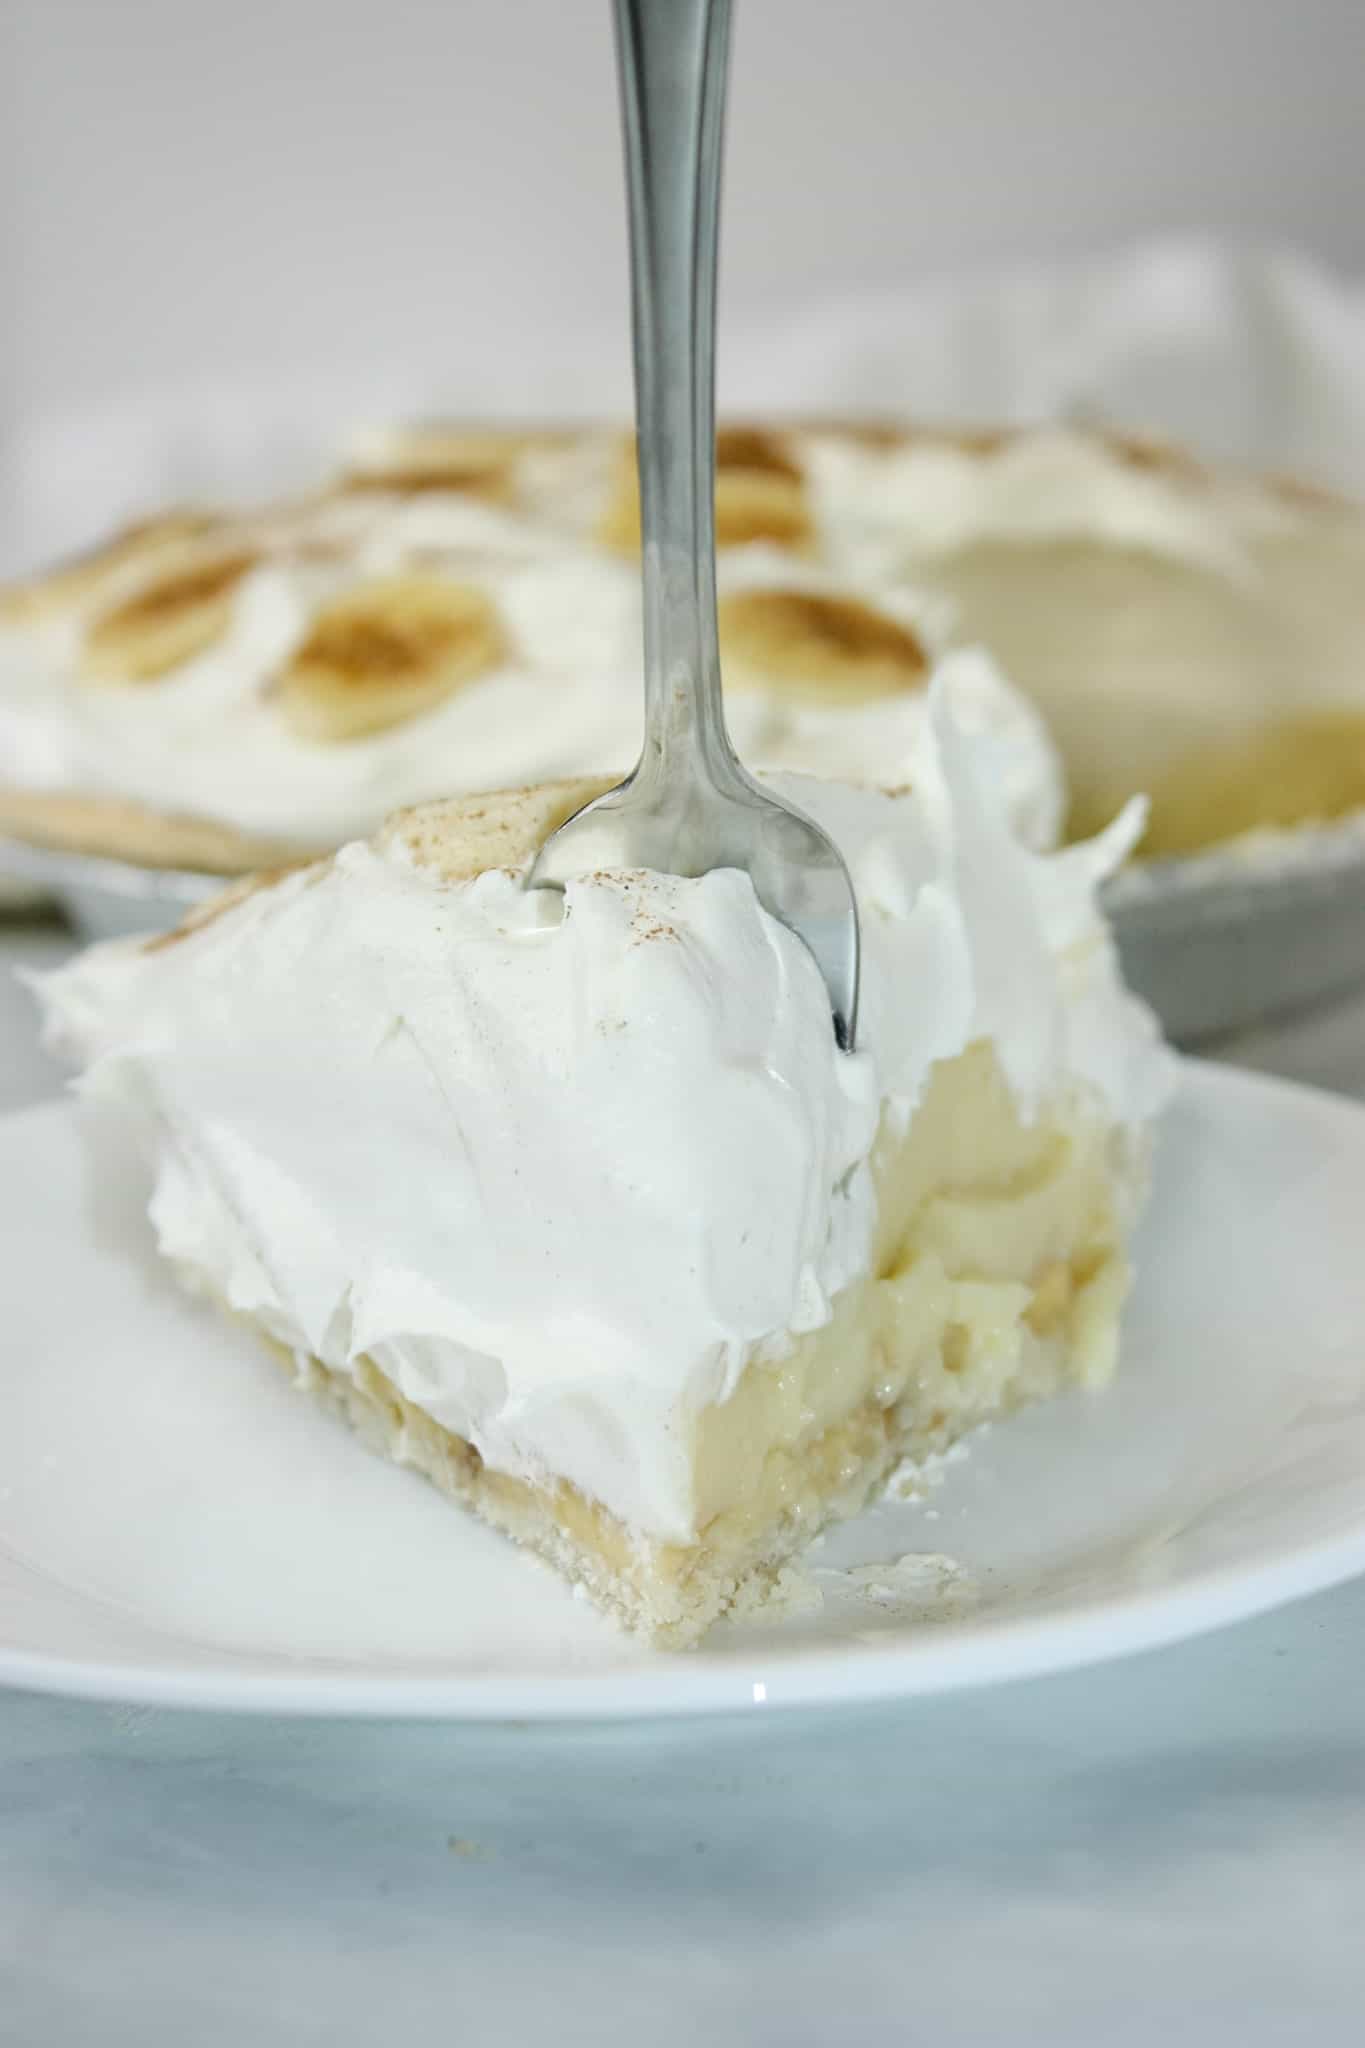
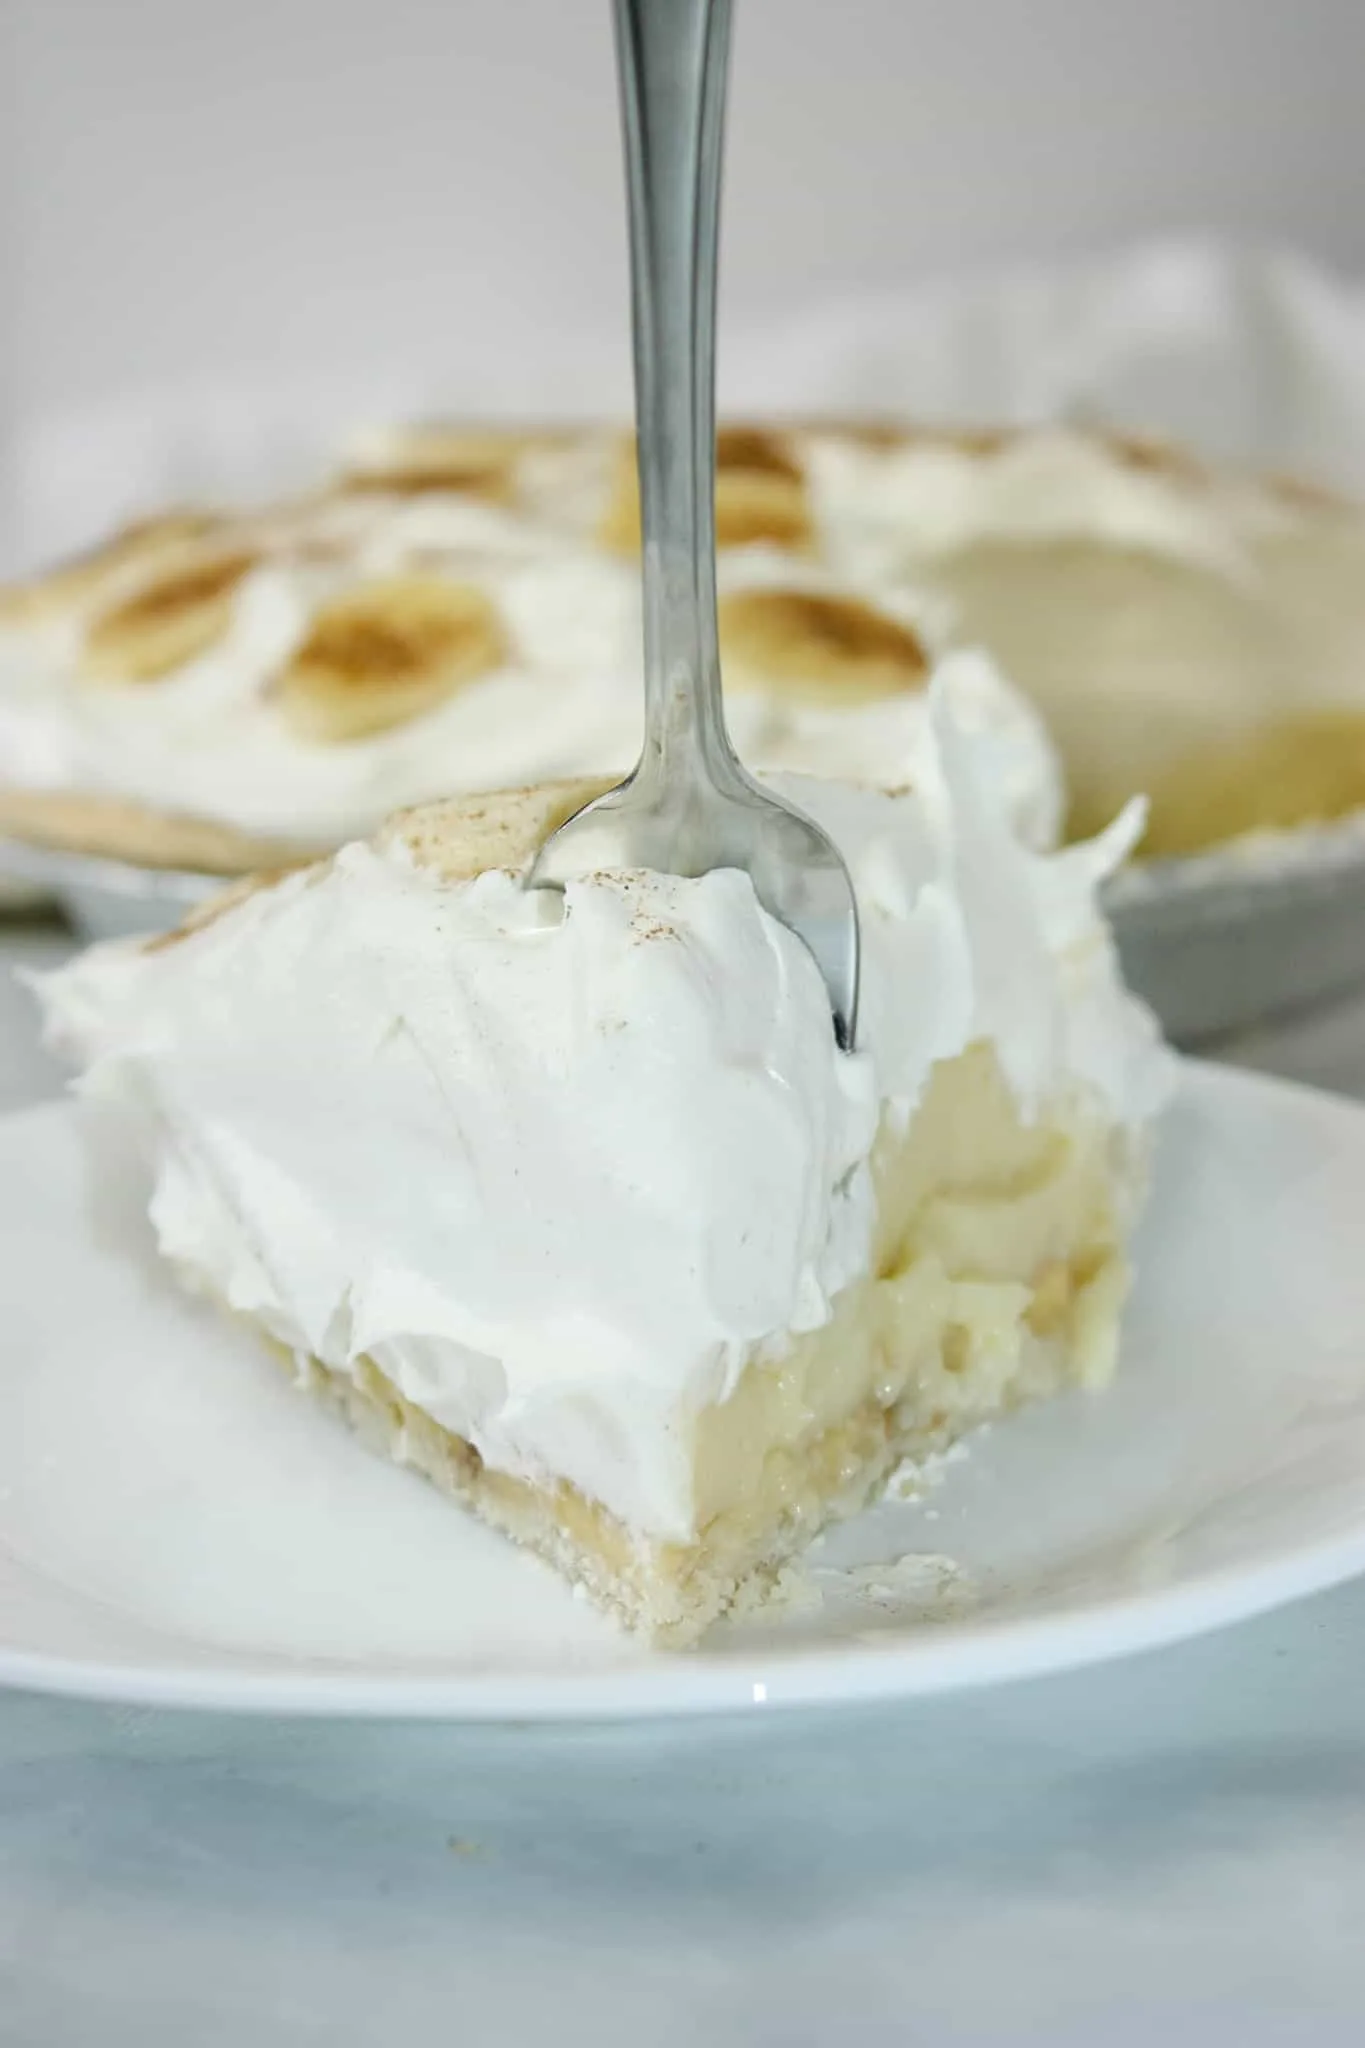
Once the pie is decorated as desired, serve immediately.

Slice the pie into pieces that suit your appetite or the occasion.
This pie is best served up on the day it is prepared as the bananas will begin to brown.
Enjoy Gluten Free Banana Cream Pie any time of the year!
Printable Recipe Card with a Full List of Ingredients and Instructions is Located at the Bottom of the Post.
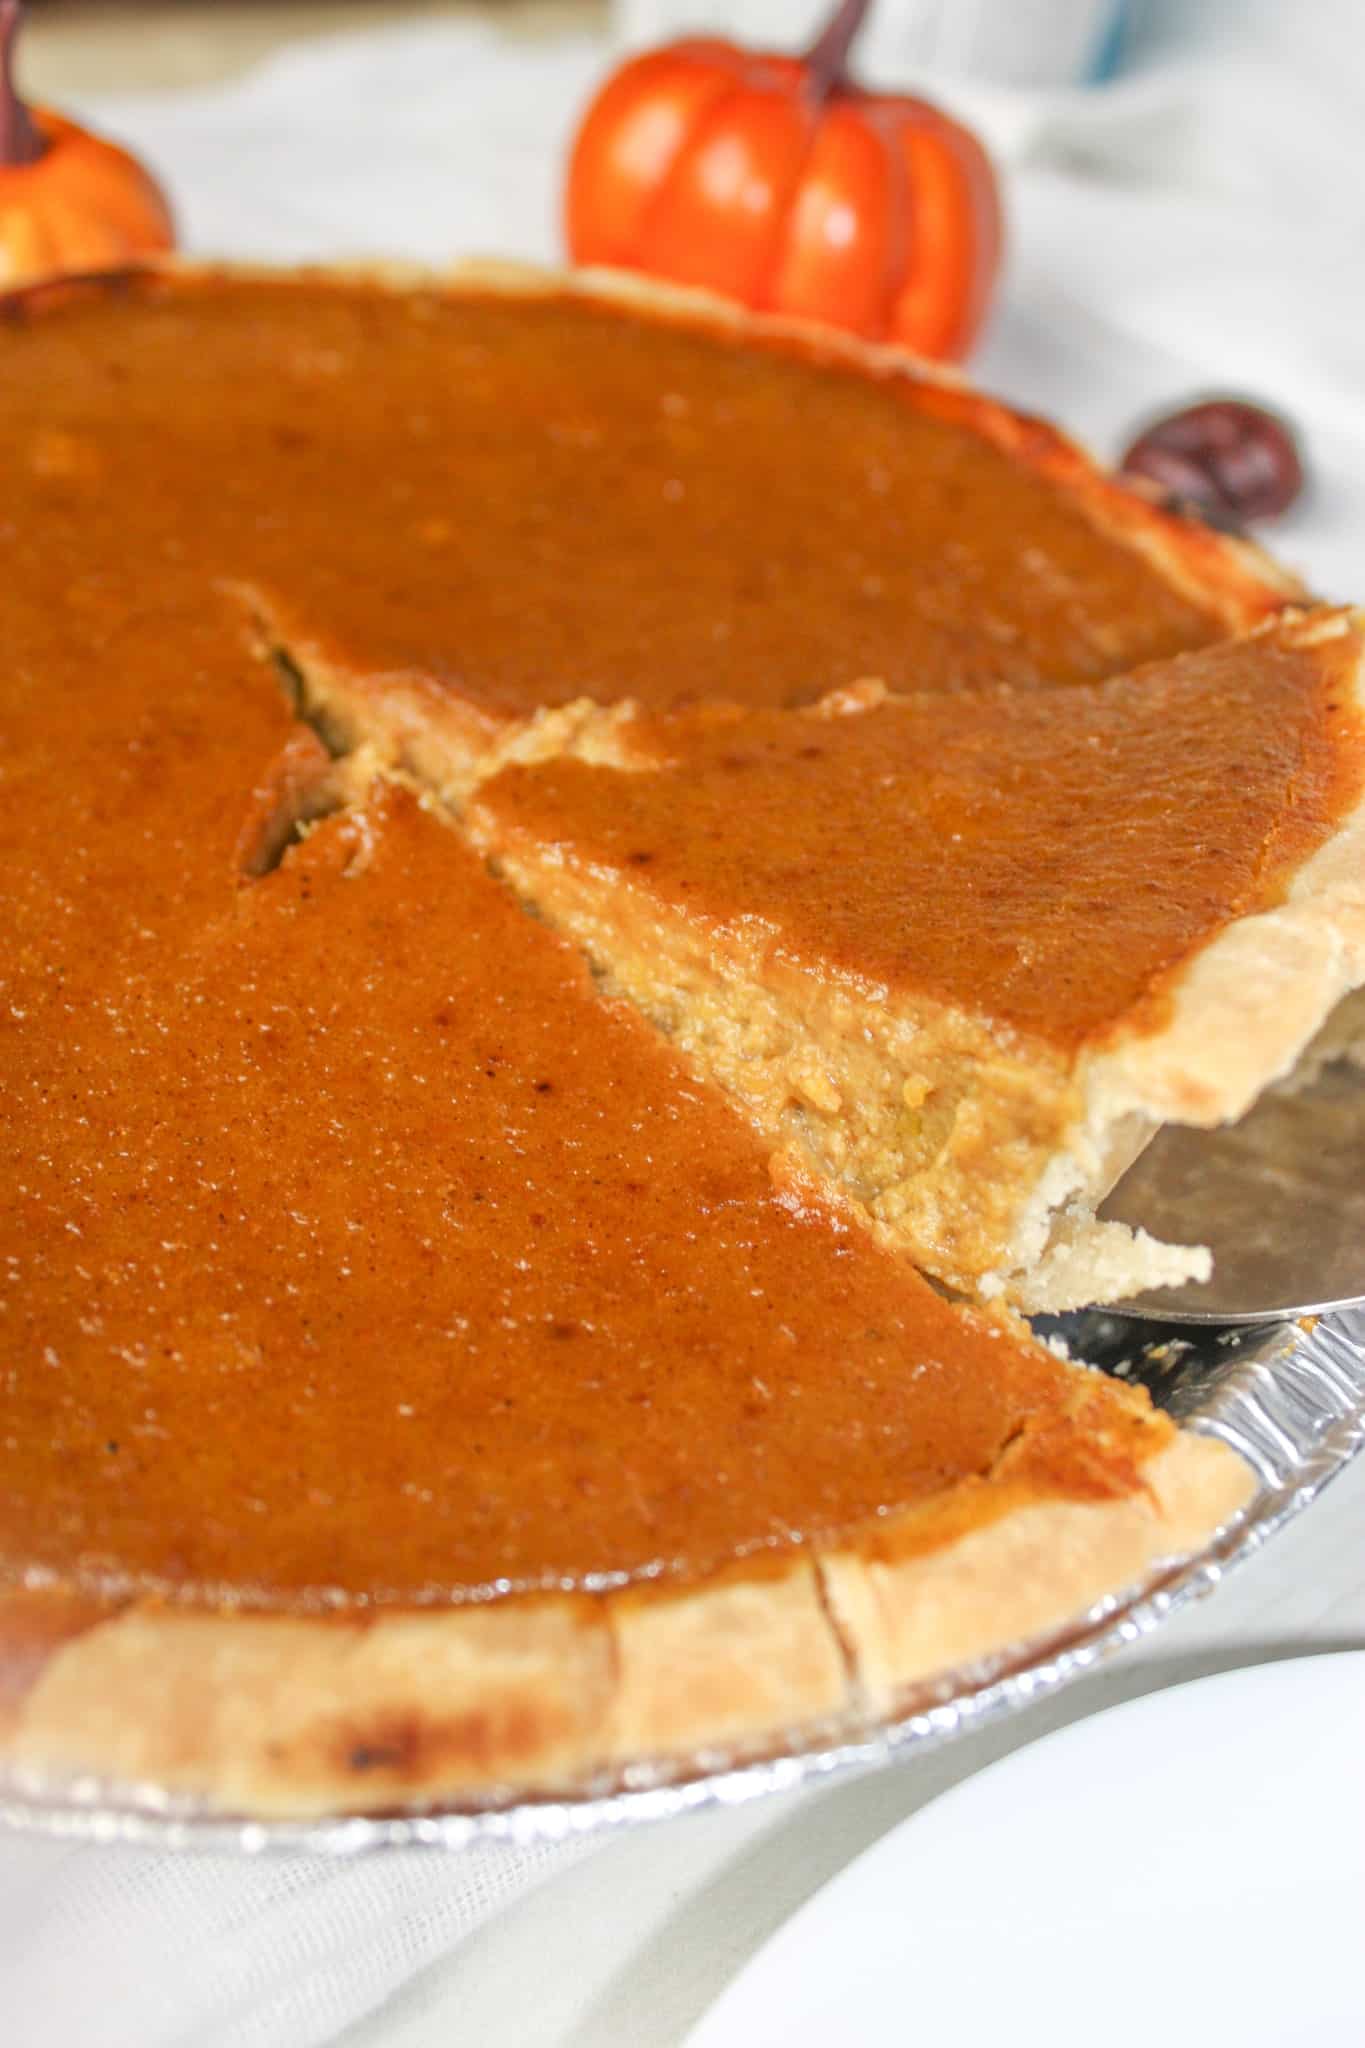
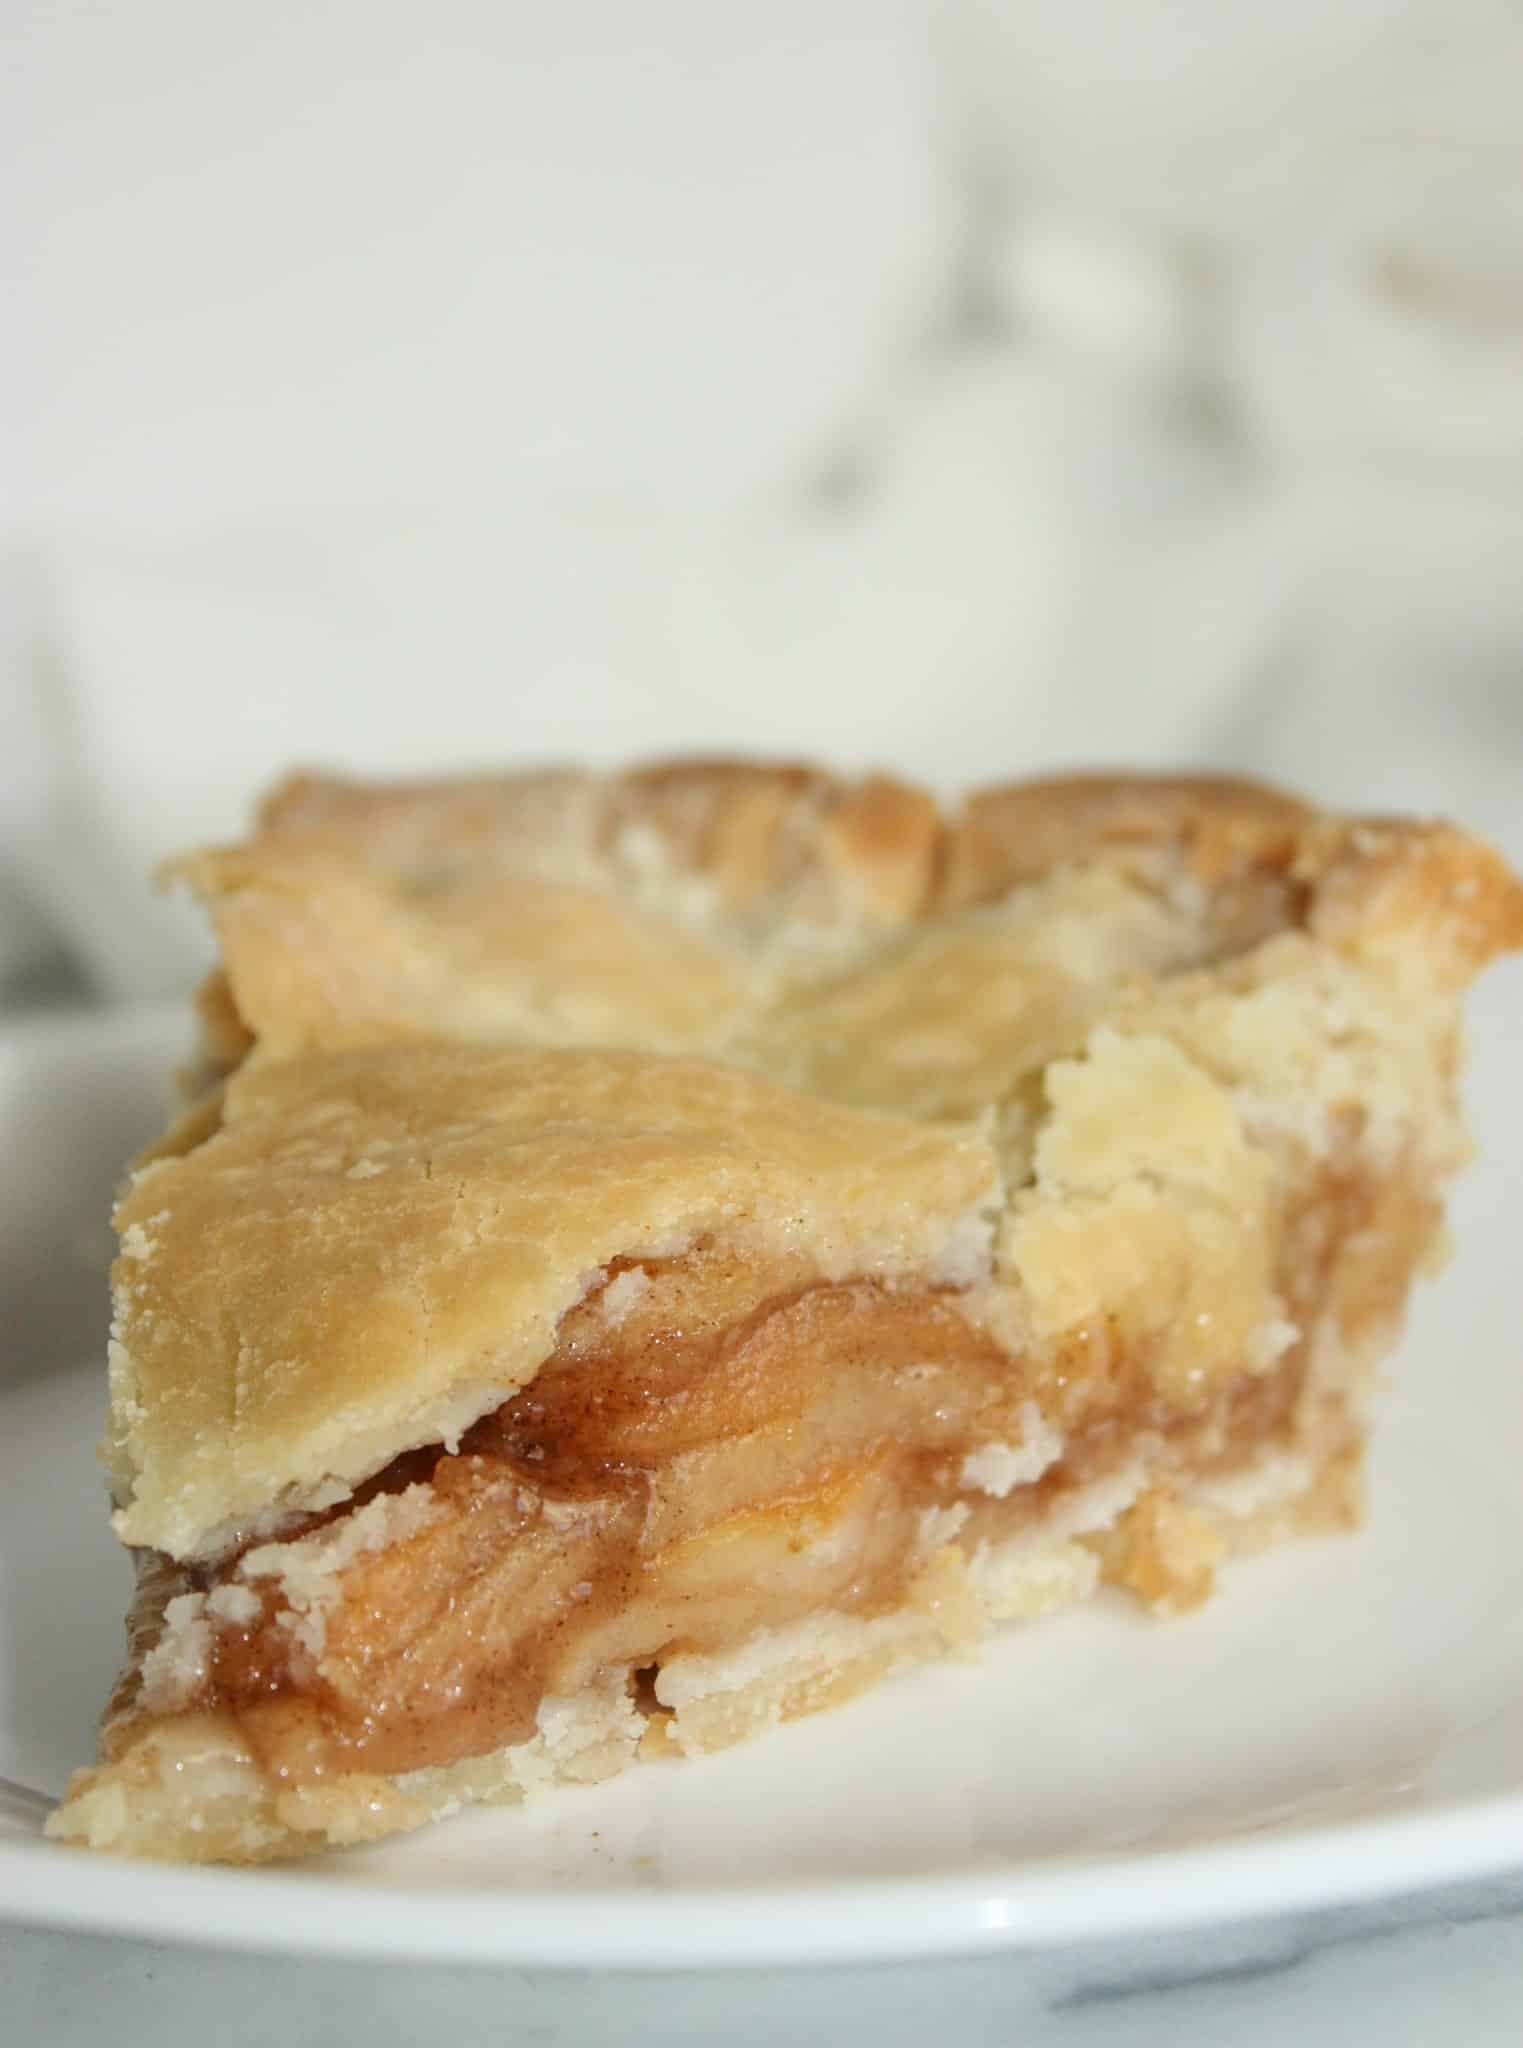
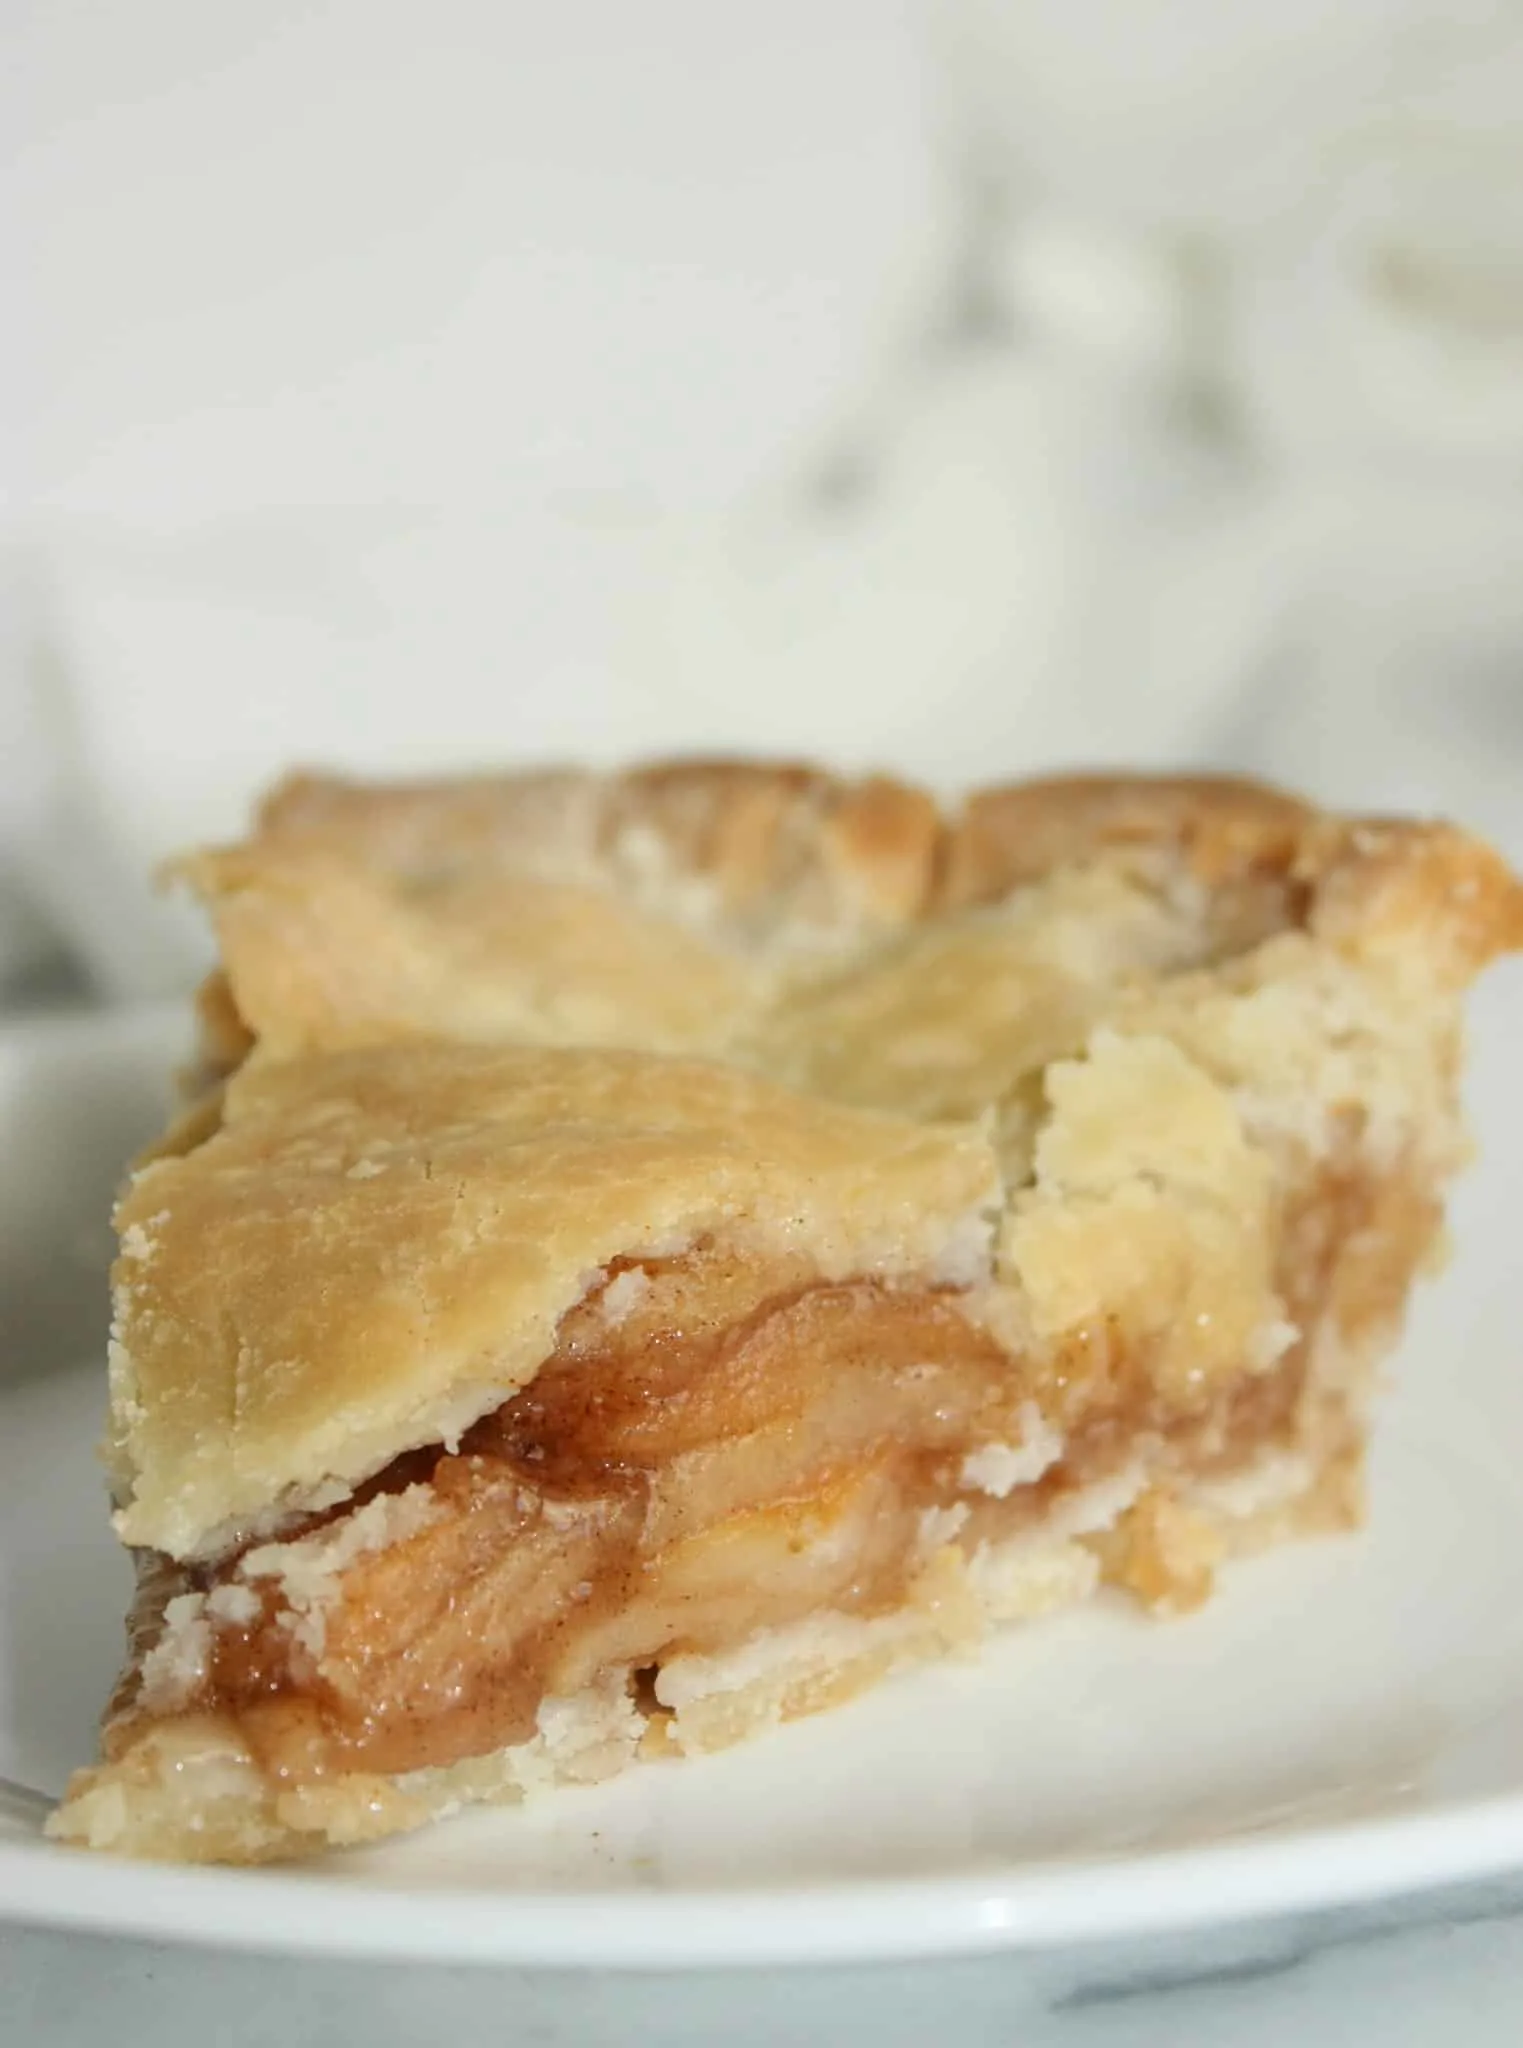
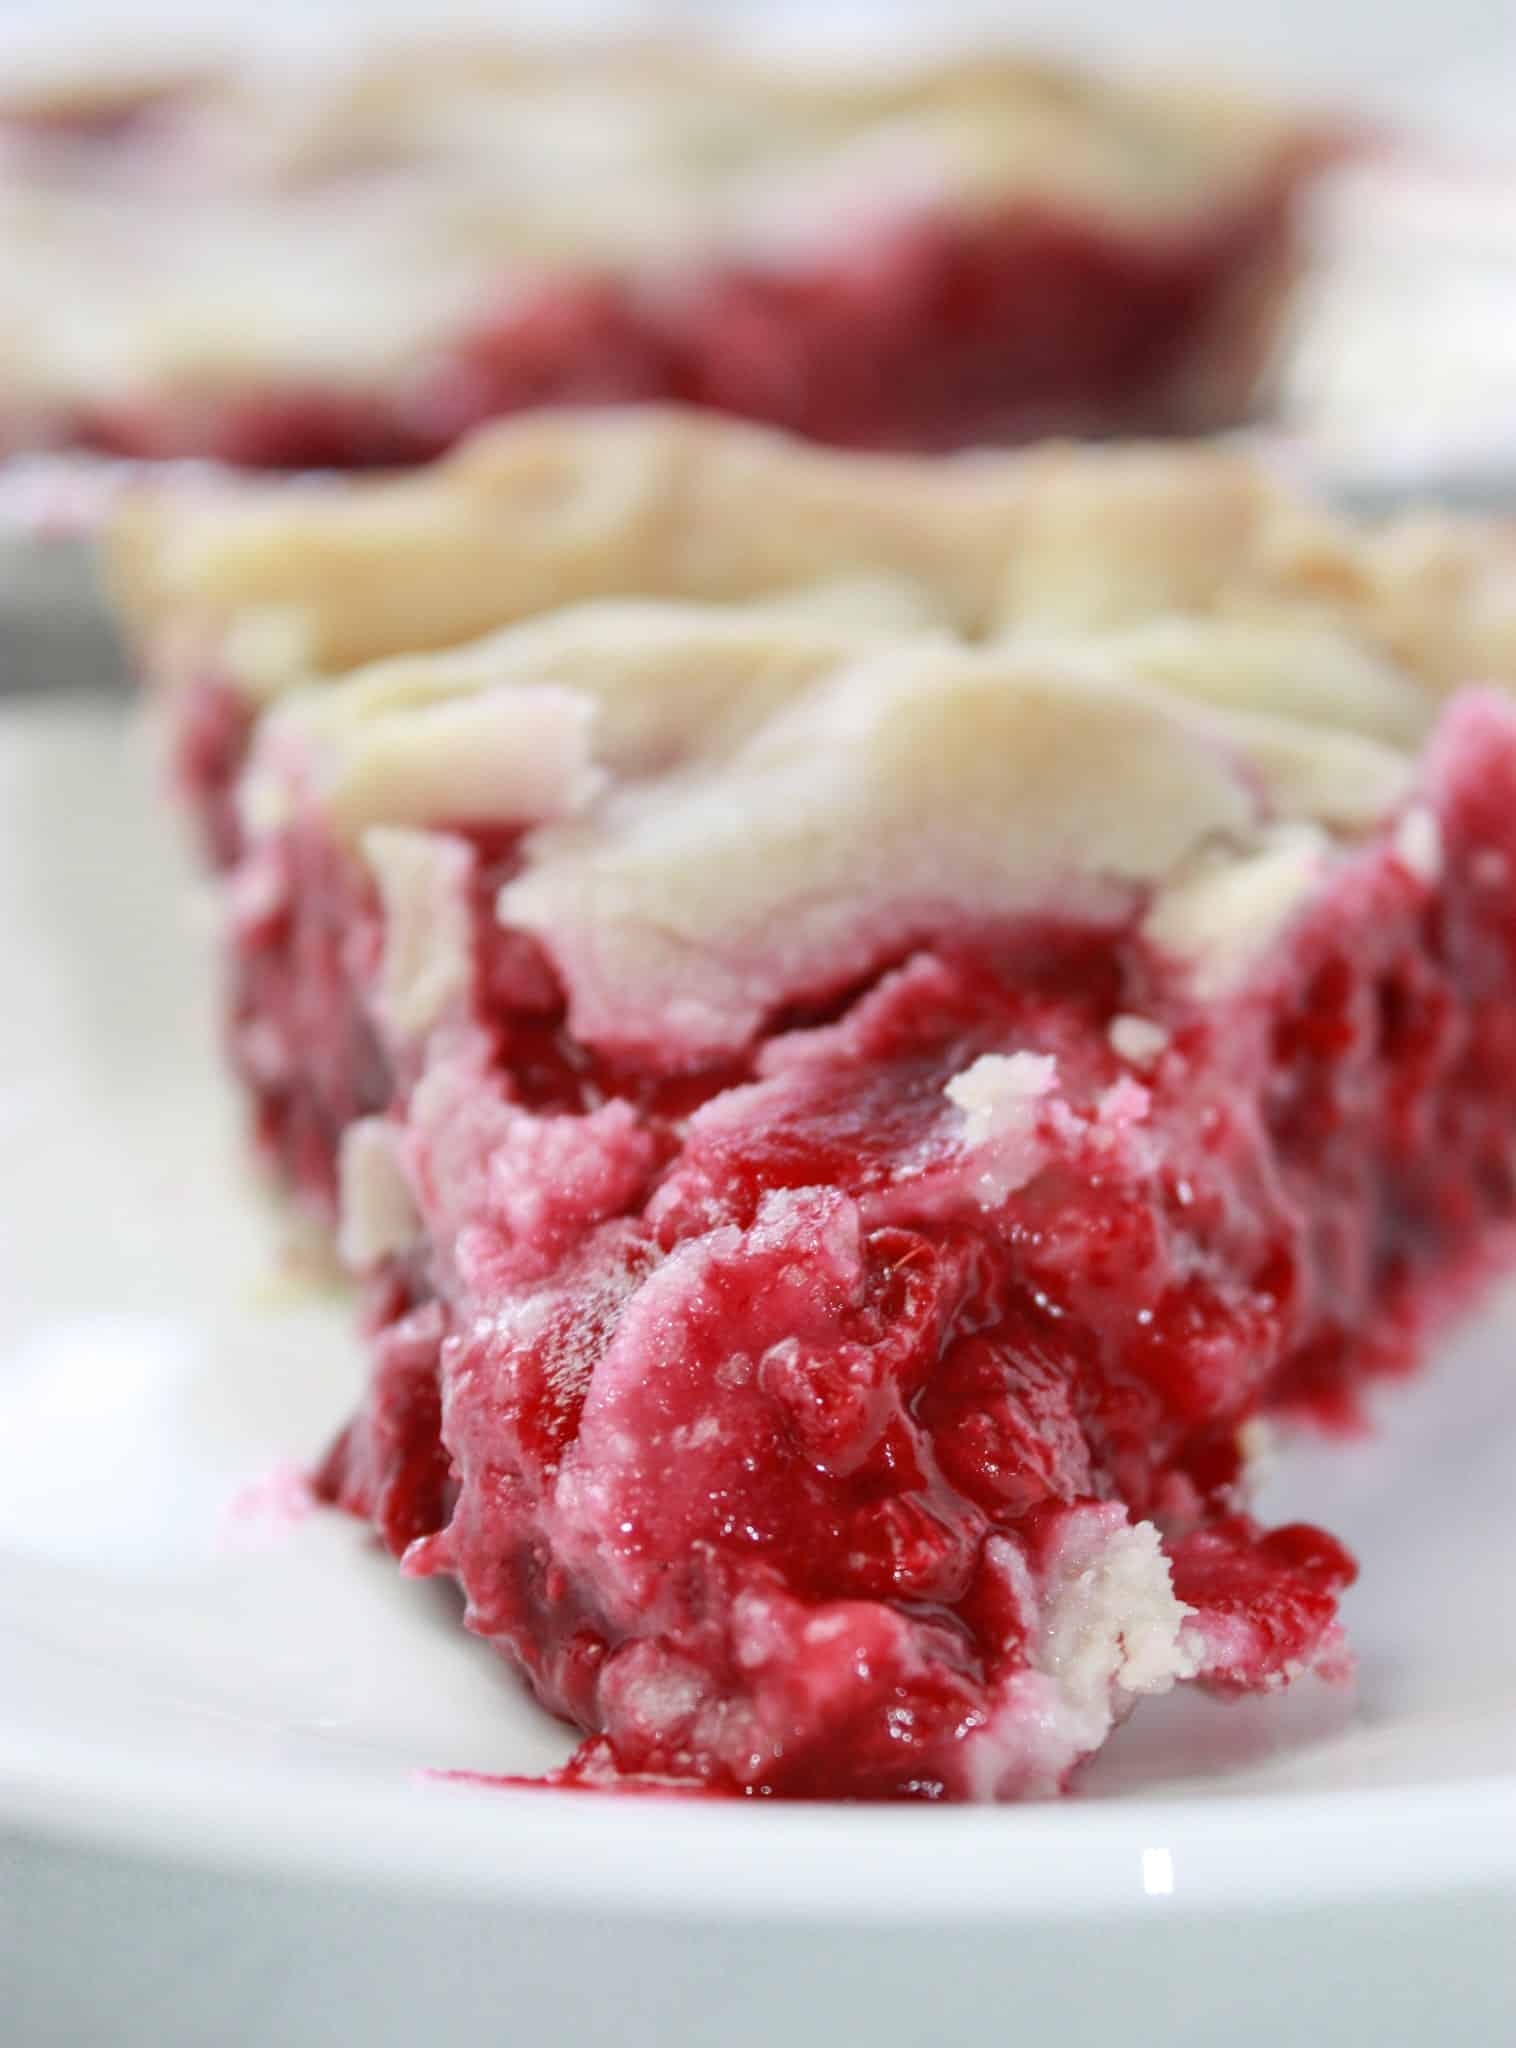
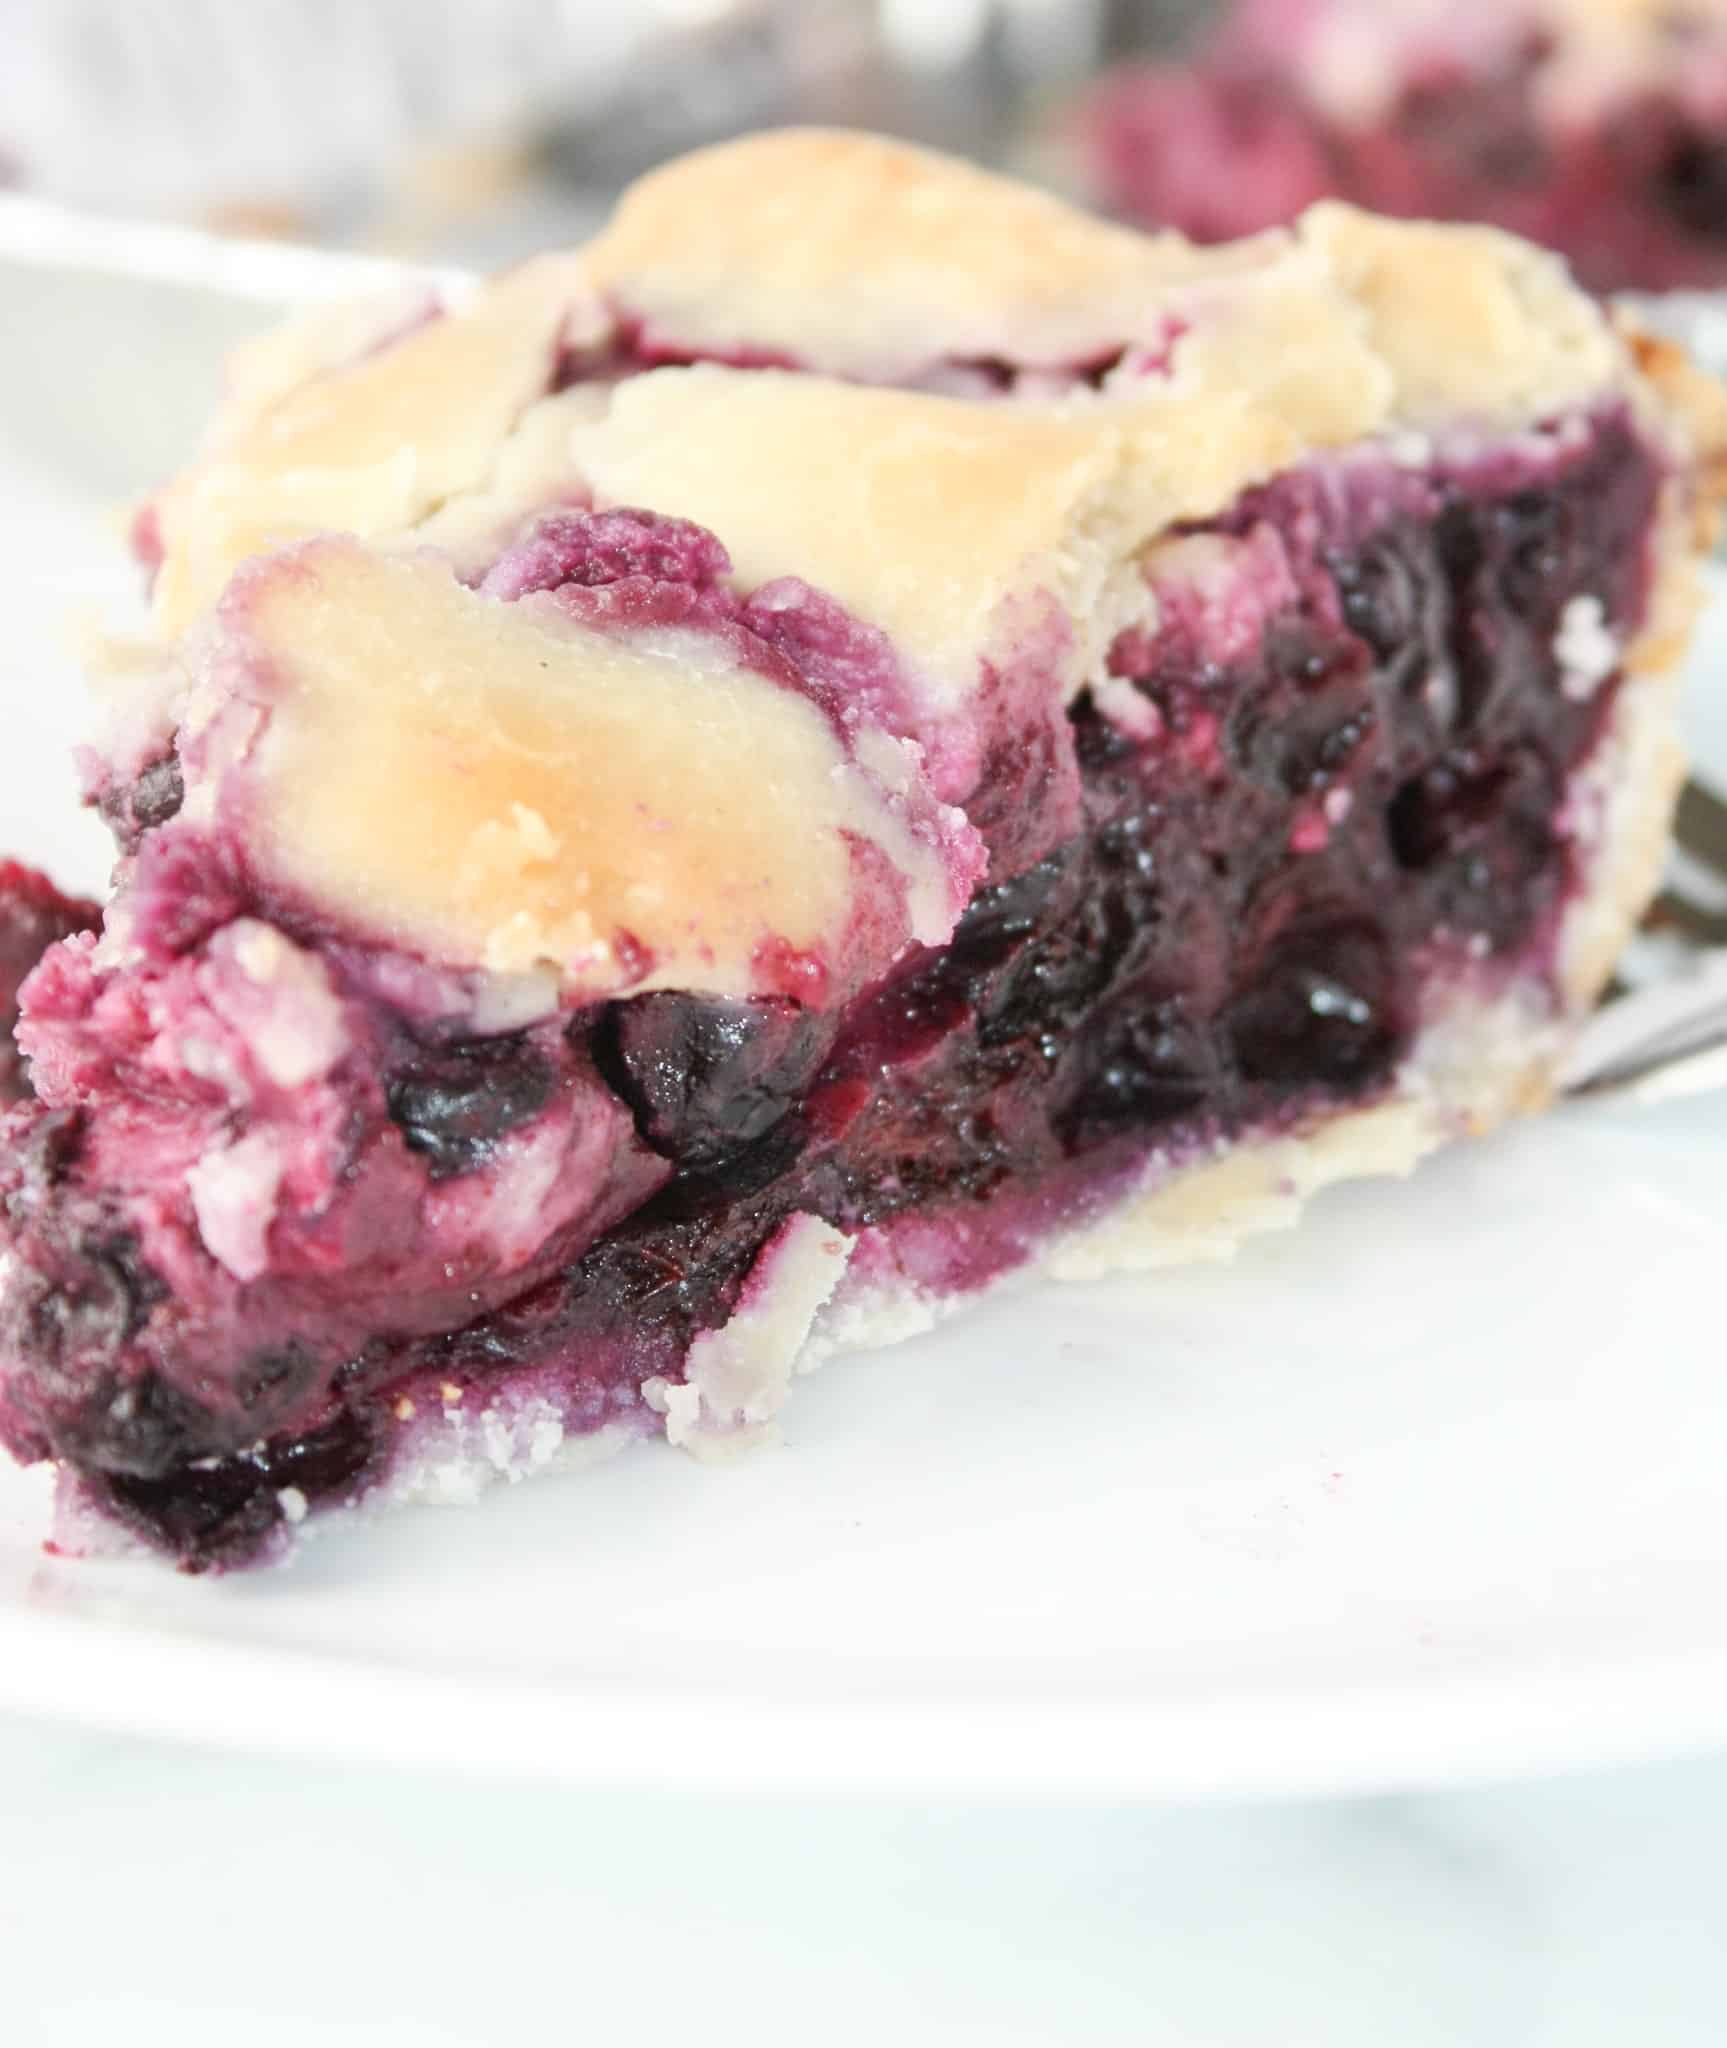
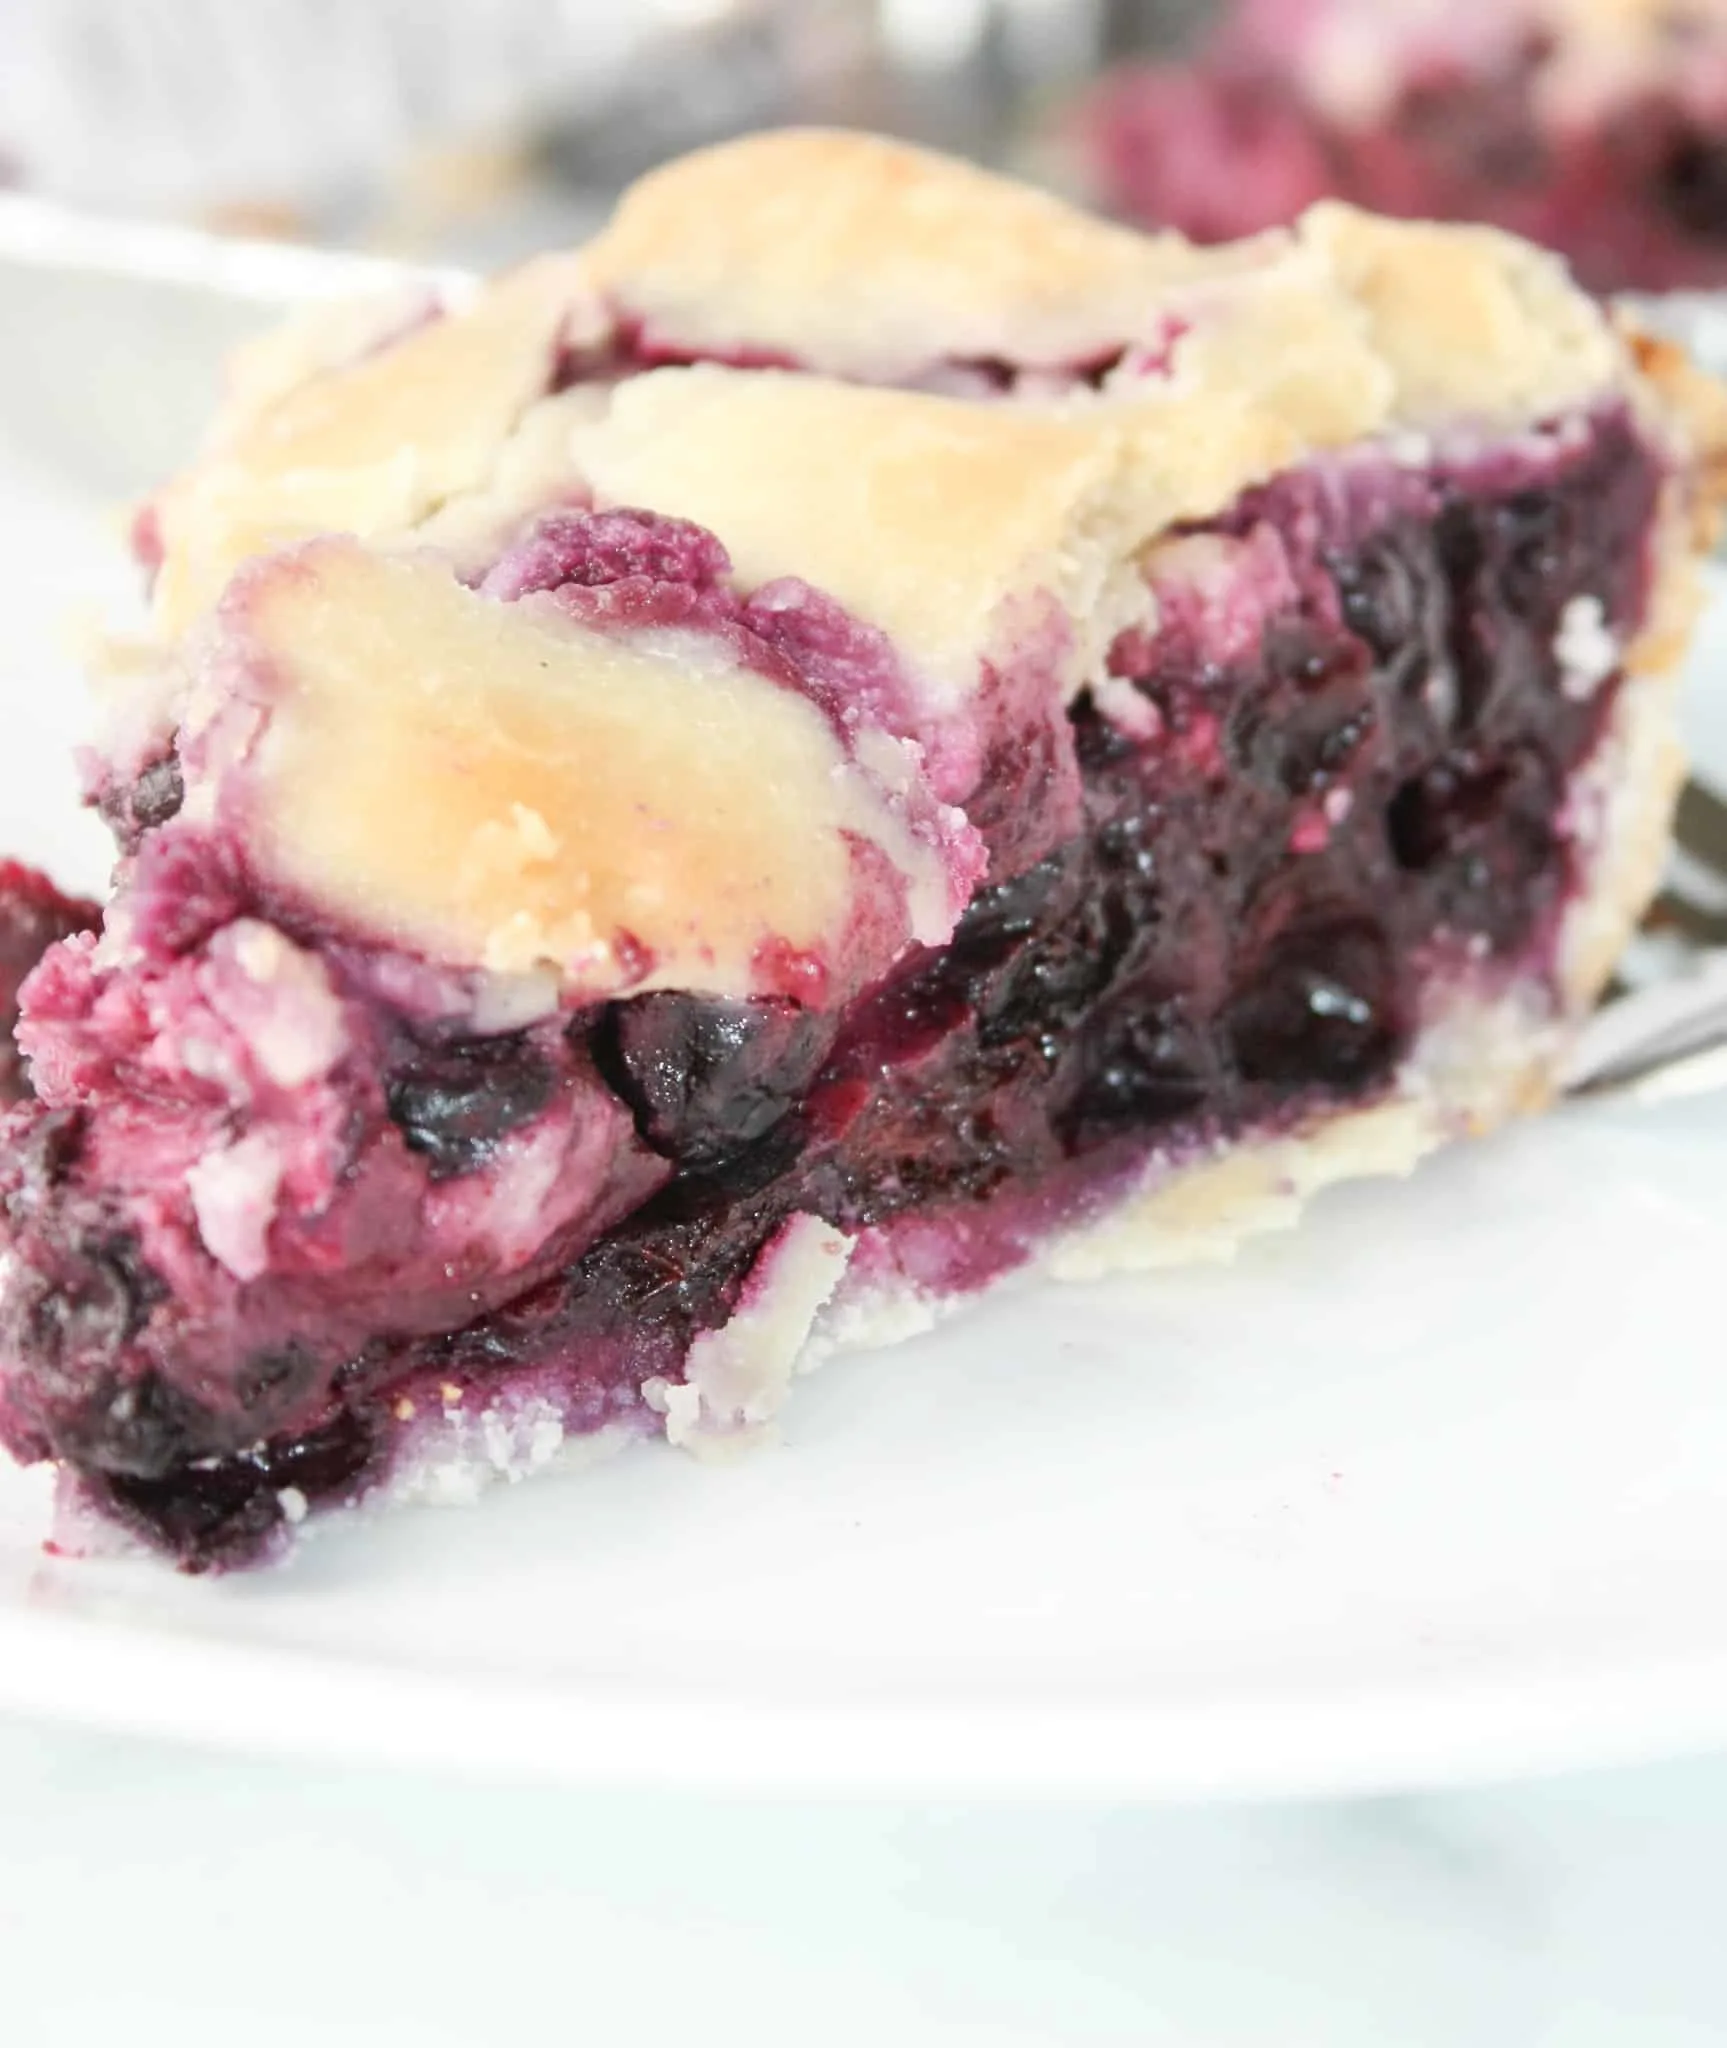
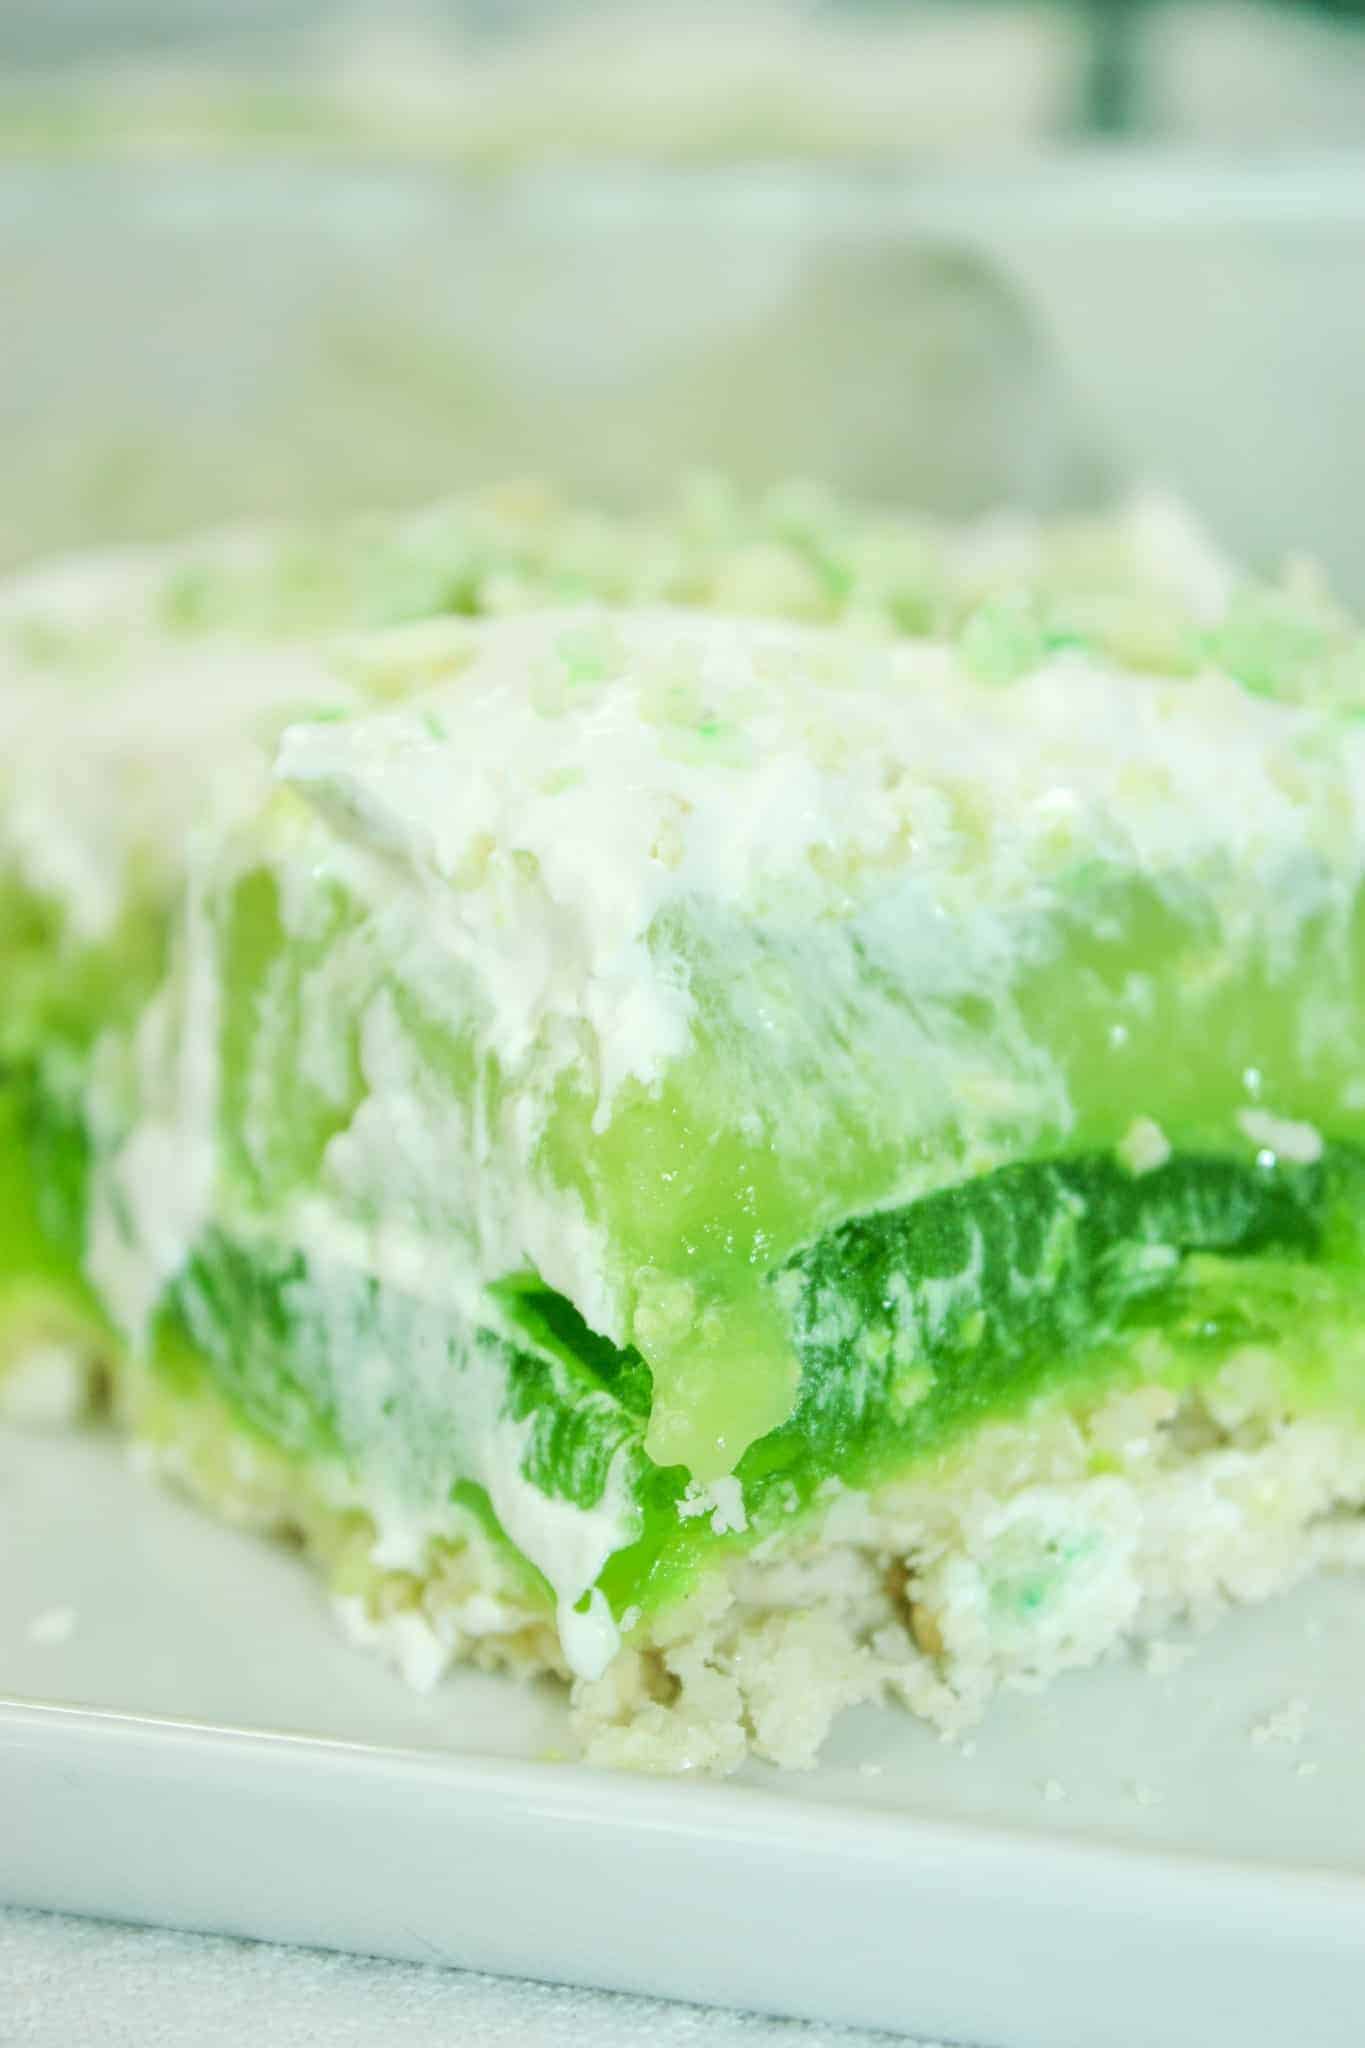
More Pie and Pudding Recipes You Will Love…


PRINTABLE VERSION OF THE RECIPE CAN BE FOUND AT THE BOTTOM OF THE PAGE
Ingredients You’ll Need to Make this Gluten Free Banana Cream Pie:
- 9″ pie shell
- 2 1/2 cups almond milk
- 1/4 granulated sugar
- 3 tbsp (heaping) corn starch
- 4 egg yolks, large
- 2 large bananas
- 2 tsp vanilla extract or 1 tsp banana extract
- 1L Cool Whip
- 1/2 tsp granulated sugar
- 1/4 tsp ground cinnamon
How to Make Gluten Free Banana Cream Pie :
- Prepare Gluten Free Pastry or use a prepared pie shell.
- Prick pie shell and bake it in a preheated 400F oven for 8 – 10 minutes.
- Pour almond milk into a large microwaveable measuring cup and dump in the granulated sugar, corn starch, and egg yolks.
- Use a wire whisk to combine these ingredients.
- Place in the microwave on Power Level High for 4 – 6 minutes, stirring every two minutes.
- Pudding will be cooked once it boils and thickens.
- Remove from microwave and stir in the vanilla or banana extract.
- Let stand for about 10 minutes, stirring twice.
- Slice one of the bananas.
- Arrange slices in bottom of cooled pie shell.
- Pour pudding on top of the sliced bananas in the pie shell.
- Allow to cool. If not serving once cooled, cover and store in refrigerator.
- Just before serving spread Cool Whip dessert topping over the pudding.
- Slice the second banana and arrange slices as desired on top of Cool Whip.
- Mix together the sugar and cinnamon.
- Sprinkle the cinnamon mixture over the top of the pie.
- Slice into desired sized pieces.
- Serve and enjoy!
FAQS:
How do I store gluten free banana cream pie?
To store gluten-free banana cream pie, follow these steps:
- Allow the pie to cool: Make sure the banana cream pie has completely cooled down before storing. This helps prevent condensation and maintain the pie’s texture.
- Cover with plastic wrap: Gently cover the pie with a layer of plastic wrap, ensuring that it touches the surface of the filling. This helps prevent a skin from forming on the custard.
- Refrigerate: Place the covered pie in the refrigerator to keep it chilled. The cool temperature will help maintain its freshness and prevent the filling from spoiling.
- Consume within a few days: Gluten-free banana cream pie is best enjoyed within 2-3 days. After that, the quality and texture may start to deteriorate.
Additionally, it’s worth noting that the crust of the banana cream pie should also be gluten-free. Ensure you are using a gluten-free pie crust made from ingredients such as gluten-free flour blends, almond flour, or other suitable alternatives.
By following these steps, you can store your gluten-free banana cream pie properly and enjoy it for a few days while maintaining its flavor and quality.
Can I freeze gluten free banana cream pie?
Yes, you can freeze a gluten-free banana cream pie. Freezing can help preserve the pie for a longer period of time. However, it’s important to keep a few things in mind to ensure the best results:
- Use appropriate packaging: Wrap the pie tightly in several layers of plastic wrap or aluminum foil to prevent freezer burn and maintain the quality of the pie.
- Choose a suitable container: If you prefer using a container instead of wrapping the pie directly, opt for an airtight freezer-safe container. Make sure it’s the right size to accommodate the pie without leaving too much empty space.
- Label and date the packaging: Clearly label the package with the contents and the date of freezing. This will help you keep track of how long the pie has been frozen.
- Freeze promptly: Place the pie in the freezer as soon as possible to maintain its freshness. It’s best to freeze it when it’s fully cooled.
- Thawing and serving: When you’re ready to enjoy the pie, remove it from the freezer and let it thaw in the refrigerator for several hours or overnight. This gradual thawing will help preserve the texture and prevent any potential moisture issues. Once thawed, it should be ready to serve.
Keep in mind that while freezing can help extend the shelf life of the pie, it may slightly affect the texture of the filling. Cream-based fillings can become a bit softer upon thawing, but the overall taste should still be enjoyable.
What substitutions can I make in gluten free banana cream pie?
When making a gluten-free banana cream pie, you’ll need to make substitutions for ingredients that typically contain gluten. Here are some suggestions:
- Pie Crust:
- Use a gluten-free graham cracker crust or a gluten-free cookie crust made with gluten-free cookies or crackers.
- Alternatively, you can make a crust using ground gluten-free oats or a combination of gluten-free flours (such as rice flour, almond flour, or a gluten-free all-purpose flour blend).
- Thickener:
- For thickening the filling, you can use arrowroot flour instead of corn starch.
- Whipped Topping:
- Ensure that the whipped topping you use is labeled gluten-free or make your own using whipped coconut cream or whipped cream made from dairy or non-dairy alternatives (check for gluten-free labeling on any added flavorings or stabilizers).
- Vanilla Pudding/Custard Filling:
- Use a gluten-free vanilla pudding mix or make your own using a gluten-free custard recipe. Ensure that the ingredients you use, such as milk, cream, sugar, and flavorings, are gluten-free.
- Thicken the pudding with a gluten-free thickener like cornstarch or arrowroot powder.
Always double-check the ingredient labels of the products you use to ensure they are certified gluten-free, as cross-contamination can occur during manufacturing.

Gluten Free Banana Cream Pie

This Gluten Free Banana Cream Pie was a delicious treat for me, as well as for those without any intolerances. Layers of banana, custard filling and Cool Whip topping, contribute to the creaminess of this dessert.
Ingredients
- 9" pie shell
- 2 1/2 cups almond milk
- 1/4 granulated sugar
- 3 tbsp (heaping) corn starch
- 4 egg yolks, large
- 2 large bananas
- 2 tsp vanilla extract or 1 tsp banana extract
- 1L Cool Whip dessert topping
- 1/2 tsp granulated sugar
- 1/4 tsp ground cinnamon
Instructions
- Prepare Gluten Free Pastry or use a prepared pie shell.
- Prick pie shell and bake it in a preheated 400F oven for 8 - 10 minutes.
- Pour almond milk into a large microwaveable measuring cup and dump in the granulated sugar, corn starch, and egg yolks.
- Use a wire whisk to combine these ingredients.
- Place in the microwave on Power Level High for 4 - 6 minutes, stirring every two minutes.
- Pudding will be cooked once it boils and thickens.
- Remove from microwave and stir in the vanilla or banana extract.
- Let stand for about 10 minutes, stirring twice.
- Slice one of the bananas.
- Arrange slices in bottom of cooled pie shell.
- Pour pudding on top of the sliced bananas in the pie shell.
- Allow to cool. If not serving once cooled, cover and store in refrigerator.
- Just before serving spread Cool Whip dessert topping over the pudding.
- Slice the second banana and arrange slices as desired on top of Cool Whip.
- Mix together the sugar and cinnamon.
- Sprinkle the cinnamon mixture over the top of the pie.
- Slice into desired sized pieces.
- Serve and enjoy!
Notes
*The pudding was cooked in a 1200 watt microwave.
Nutrition Information:
Yield:
7Serving Size:
1Amount Per Serving: Calories: 629Total Fat: 32gSaturated Fat: 16gTrans Fat: 0gUnsaturated Fat: 14gCholesterol: 105mgSodium: 342mgCarbohydrates: 82gFiber: 4gSugar: 43gProtein: 7g