
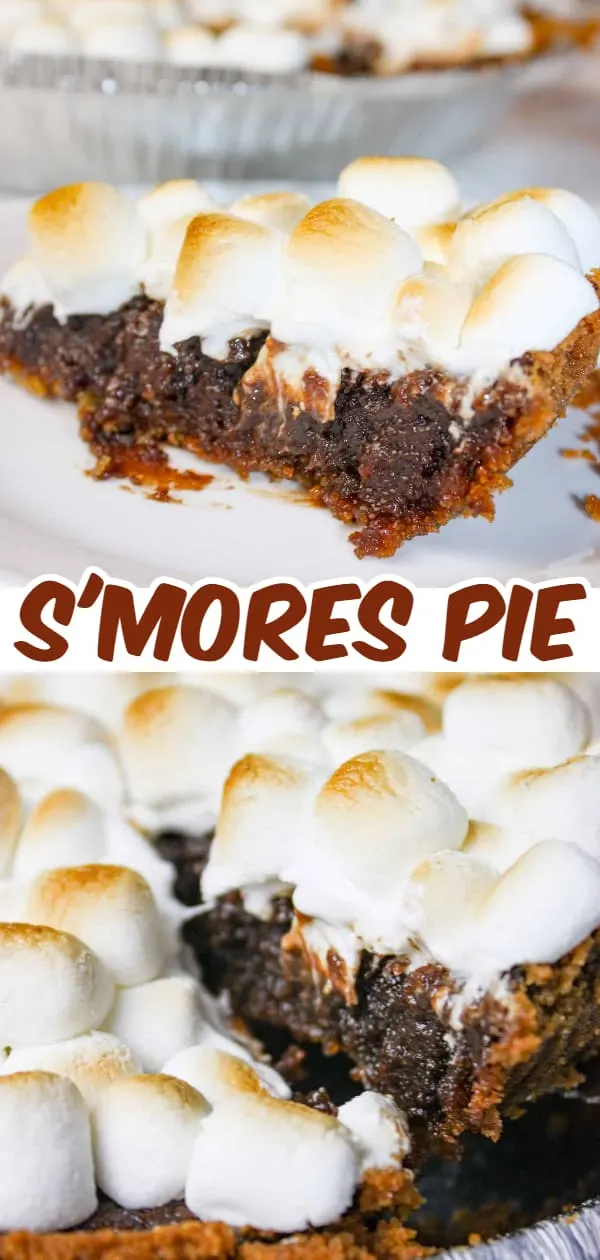
S’mores Pie is a delicious dessert that will delight the taste buds of young and old alike.


Use a ready made gluten free graham crust to make this dessert in even less time!
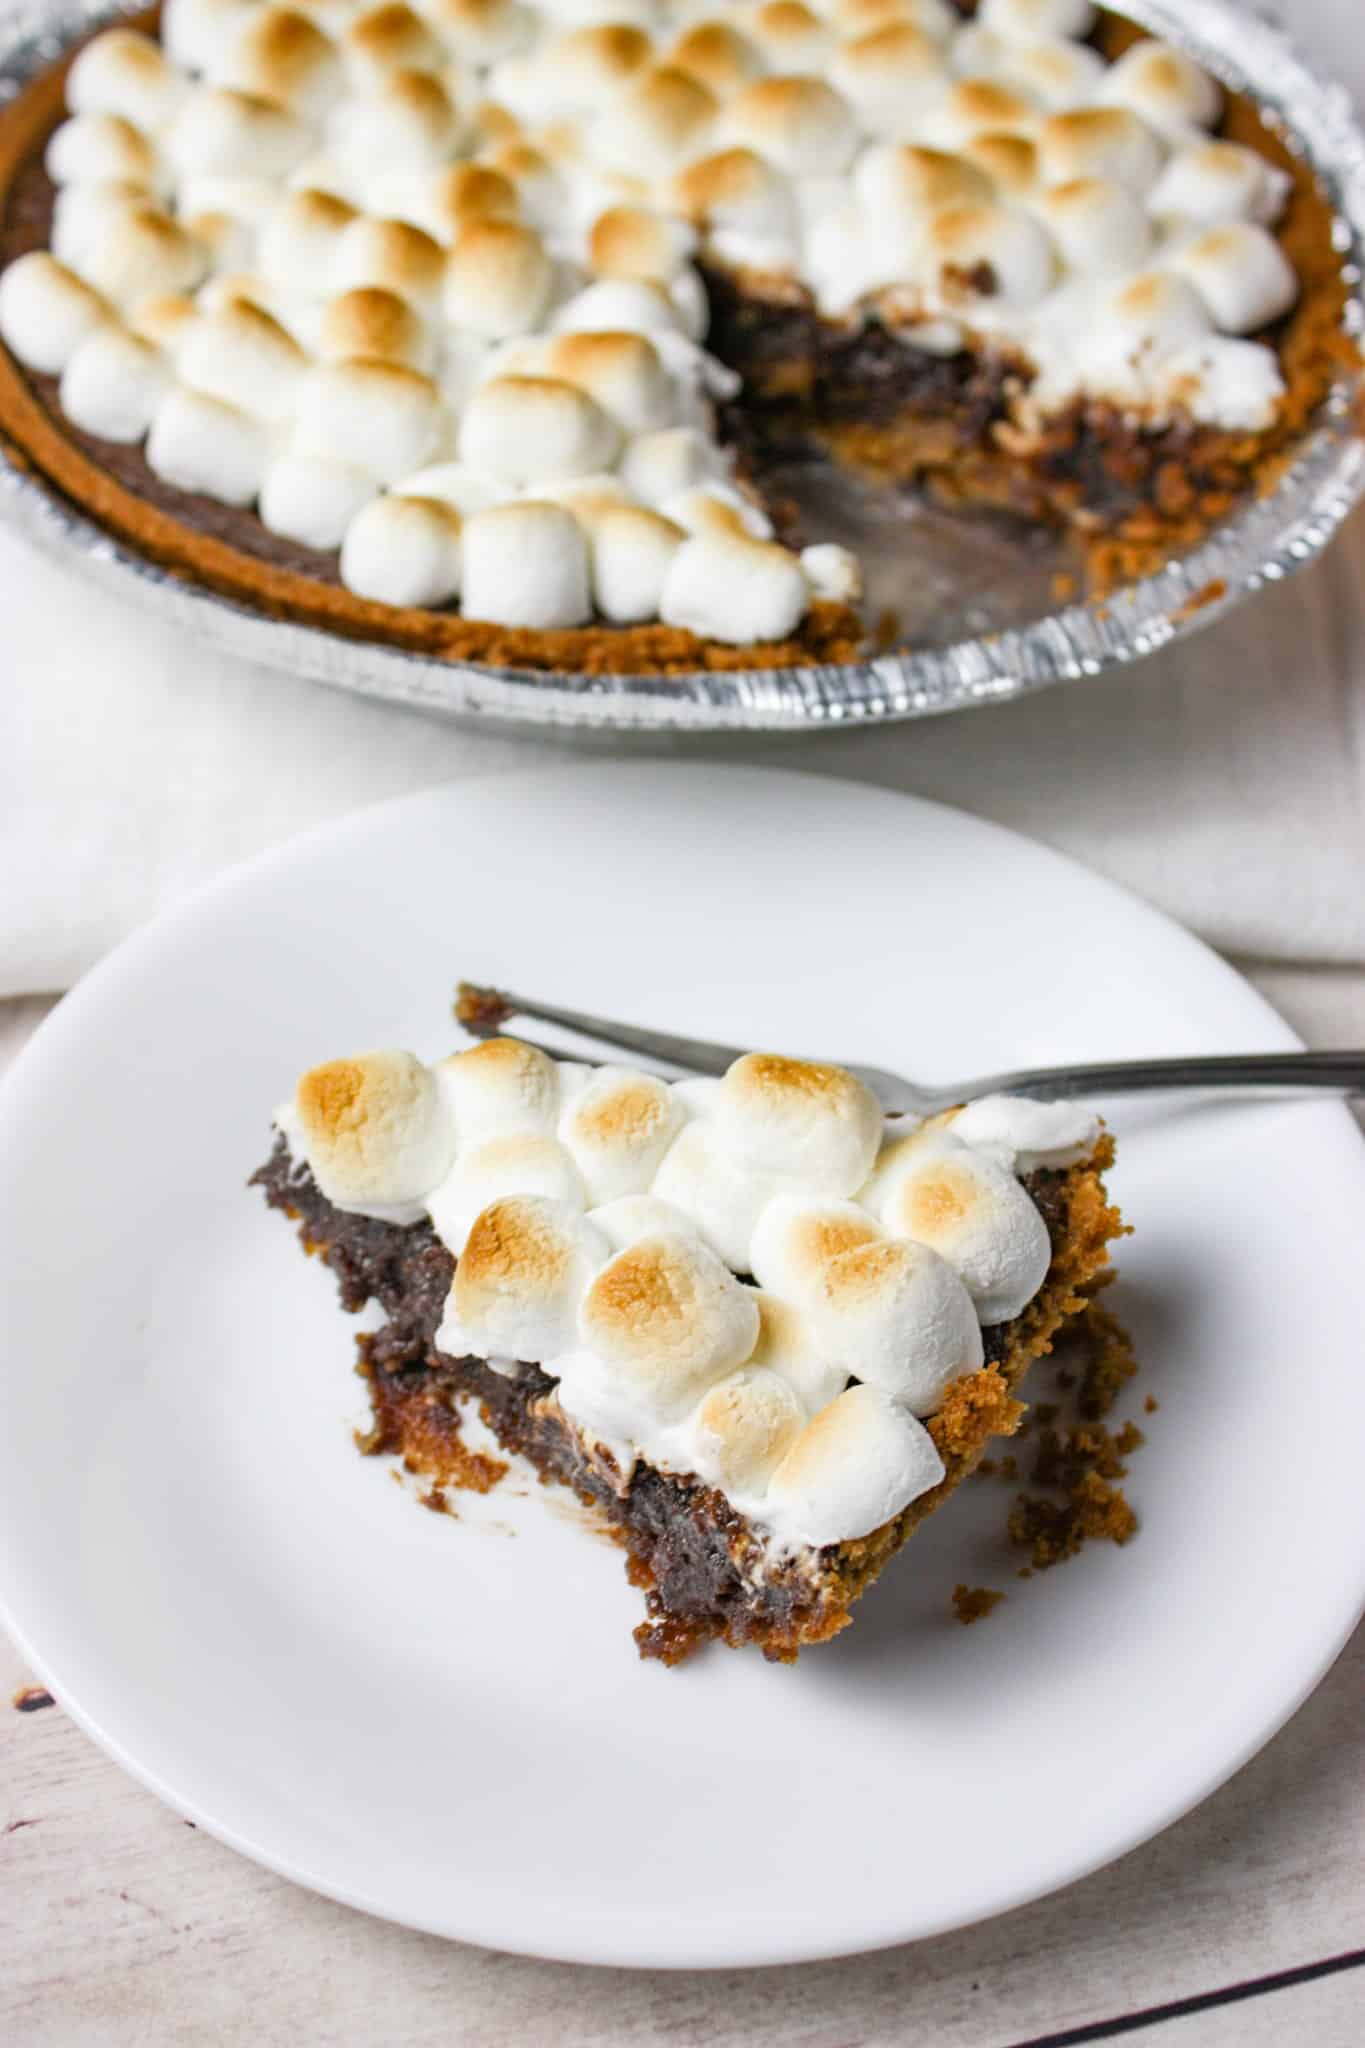

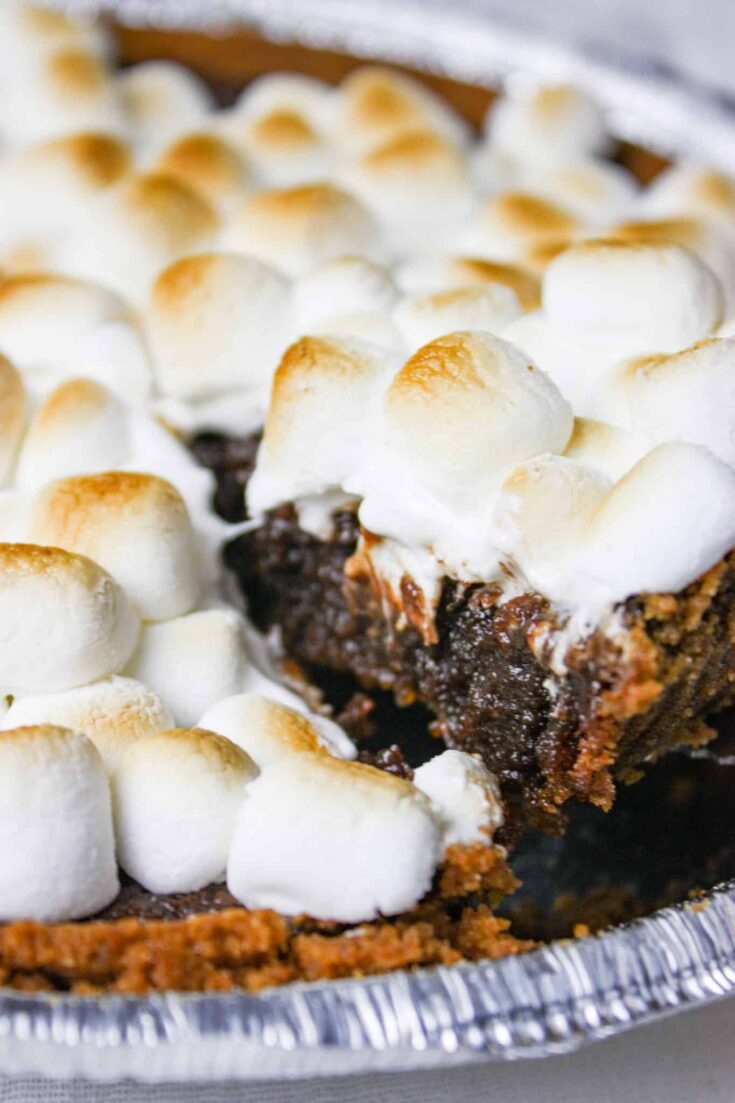
Creamy chocolate filling topped with melted marshmallows, all sitting on a graham crust makes this a decadent treat to indulge in any time of the year.


Memories of campfires and warm summer evenings are in every bite!

Printable Recipe Card with a Full List of Ingredients and Instructions is Located at the Bottom of the Post.
Be sure to read through the entire post so that you don’t miss out on any important tips and tricks!
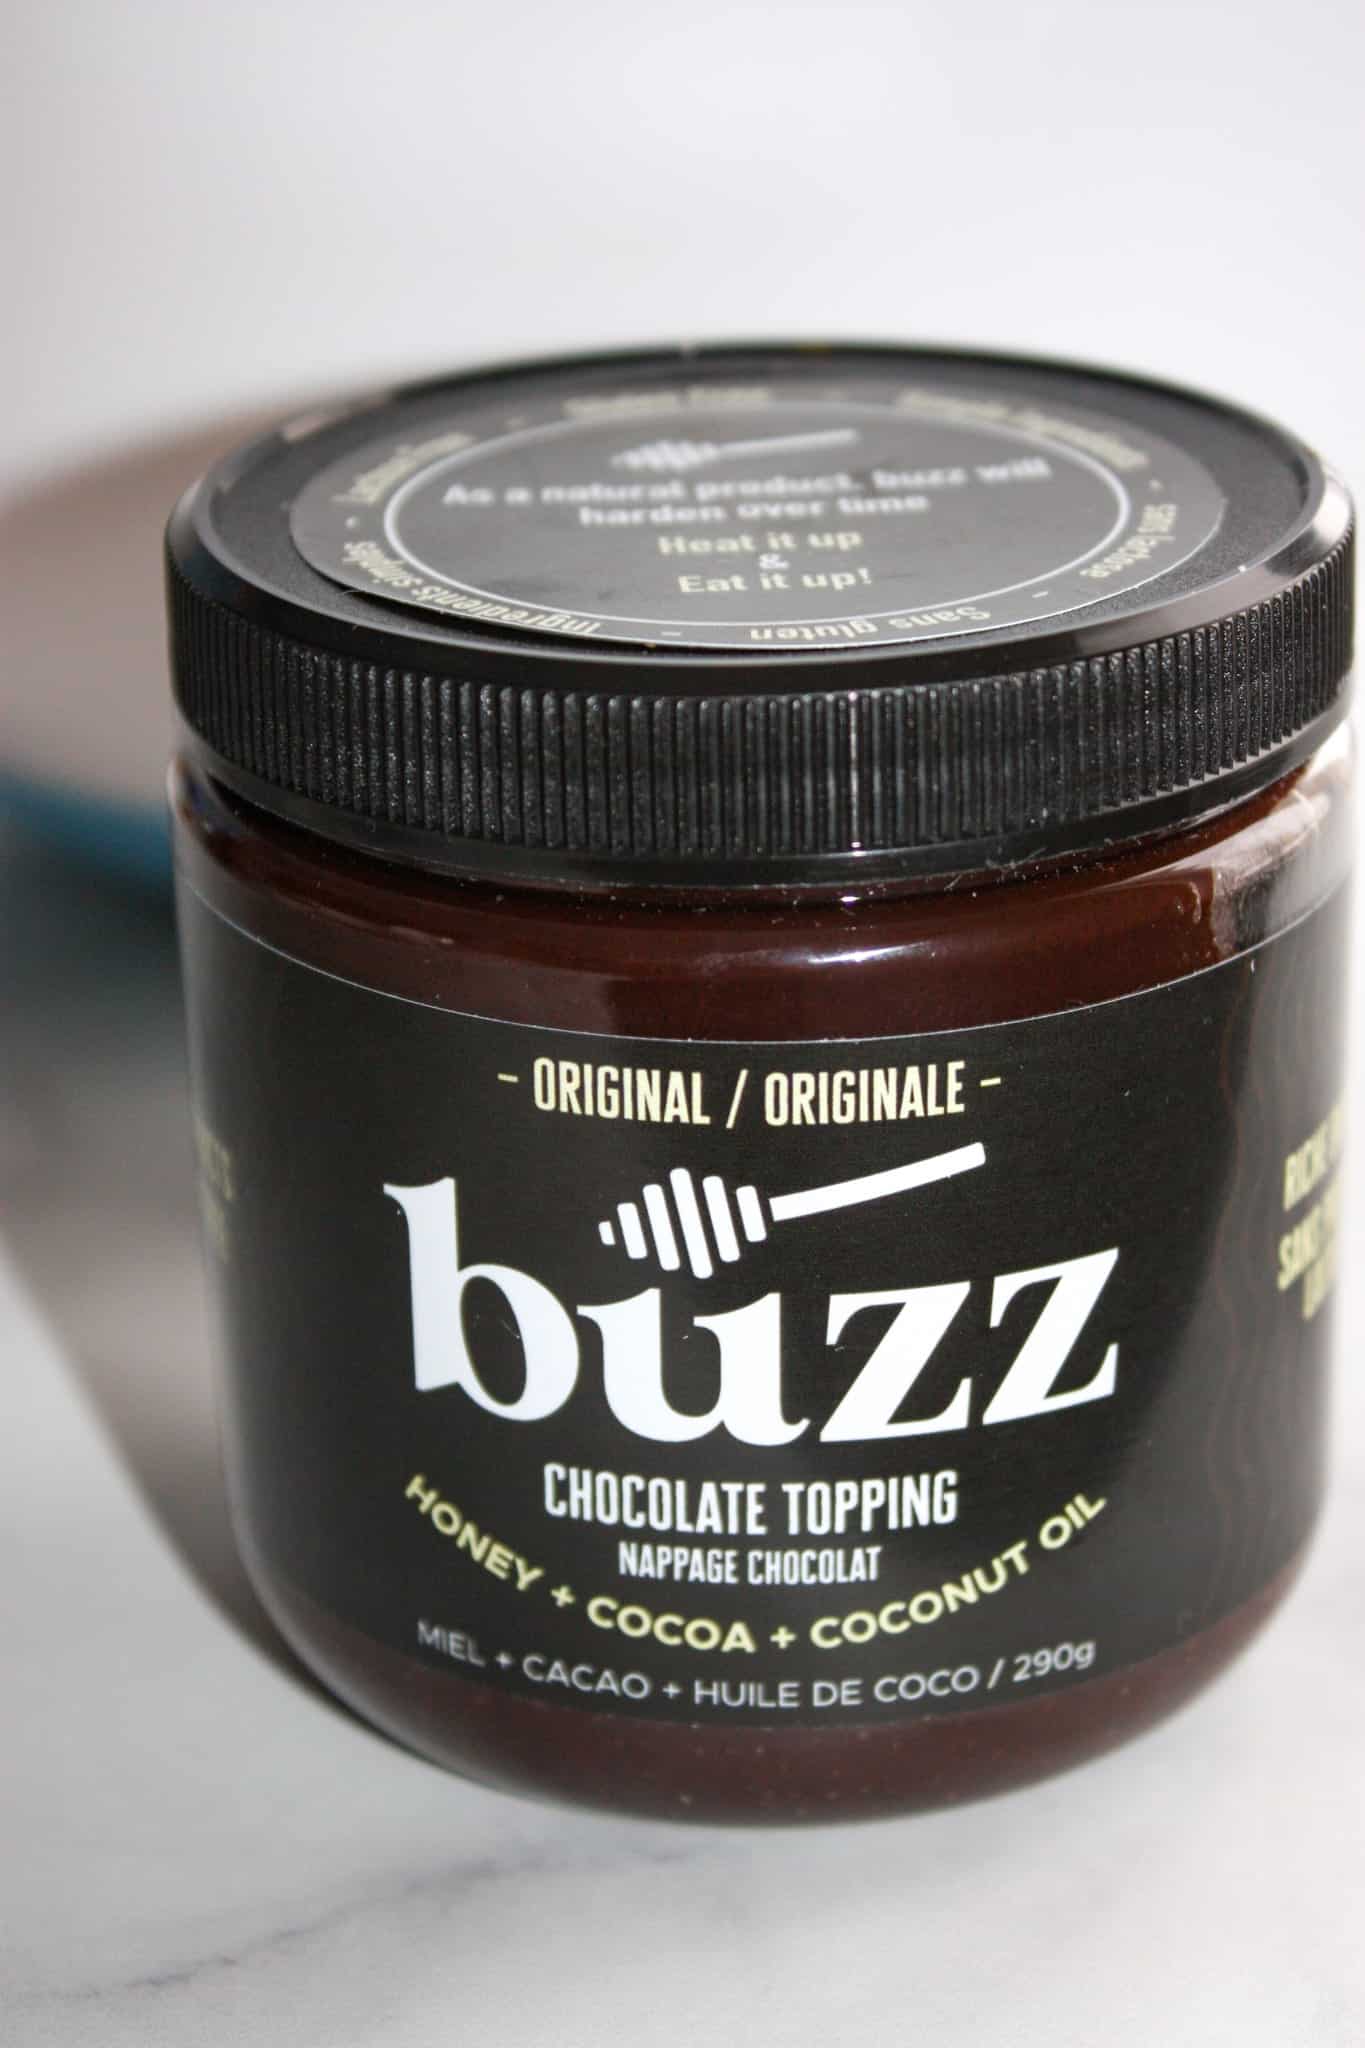
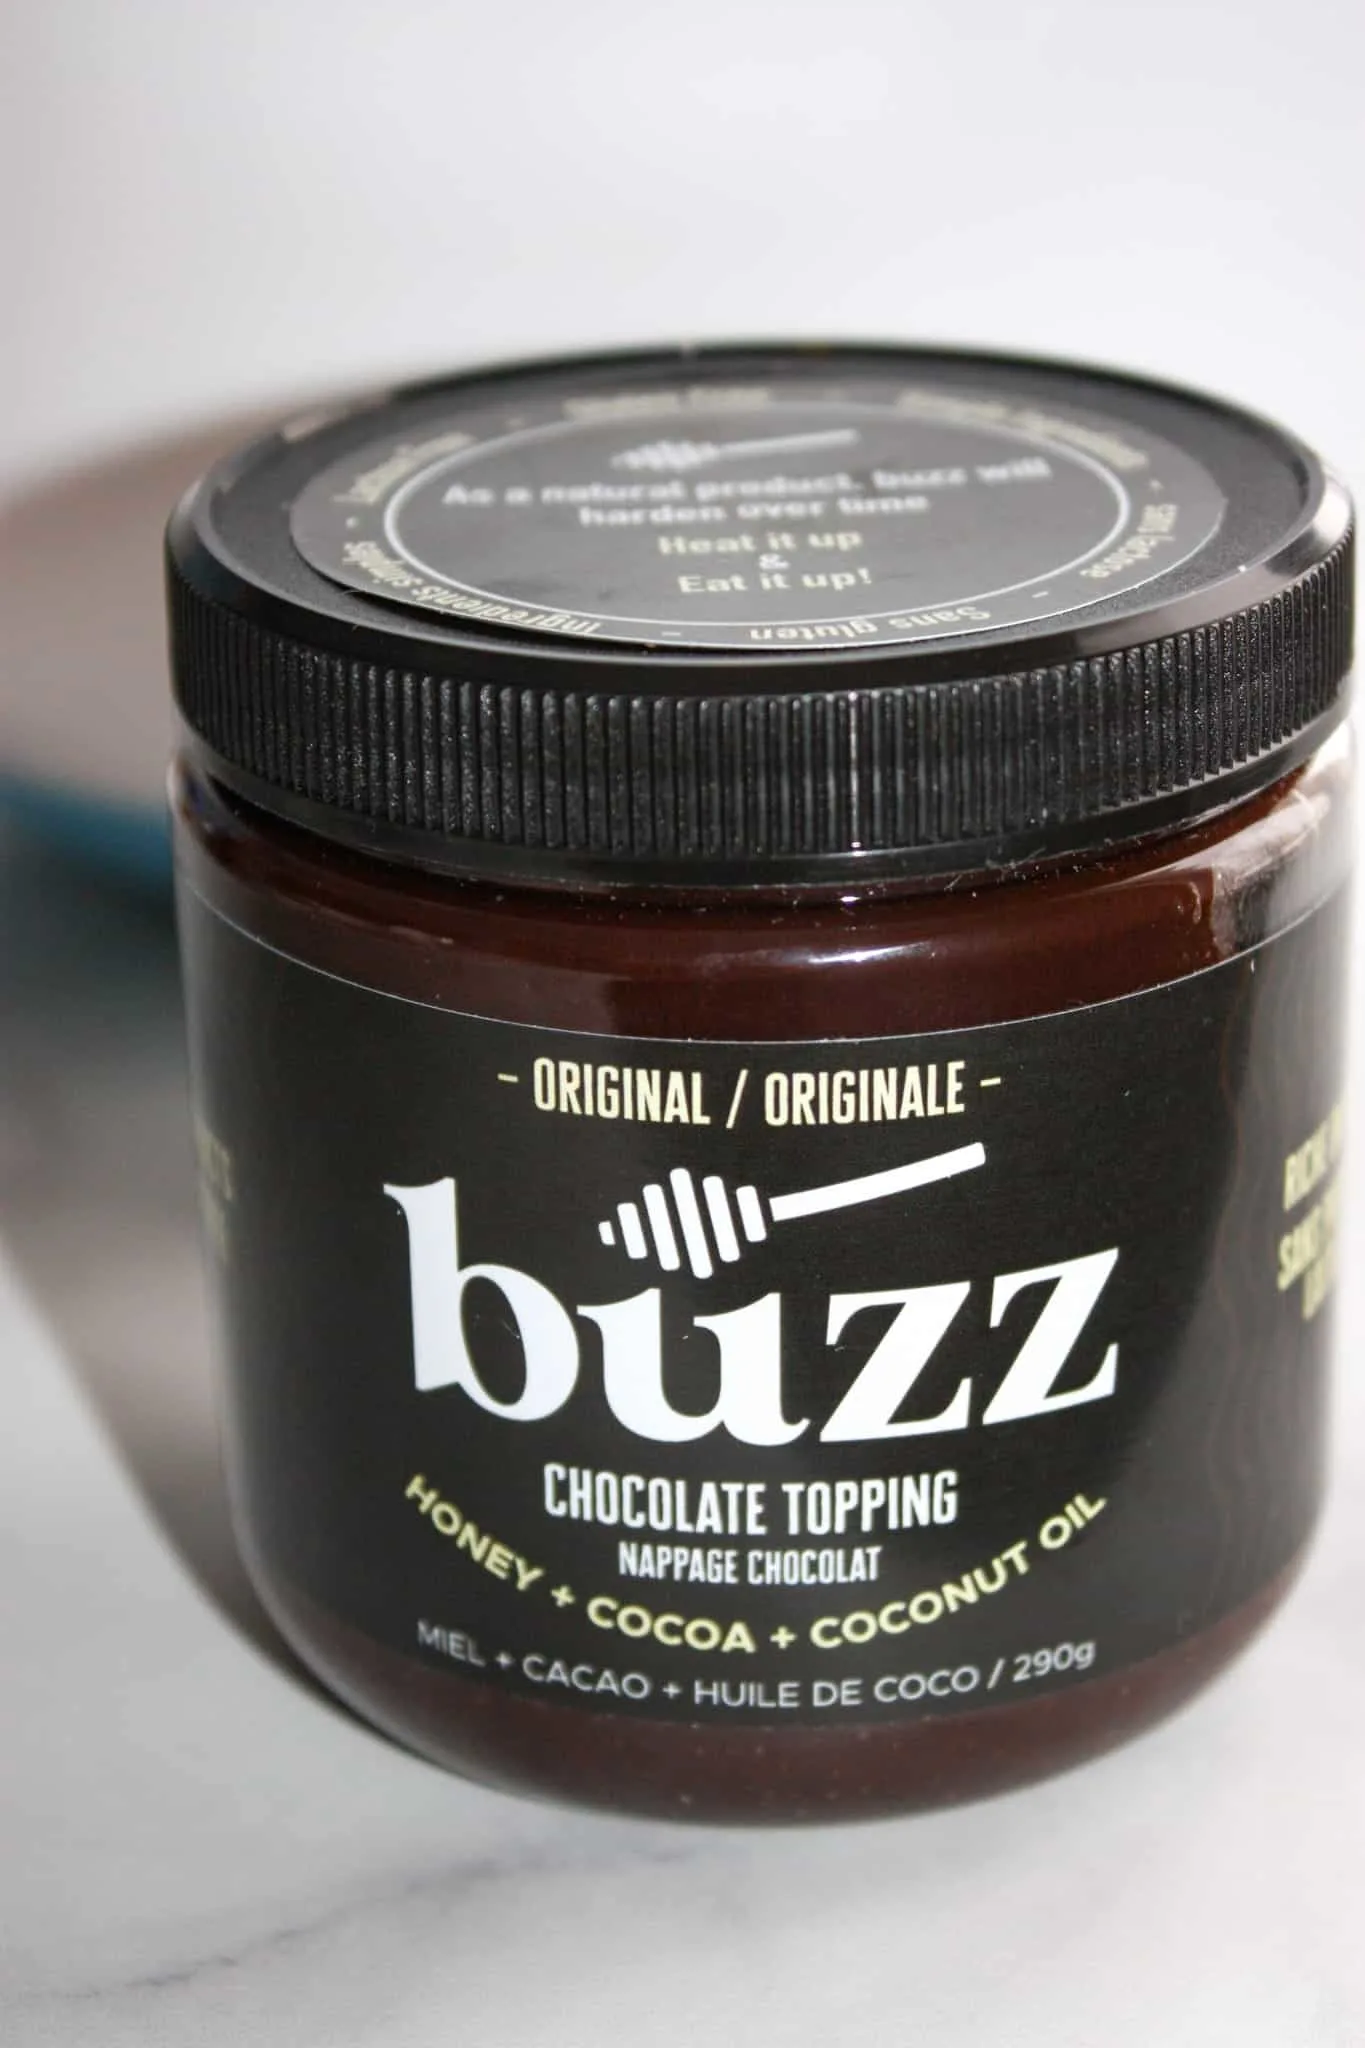
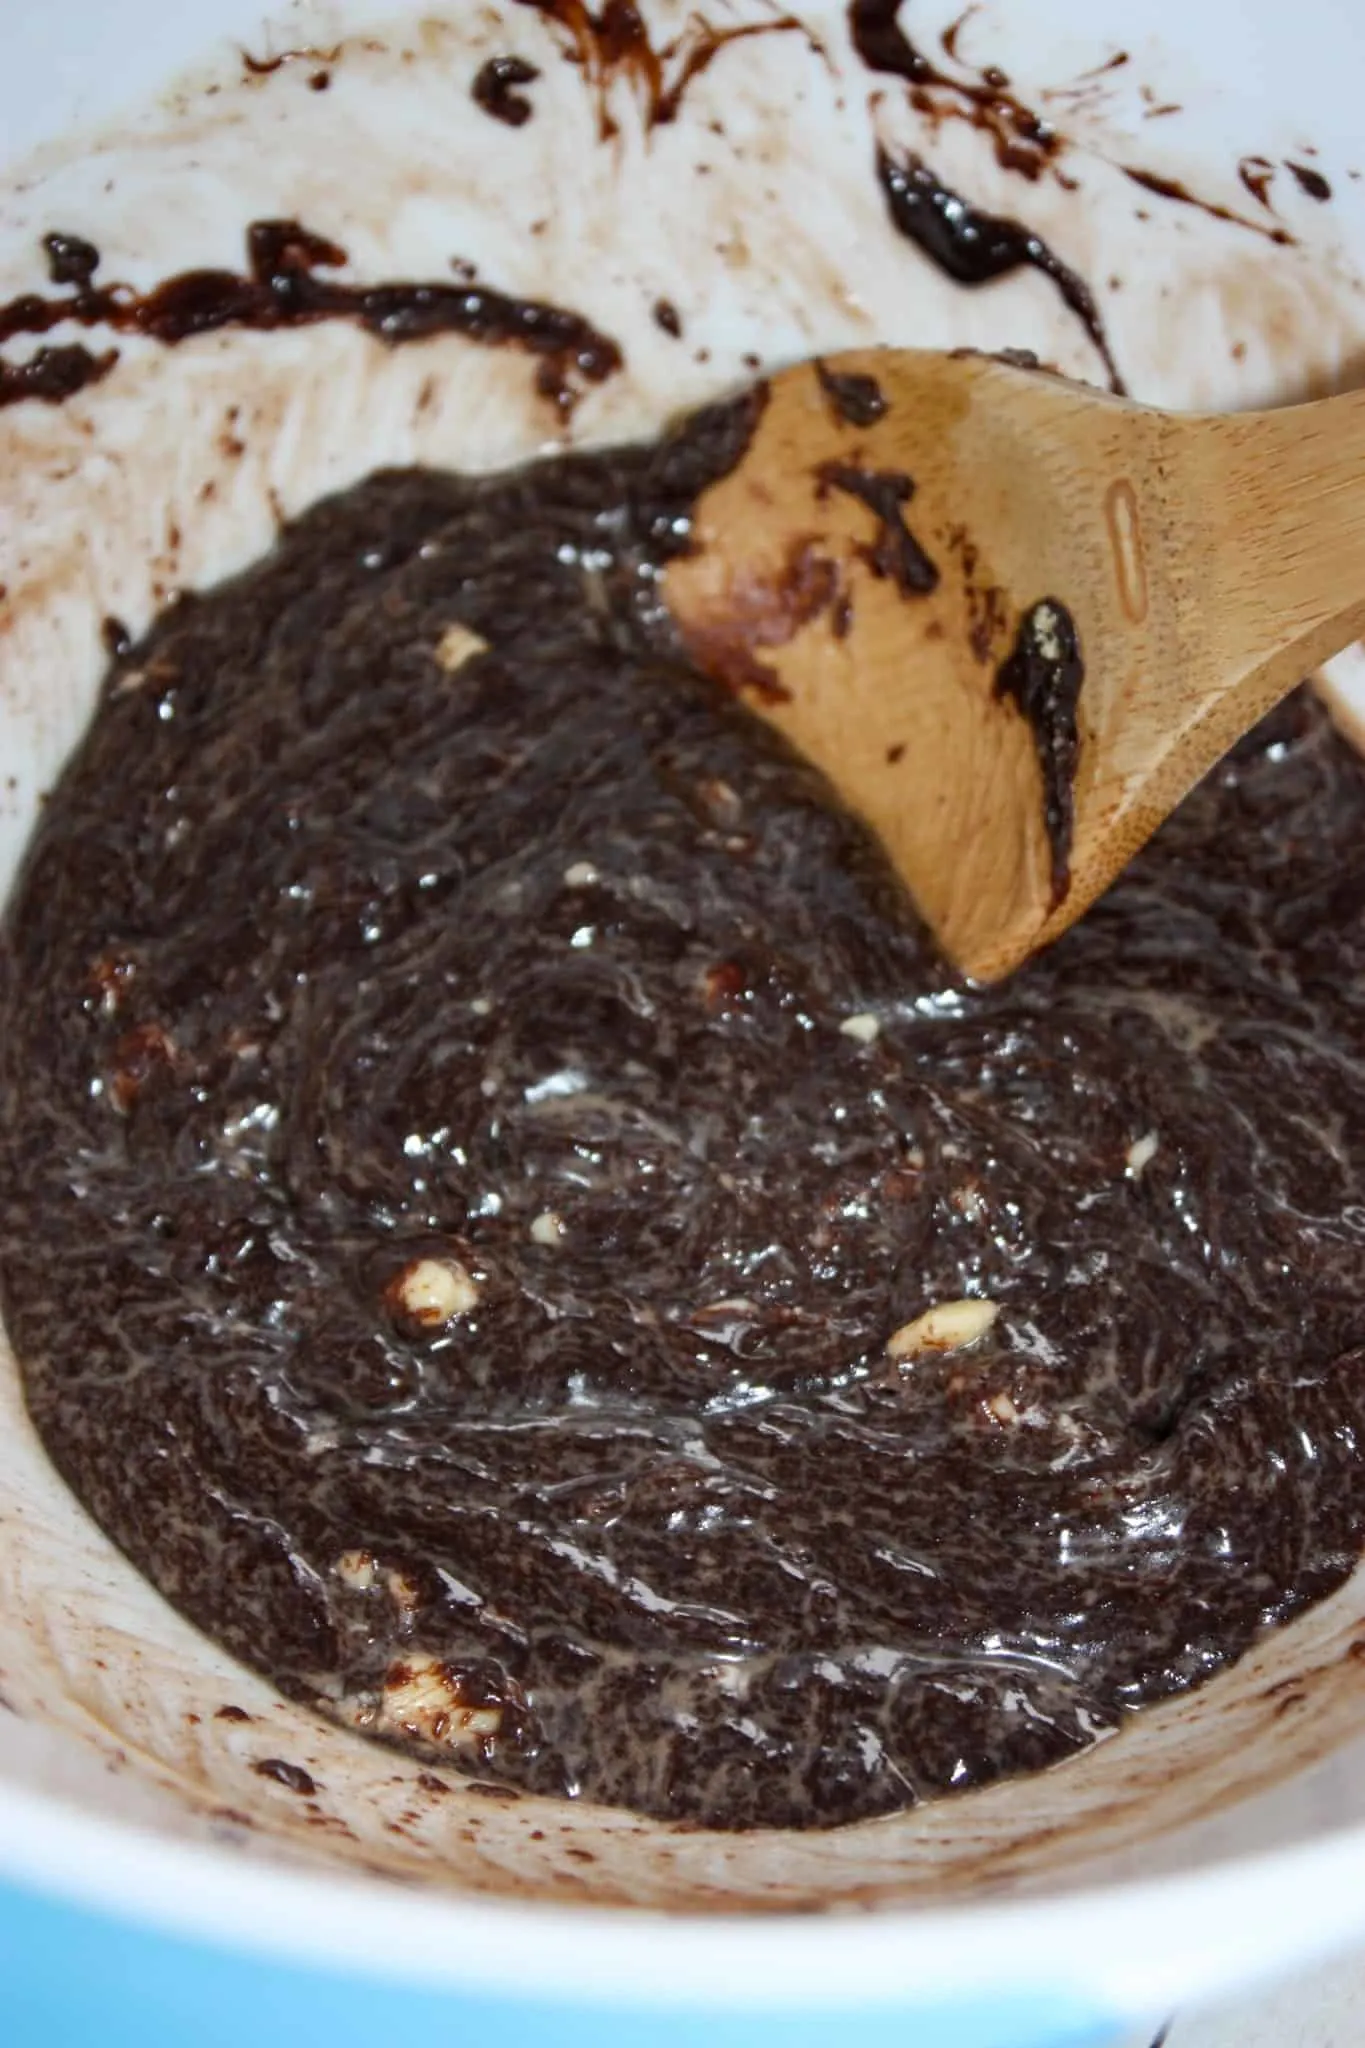
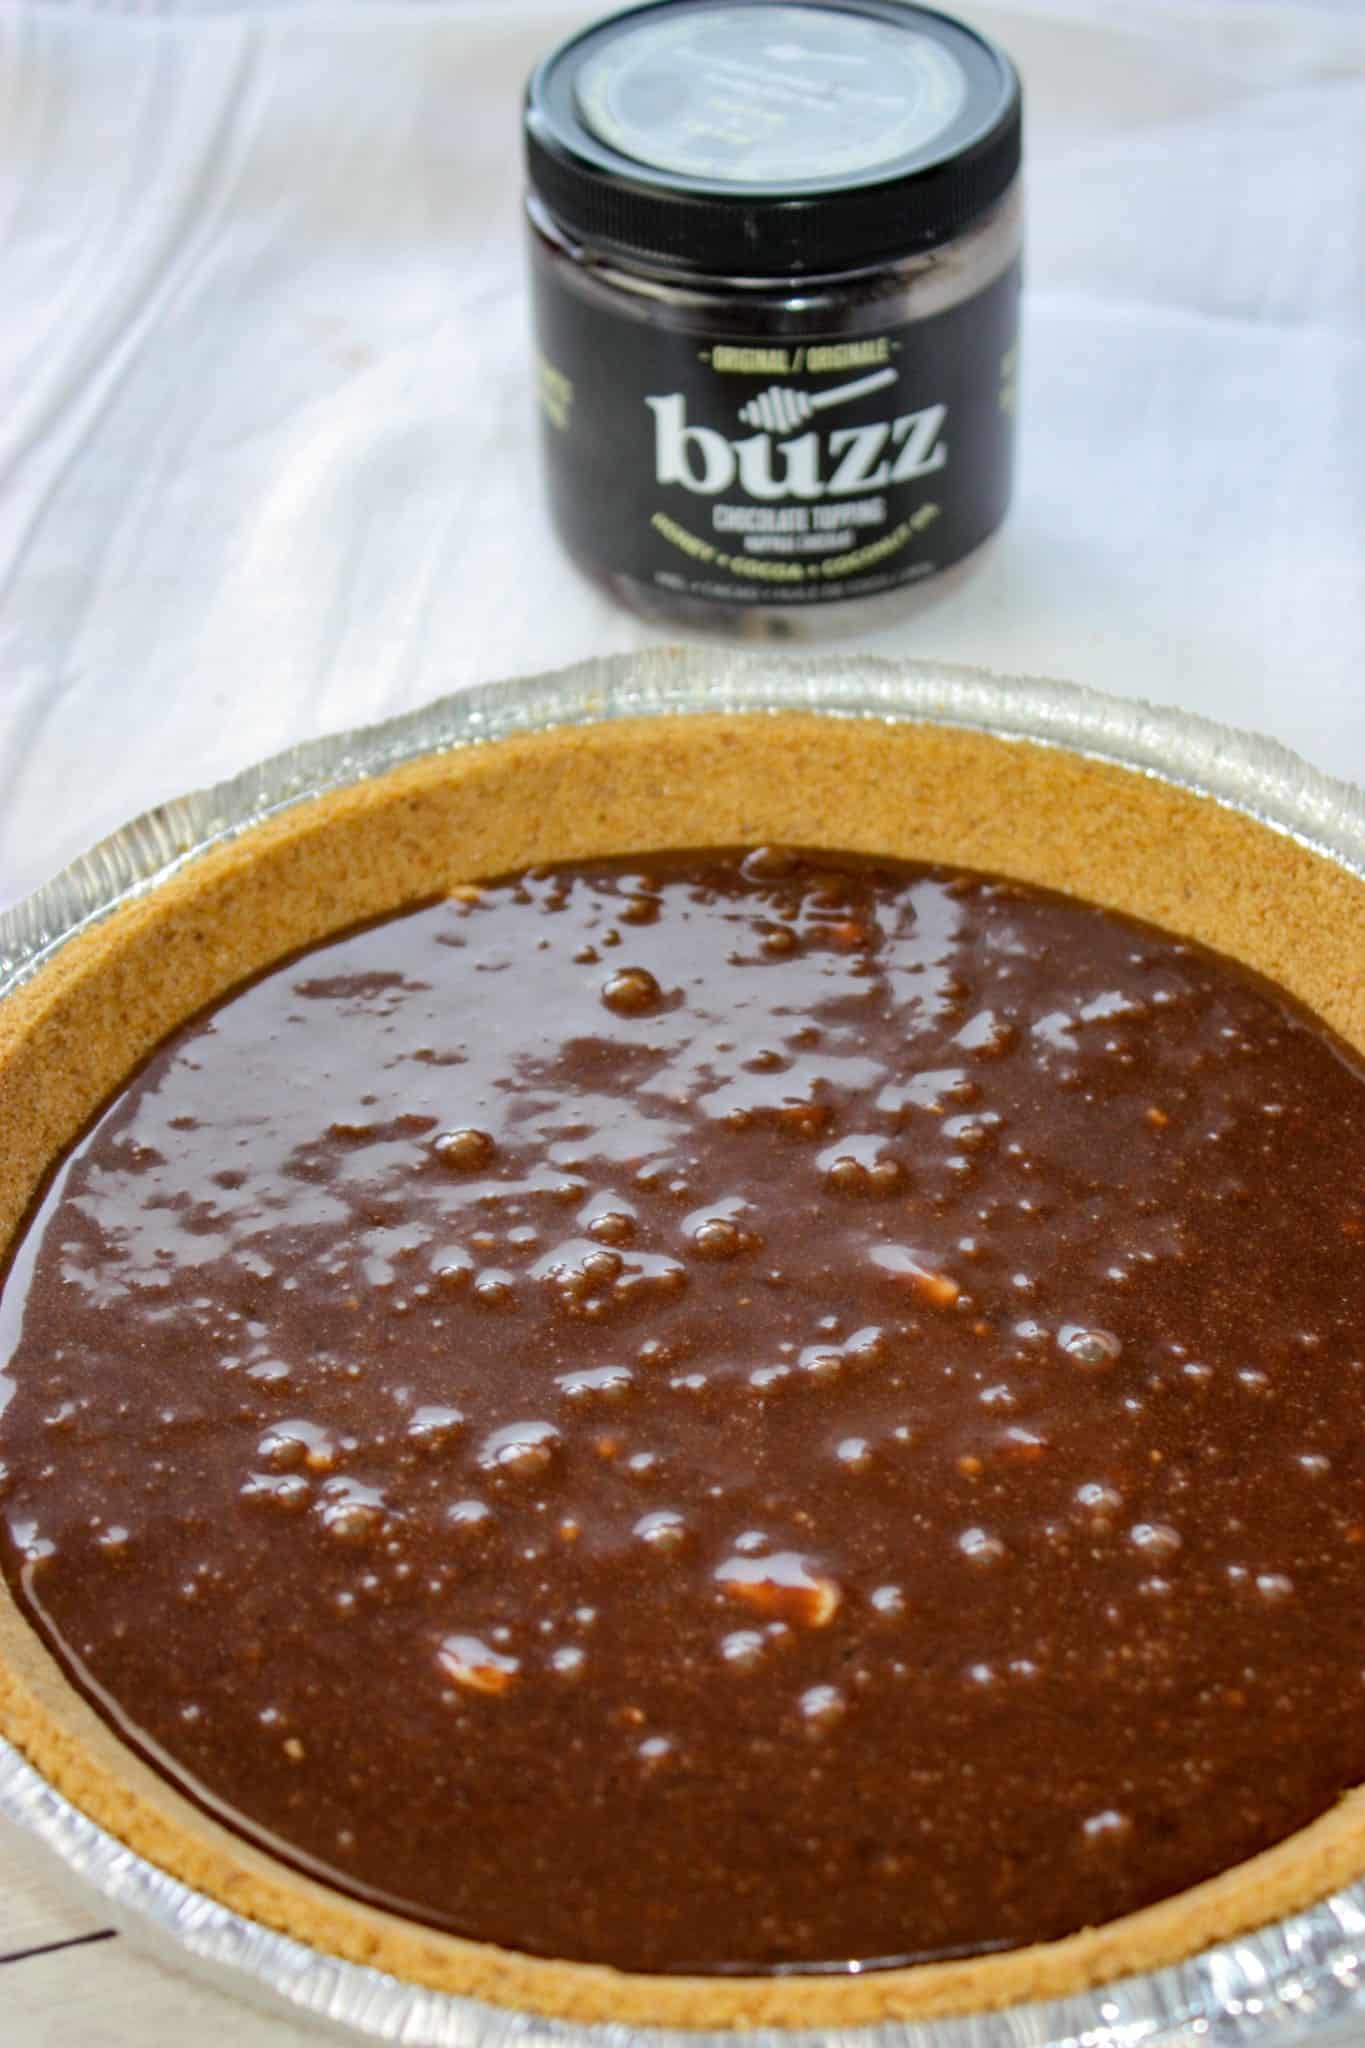
To begin making S’mores Pie I dumped some brown sugar, Golden Flavour Crisco Shortening, corn starch and some melted Buzz into a mixing bowl.

Buzz is a new product that I was gifted for Christmas. Be sure to check it out!
In place of Buzz you could add another 1/4 cup of brown sugar and 3 tablespoons of cocoa powder.
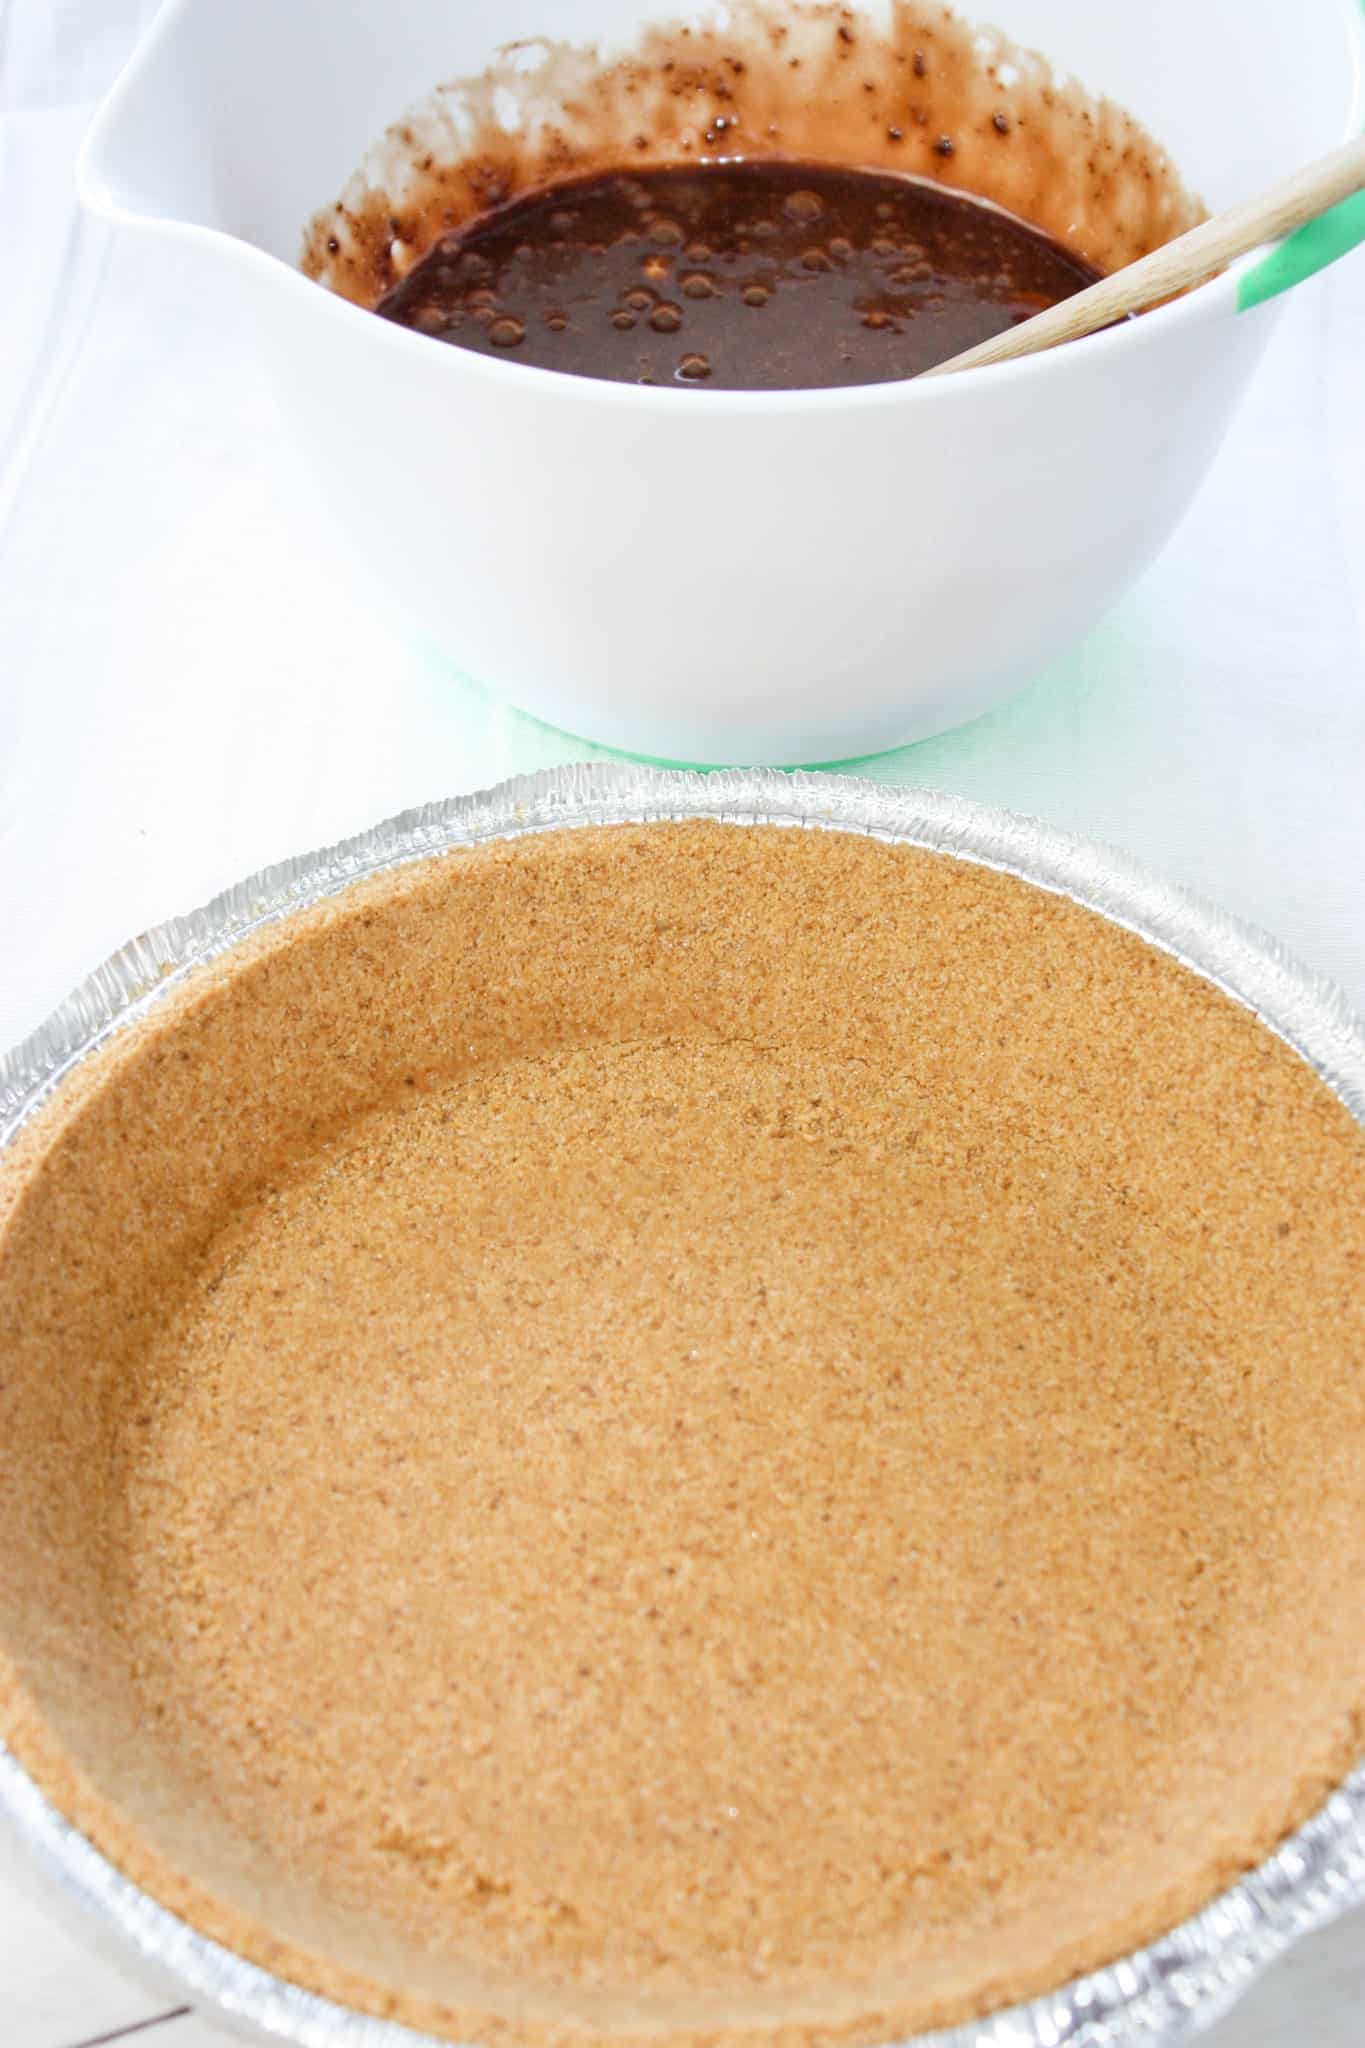
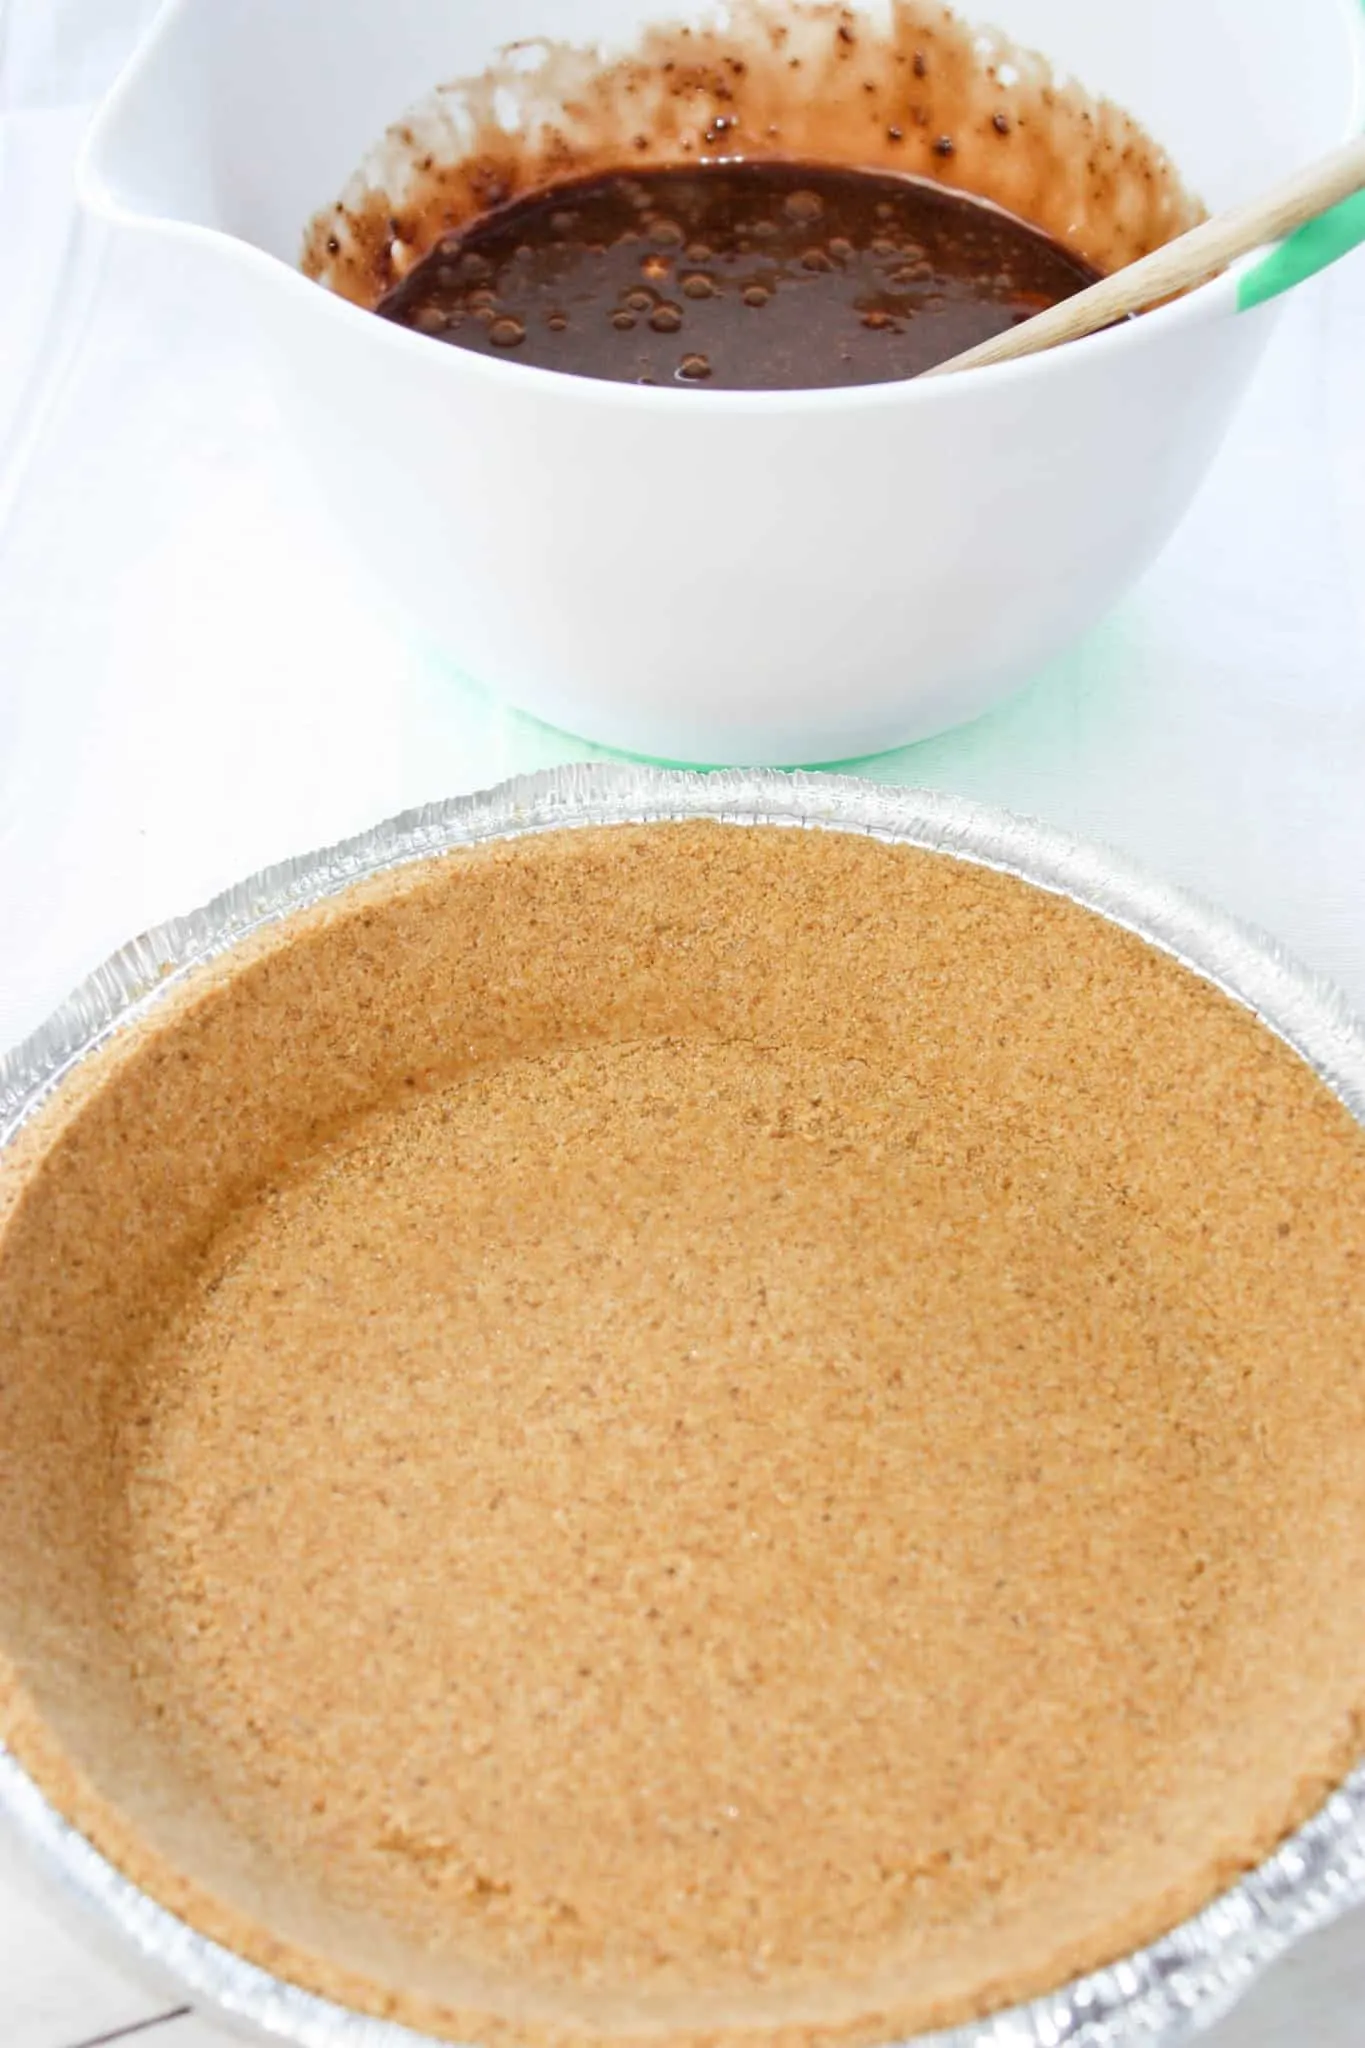
I stirred them all together until well blended and the shortening was well incorporated.

Then I added some eggs, corn syrup, vanilla and a bit of salt.
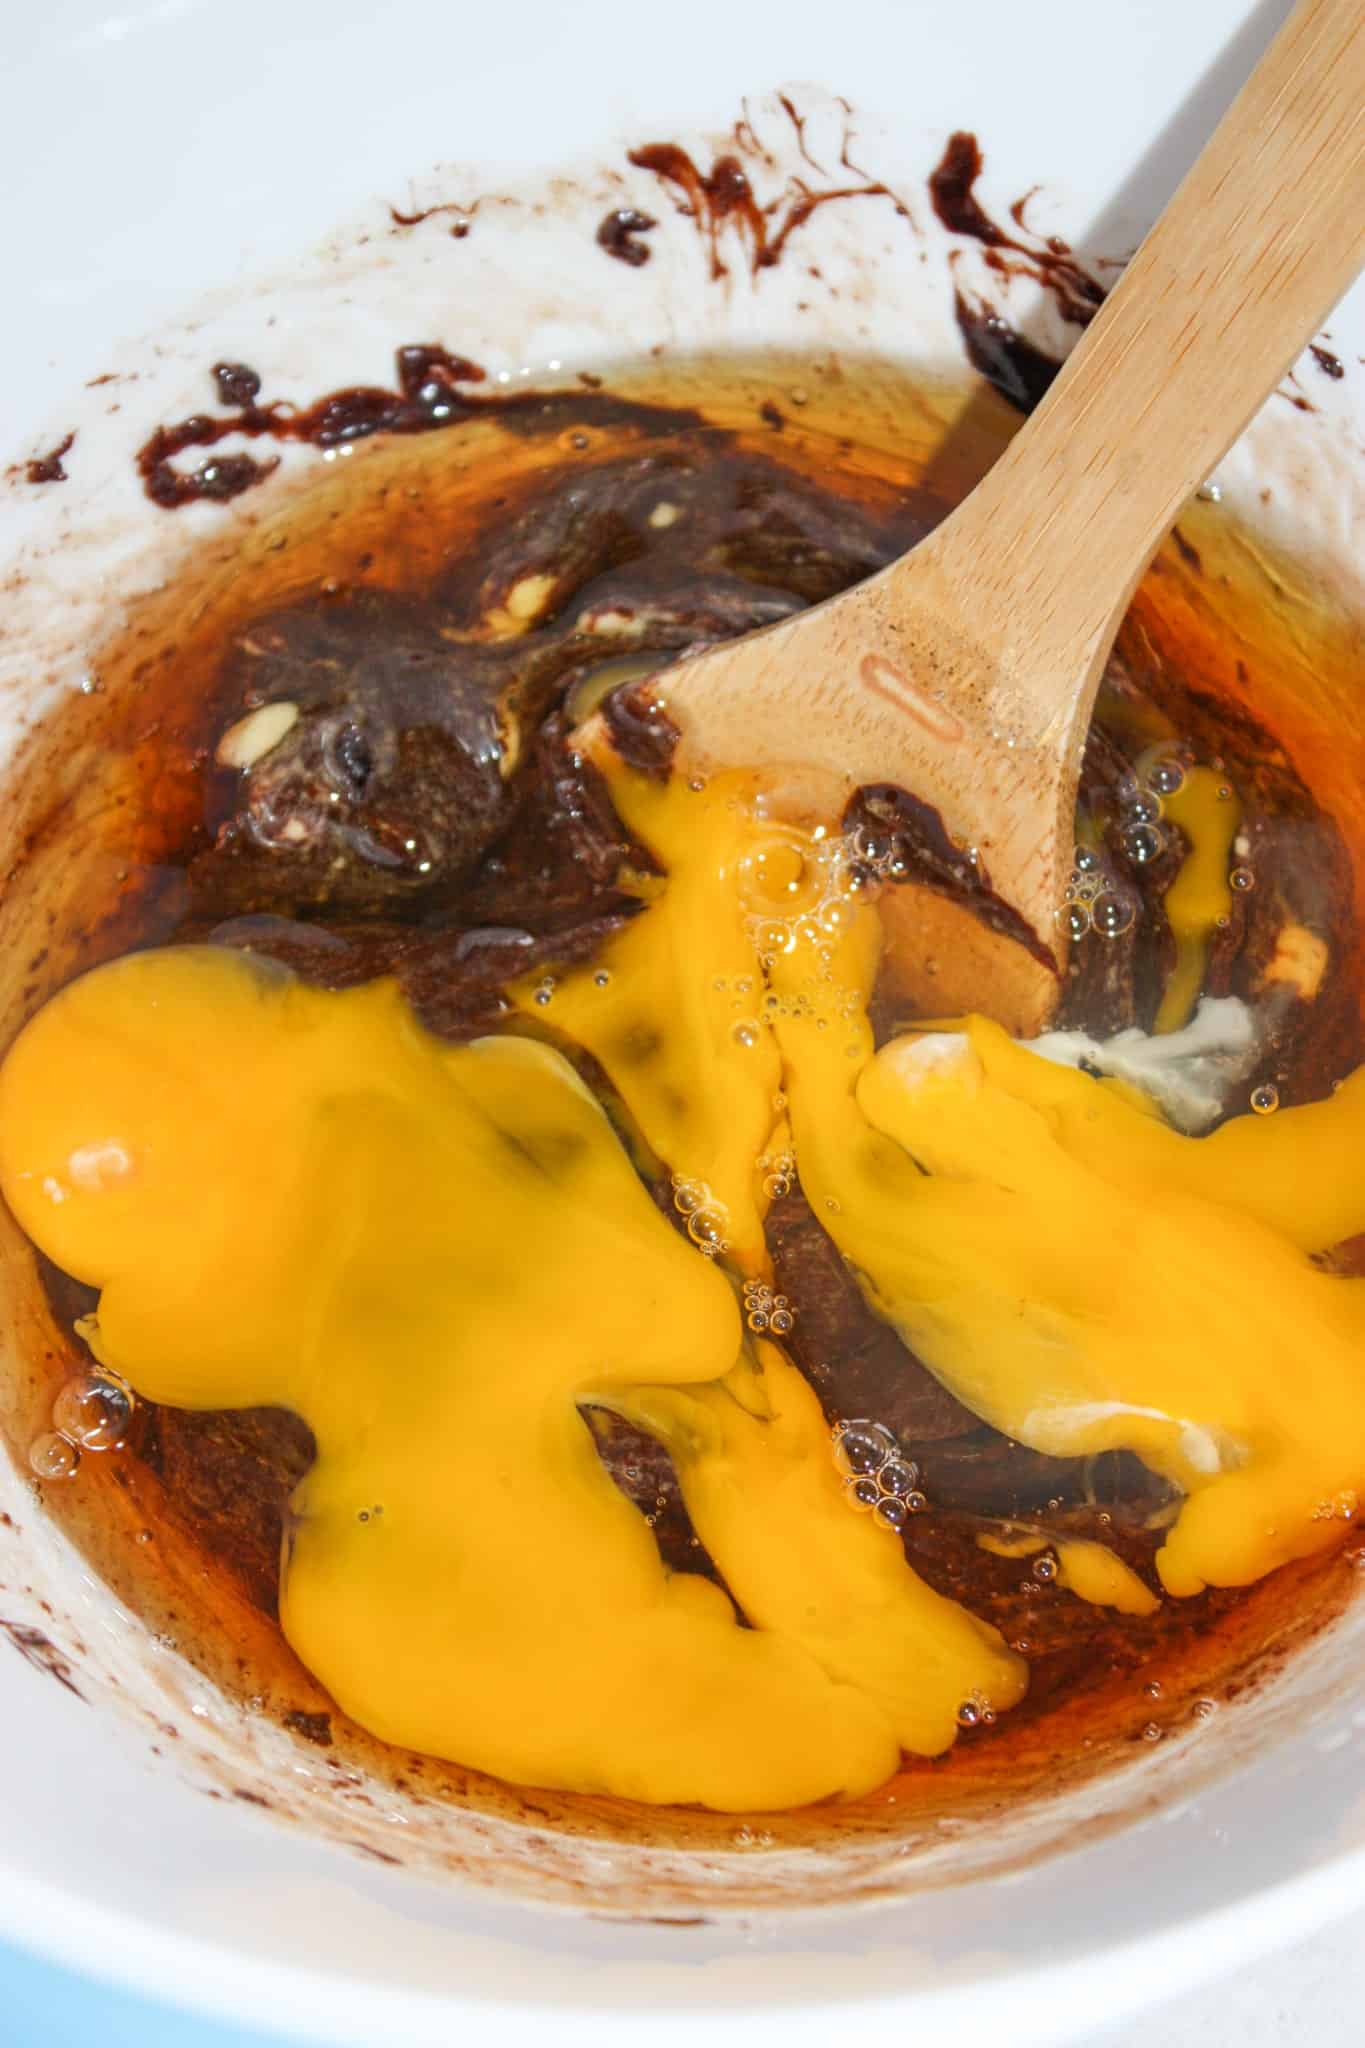

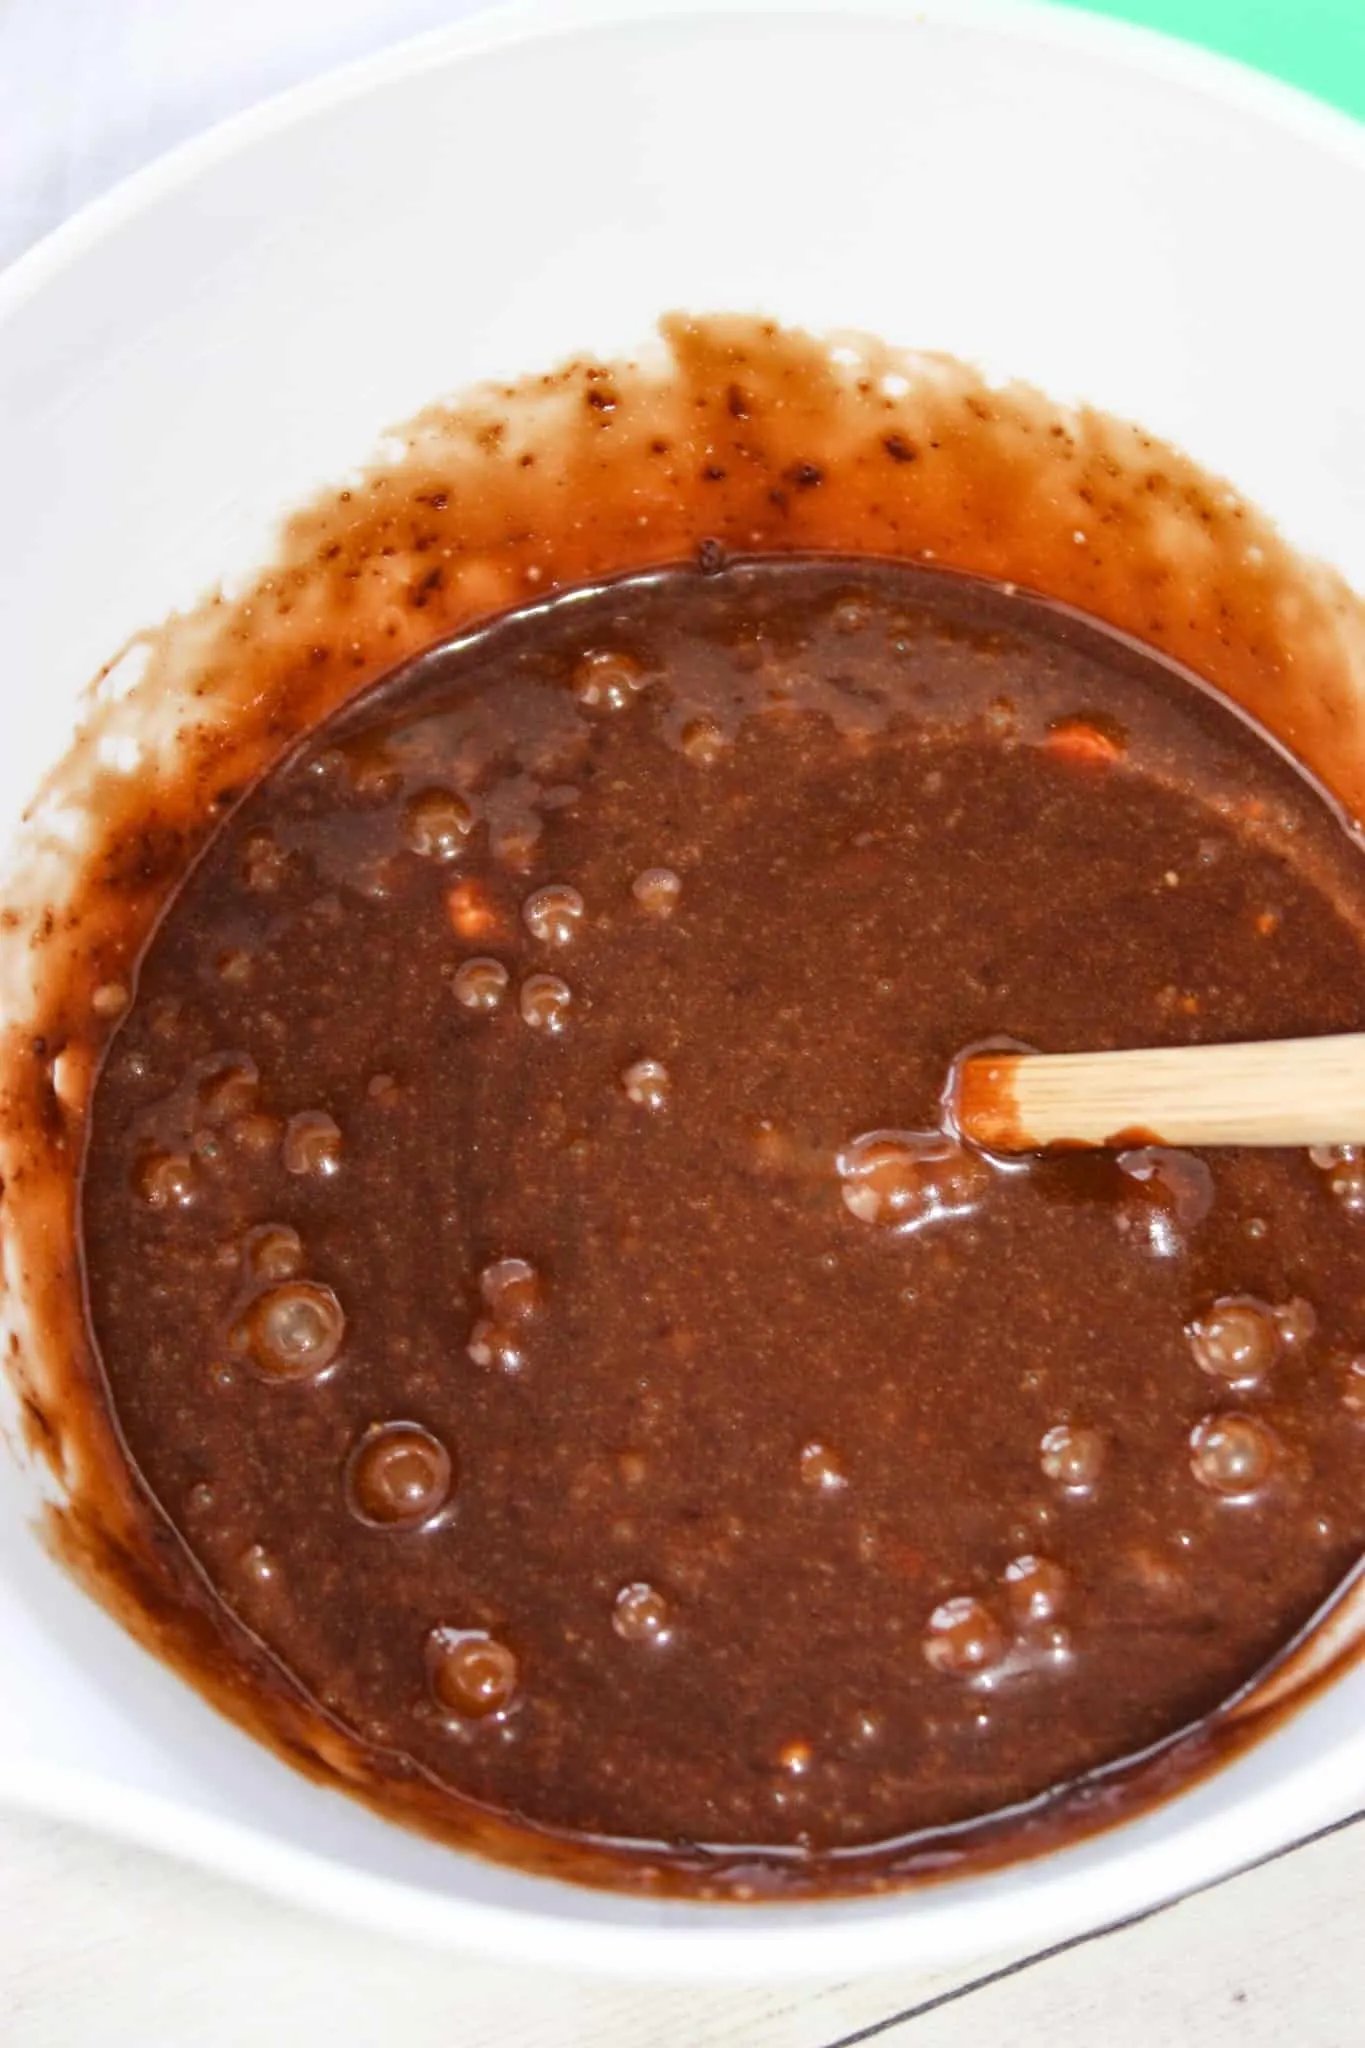
I stirred again to combine all the ingredients until the eggs were well incorporated into the batter.

I used a store bought gluten free graham crust for my S’mores Pie.

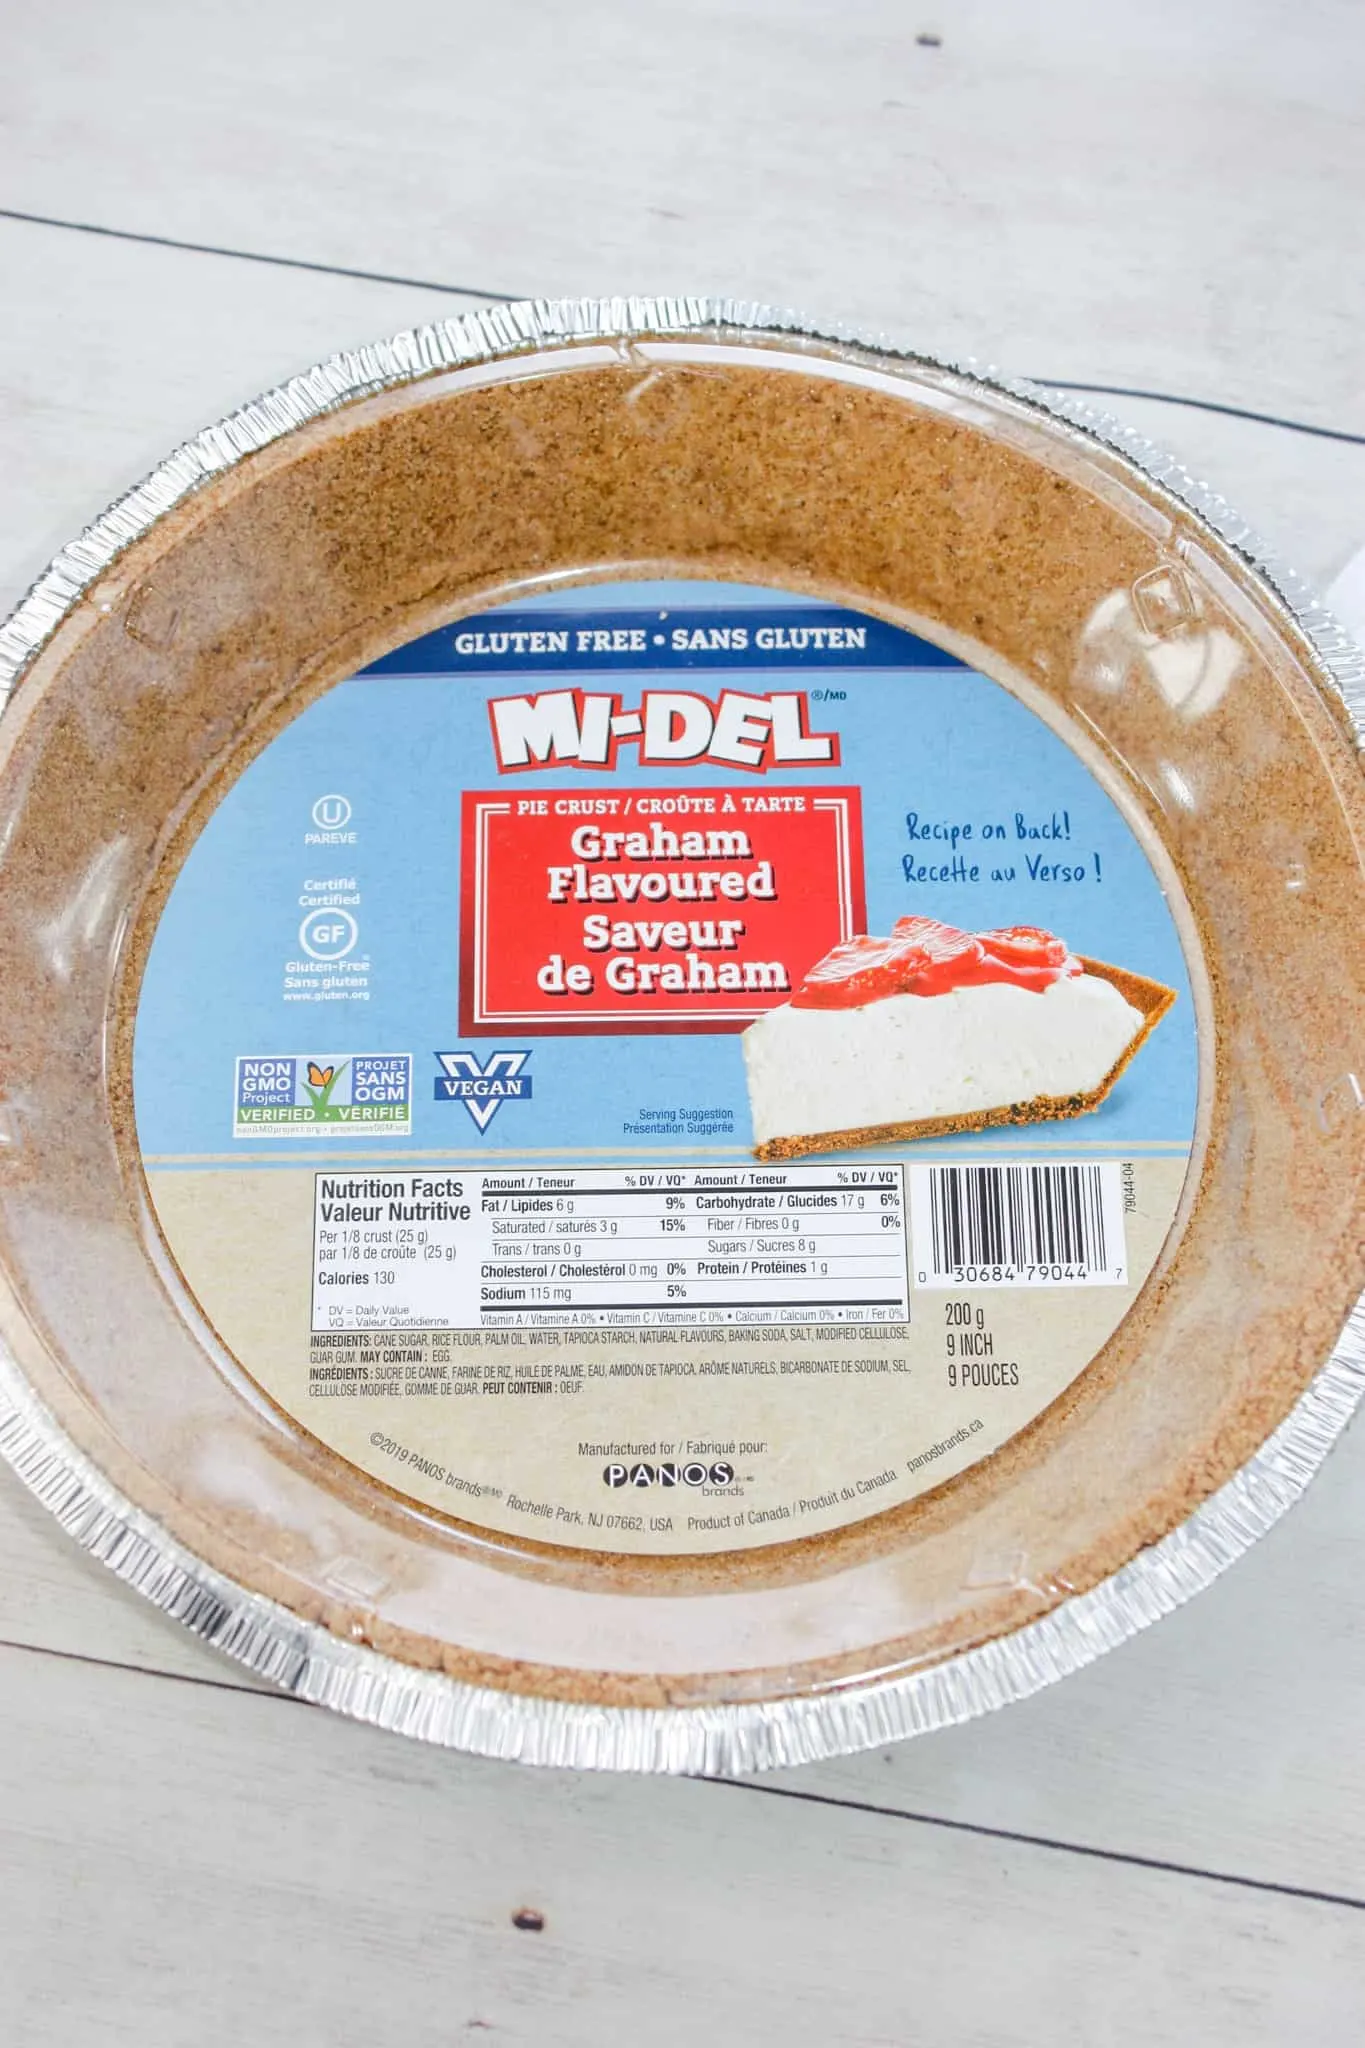
You could make your own but these are so readily available in most stores now where I live.
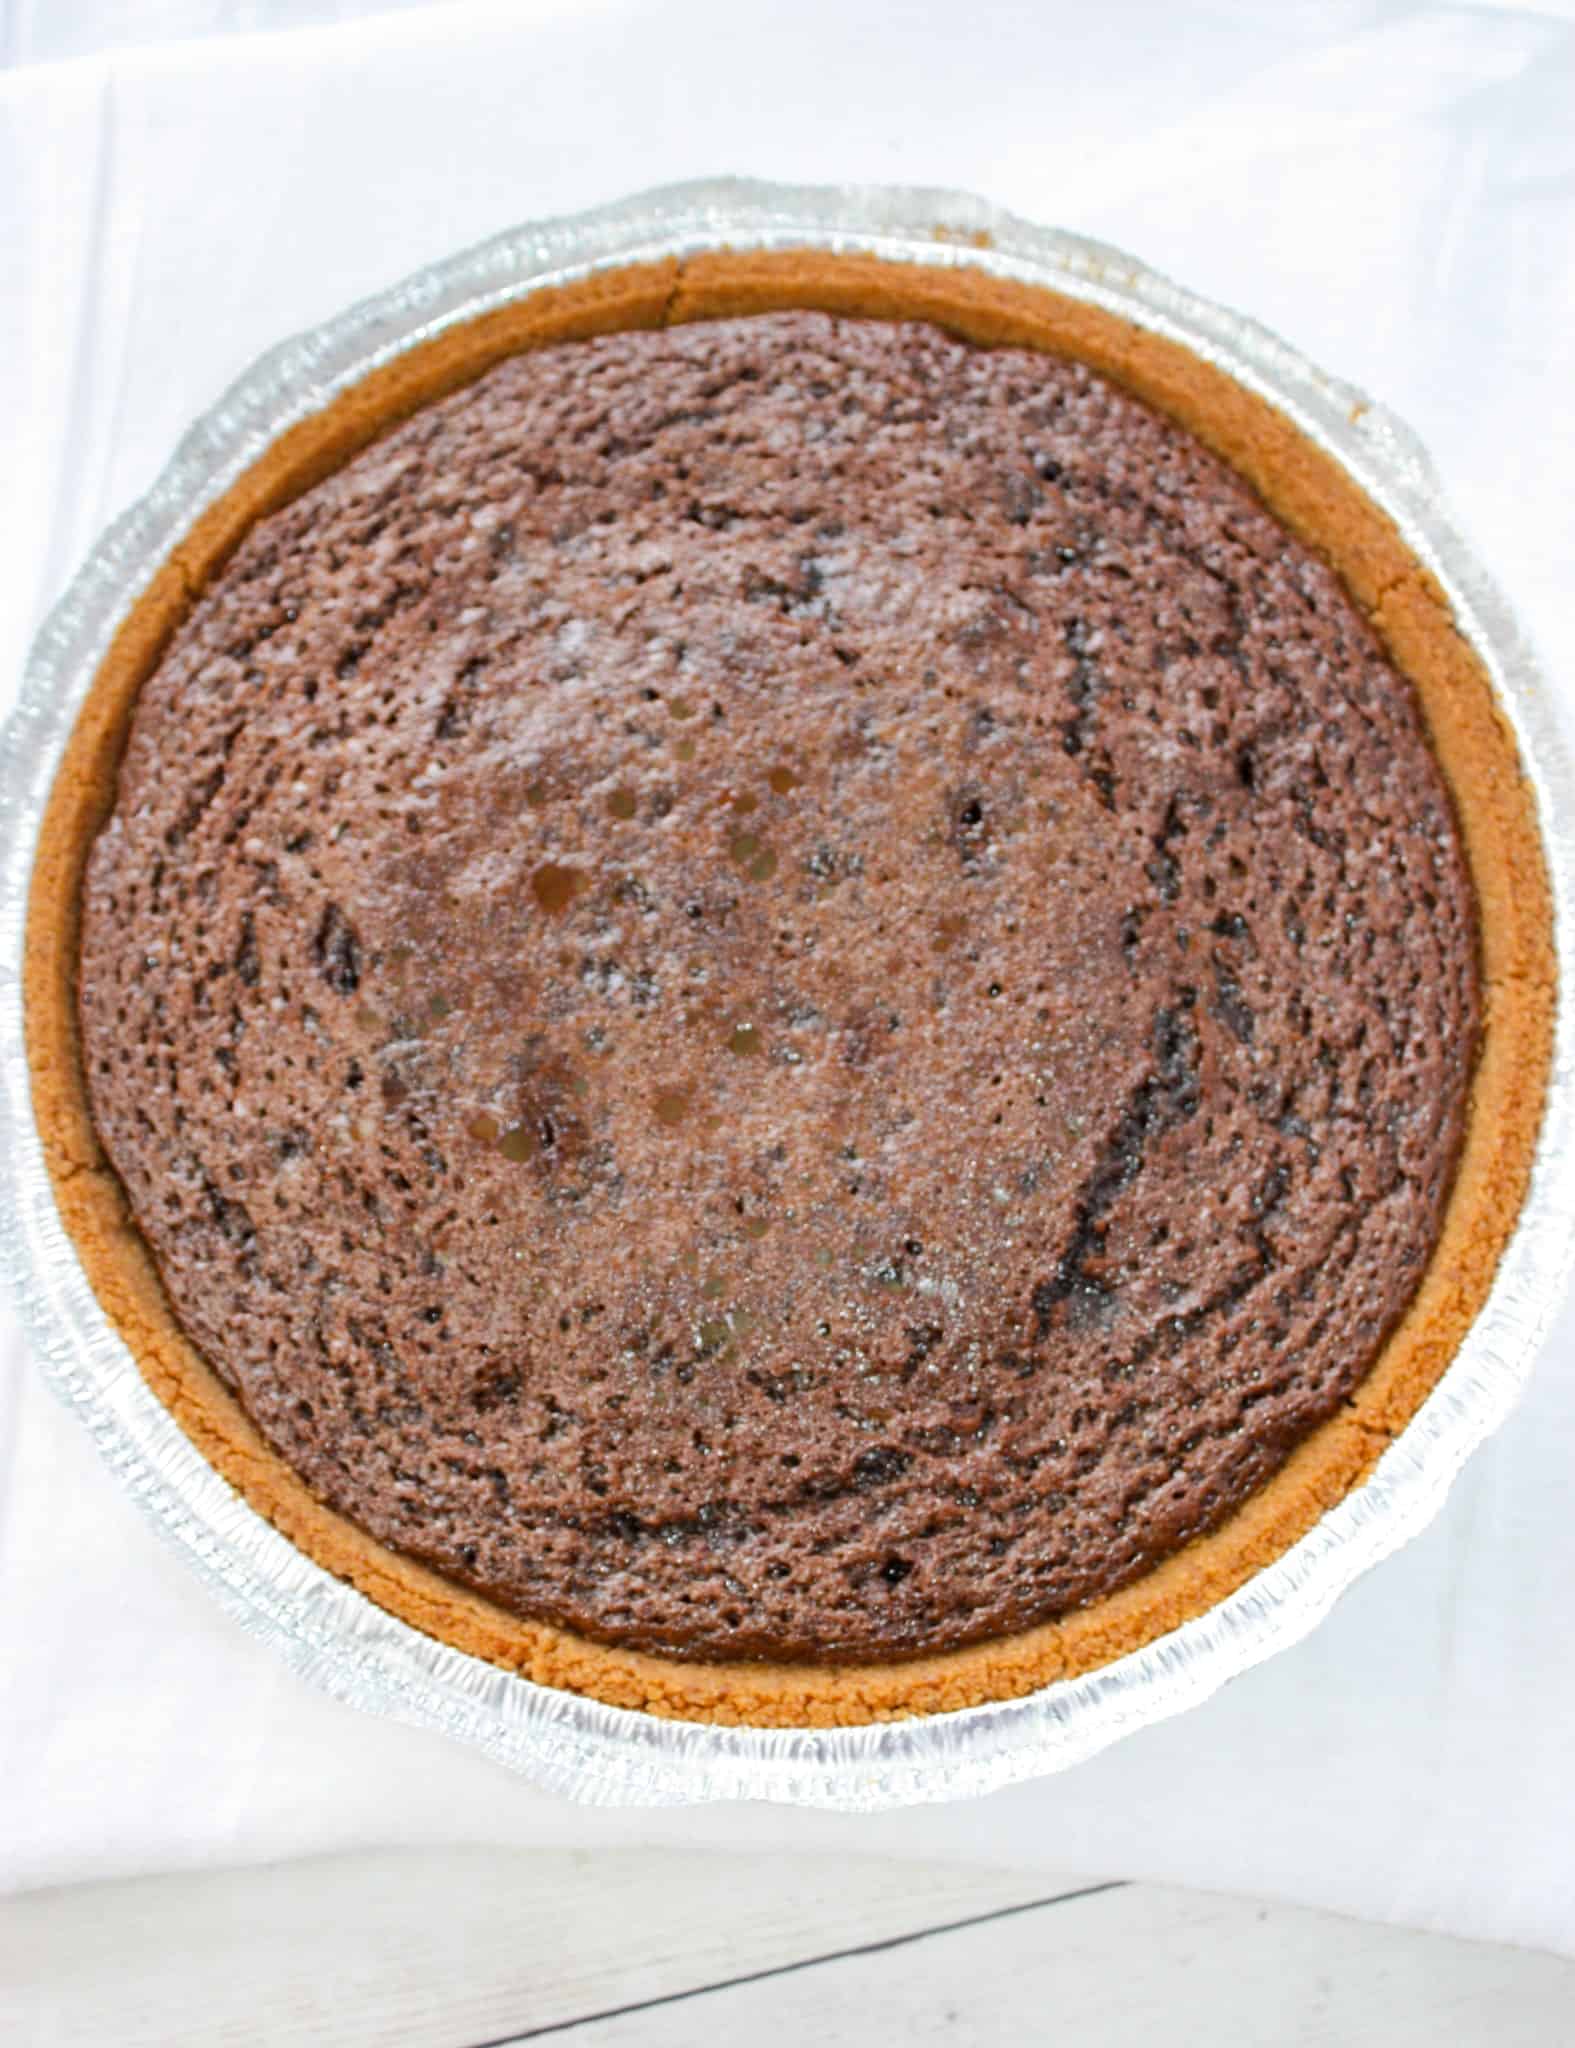
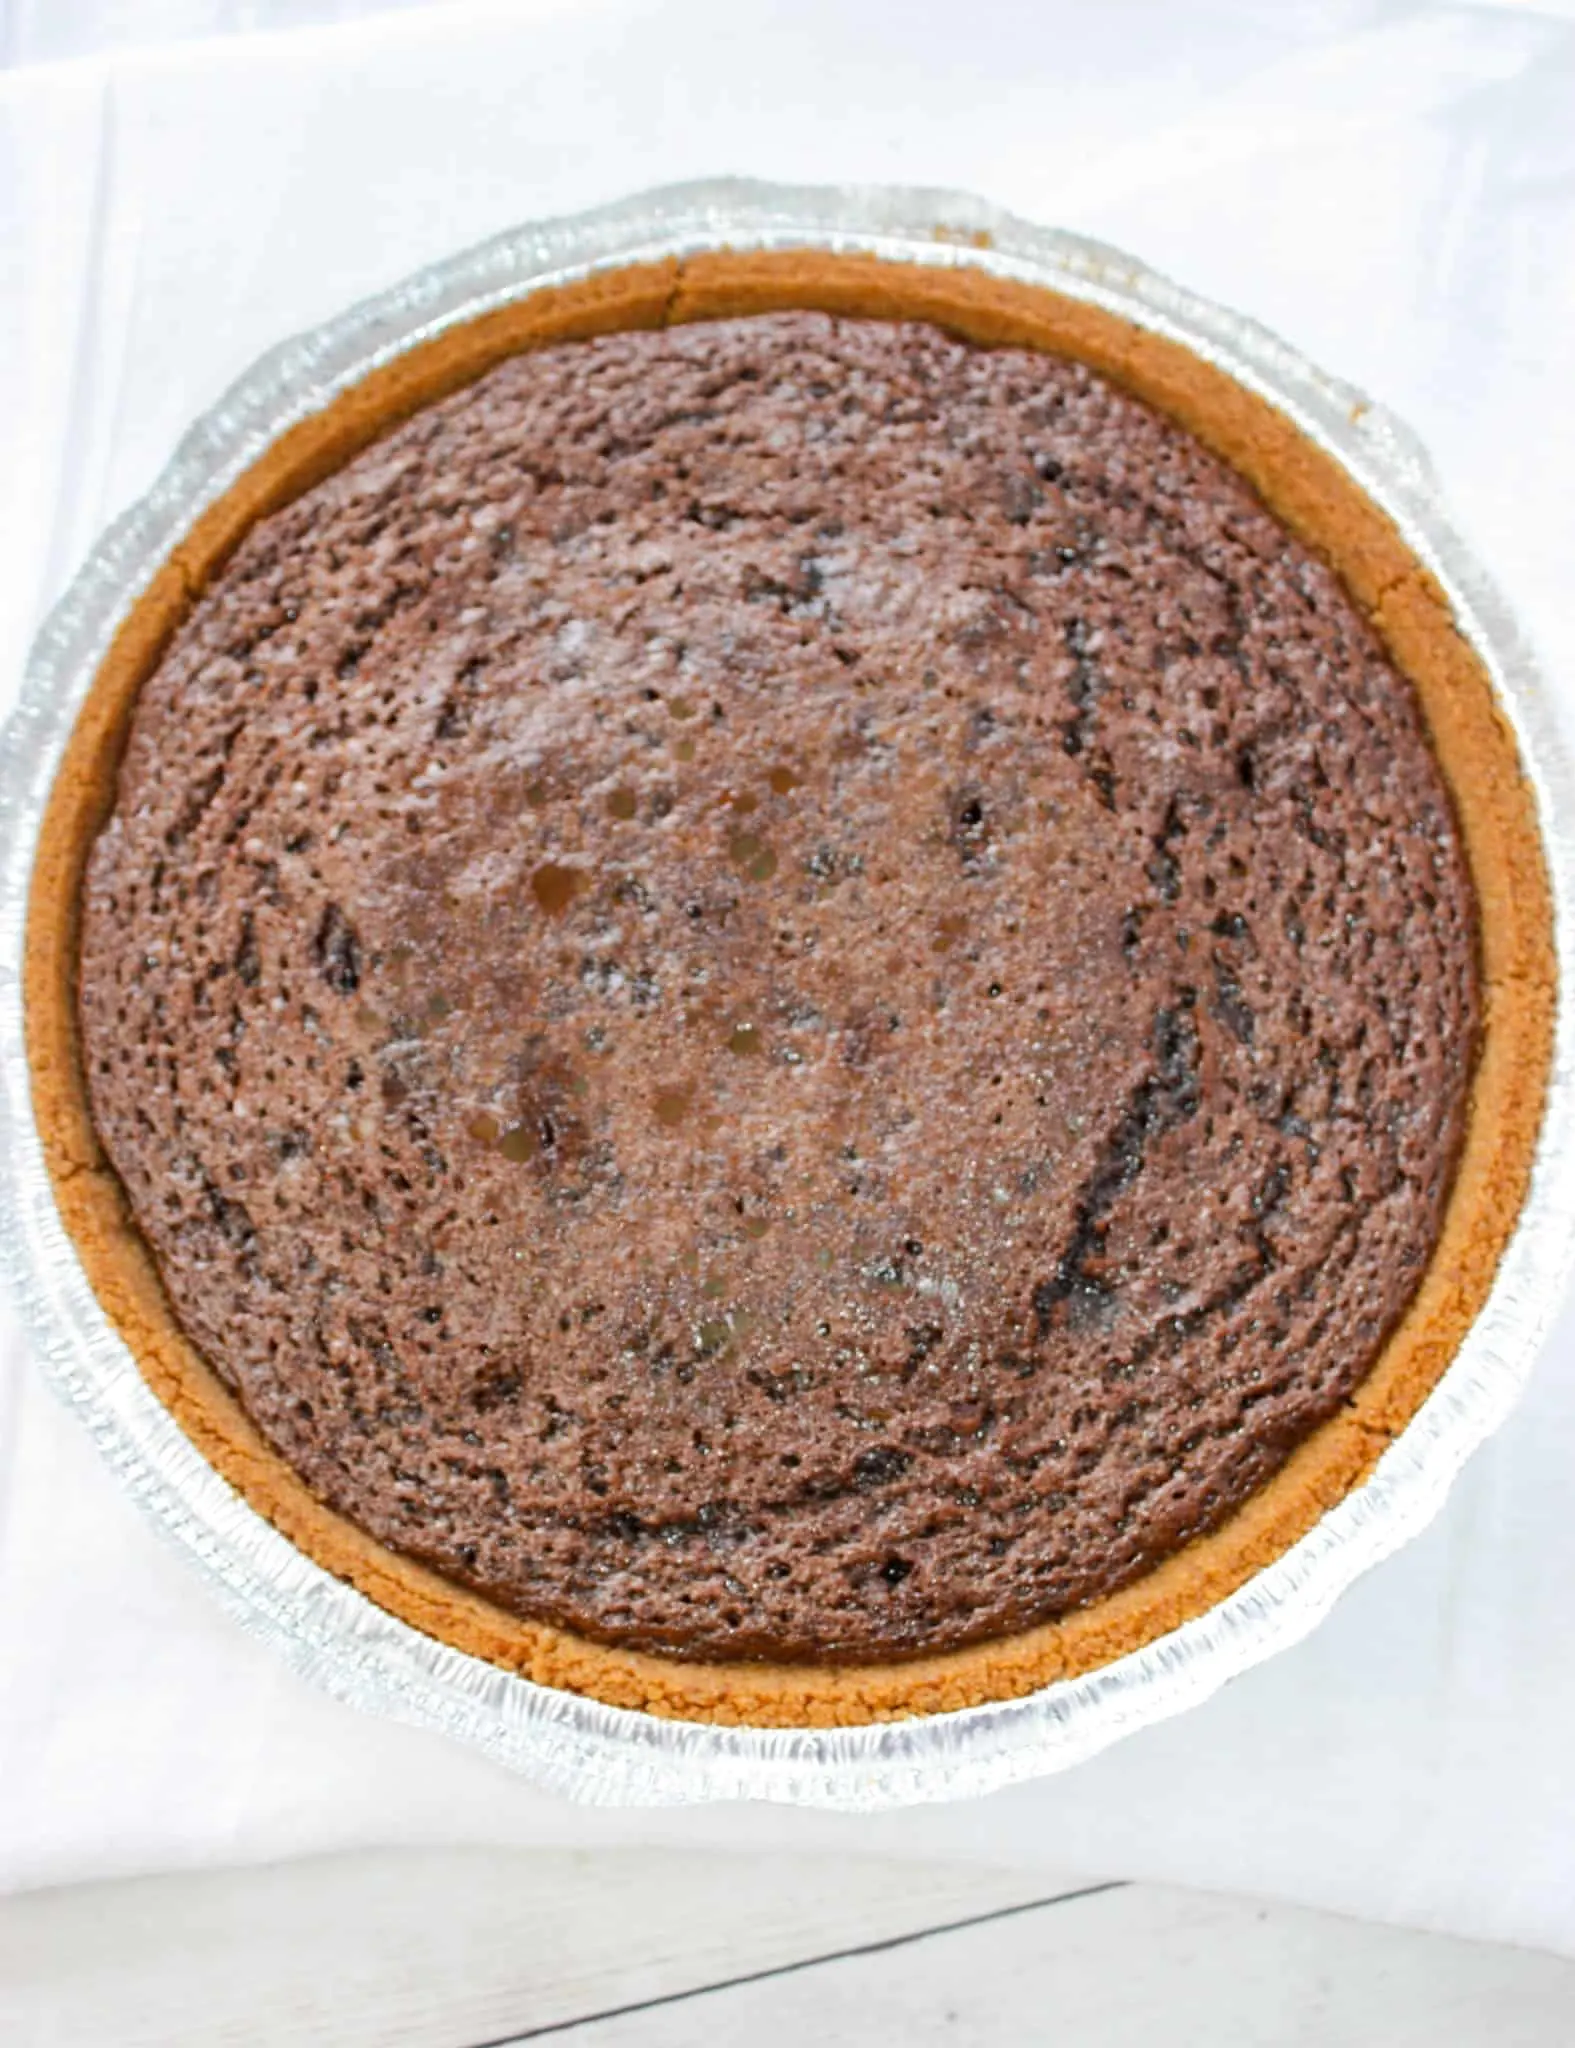
I scraped all the filling into the graham crust.

Then I baked the pie in a preheated 425F oven for 25 – 30 minutes or until it was set in the center and a toothpick came out clean.
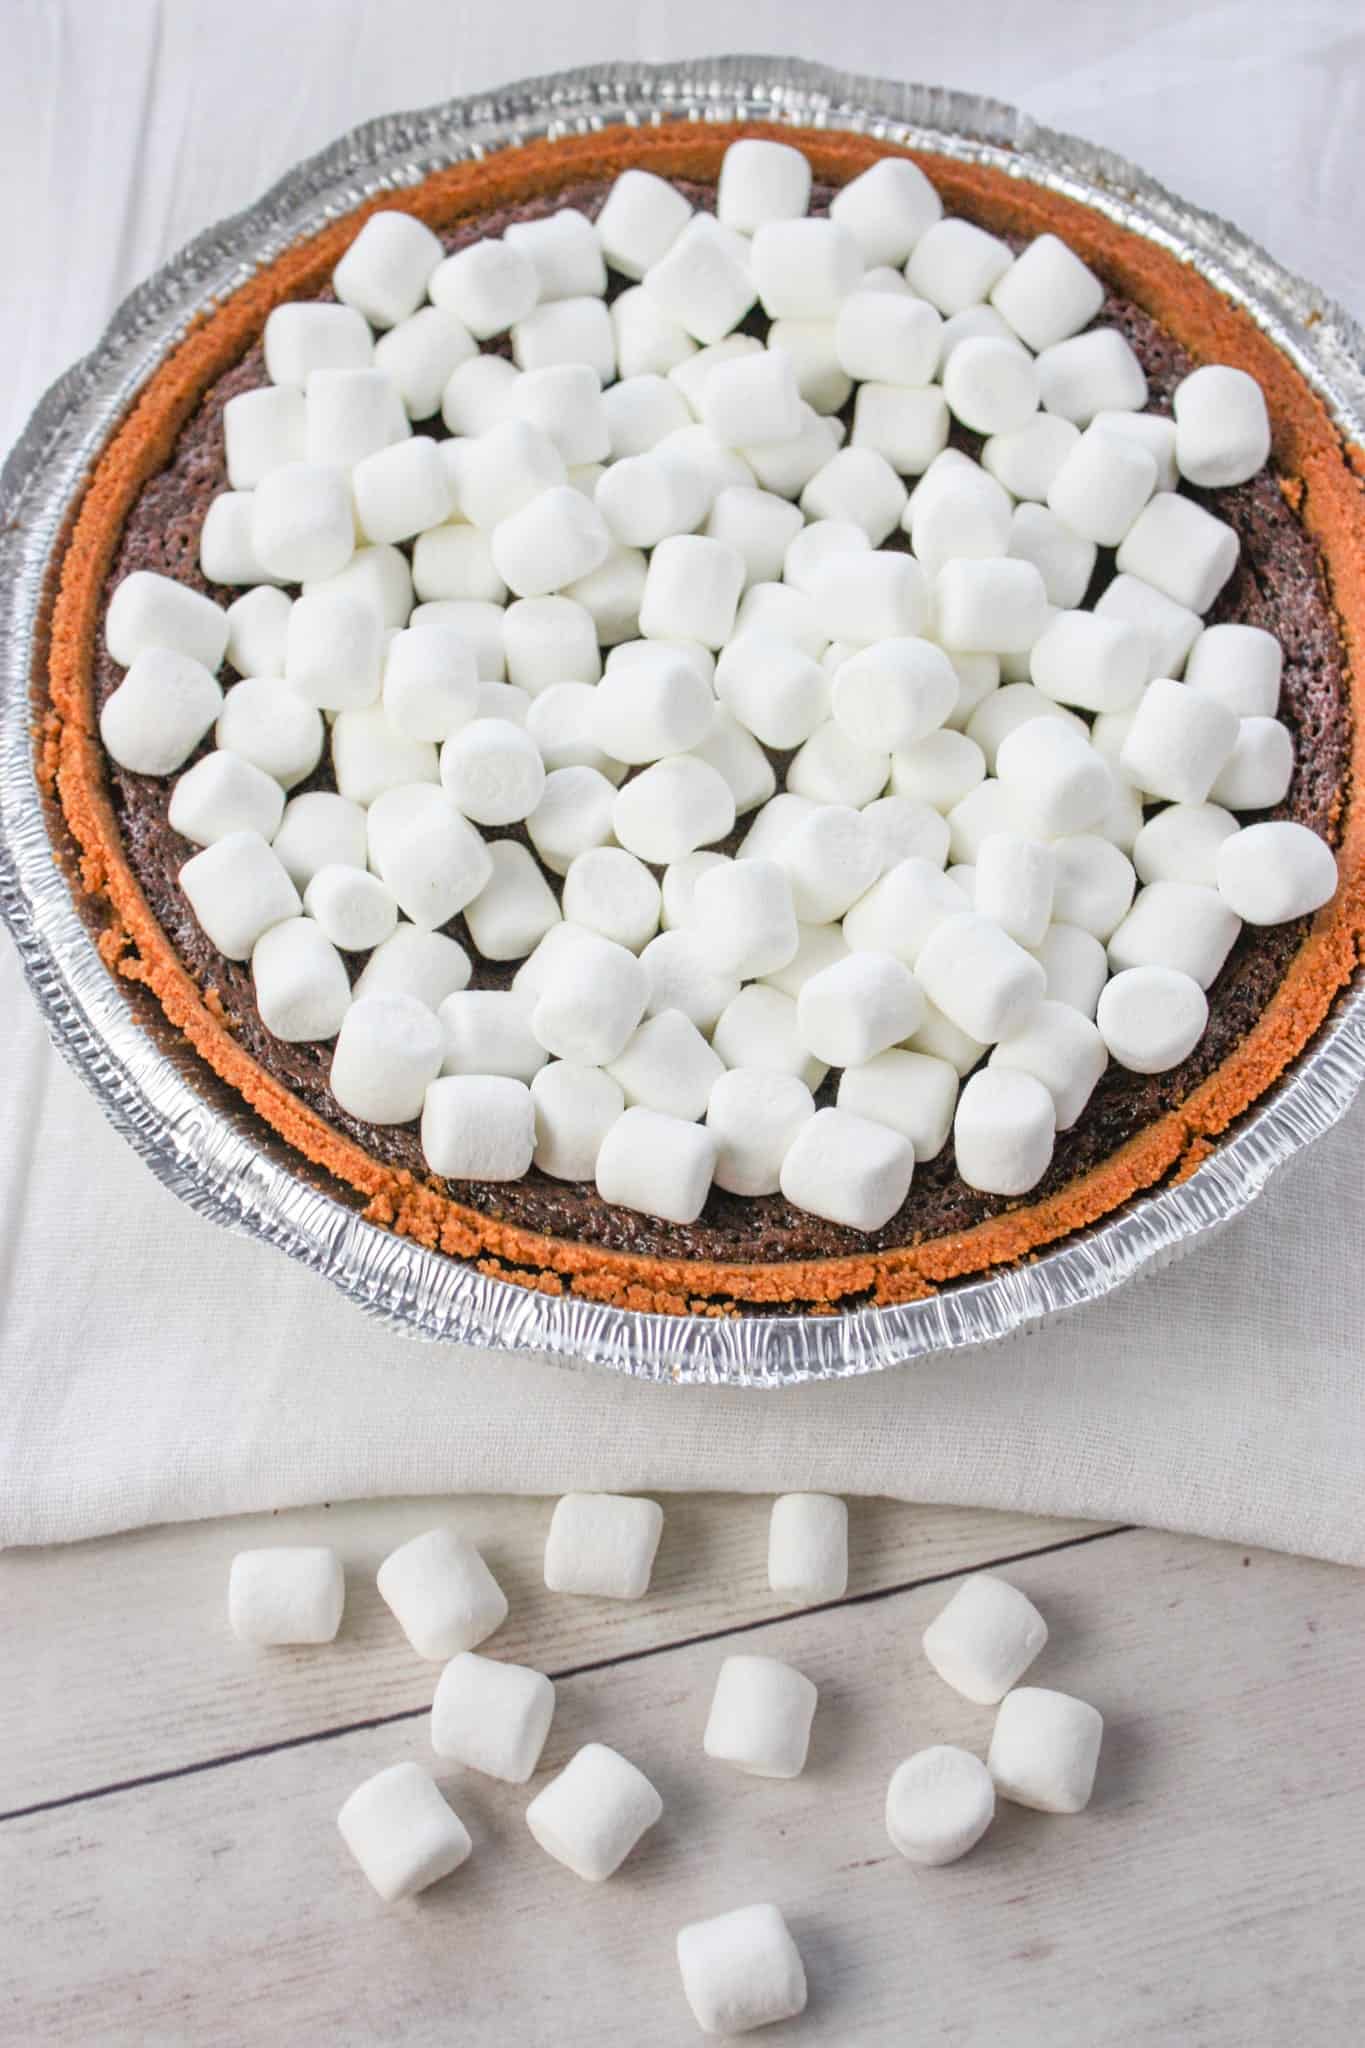
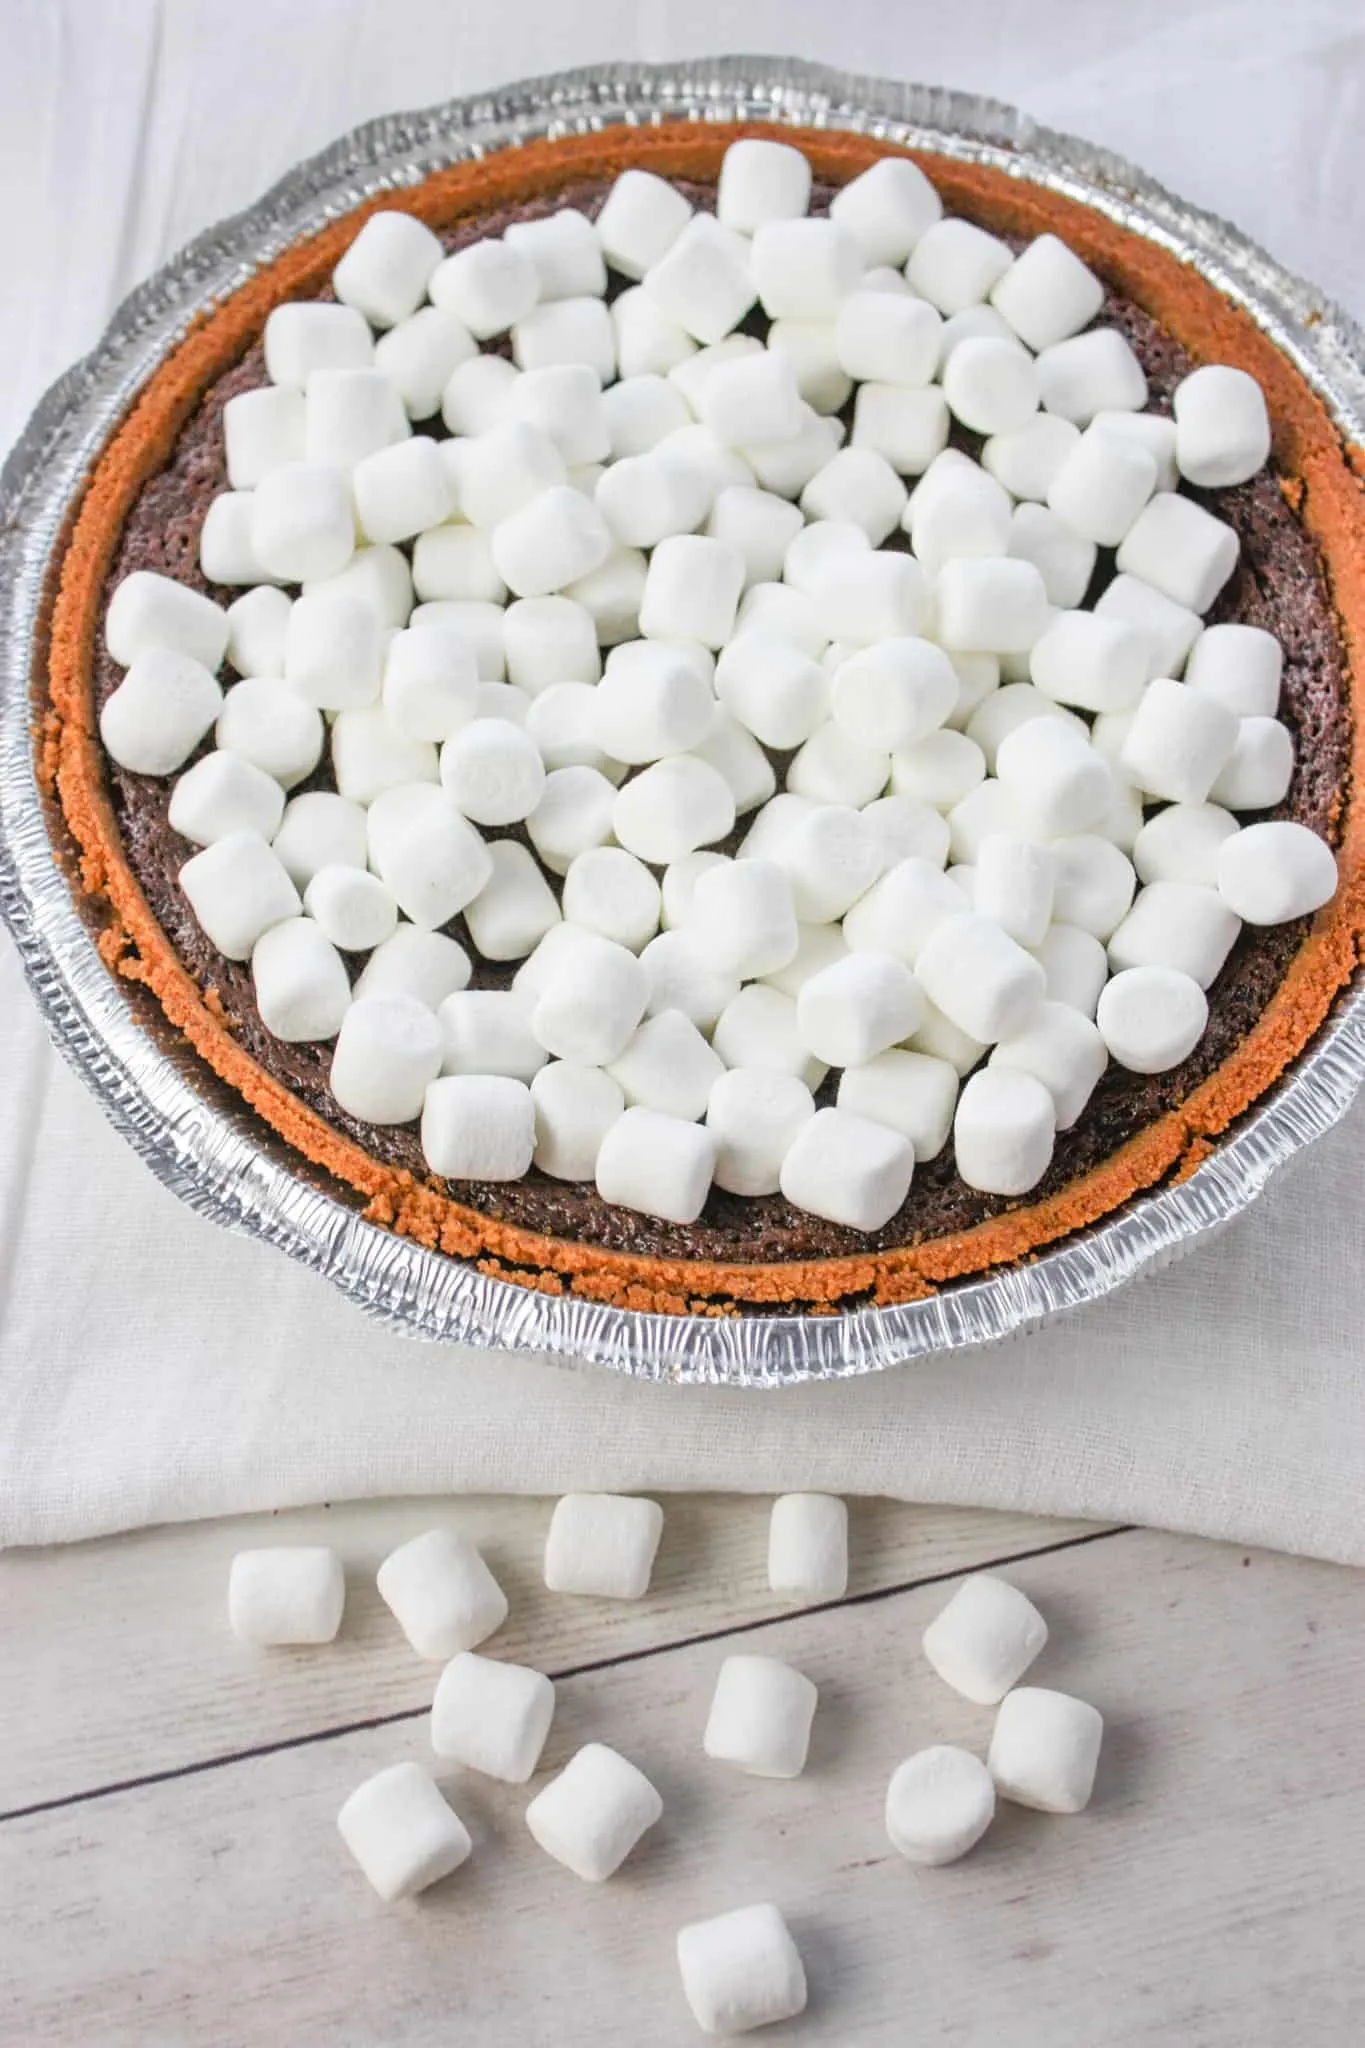
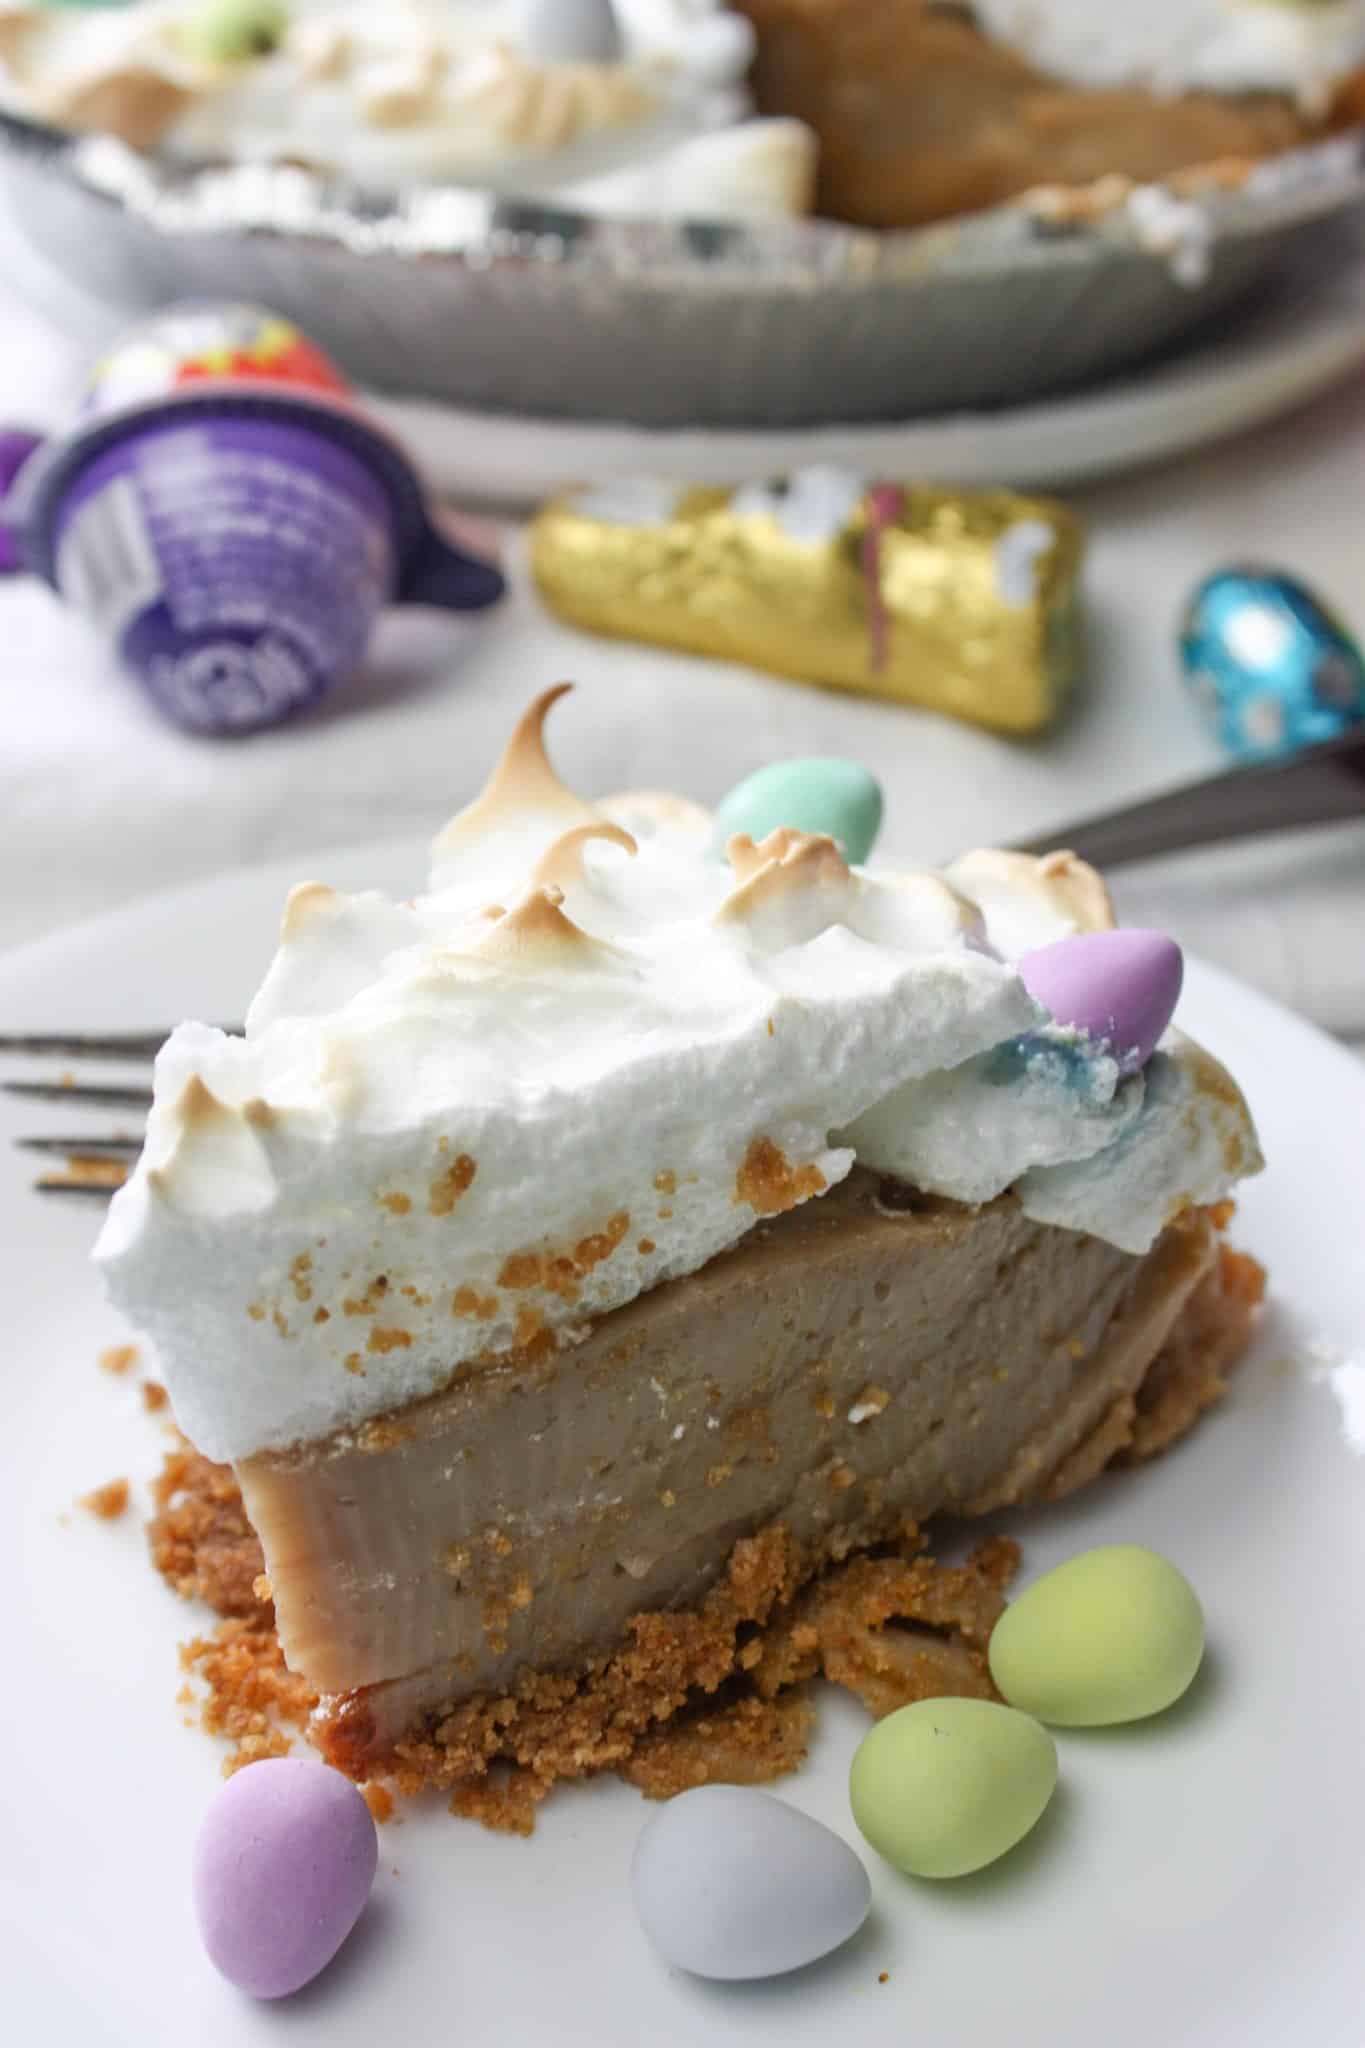
If you are serving the S’mores Pie immediately then top it with some mini marshmallows and pop it under the broiler for a few minutes.
Do not put the pie too close to the broiler or you will burn the marshmallows before they have a chance to melt.
Once the marshmallows are nicely browned remove the pie from the oven.
I heated up a pie slicer underneath hot water to make it easier to cut through the heated marshmallows.


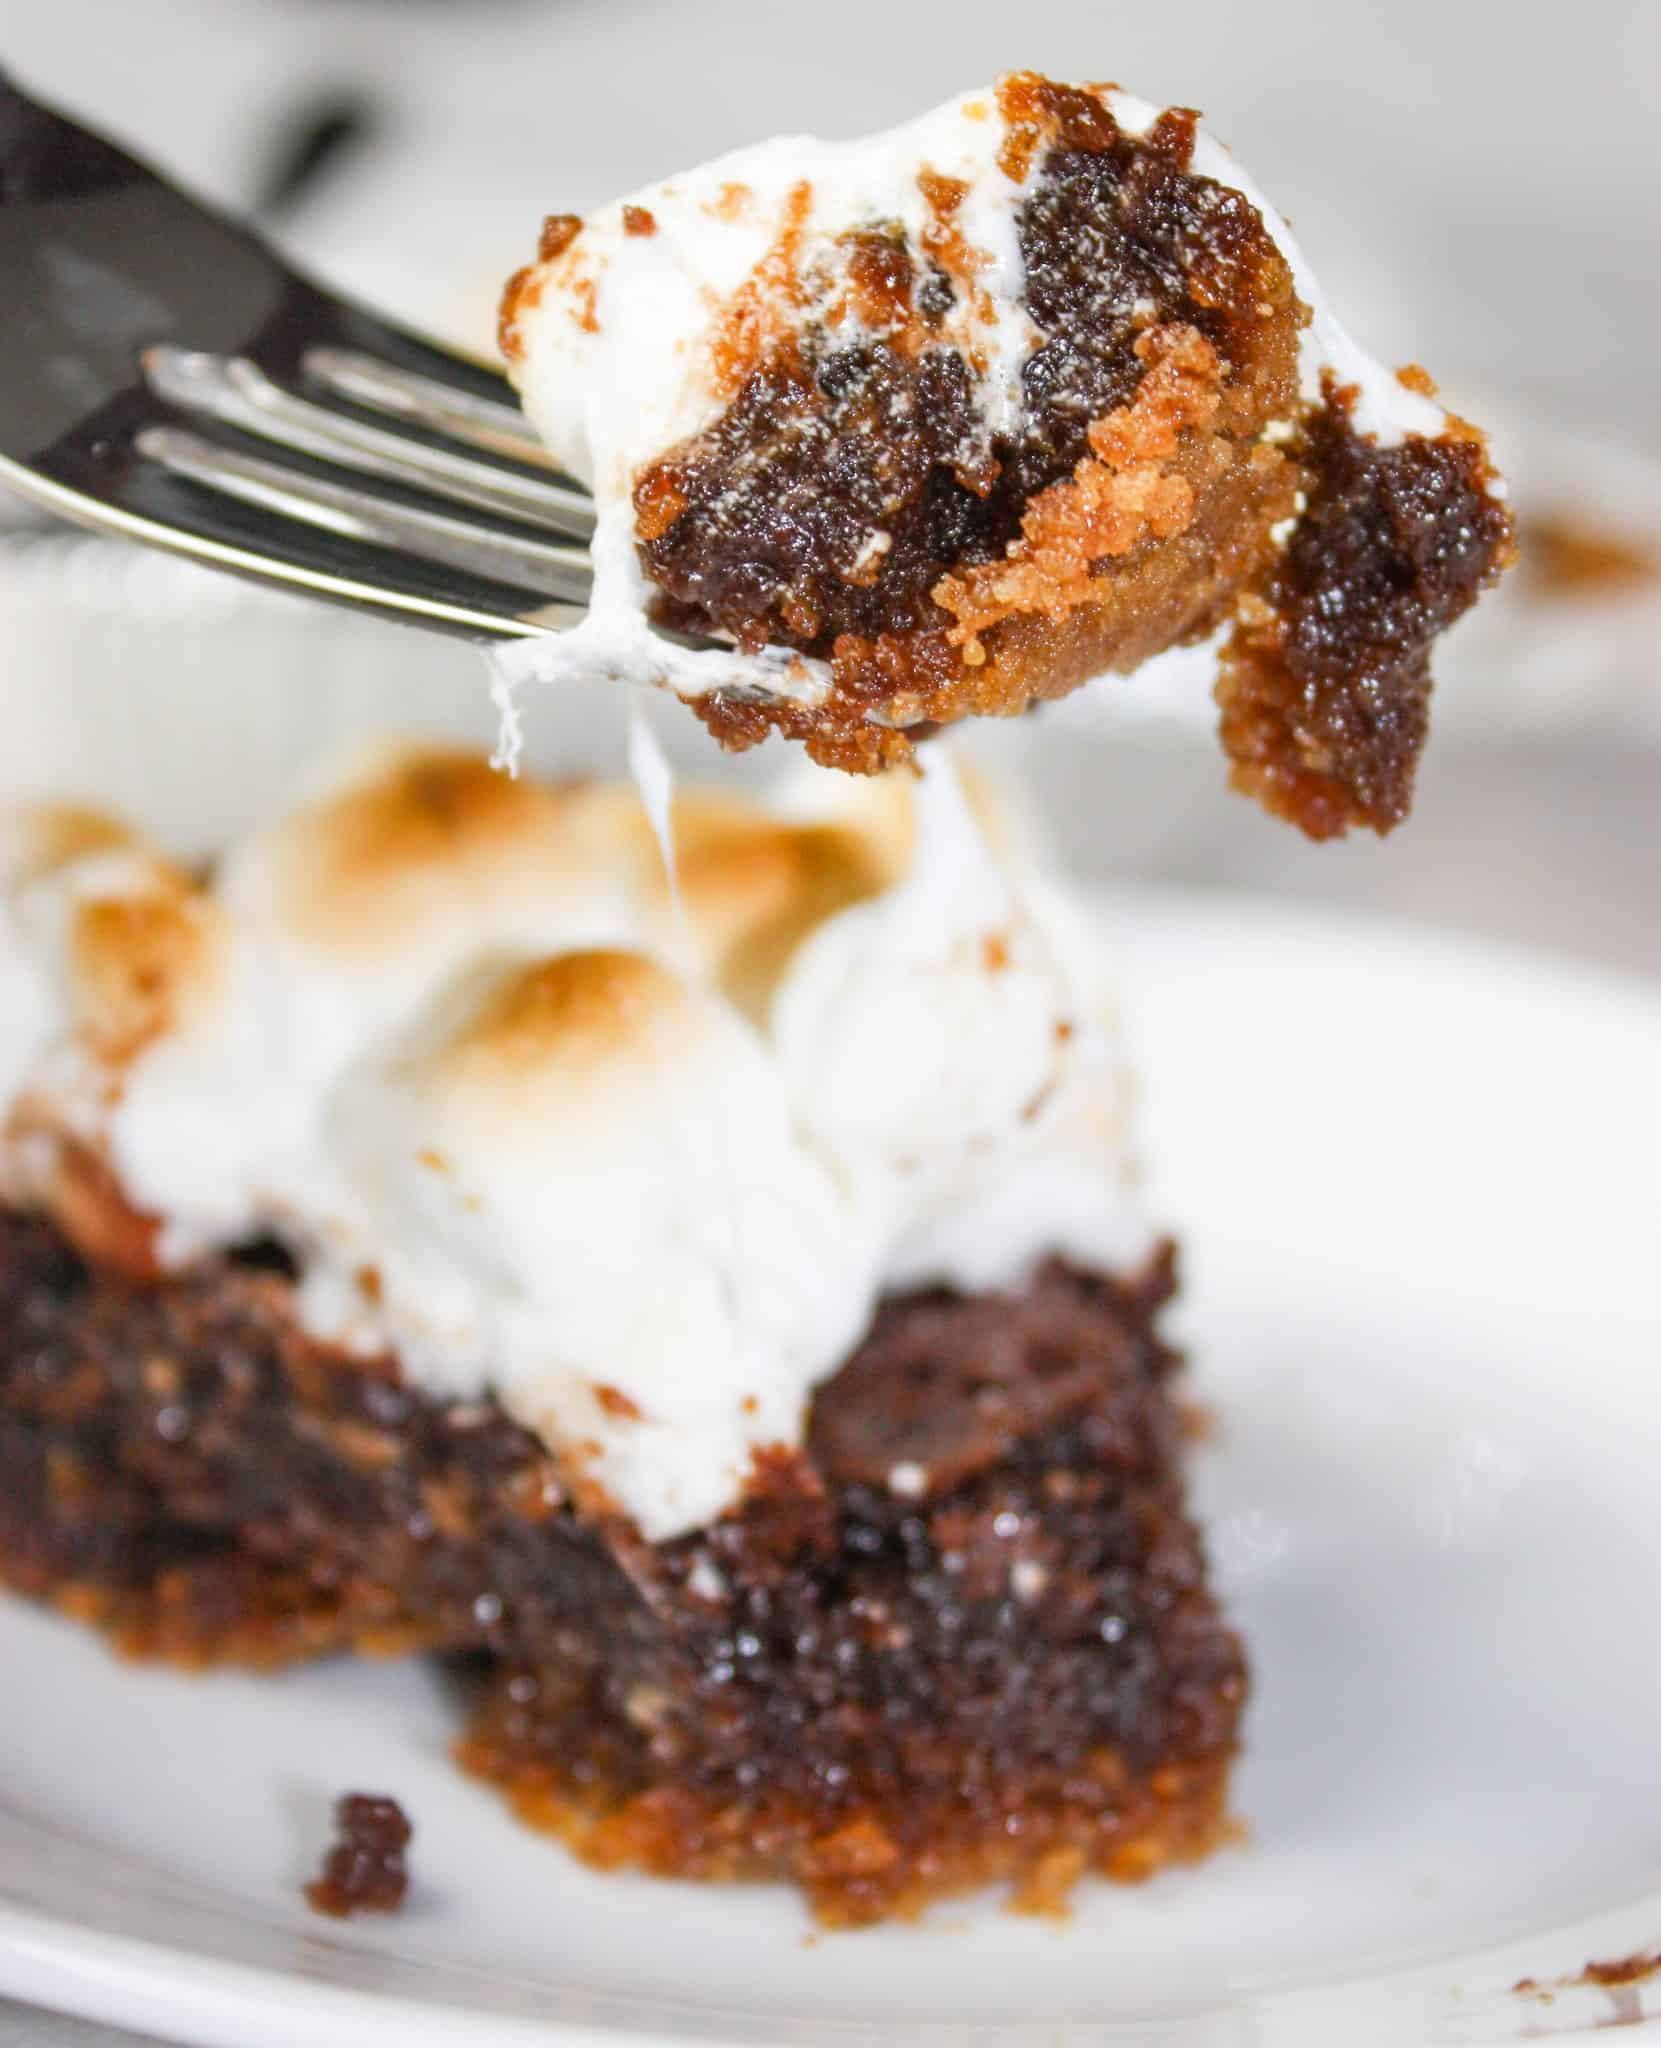
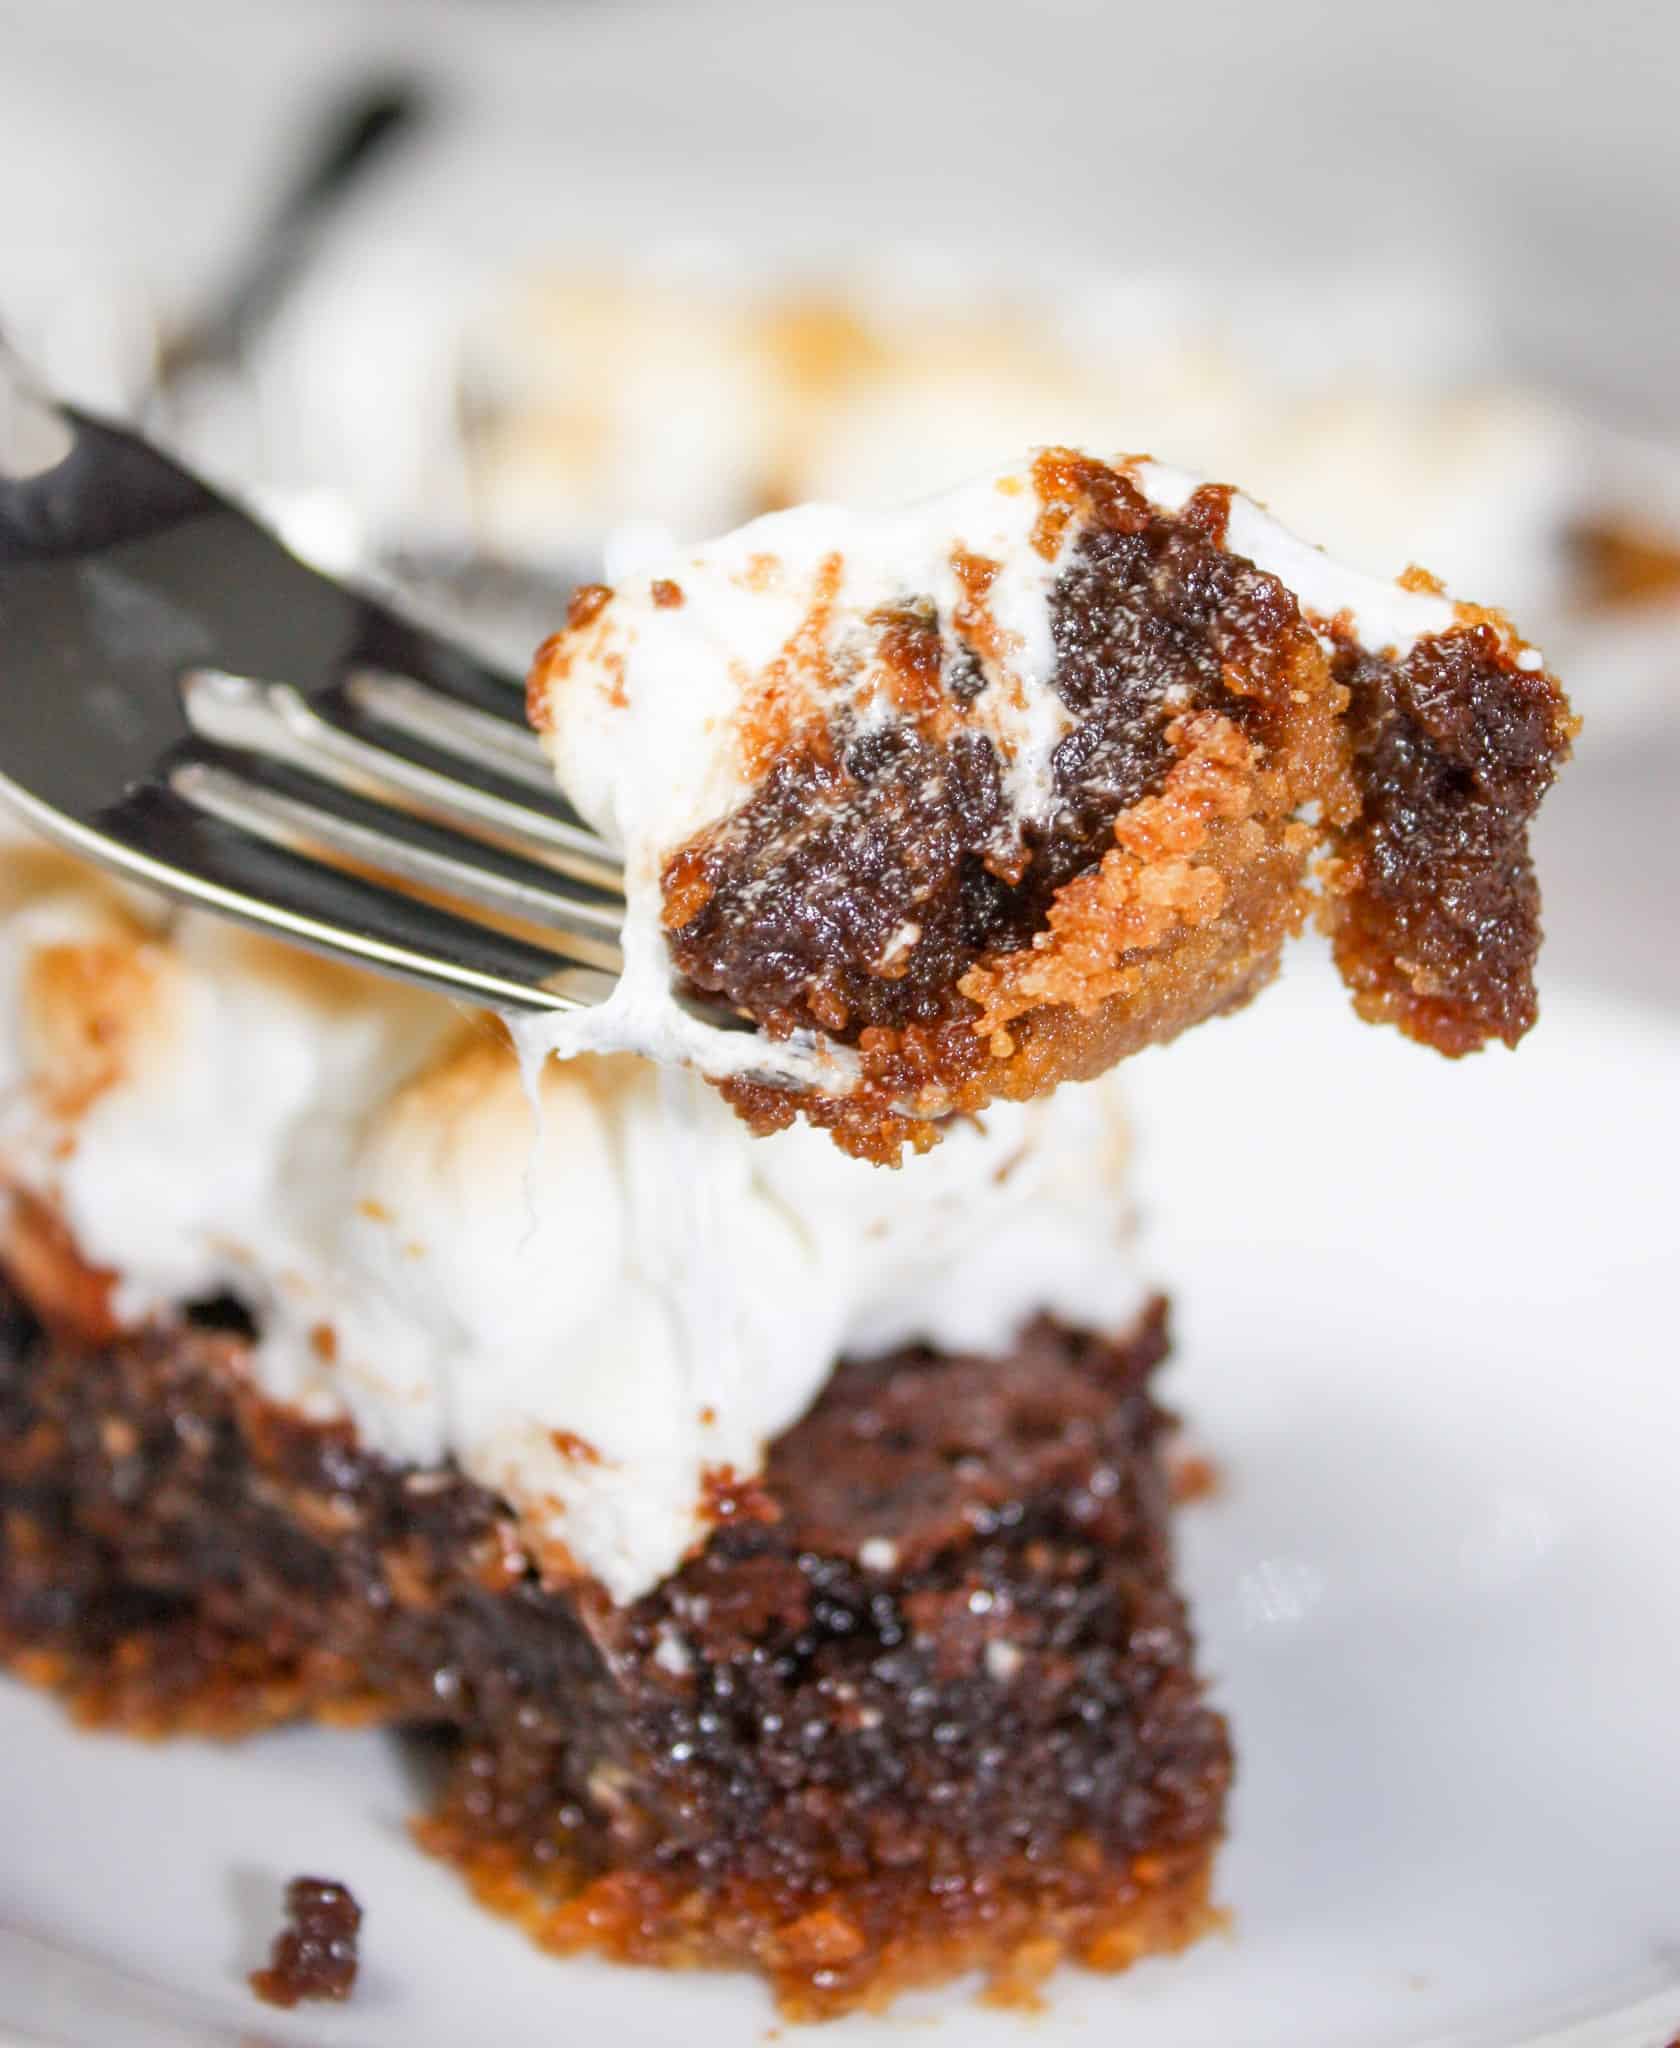
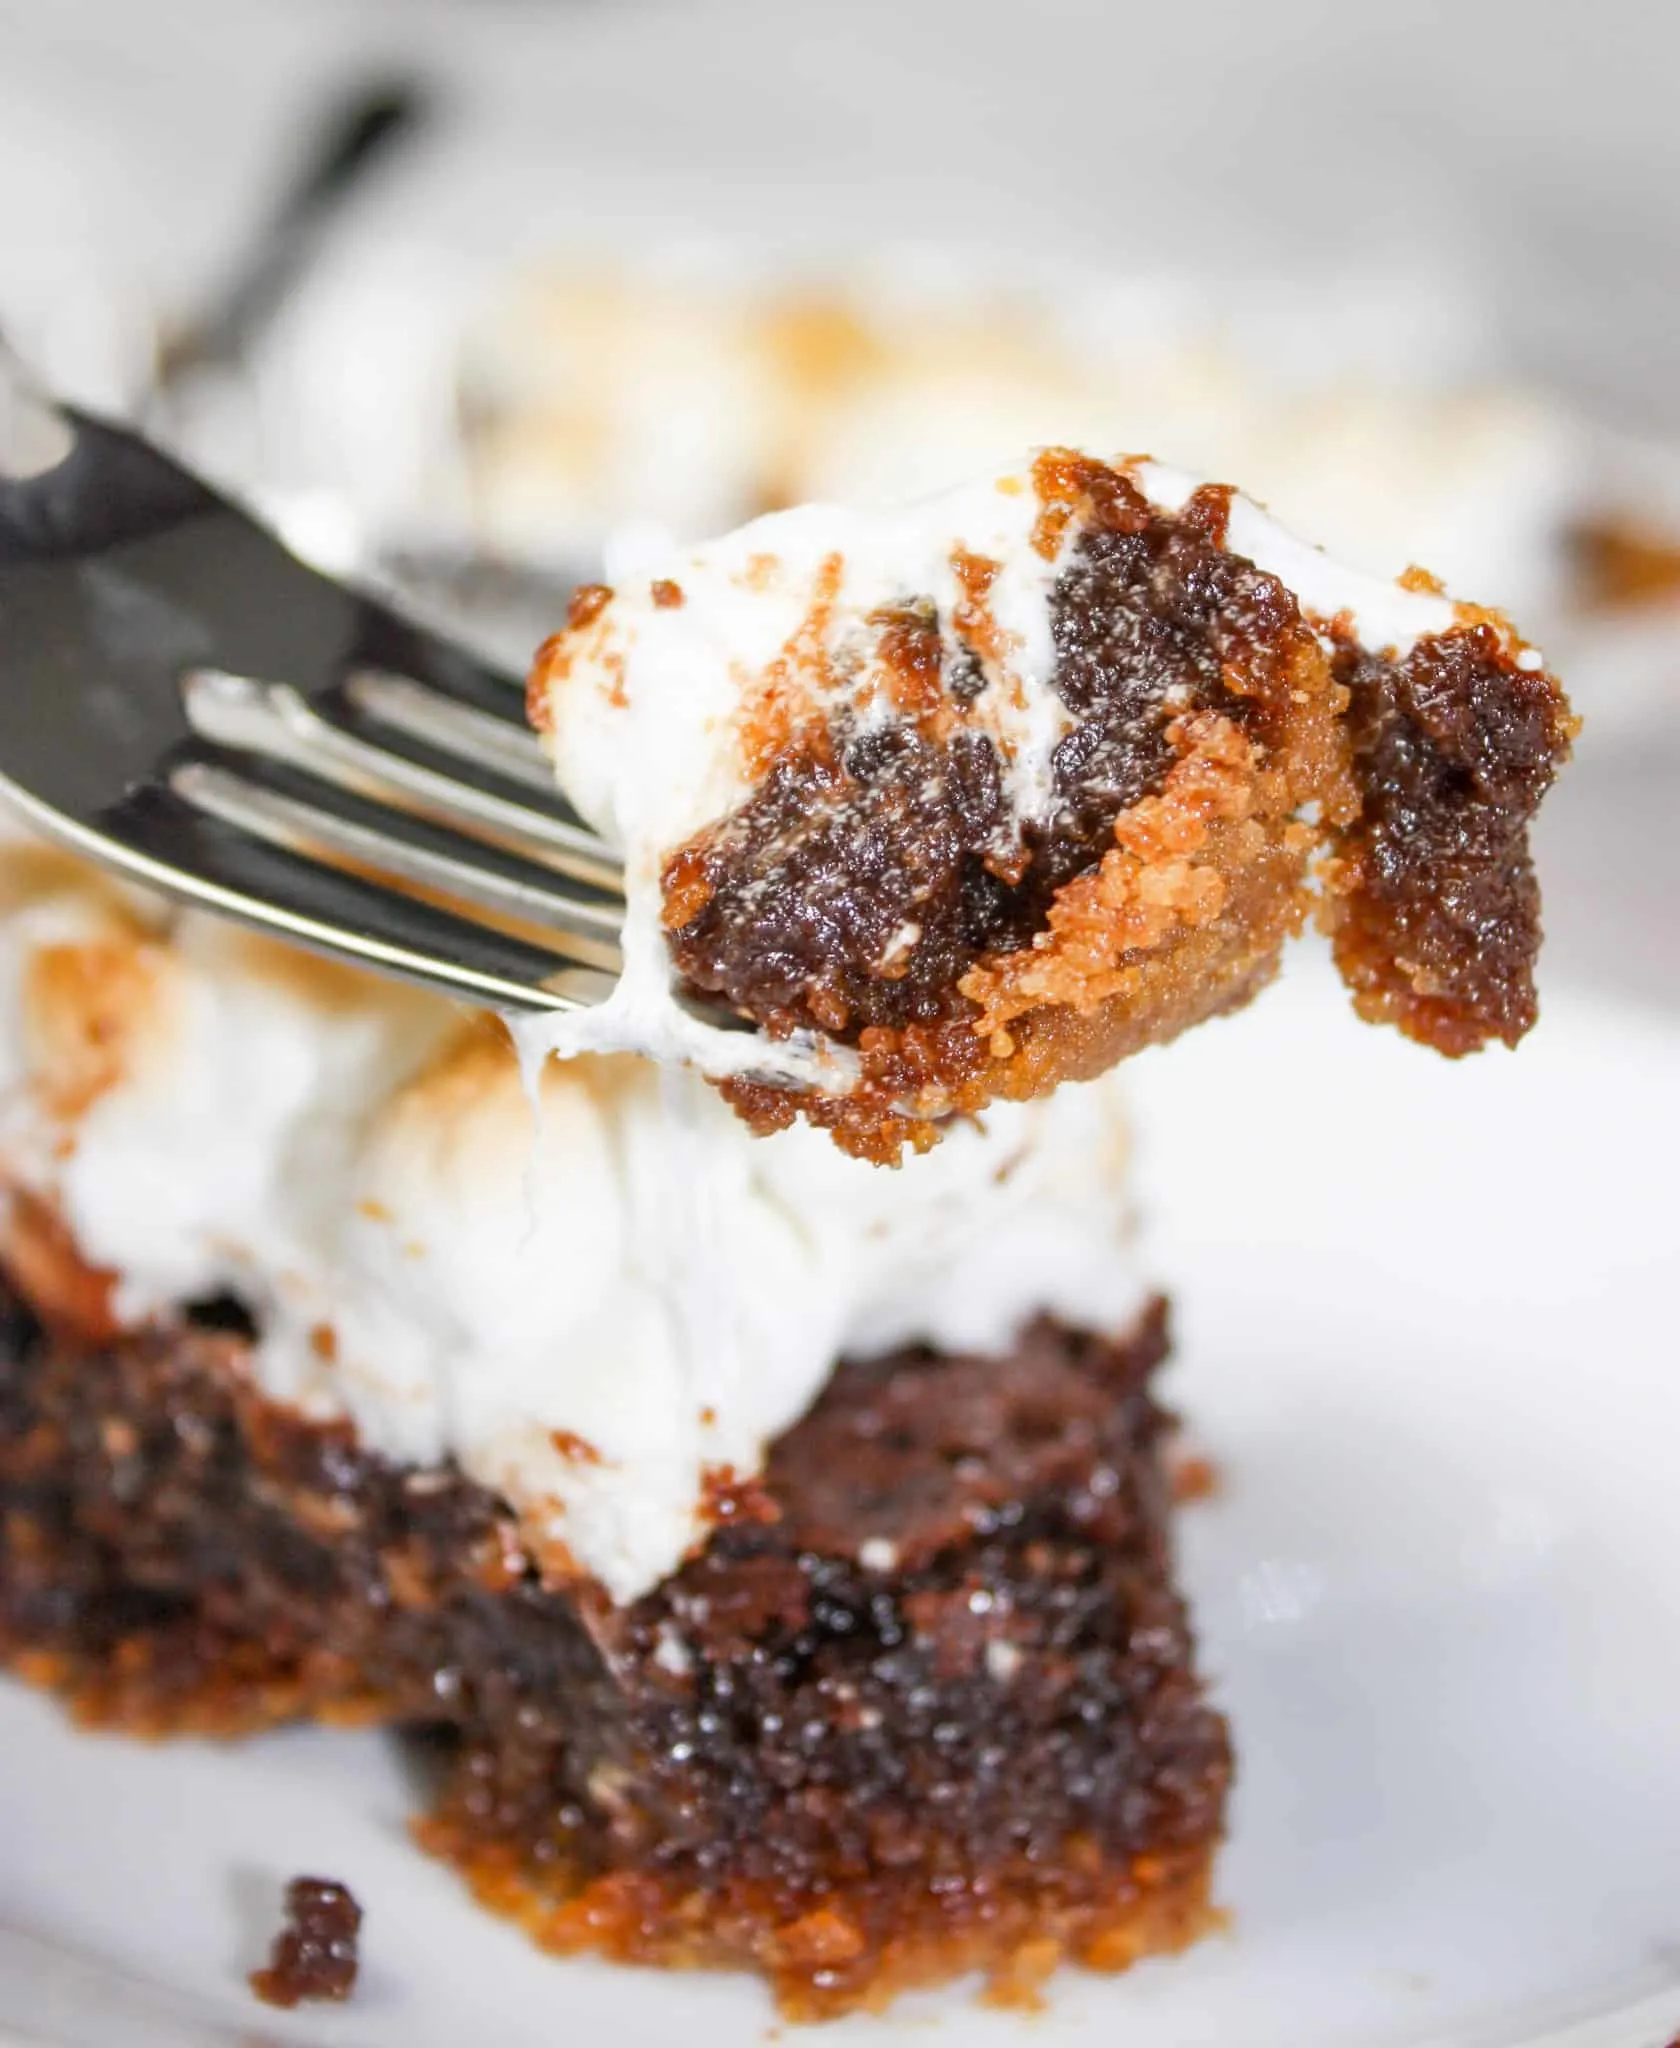
S’mores Pie is a wonderful combination of flavours and textures.

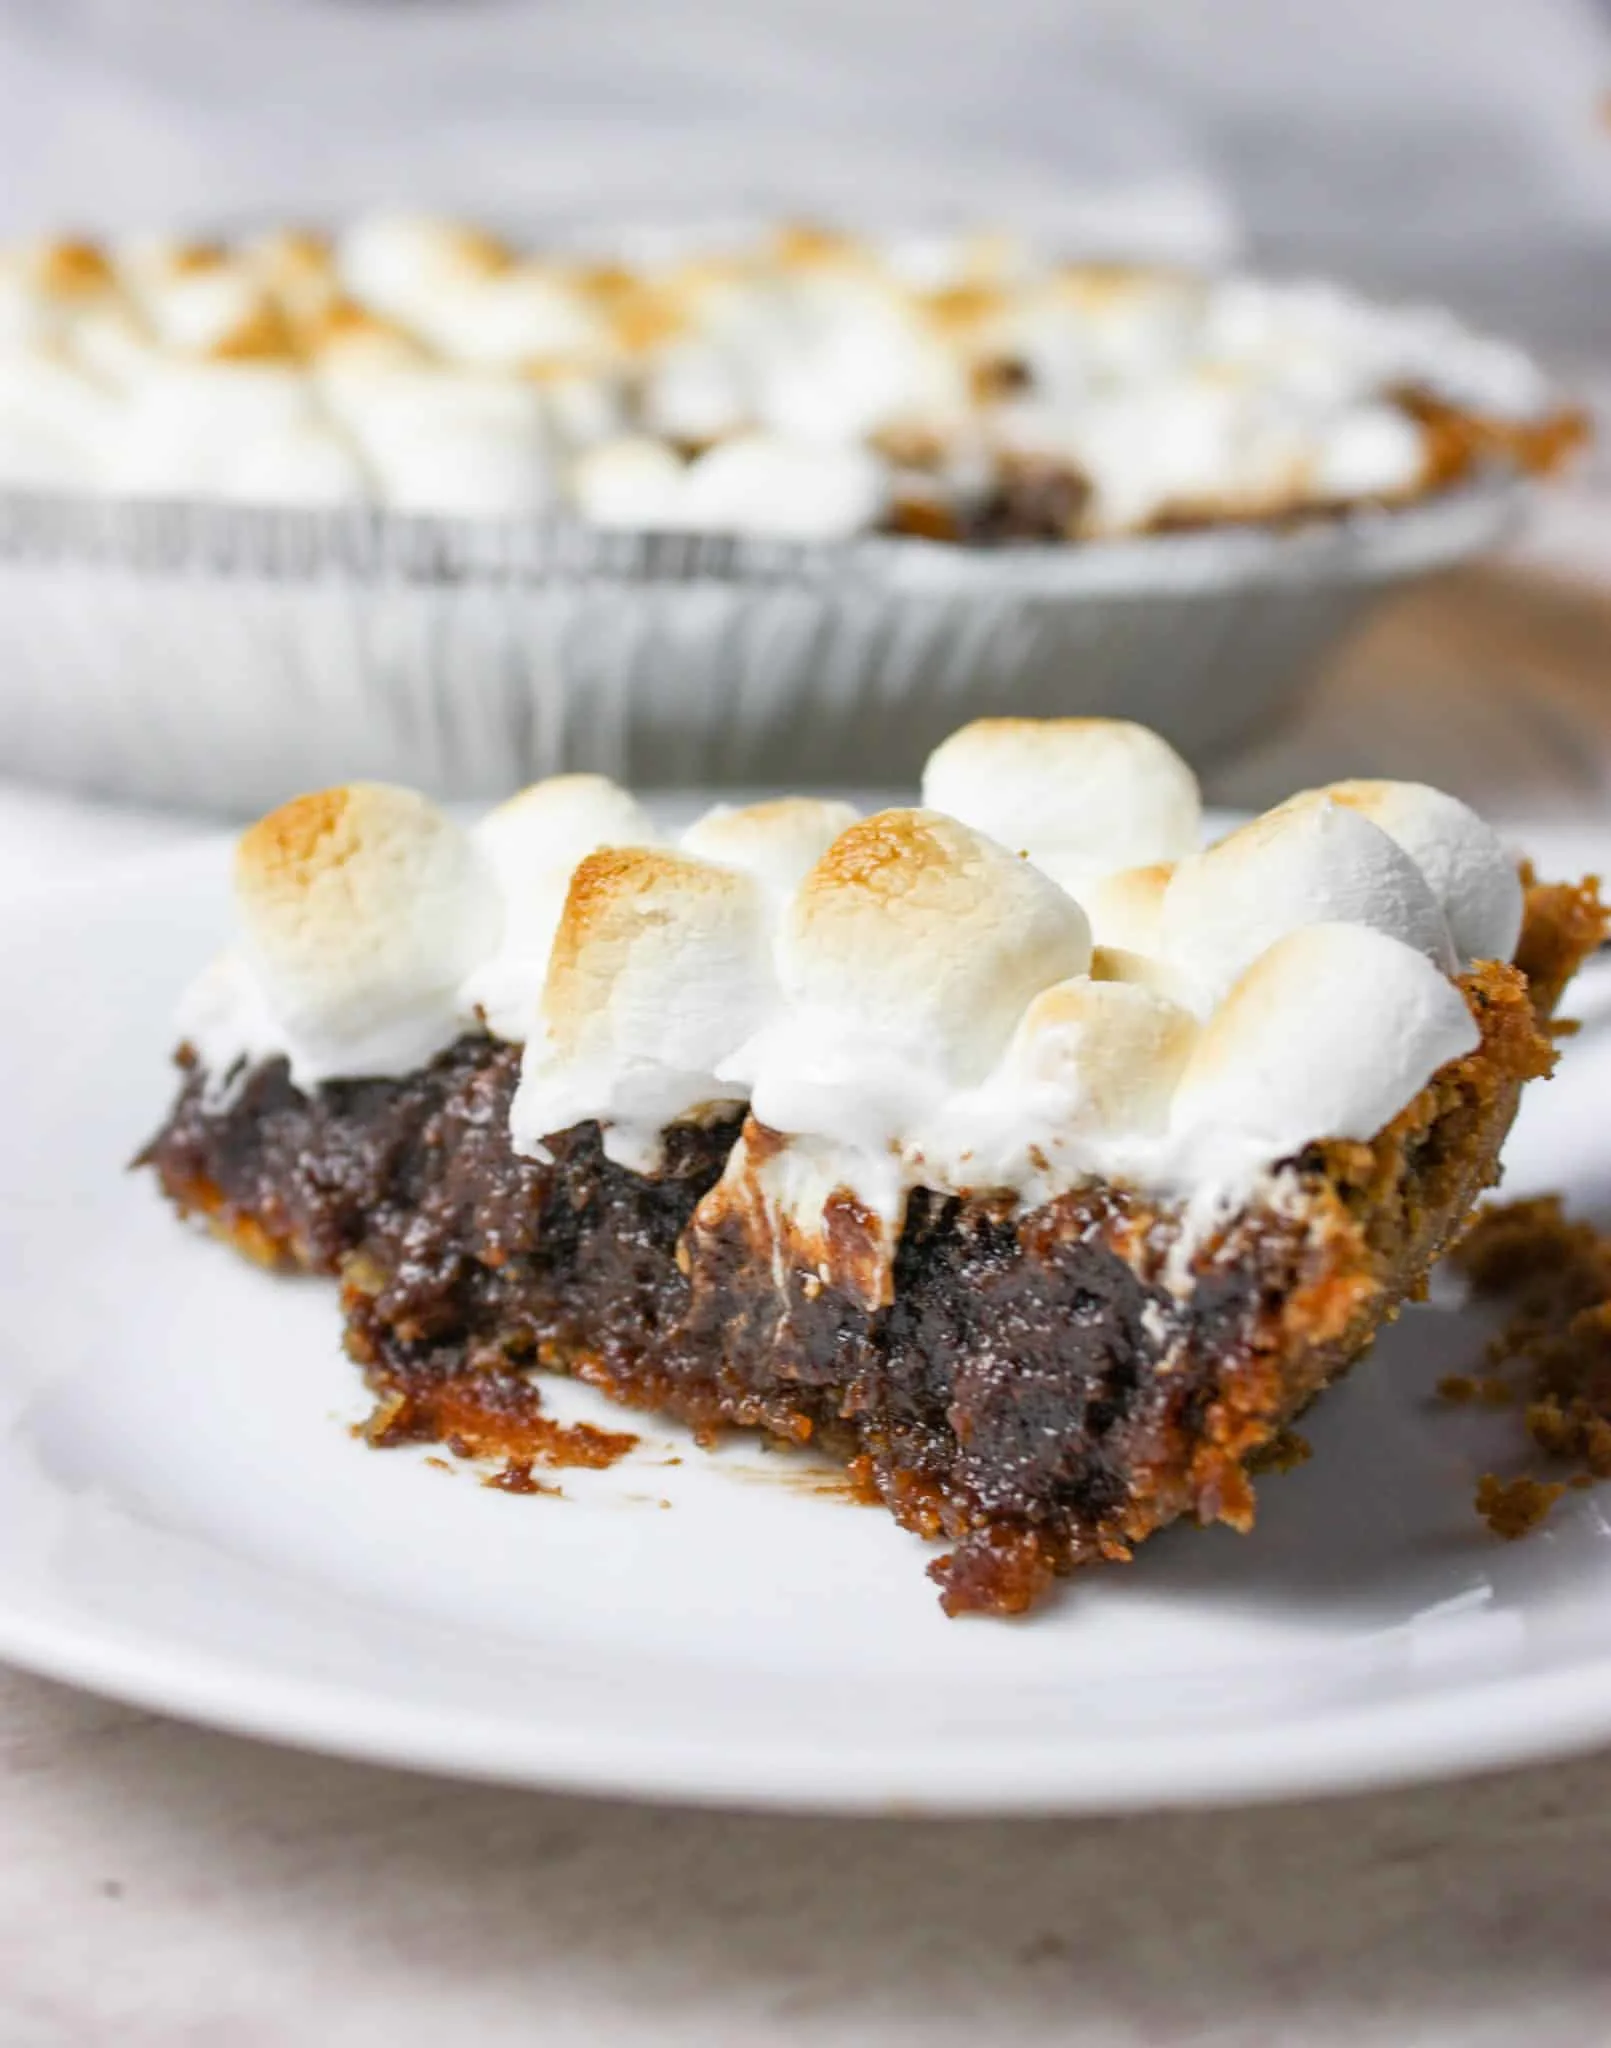
Let the warm marshmallows, creamy chocolate filling and graham crust, transport you back to happy childhood memories enjoying family campfires!
Printable Recipe Card with a Full List of Ingredients and Instructions is Located at the Bottom of the Post.
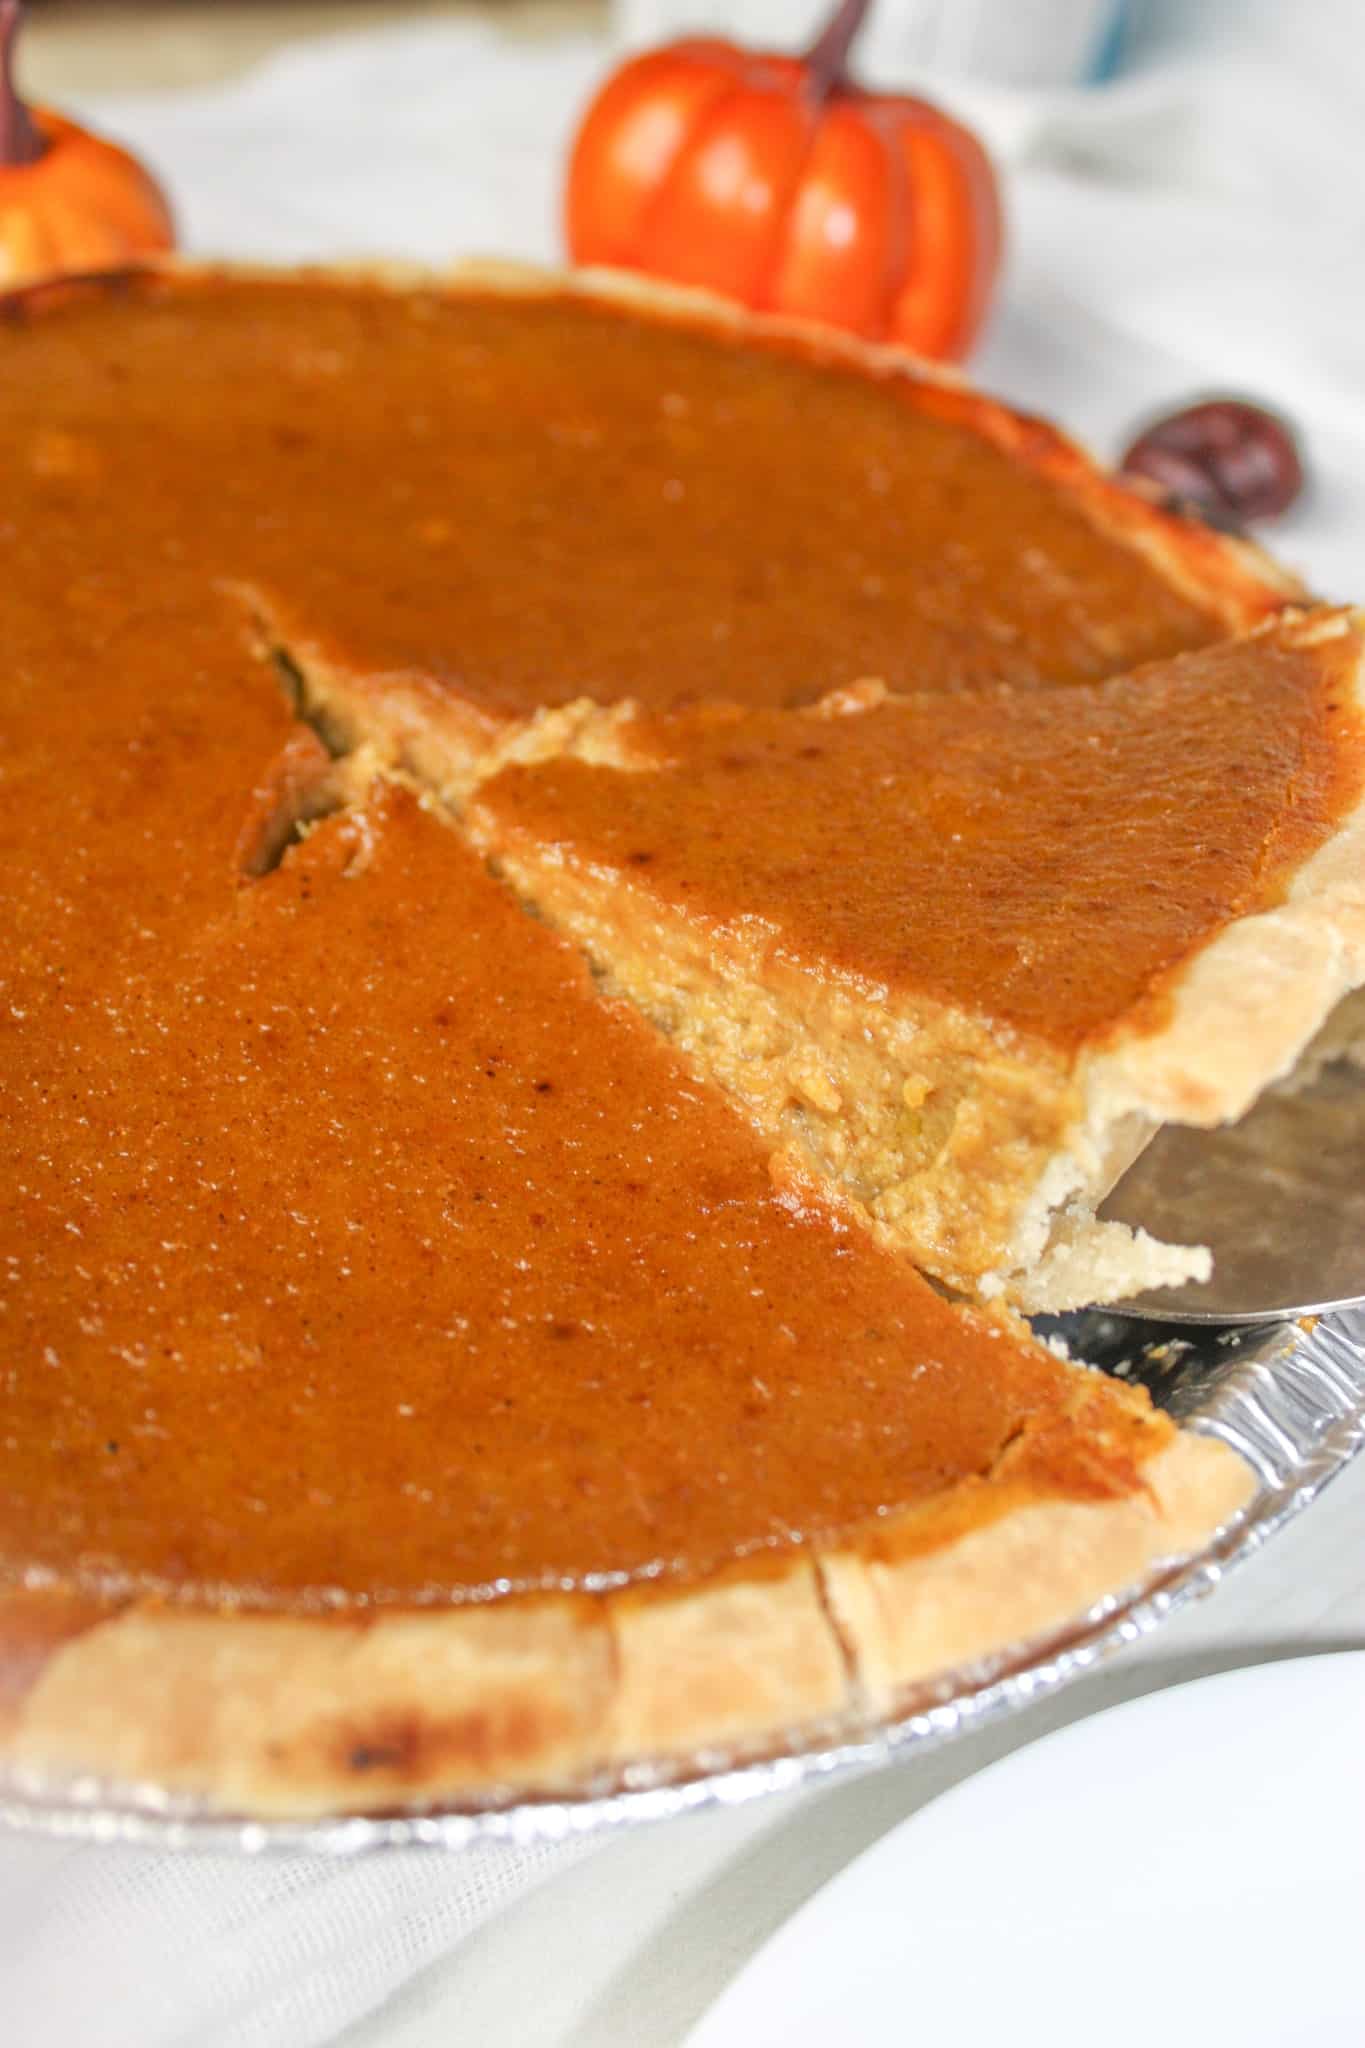
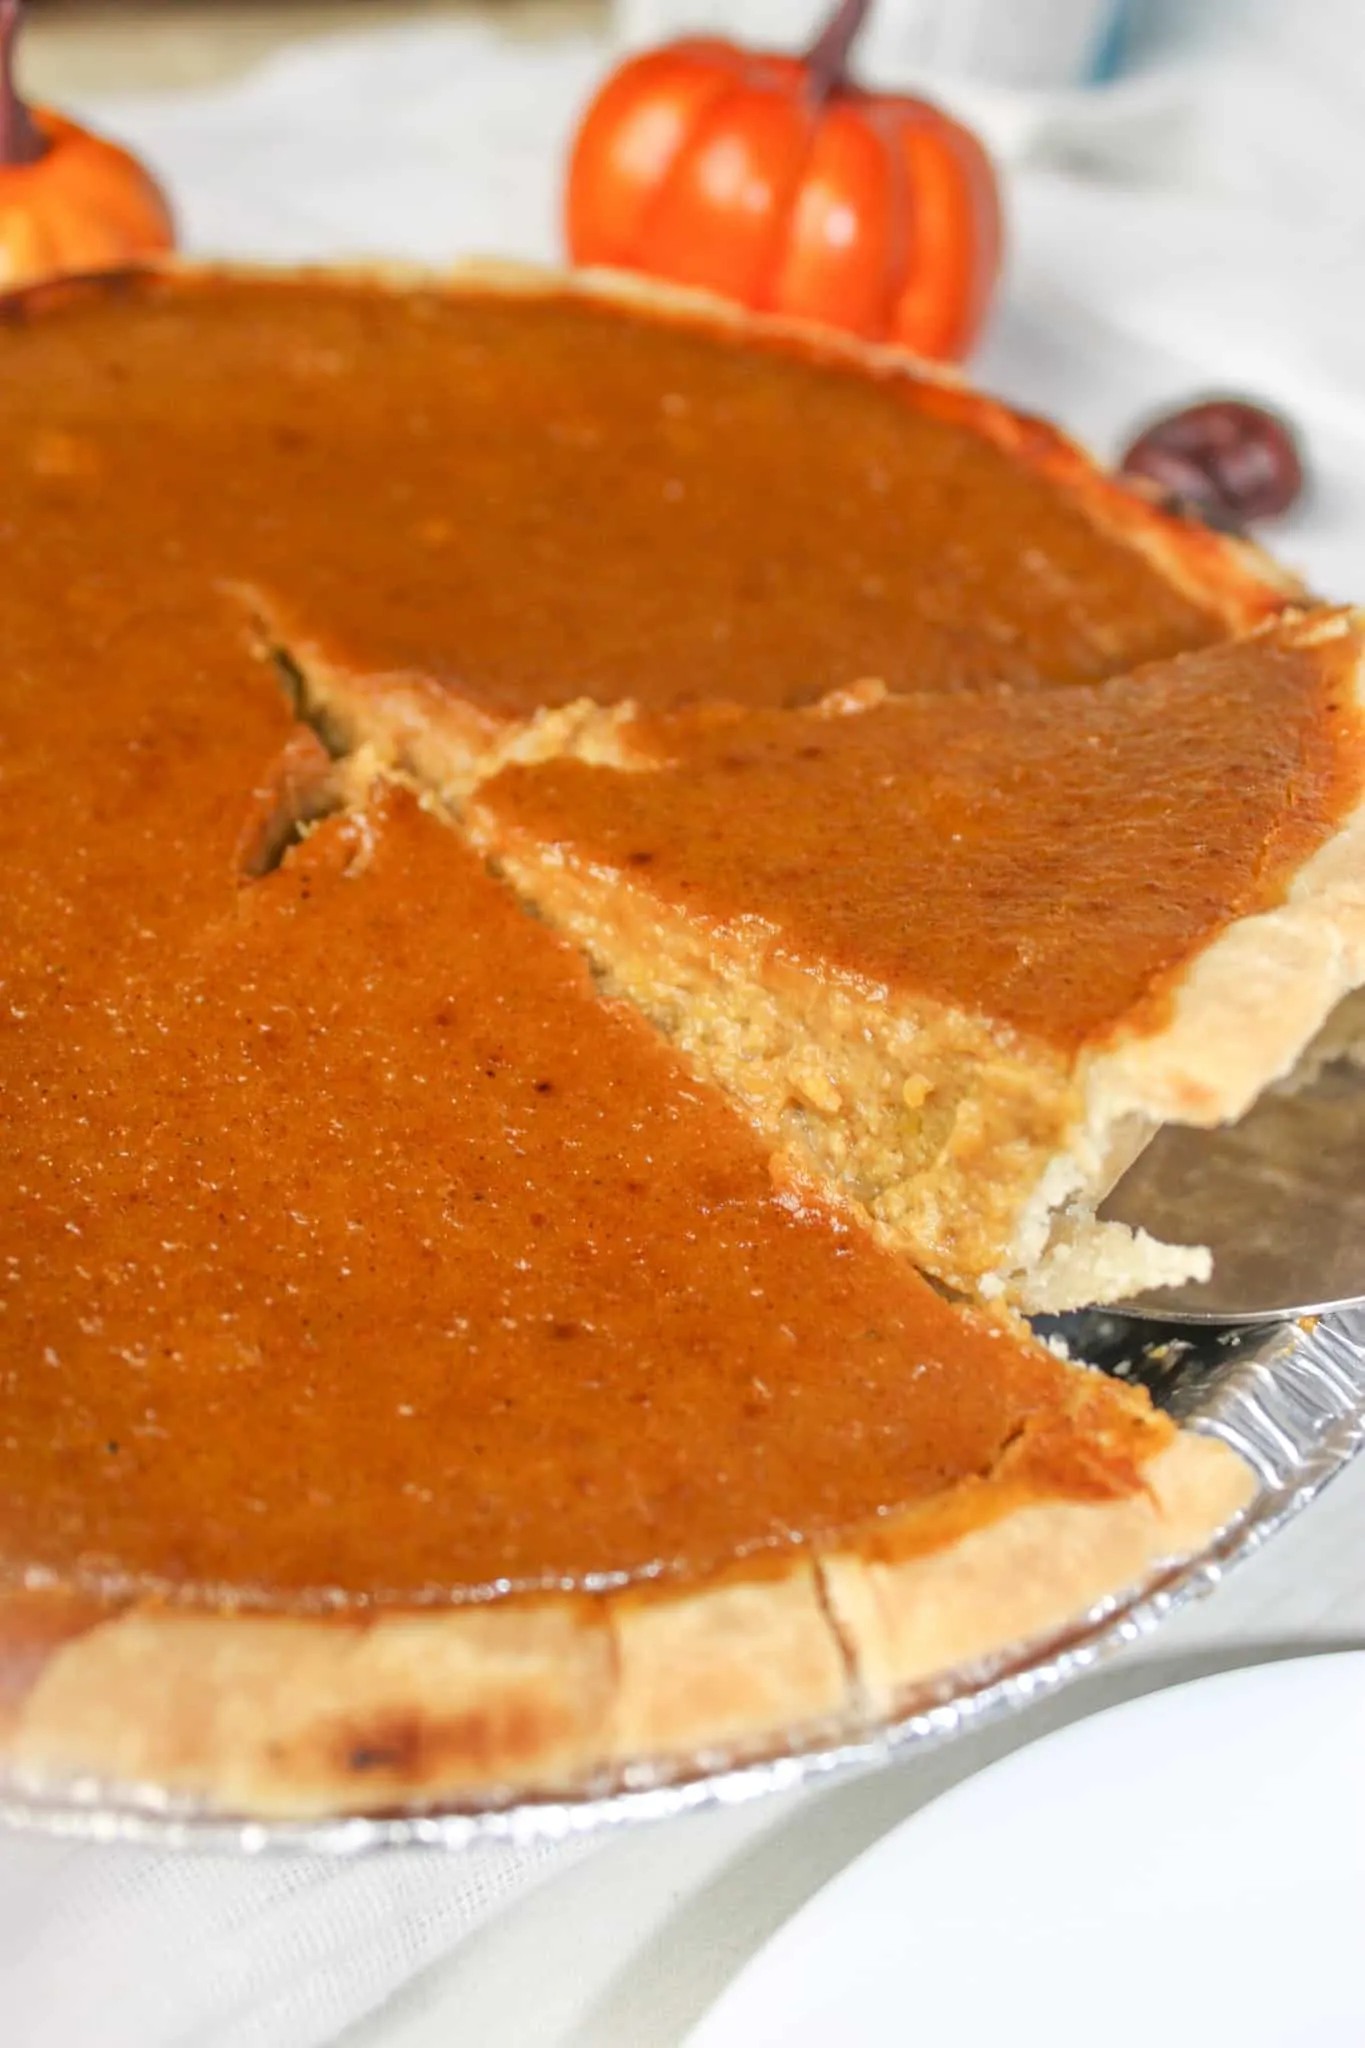
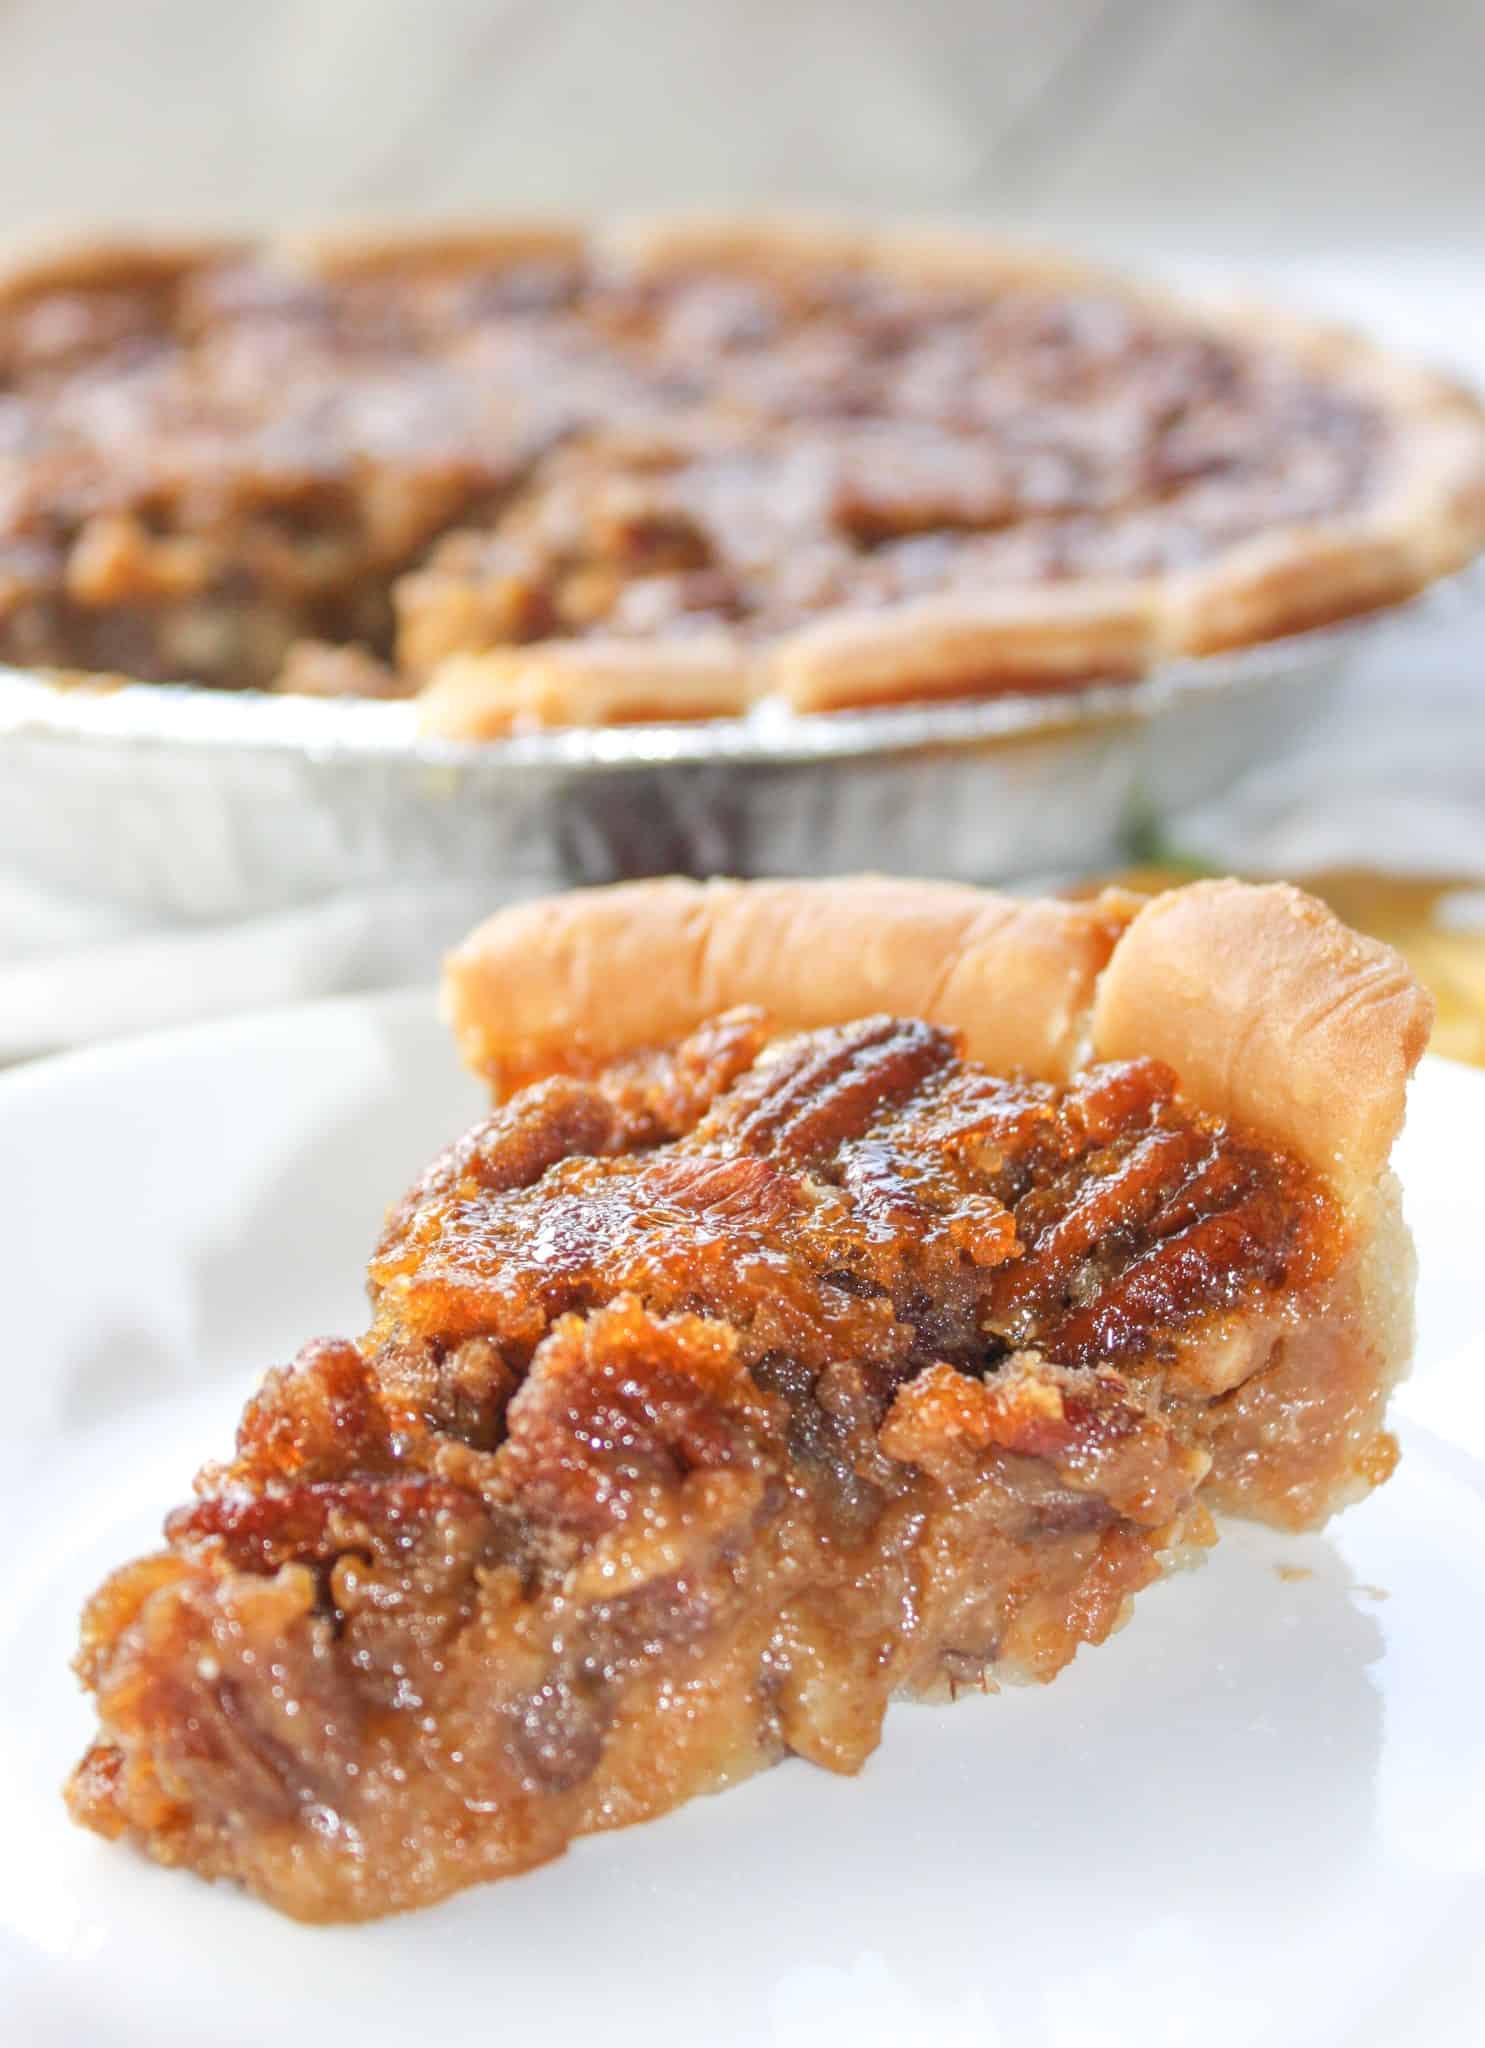
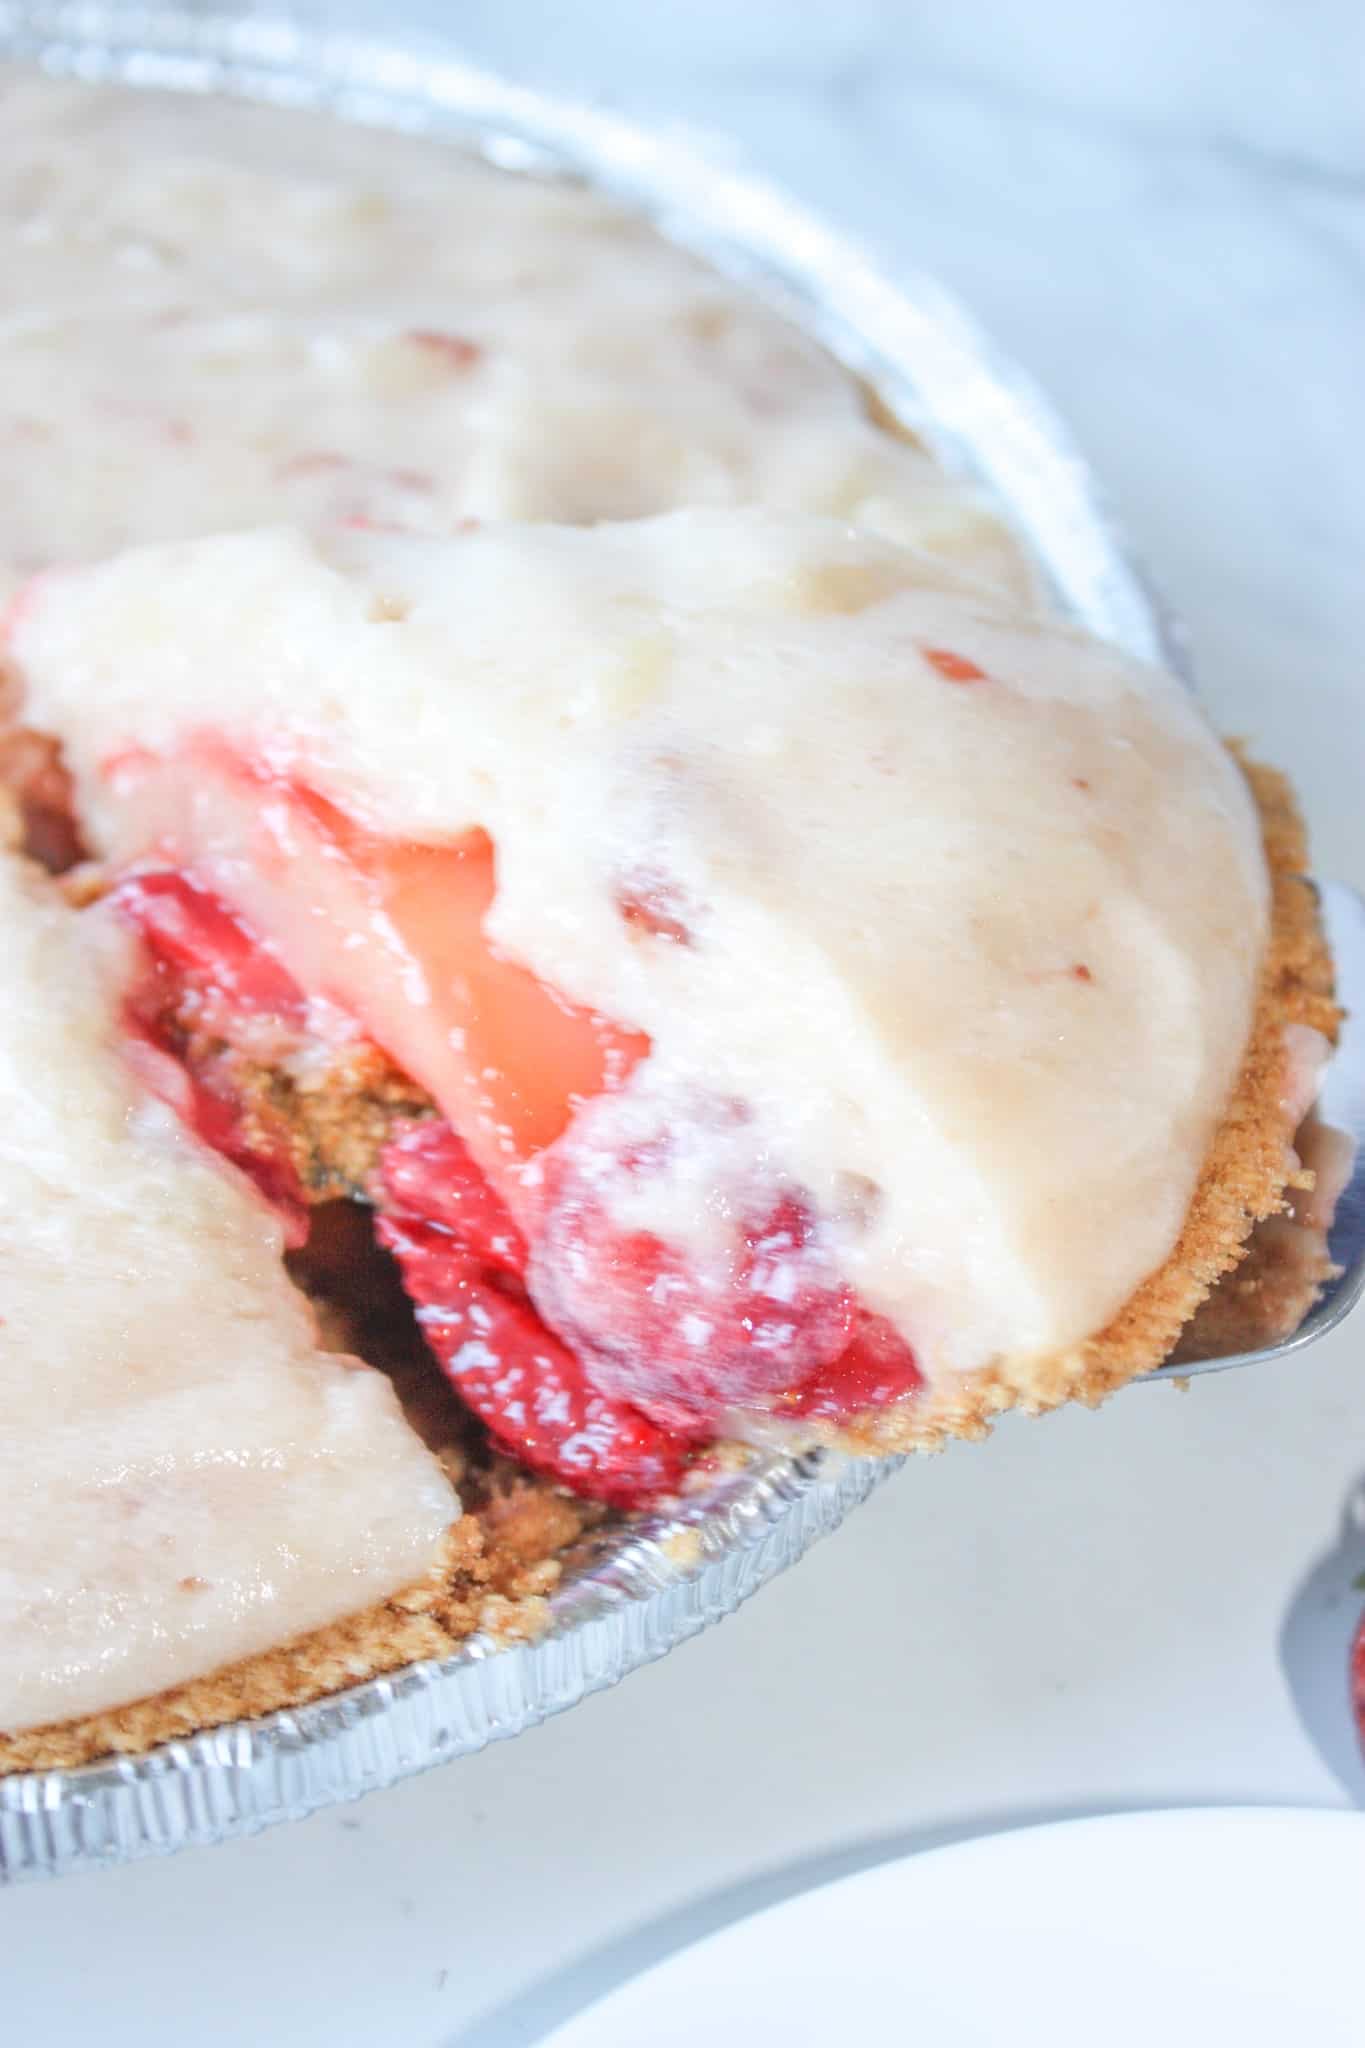
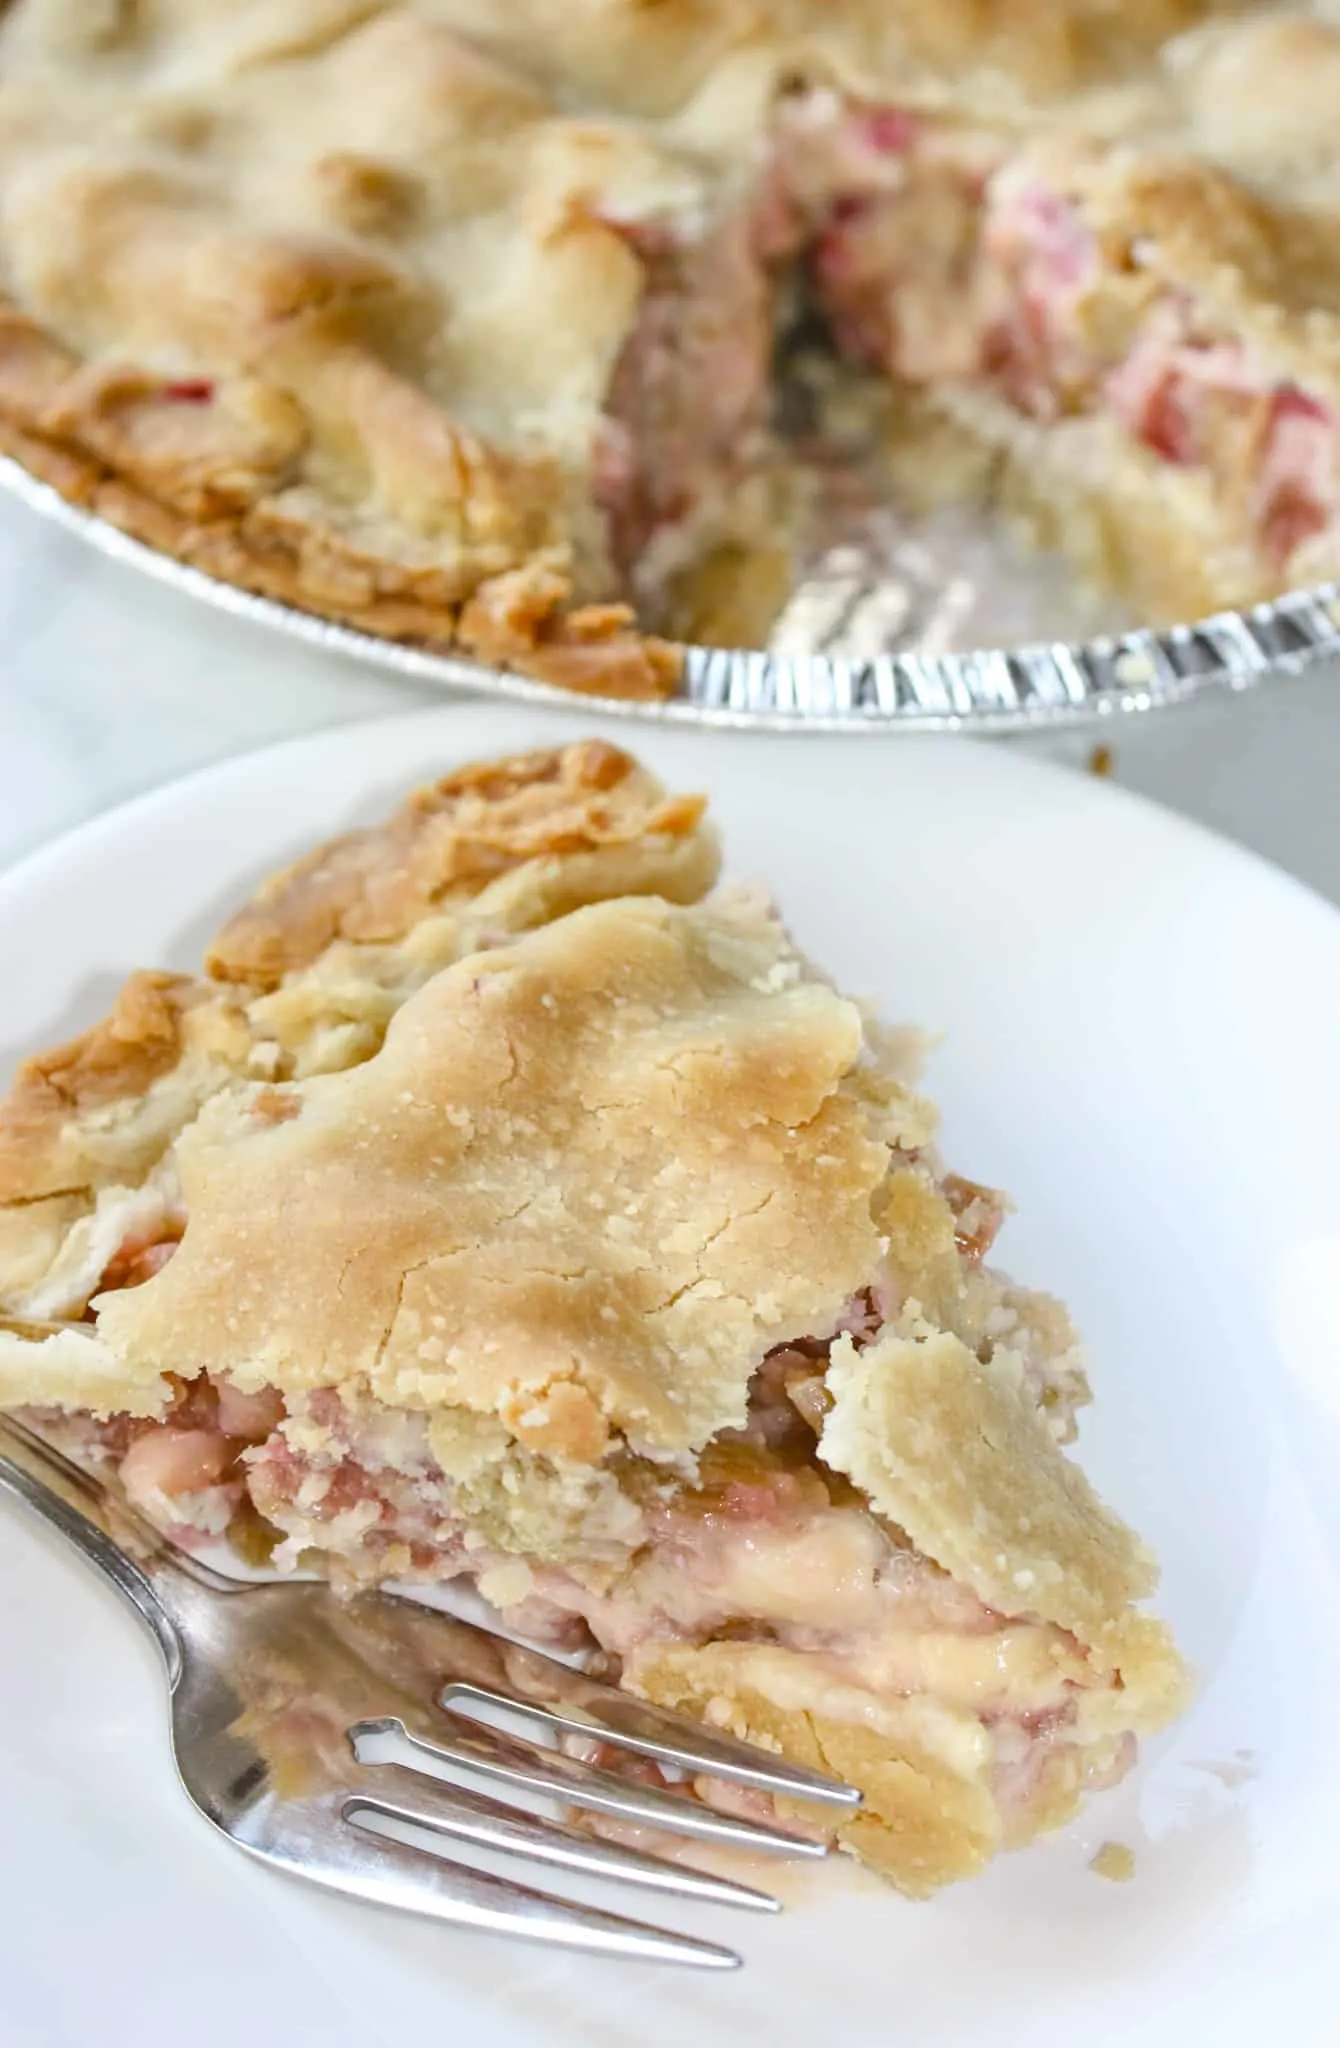
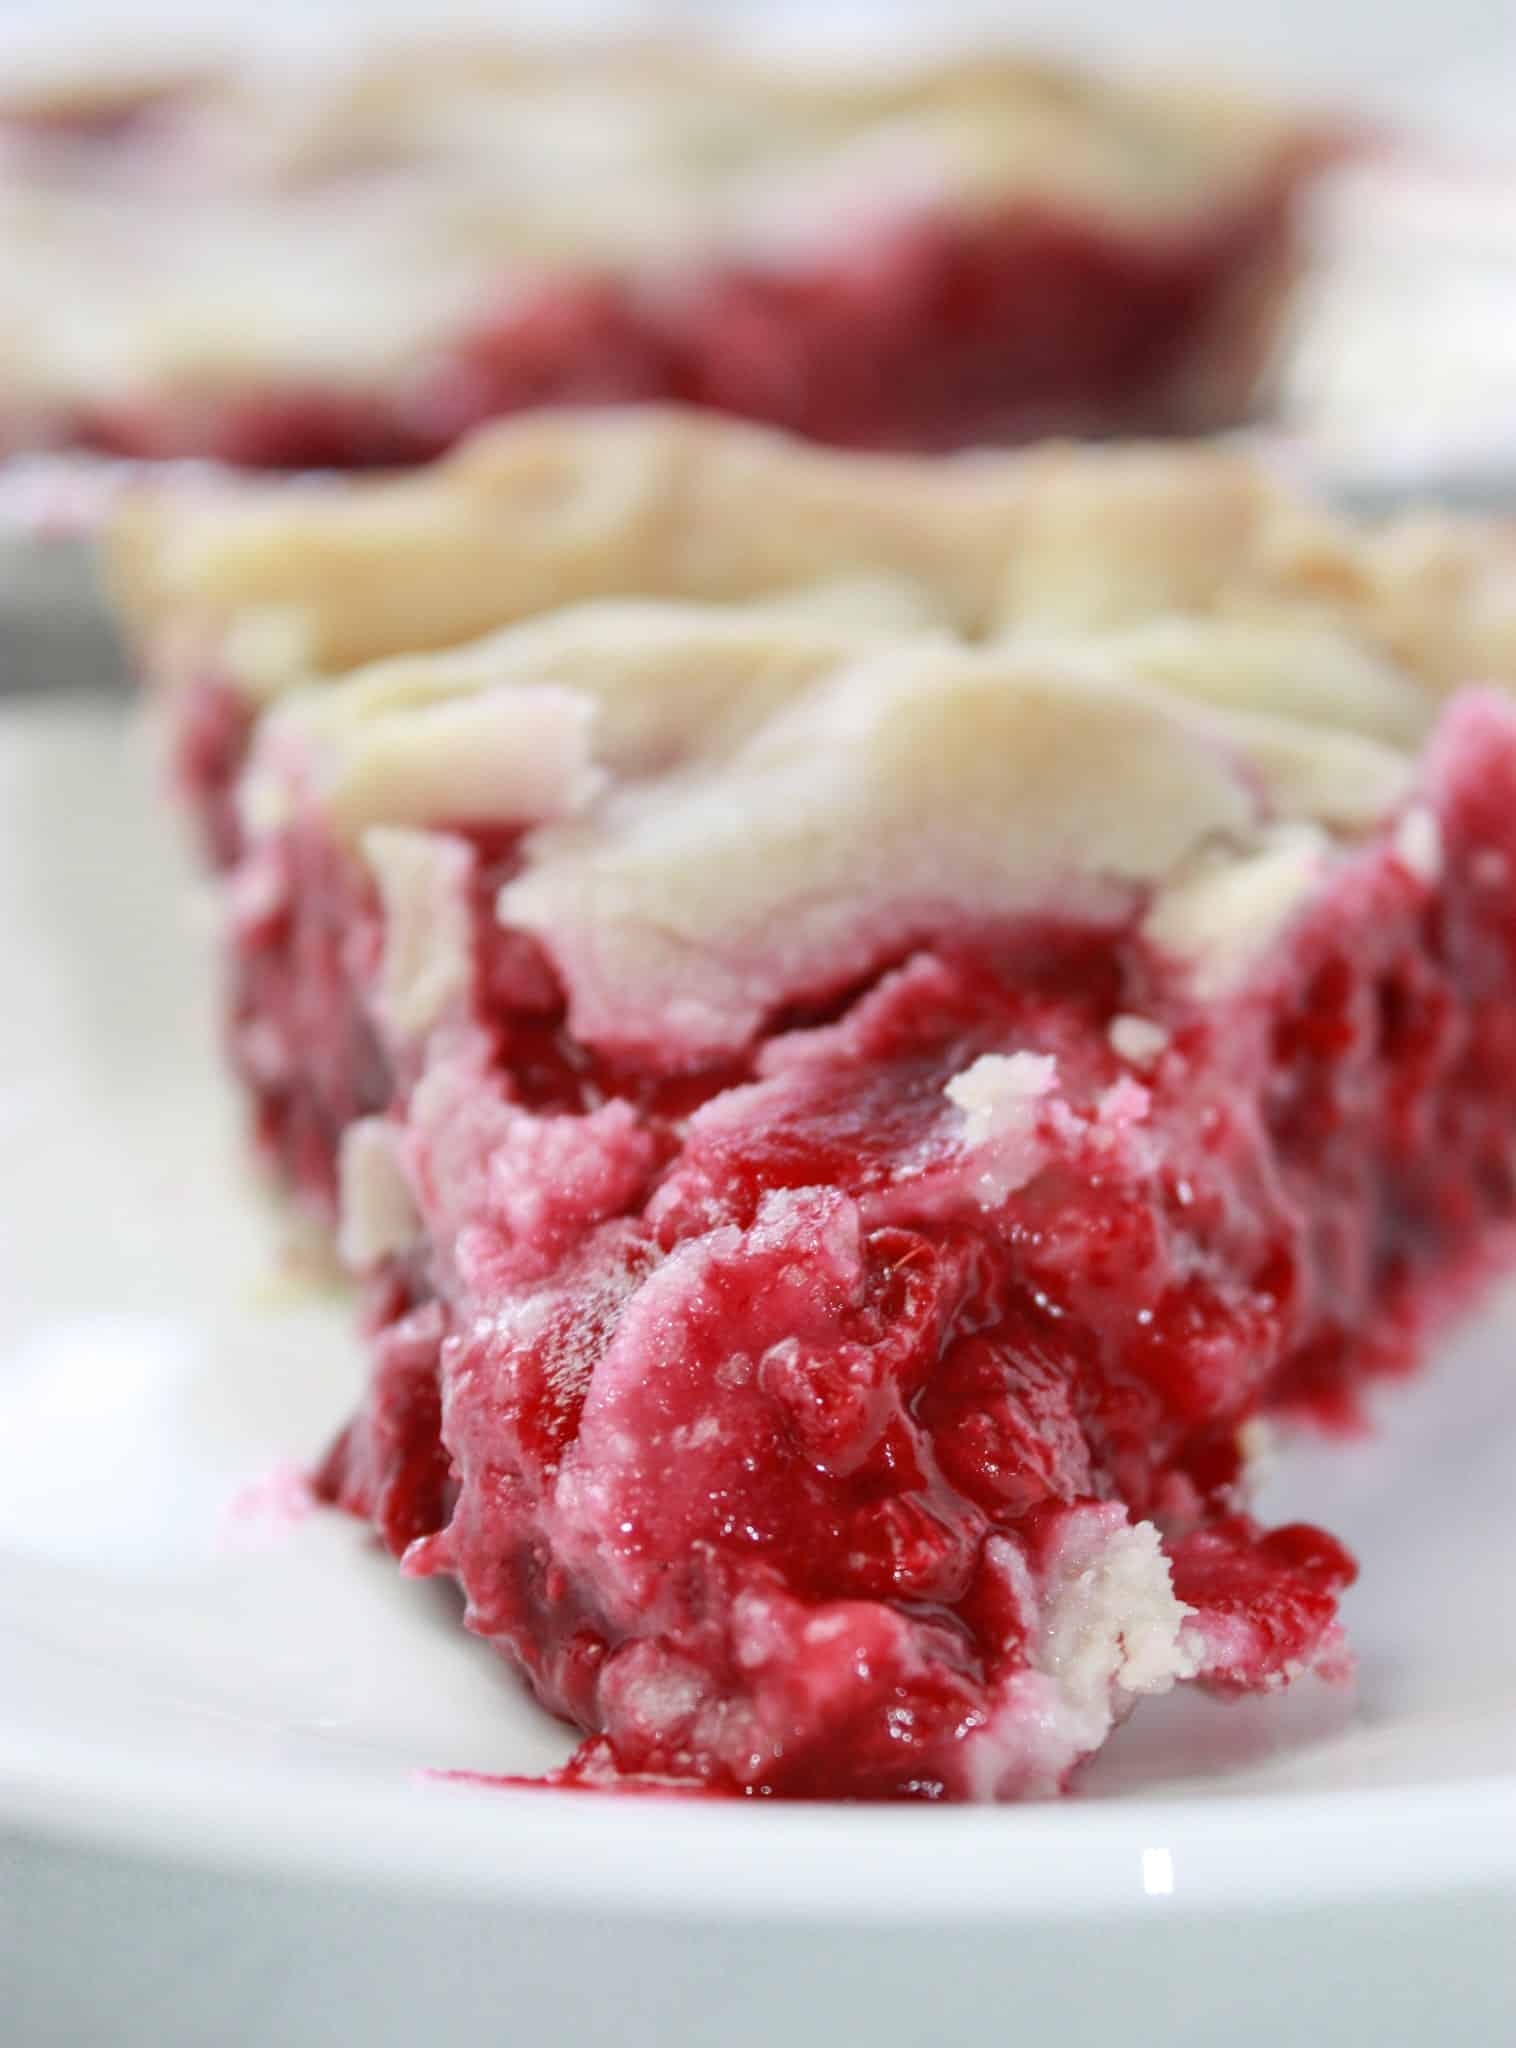
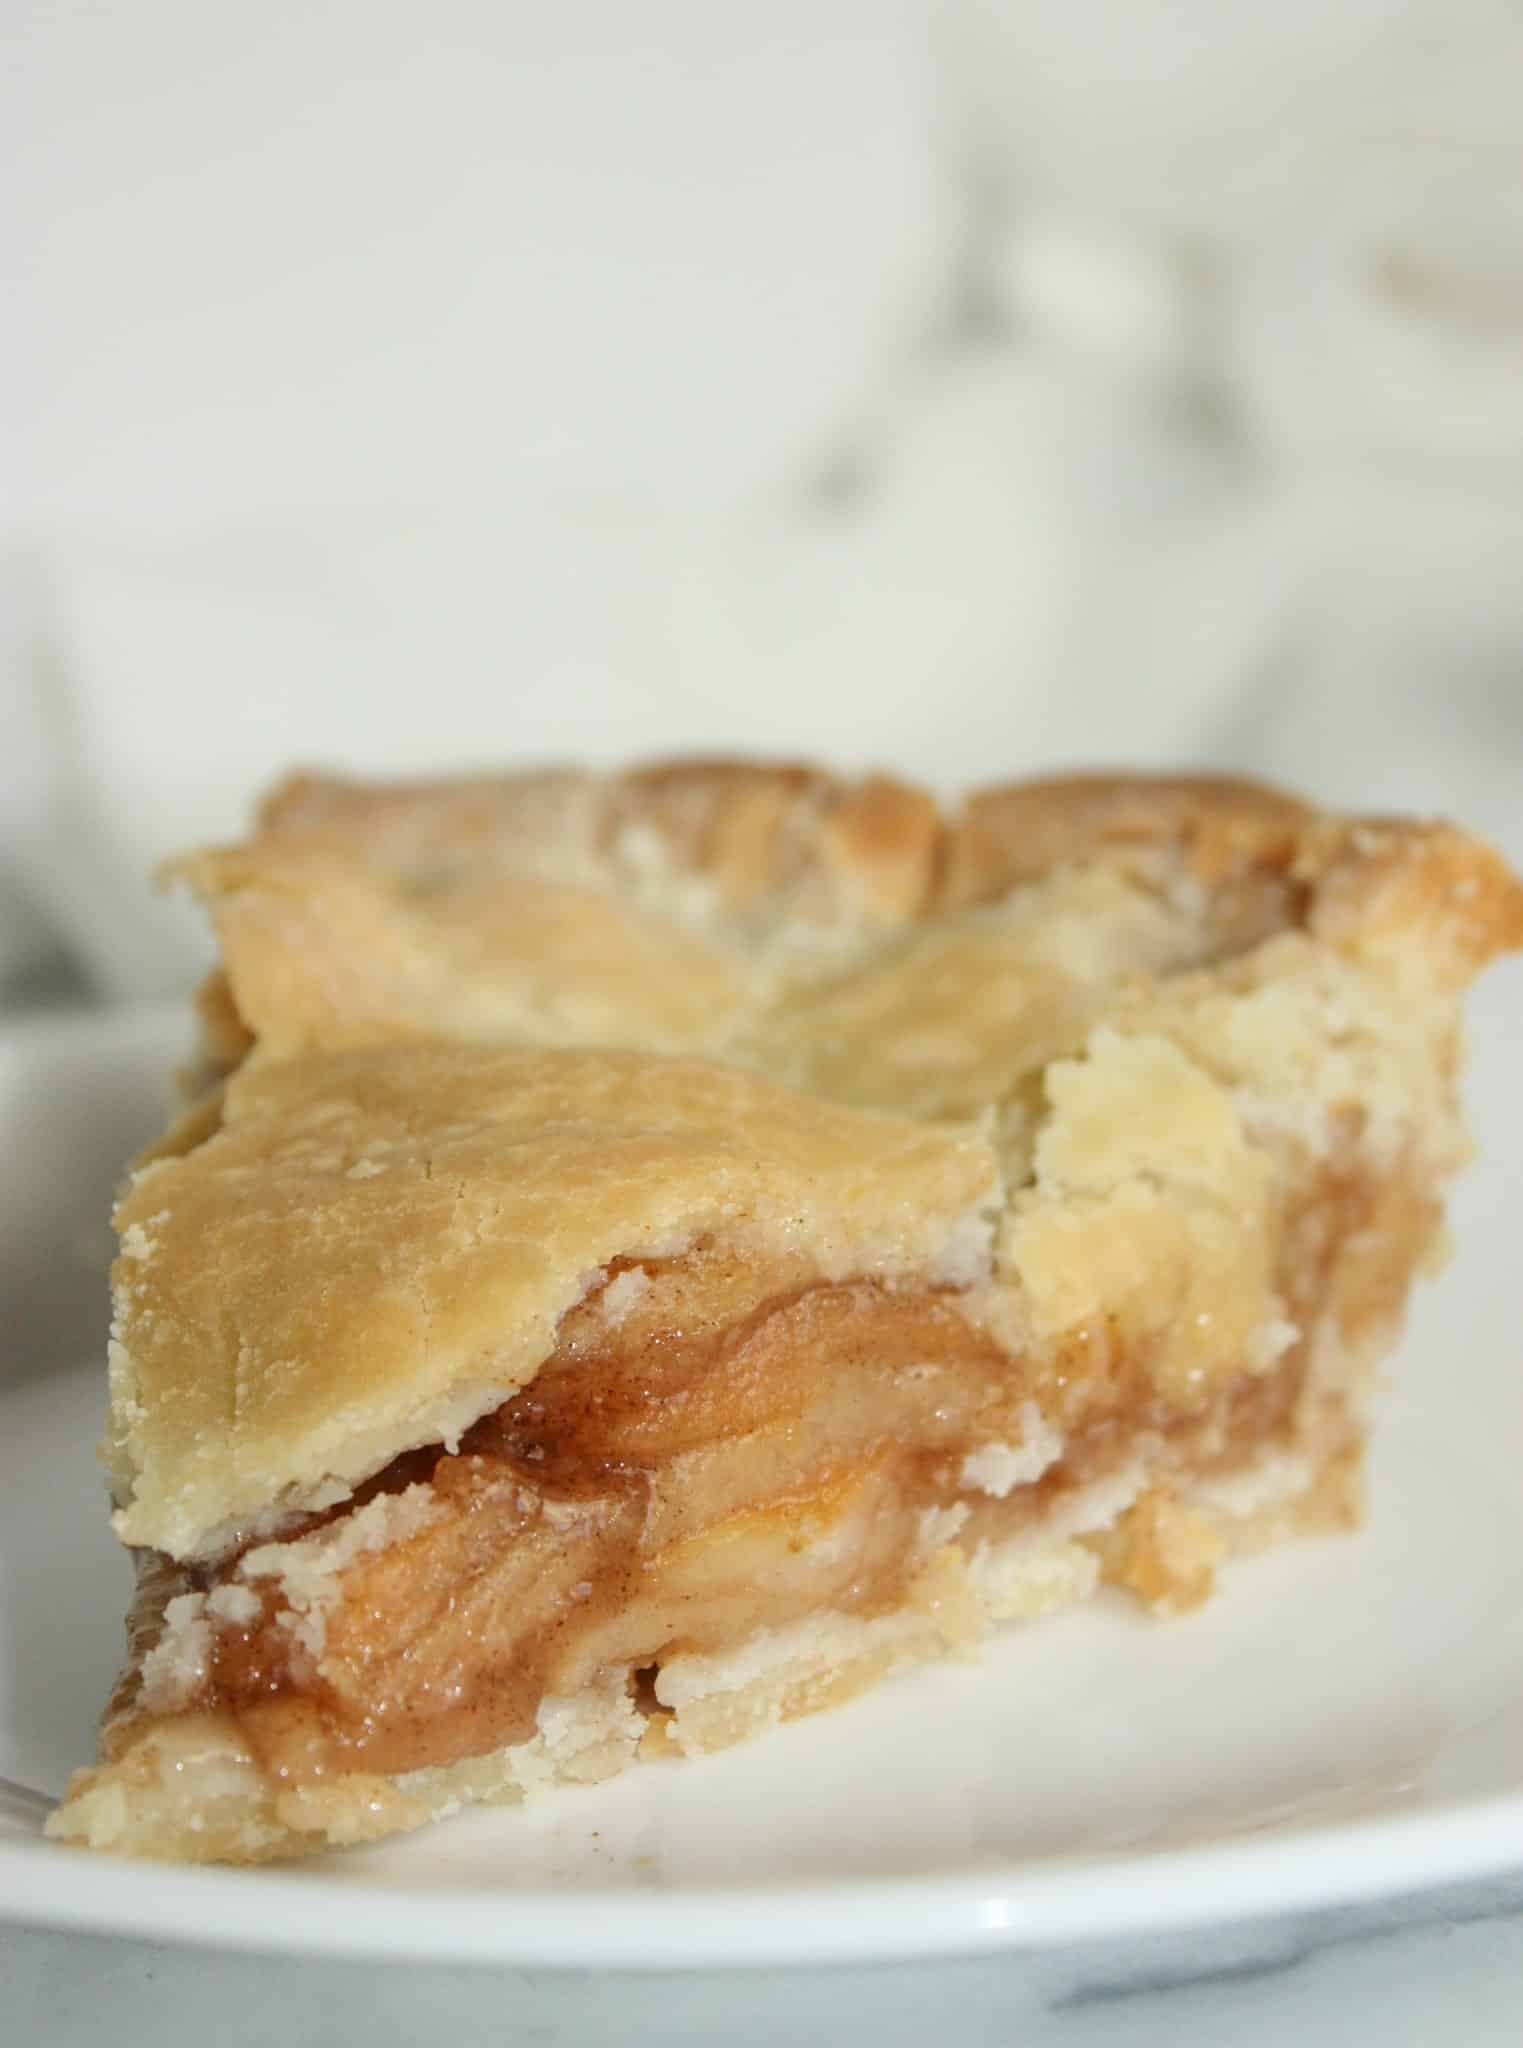
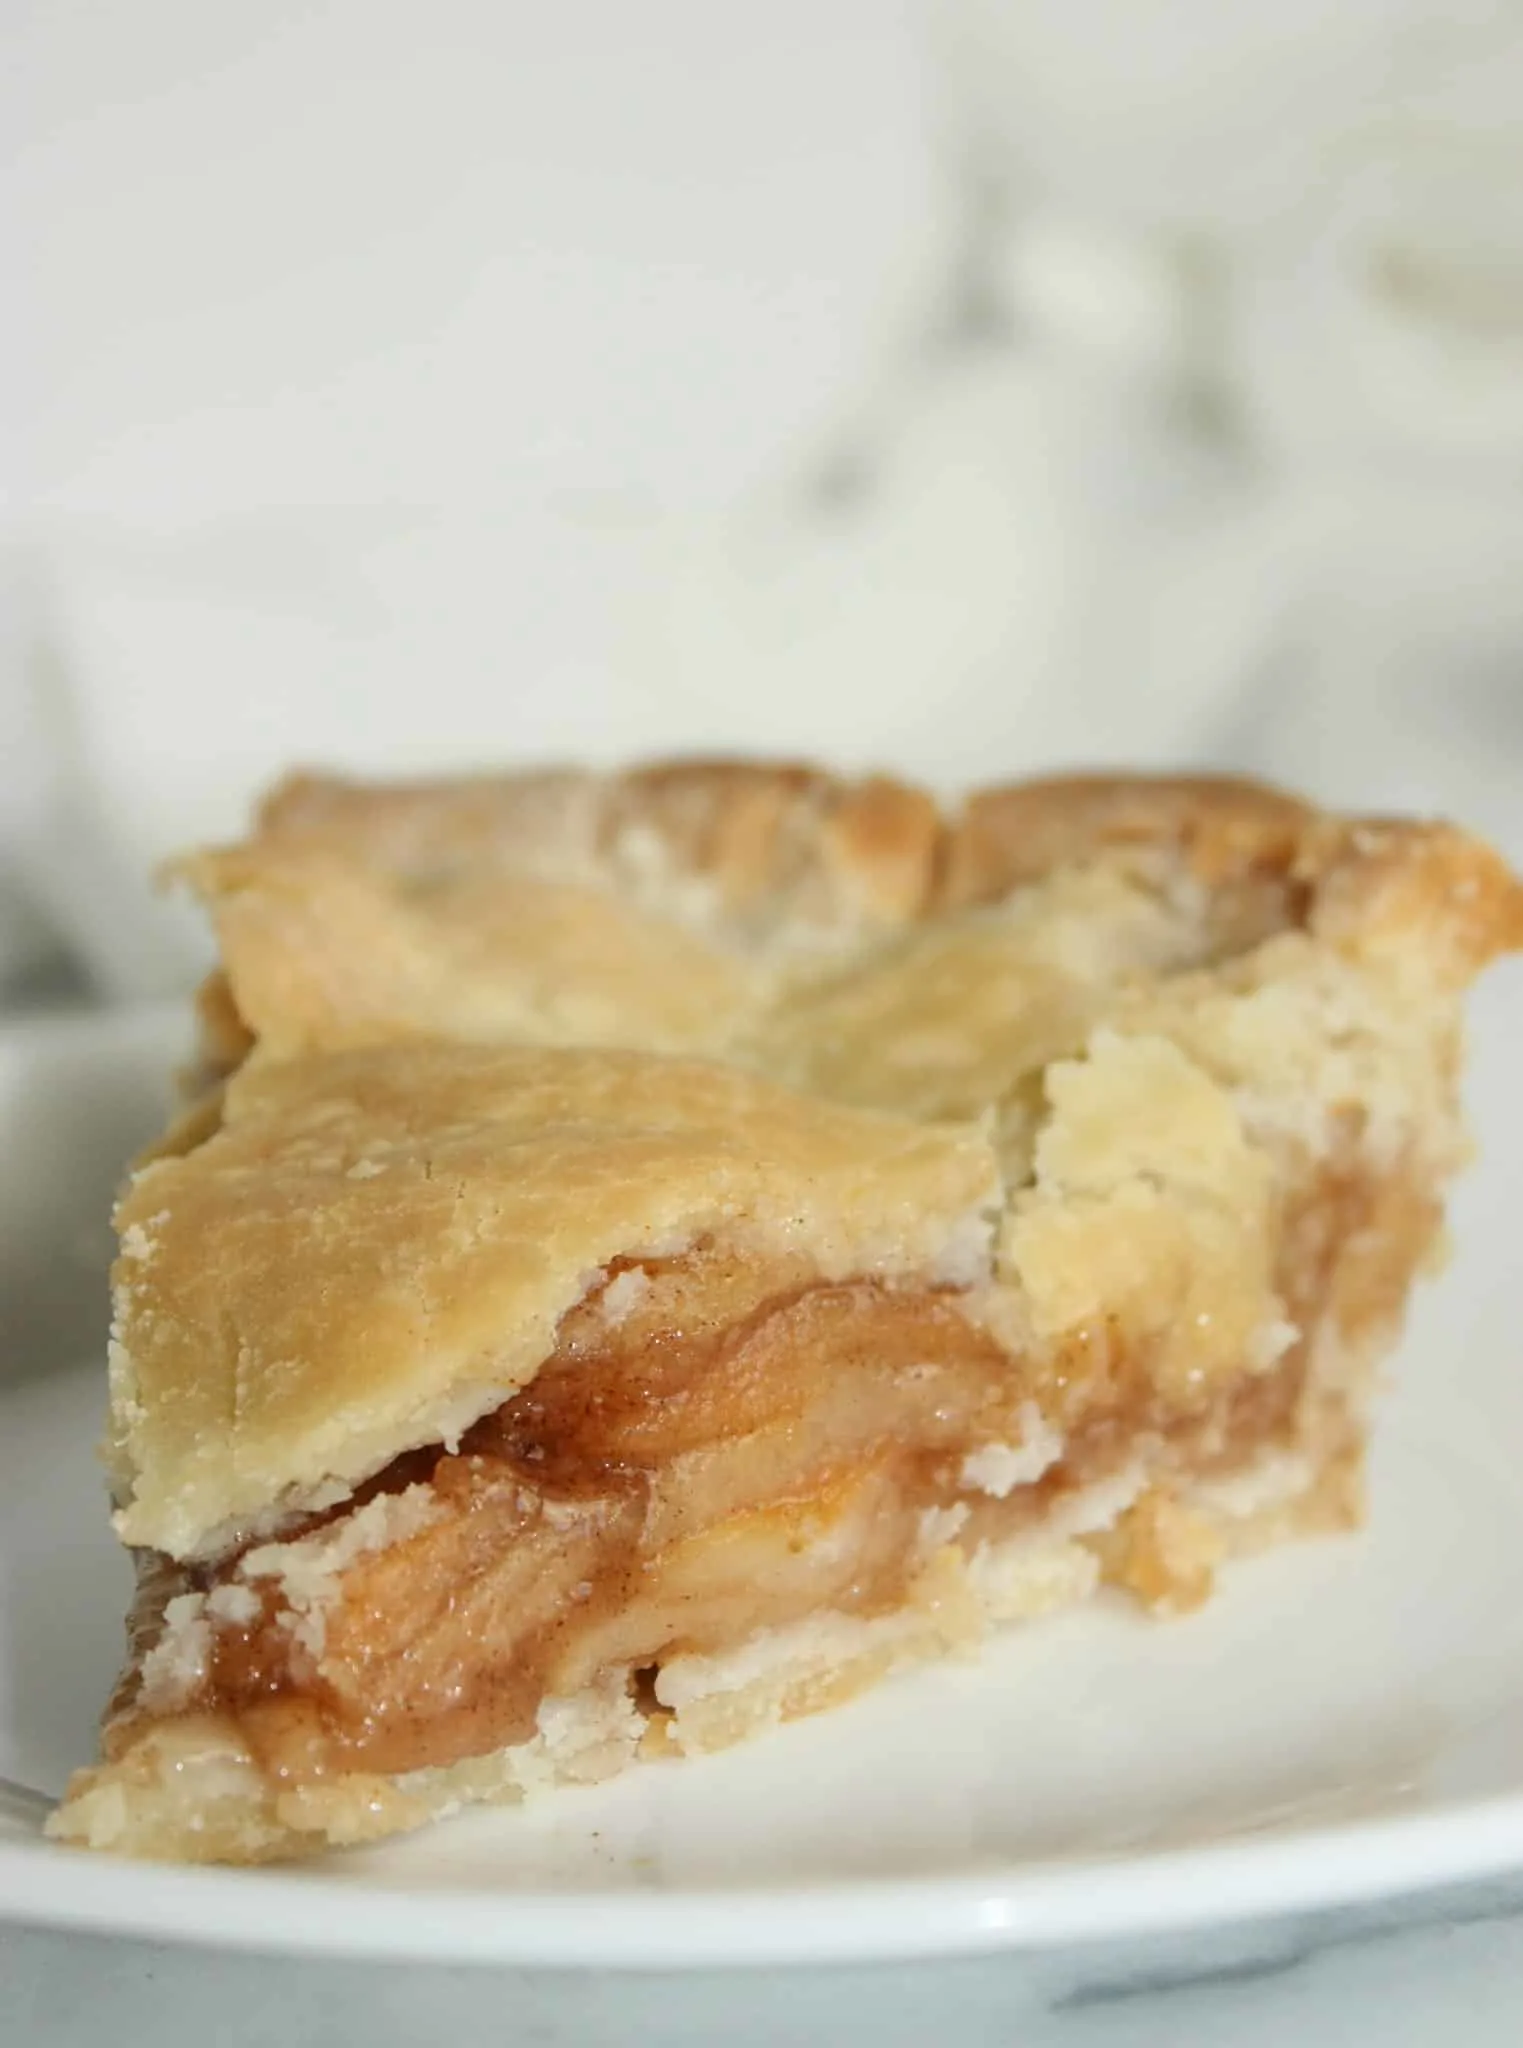
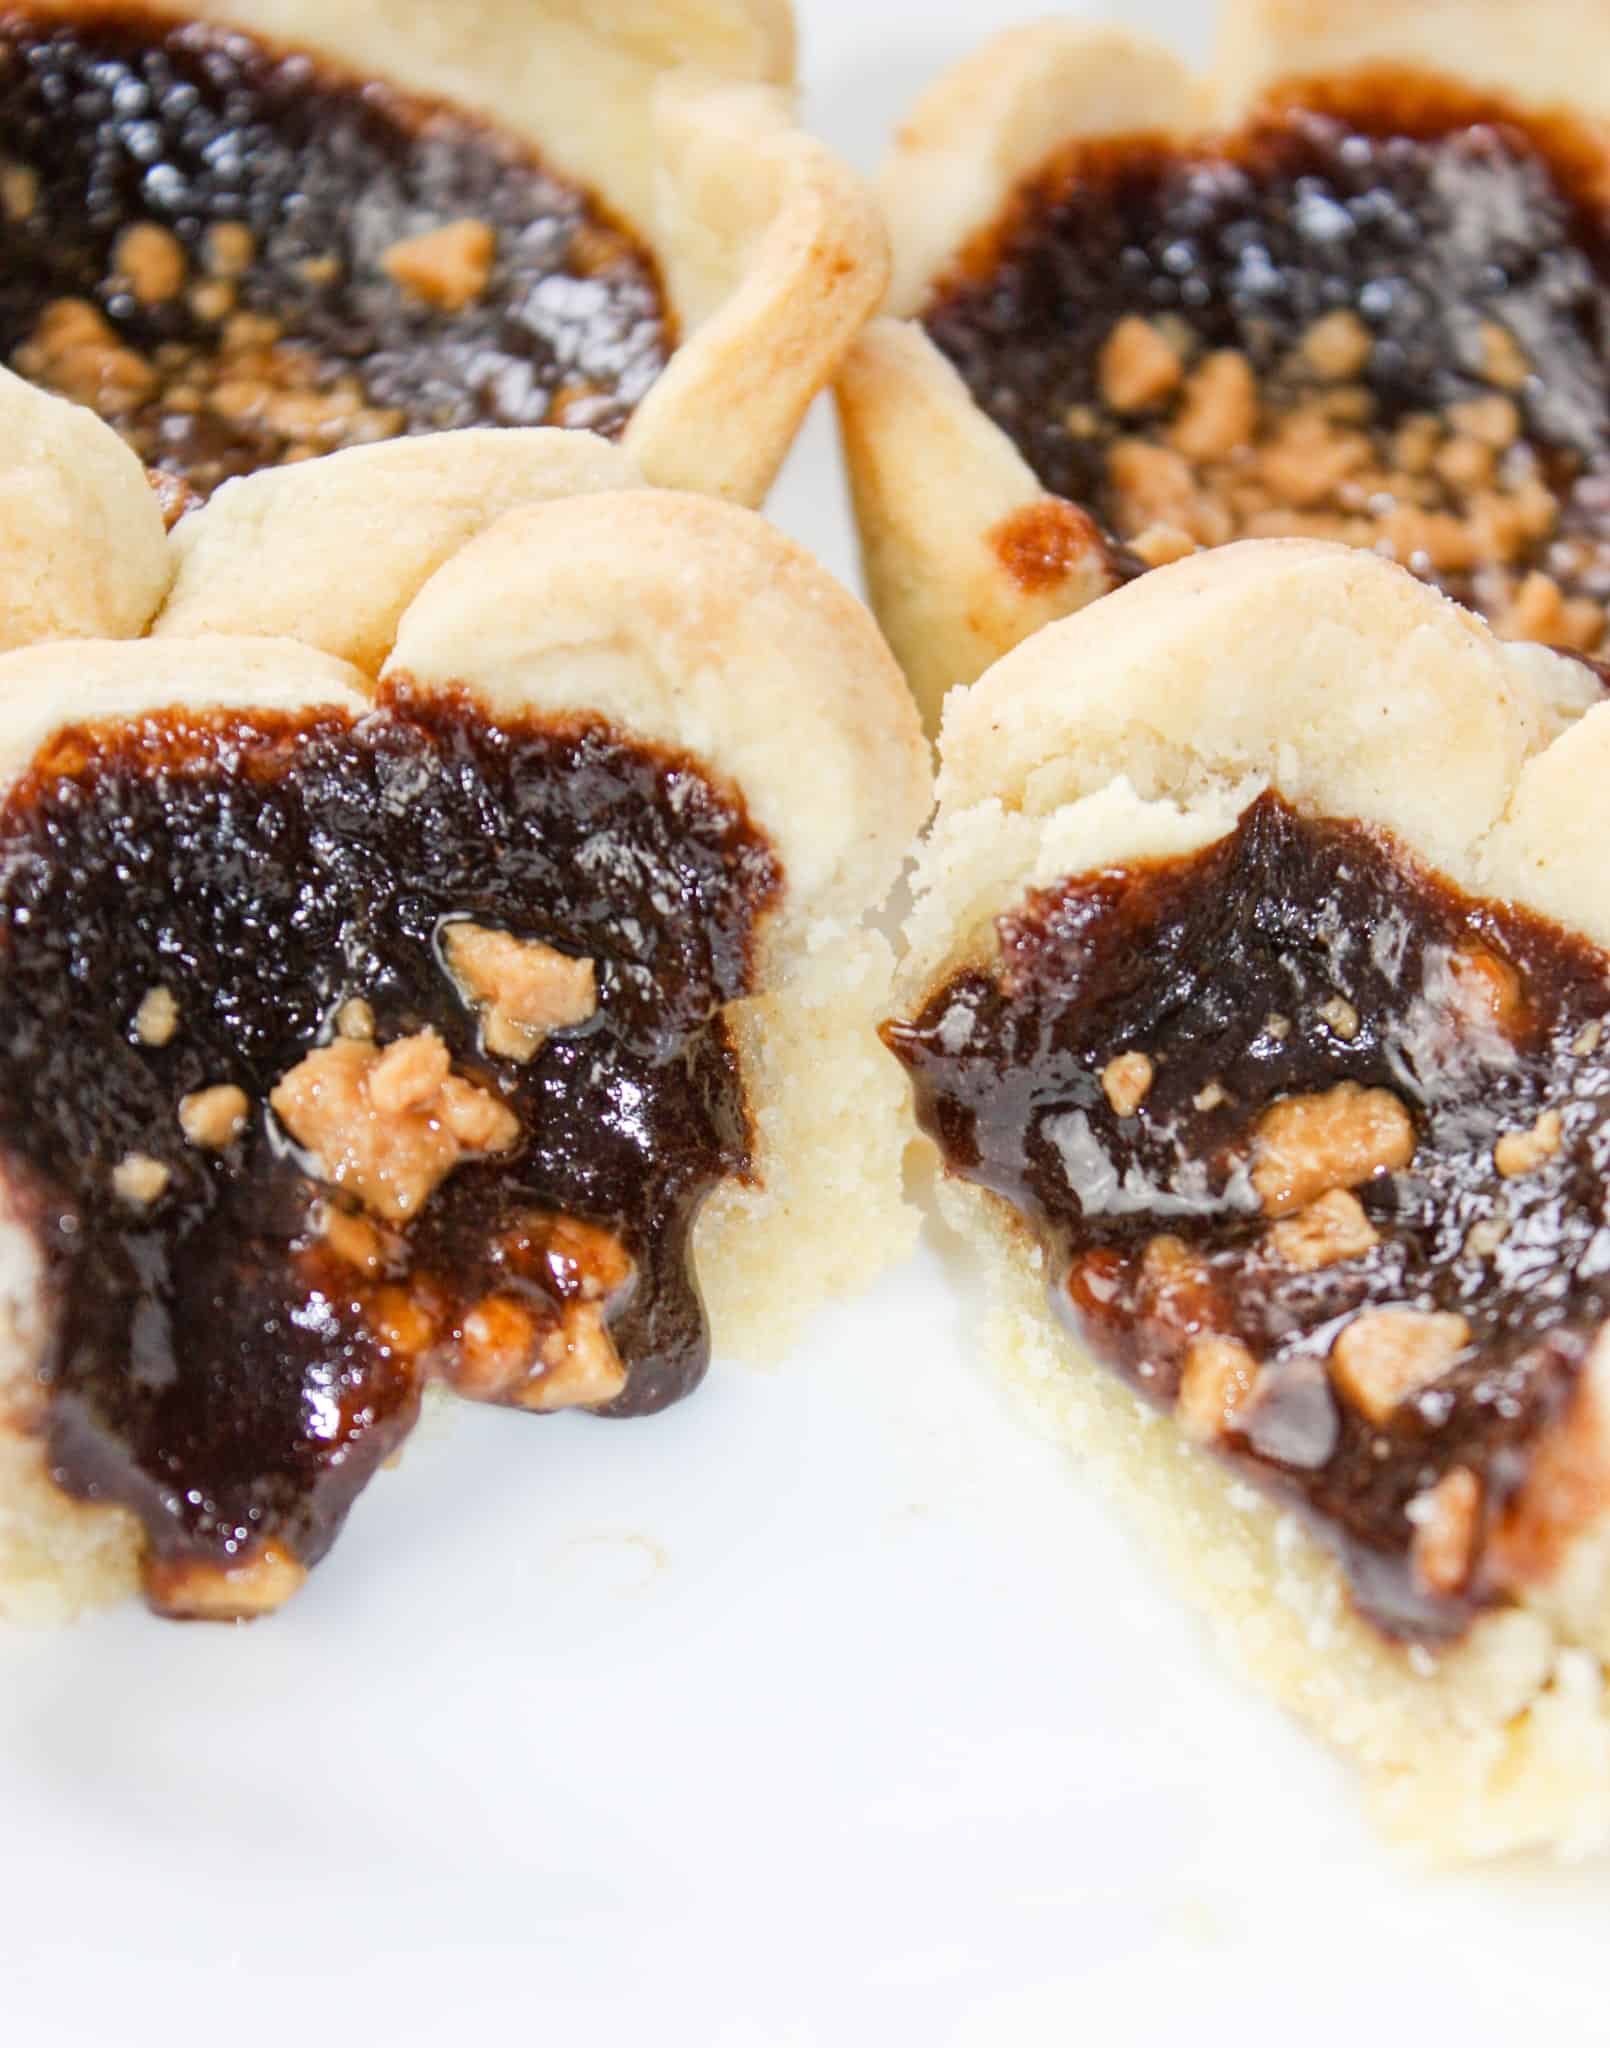
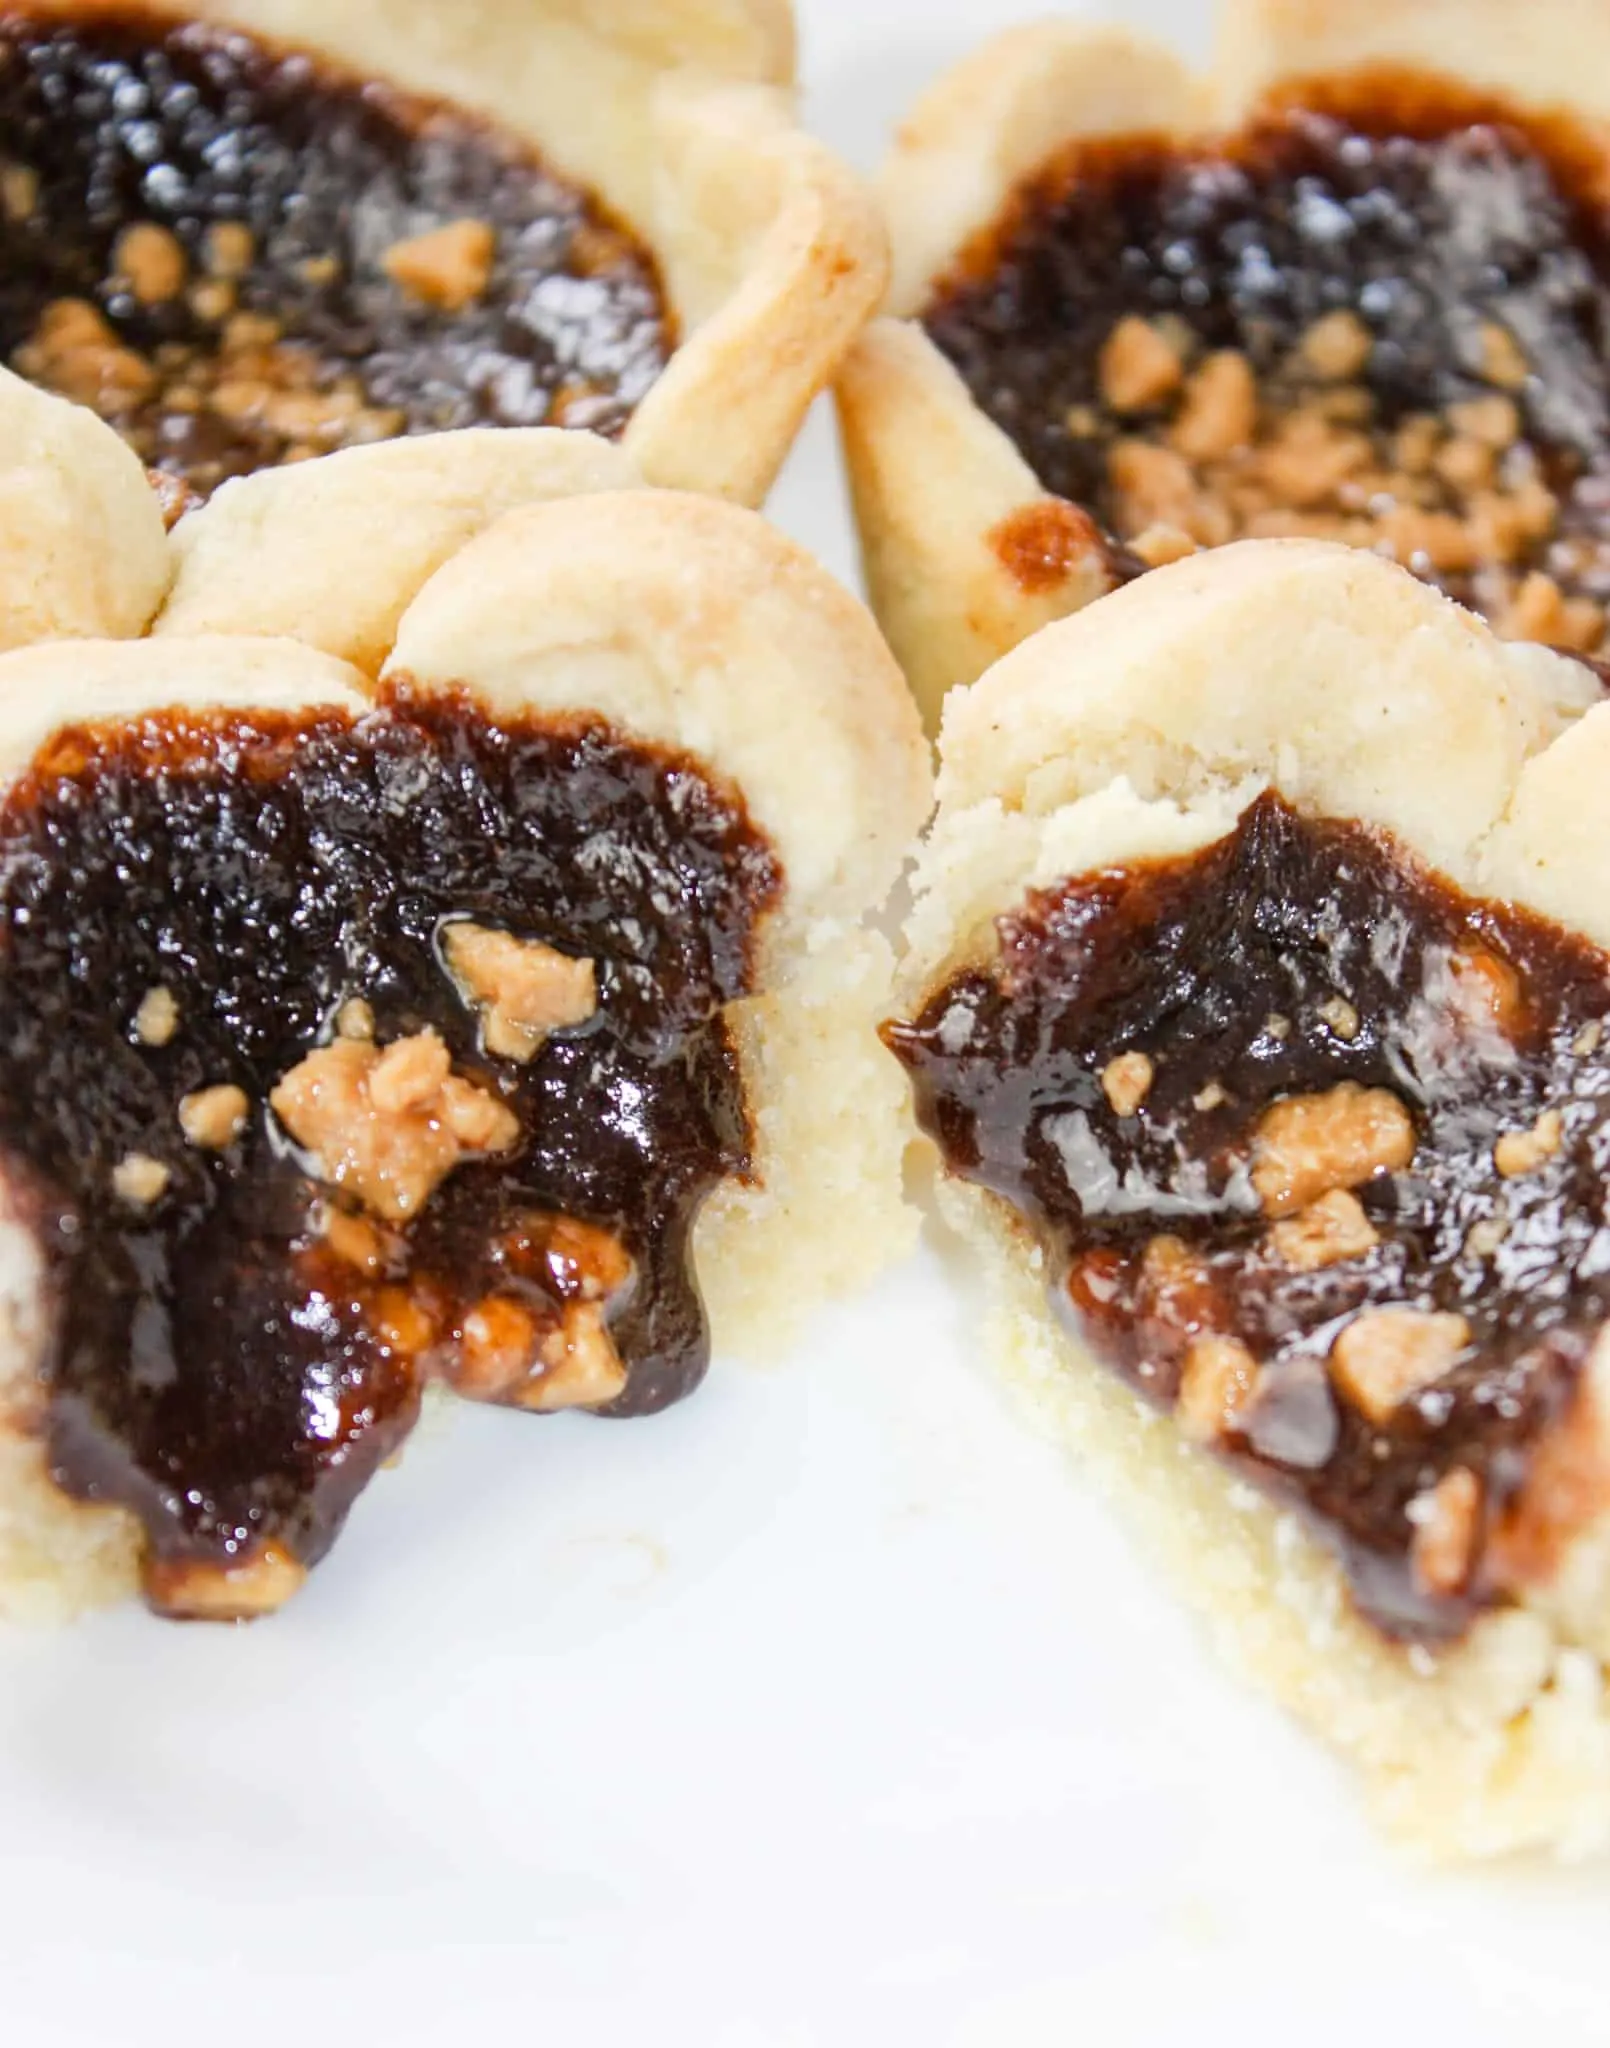
More Pie Recipes You Will Love…


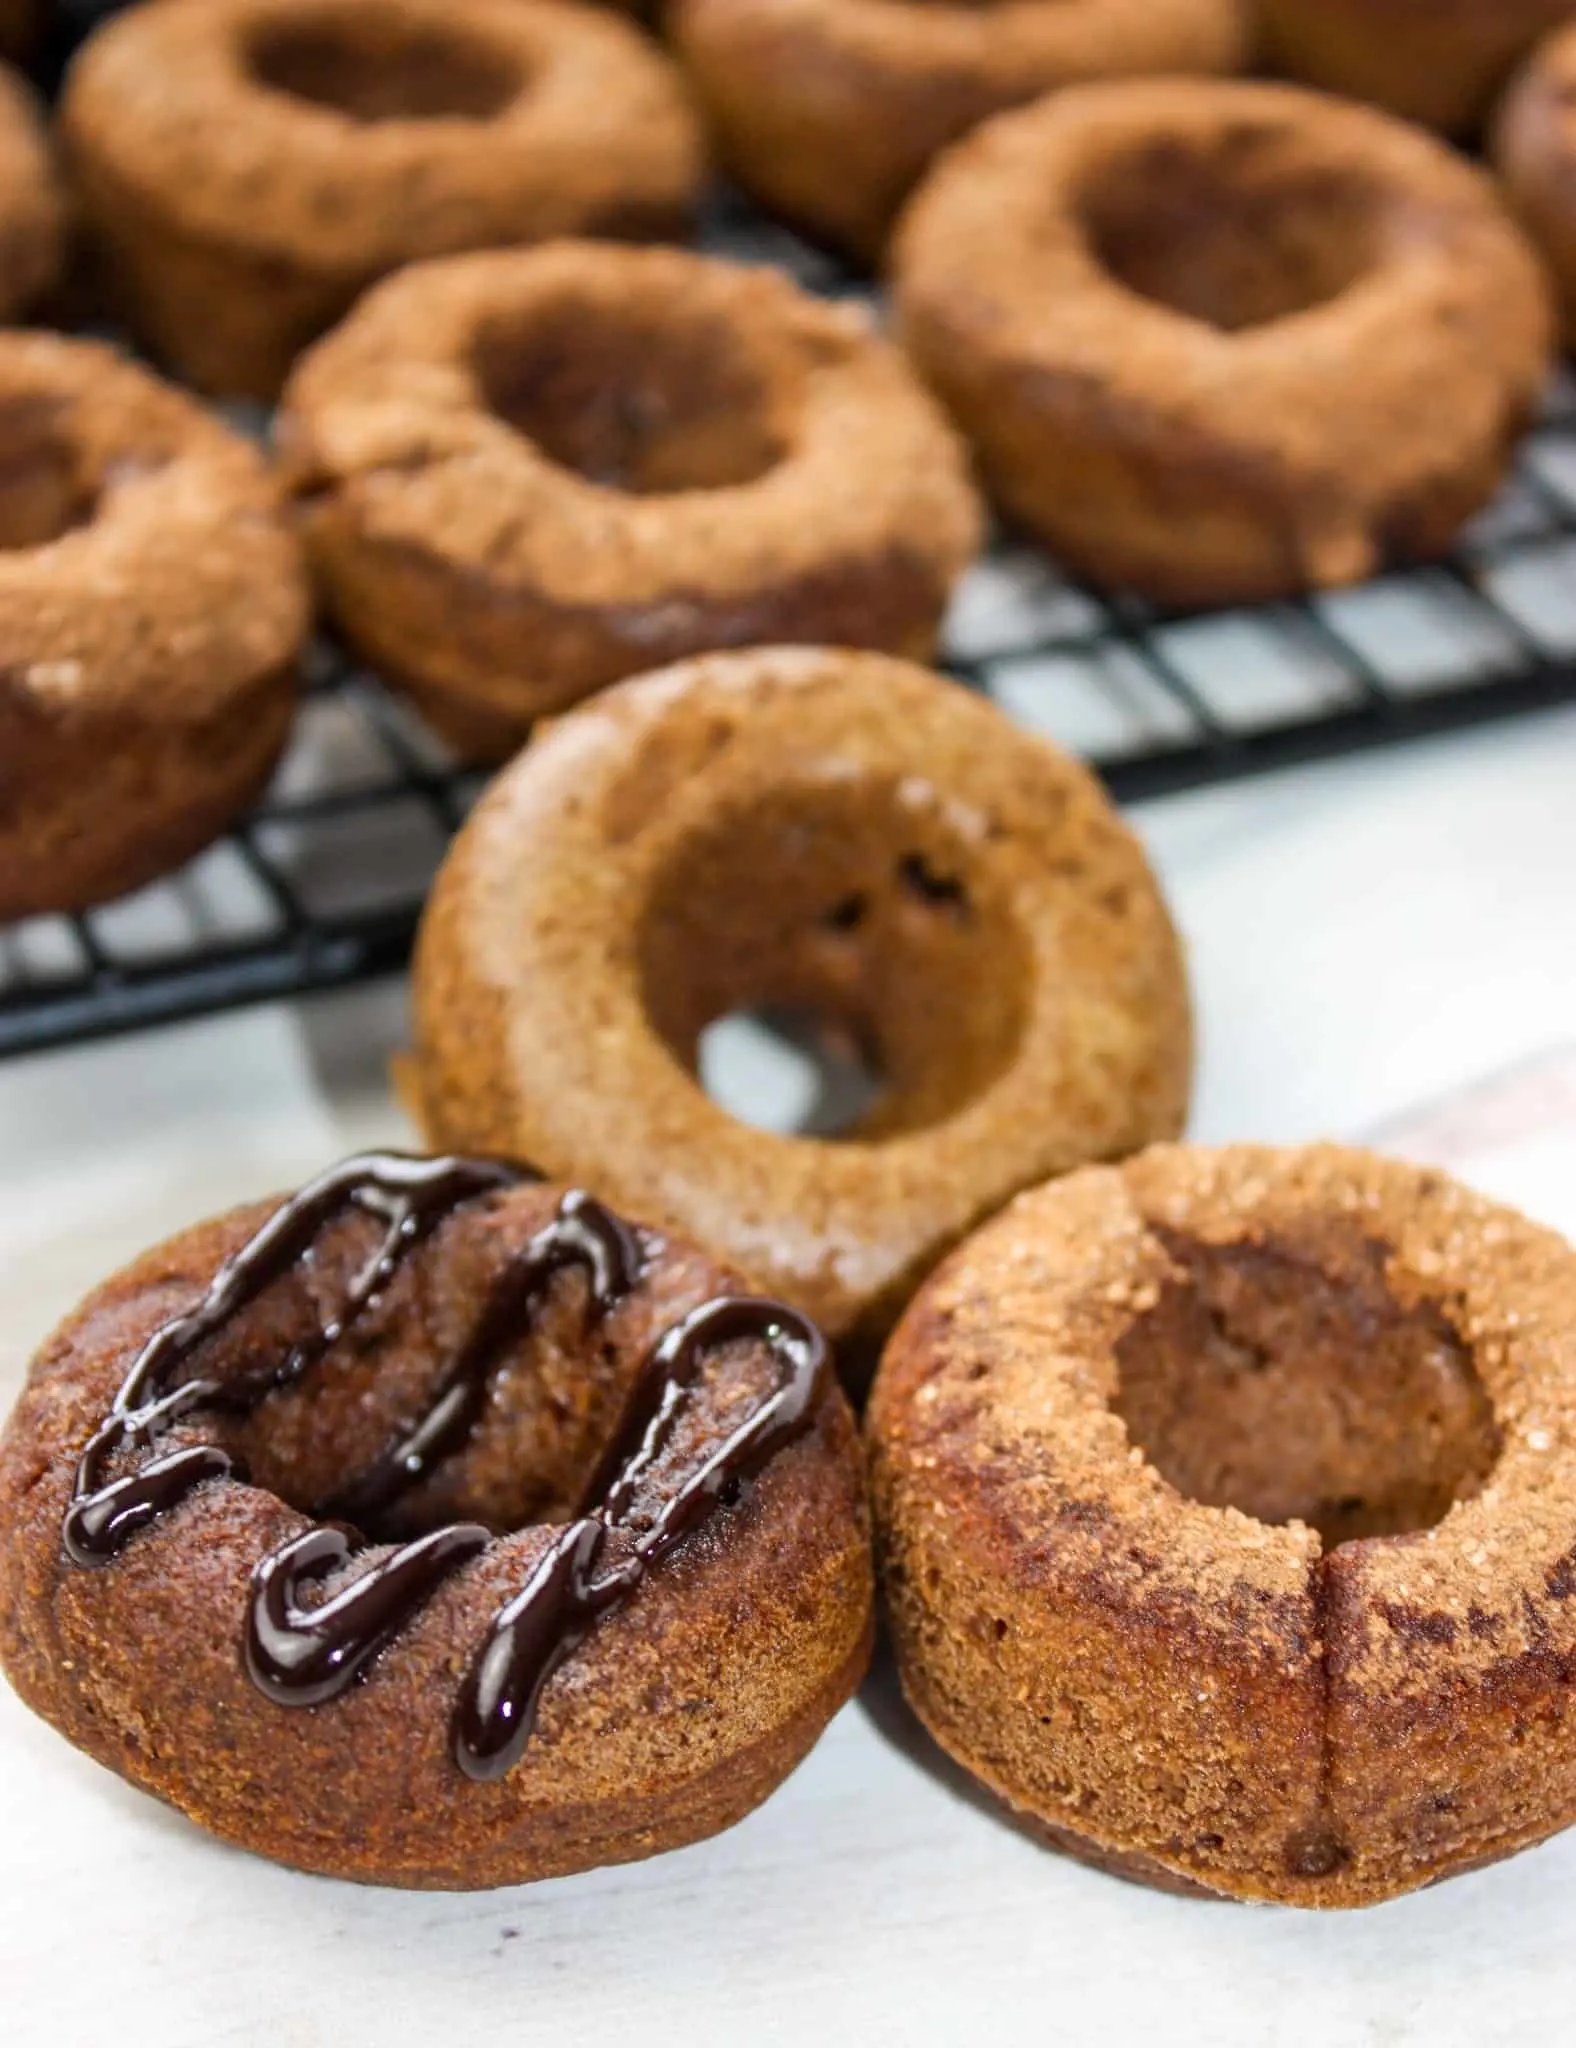
More Buzz Recipes For You To Enjoy…

PRINTABLE VERSION OF THE RECIPE CAN BE FOUND AT THE BOTTOM OF THE PAGE
Ingredients You’ll Need to Make this S’mores Pie:
- 1/4 cup brown sugar
- 1/4 cup Buzz melted or (1/4 cup brown sugar and 3 tbsp cocoa powder)
- 1/4 cup Golden Flavour Crisco Shortening
- 2 tbsp corn starch
- 1/2 cup corn syrup
- 2 eggs, large
- 1 tsp vanilla
- 1/4 tsp salt
- 9″ gluten free graham crust
After Baking: - 2 cups mini marshmallows
How to Make S’mores Pie:
- Preheat oven to 425F.
- Melt the Buzz in the microwave.
- Dump the brown sugar, corn starch, melted Buzz and the Golden Flavour Crisco into a mixing bowl. Stir to combine.
- Add the eggs, vanilla, salt and corn syrup to the mixing bowl. Stir until well combined.
- Scrape the batter into a gluten free graham crust.
- Bake in the preheated 425F oven for 25 – 30 minutes or until set and a toothpick inserted in center comes out clean..
- Remove from oven and if serving immediately cover with mini marshmallows and place under broiler until marshmallows are browned. Keep well below broiler so marshmallows do not burn.
- If not serving immediately wait until just before serving to add and broil the marshmallows.
- Serve immediately after marshmallows browned. Cuts best with a heated knife.
- Serve and enjoy!

FAQS:
How do I store s’mores pie?
Storing s’mores pie is relatively straightforward, and it involves keeping it in a cool, dry place to maintain its freshness and prevent it from spoiling. Here’s a step-by-step guide on how to store s’mores pie properly:
- Allow it to cool completely: If you’ve just baked the s’mores pie, allow it to cool completely at room temperature before attempting to store it. This will help prevent condensation from forming inside the container.
- Choose the right container: Opt for an airtight container or cover that is large enough to accommodate the entire pie without squishing or damaging it. Using an airtight container will help keep the pie fresh and protect it from external odors.
- Refrigeration (short-term storage): If you plan to consume the pie within a day or two, you can store it in the refrigerator. Just make sure it’s in an airtight container or wrap it well with plastic wrap or aluminum foil. Remember that refrigeration can cause the pie to lose some of its original texture, so it’s best to consume it as soon as possible.
Remember, s’mores pie is best when it’s fresh, so try to consume it within a few days of baking for the best taste and texture. Following these storage guidelines will help you preserve its deliciousness for as long as possible.
Can I freeze s’mores pie?
Yes, you can freeze s’mores pie! Freezing s’mores pie is a great way to make it ahead of time or to preserve leftovers for later consumption. Here’s how you can do it:
- Preparation: Make sure the s’mores pie has completely cooled before attempting to freeze it. This will prevent condensation from forming inside the packaging, which can lead to freezer burn.
- Packaging: Wrap the pie securely in plastic wrap or aluminum foil. You can also use an airtight container or a freezer-safe resealable bag.
- Double-wrap: For extra protection against freezer burn, you may consider double-wrapping the pie. Place the wrapped pie in a resealable freezer bag, squeezing out as much air as possible before sealing.
- Labeling: Don’t forget to label the package with the date so that you know how long it has been in the freezer.
- Freezing: Place the wrapped s’mores pie in the coldest part of your freezer. Ideally, it should be kept at 0°F (-18°C) or lower.
- Thawing: When you’re ready to eat the frozen s’mores pie, remove it from the freezer and allow it to thaw in the refrigerator for several hours or overnight. Avoid thawing it at room temperature, as this can lead to uneven thawing and potential food safety issues.
It’s important to note that while freezing s’mores pie is possible and will help extend its shelf life, some changes in texture may occur upon thawing. The marshmallows and certain toppings may not be as fresh and might lose some of their original texture. Despite this, the taste should remain relatively unchanged.
For best results, consume the frozen s’mores pie within a few months of freezing. While it will likely still be safe to eat beyond that timeframe, the quality may decline over time.
S'mores Pie

S'mores Pie is a delicious dessert that will delight the taste buds of young and old alike.
Ingredients
- 1/4 cup brown sugar
- 1/4 cup Buzz melted or (1/4 cup brown sugar and 3 tbsp cocoa powder)
- 1/4 cup Golden Flavour Crisco Shortening
- 2 tbsp corn starch
- 1/2 cup corn syrup
- 2 eggs, large
- 1 tsp vanilla
- 1/4 tsp salt
- 9" gluten free graham crust
- After Baking:
- 2 cups mini marshmallows
Instructions
- Preheat oven to 425F.
- Melt the Buzz in the microwave.
- Dump the brown sugar, corn starch, melted Buzz and the Golden Flavour Crisco into a mixing bowl. Stir to combine.
- Add the eggs, vanilla, salt and corn syrup to the mixing bowl. Stir until well combined.
- Scrape the batter into a gluten free graham crust.
- Bake in the preheated 425F oven for 25 - 30 minutes or until set and a toothpick inserted in center comes out clean..
- Remove from oven and if serving immediately cover with mini marshmallows and place under broiler until marshmallows are browned. Keep well below broiler so marshmallows do not burn.
- If not serving immediately wait until just before serving to add and broil the marshmallows.
- Serve immediately after marshmallows browned. Cuts best with a heated knife.
- Serve and enjoy!
Notes
*More information about Buzz
Nutrition Information:
Yield:
7Serving Size:
1Amount Per Serving: Calories: 517Total Fat: 33gSaturated Fat: 13gTrans Fat: 0gUnsaturated Fat: 19gCholesterol: 70mgSodium: 220mgCarbohydrates: 54gFiber: 1gSugar: 38gProtein: 3g