
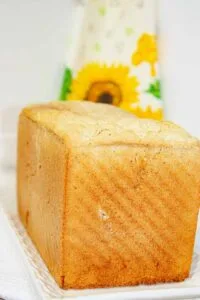
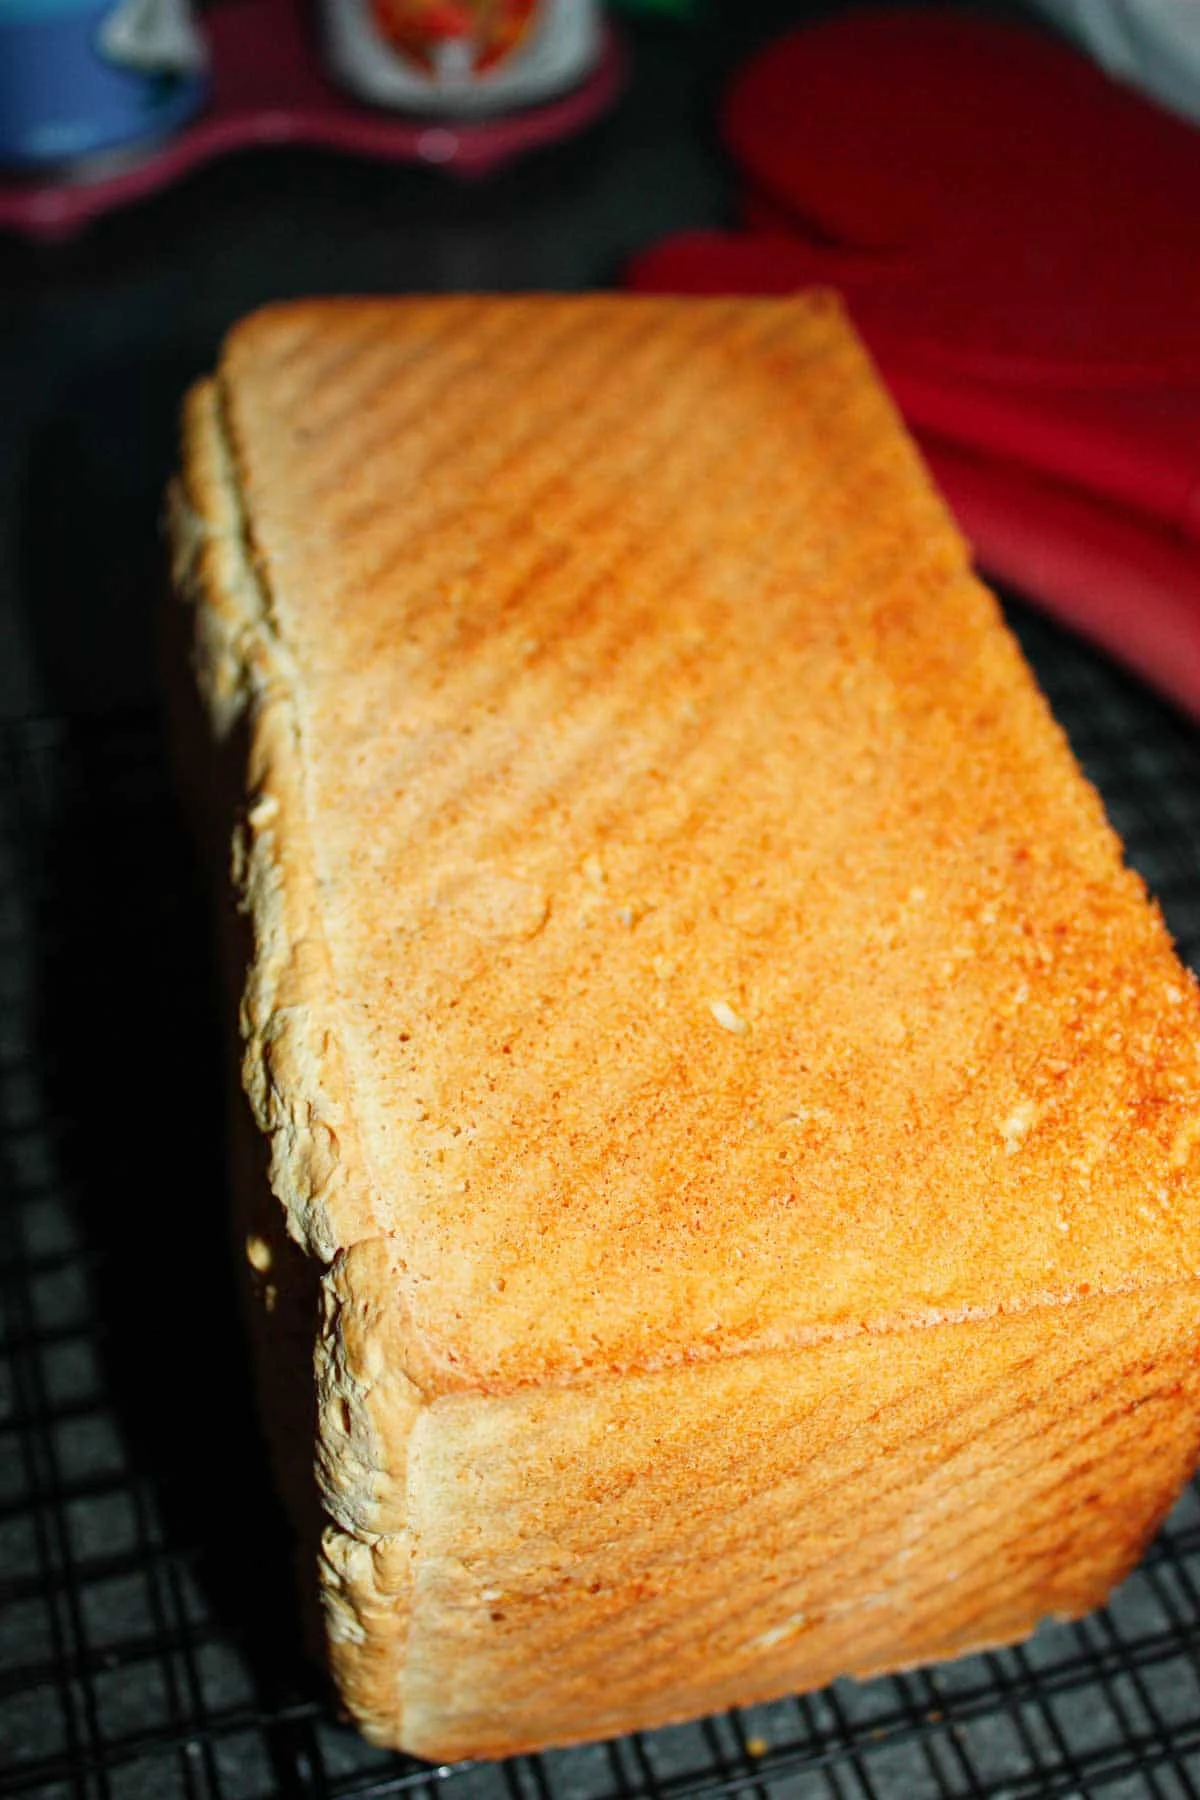
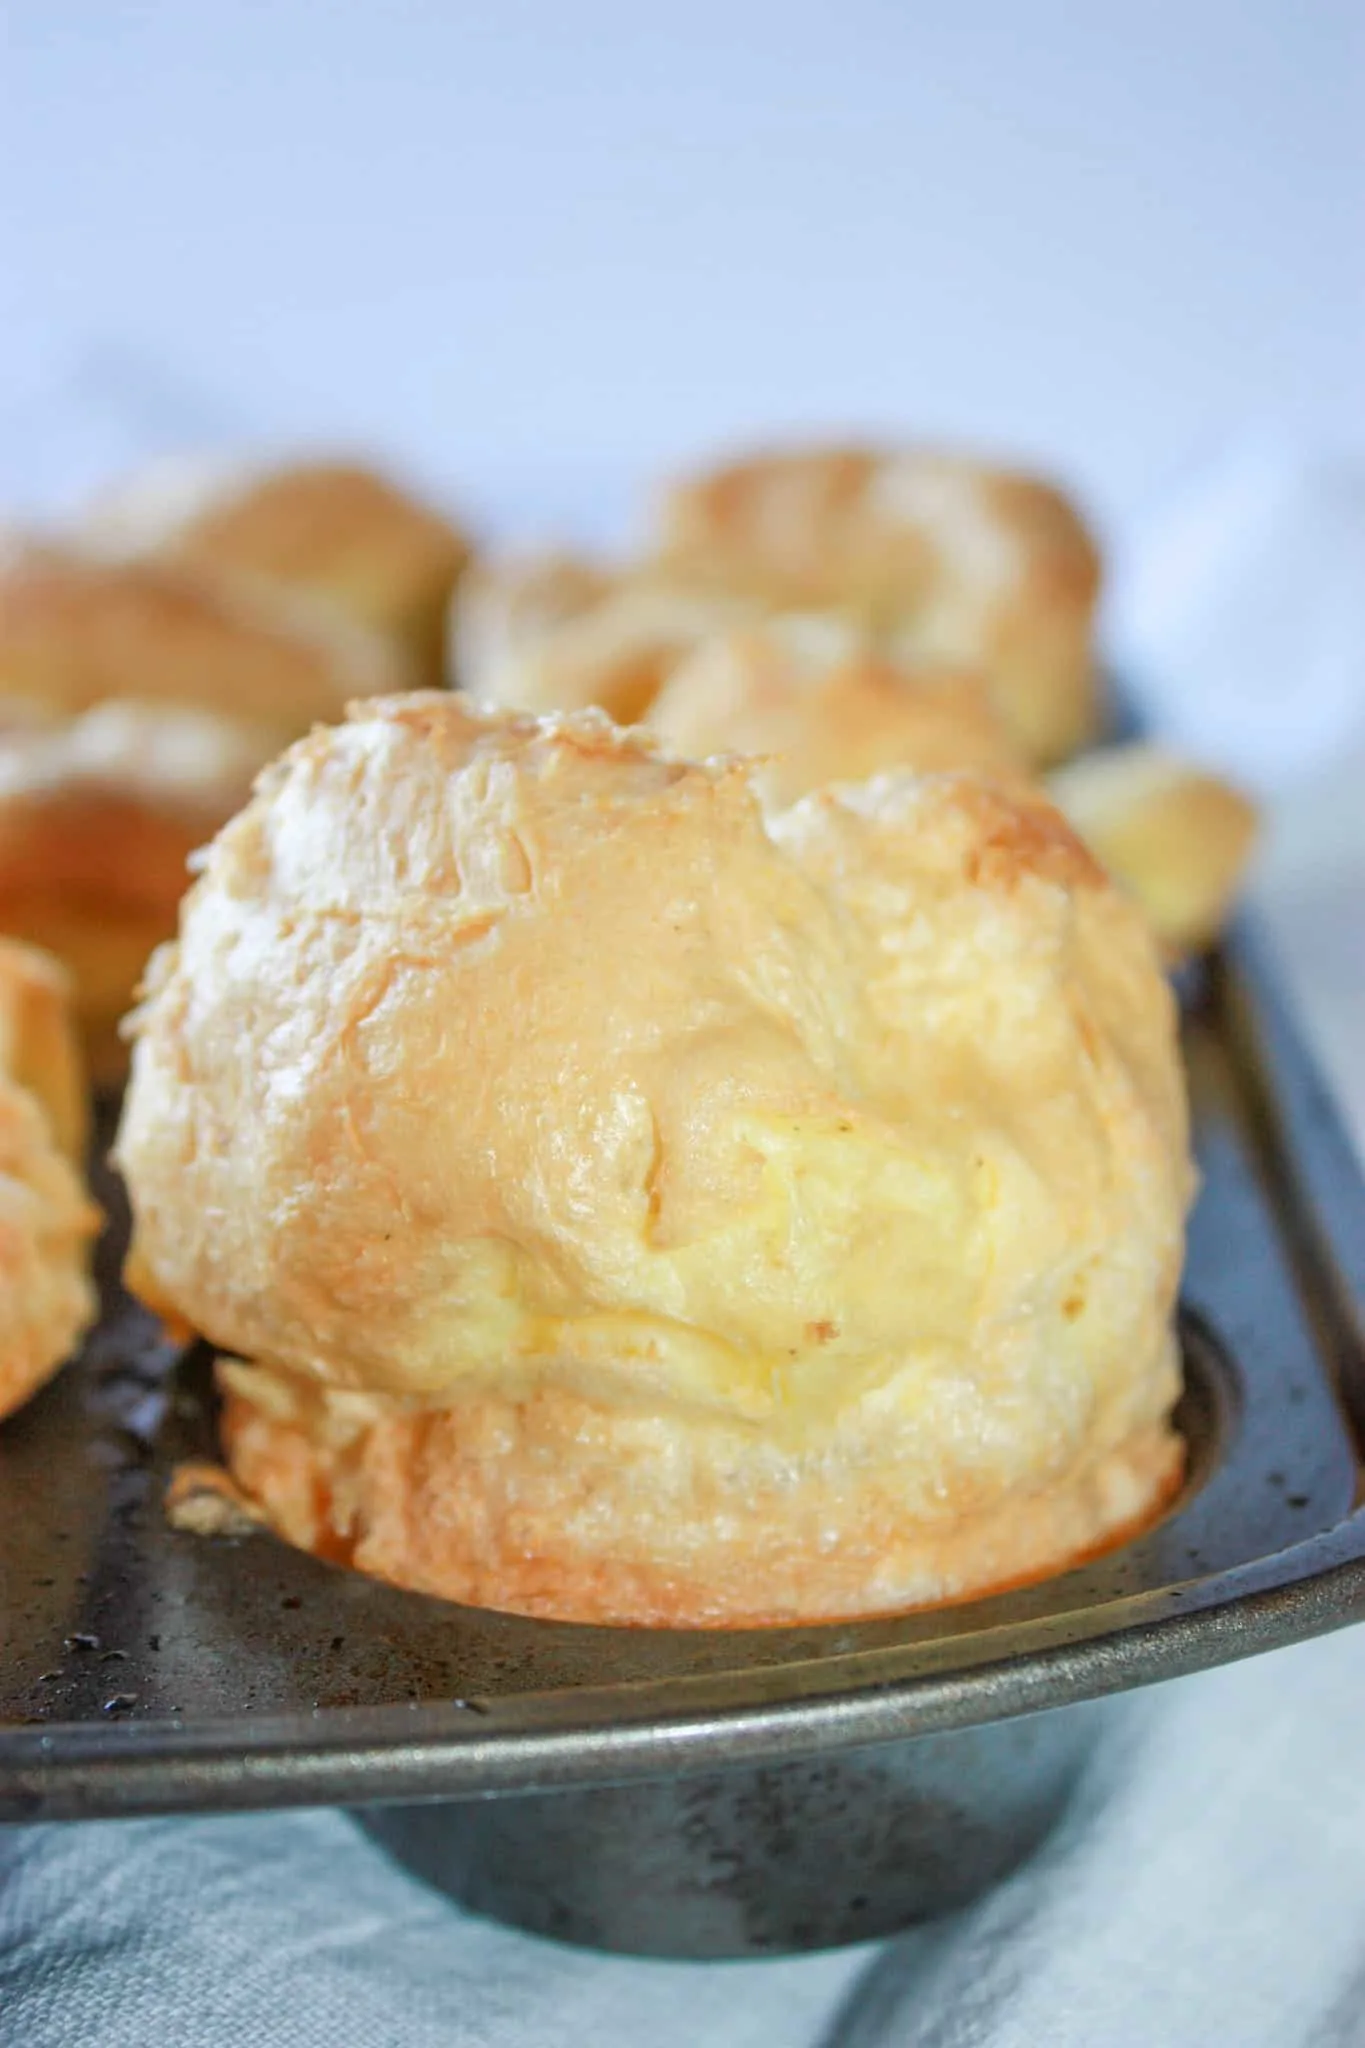
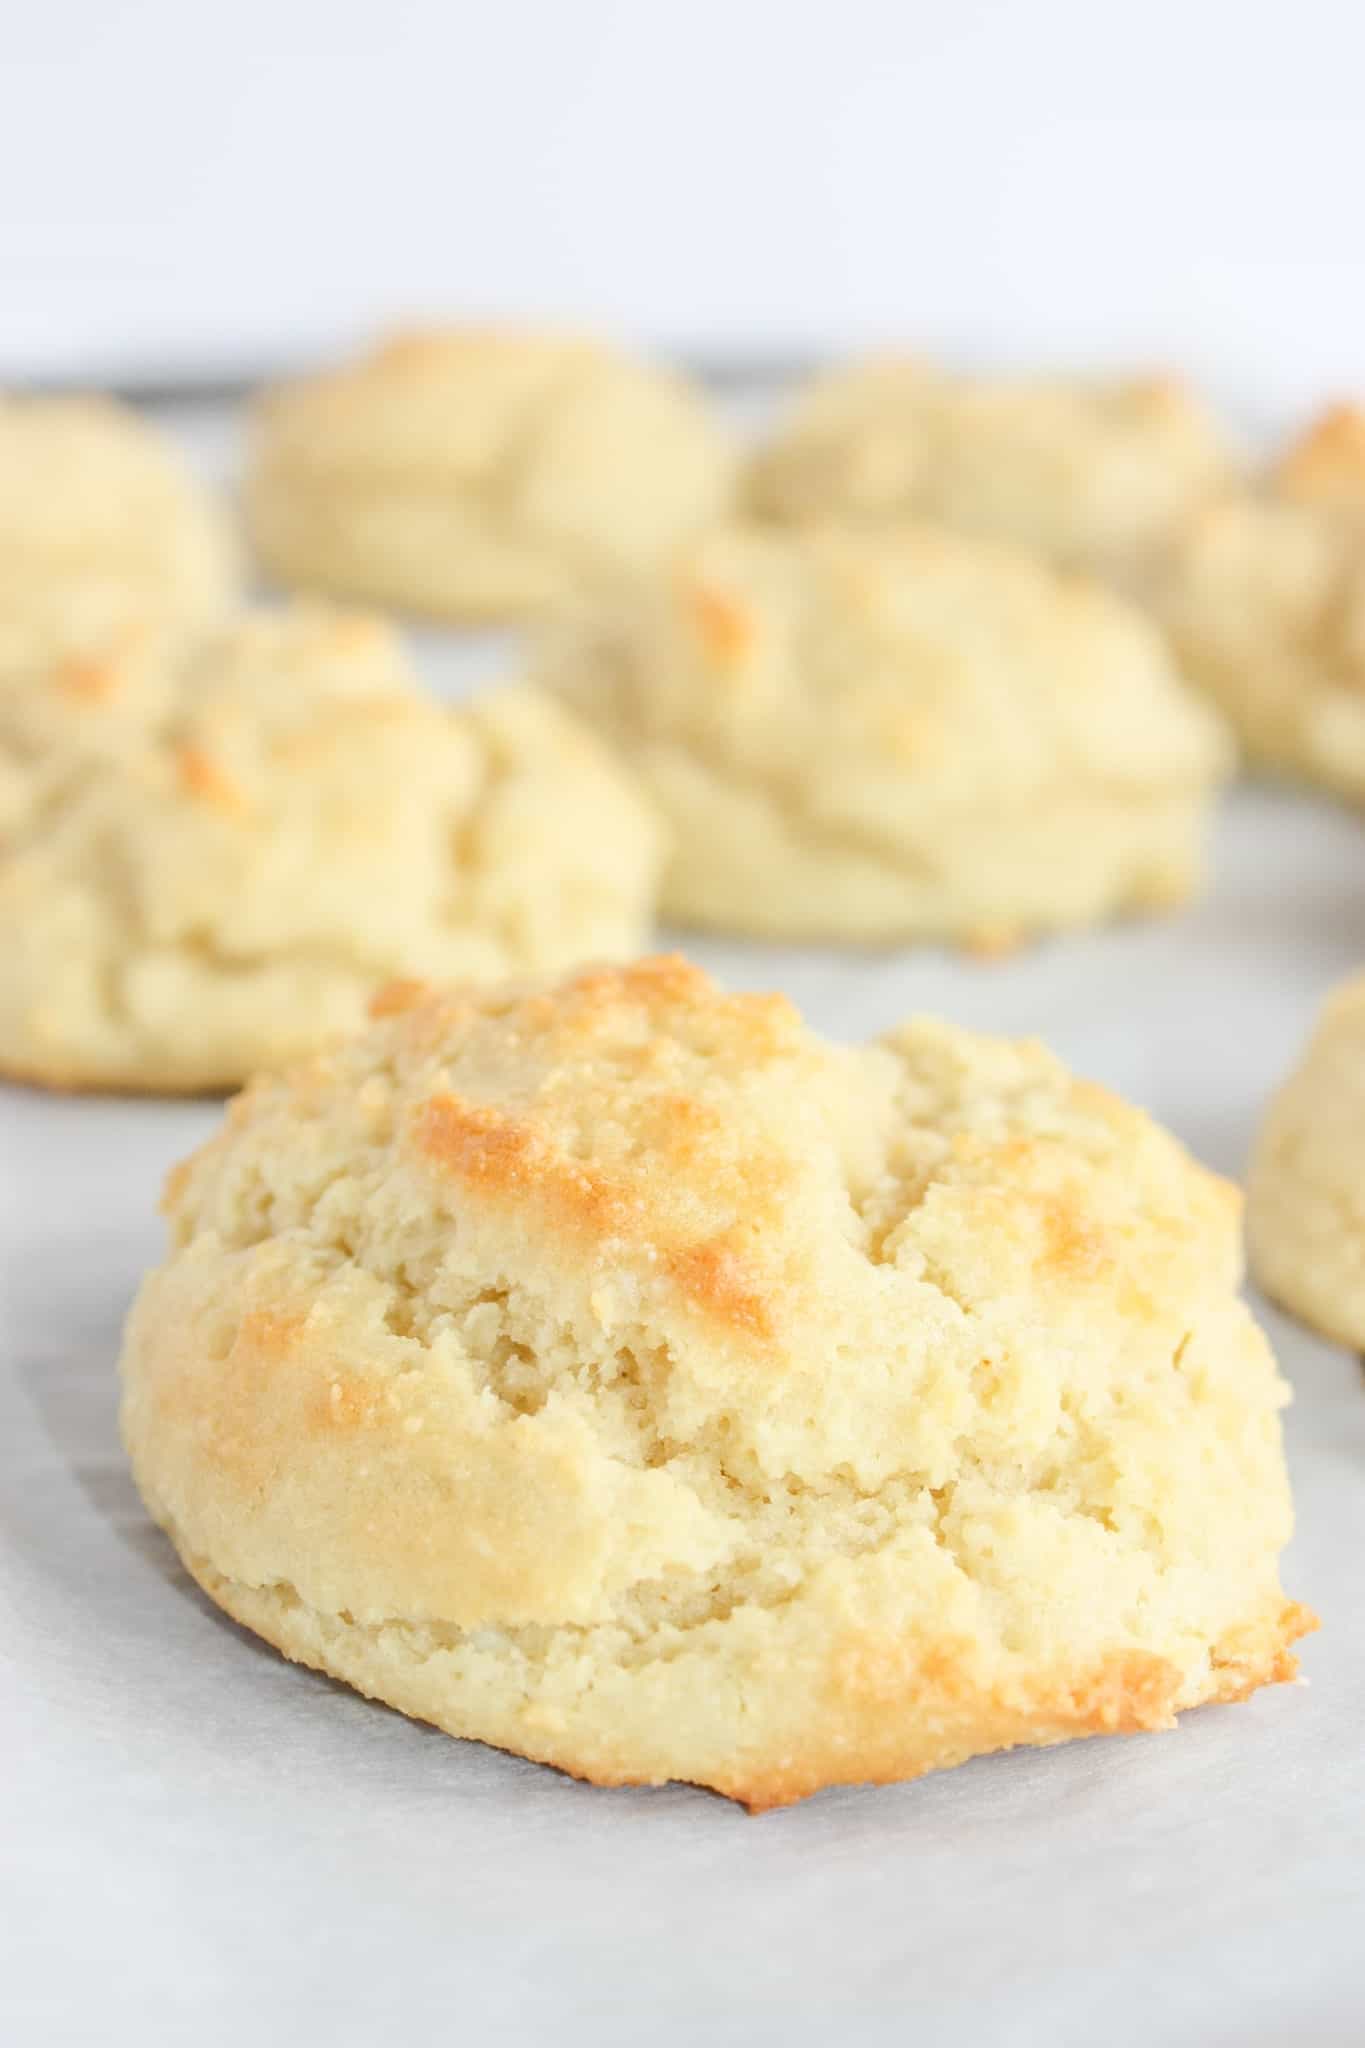
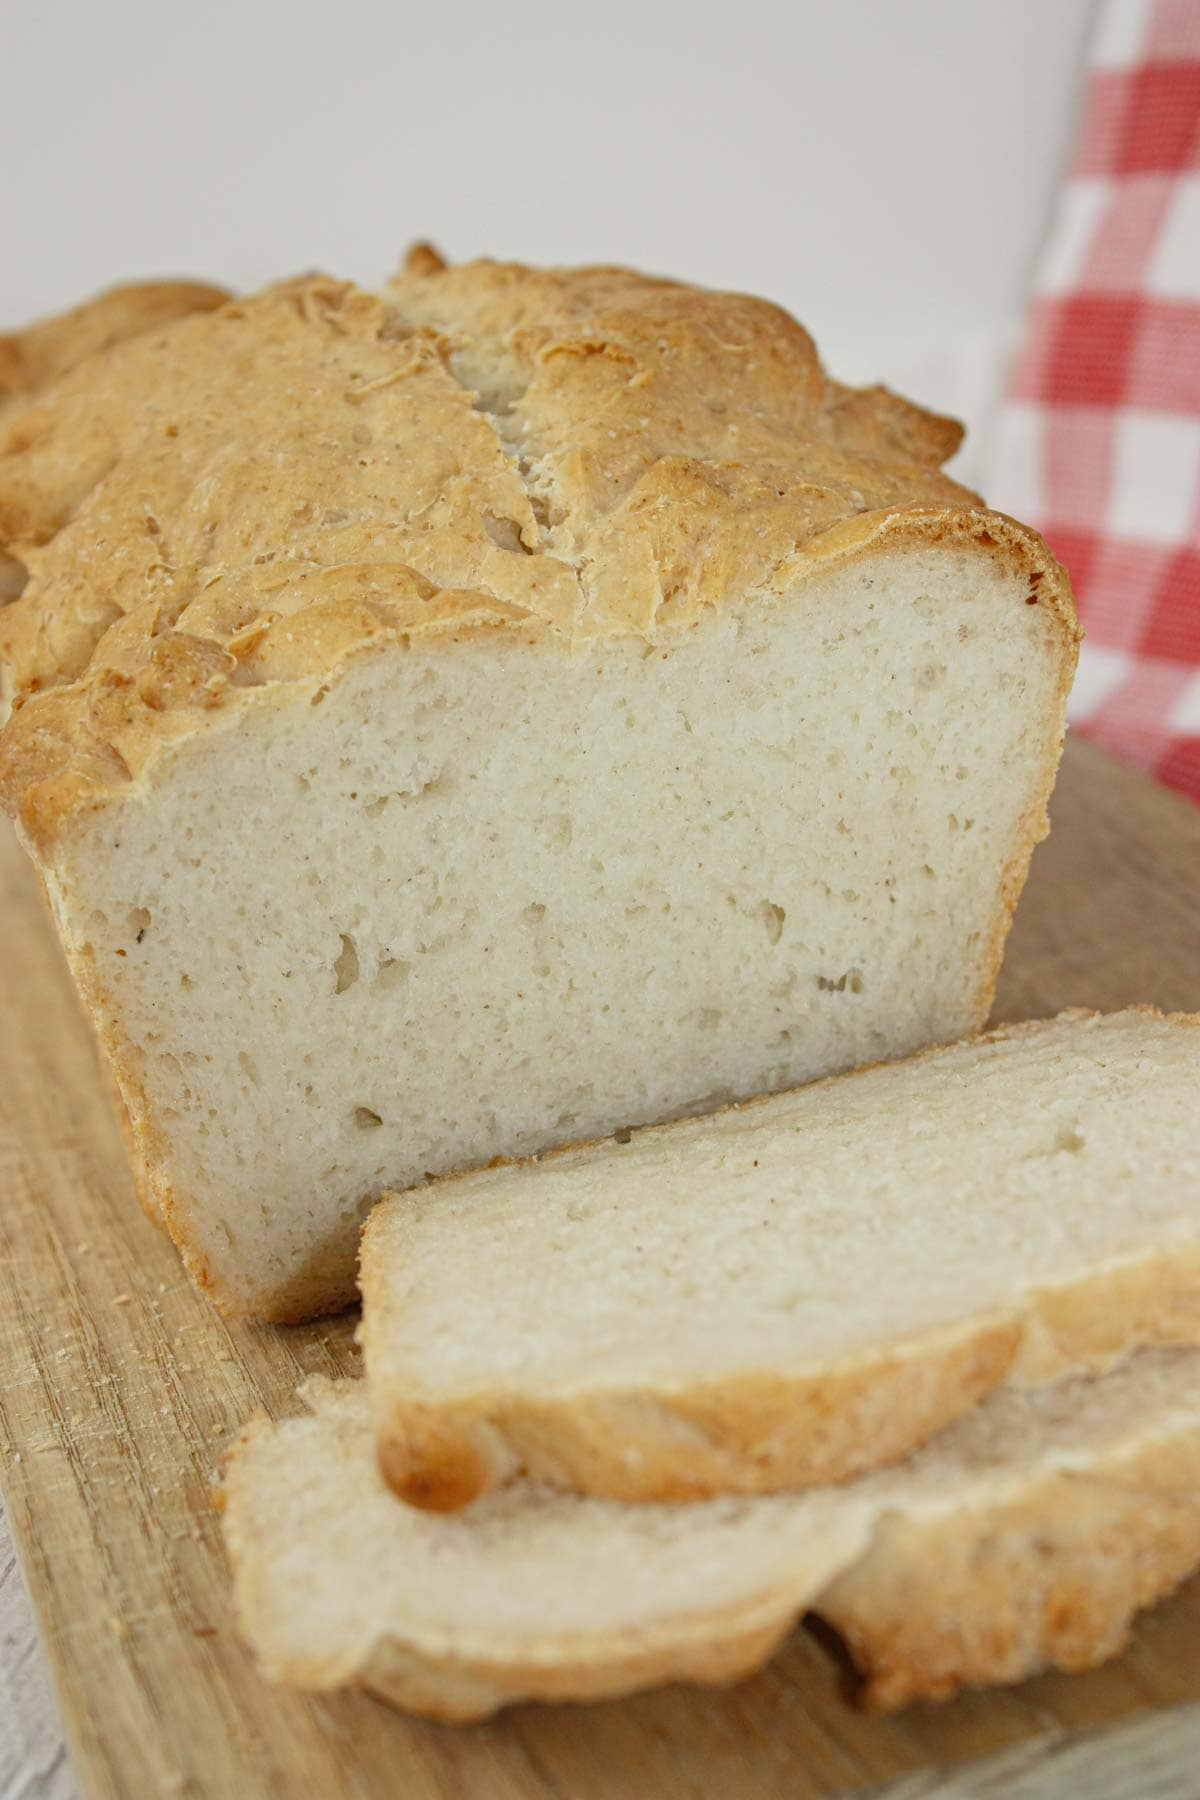
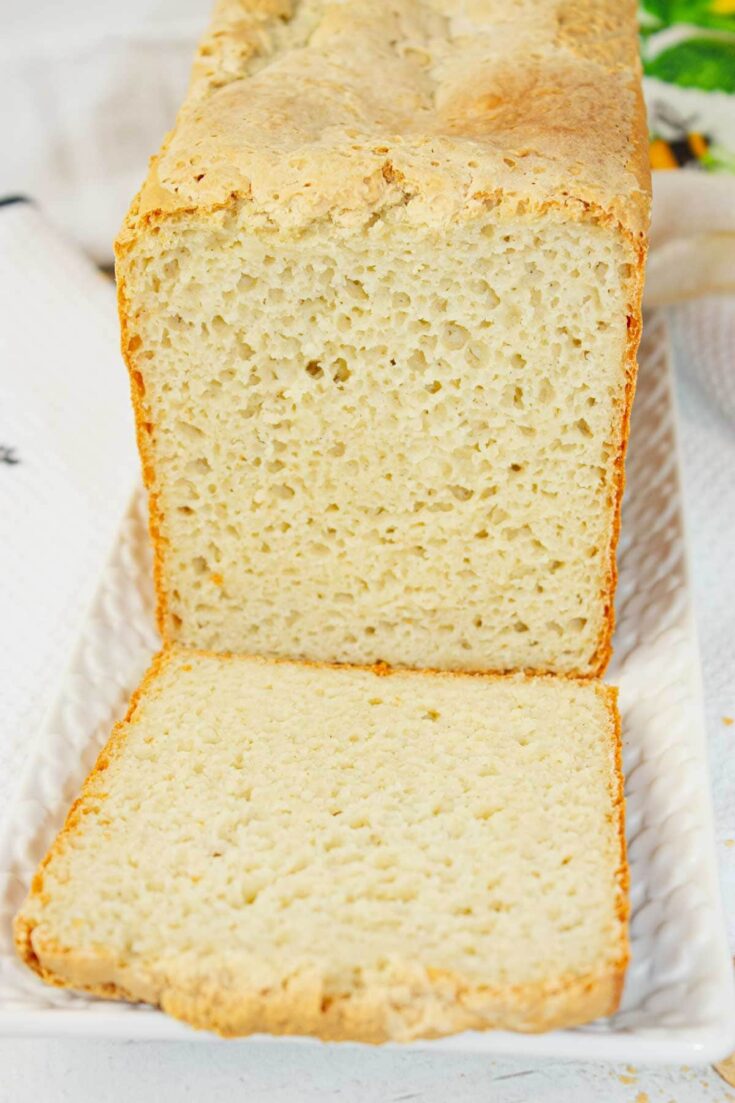
Gluten Free Sandwich Bread is soft and tender, with a golden crust that holds its shape beautifully.

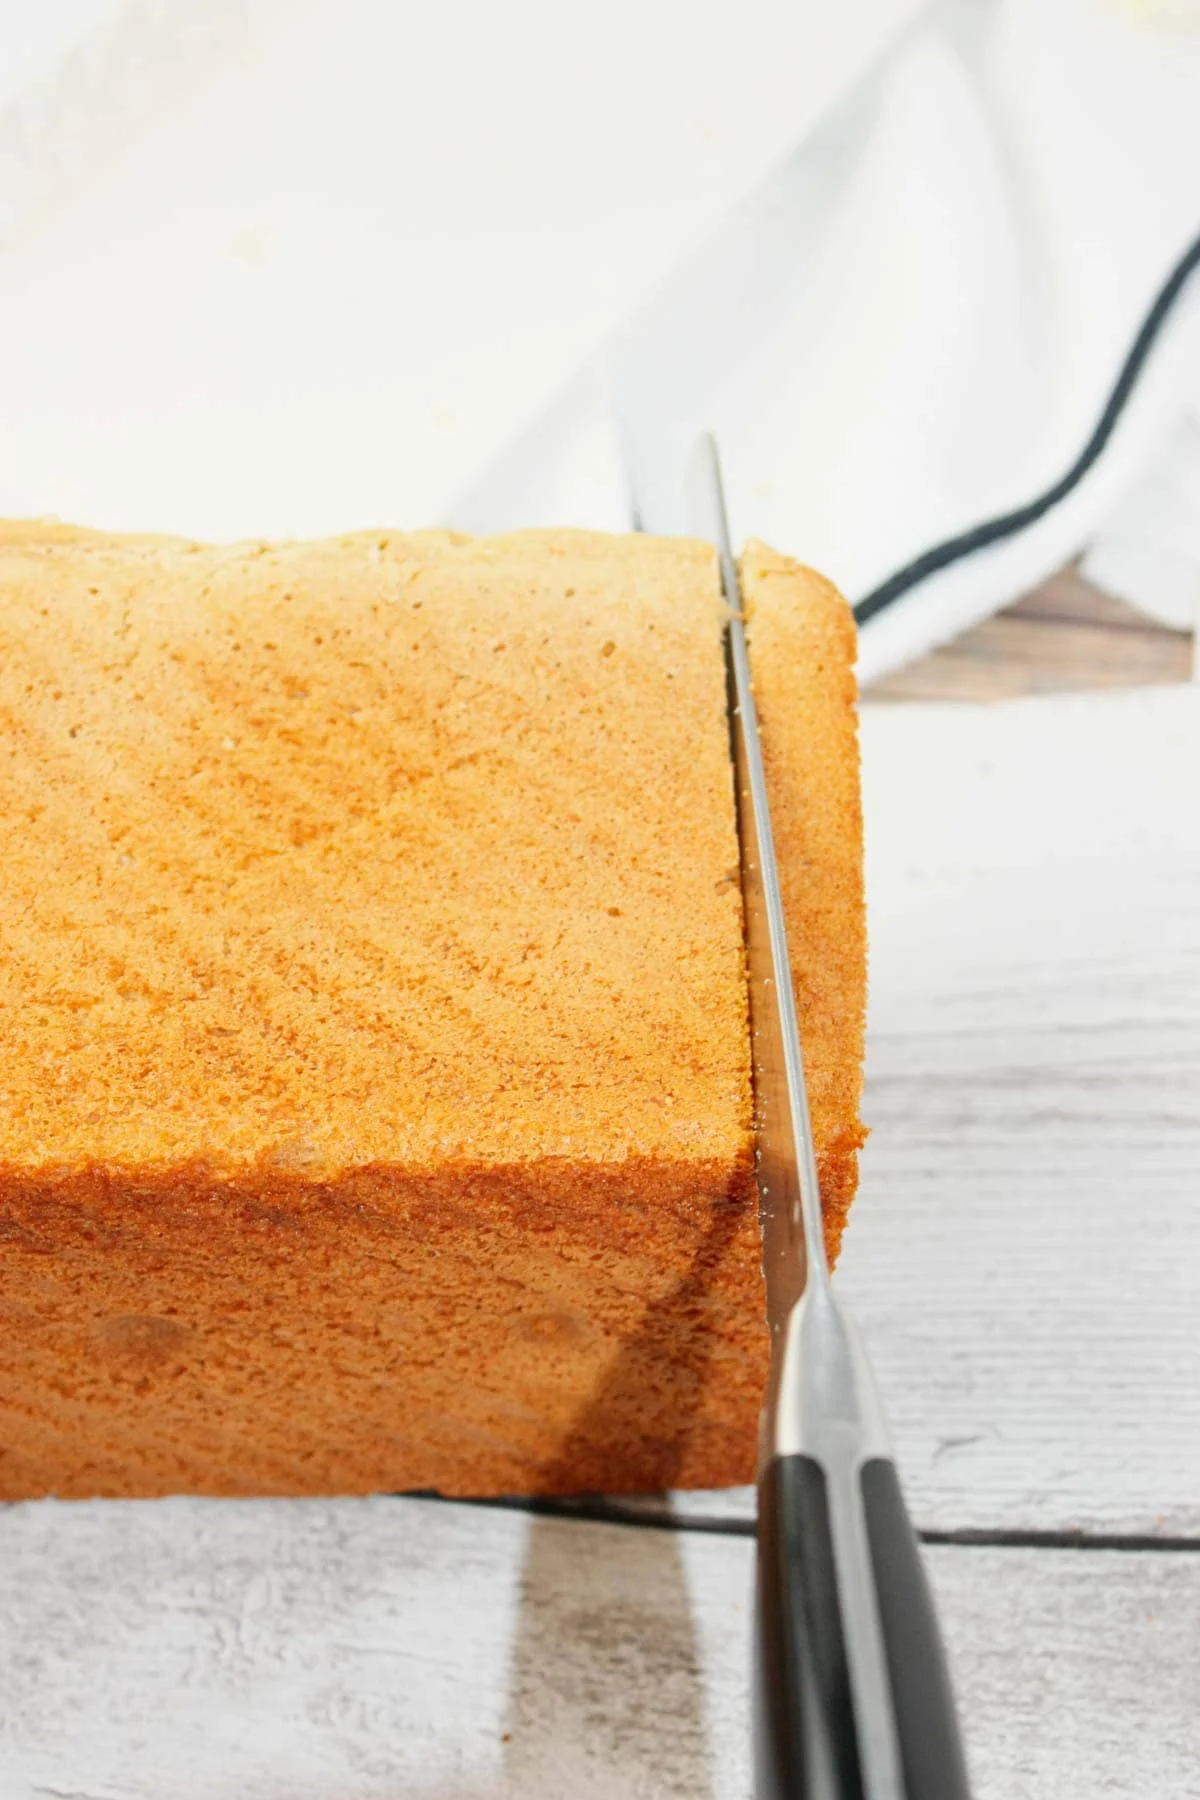
It slices cleanly, perfect for stacking with meats, cheeses, or fresh vegetables. I was able to get 16 slices of sandwich bread but yield will vary depending on how thick you slice the loaf.

The flavor is mild and versatile, pairing well with both sweet and savoury toppings.


This bread is a little slice of everyday comfort, proof that gluten free can be just as delicious.

Each bite melts into your mouth, leaving behind a comforting, homemade warmth.

Printable Recipe Card with a Full List of Ingredients and Instructions is Located at the Bottom of the Post.
Be sure to read through the entire post so that you don’t miss out on any important tips and tricks!
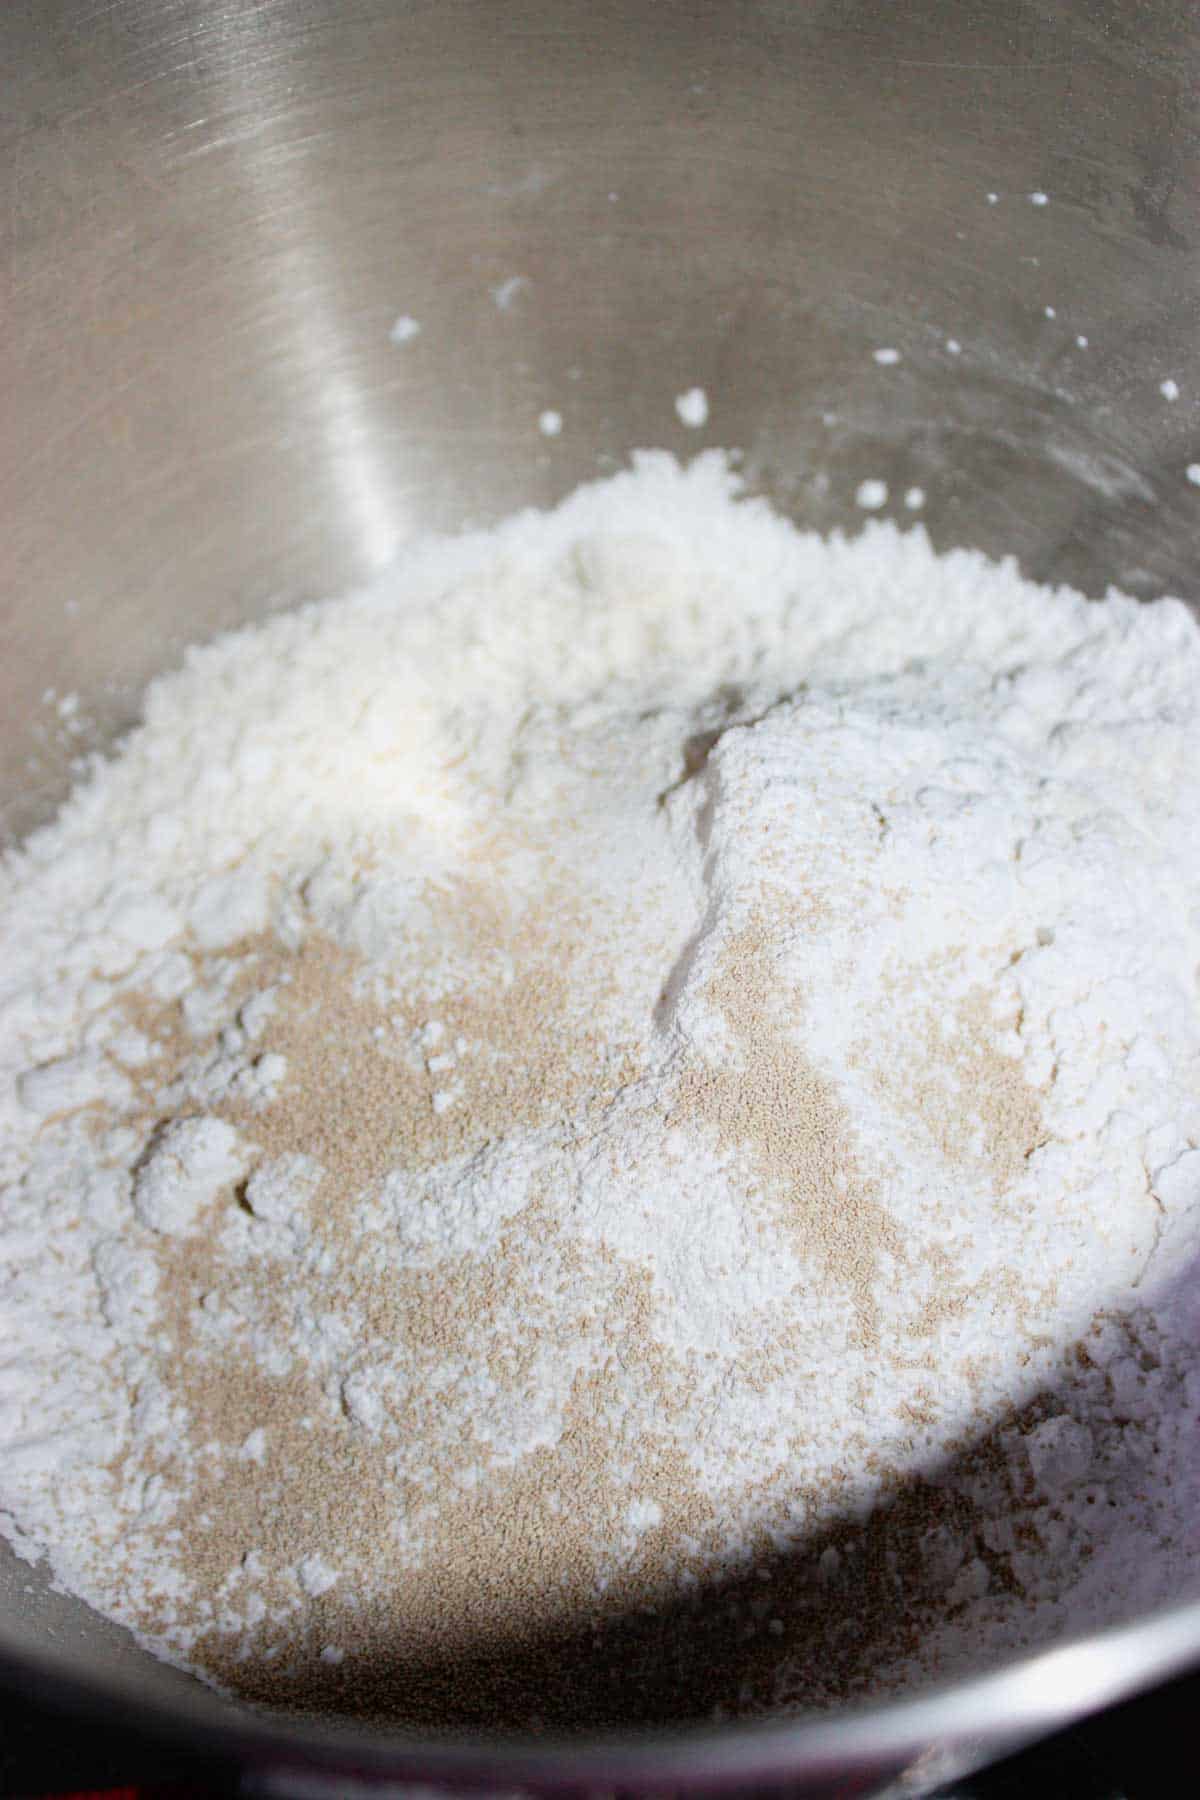
To begin making Gluten Free Sandwich Bread I measured Bob’s Red Mill 1 to 1 Gluten Free Baking Flour, granulated sugar, tapioca starch, salt, baking powder, cream of tartar and some quick-rise instant yeast into the bowl of my stand mixer.

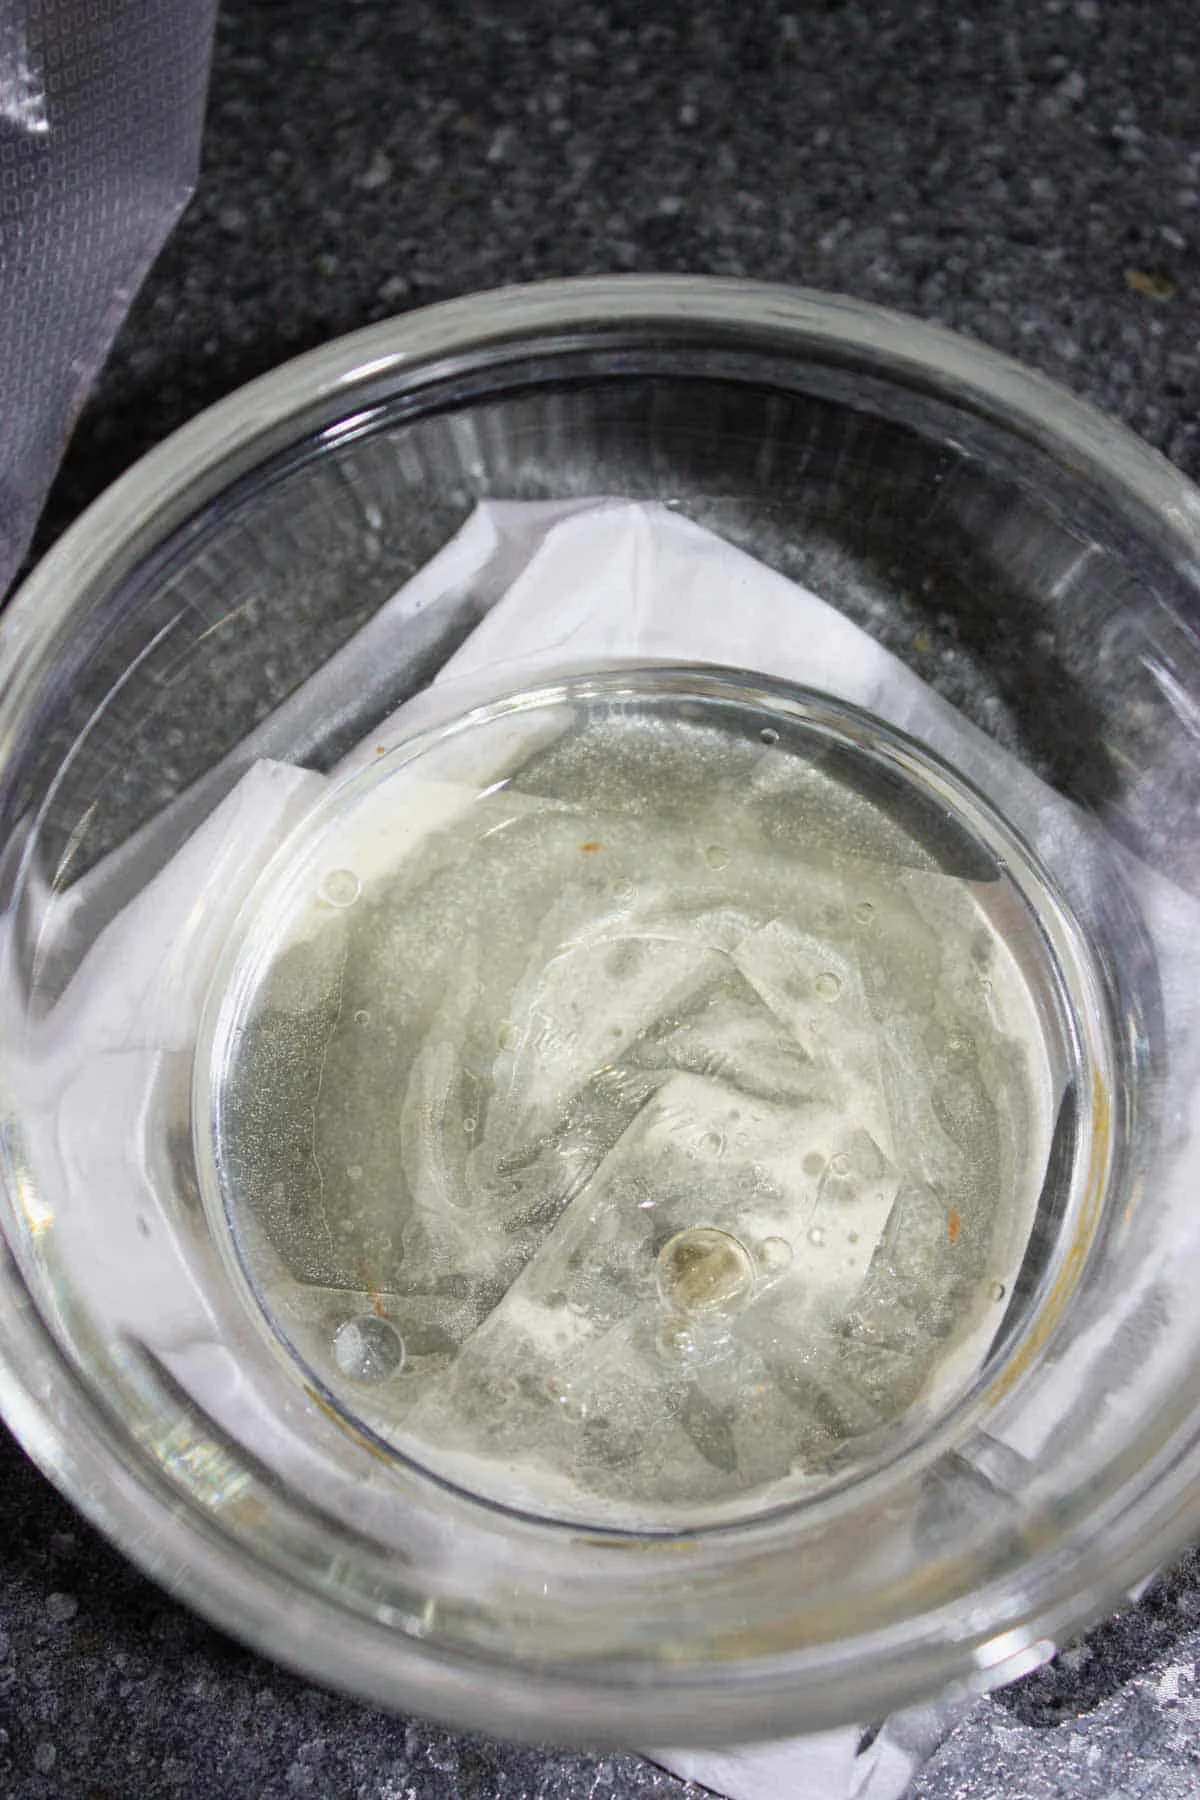
Then I measured out some olive oil and apple cider vinegar.

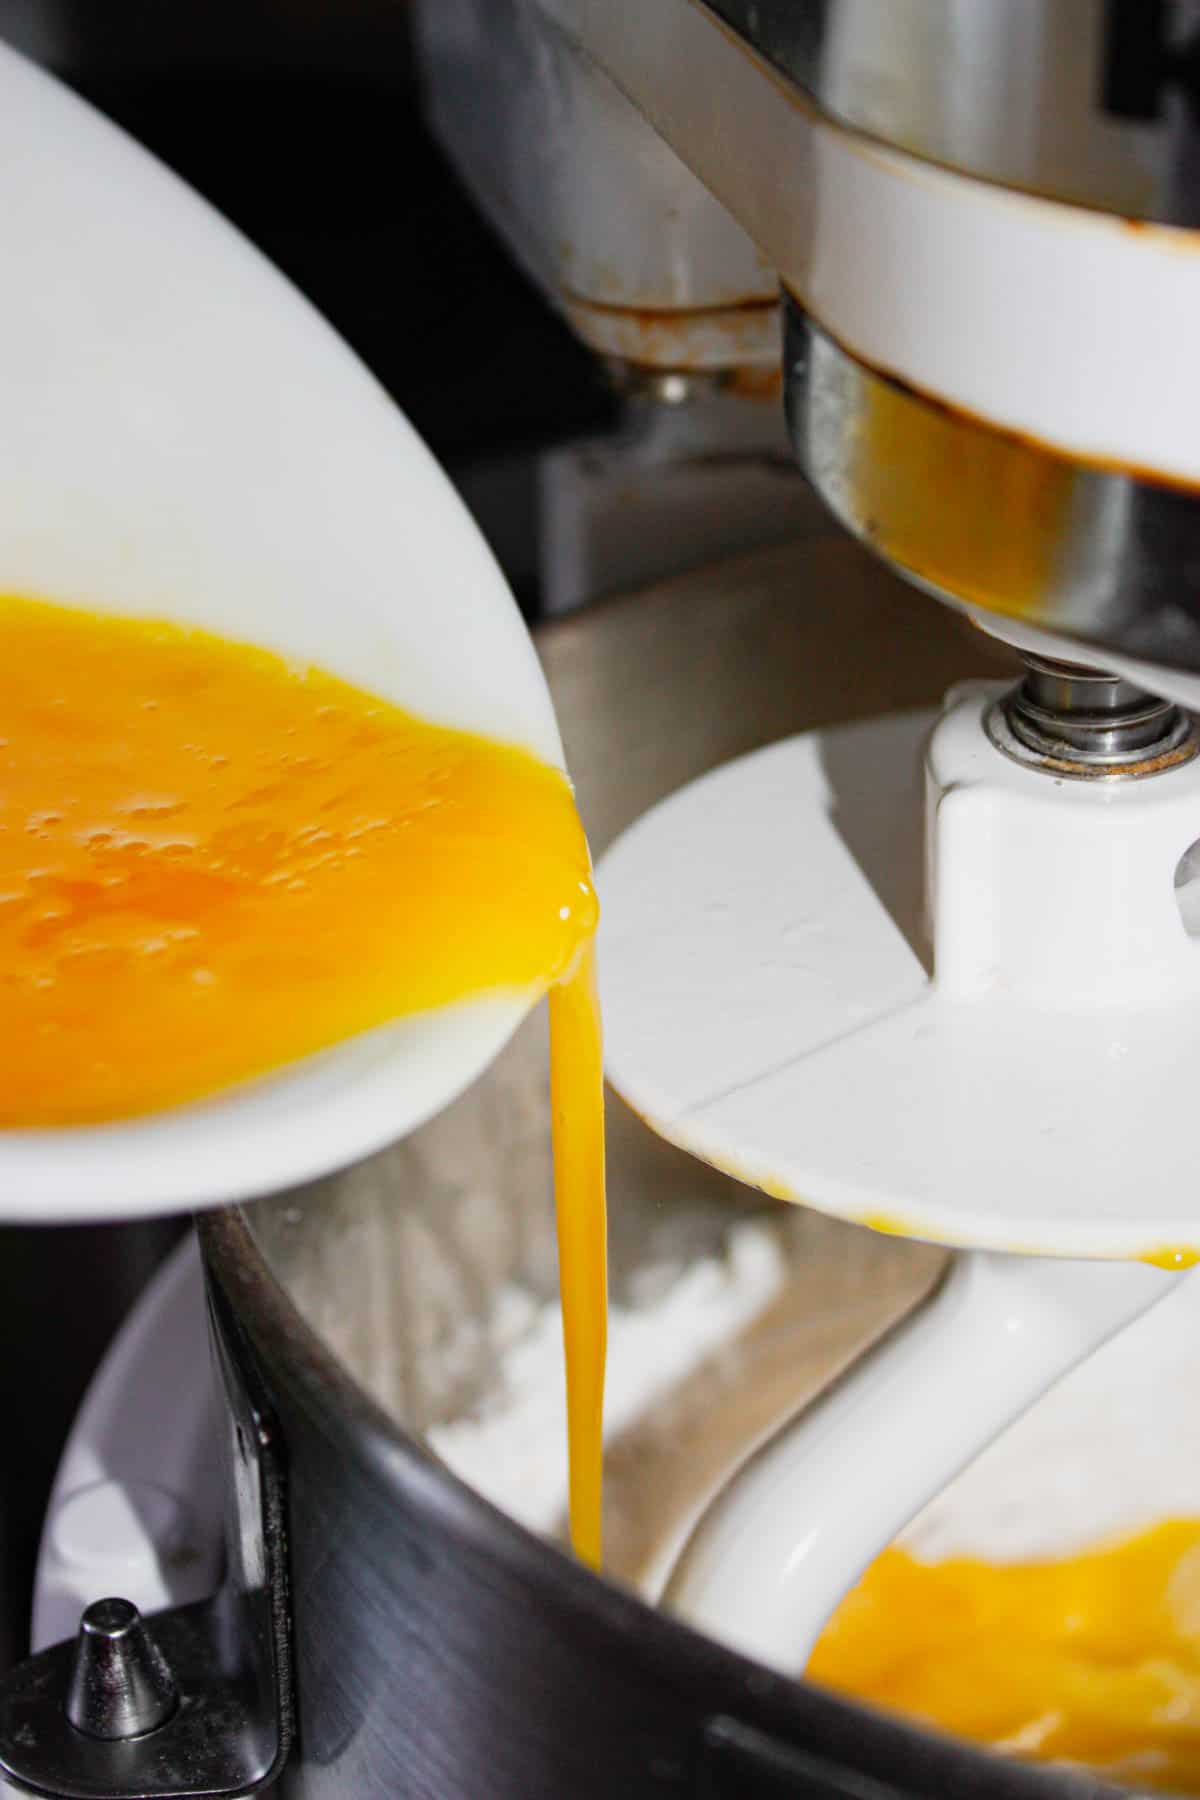
Next I beat together 3 large eggs.


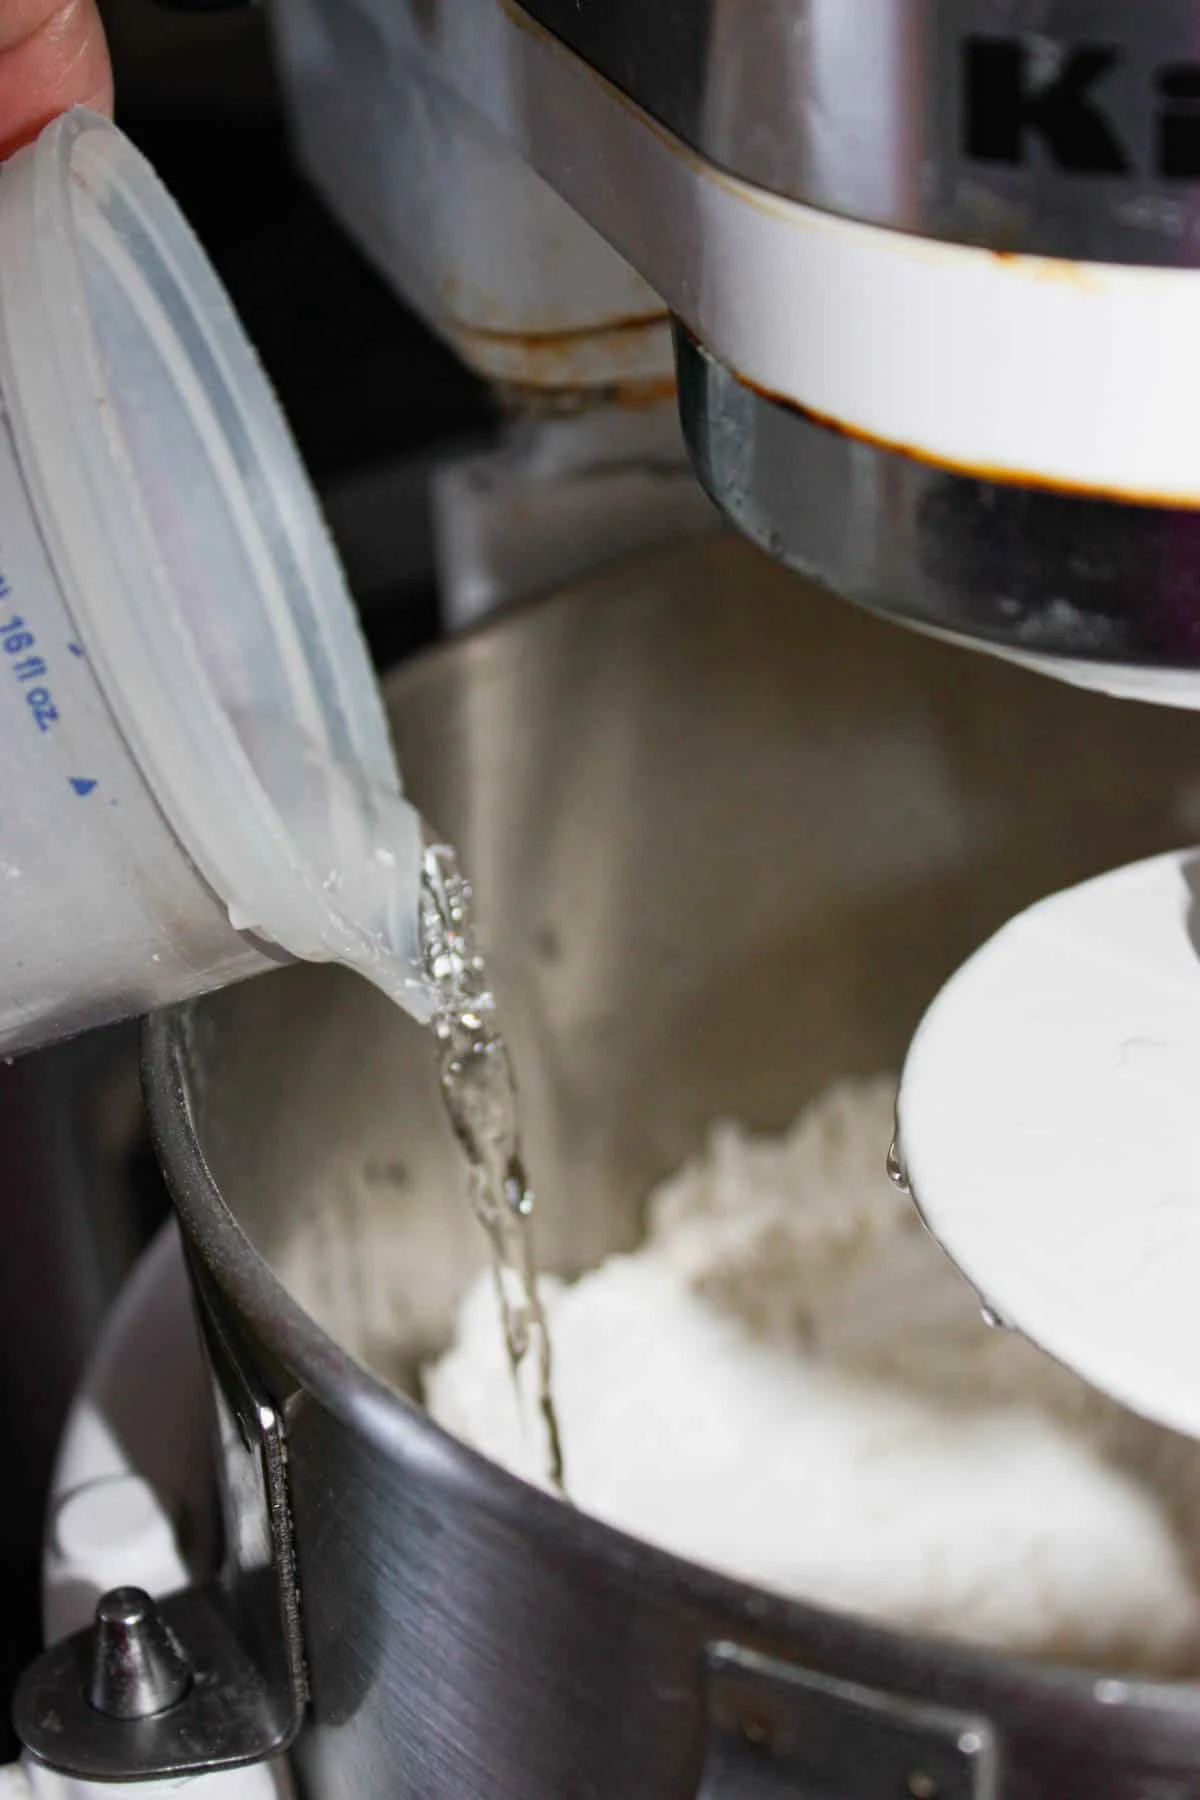
With the stand mixer on low I poured in some warm water.

Then I poured in the beaten eggs while the mixer was still on low speed.

I poured in the oil and cider vinegar mixture. Then I switched the mixer to medium speed for 4 minutes.


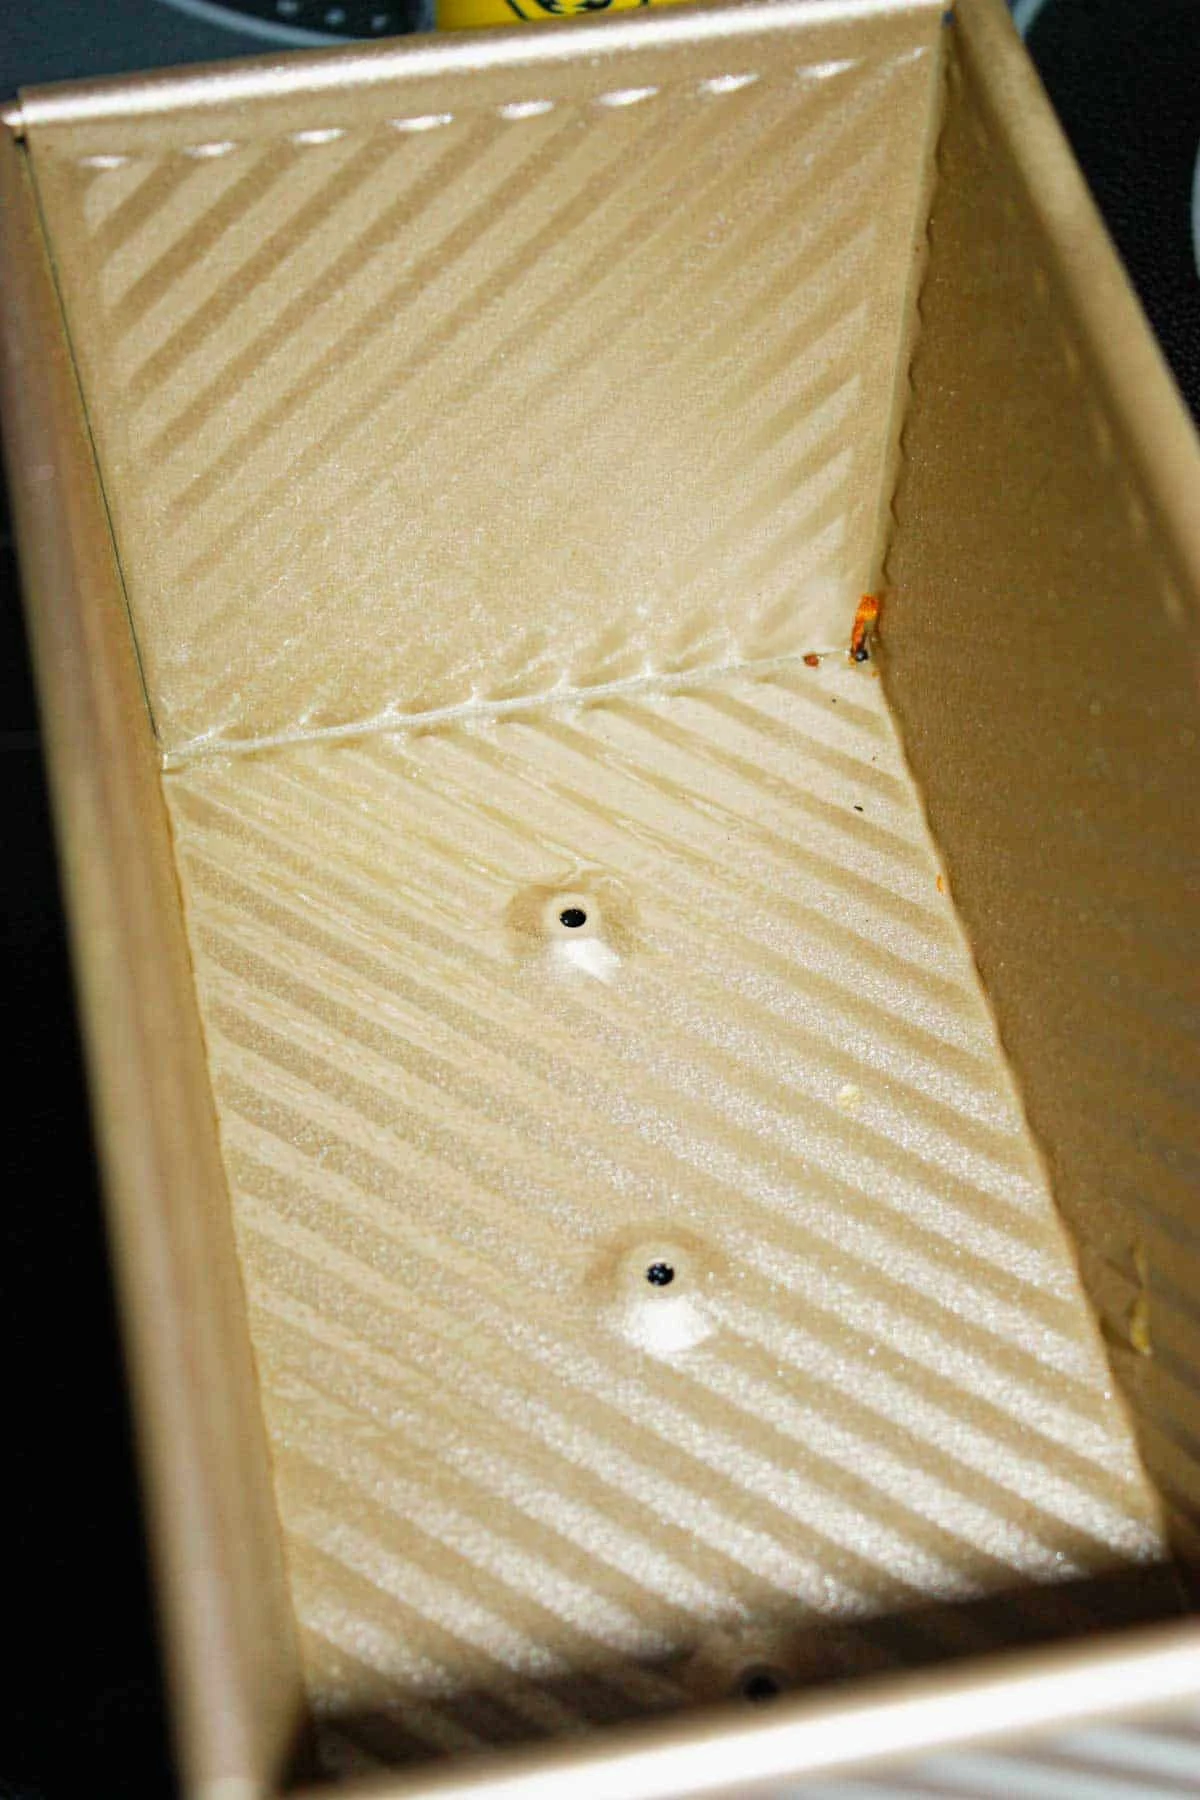
While the dough was mixing I sprayed a pullman pan with cooking spray.

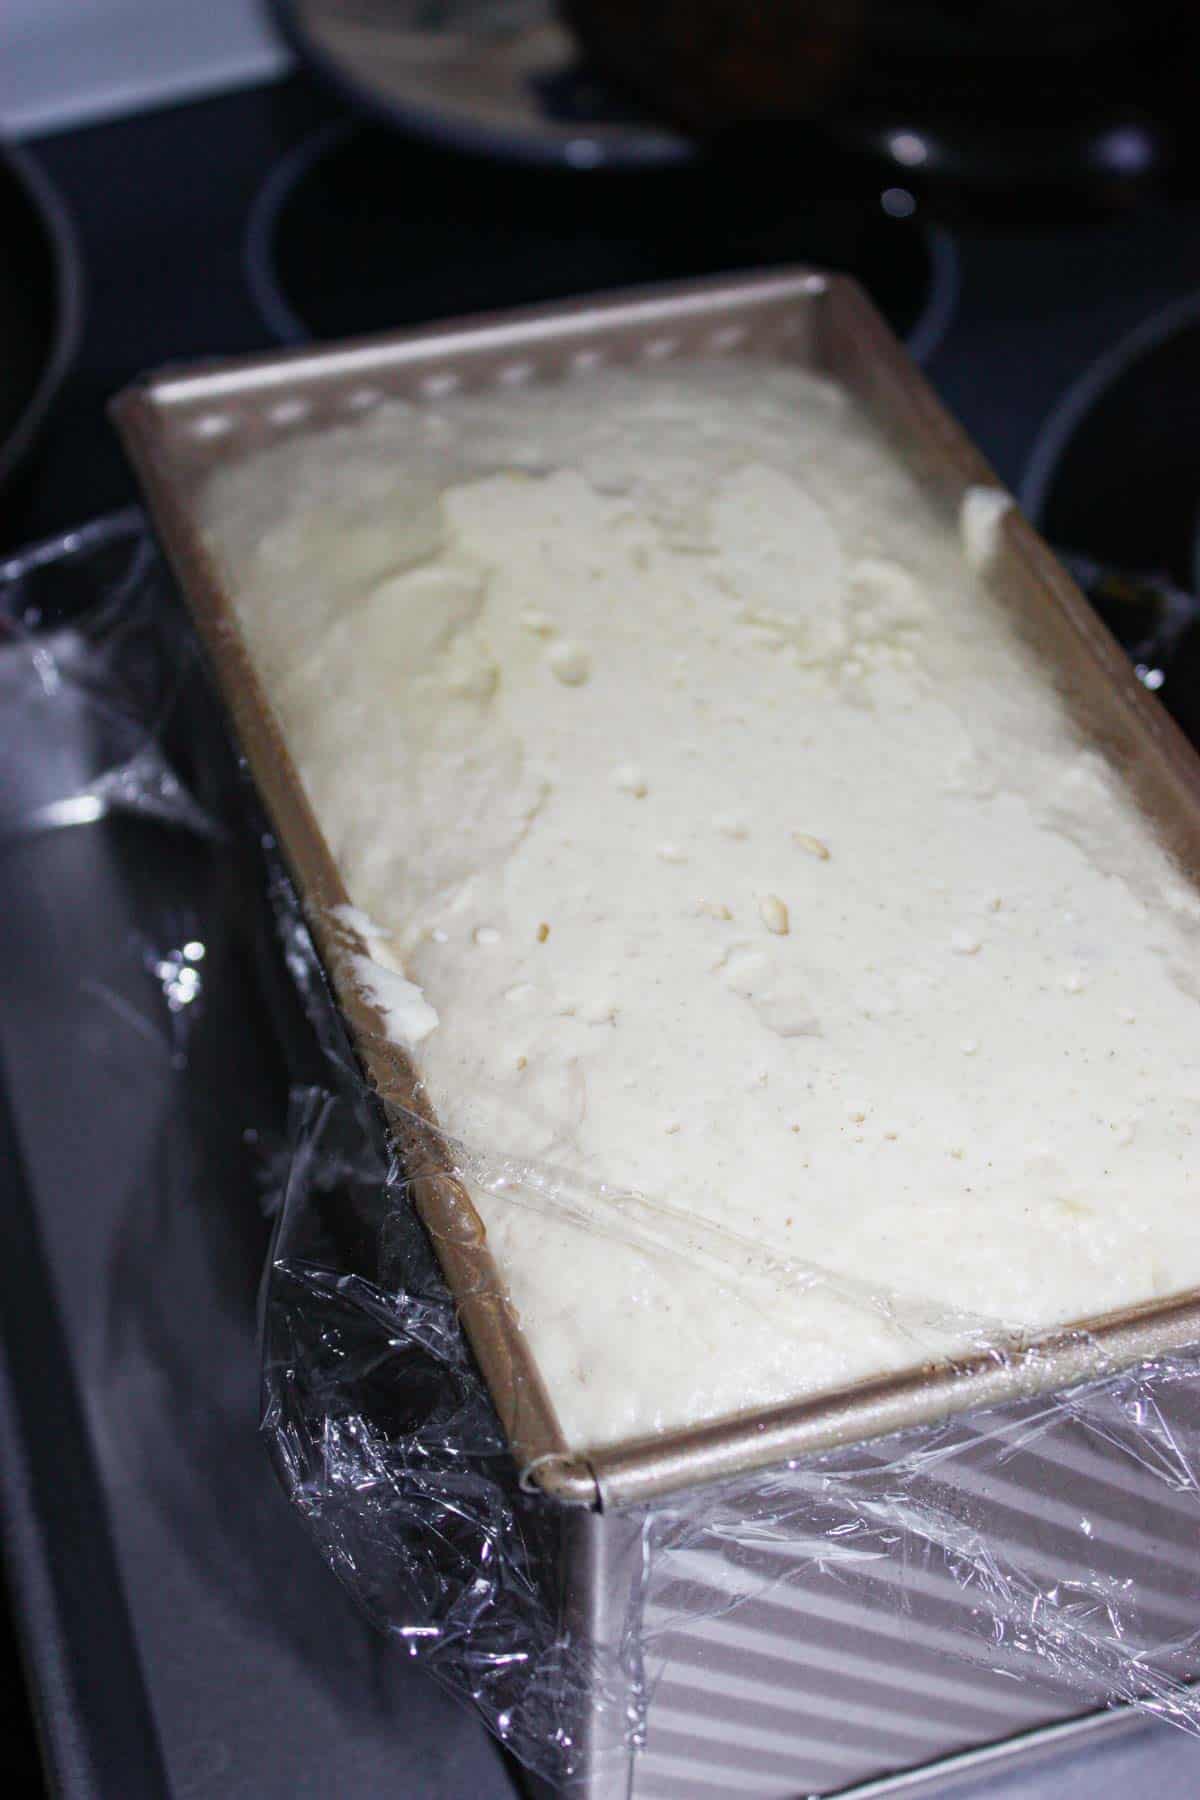
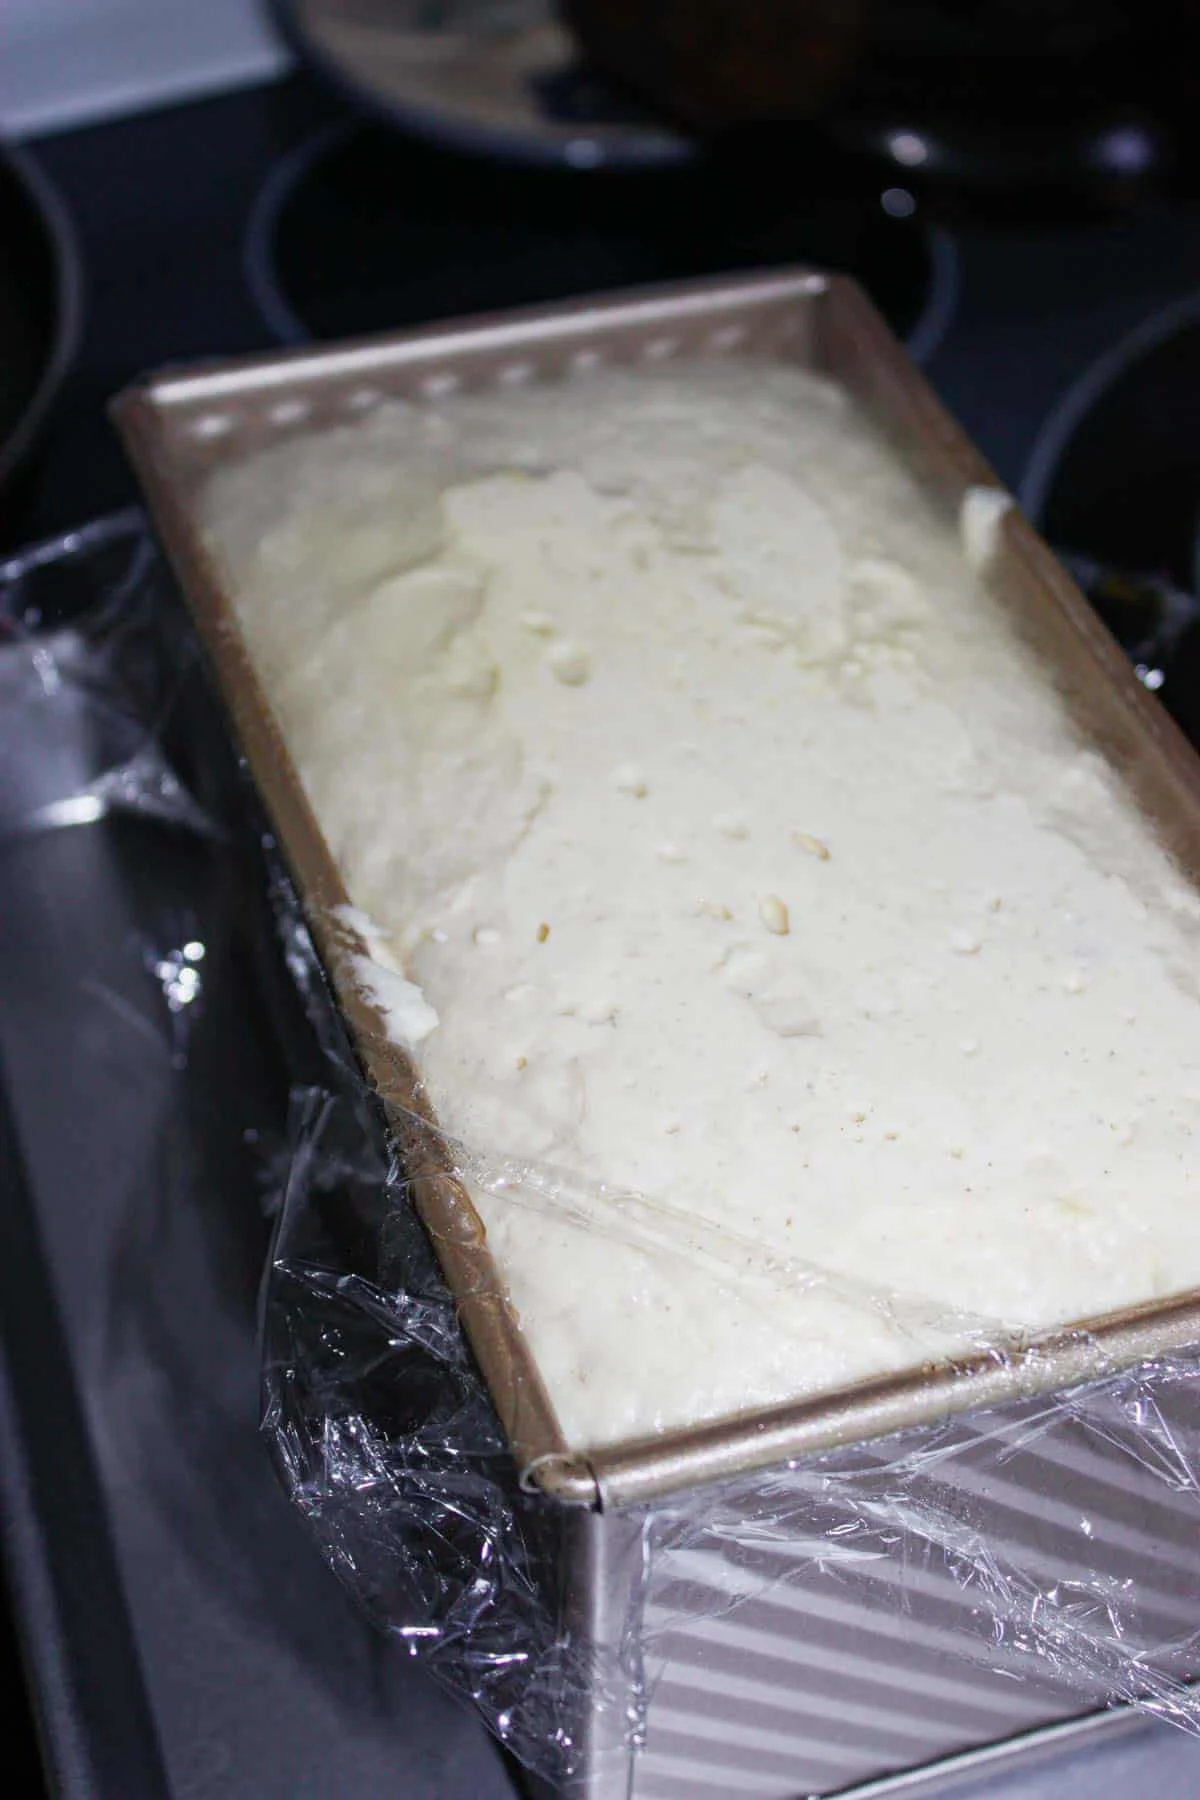
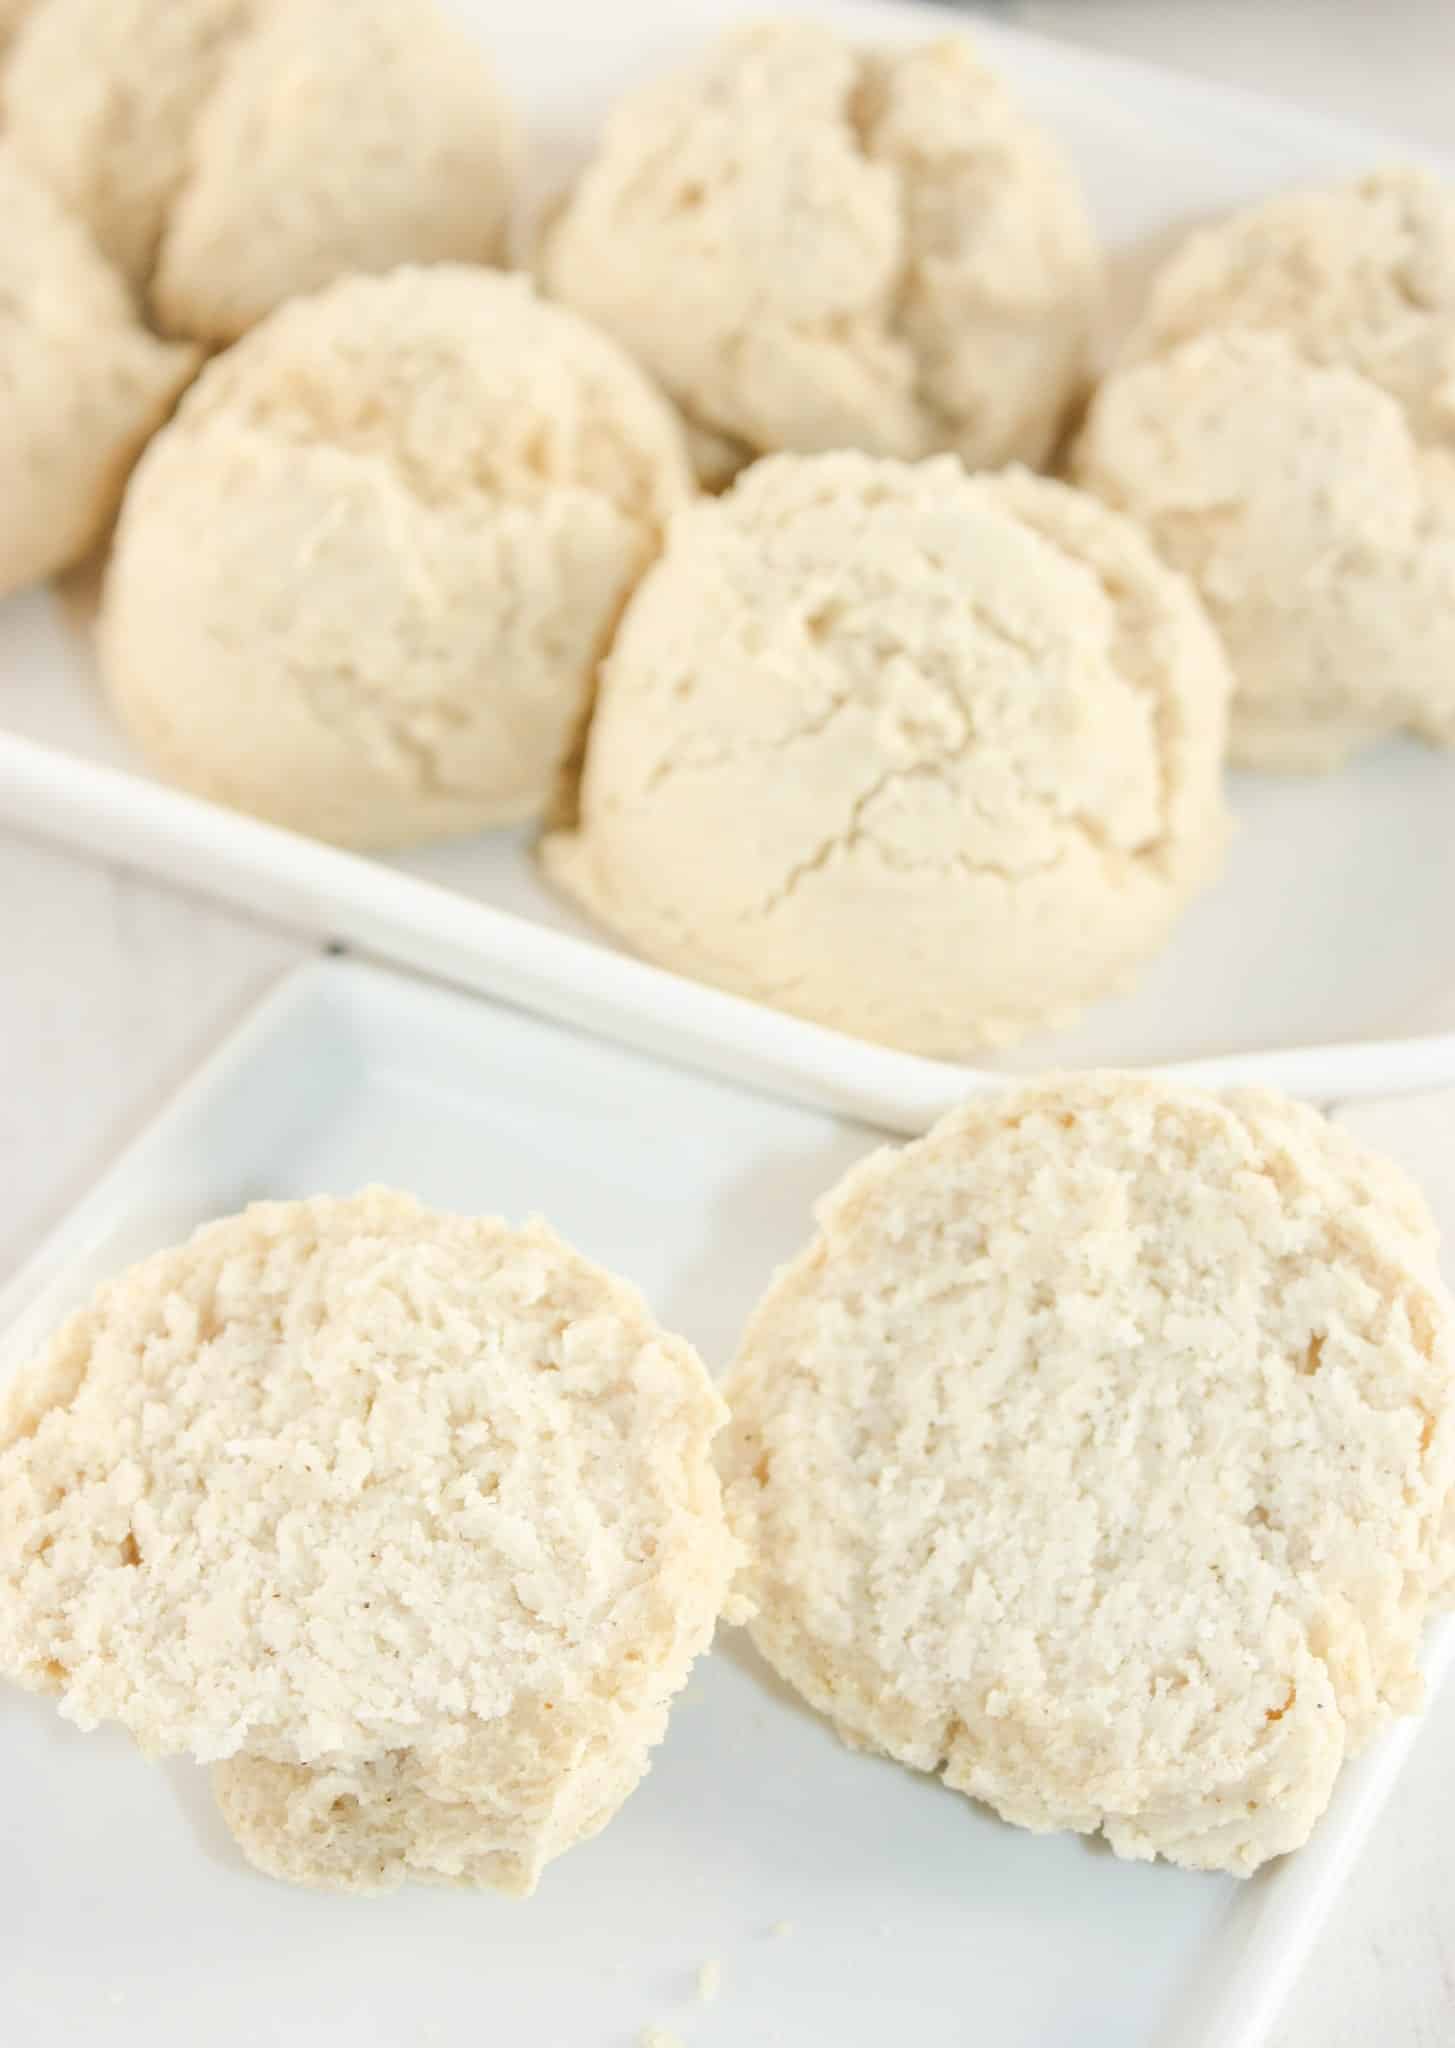
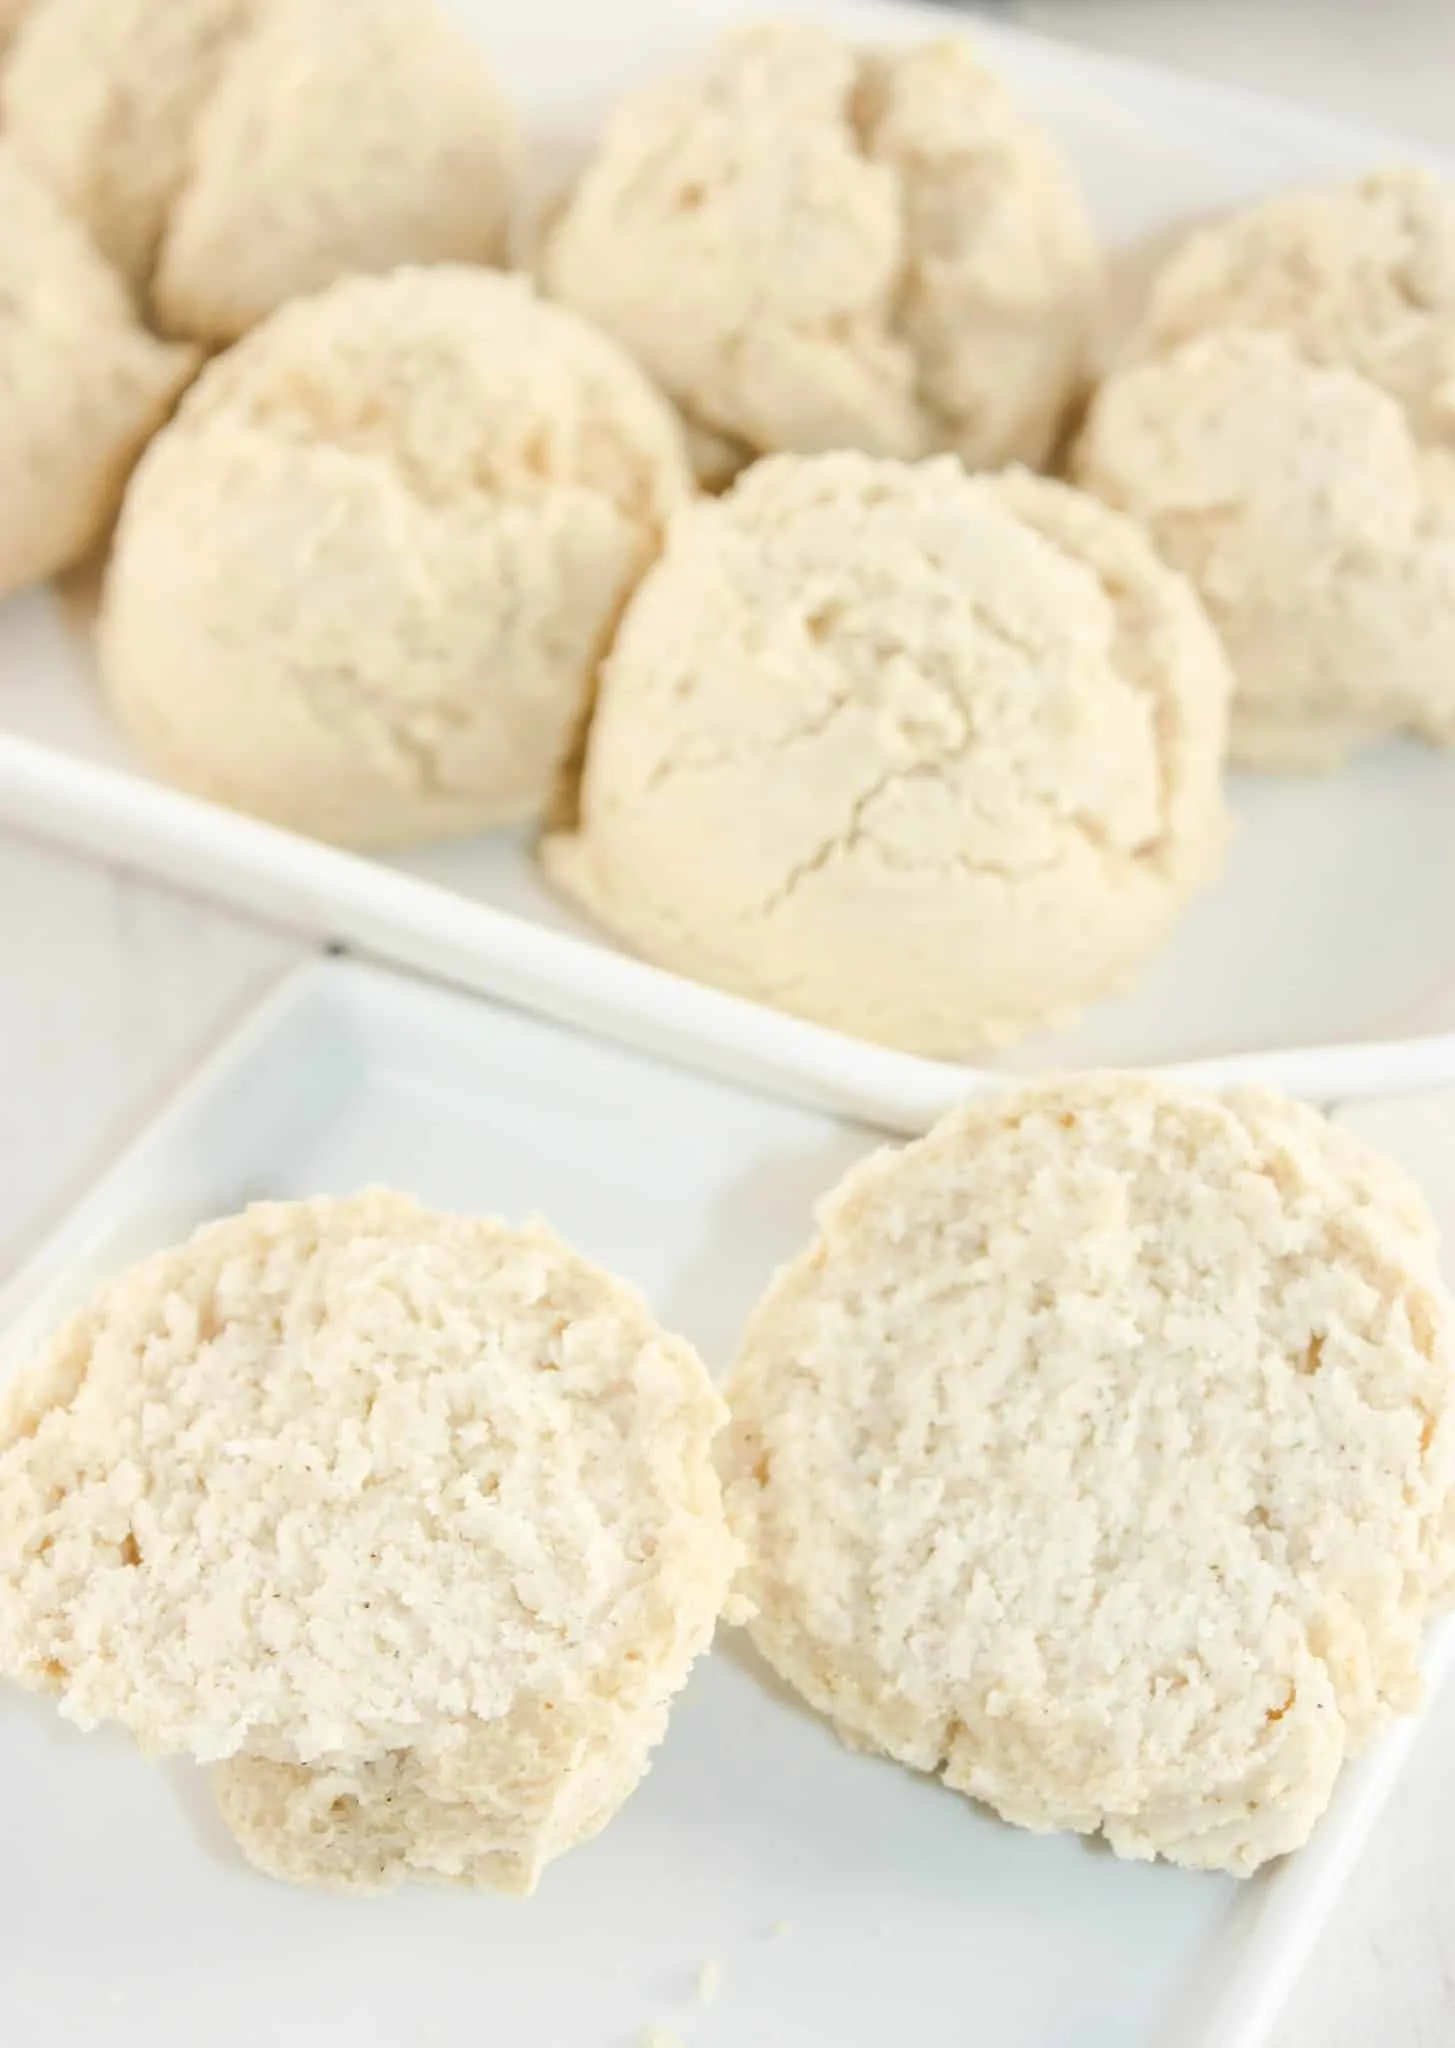
After 4 minutes I scraped the dough into the prepared loaf pan.
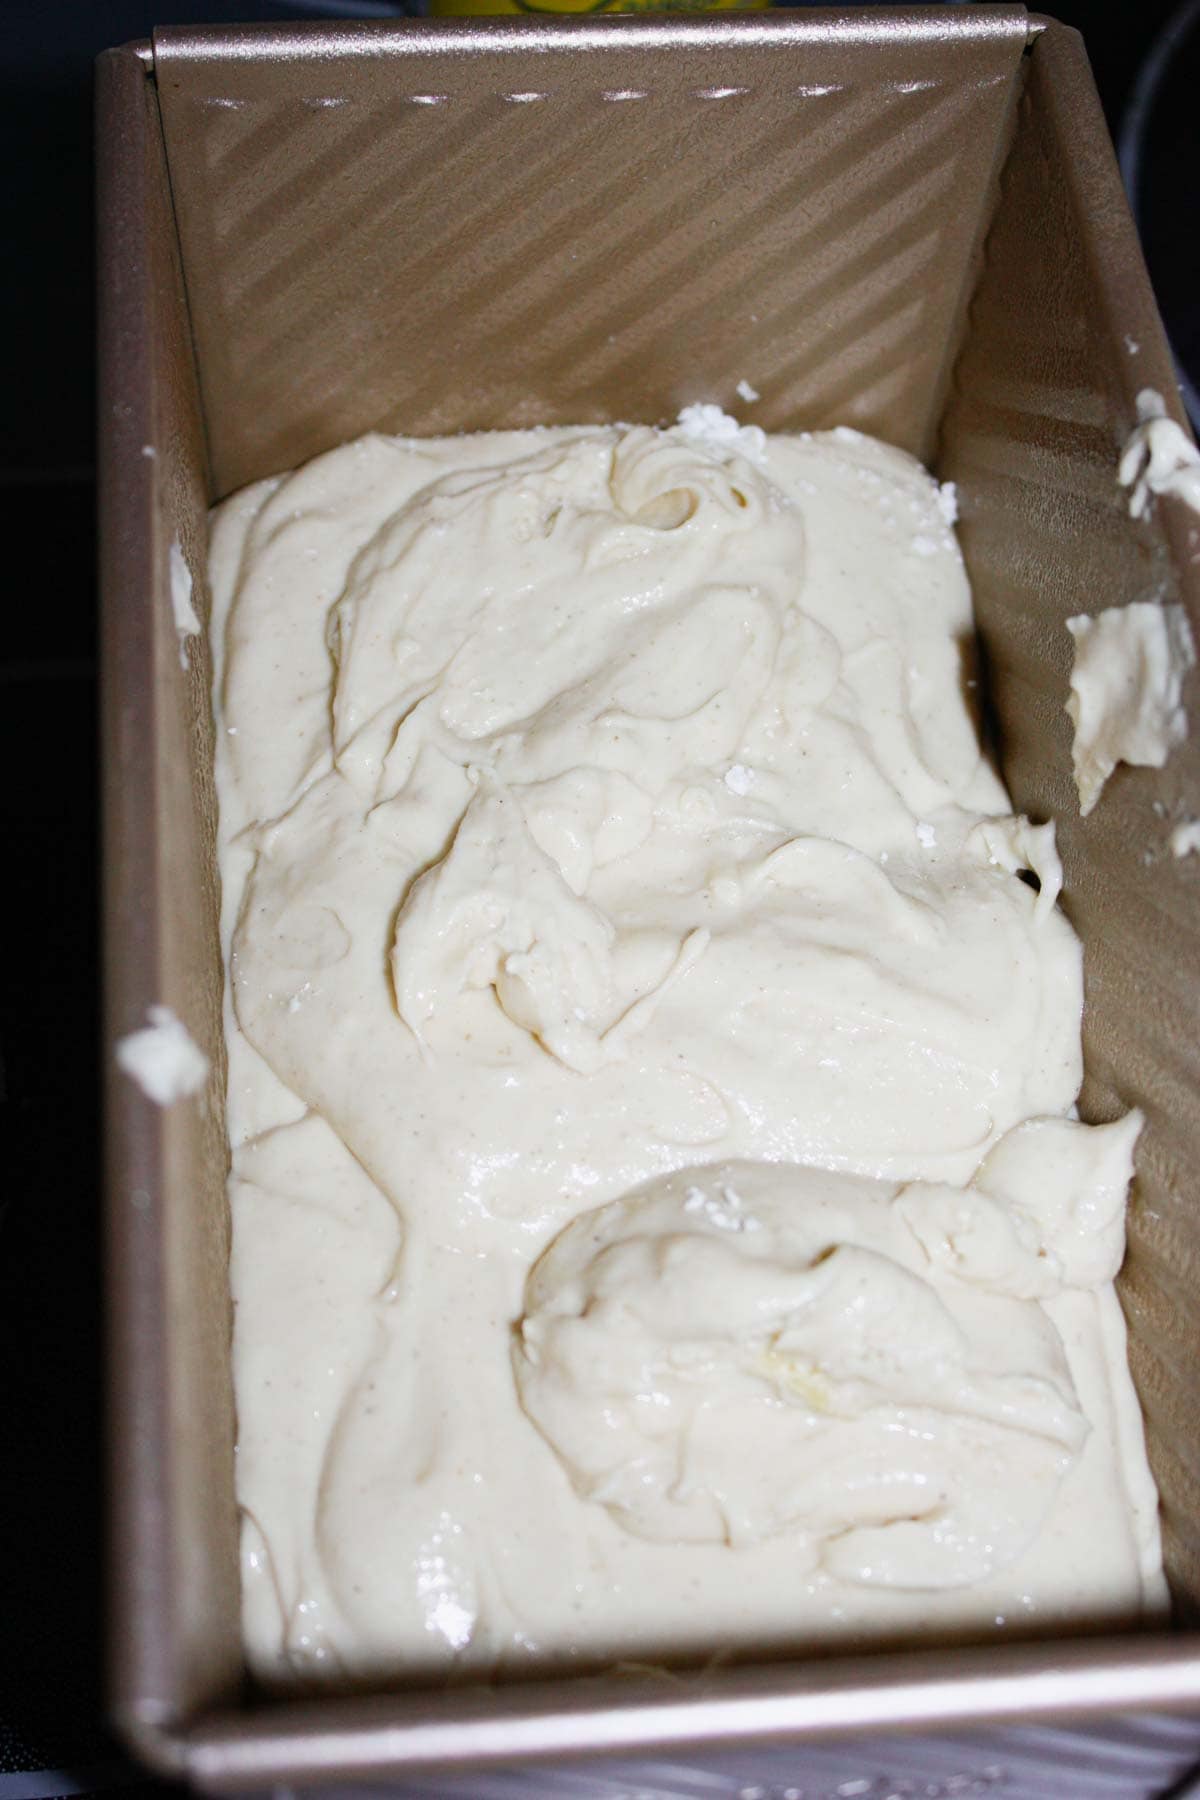
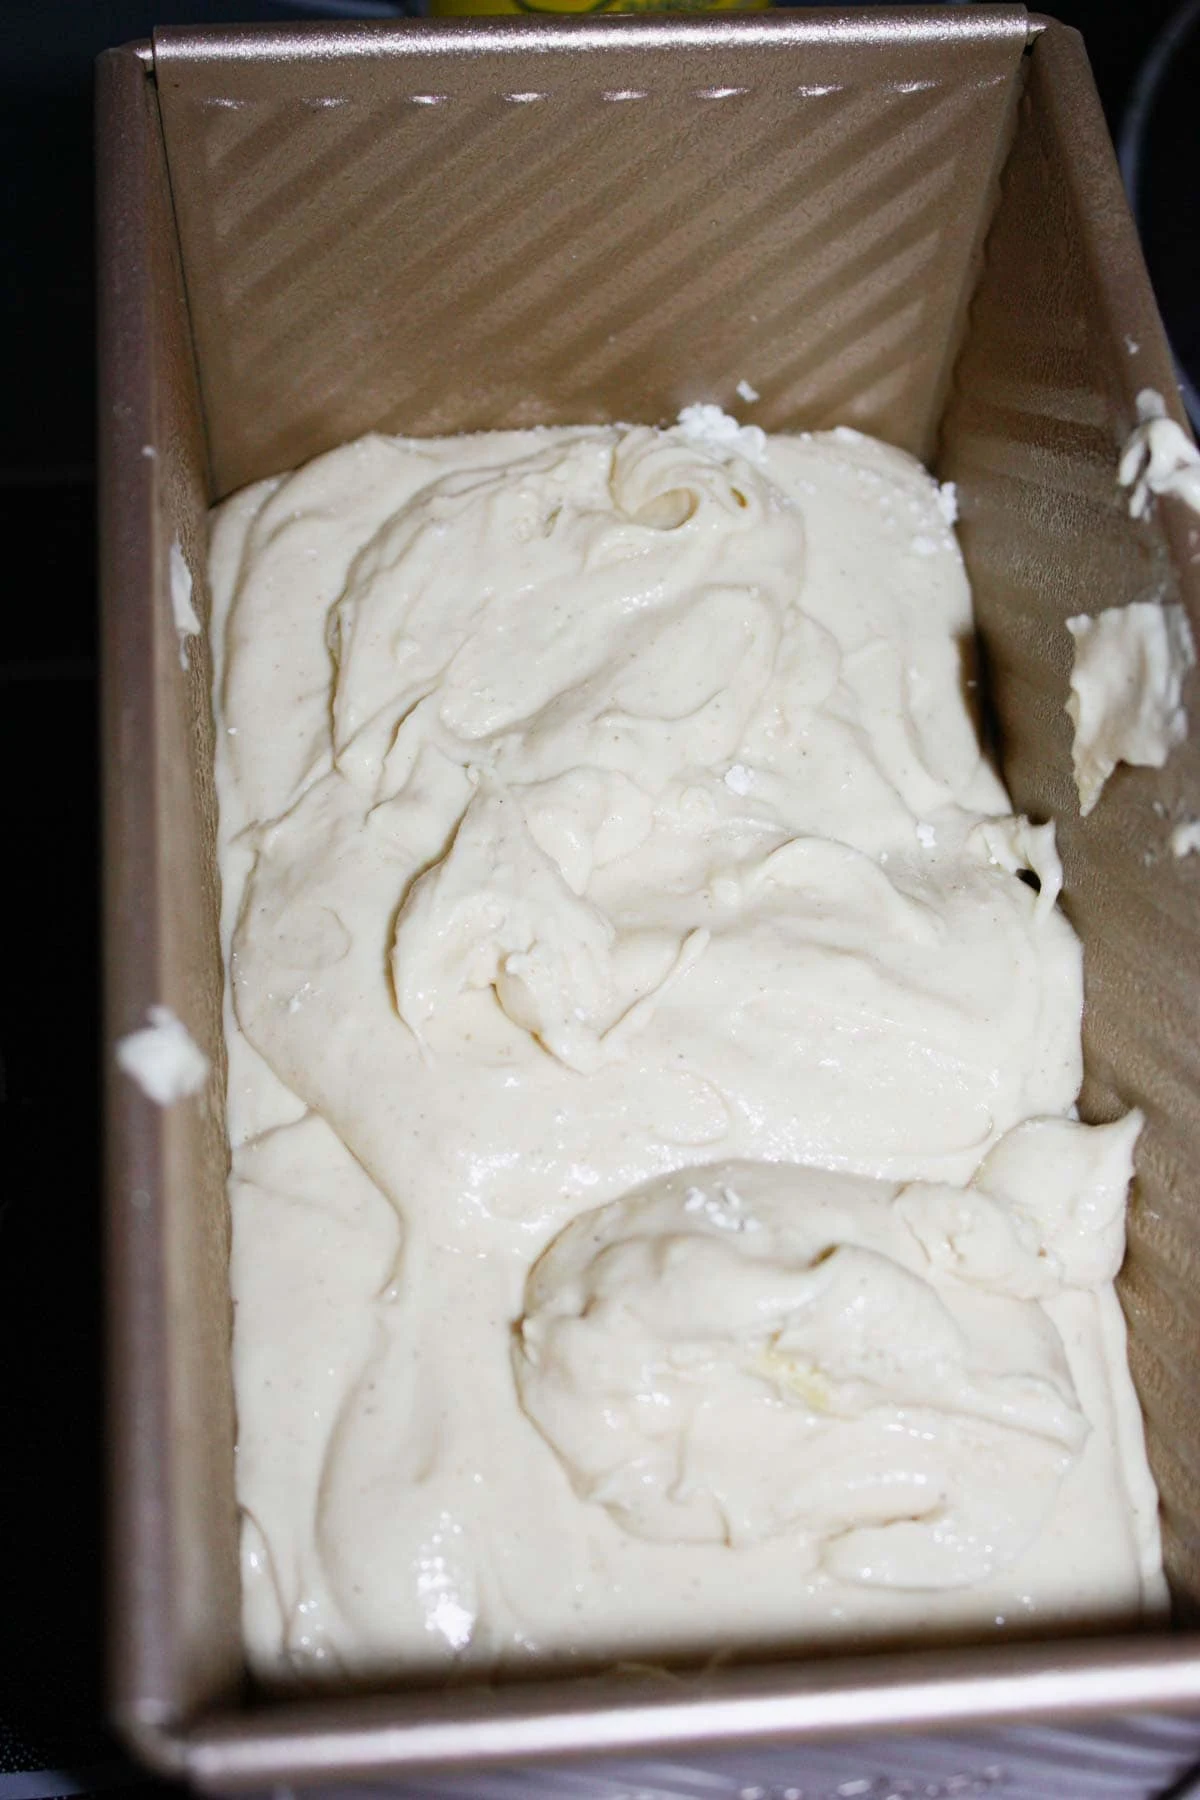
I smoothed out the top of the dough.

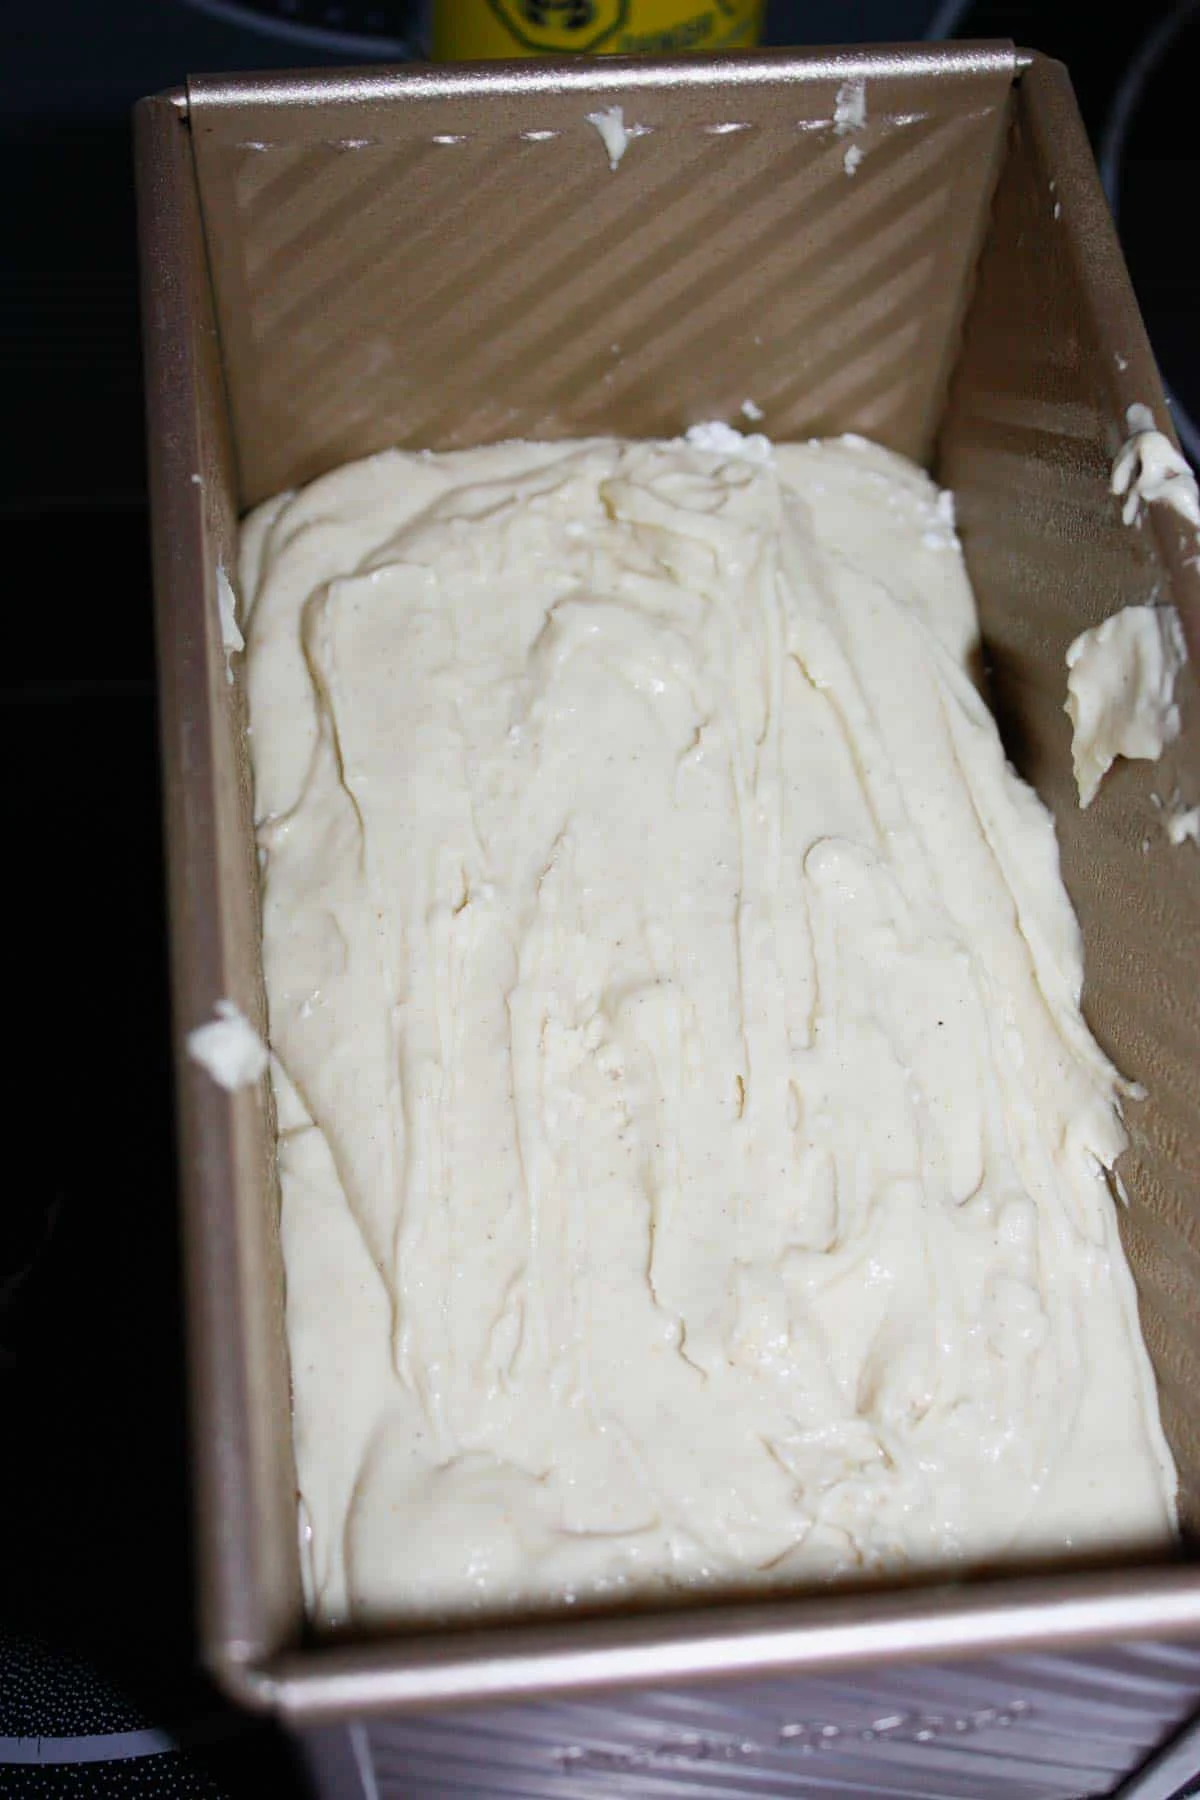
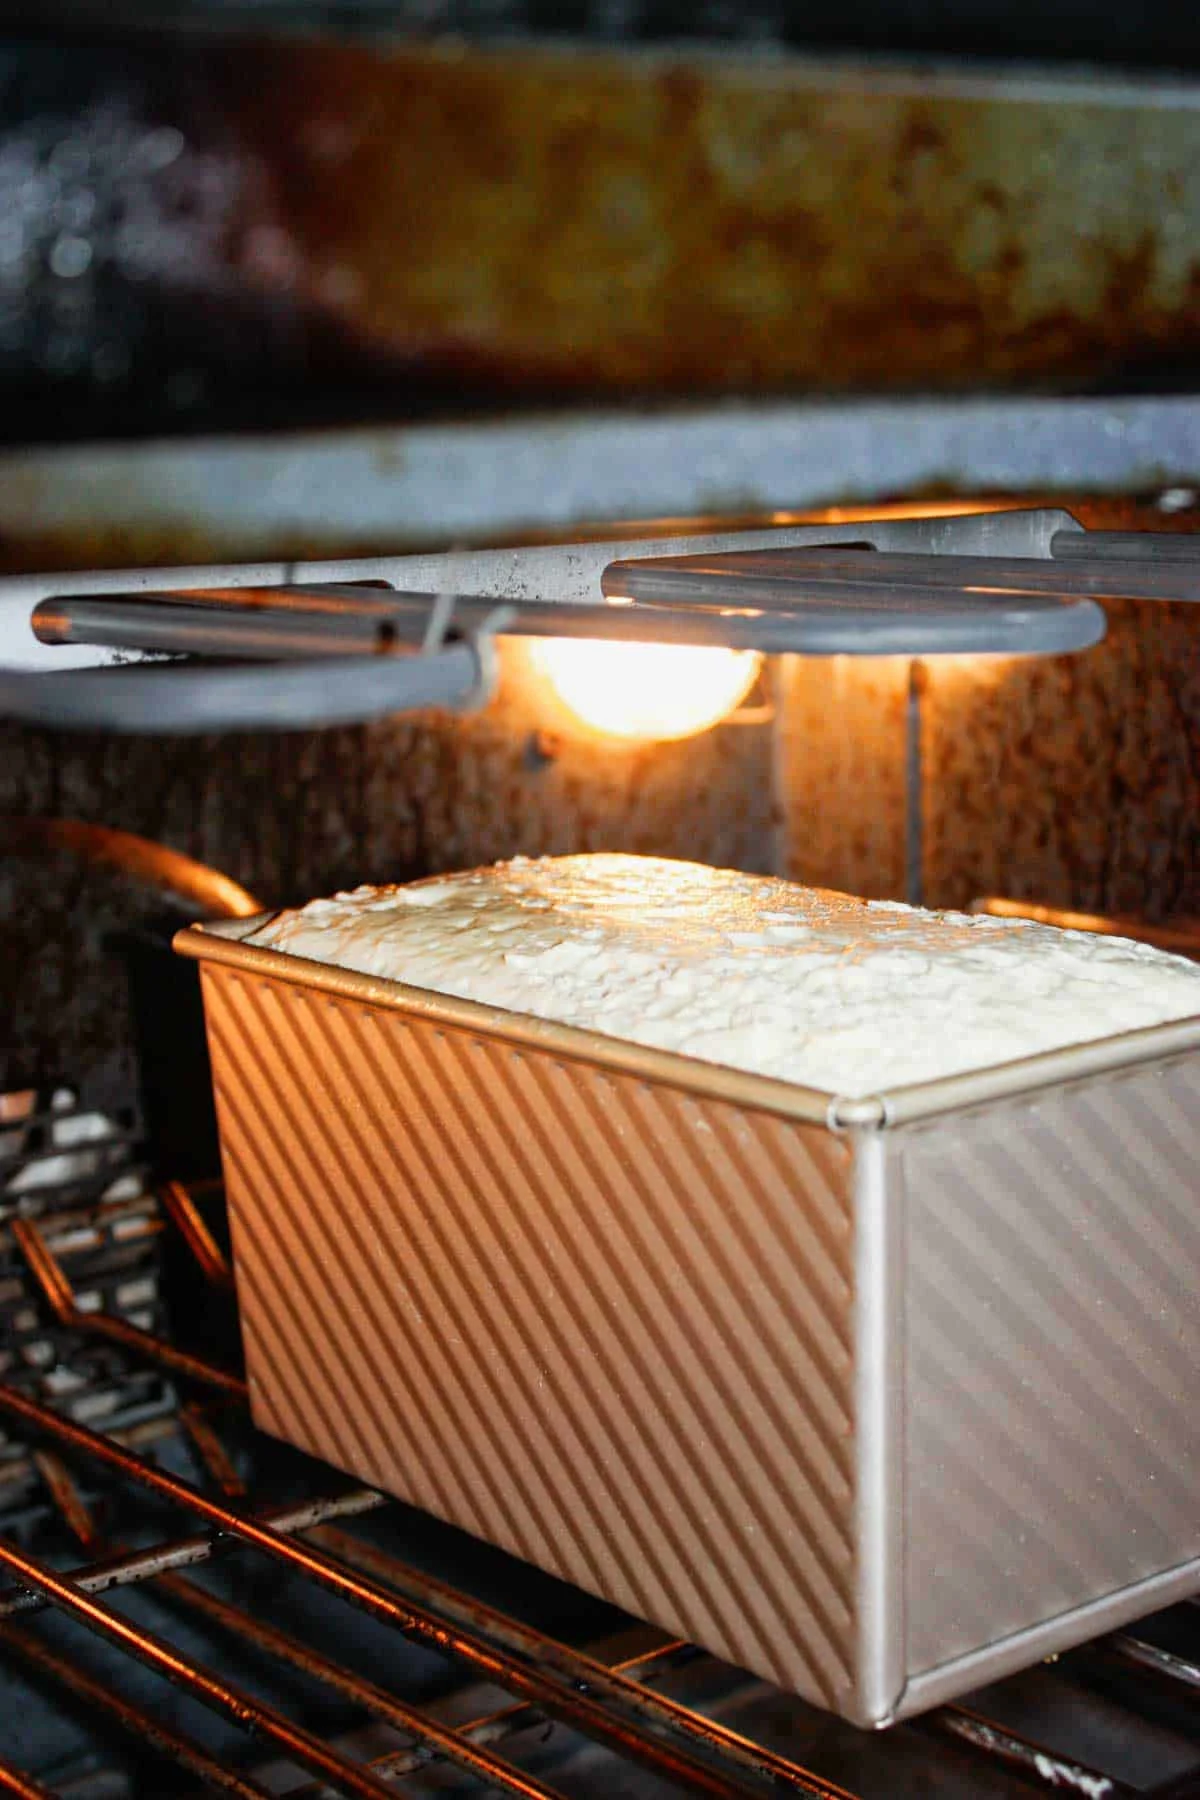
Next I sprayed some plastic wrap with cooking spray and used it to lightly cover the loaf pan. I then placed the pan in a warm place and left it to rise for about an hour or until the dough was just below the top of the pan.
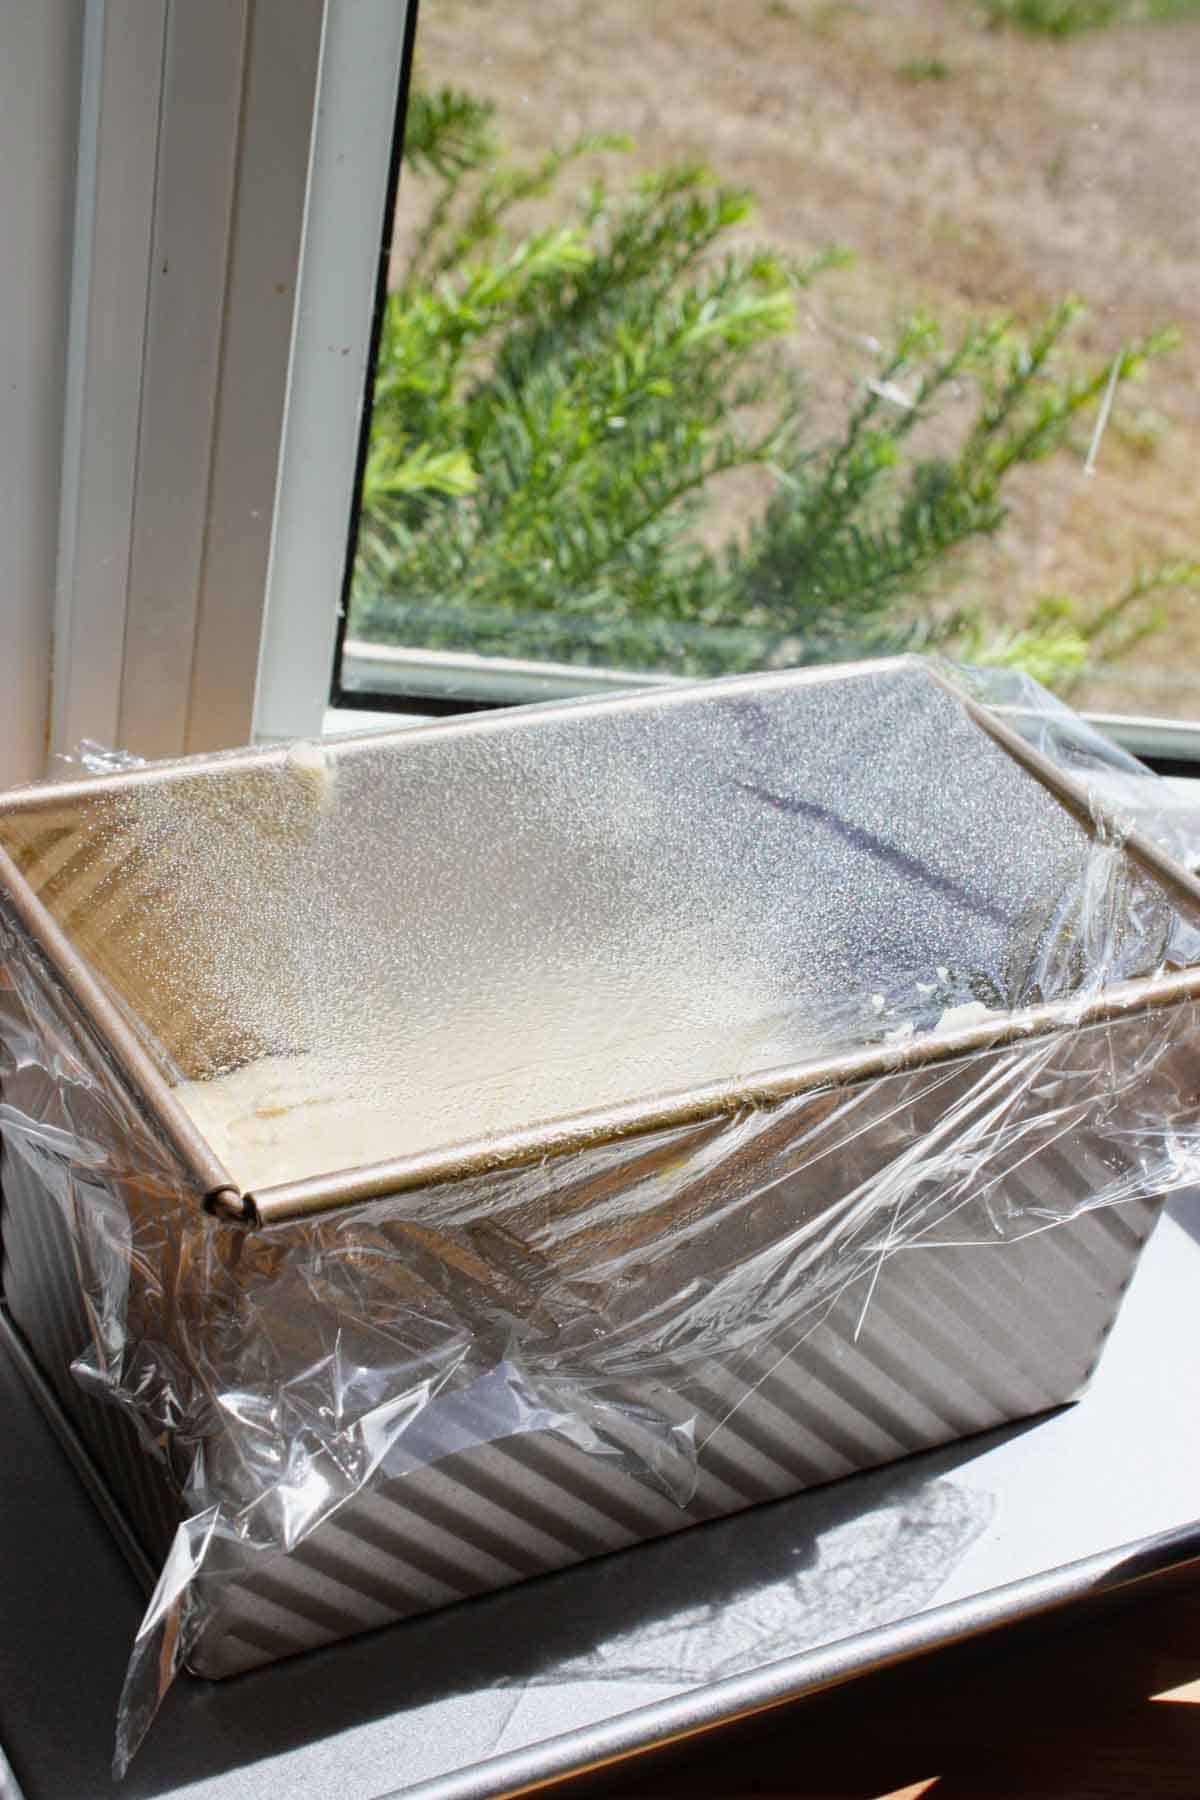
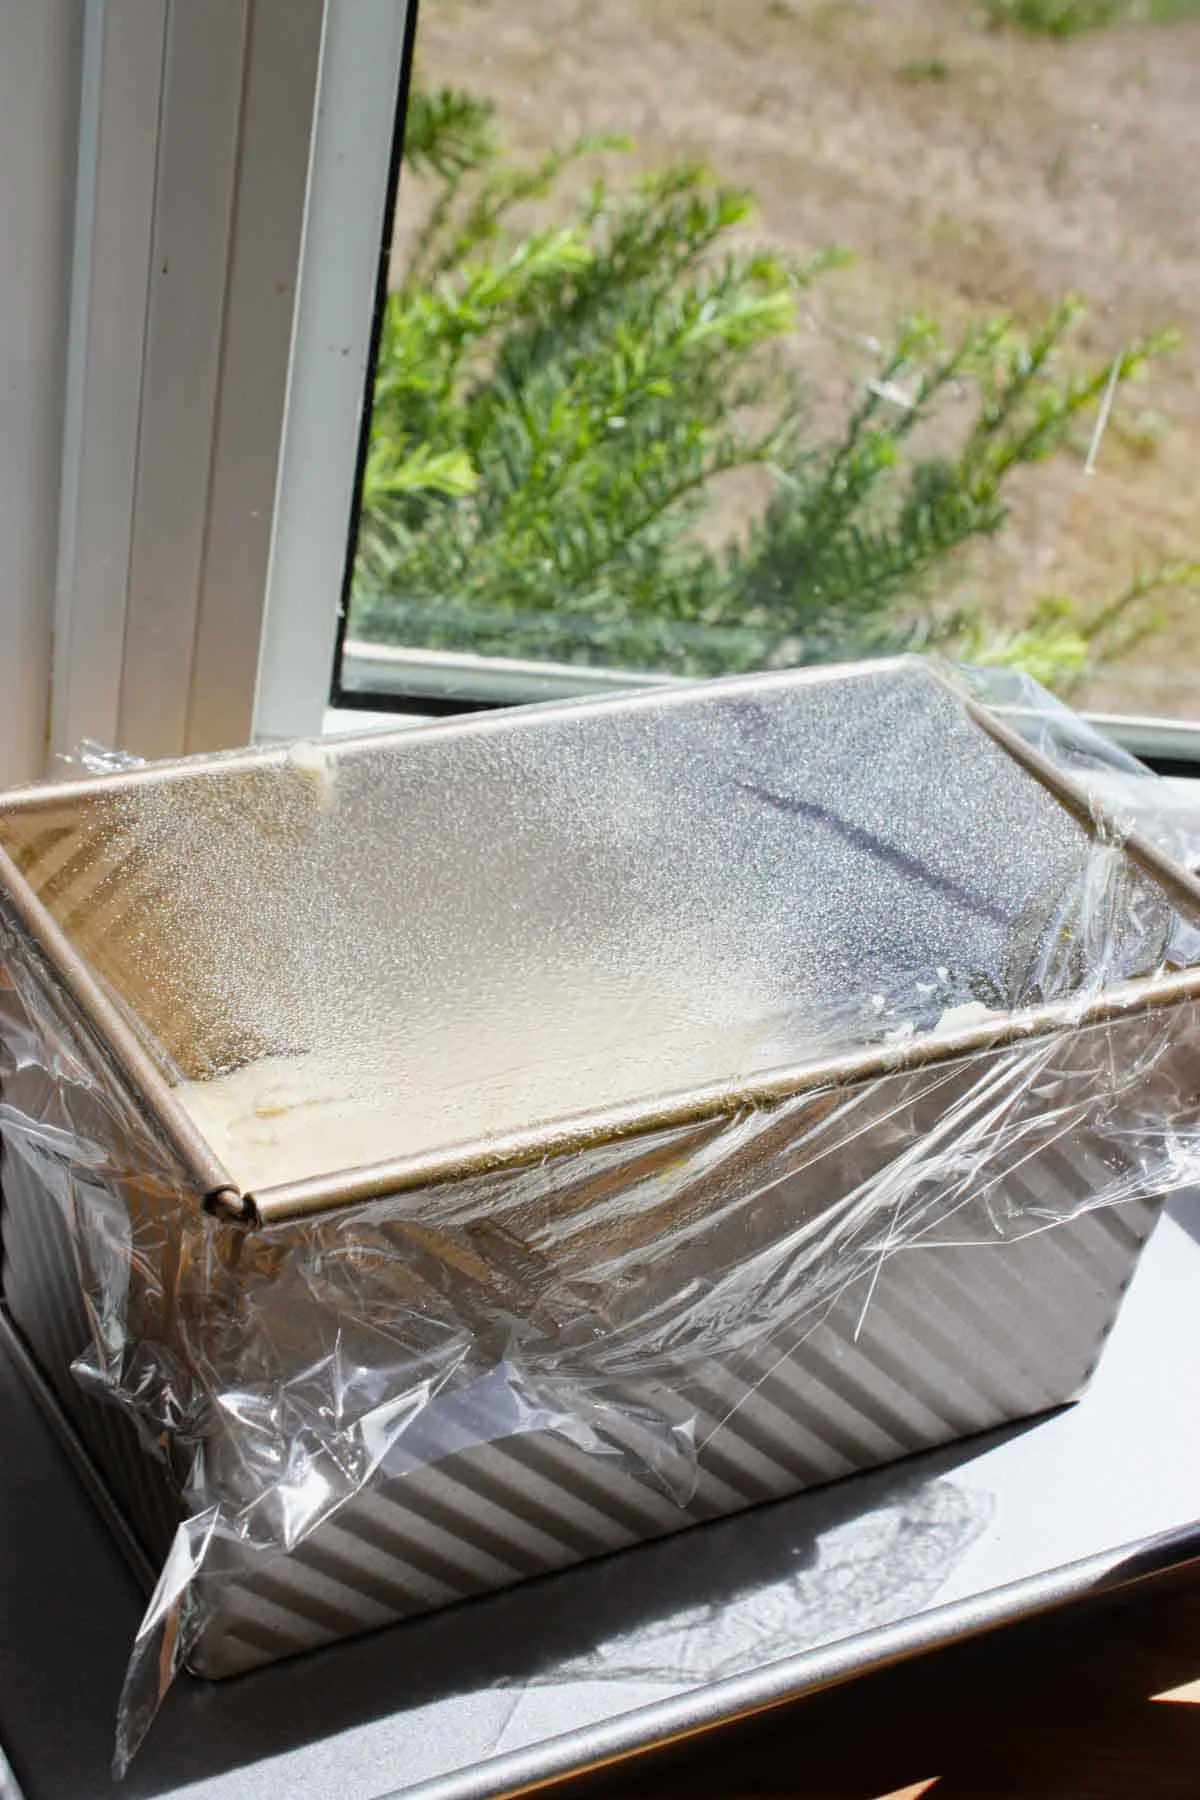
Once the dough was just below the top of the pan I preheated the oven to 375F. While it was preheating the dough continued to rise to the top of the pan.
Then I removed the plastic wrap and placed the pan in the preheated oven. I usually put a tinfoil tent over the bread for the first 30 minutes.
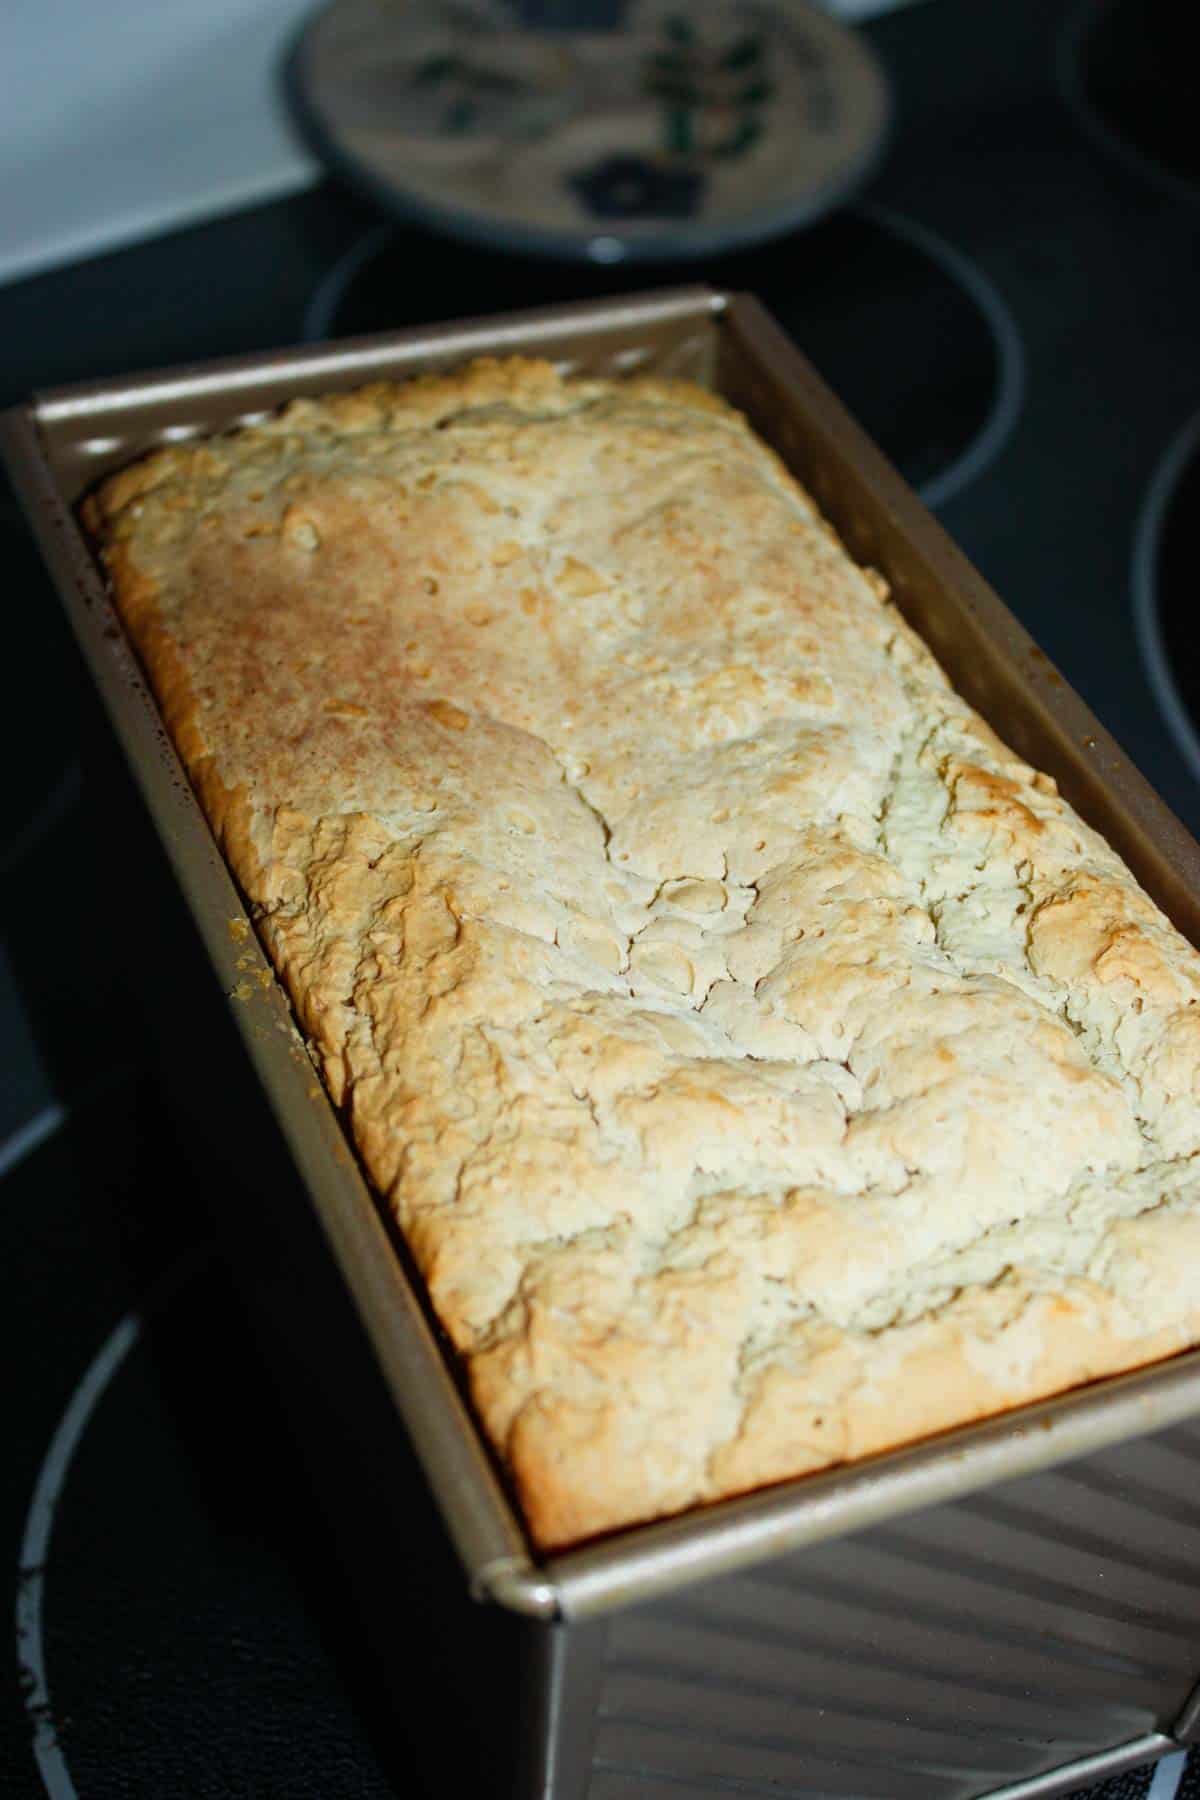
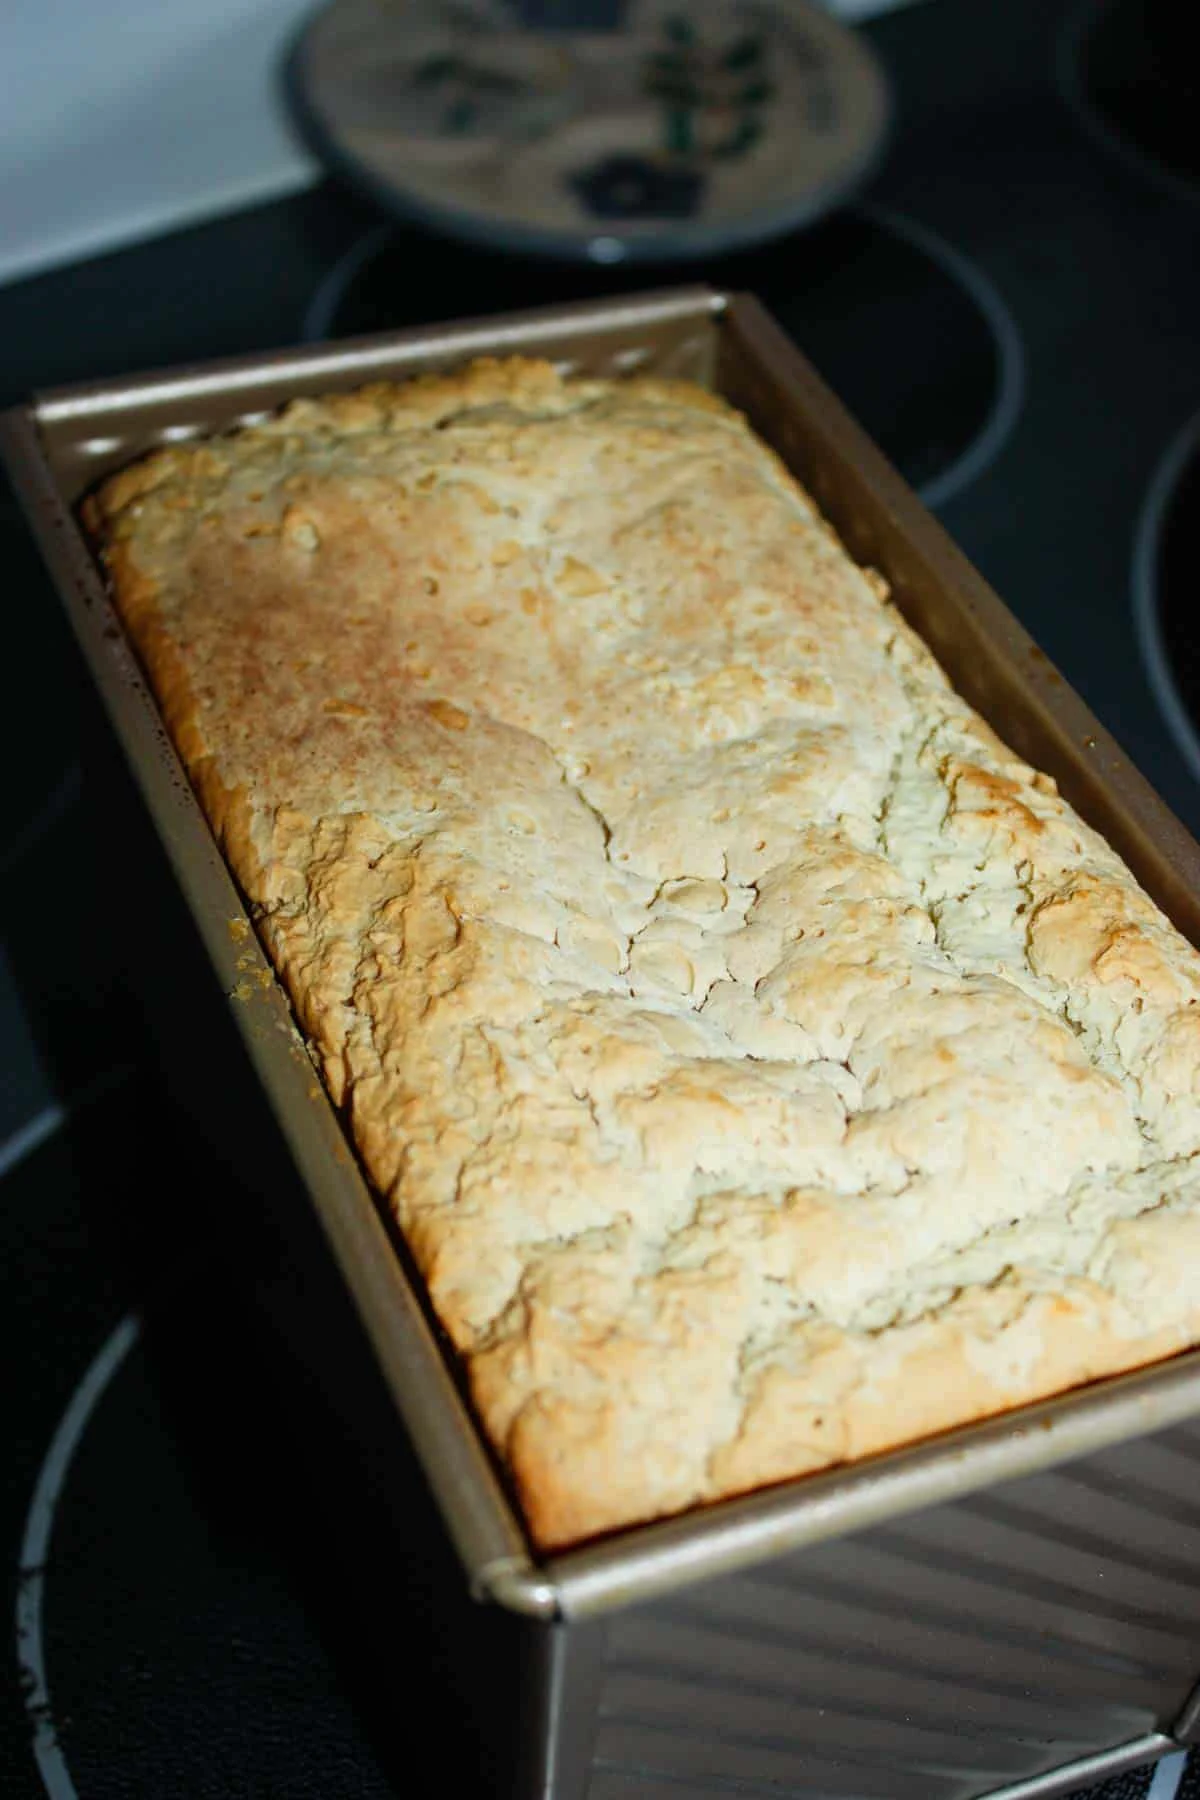
After 30 minutes I removed the tinfoil and continued baking for 30 minutes more.

Once baked I removed the pan from the oven.
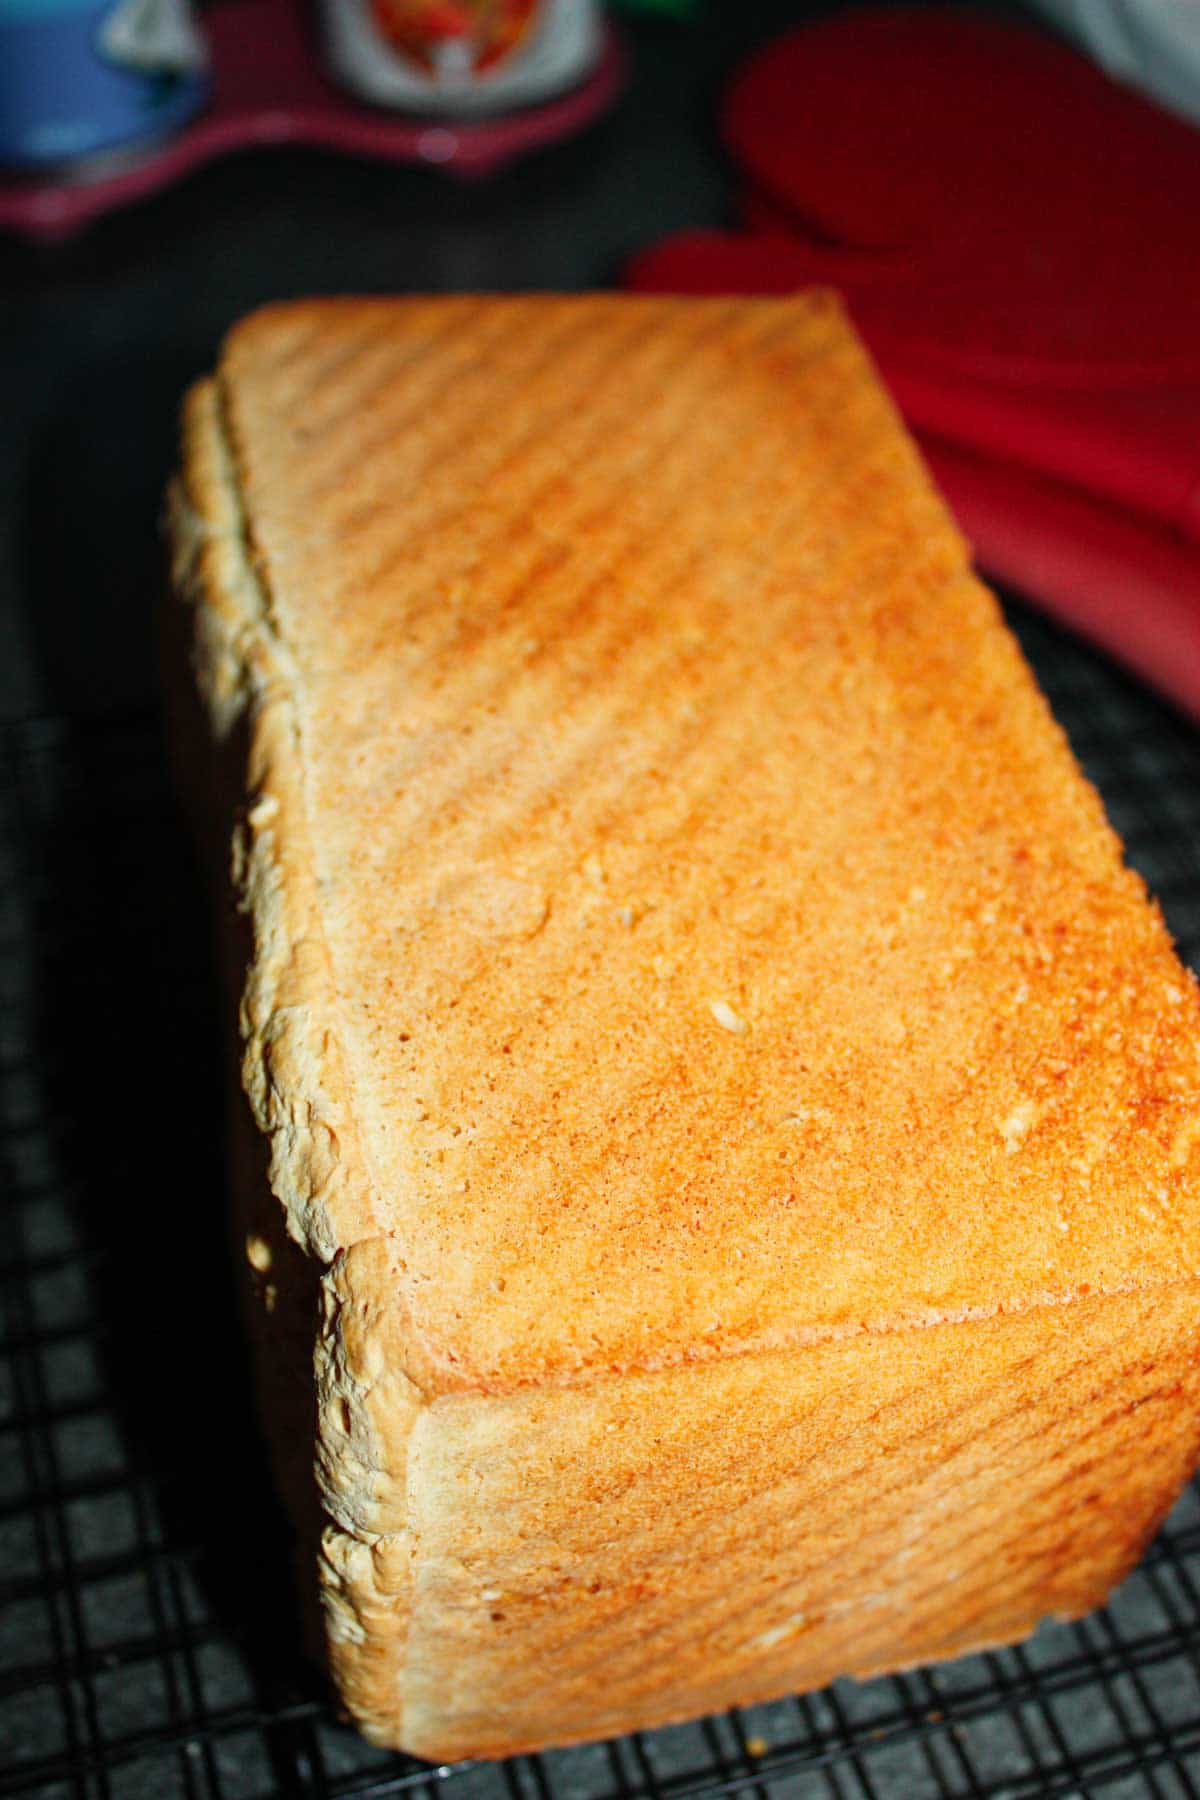
Then I immediately flipped the loaf out of the pan onto a cooling rack. I allowed it to cool before slicing.
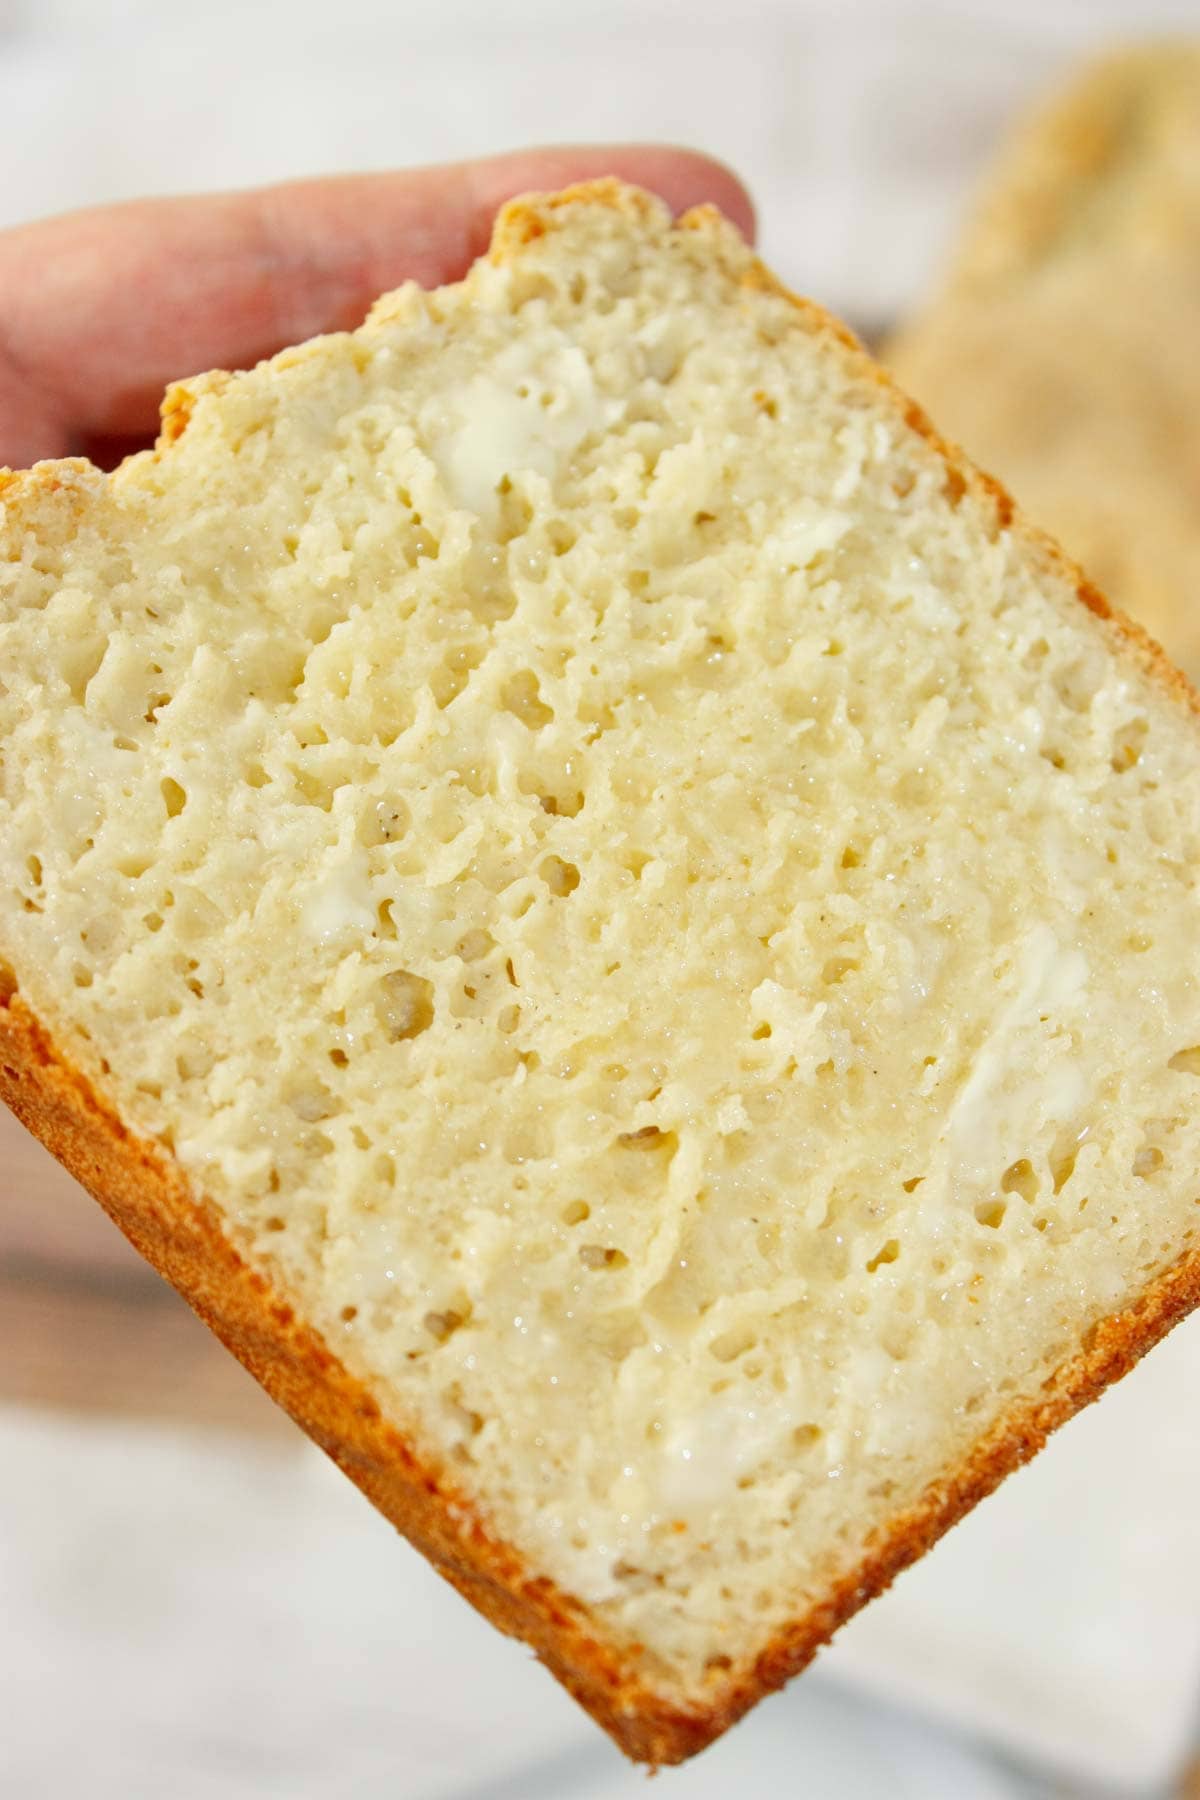
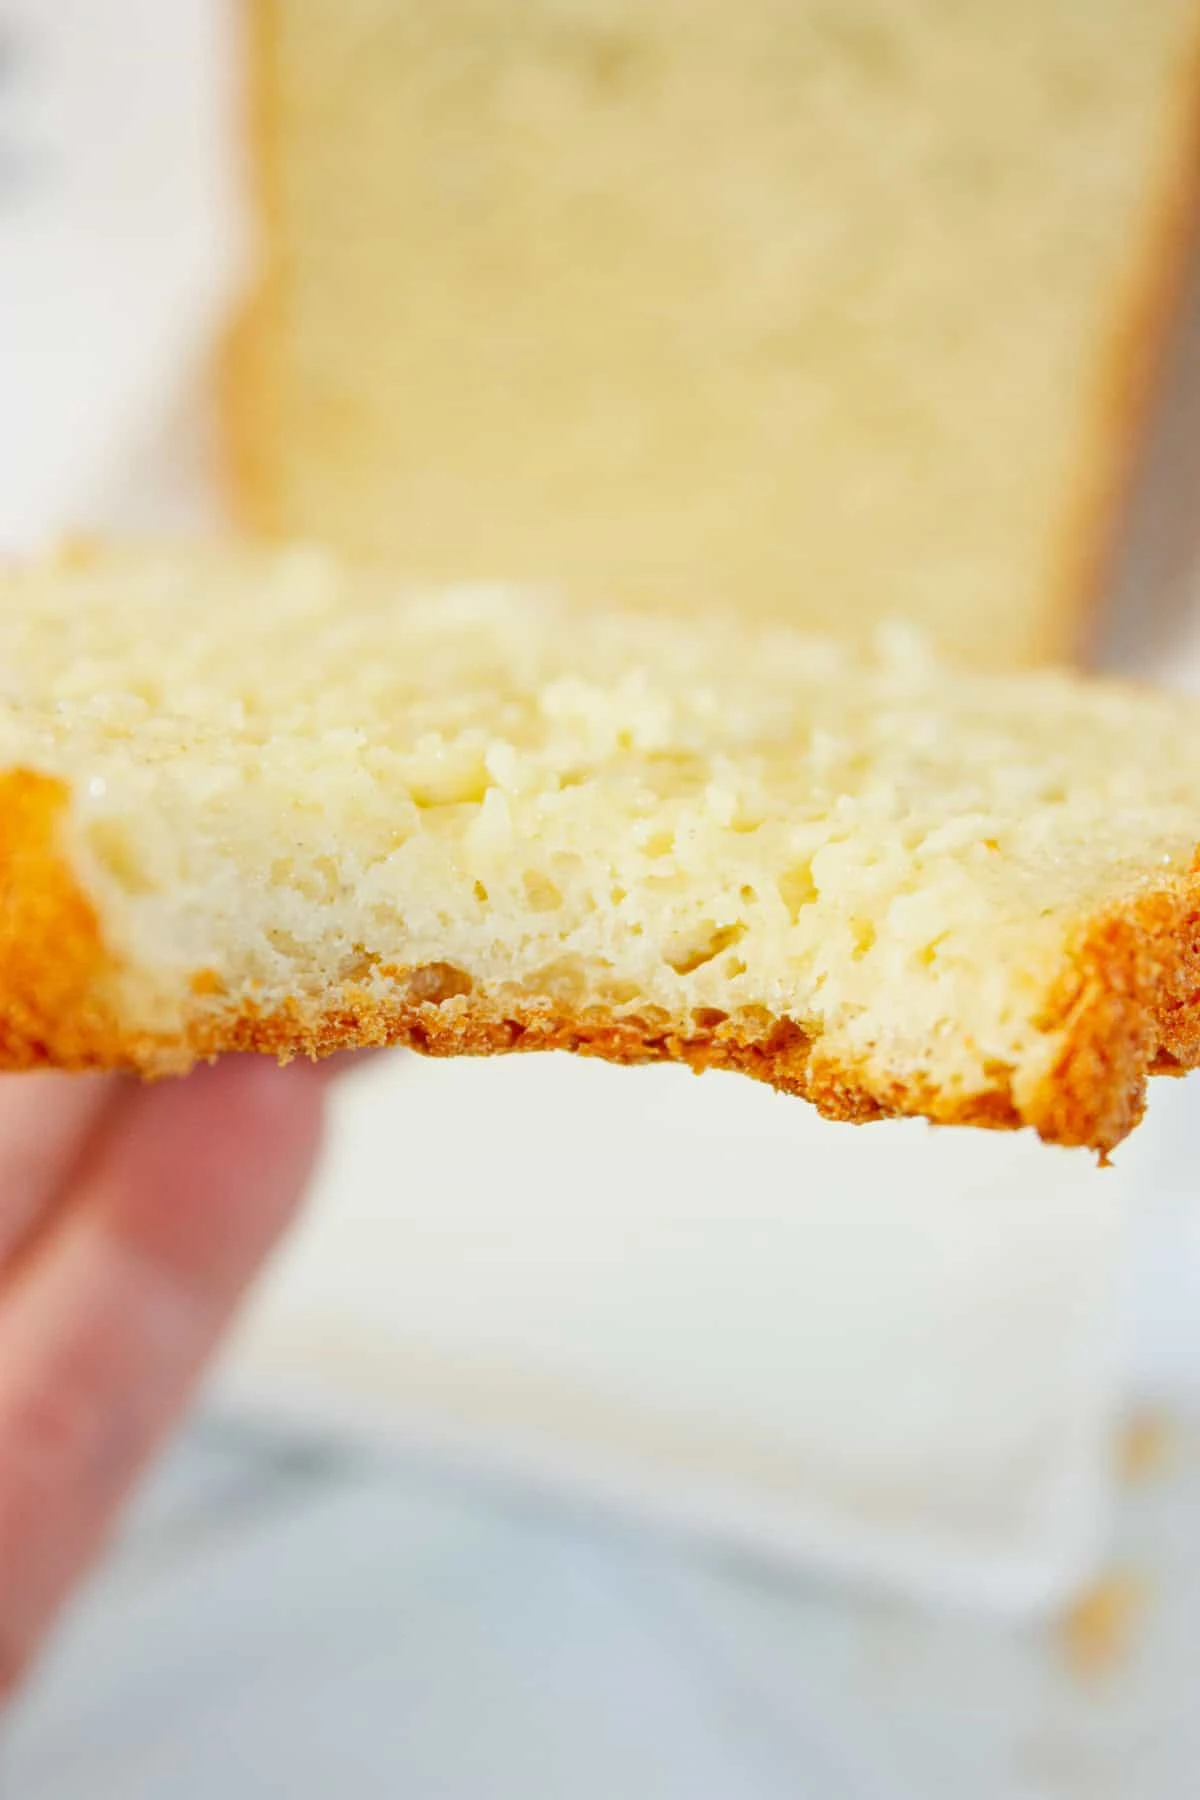
The aroma is warm and inviting, evoking the coziness of fresh-baked bread cooling on the counter.
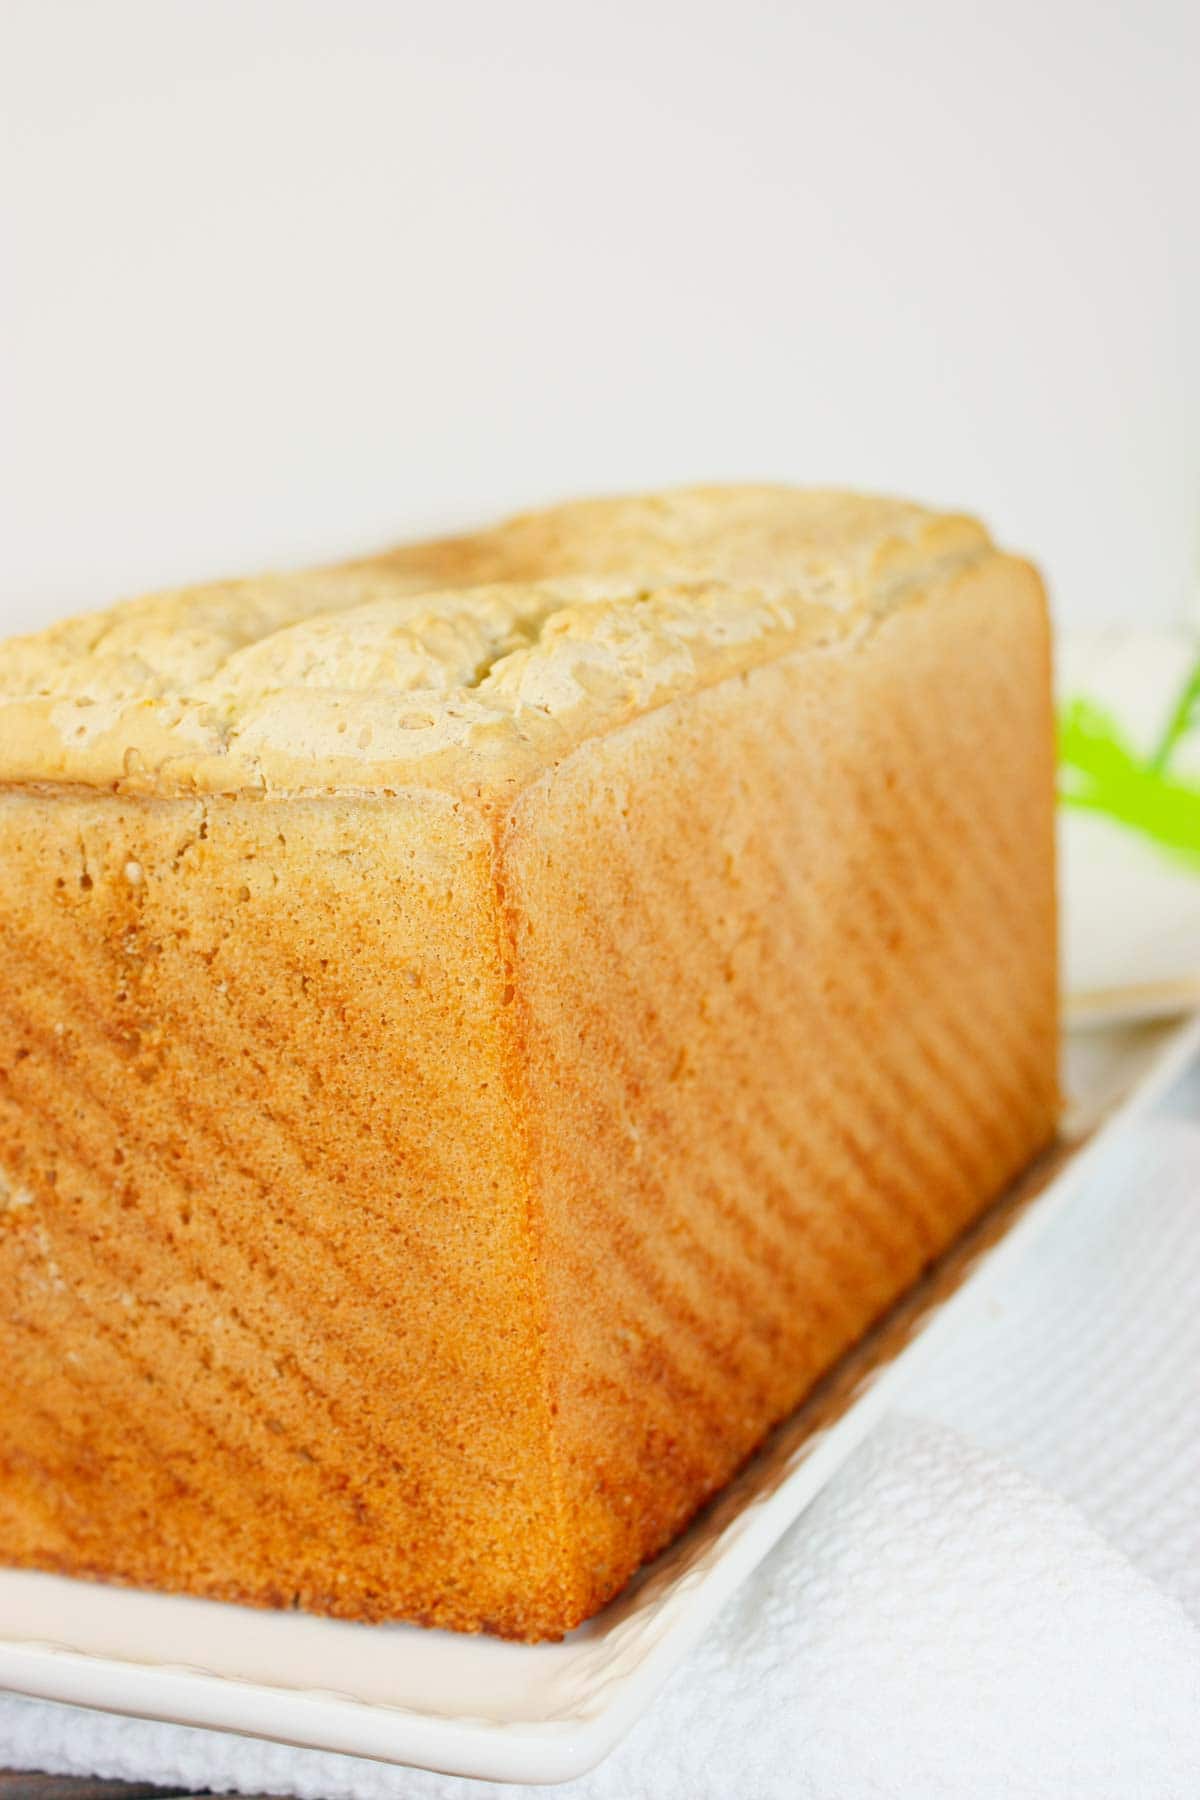

Each slice of Gluten Free Sandwich bread is tender, with a light crumb that feels airy but still substantial.
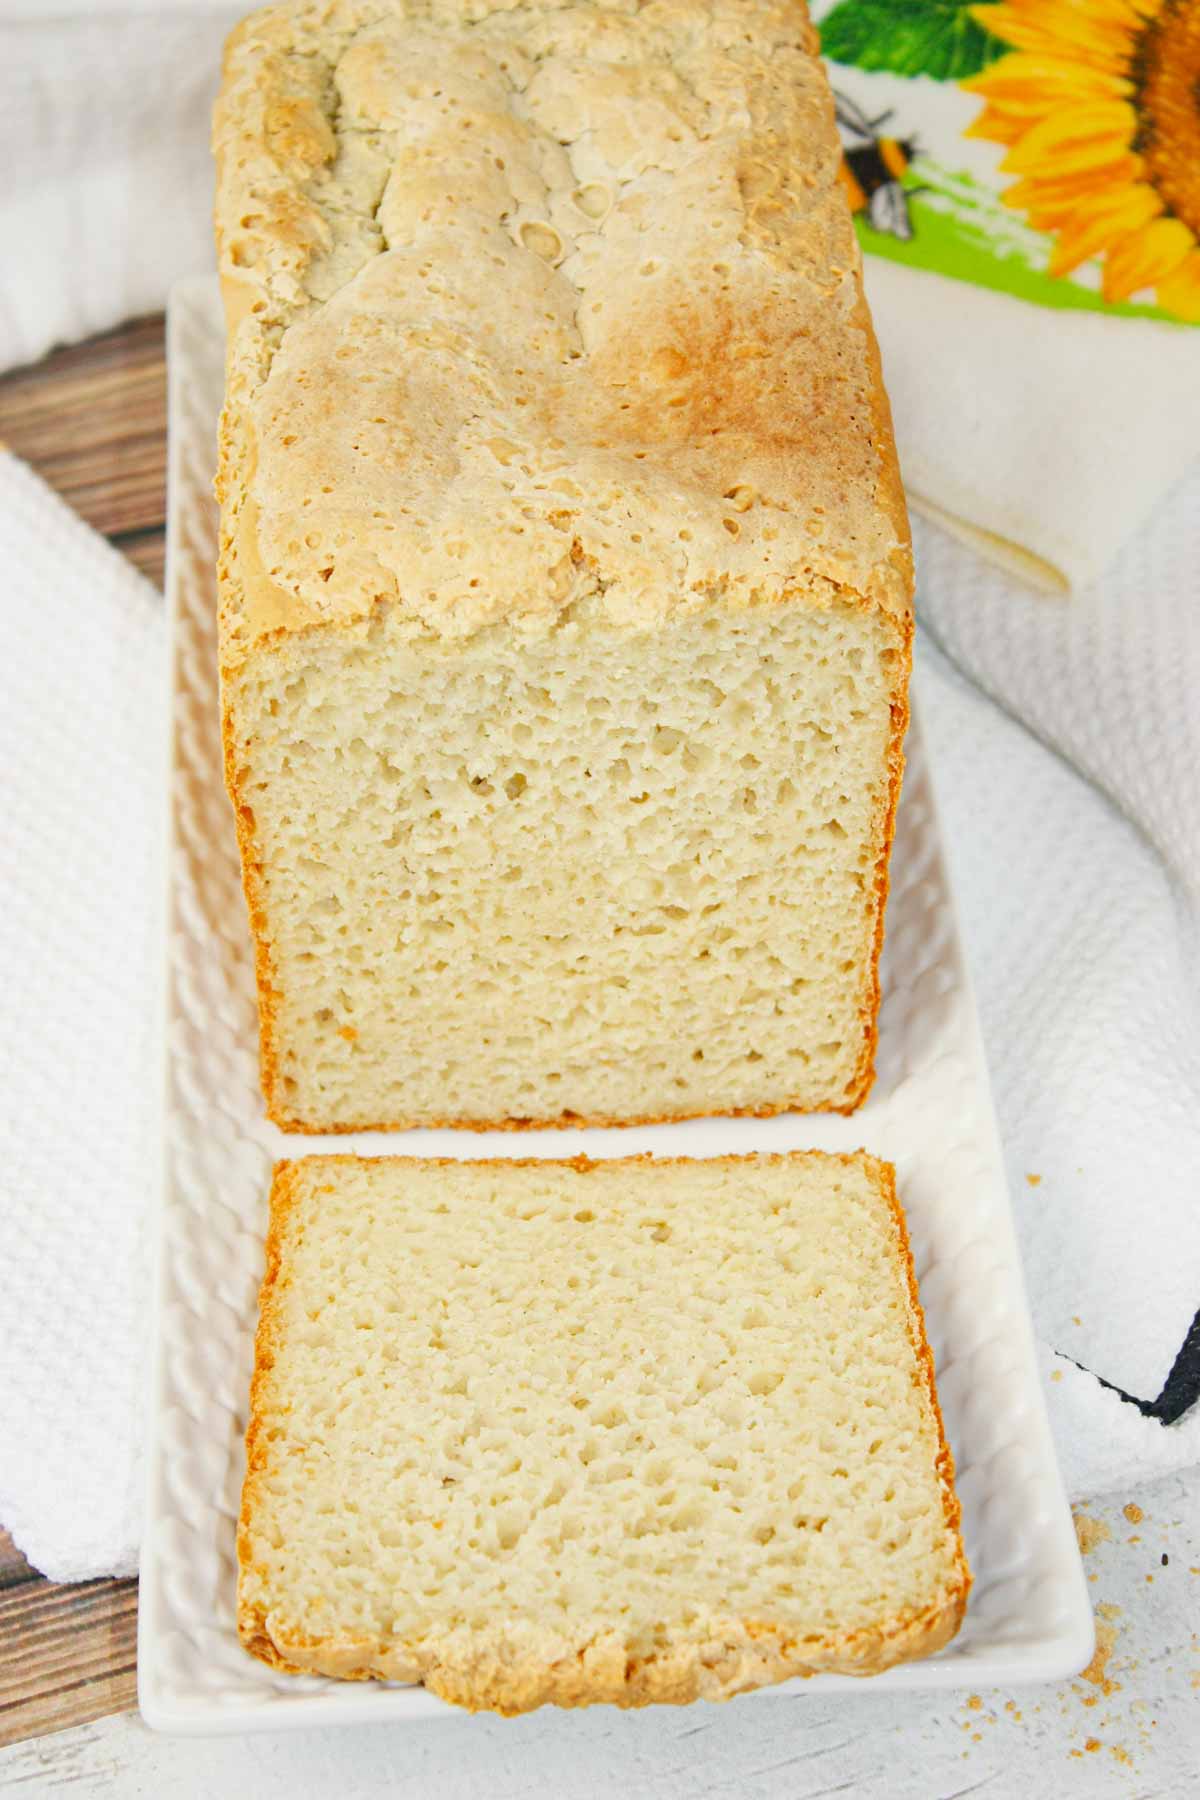

Its versatility shines, ready to be dressed up for gourmet creations or kept simple with butter.


Printable Recipe Card with a Full List of Ingredients and Instructions is Located at the Bottom of the Post.
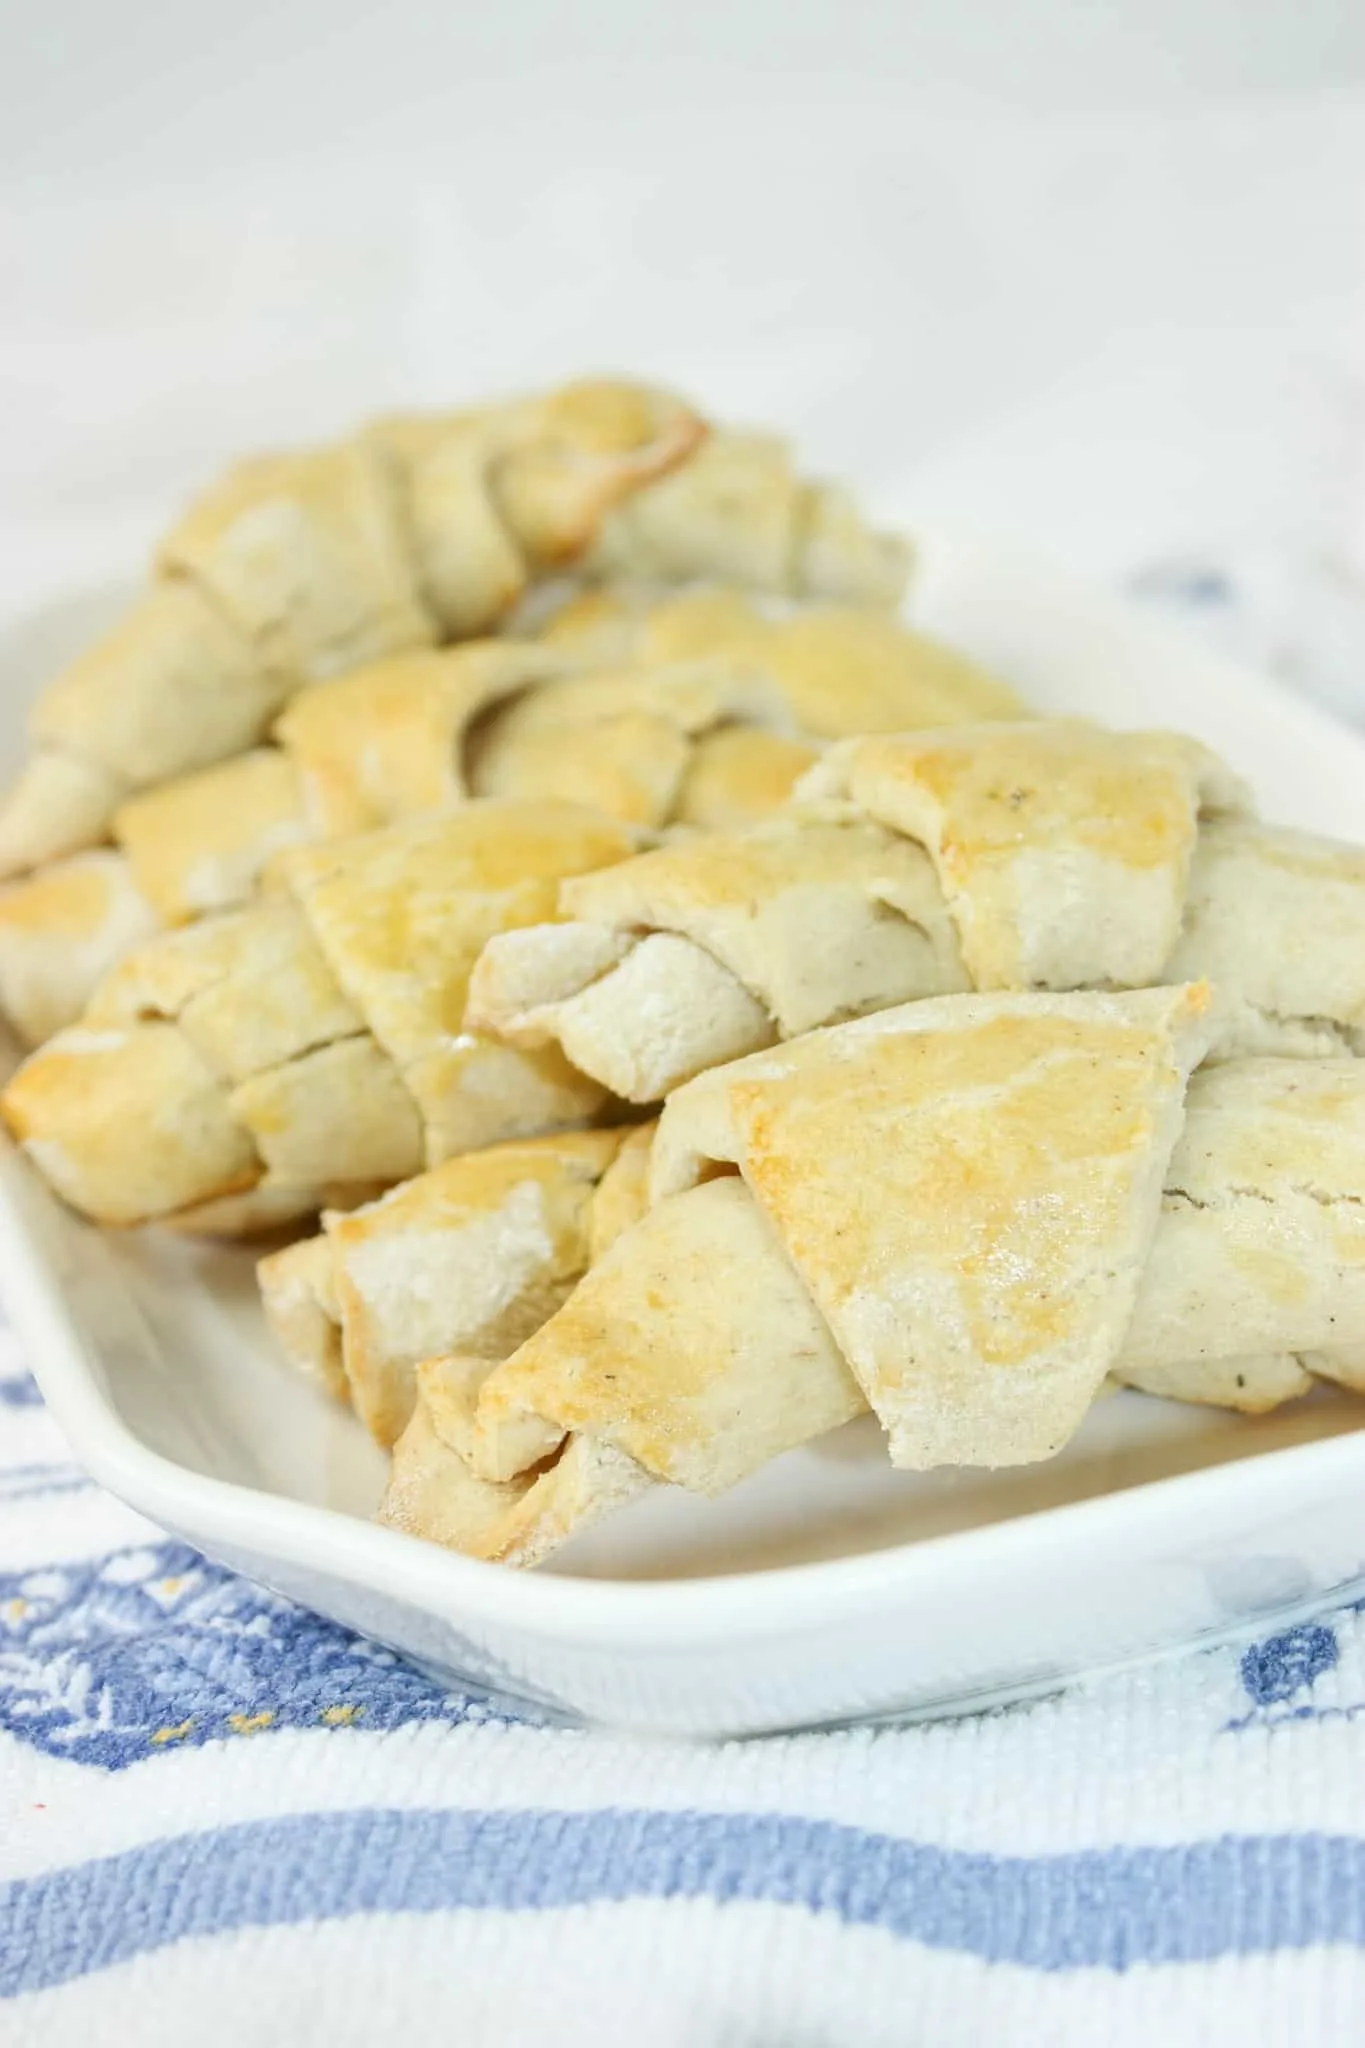
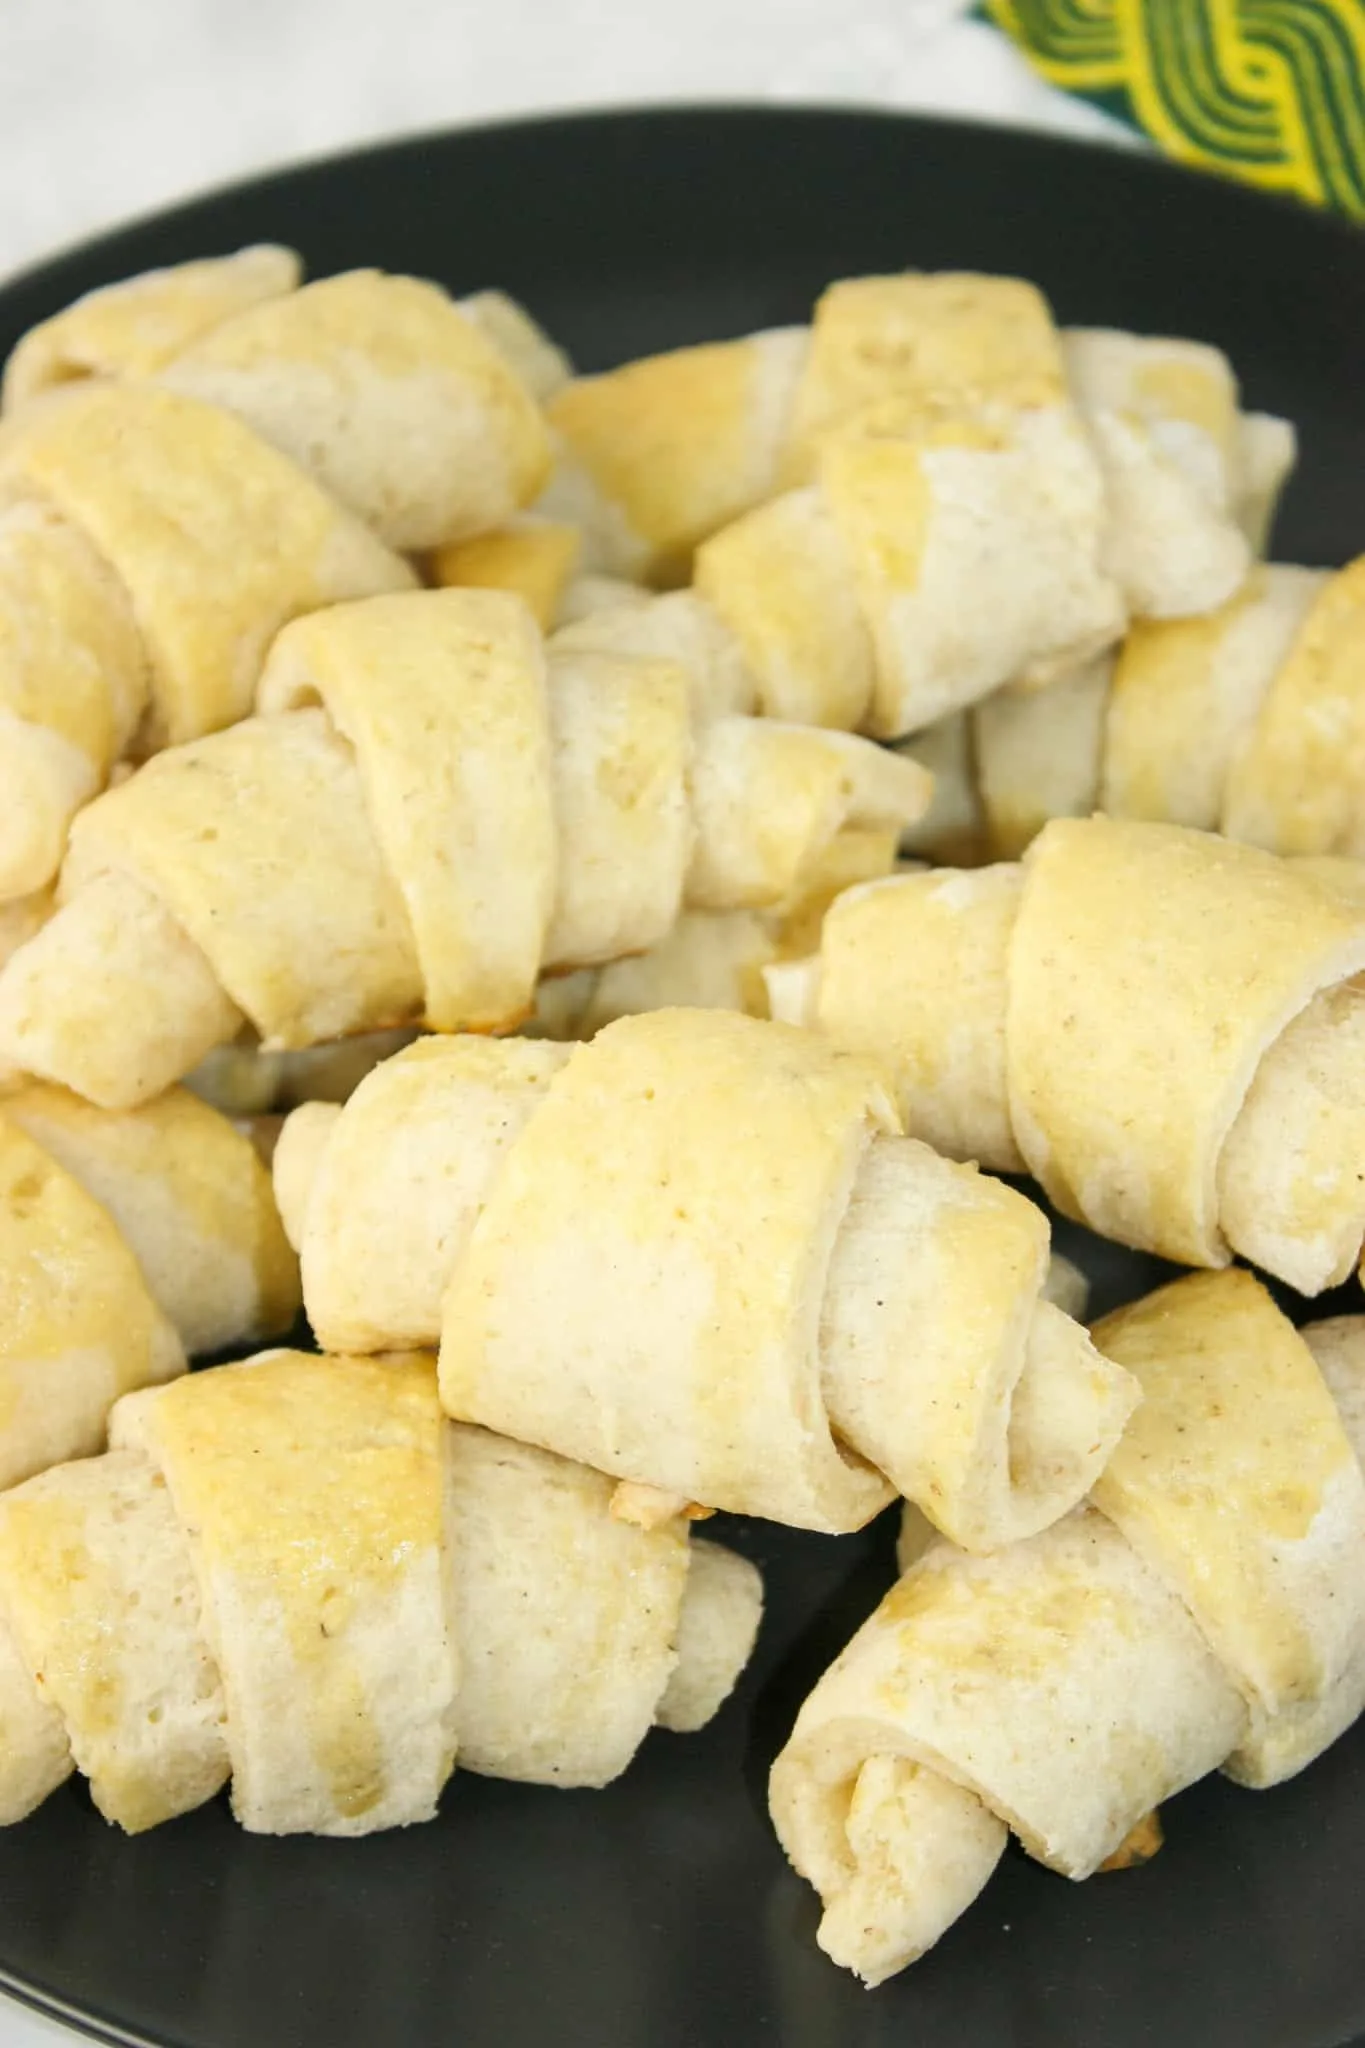
Other Bread Variations You Will Enjoy…


PRINTABLE VERSION OF THE RECIPE CAN BE FOUND AT THE BOTTOM OF THE PAGE
Ingredients You’ll Need to Make this Gluten Free Sandwich Bread:
- 3 1/2 cups Bob’s Red Mill Gluten Free 1 to 1 Baking Flour
- 1/2 cup tapioca starch
- 2 tbsp granulated sugar
- 1 tsp salt
- 1/2 tsp baking powder
- 1/4 tsp cream of tartar
- 8g (1 packet) quick-rise instant yeast
- 1 1/4 cup warm water
- 2 tbsp olive oil
- 1 tbsp apple cider vinegar
- 3 eggs, large
How to Make Gluten Free Sandwich Bread:
- Measure the flour, tapioca starch, granulated sugar, salt, baking powder, cream of tartar and the yeast into the mixing bowl for a stand mixer.
- Measure the olive oil and apple cider vinegar into a small bowl.
- Beat the eggs in a small bowl
- With mixer of low speed combine the dry ingredients.
- While still on low pour in the water, oil mixture and the beaten eggs.
- Increase speed to medium for 4 minutes.
- Grease a pullman loaf pan.
- After 4 minutes scrape the dough into the prepared pan. Smooth the top of the dough.
- Spray some plastic wrap with cooking spray and loosely cover the dough.
- Put in a warm place to rise for about an hour or until the dough is just below the top of the pan.
- Preheat oven to 375F.
- Dough should reach top of pan by the time oven is preheated.
- Remove plastic wrap and place in oven. Cover with a tent of tinfoil for 30 minutes.
- After 30 minutes remove tinfoil and continuing baking for another 30 minutes. Top will be golden brown
- Remove from oven and immediately flip loaf out onto a cooling rack.
- Slice after it has cooled for a bit if you want it warm or allow to completely cool before slicing.
- Enjoy warm or cooled smothered in your favourite spread!
FAQs:
What should I serve with gluten free sandwich bread?
You’ve got lots of tasty options to serve with gluten free sandwich bread depending on whether you want something cozy, light, or hearty:
-
Soups: Pair with tomato soup, creamy potato leek soup, or a hearty chicken vegetable stew for dipping.
-
Salads: Serve alongside a fresh garden salad, Caesar salad, or Mediterranean-style salad with olives and feta.
-
Spreads: Offer hummus, guacamole, nut butters, or herbed cream cheese for easy topping.
-
Breakfast Pairings: Toast it with eggs and bacon, an omelet, or avocado slices.
-
Sandwich Fillings: Go classic with turkey and cheese, tuna salad, or a BLT.
-
Cheese Board: Slice and serve with cheeses, fresh fruit, and cured meats.
-
Jam & Butter: A simple side of homemade jam, honey, or flavored butters makes it extra comforting.
-
Warm Comforts: Try with chili, baked beans, or a hearty casserole to soak up sauces.
-
Light Pairings: Fresh cut veggies with dip or a smoothie make a lighter companion.
How do I store gluten free sandwich bread?
Gluten free sandwich bread tends to dry out faster than wheat bread, so storage makes a big difference. Here are the best ways to keep it fresh:
-
Room Temperature (short-term): Store in an airtight container, sealed bag, or bread box for up to 2–3 days. Make sure it’s completely cool before sealing to prevent condensation and sogginess.
-
Refrigerator: Generally avoid, since refrigeration dries out gluten free bread quickly. Only use this method if your kitchen is very humid and you need to prevent mold.
-
Freezer (best for longer storage): Slice the bread before freezing, then wrap slices in parchment or wax paper so they don’t stick together. Place in a freezer-safe bag or container, removing as much air as possible. It will stay fresh for 2–3 months.
-
Reheating/Using: Warm slices in a toaster, skillet, or oven straight from the freezer. A quick toast or gentle heat brings back the soft, fresh-baked texture.
Best Practice Tips:
-
Freeze in single-slice or two-slice portions for easy grab-and-go use.
-
If you bake your own loaf, let it cool fully before slicing to keep the texture intact.
-
Toasting or lightly warming gluten free bread before serving almost always improves its flavor and structure.
Gluten Free Sandwich Bread

Ingredients
- 3 1/2 cups Bob's Red Mill Gluten Free 1 to 1 Baking Flour
- 1/2 cup tapioca starch
- 2 tbsp granulated sugar
- 1 tsp salt
- 1/2 tsp baking powder
- 1/4 tsp cream of tartar
- 8g (1 packet) quick-rise instant yeast
- 1 1/4 cup warm water
- 2 tbsp olive oil
- 1 tbsp apple cider vinegar
- 3 eggs, large
Instructions
- Measure the flour, tapioca starch, granulated sugar, salt, baking powder, cream of tartar and the yeast into the mixing bowl for a stand mixer.
- Measure the olive oil and apple cider vinegar into a small bowl.
- Beat the eggs in a small bowl
- With mixer of low speed combine the dry ingredients.
- While still on low pour in the water, oil mixture and the beaten eggs.
Increase speed to medium for 4 minutes. - Grease a pullman loaf pan.
- After 4 minutes scrape the dough into the prepared pan. Smooth the top of the dough.
- Spray some plastic wrap with cooking spray and loosely cover the dough.
- Put in a warm place to rise for about an hour or until the dough is just below the top of the pan.
- Preheat oven to 375F.
- Dough should reach top of pan by the time oven is preheated.
- Remove plastic wrap and place in oven. Cover with a tent of tinfoil for 30 minutes.
- After 30 minutes remove tinfoil and continuing baking for another 30 minutes. Top will be golden brown
- Remove from oven and immediately flip loaf out onto a cooling rack.
- Slice after it has cooled for a bit if you want it warm or allow to completely cool before slicing.
- Enjoy warm or cooled smothered in your favourite spread!
Nutrition Information:
Yield:
16Serving Size:
1Amount Per Serving: Calories: 77Total Fat: 3gSaturated Fat: 1gTrans Fat: 0gUnsaturated Fat: 2gCholesterol: 35mgSodium: 175mgCarbohydrates: 11gFiber: 0gSugar: 2gProtein: 2g
Mary
Wednesday 5th of November 2025
Have you estimated cost to make?
Kathleen
Wednesday 5th of November 2025
Hi Mary, I have never estimated the cost. People that use my site are from different areas and countries. Take care, Kathleen
Dianne
Wednesday 5th of November 2025
I don't have a Pullman loaf pan. Could this be made in a 9x5 regular loaf pan ?
Dianne
Tuesday 11th of November 2025
@Kathleen, what are the dimensions of the pullman pan you used ? Thanks !
Kathleen
Wednesday 5th of November 2025
Hi Dianne, Yes, it can certainly be made in a different loaf pan. I just wanted a more rectangular slice for making sandwiches. Enjoy, Kathleen
Nancy
Tuesday 23rd of September 2025
You said in your post, before the recipe card, that you used quick yeast. However, the recipe card says 'traditional yeast'. This is confusing. Can you clarify which yeast is needed?
Kathleen
Wednesday 24th of September 2025
Hi Nancy, Thank you so much for catching that. I have now updated the Post to say quick-rise instant yeast. Thanks again, Kathleen