
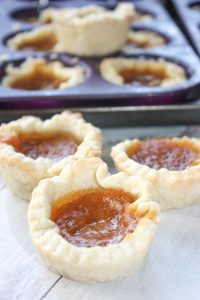
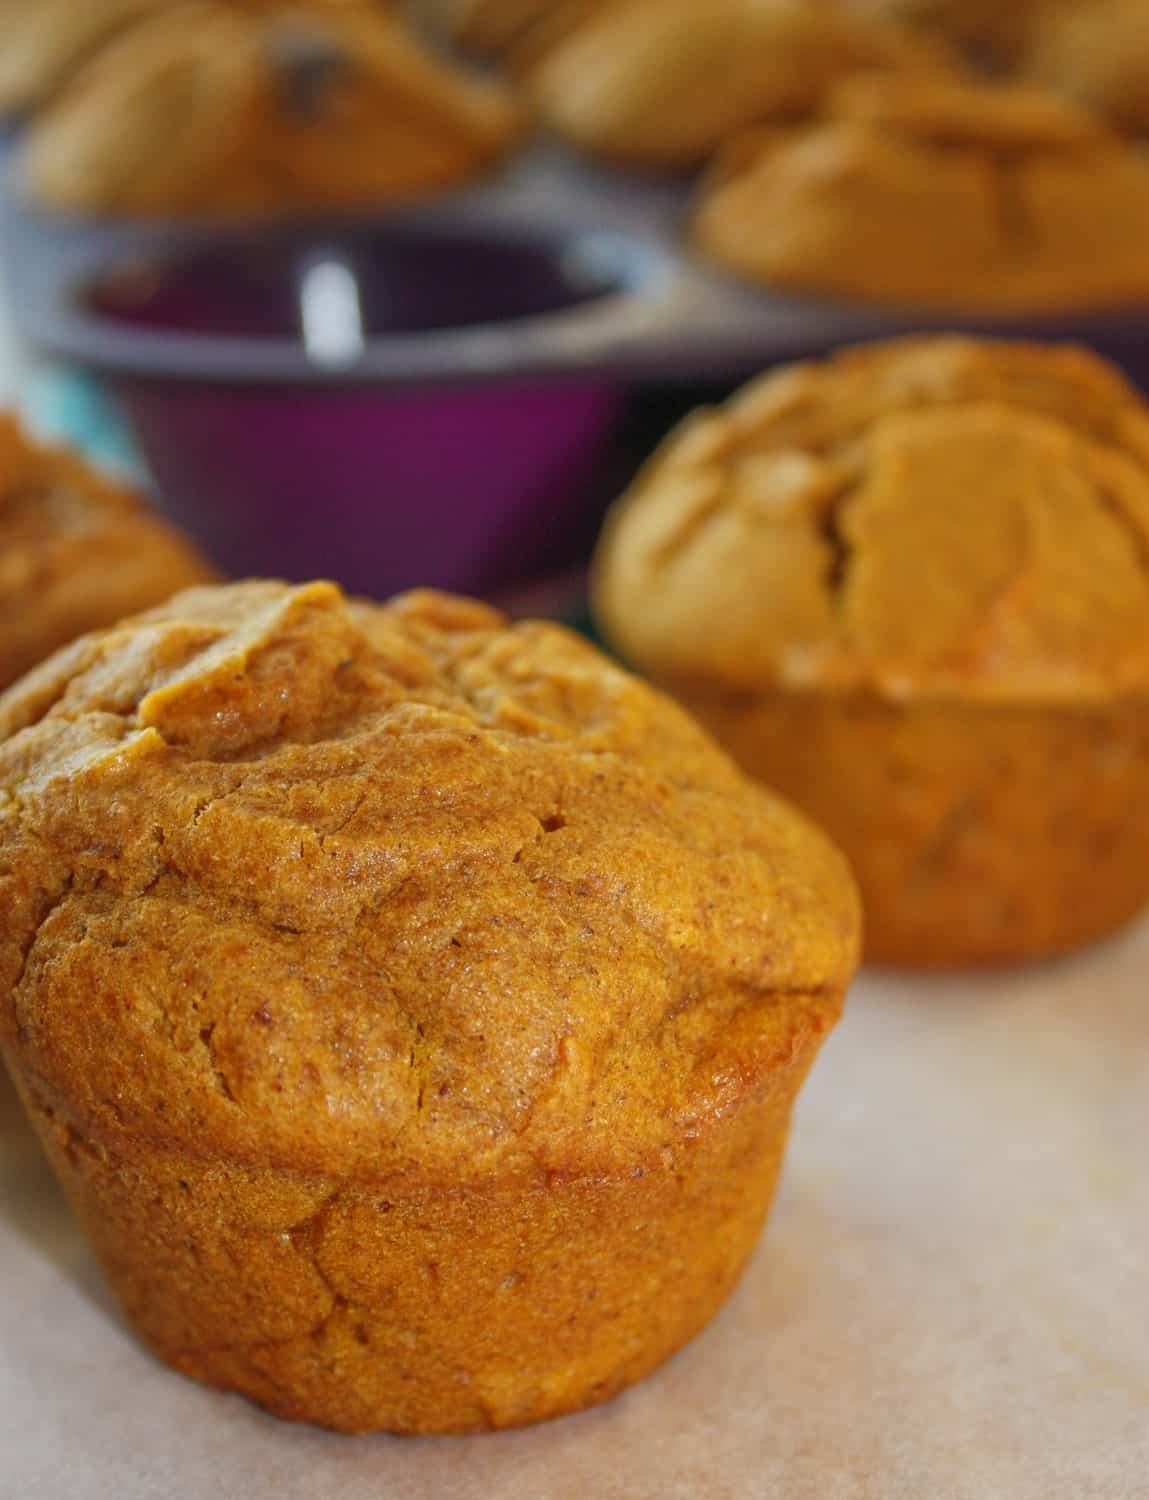
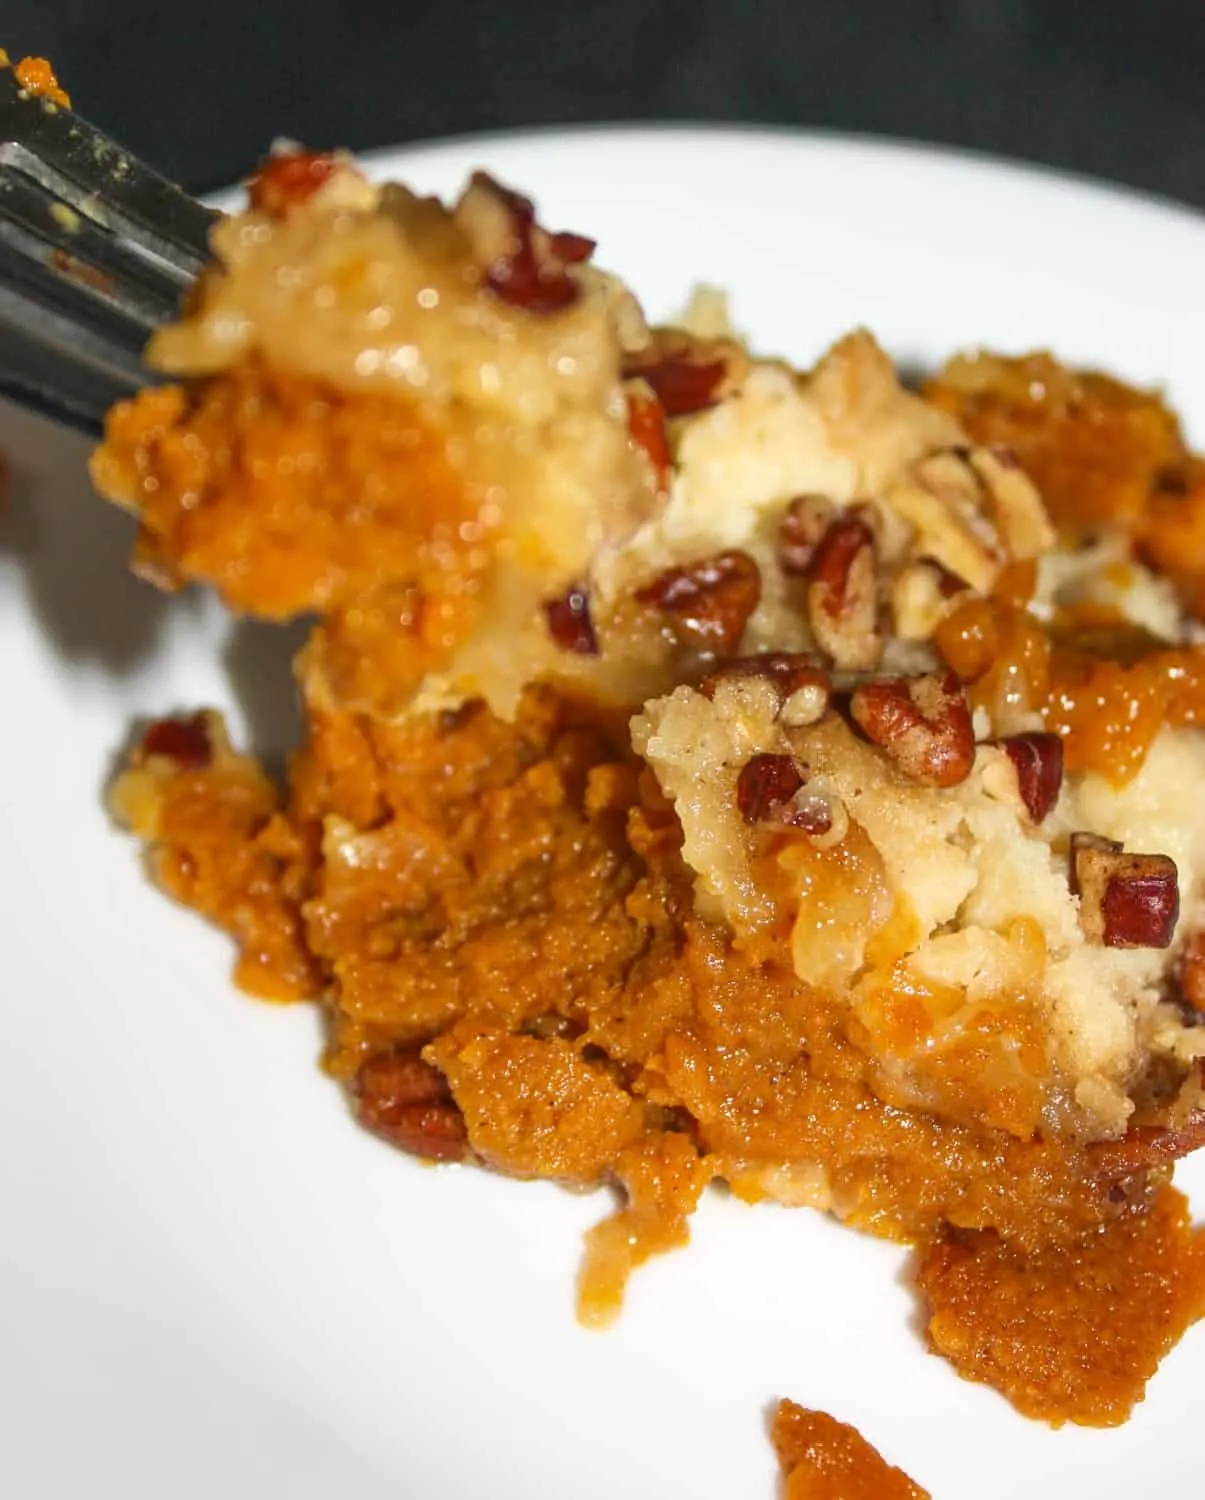
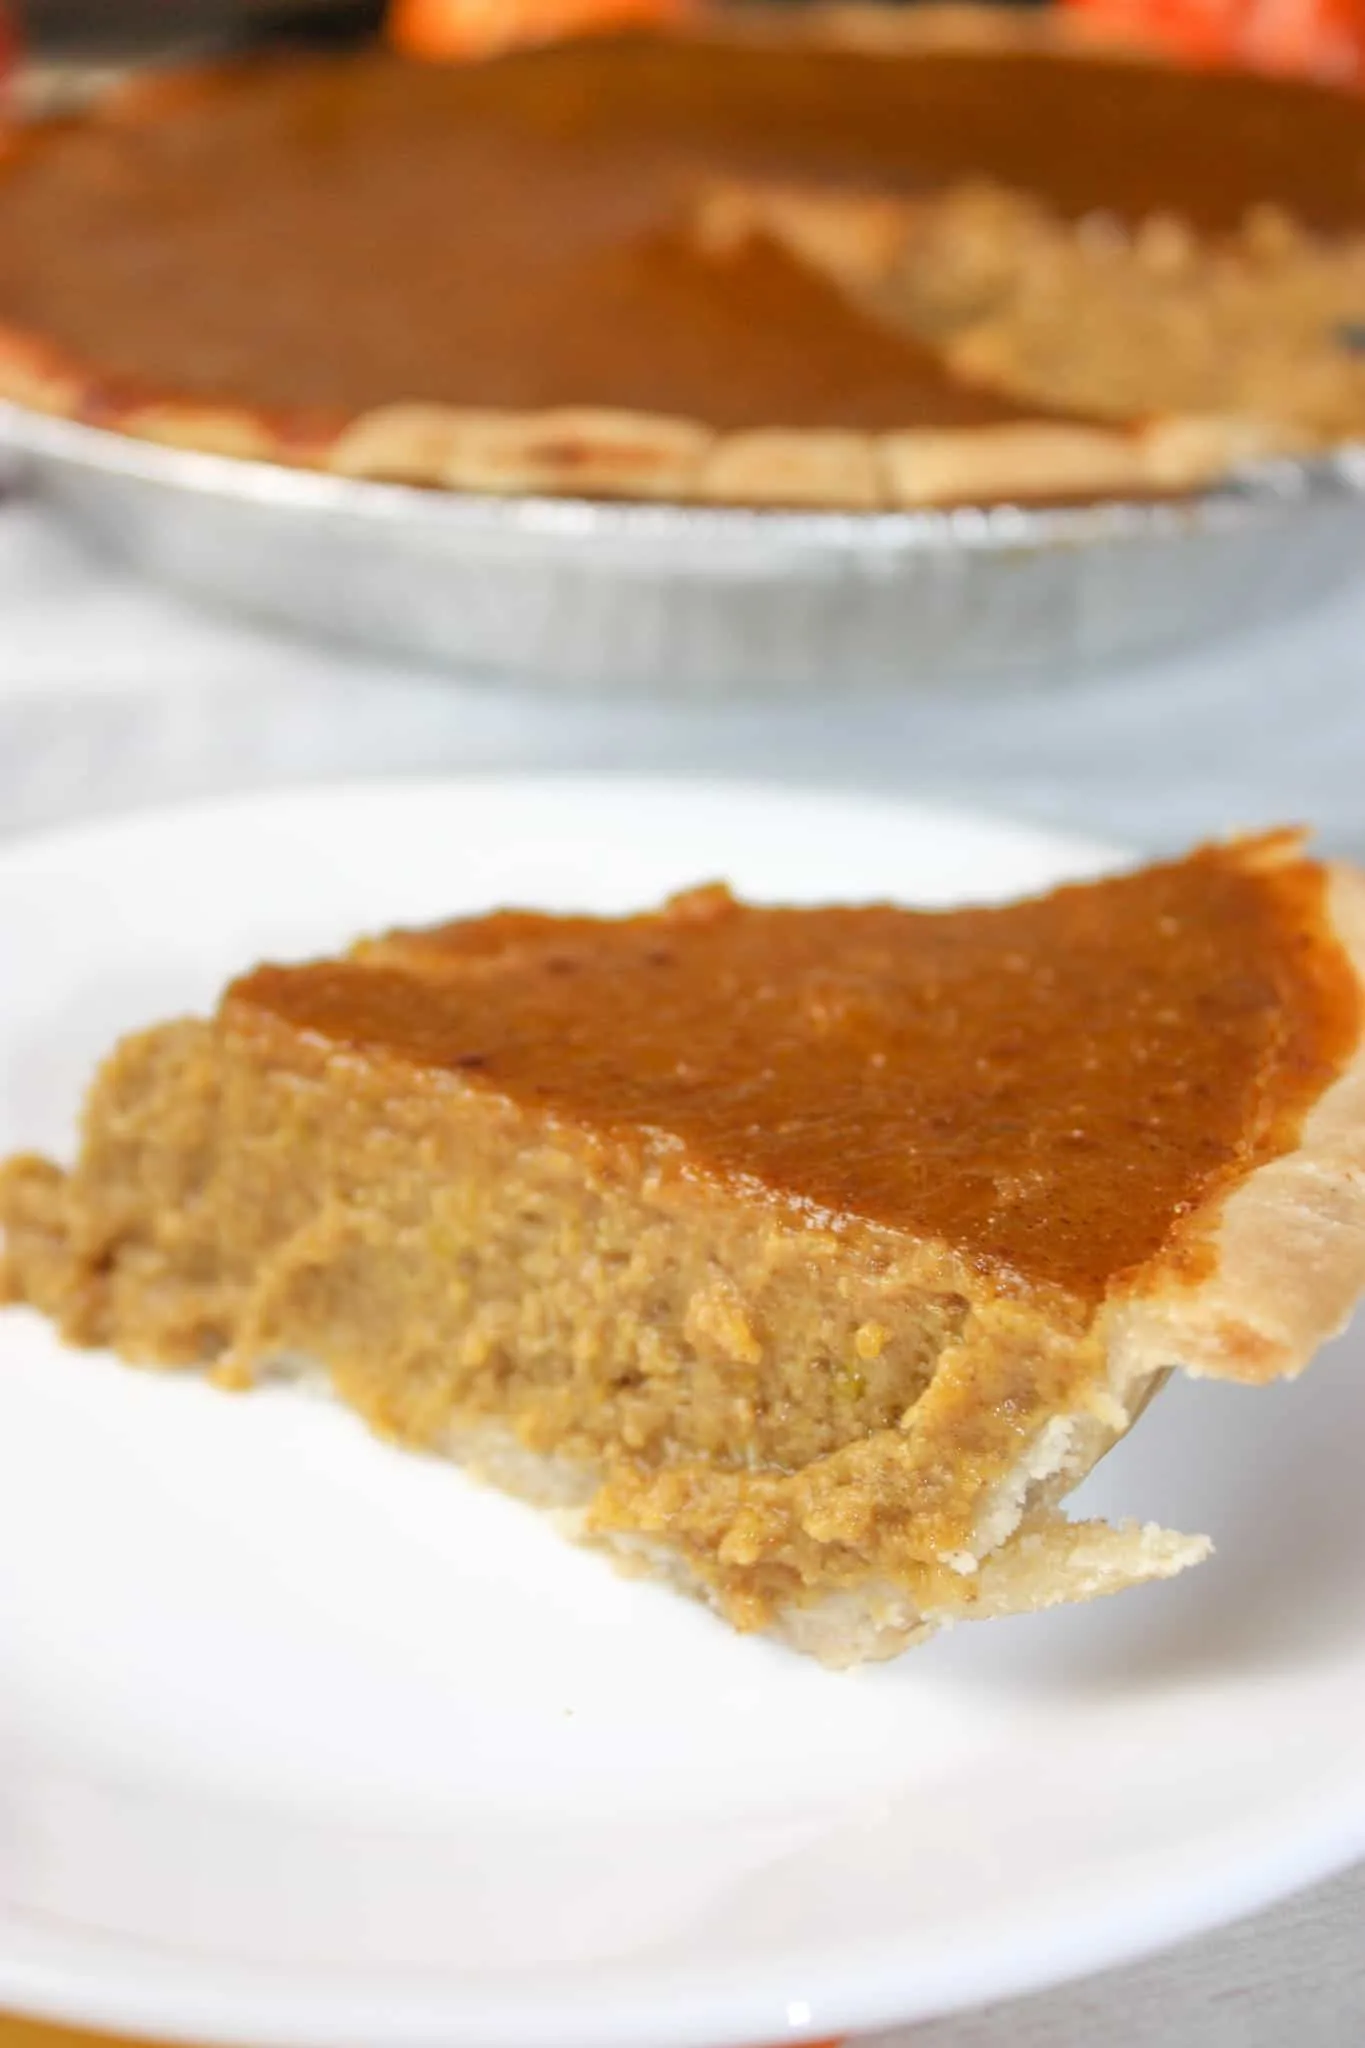
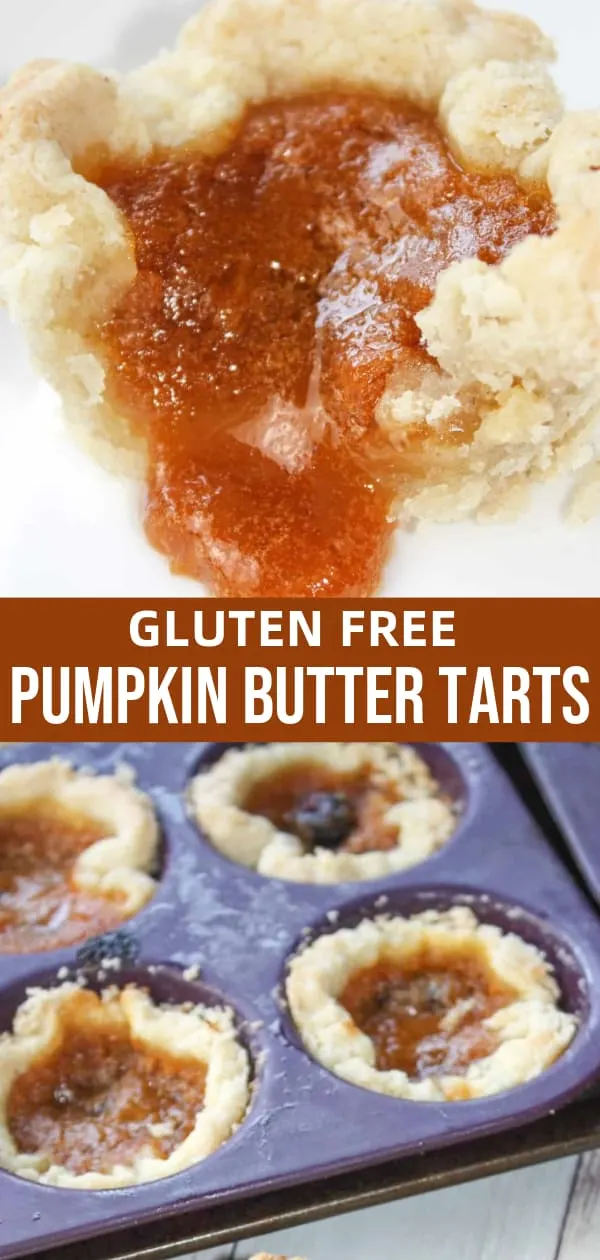
Pumpkin Butter Tarts are a seasonal twist on traditional butter tarts. These gluten free tarts will be a tasty addition to any fall menu.

Bake for 12 to 15 minutes depending on whether you like a runny or firm tart.
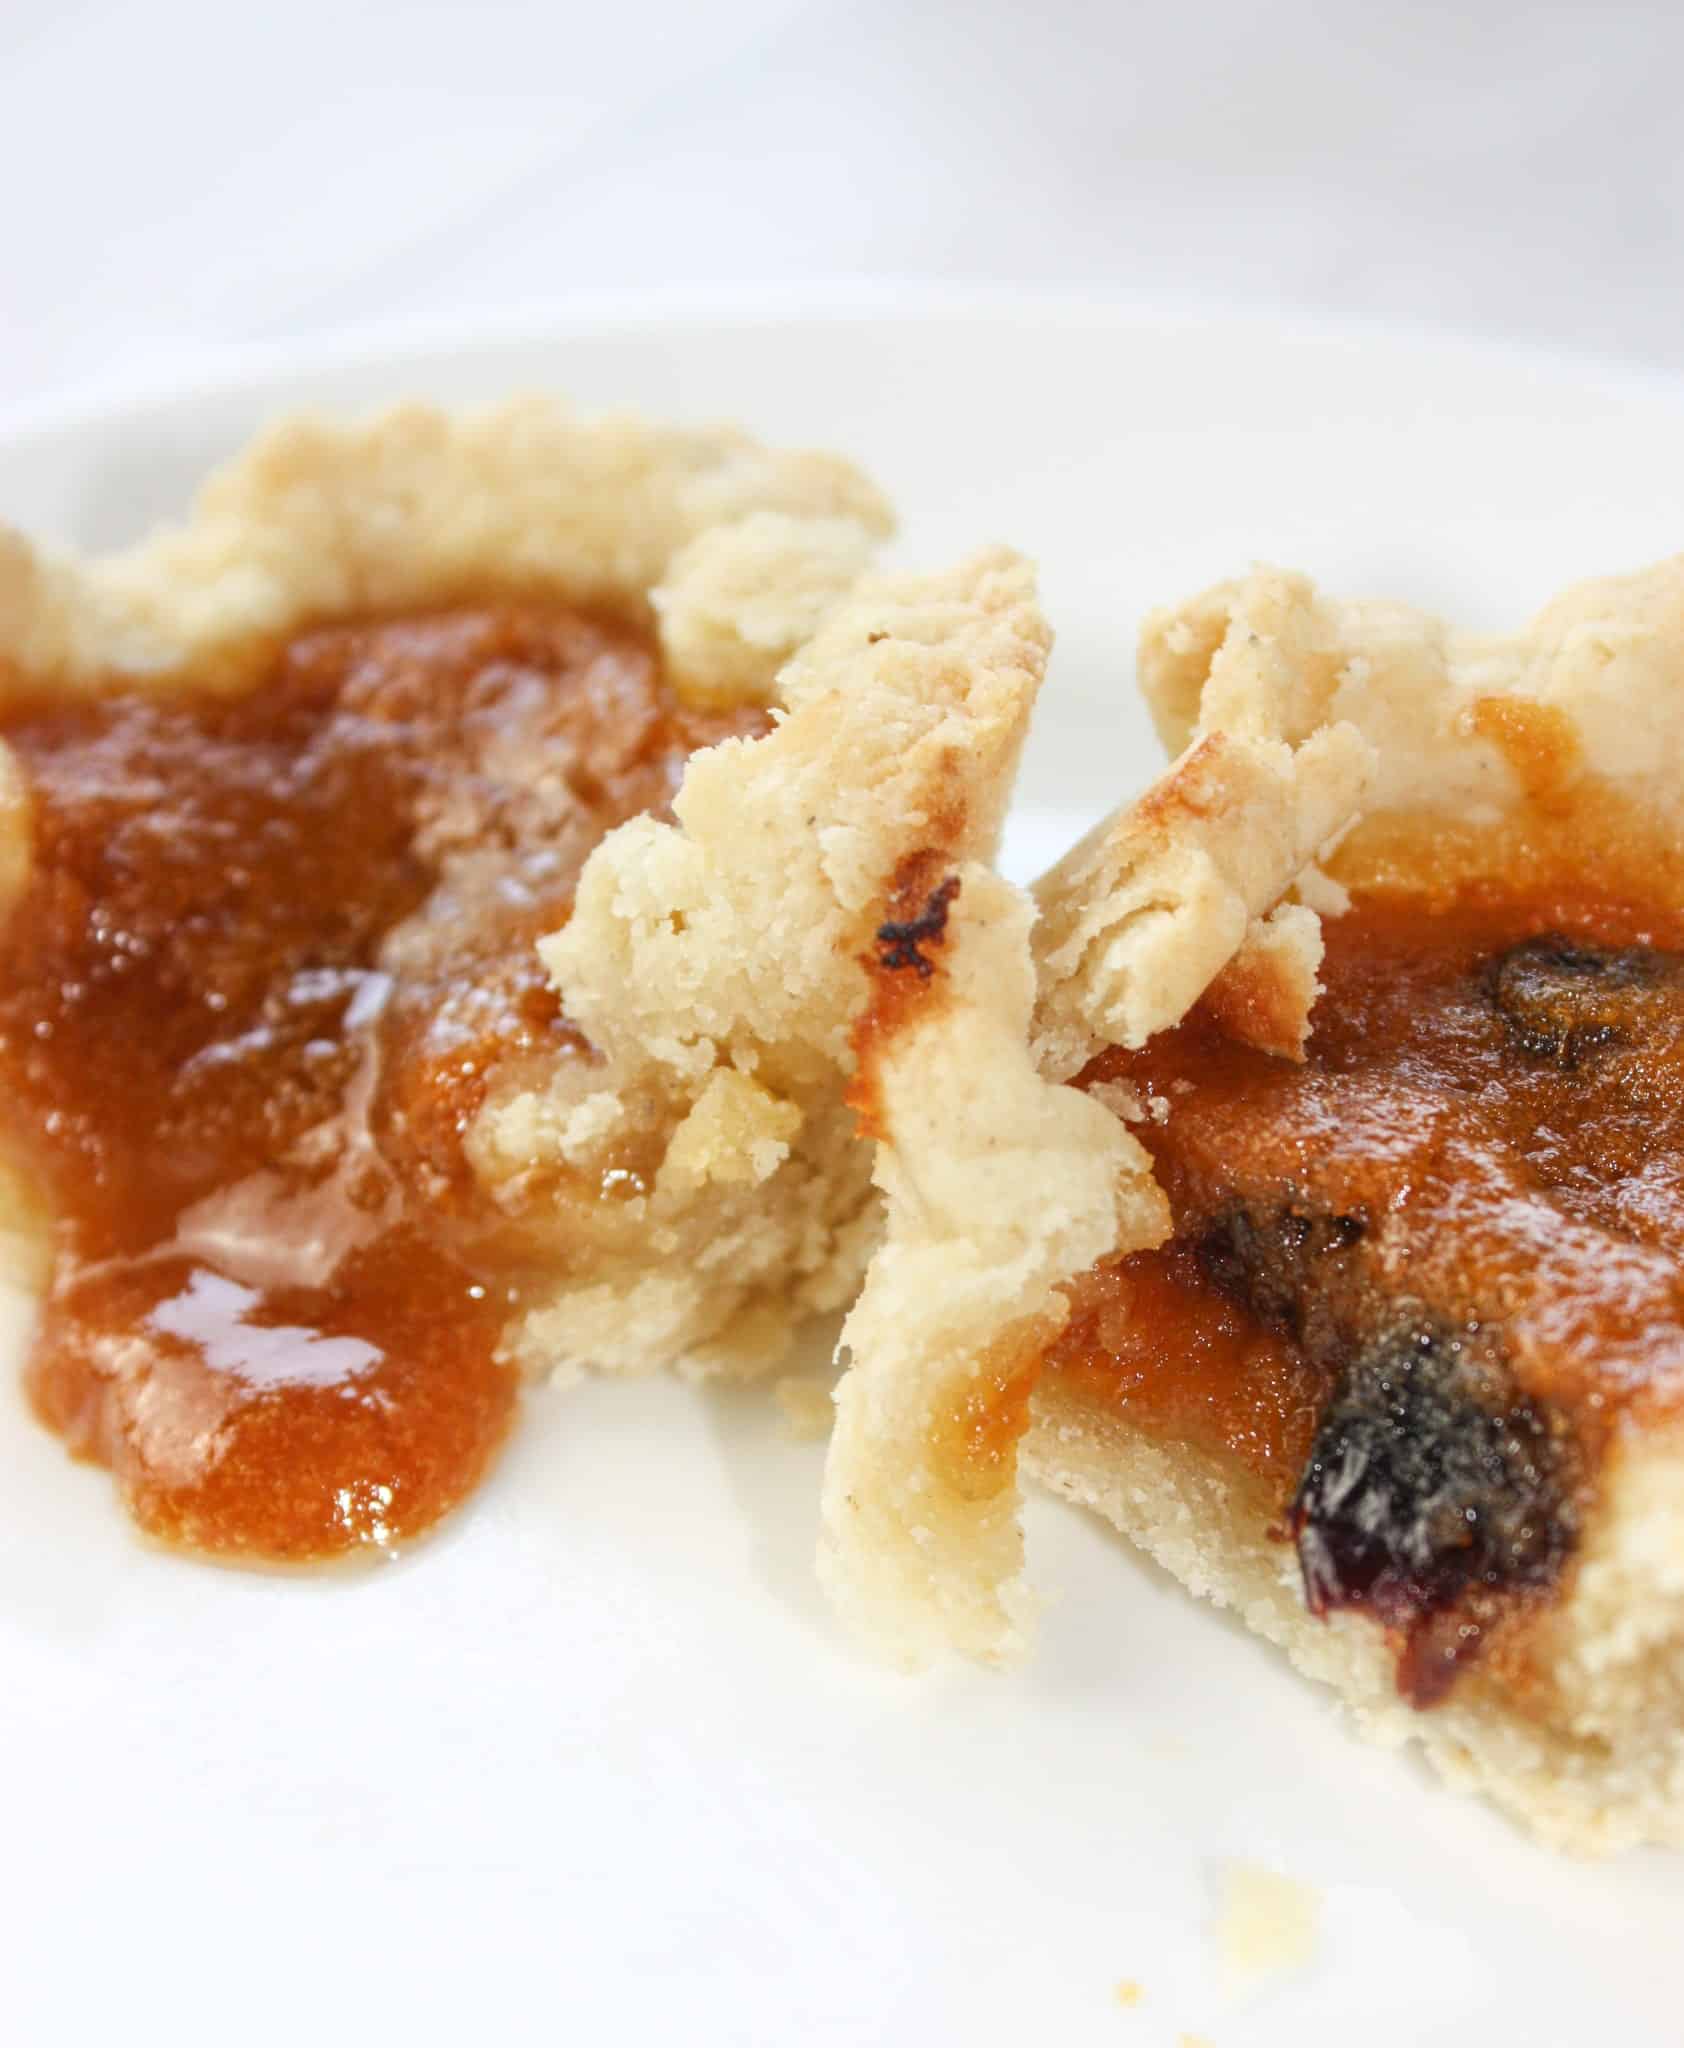
I find that I can cook mine for 15 minutes and I will have some tarts that are firm and some that are on the runny side all in the same batch. Depends on your oven…

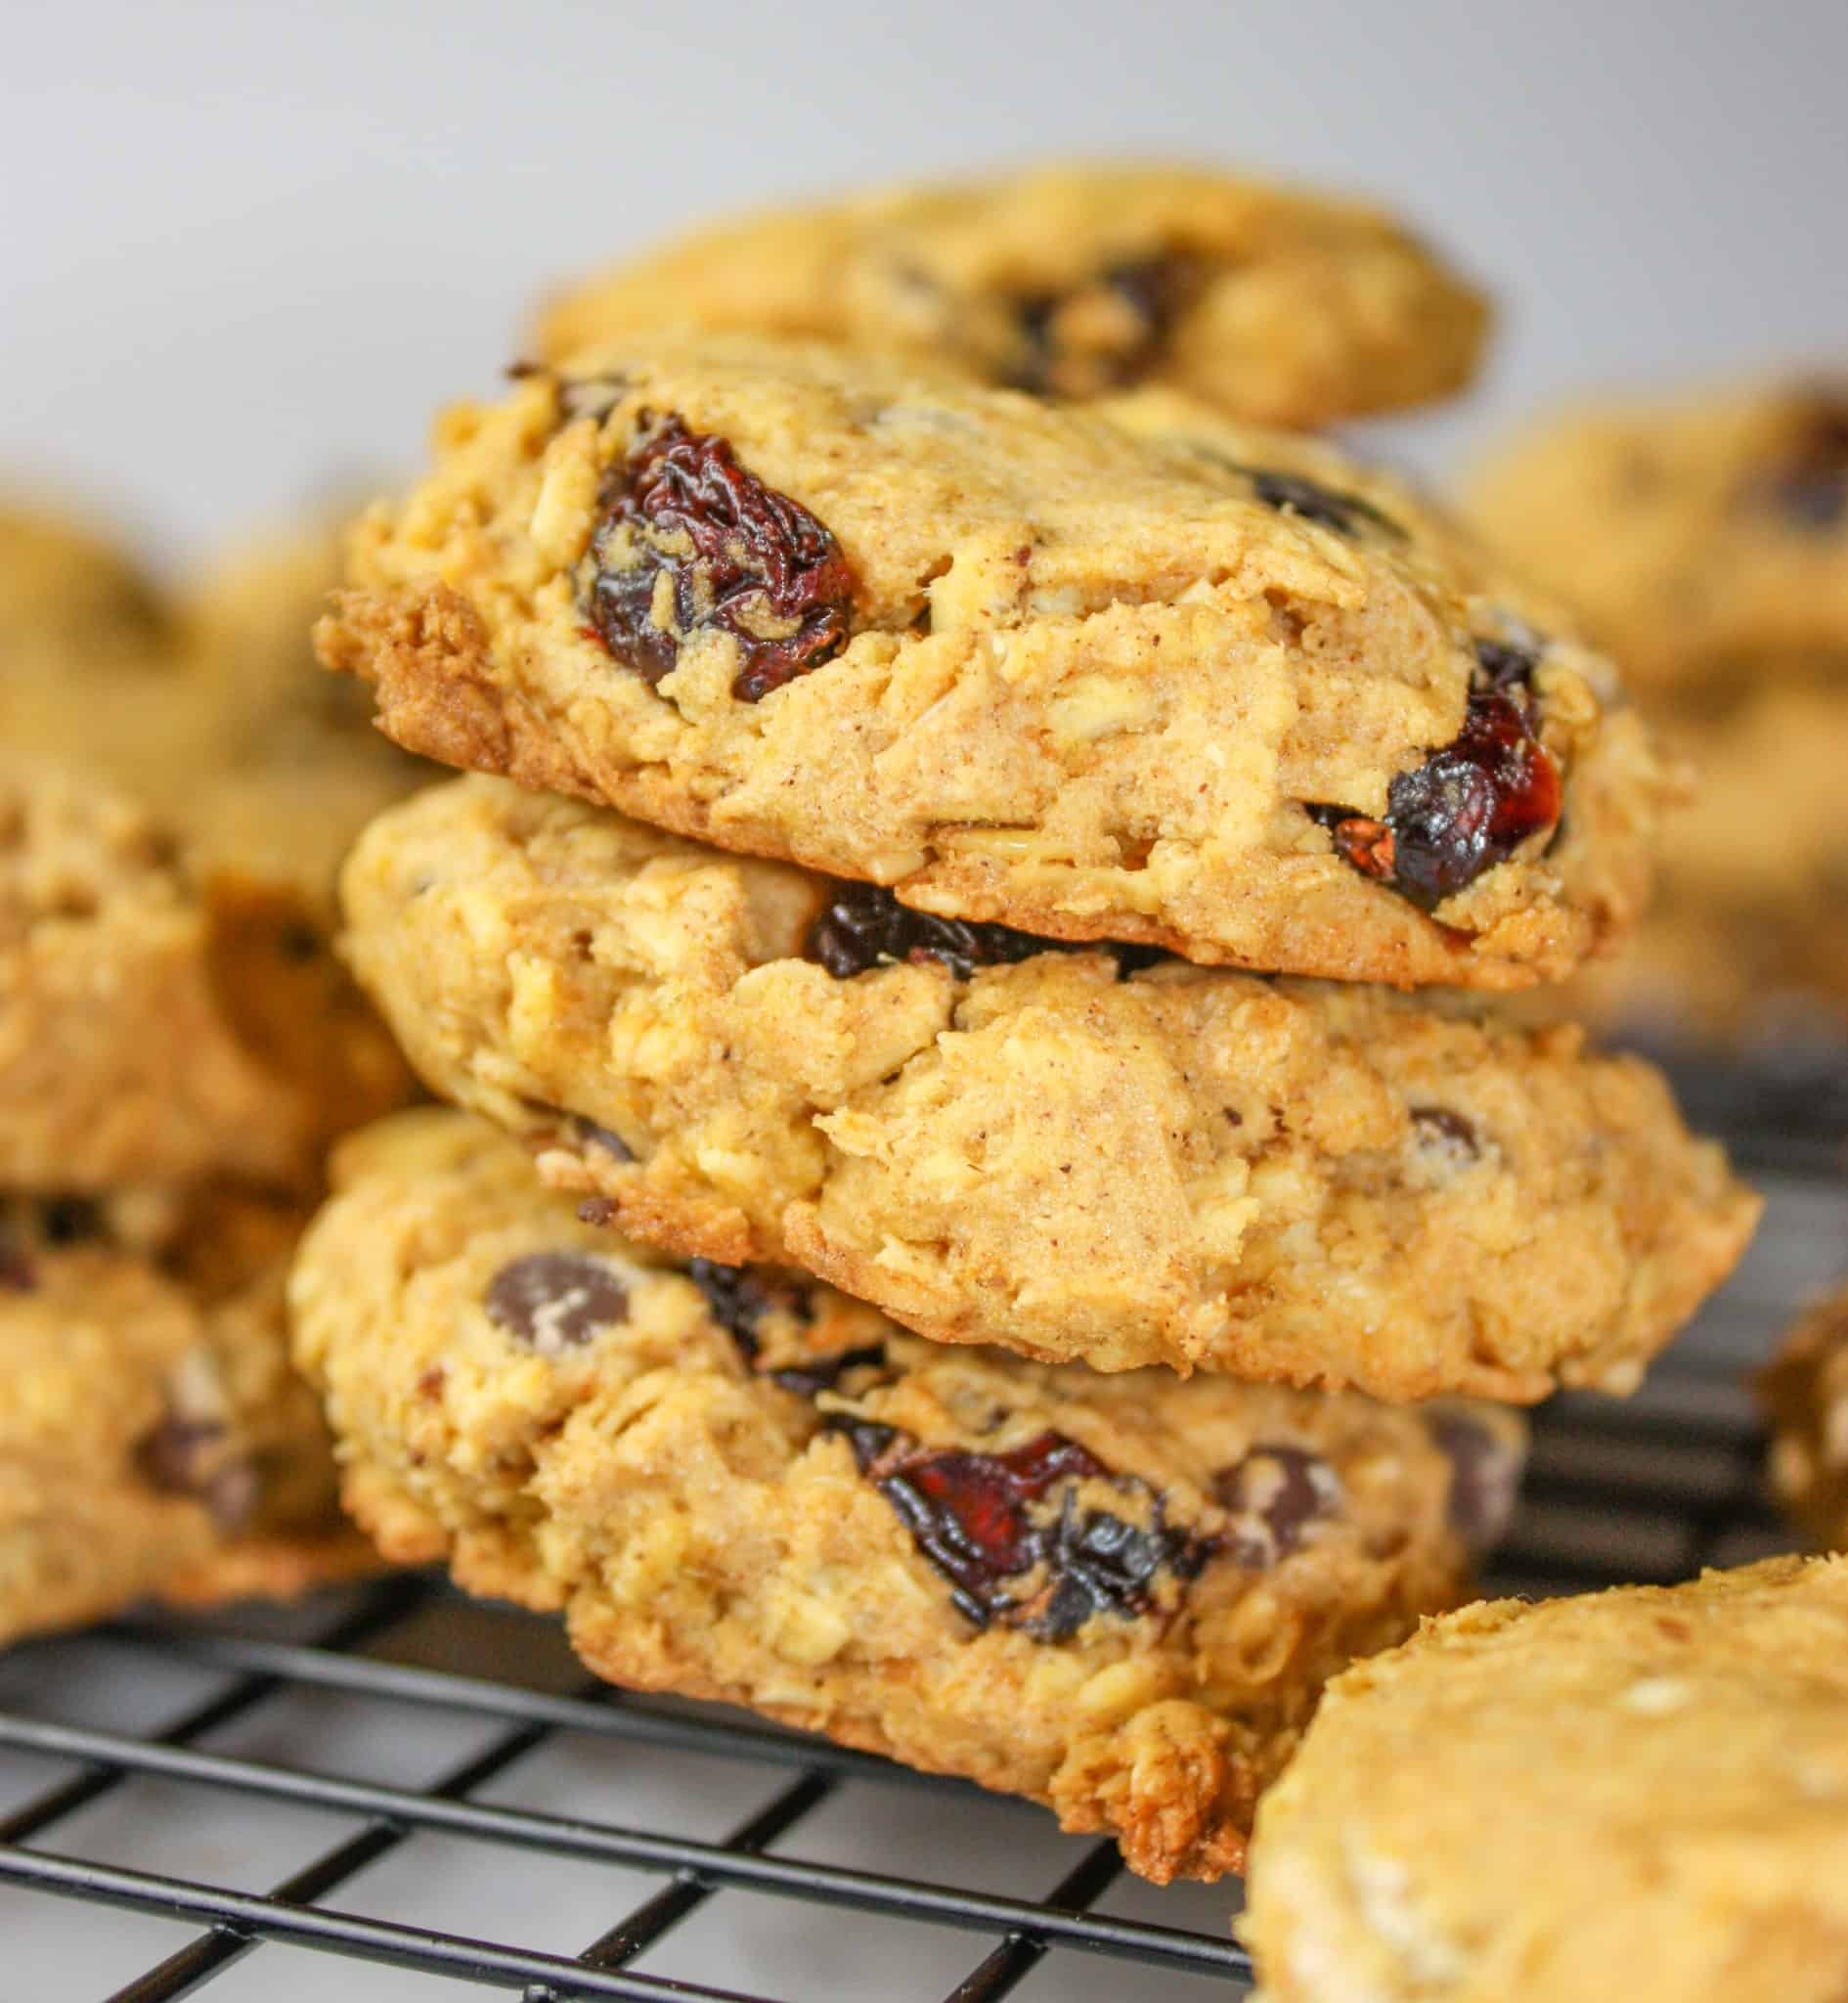
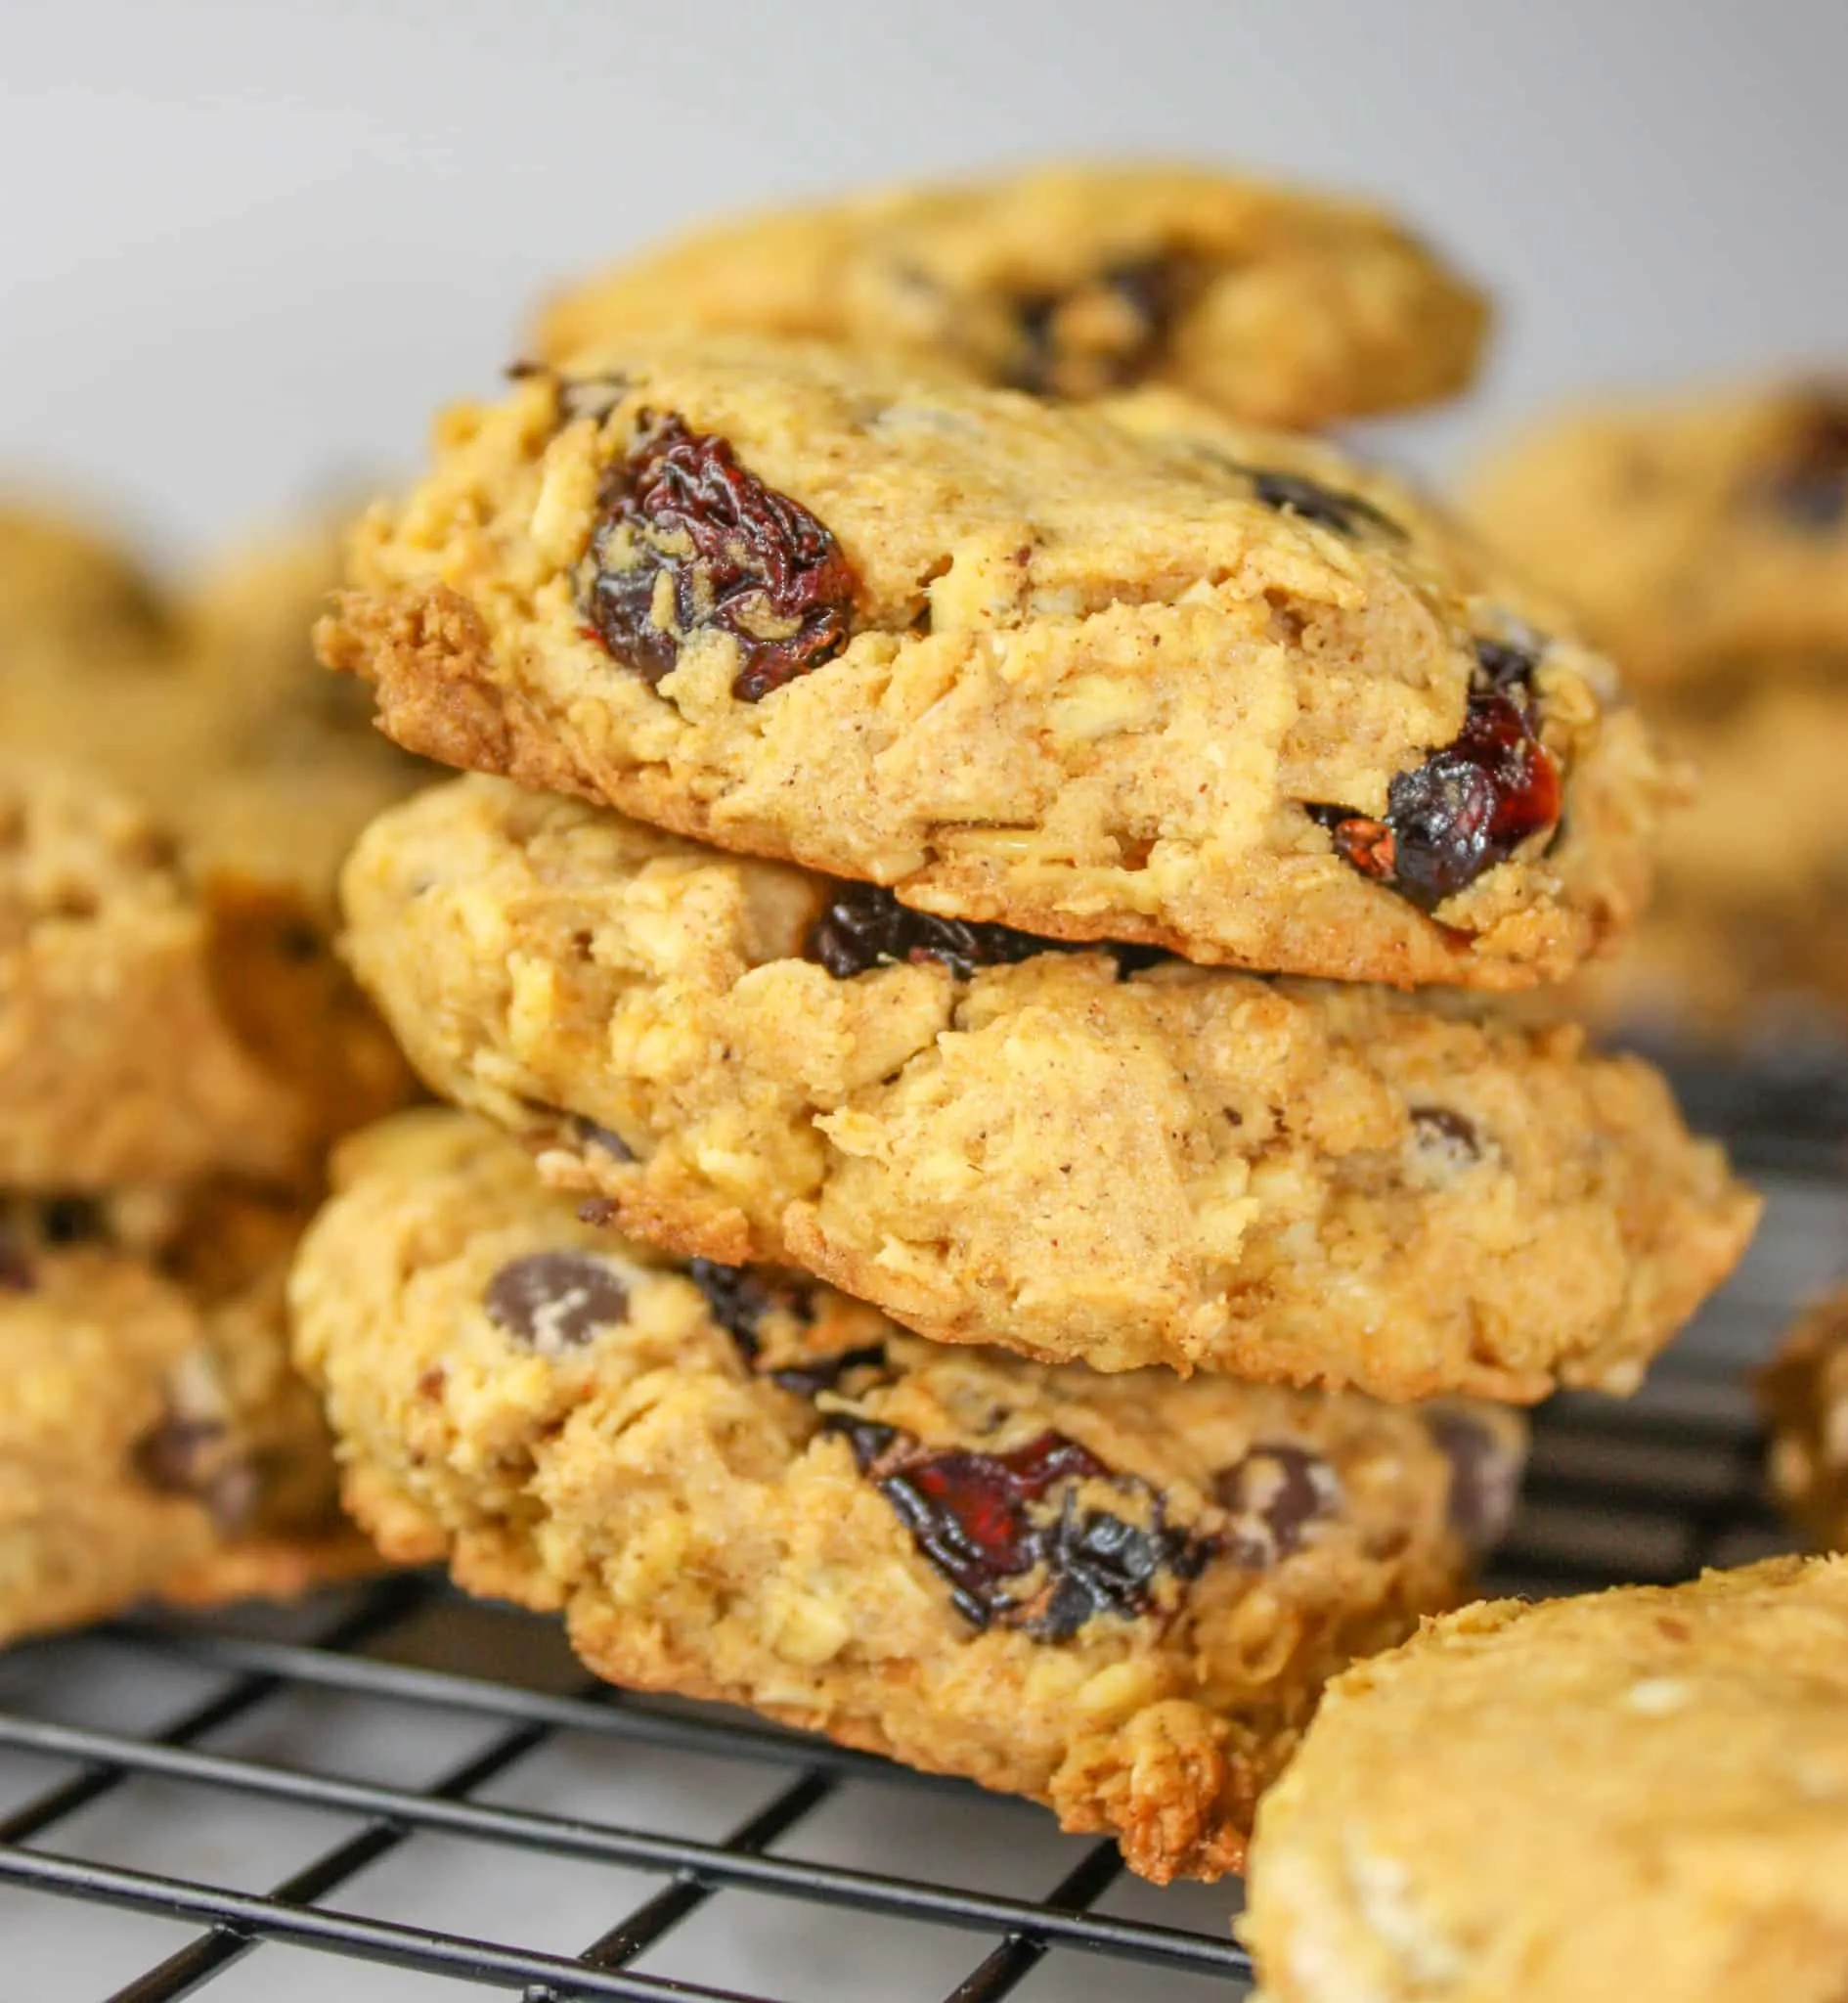
This recipe made 21 tarts with a 3.5″ cookie cutter. I added Craisins to half of the tarts for variety!
Printable Recipe Card with a Full List of Ingredients and Instructions is Located at the Bottom of the Post.
Be sure to read through the entire post so that you don’t miss out on any important tips and tricks!
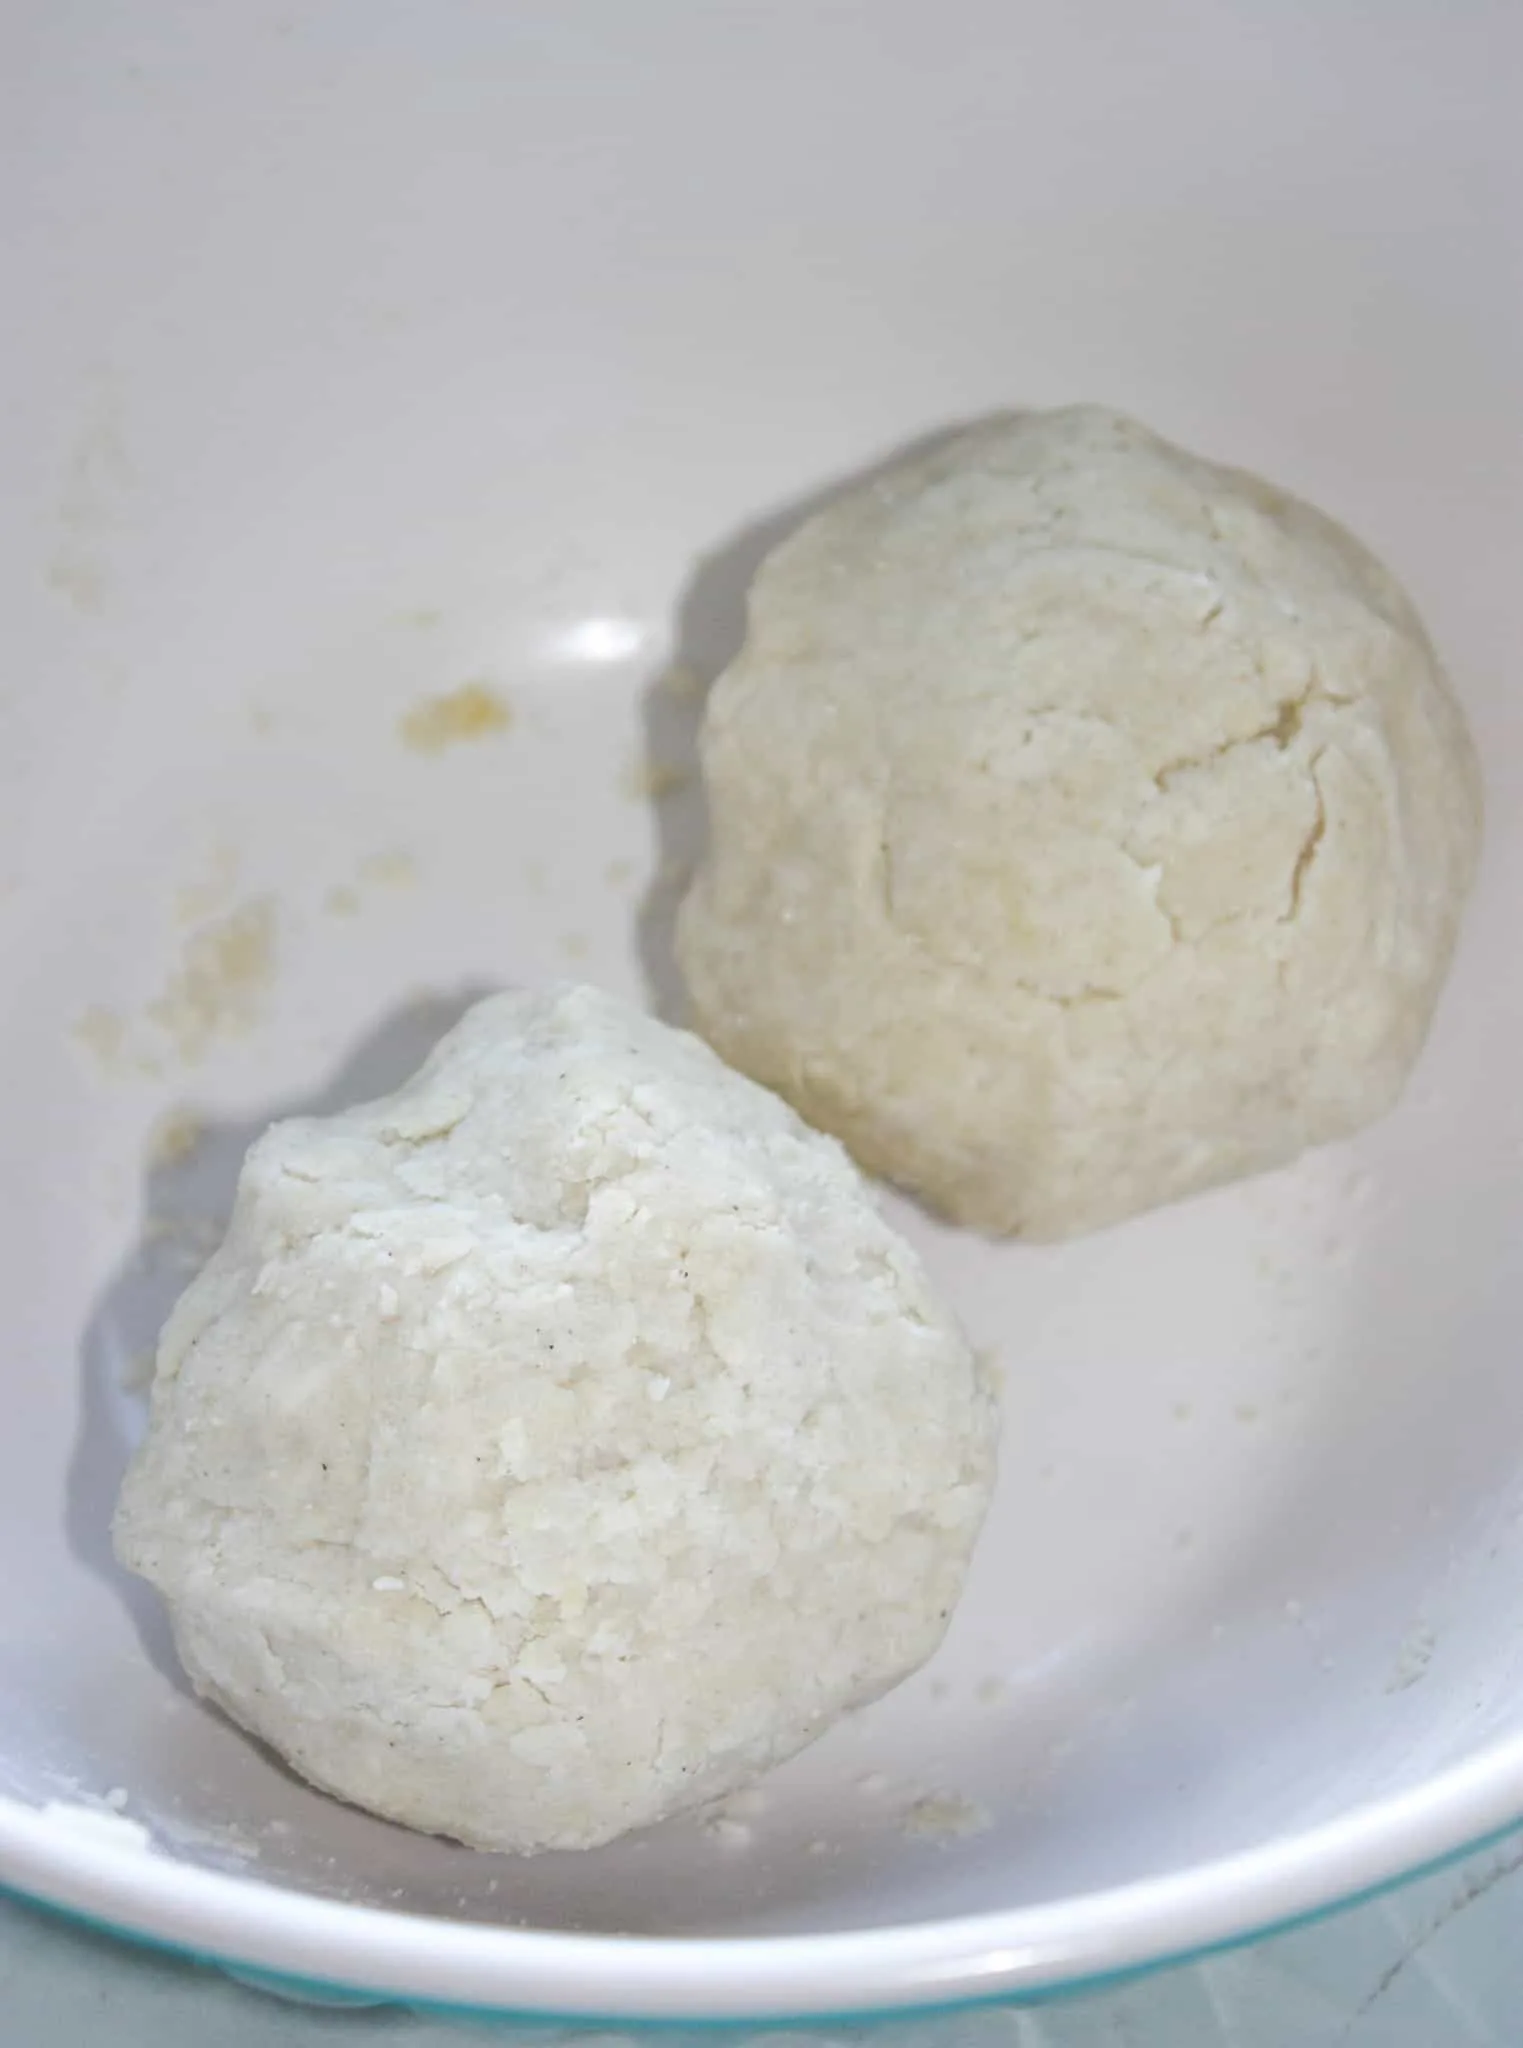
To begin making Pumpkin Butter Tarts I made pastry for a double crust pie. The link is provided below.

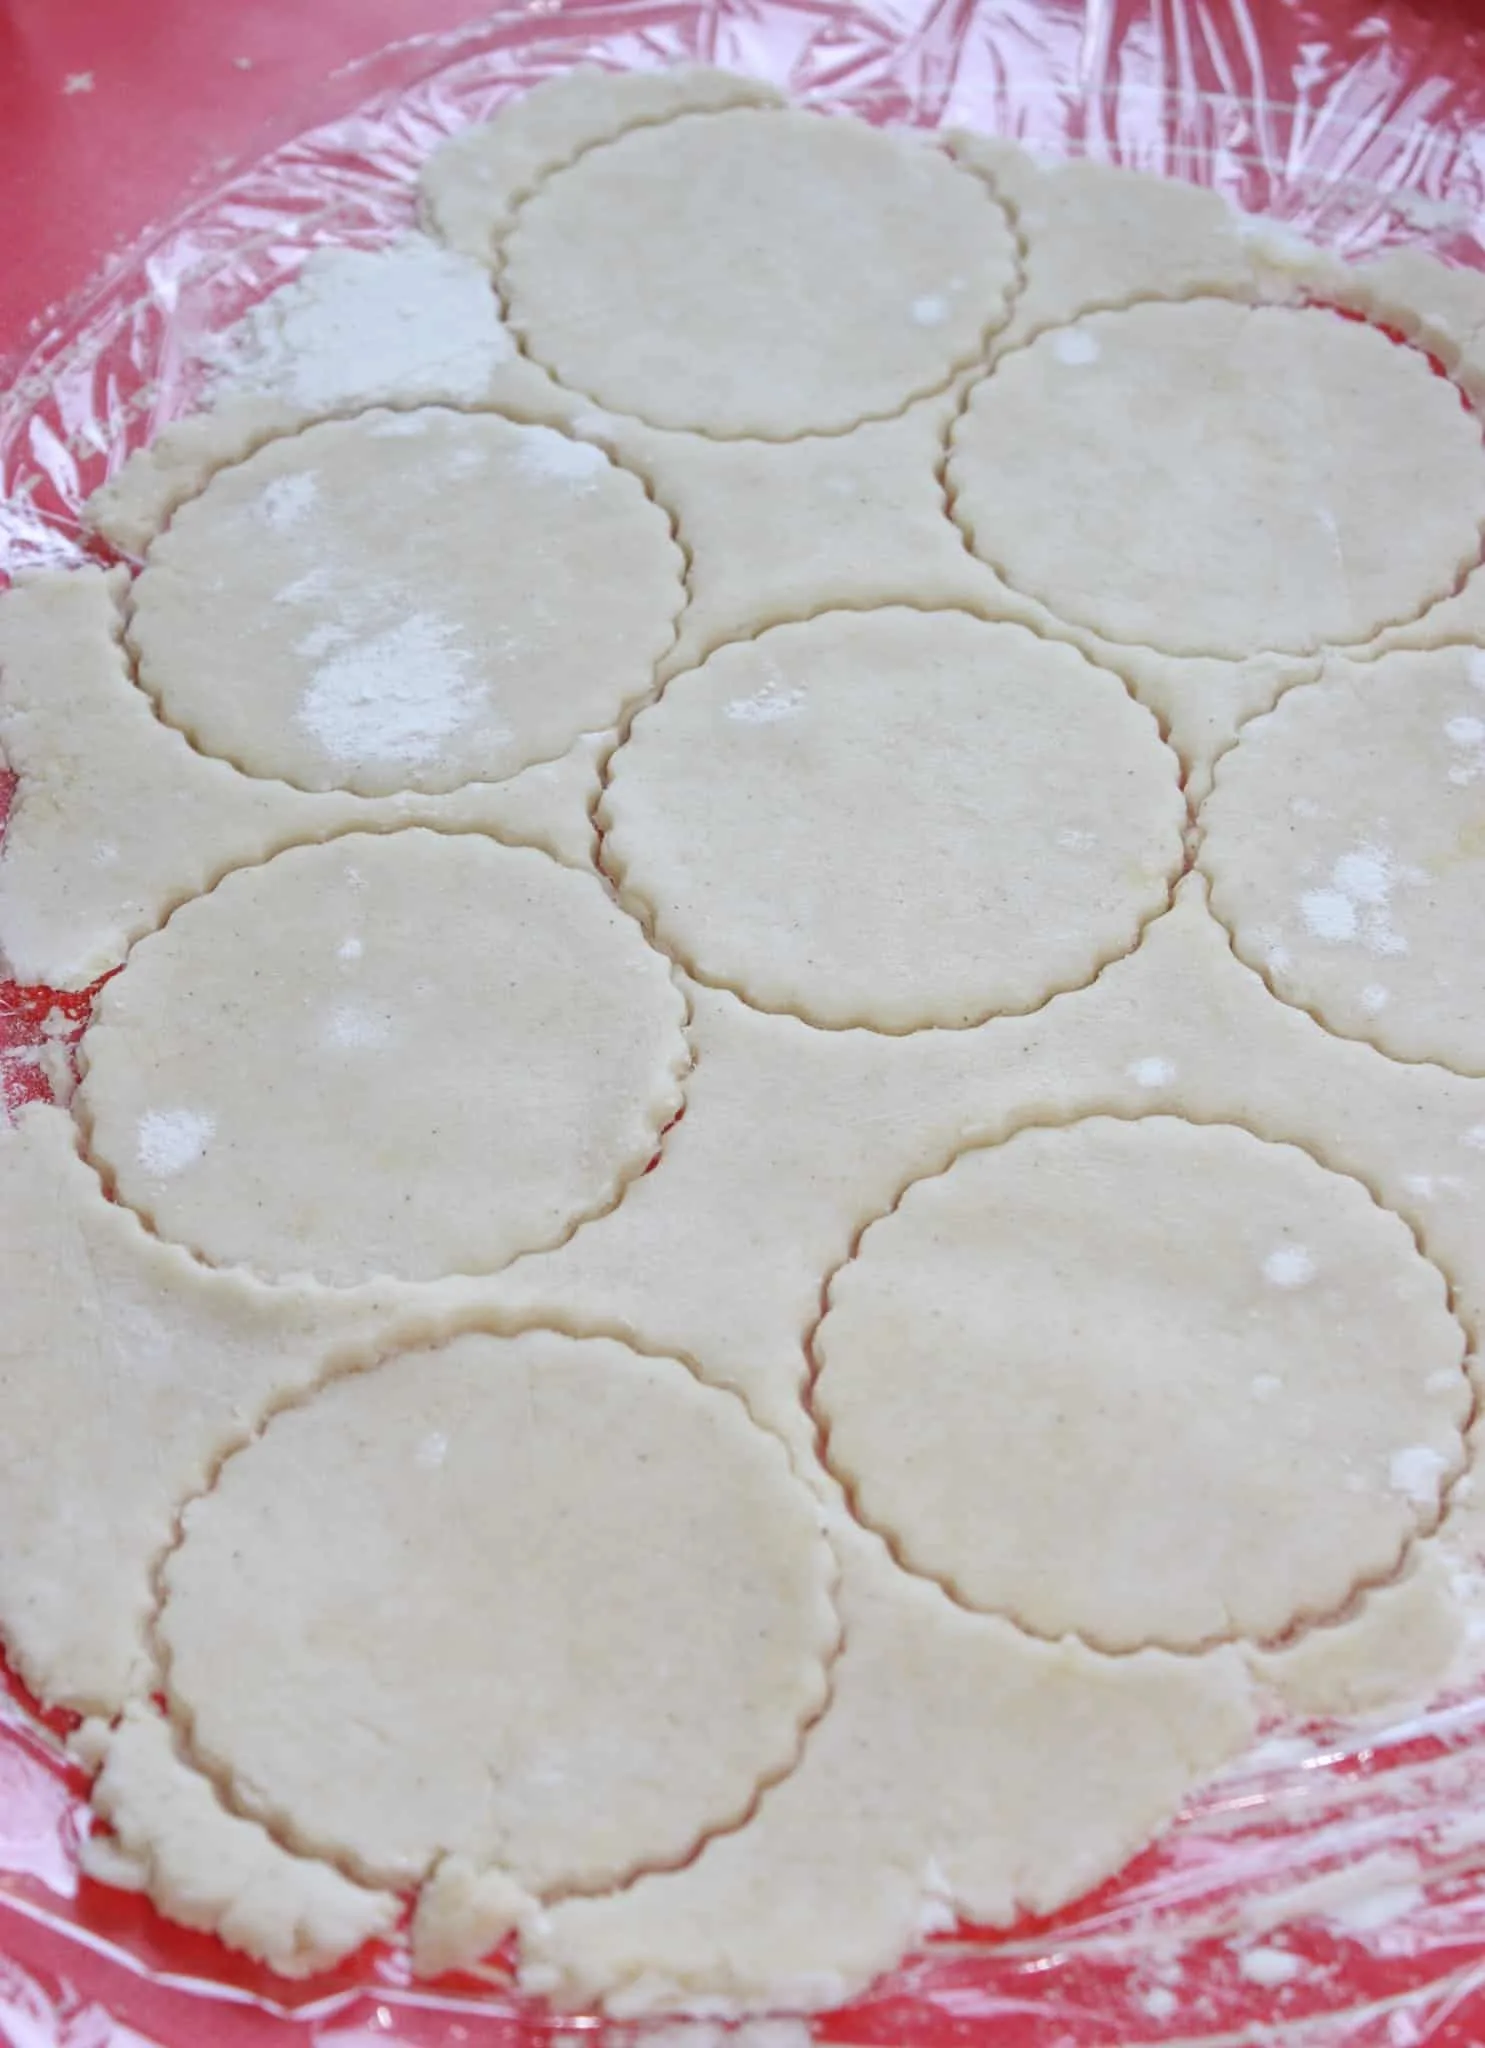
Once the pastry was made I rolled it out on plastic wrap dusted with gluten free flour. I placed a piece of plastic wrap on top as well.
Then I used a 3.5 inch cookie cutter to cut the pastry into rounds. I wanted them a little smaller because other desserts would also be offered. Often I use a 4″ cookie cutter.

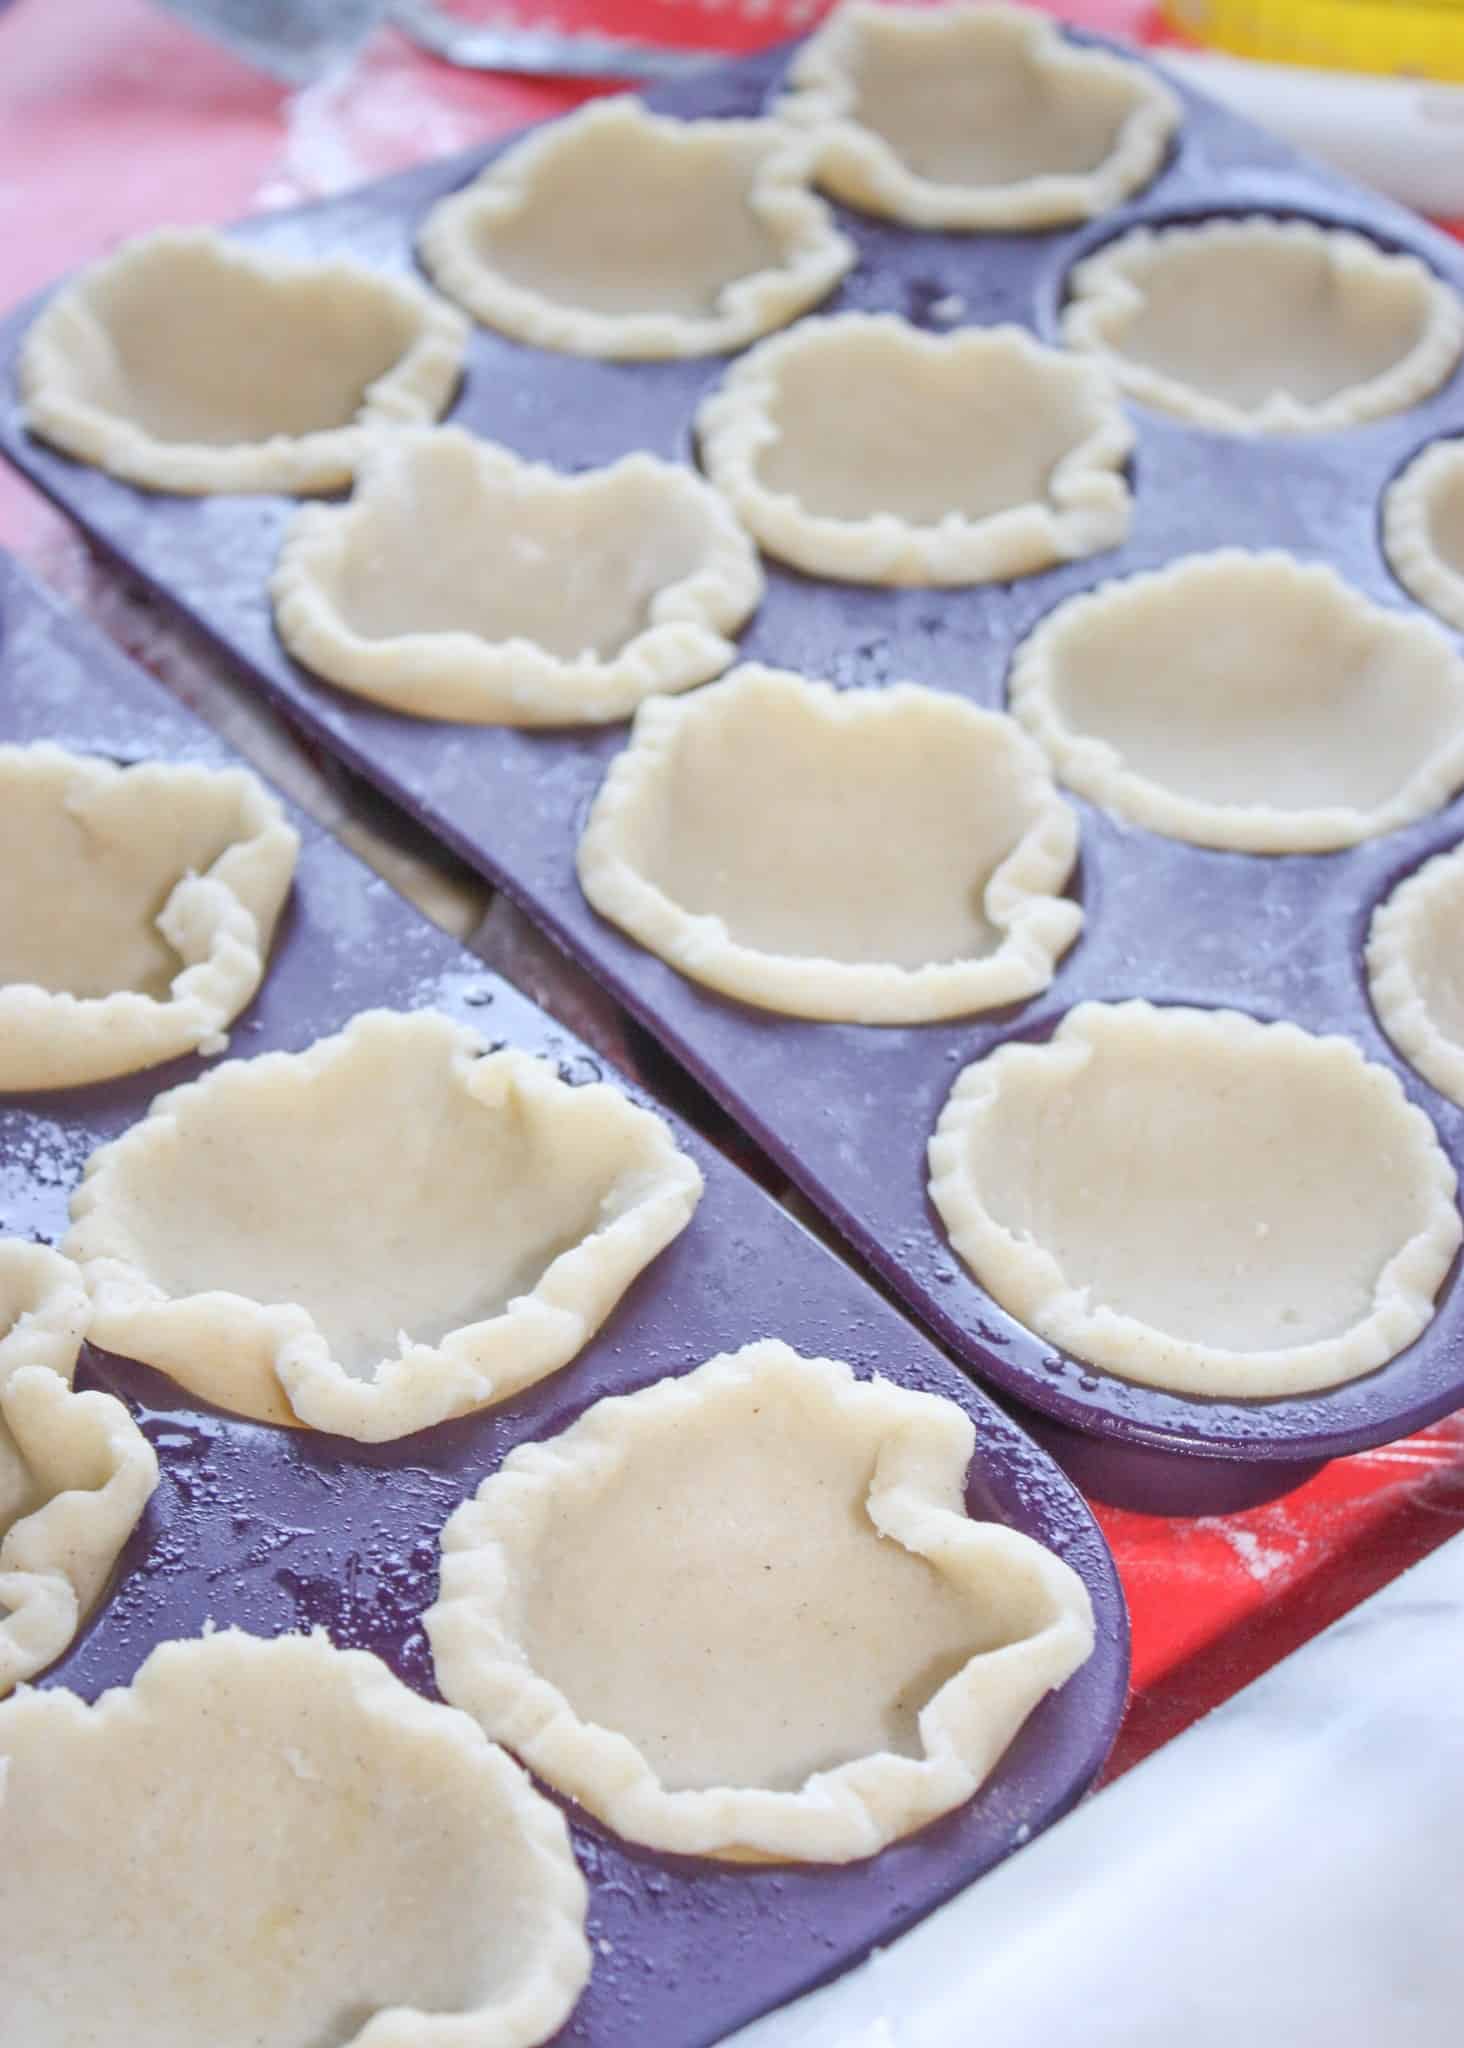
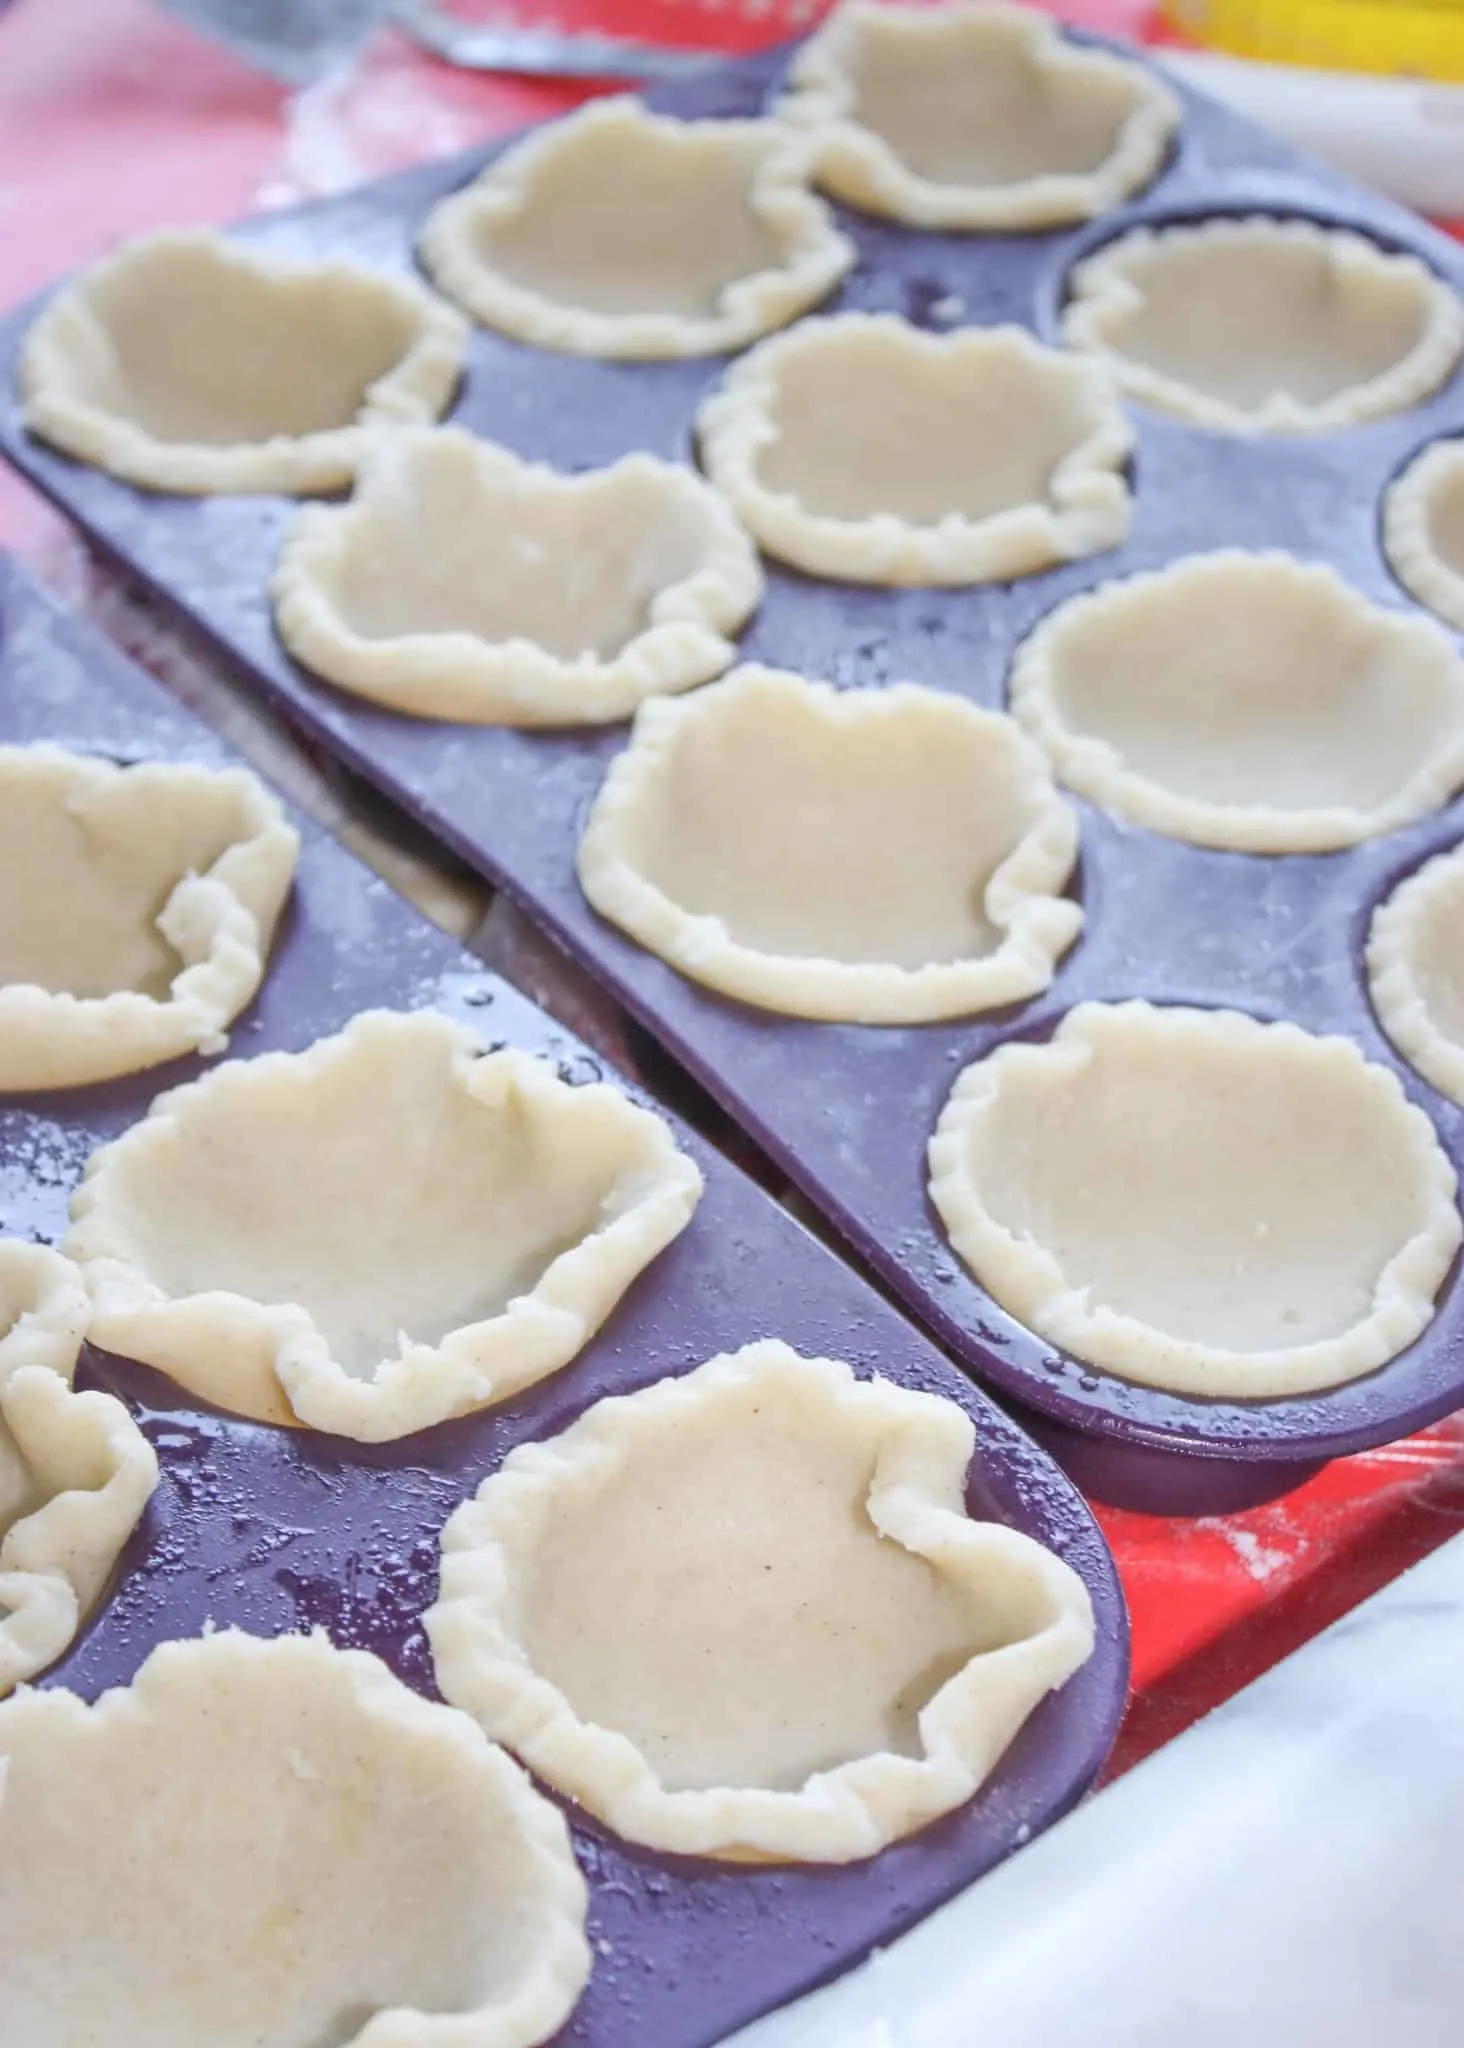
Next I used a metal spatula to lift the rounds and place them in silicone muffin pans. I like to use silicone because it is easier to push the tarts out when they are cooled off after baking.
Once the tart shells were ready it was time to make the filling.
I dumped brown sugar, corn syrup, pure maple syrup, golden flavour Crisco shortening, vanilla extract and a bit of salt into a small mixing bowl. If you do not have maple syrup you can replace with more corn syrup.
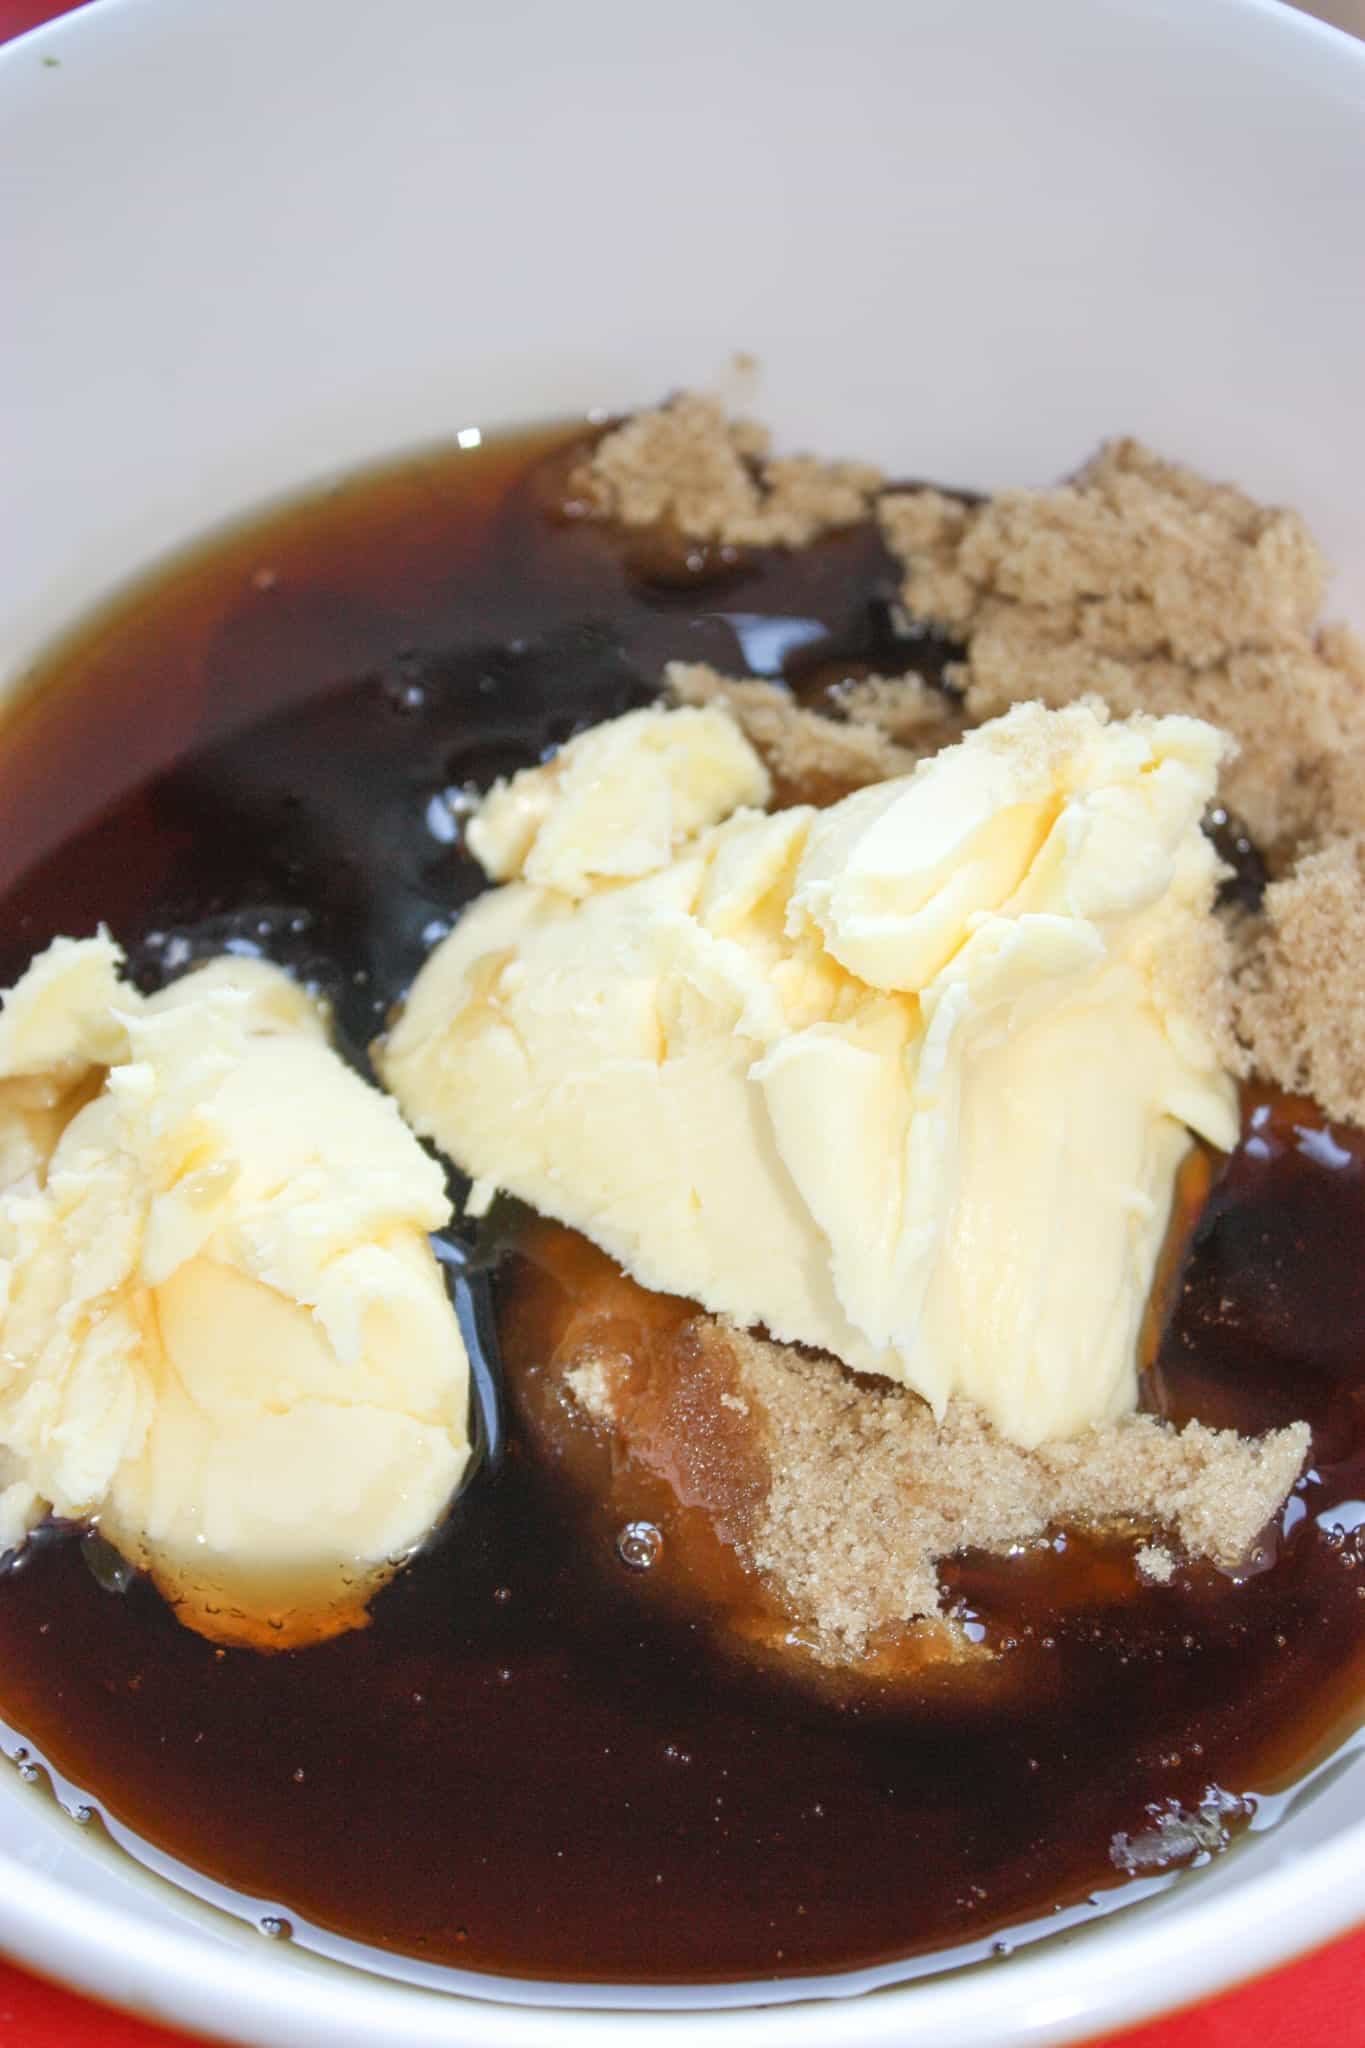

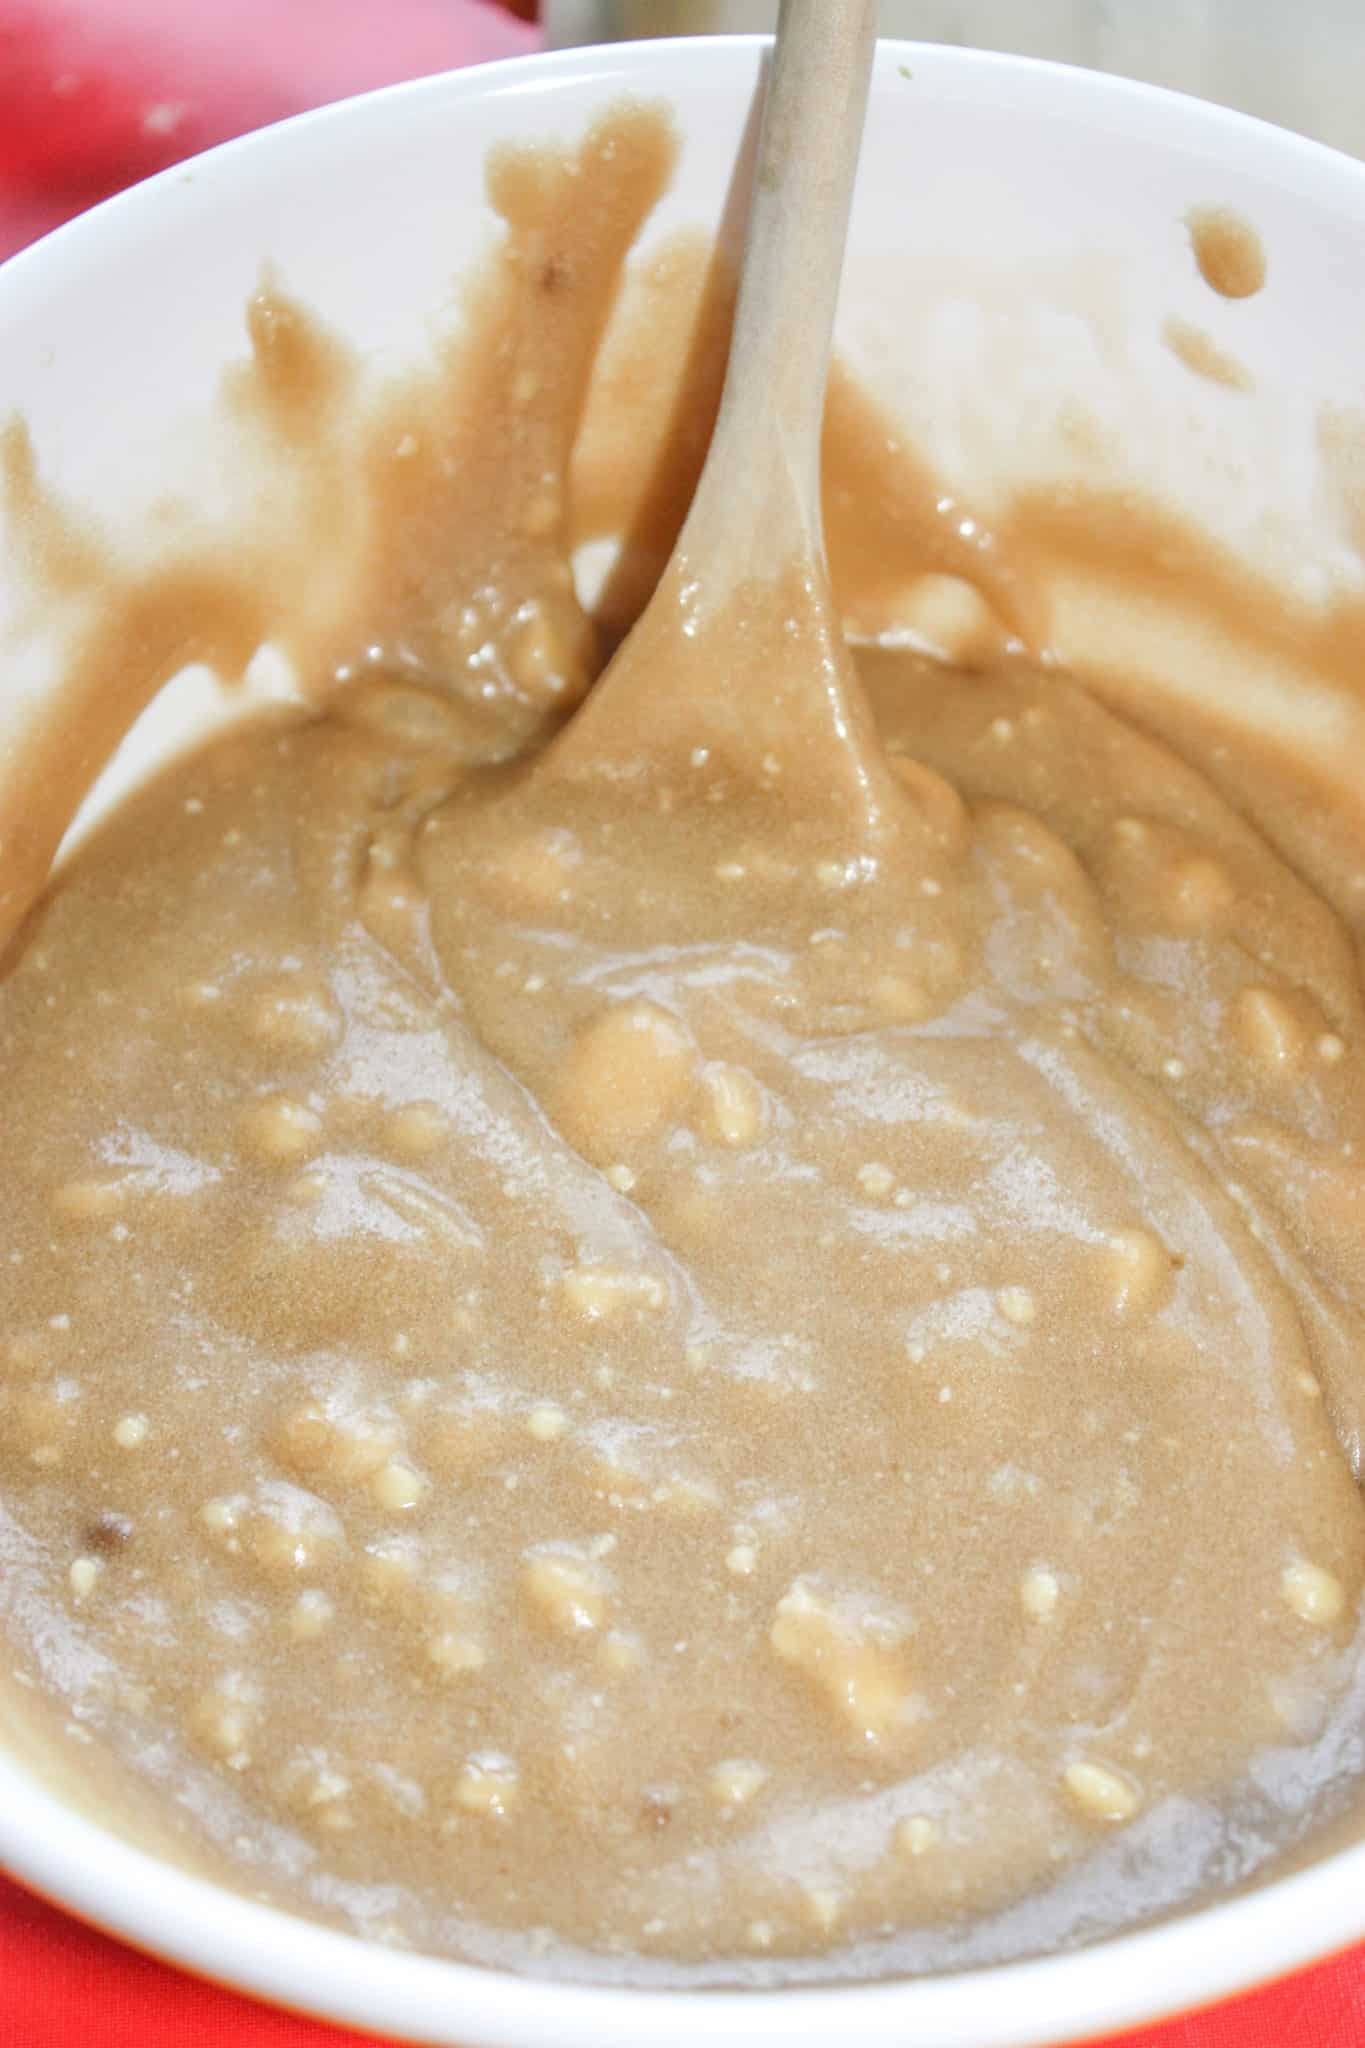
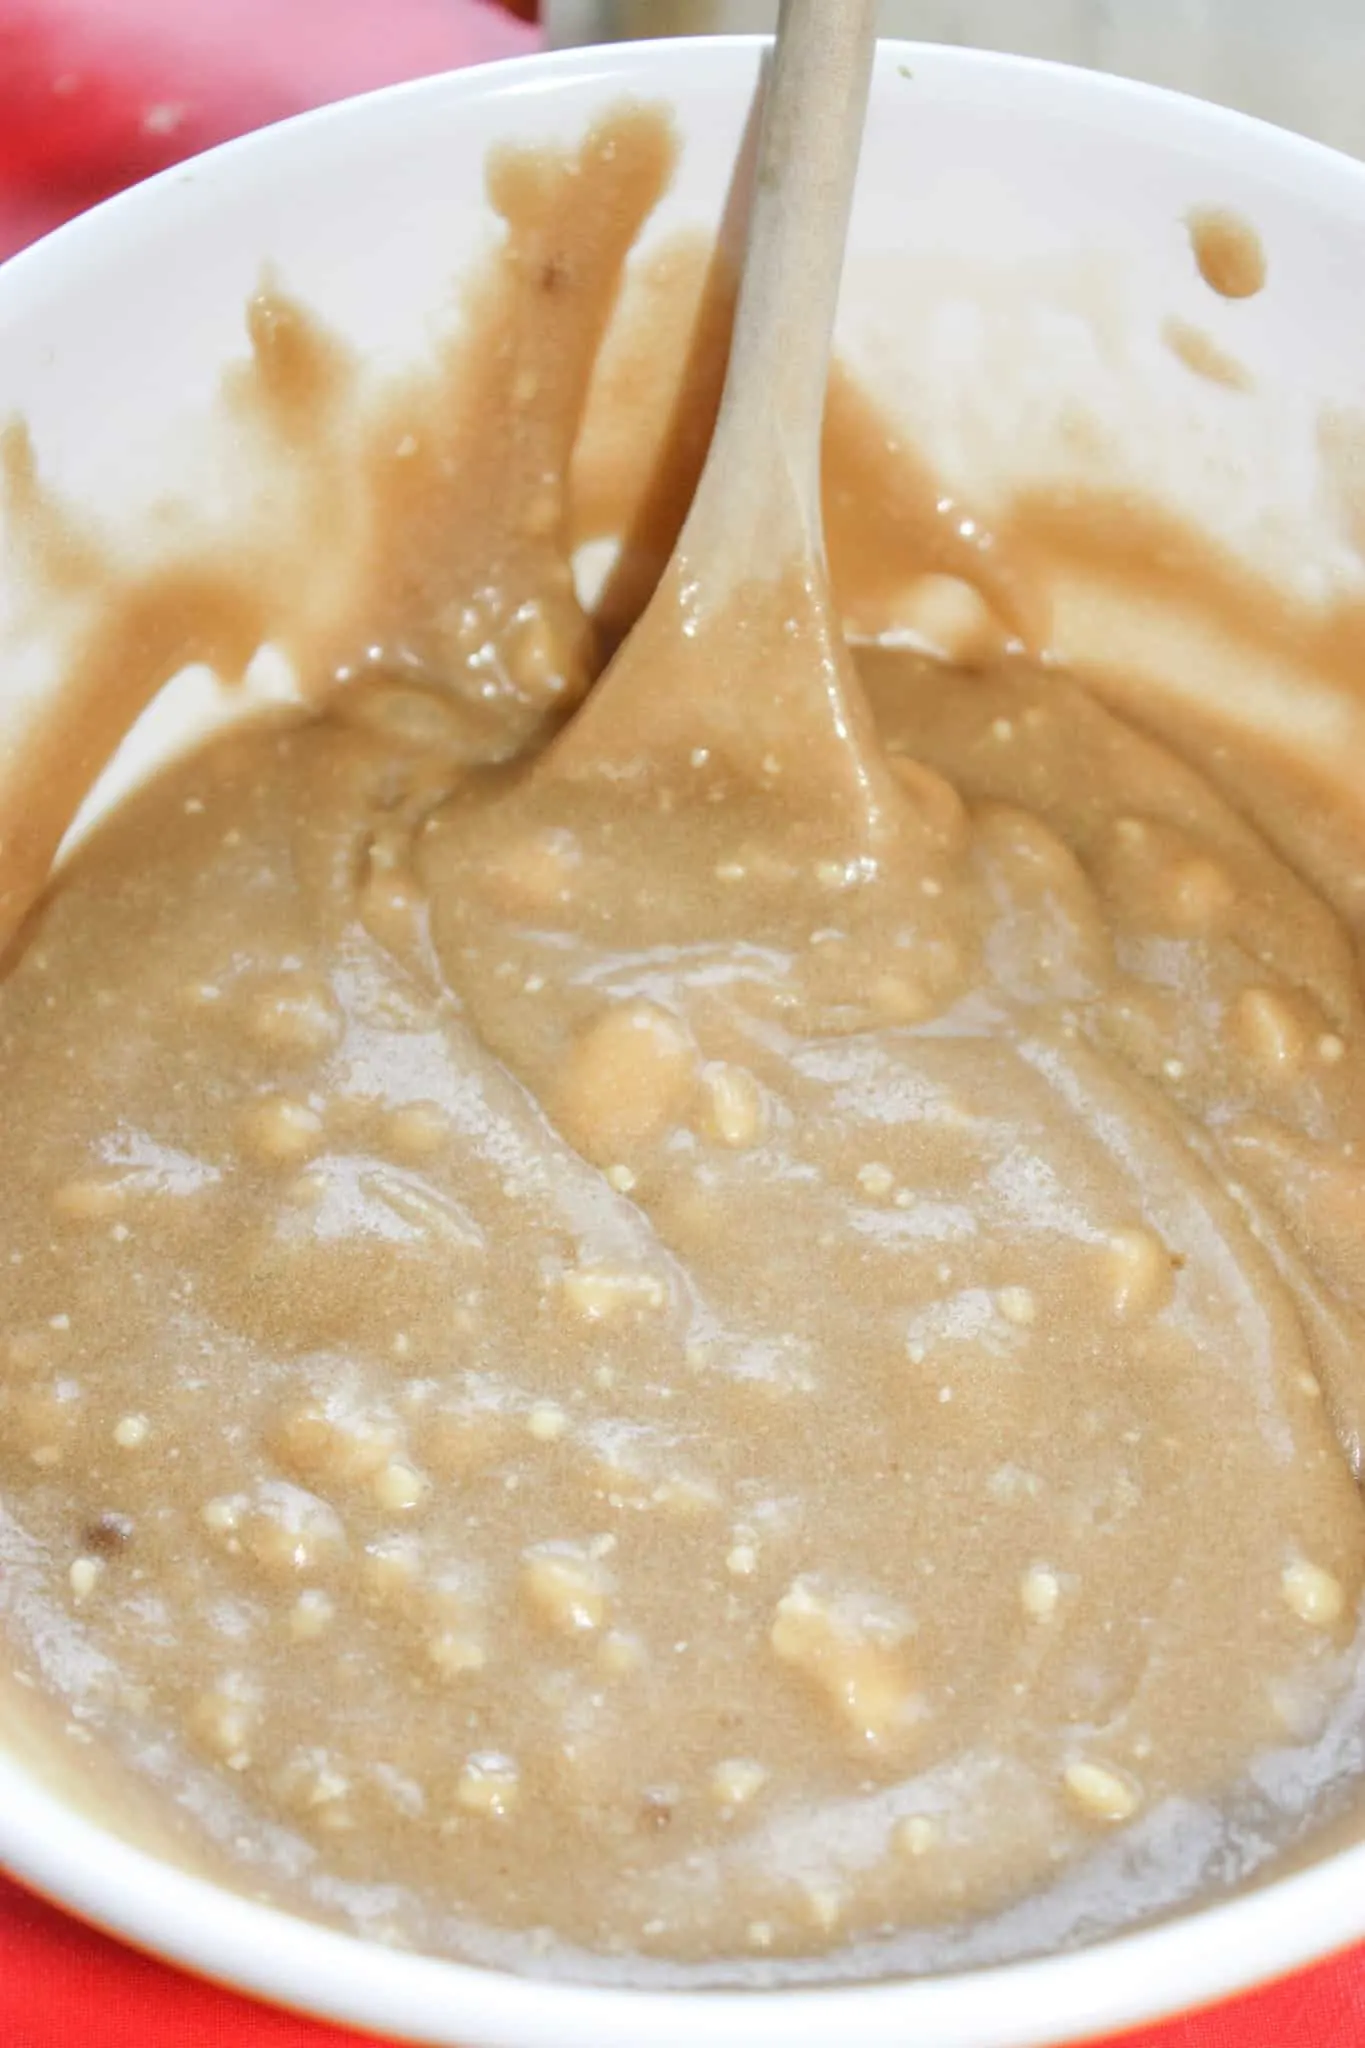
Then I used a wooden spoon to combine all the ingredients in the bowl.
Next I added in some pure pumpkin puree.

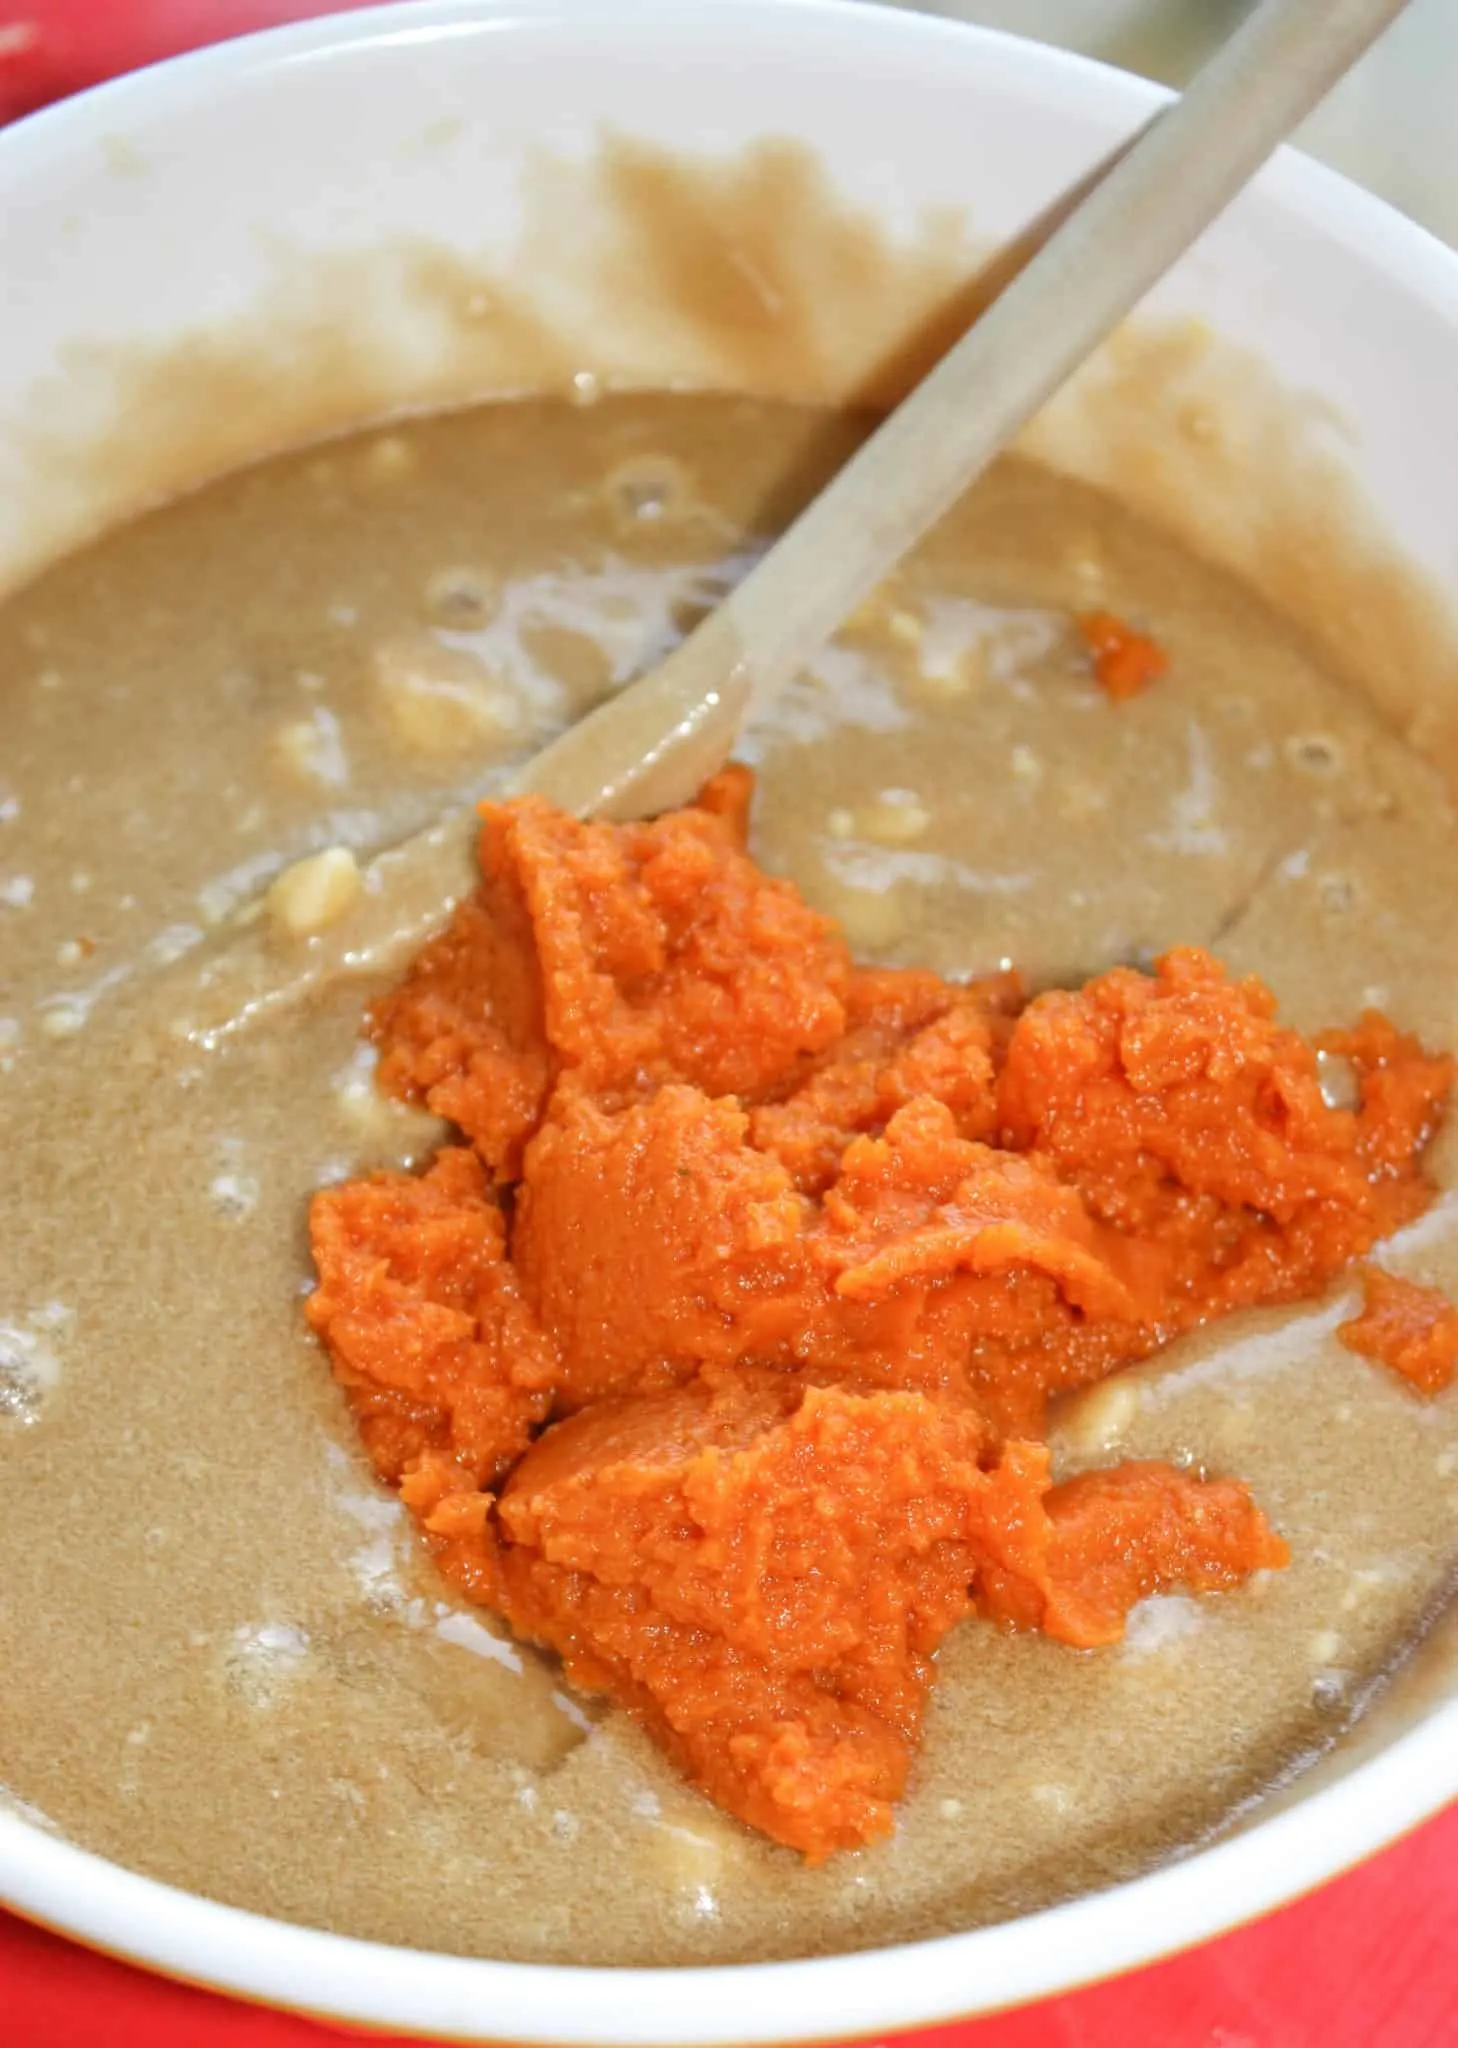
After stirring in the pumpkin I added in one egg.
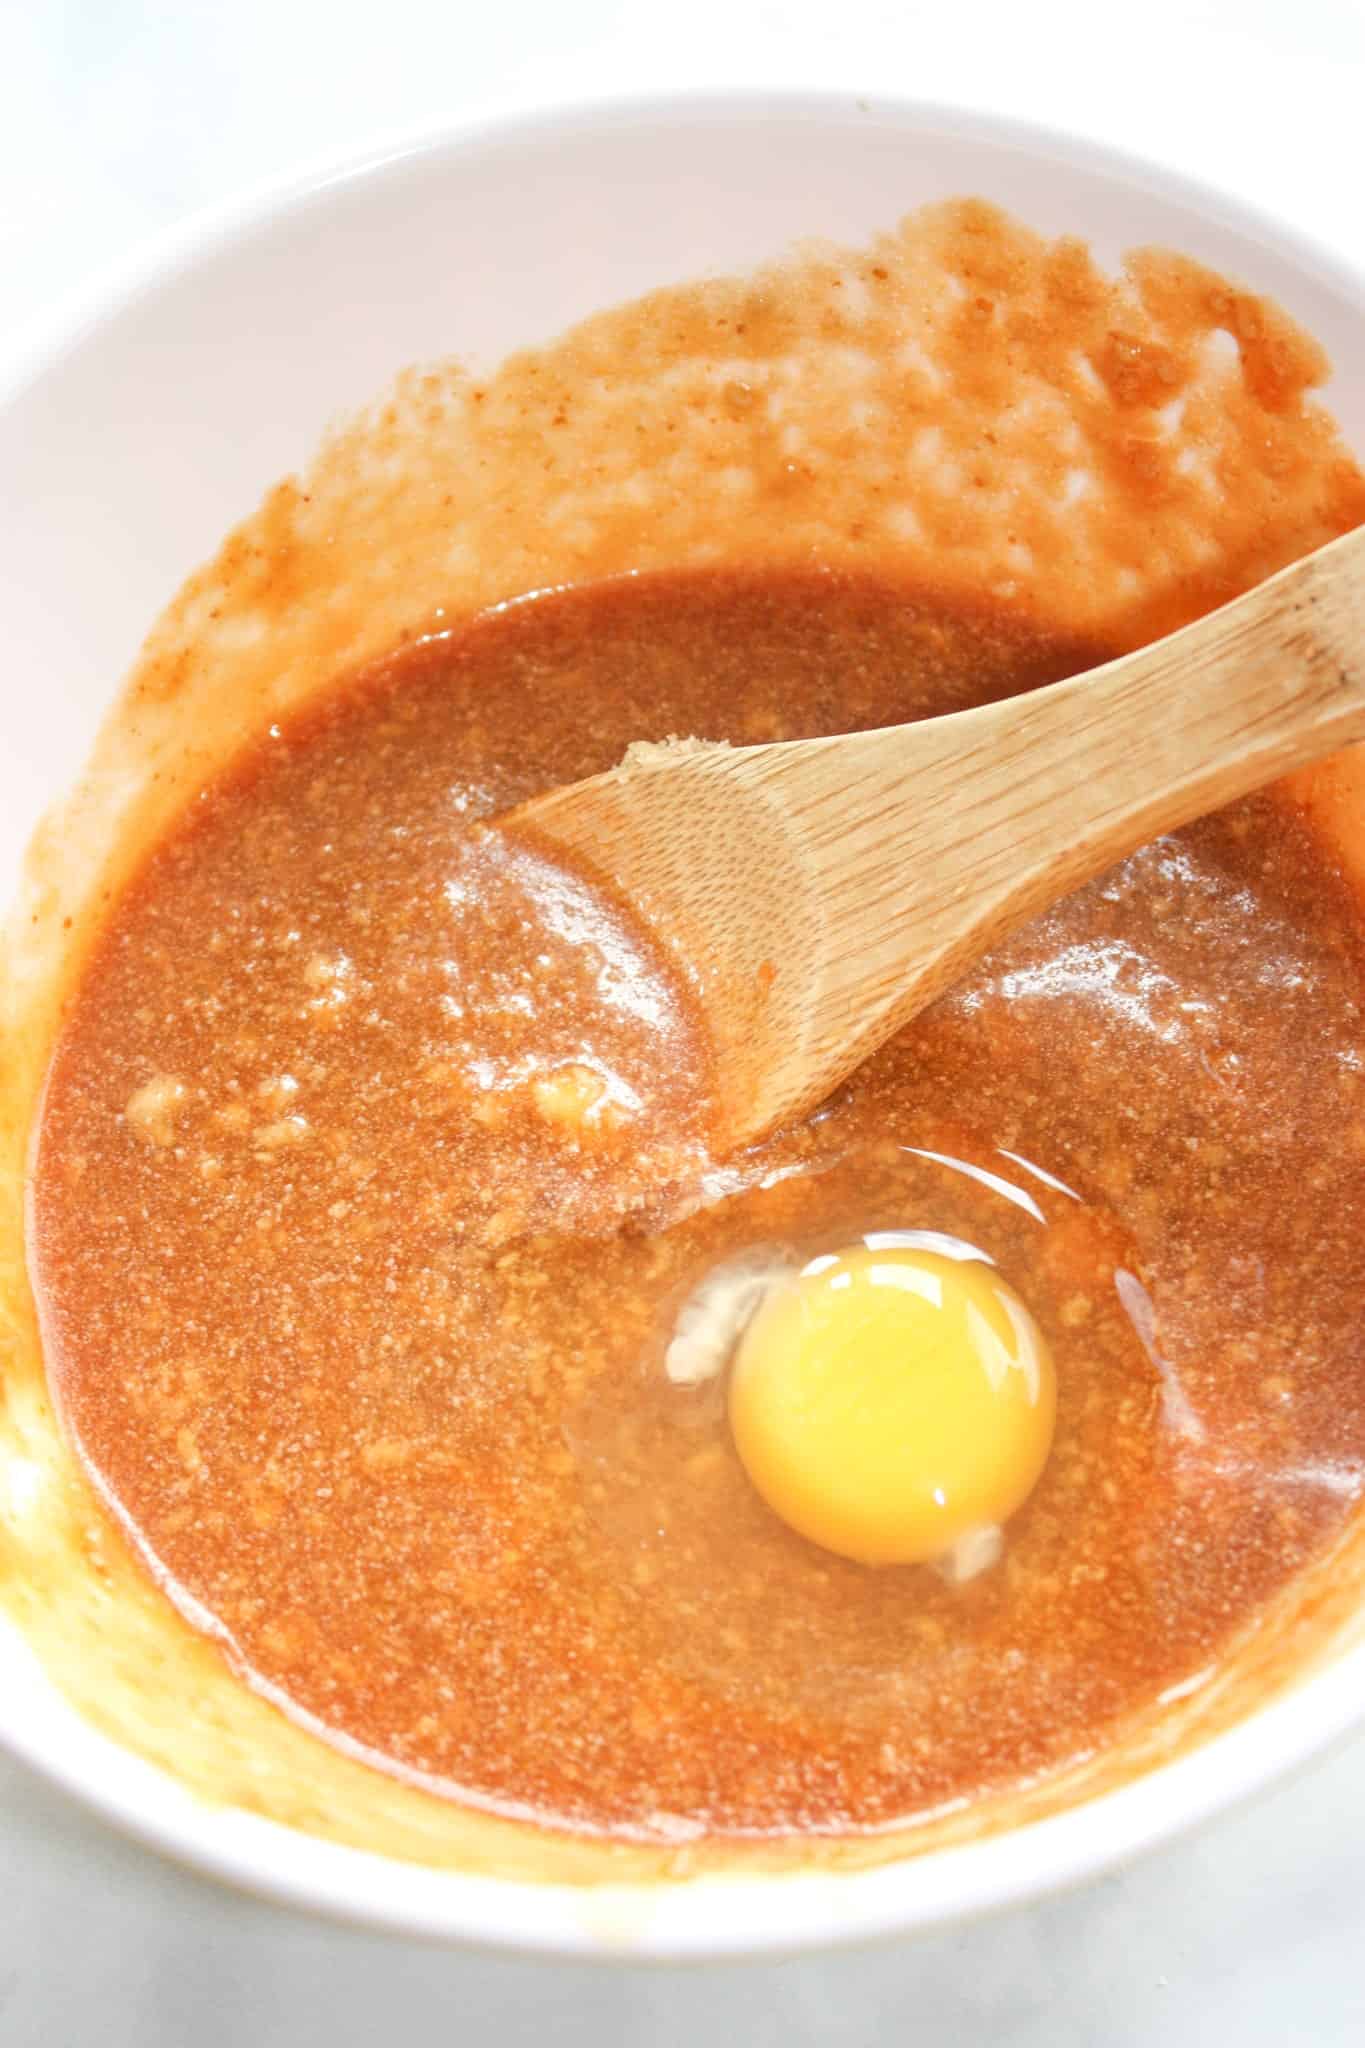

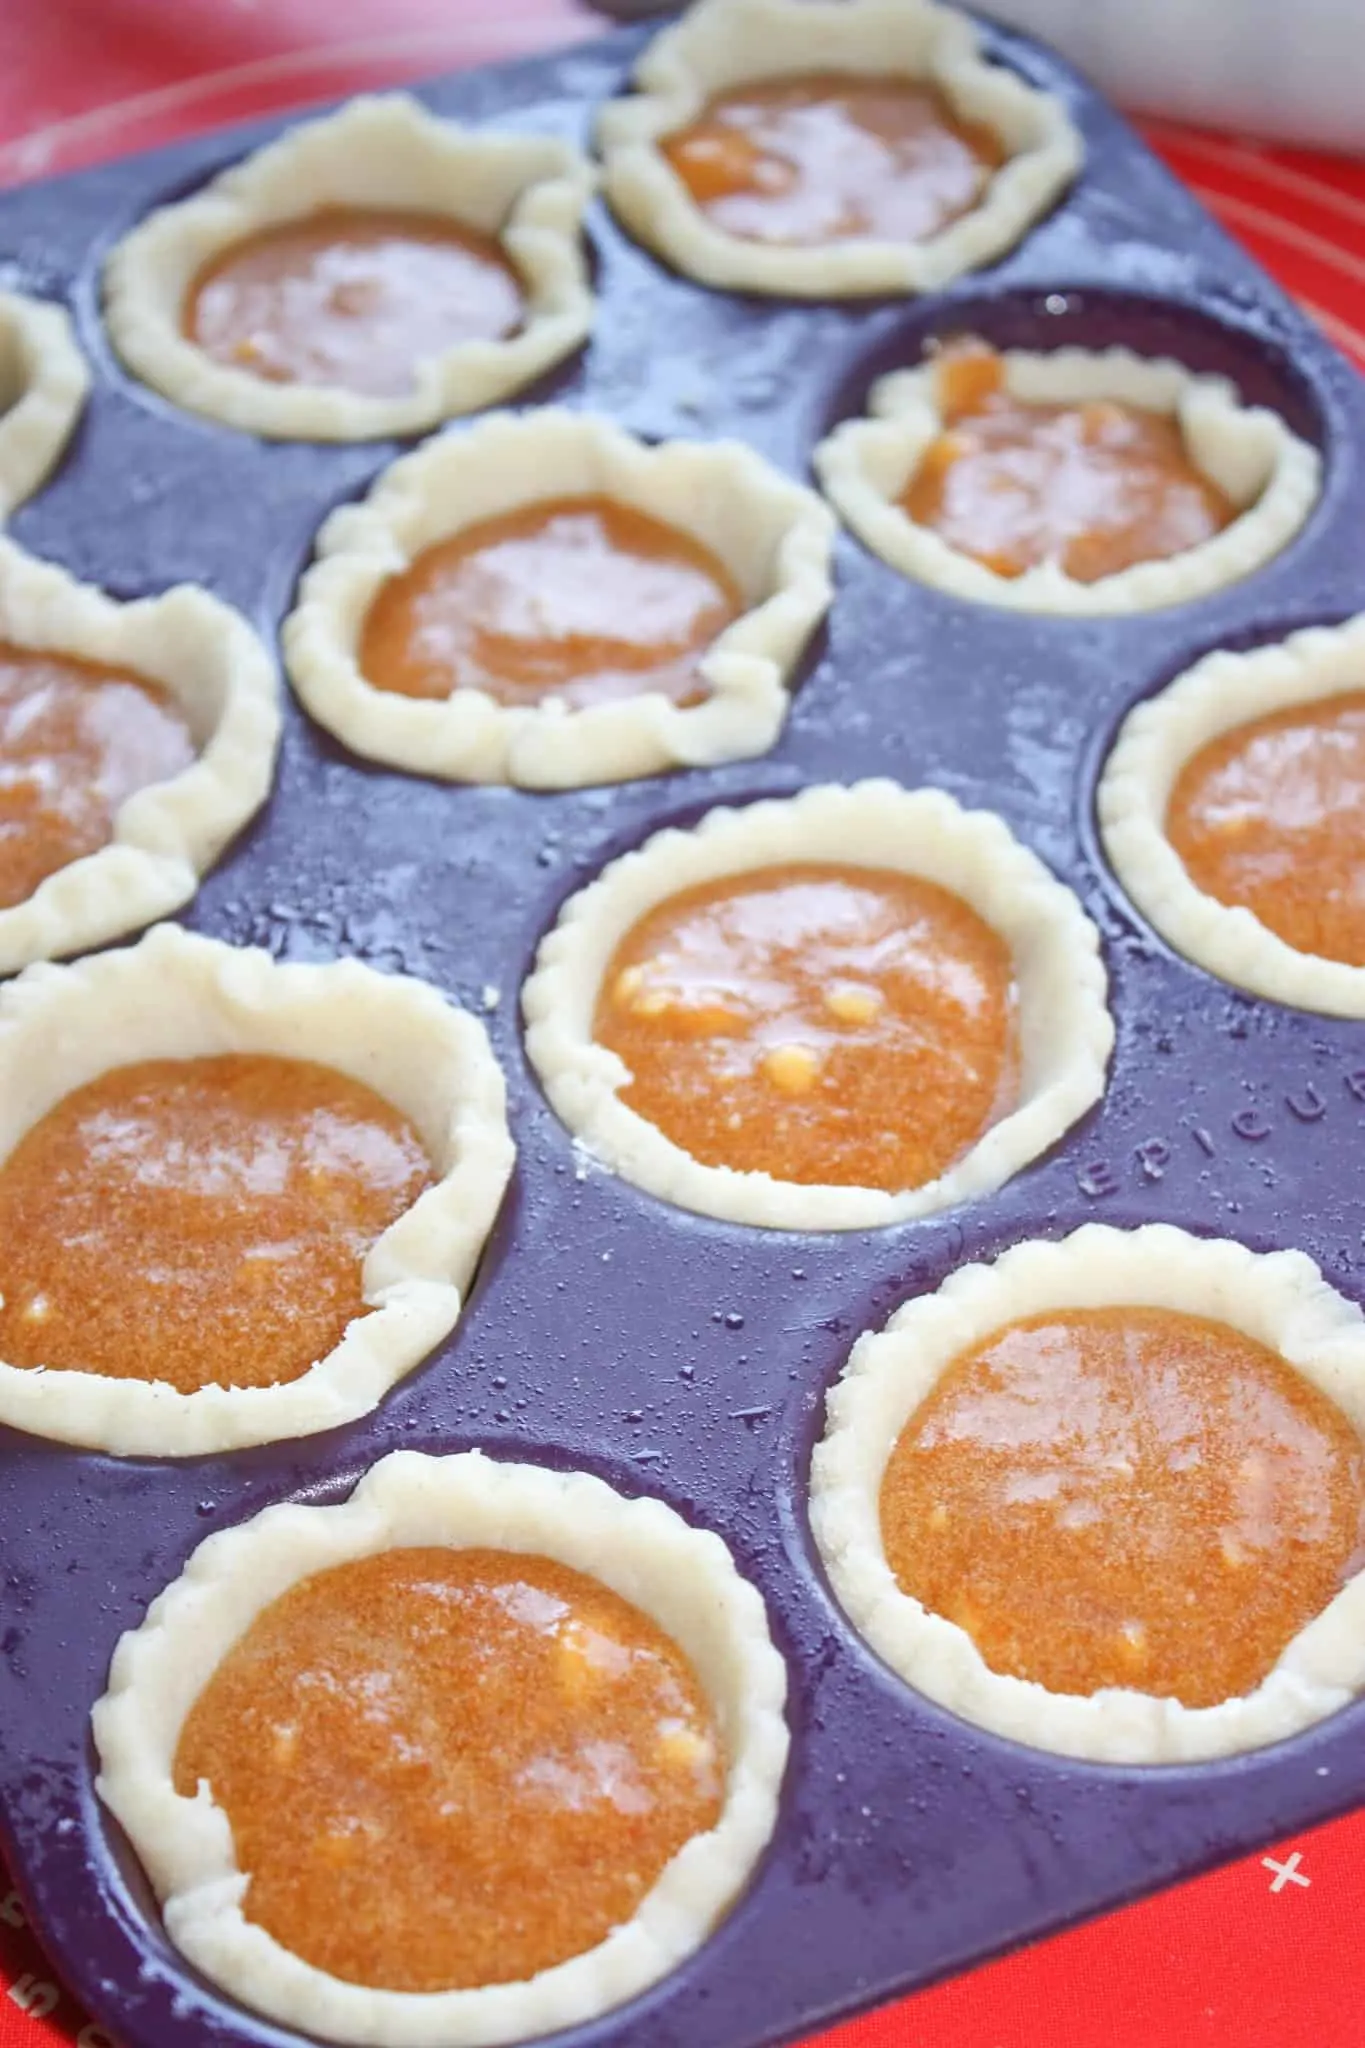
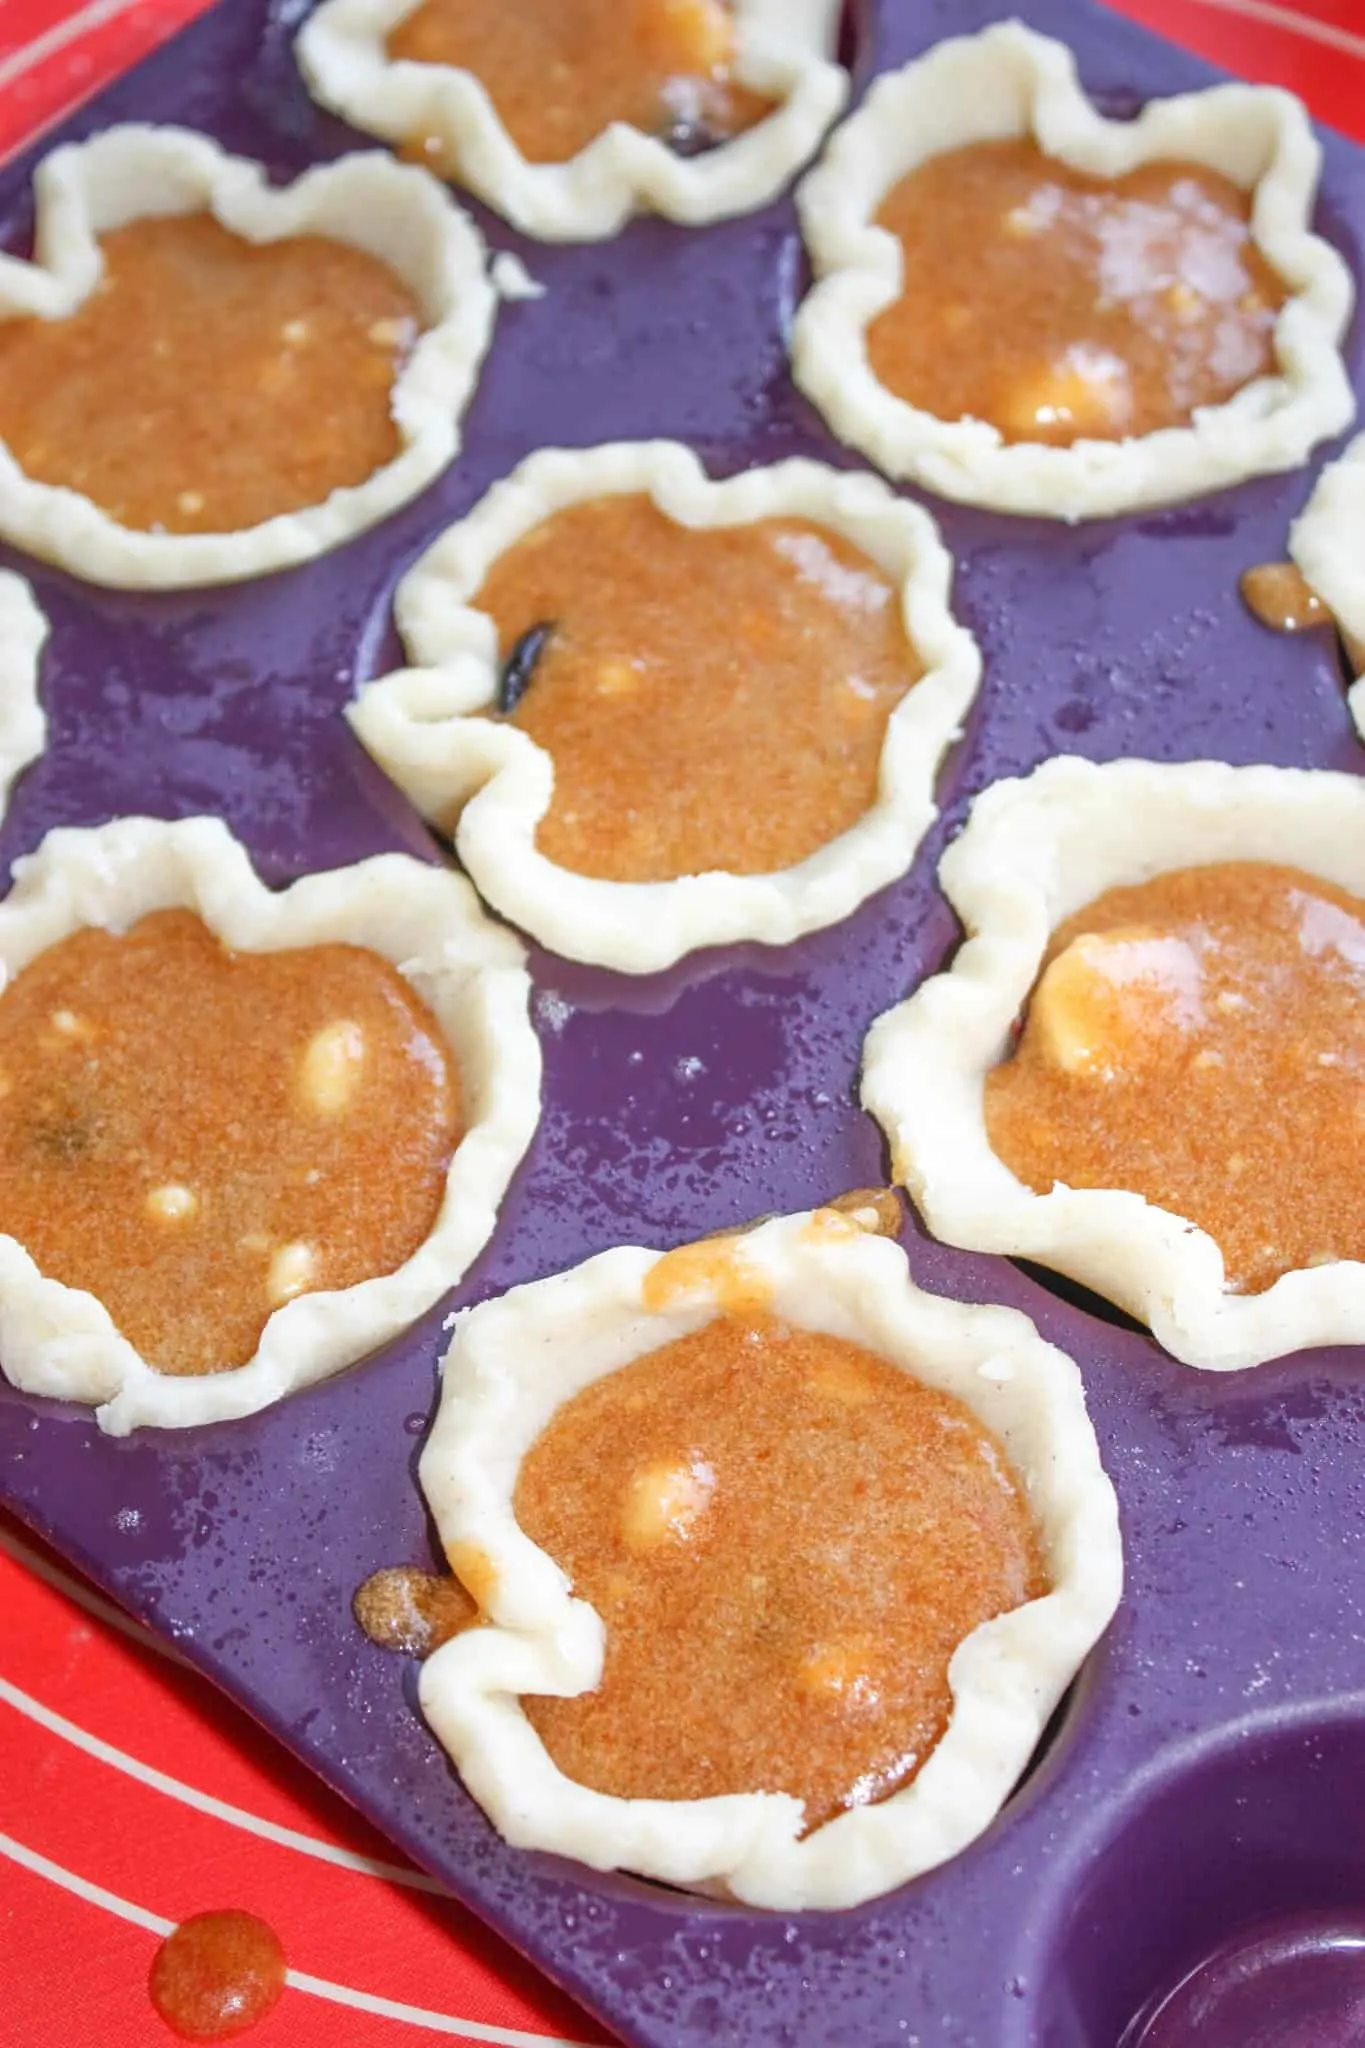
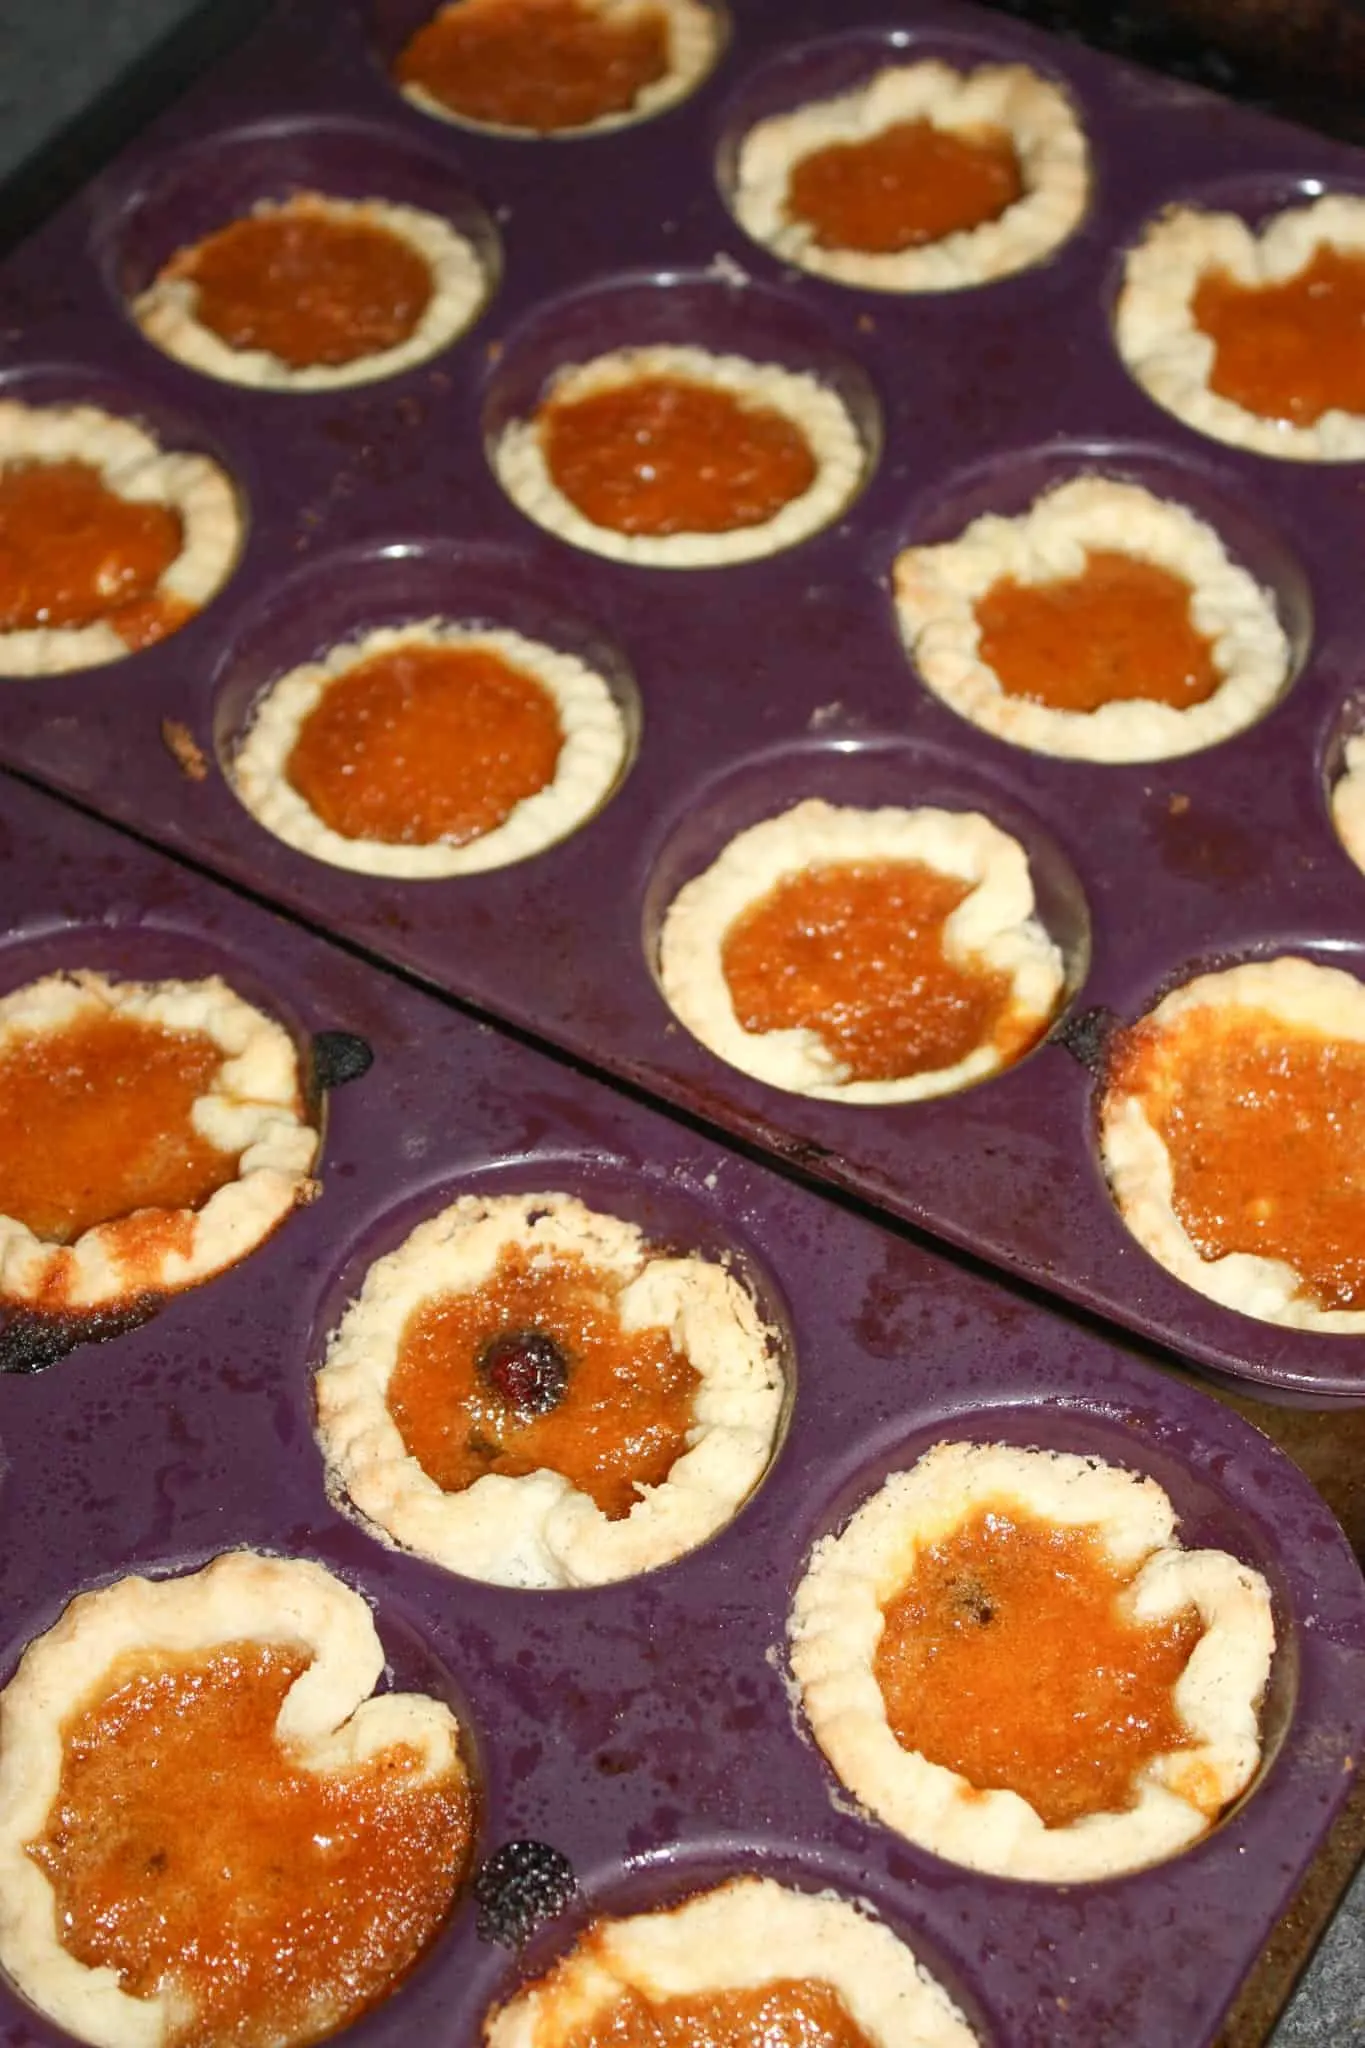
Once the egg was beaten into the batter I scooped the batter into the muffin pans. I filled them about 3/4 full.

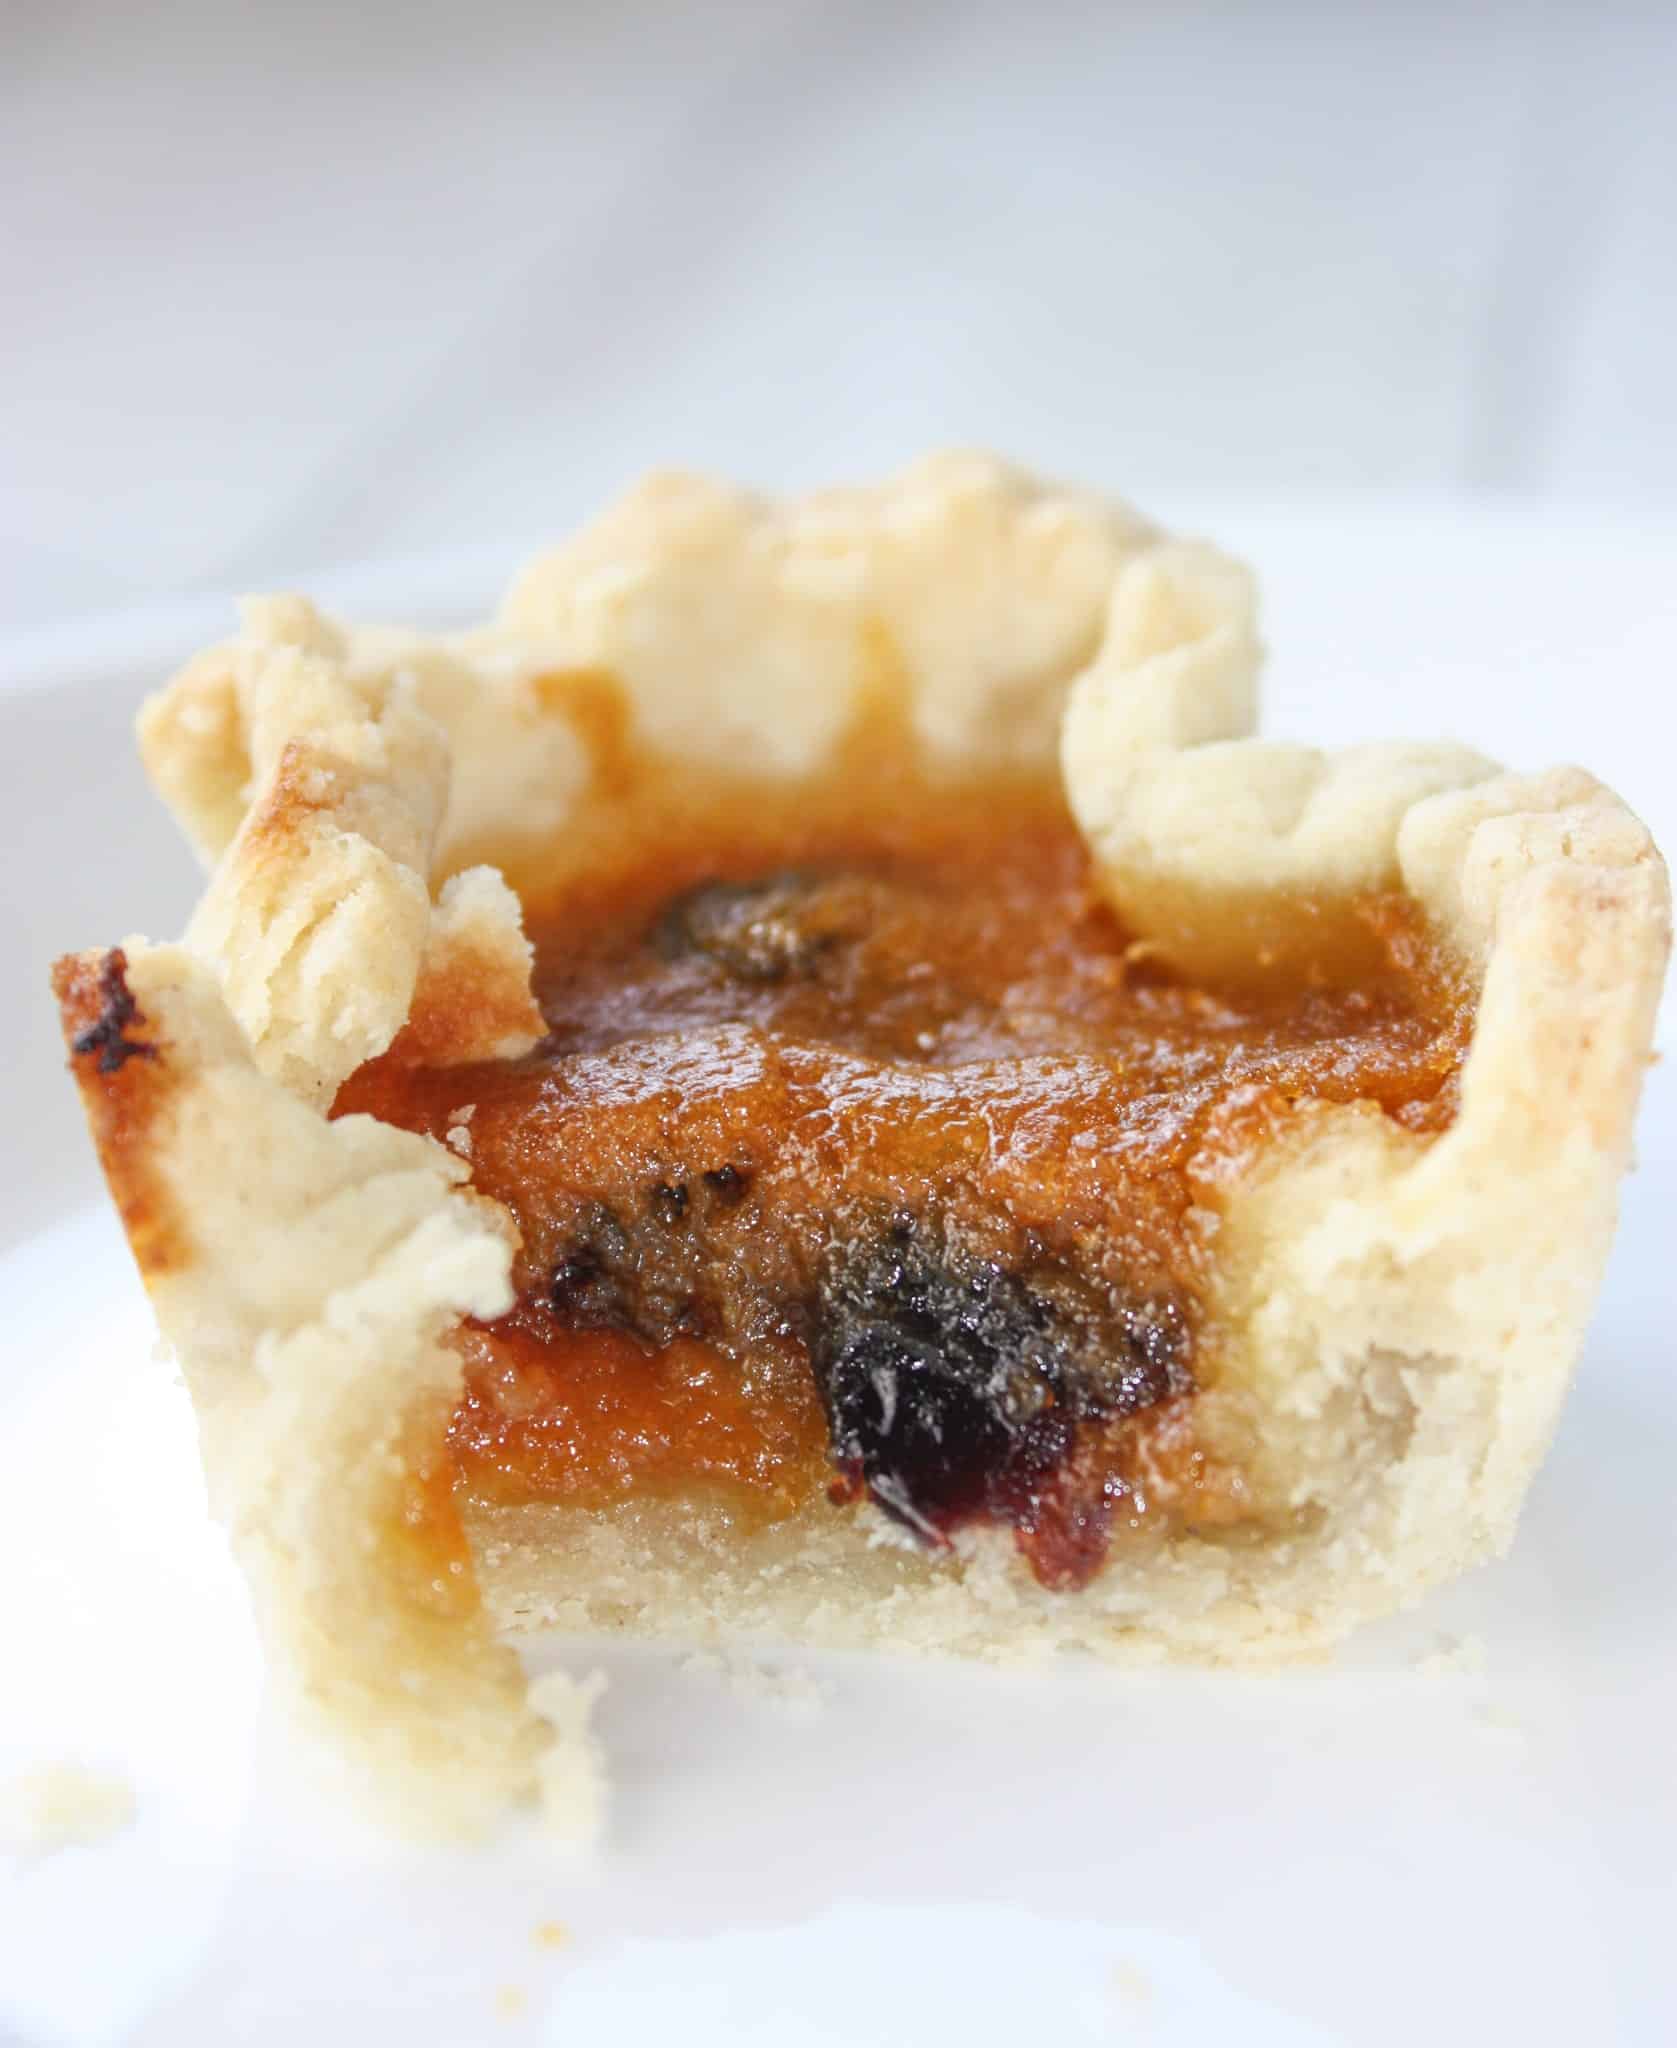
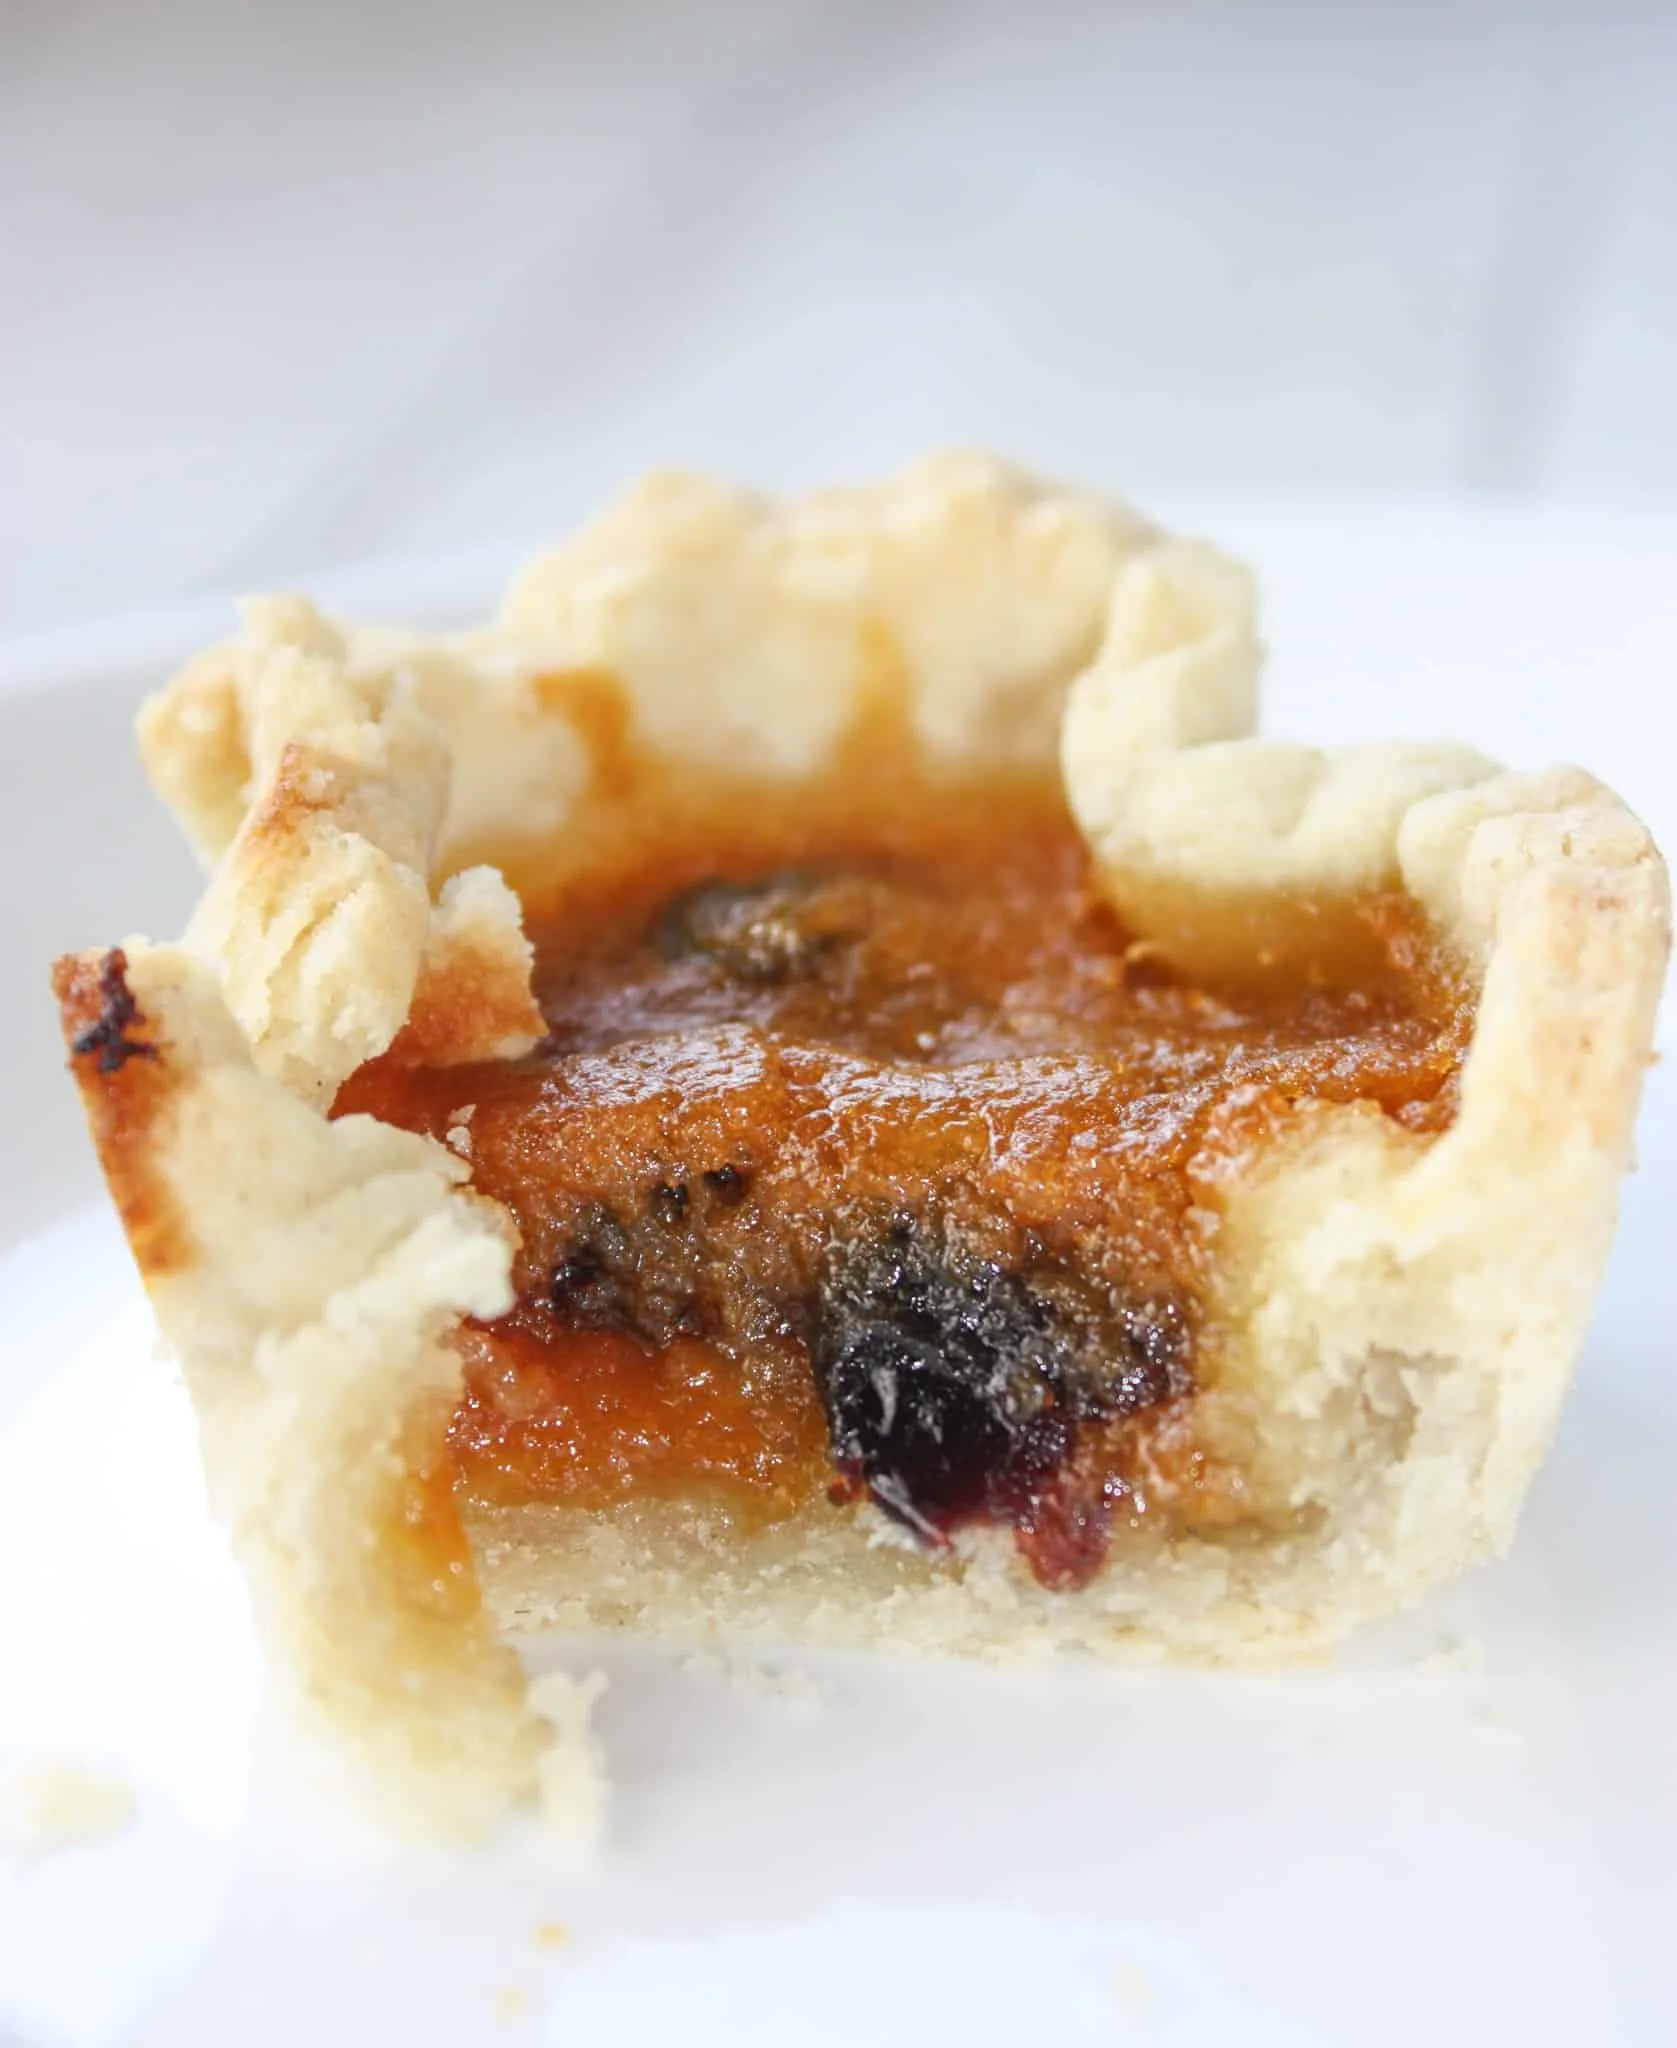
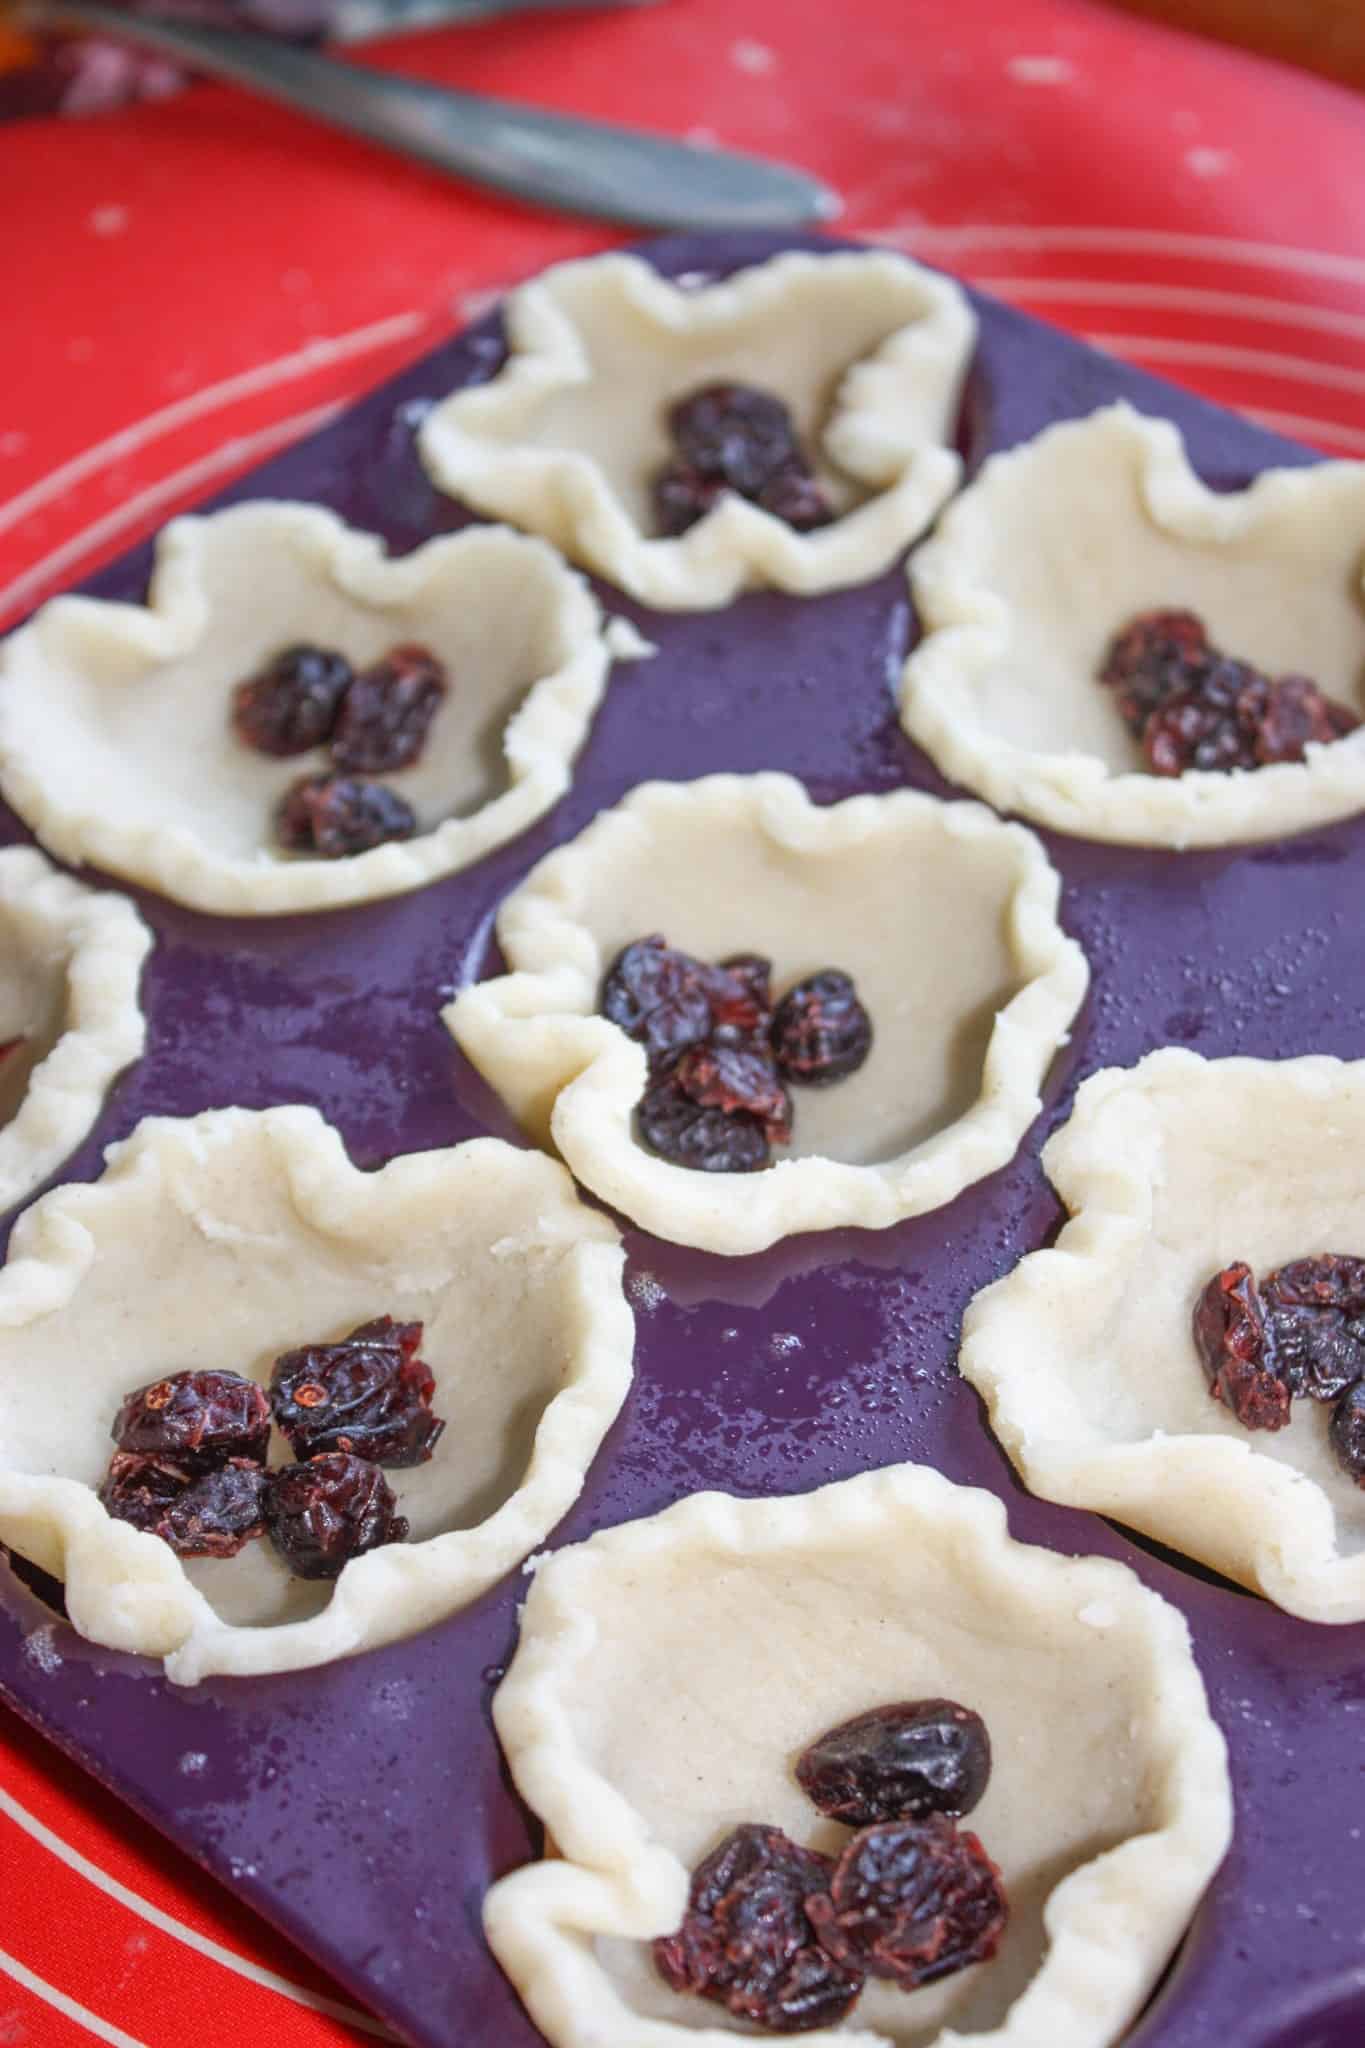
For half of the tarts I placed a few Craisins in the bottom before adding the batter.

When all the shells were filled I placed the pans in a preheated 350F oven on a lower rack. I baked the tarts for 12 to 15 minutes or until they were just set.

After removing them from the oven I allowed them to cool completely in the muffin pans. They are very fragile when hot.

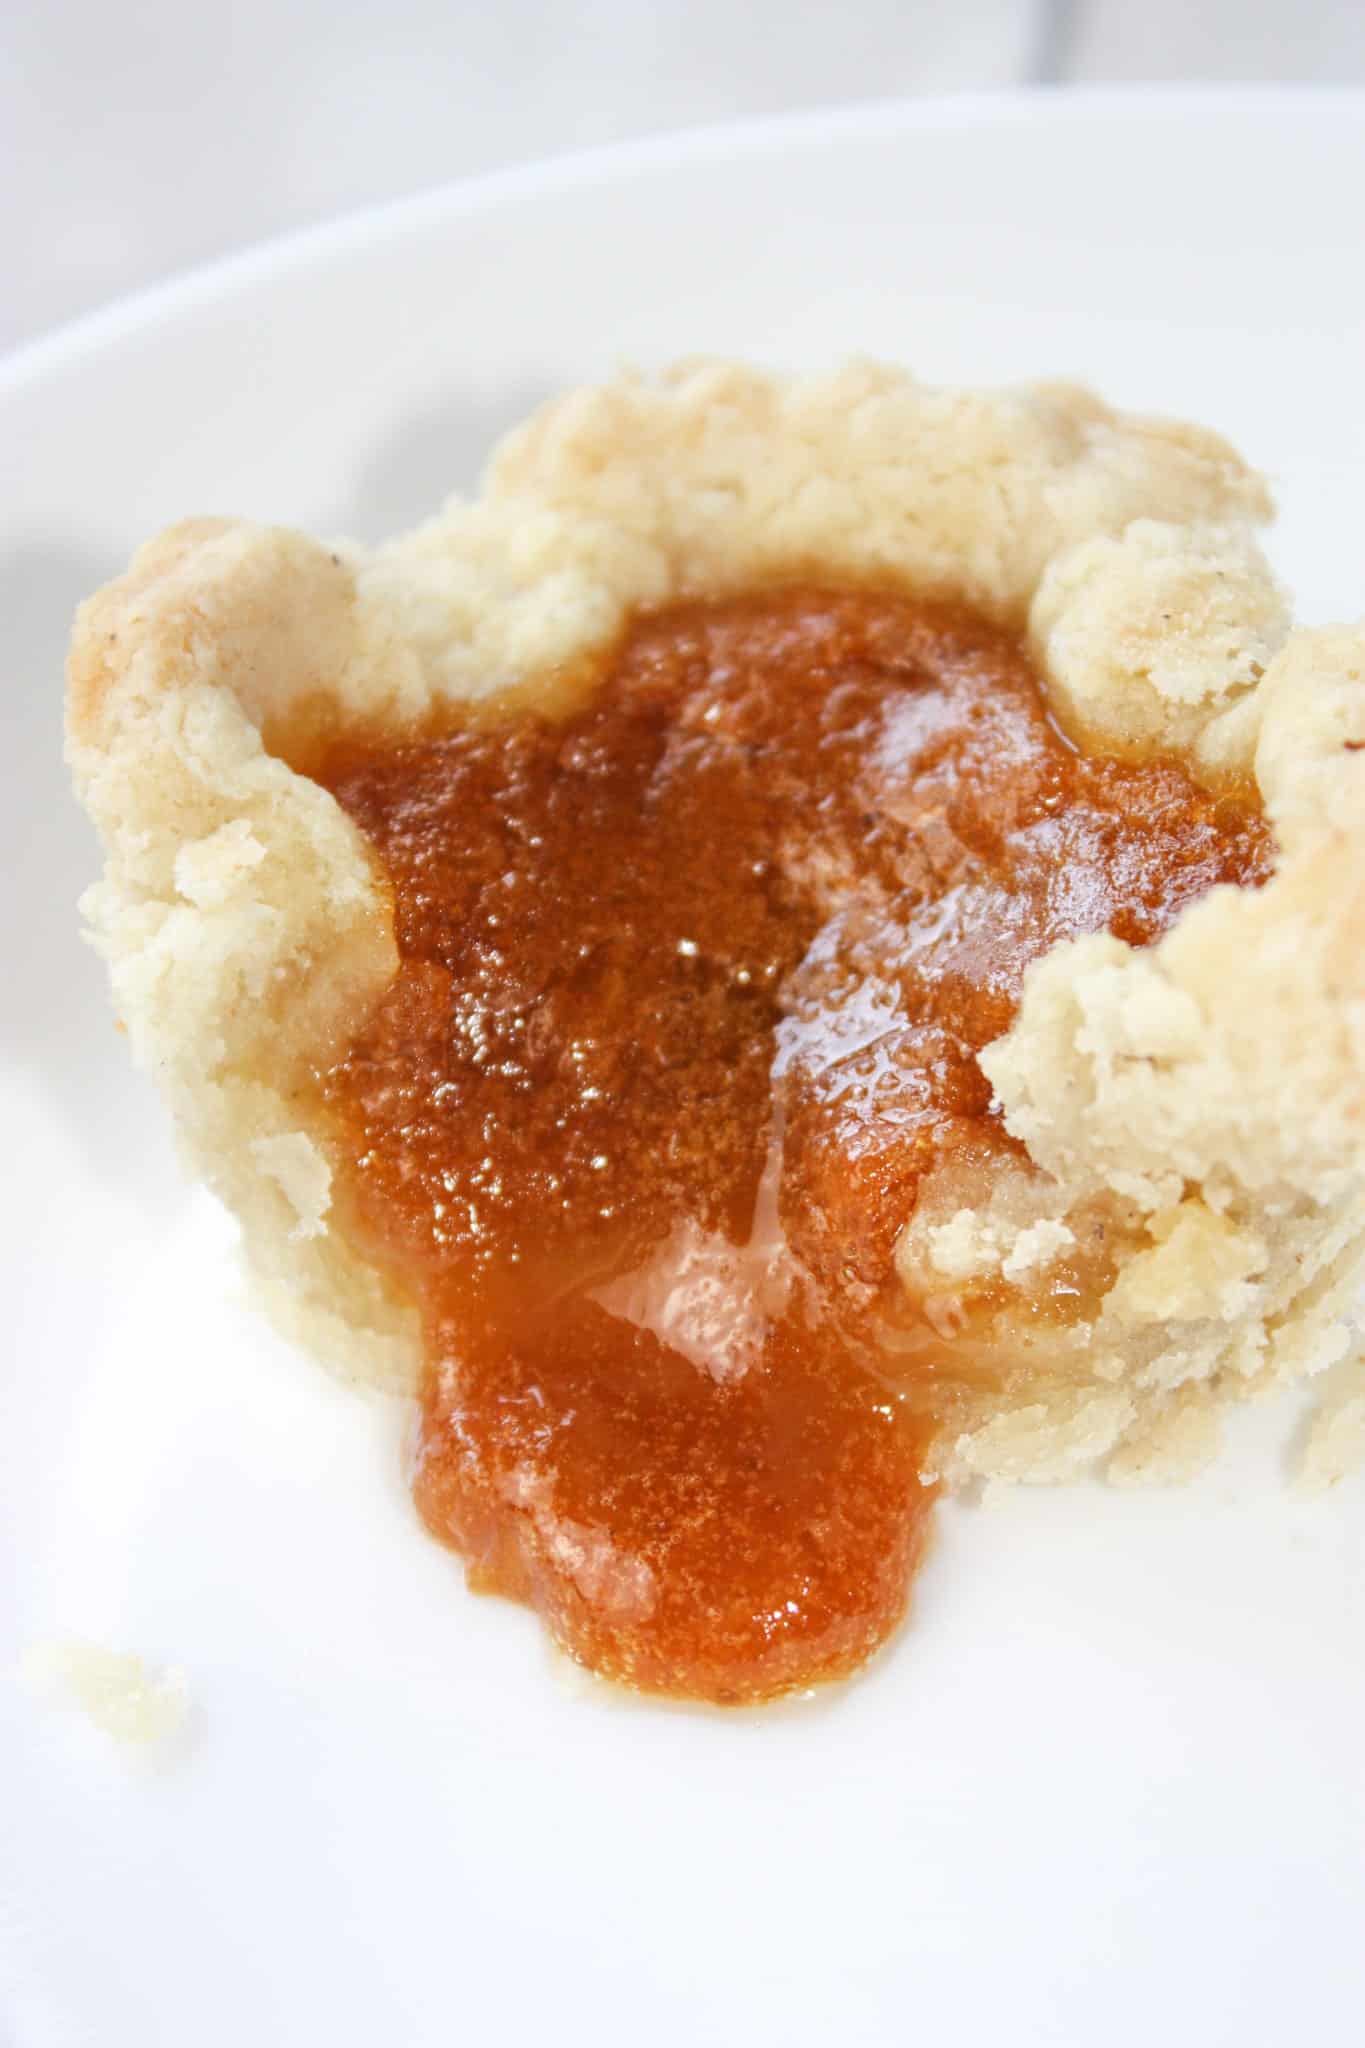
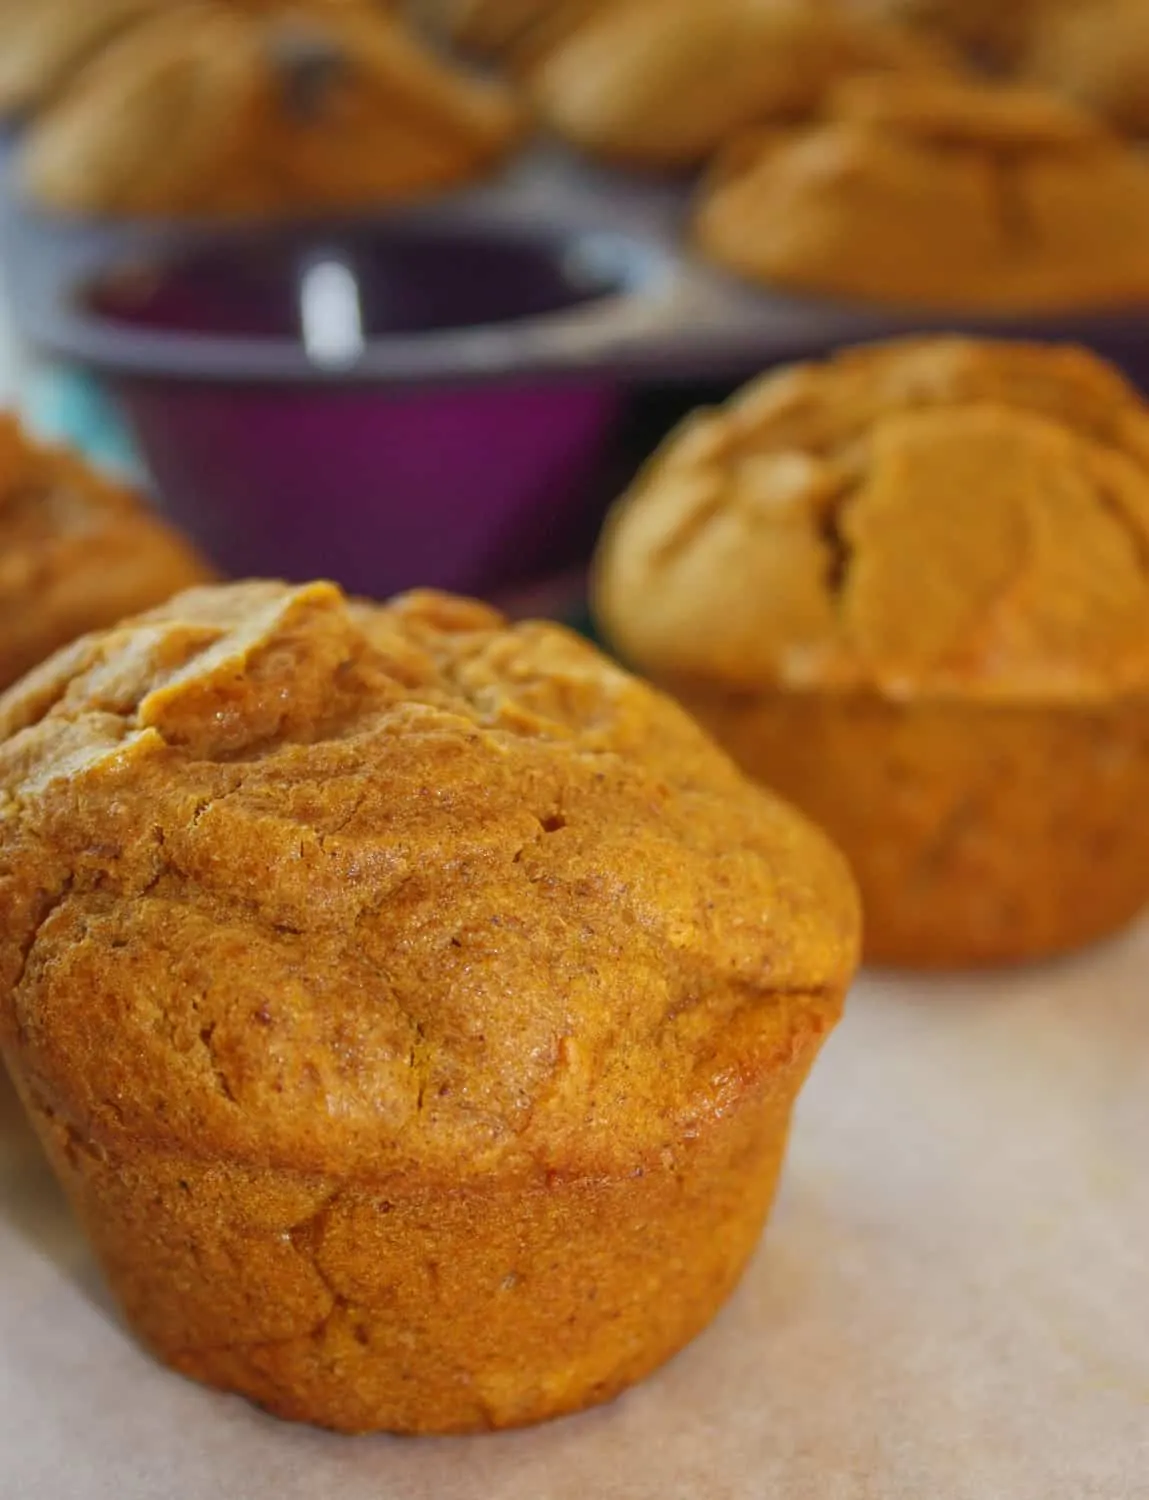
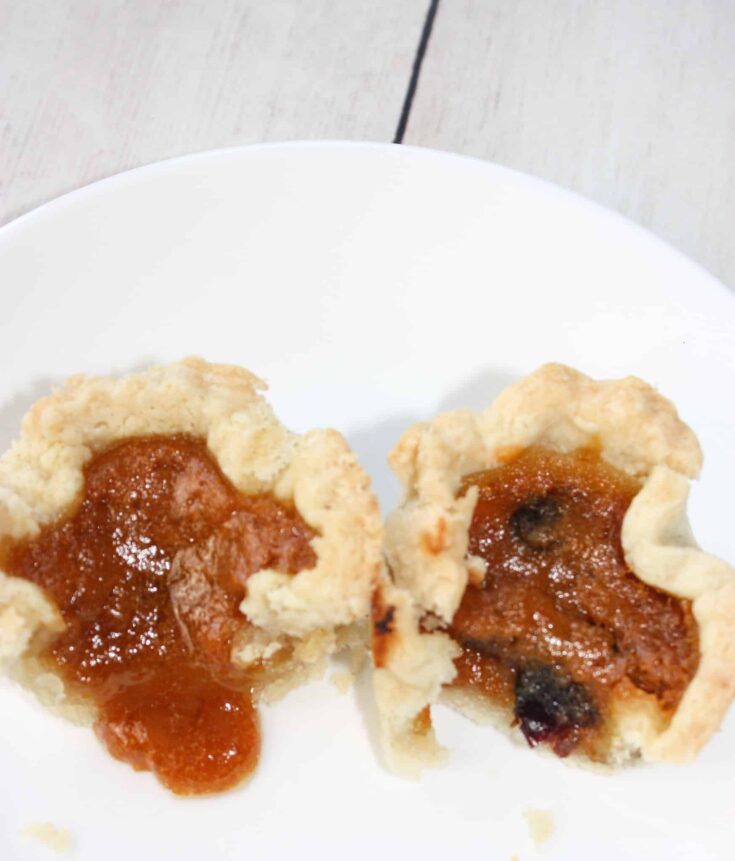
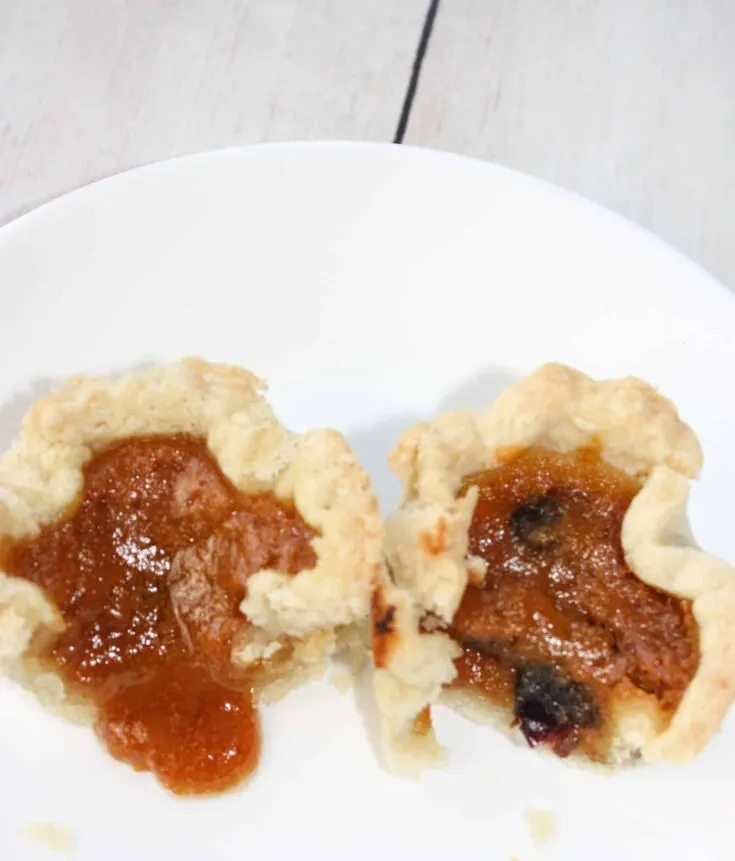
Pumpkin Butter Tarts are a delicious variation of traditional butter tarts.

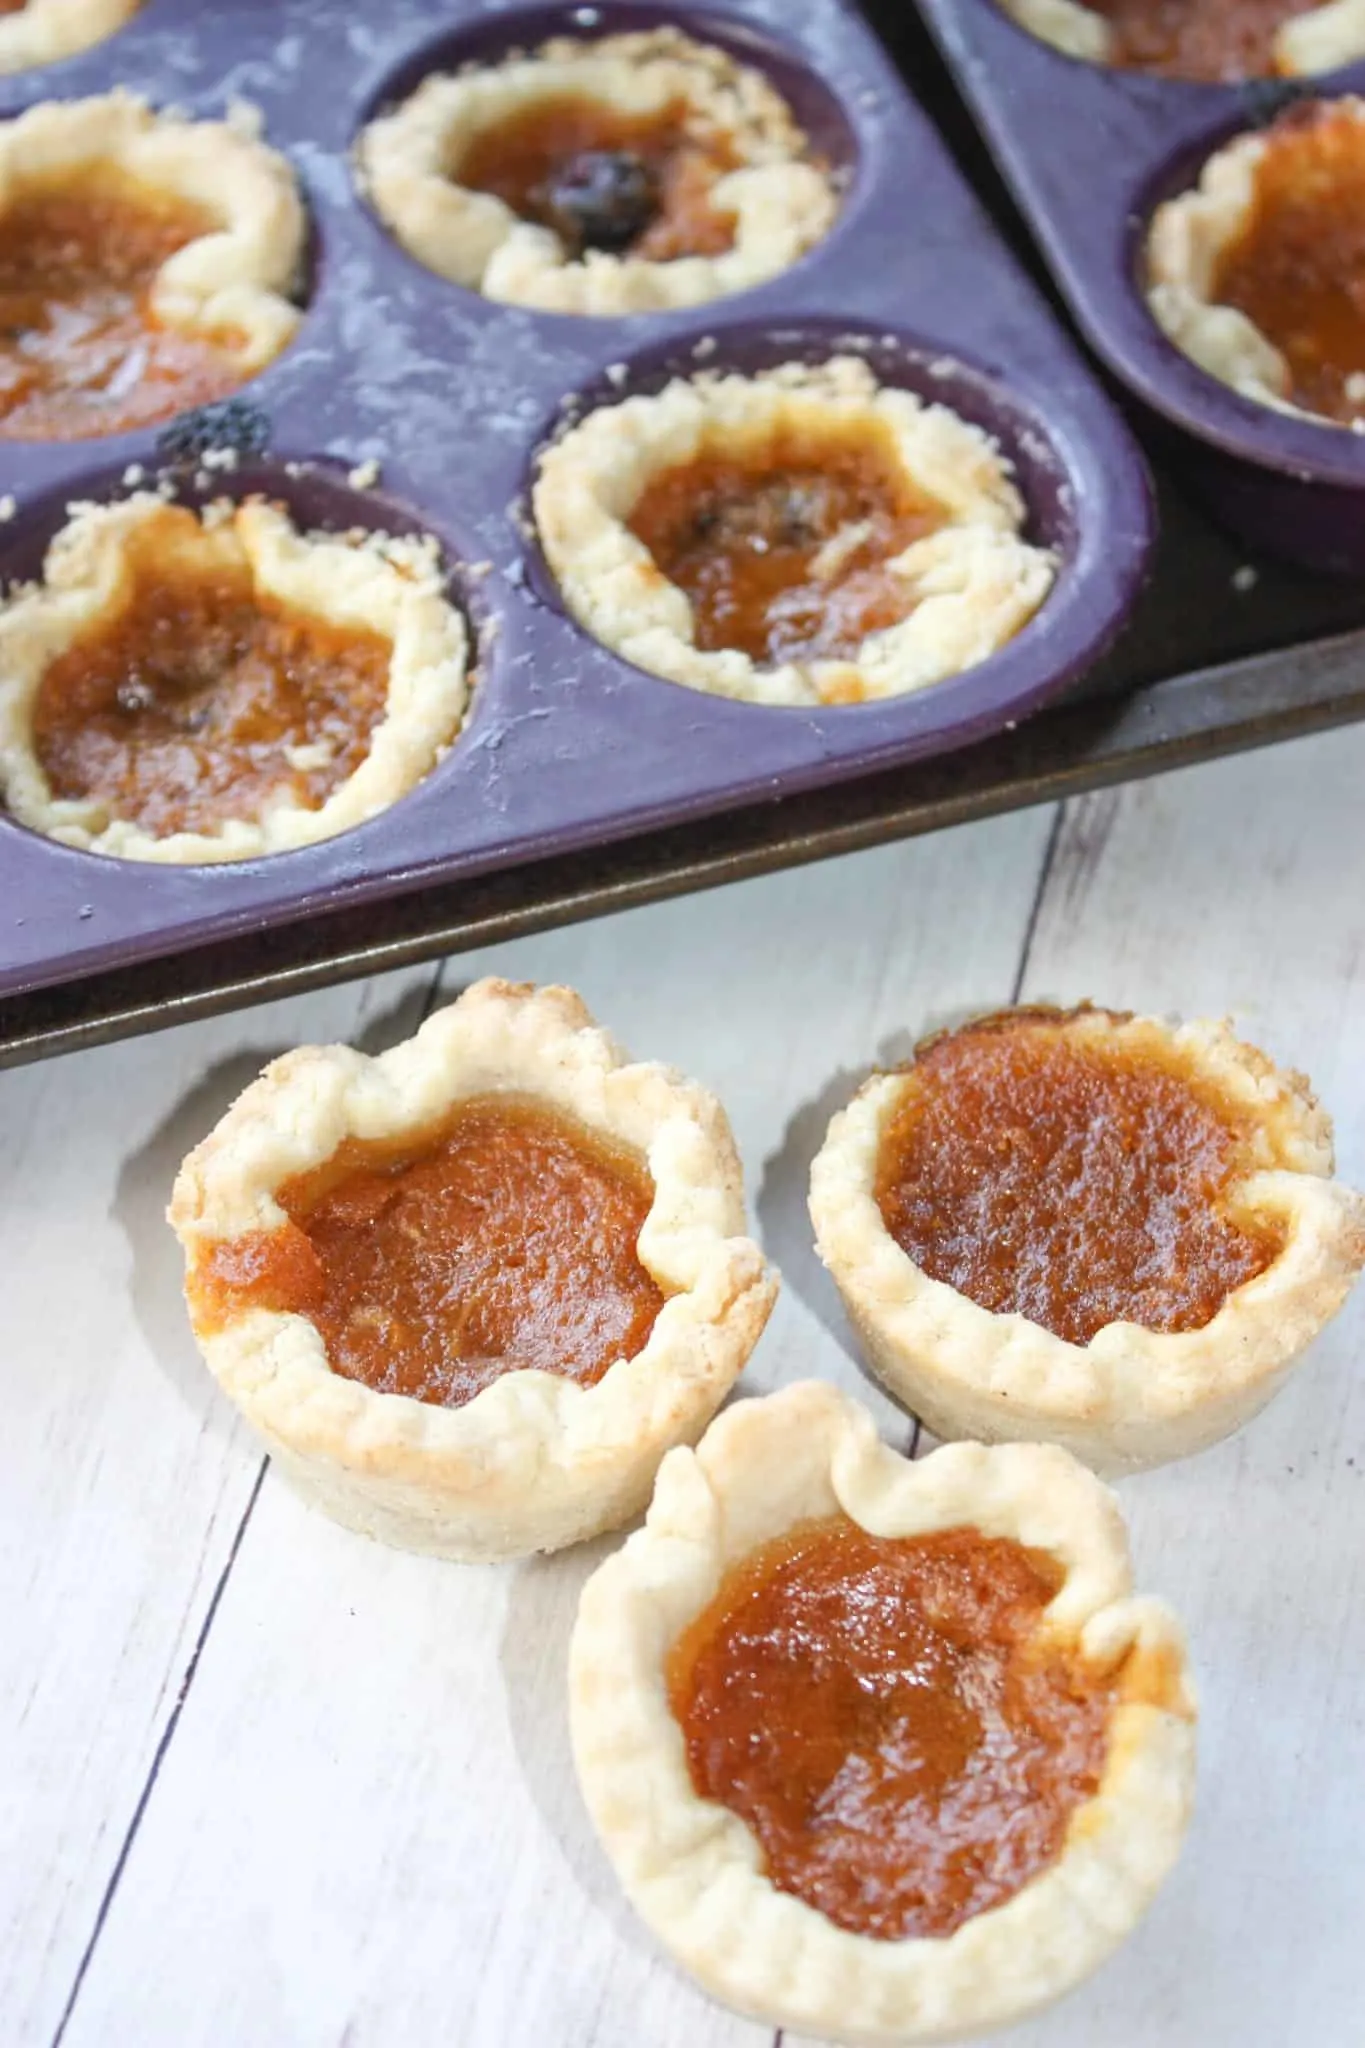
Enjoy them plain or with dried cranberries. Either way it will be hard to eat just one!

Printable Recipe Card with a Full List of Ingredients and Instructions is Located at the Bottom of the Post.
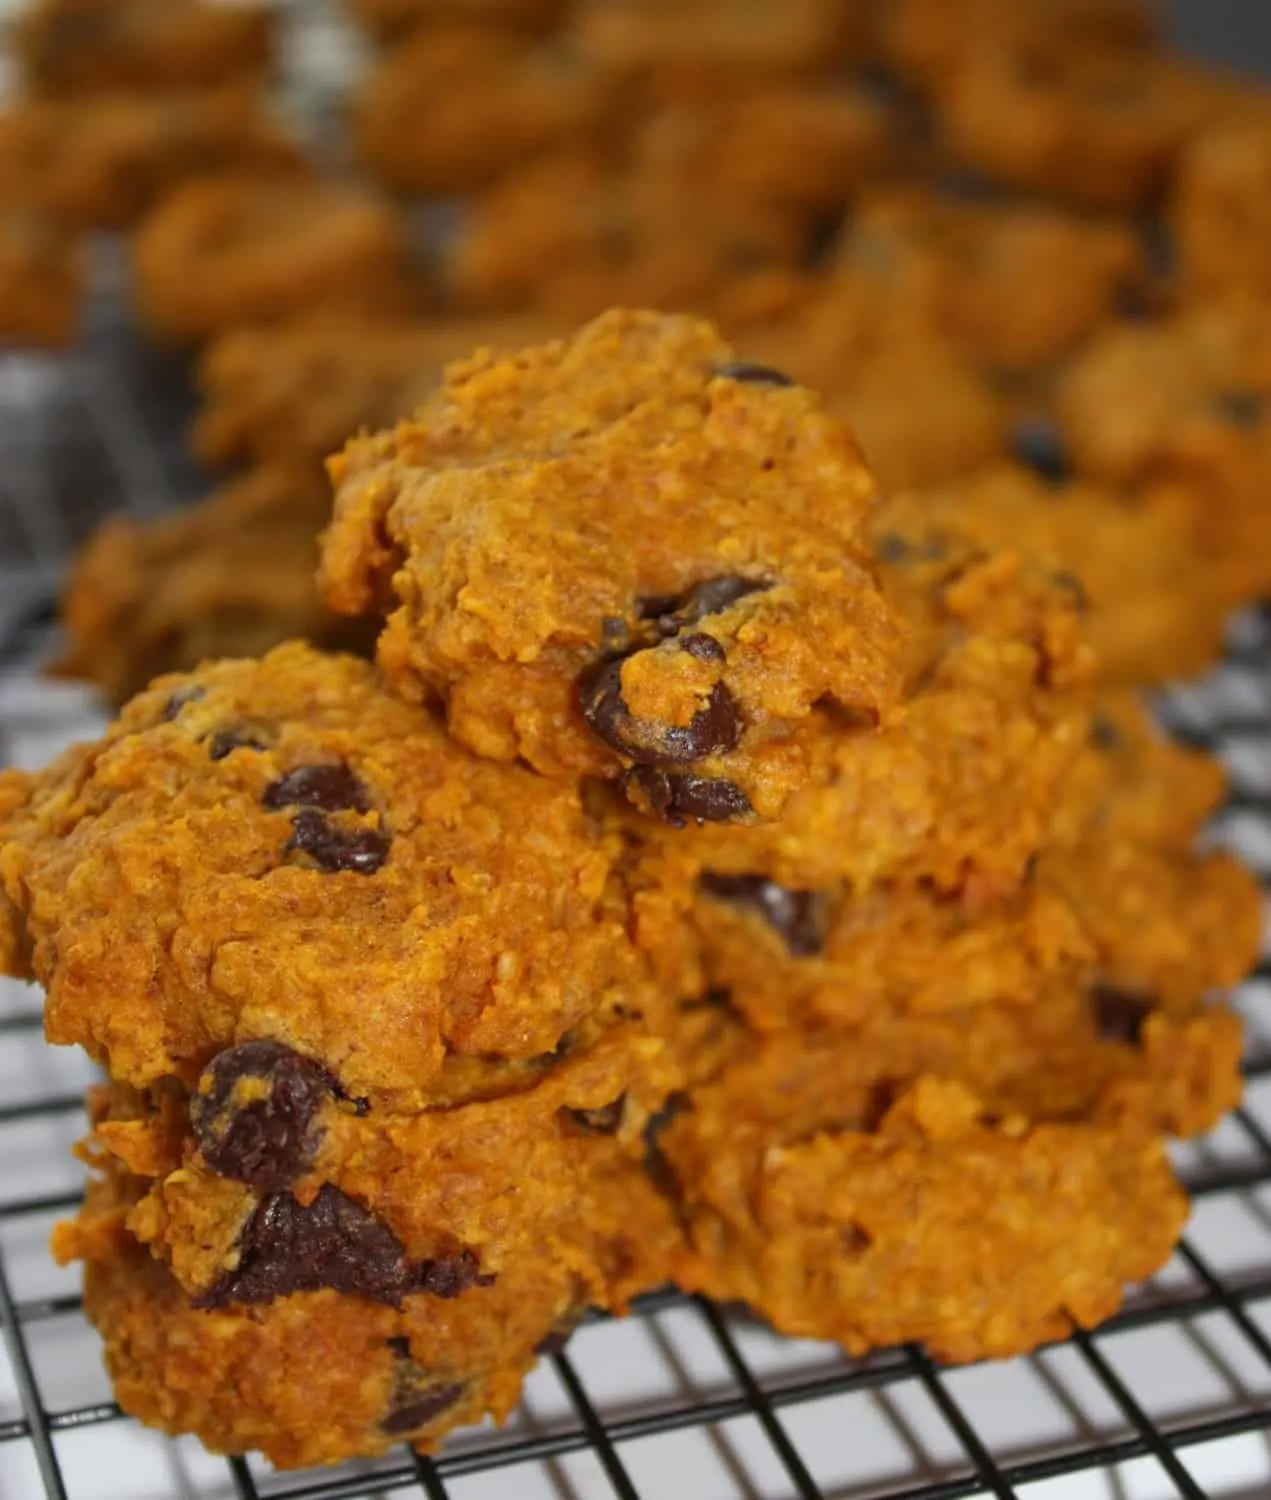
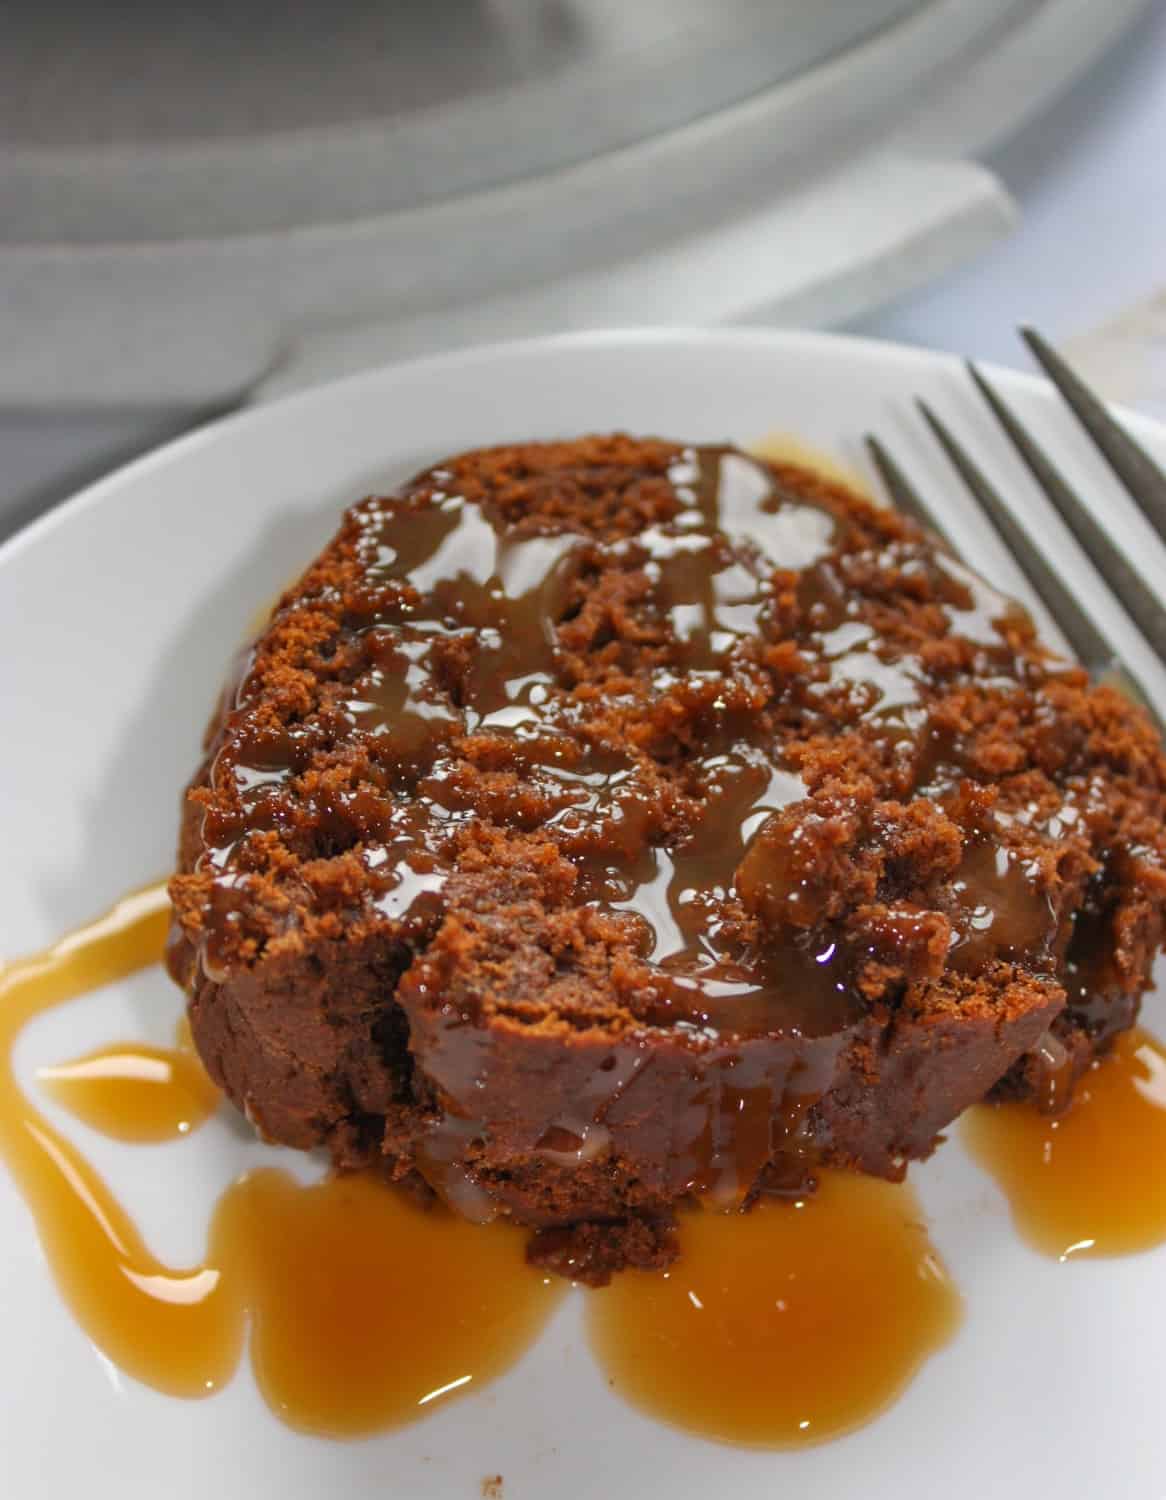
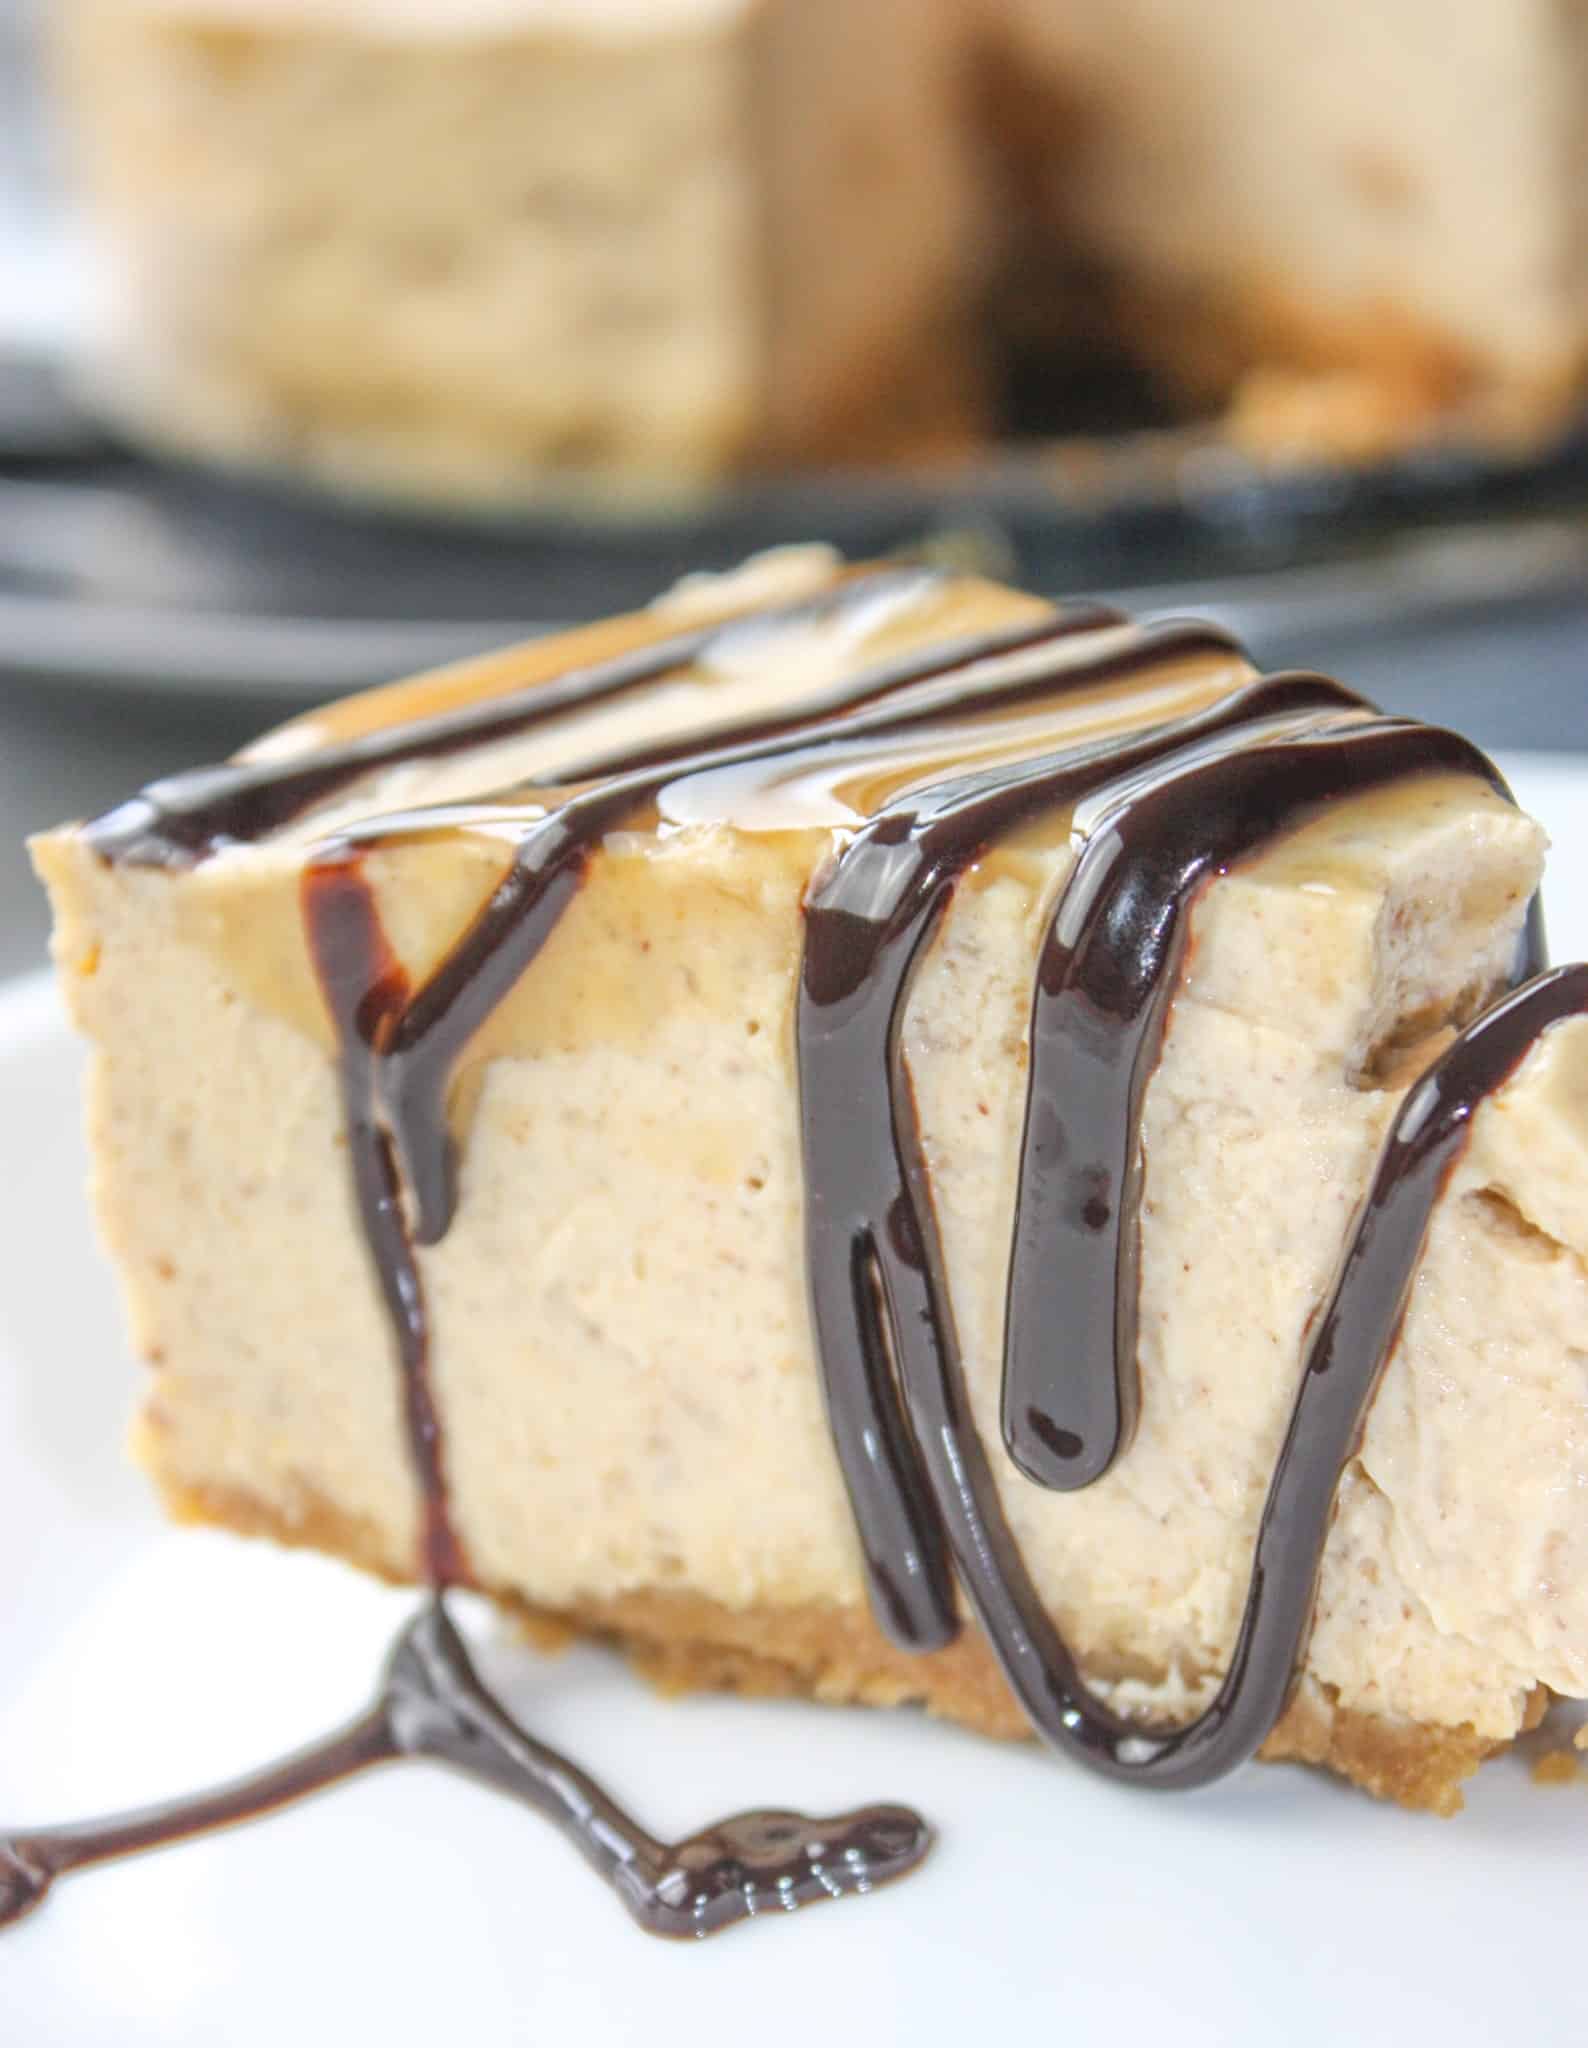
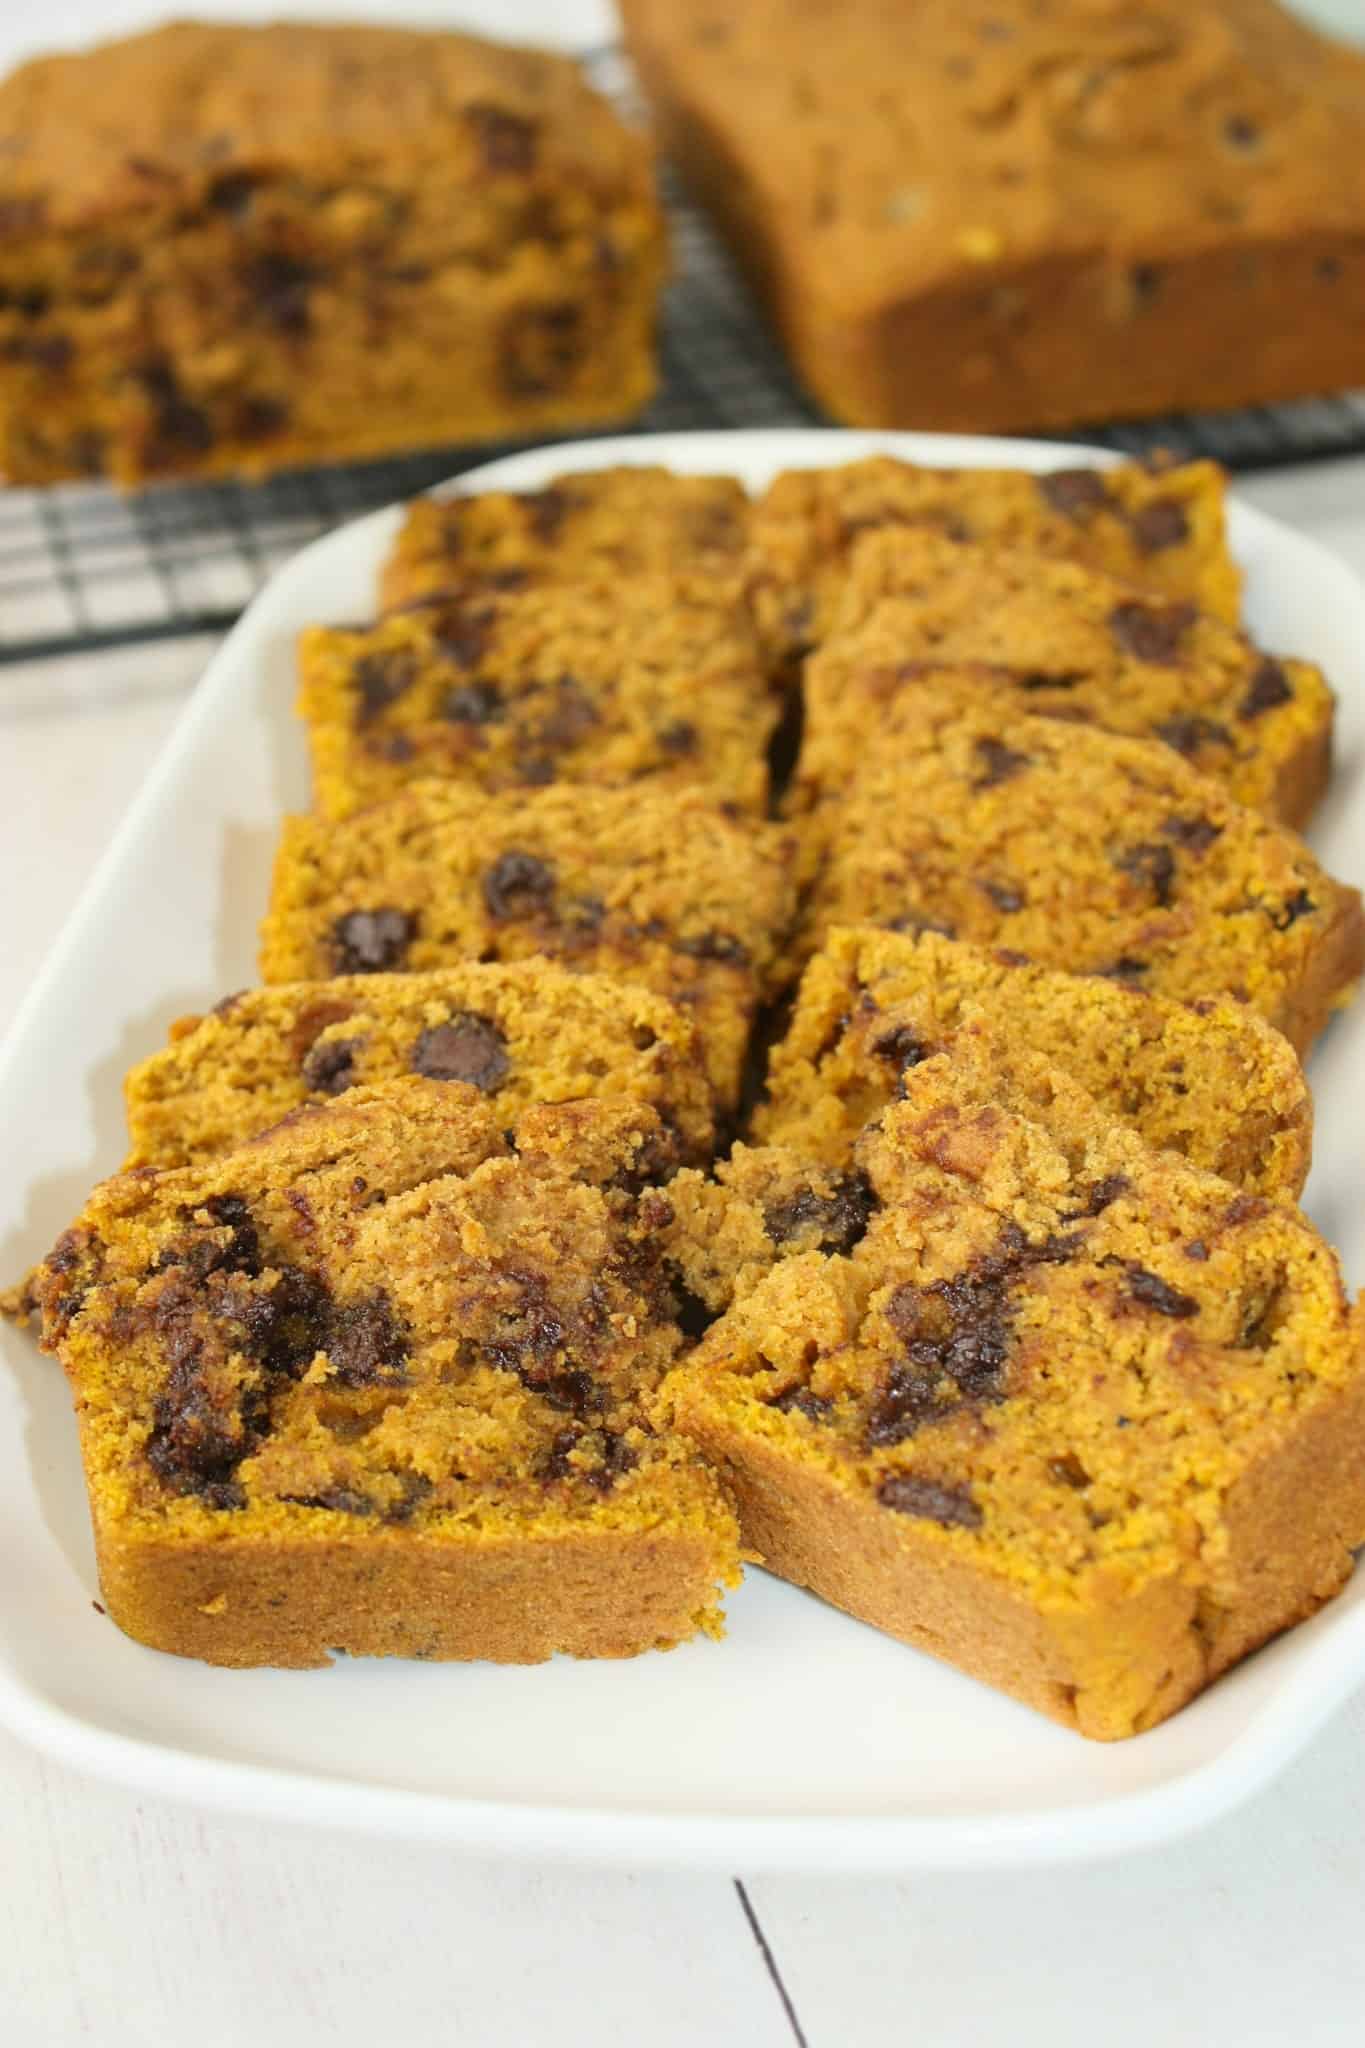
More Pumpkin Recipes You Will Love…


PRINTABLE VERSION OF THE RECIPE CAN BE FOUND AT THE BOTTOM OF THE PAGE
Ingredients You’ll Need to Make these Pumpkin Butter Tarts:
- 2/3 cup lightly packed brown sugar
- 1/2 cup corn syrup
- 1/4 cup pure maple syrup
- 1/4 cup golden flavour Crisco shortening
- 1 tsp vanilla extract
- 1/4 tsp salt
- 1/3 cup pure pumpkin puree
- 1 egg, large
Optional: - 1/3 cup Craisins or dried cranberries for 1/2 of tarts
How to Make Pumpkin Butter Tarts:
- Preheat oven to 350F.
- Prepare pastry for a double crust pie. Recipe on this site.
- Roll out between sheets of plastic wrap dusted with gluten free flour.
- Use a 3.5 inch cookie cutter to make rounds.
- Use a spatula to lift rounds and place them in muffin pans. I used silicone because it is easer to push the tarts out after they have cooled.
- Combine the brown sugar, corn syrup, maple syrup, shortening, vanilla, and salt in a small mixing bowl until well mixed.
- Stir in the pumpkin puree.
- Stir in the egg until well combined.
- Scoop tart batter into pastry rounds and fill about 3/4 full.
- If using Craisins or cranberries in all or some of the tarts place a few in rounds before adding batter.
- Place muffin pans in the preheated 350F oven on a lower rack.
- Bake for 12 to 15 minutes or just until set.
- Remove from oven and leave in pans to cool on wire rack.
- When cooled completely carefully remove from muffin pans.
- Serve and enjoy!
FAQS:
How do I store pumpkin butter tarts?
To store pumpkin butter tarts, follow these guidelines to keep them fresh and delicious:
- Cool to Room Temperature: Allow the pumpkin butter tarts to cool completely at room temperature before storing them. This prevents condensation inside the storage container.
- Choose the Right Container: Select an airtight container or a storage container with a sealable lid. You can also use a tin or a plastic container with a tight-fitting lid. Alternatively, you can use a resealable plastic bag.
- Layering: If you need to stack the tarts in the container, separate the layers with parchment paper or wax paper to prevent sticking.
- Seal Tightly: Ensure the container or bag is sealed tightly to prevent air from getting in. This will help keep the tarts fresh and prevent them from drying out.
- Refrigeration: If you plan to consume the tarts within a week, you can store them at room temperature. However, if you need to store them for a longer period, it’s a good idea to refrigerate them. Place the container in the refrigerator to extend the shelf life. Pumpkin butter tarts can generally be refrigerated for up to two weeks.
- Avoid Moisture: Ensure that the container is moisture-free, as excess moisture can make the tarts soggy. If you notice any moisture inside the container, pat it dry with a paper towel.
- Quality Check: Before serving, check the stored tarts for any signs of spoilage, such as mold, off-odors, or discoloration. If they look or smell off, it’s best to discard them.
Properly stored pumpkin butter tarts can be a delightful treat even after a few days or weeks. Remember that the storage times mentioned are approximate, and the freshness of your tarts may vary based on factors like temperature and humidity.
Can I freeze pumpkin butter tarts?
Yes, you can freeze pumpkin butter tarts. Freezing is a great way to preserve these delicious treats for a longer period of time. Here’s how you can do it:
- Allow the tarts to cool completely: Let the pumpkin butter tarts cool at room temperature after baking. This helps prevent condensation from forming inside the storage container.
- Prepare for freezing: You can freeze the tarts in a few different ways, depending on your preferences:
a. Individually wrap: Wrap each tart individually in plastic wrap or aluminum foil. This method makes it easier to thaw and serve individual tarts.
b. Tray freezing: Place the tarts on a baking sheet or tray, making sure they are not touching. Put the tray in the freezer for a few hours until the tarts are firm. Once they’re frozen, transfer them to an airtight container or a freezer-safe bag. This method prevents the tarts from sticking together.
- Label and store: Don’t forget to label the storage container or bags with the date, so you can keep track of how long they’ve been in the freezer. Properly stored, pumpkin butter tarts can stay good in the freezer for about 2-3 months.
- Thaw and reheat: When you’re ready to enjoy the tarts, remove them from the freezer and let them thaw in the refrigerator. You can also reheat them in the oven at a low temperature to refresh their texture and flavors. Use a preheated oven set to around 300°F (150°C) and warm them for about 10-15 minutes, or until they’re heated through.
By following these steps, you can enjoy your homemade pumpkin butter tarts even when they were made well in advance.
Pumpkin Butter Tarts - Gluten Free
Pumpkin Butter Tarts are a seasonal twist on traditonal butter tarts. These gluten free tarts will be a tasty addition to any fall menu.
Ingredients
- 2/3 cup lightly packed brown sugar
- 1/2 cup corn syrup
- 1/4 cup pure maple syrup
- 1/4 cup golden flavour Crisco shortening
- 1 tsp vanilla extract
- 1/4 tsp salt
- 1/3 cup pure pumpkin puree
- 1 egg, large
- Optional:
- 1/3 cup Craisins or dried cranberries for 1/2 of tarts
Instructions
- Preheat oven to 350F.
- Prepare pastry for a double crust pie. Recipe on this site.
- Roll out between sheets of plastic wrap dusted with gluten free flour.
- Use a 3.5 inch cookie cutter to make rounds.
- Use a spatula to lift rounds and place them in muffin pans. I used silicone because it is easer to push the tarts out after they have cooled.
- Combine the brown sugar, corn syrup, maple syrup, shortening, vanilla, and salt in a small mixing bowl until well mixed.
- Stir in the pumpkin puree.
- Stir in the egg until well combined.
- Scoop tart batter into pastry rounds and fill about 3/4 full.
- If using Craisins or cranberries in all or some of the tarts place a few in rounds before adding batter.
- Place muffin pans in the preheated 350F oven on a lower rack.
- Bake for 12 to 15 minutes or just until set.
- Remove from oven and leave in pans to cool on wire rack.
- When cooled completely carefully remove from muffin pans.
- Serve and enjoy!
Nutrition Information:
Yield:
21Serving Size:
1Amount Per Serving: Calories: 172Total Fat: 10gSaturated Fat: 4gTrans Fat: 0gUnsaturated Fat: 6gCholesterol: 15mgSodium: 42mgCarbohydrates: 20gFiber: 0gSugar: 18gProtein: 0g
Linda Matthews
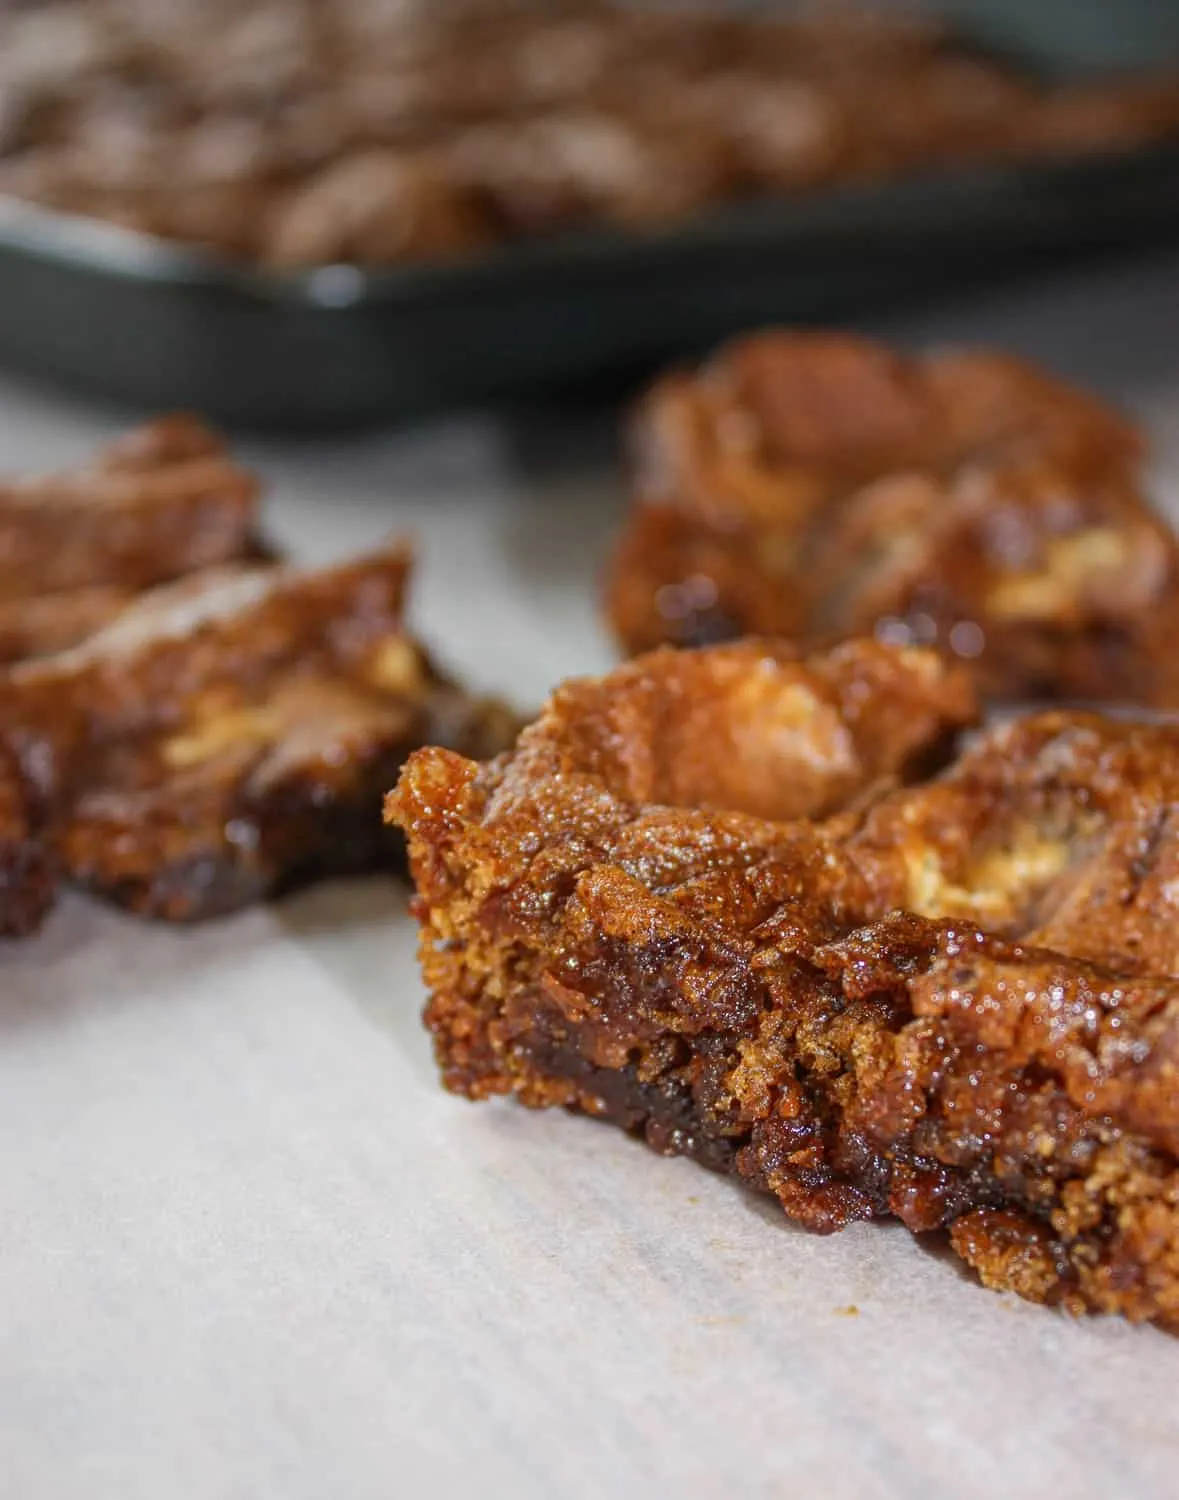
Monday 10th of October 2022
Hi Kathy! I had written to you last week asking if your gluten free pumpkin butter tarts could be made into bars….I accidentally erased your reply. I wanted to let you know I made a gluten free crust which I pre baked for about 15 minutes, then doubled your recipe and added 2 tablespoons of cornstarch to the brown sugar as you suggested. Poured over the crust and baked for about 40-45 minutes. I cooled them and put in the fridge over night. In the morning (I used parchment paper) I removed from pan, removed parchment and cut into squares. They were amazing! A big hit at Thanksgiving! Thank you very much.
Kathleen
Tuesday 11th of October 2022
Hi Linda, I am so glad the modifications to the recipe worked out for you! Thank you so much for letting us know how they turned out! I will be making some bars myself soon. Take care, Kathleen