
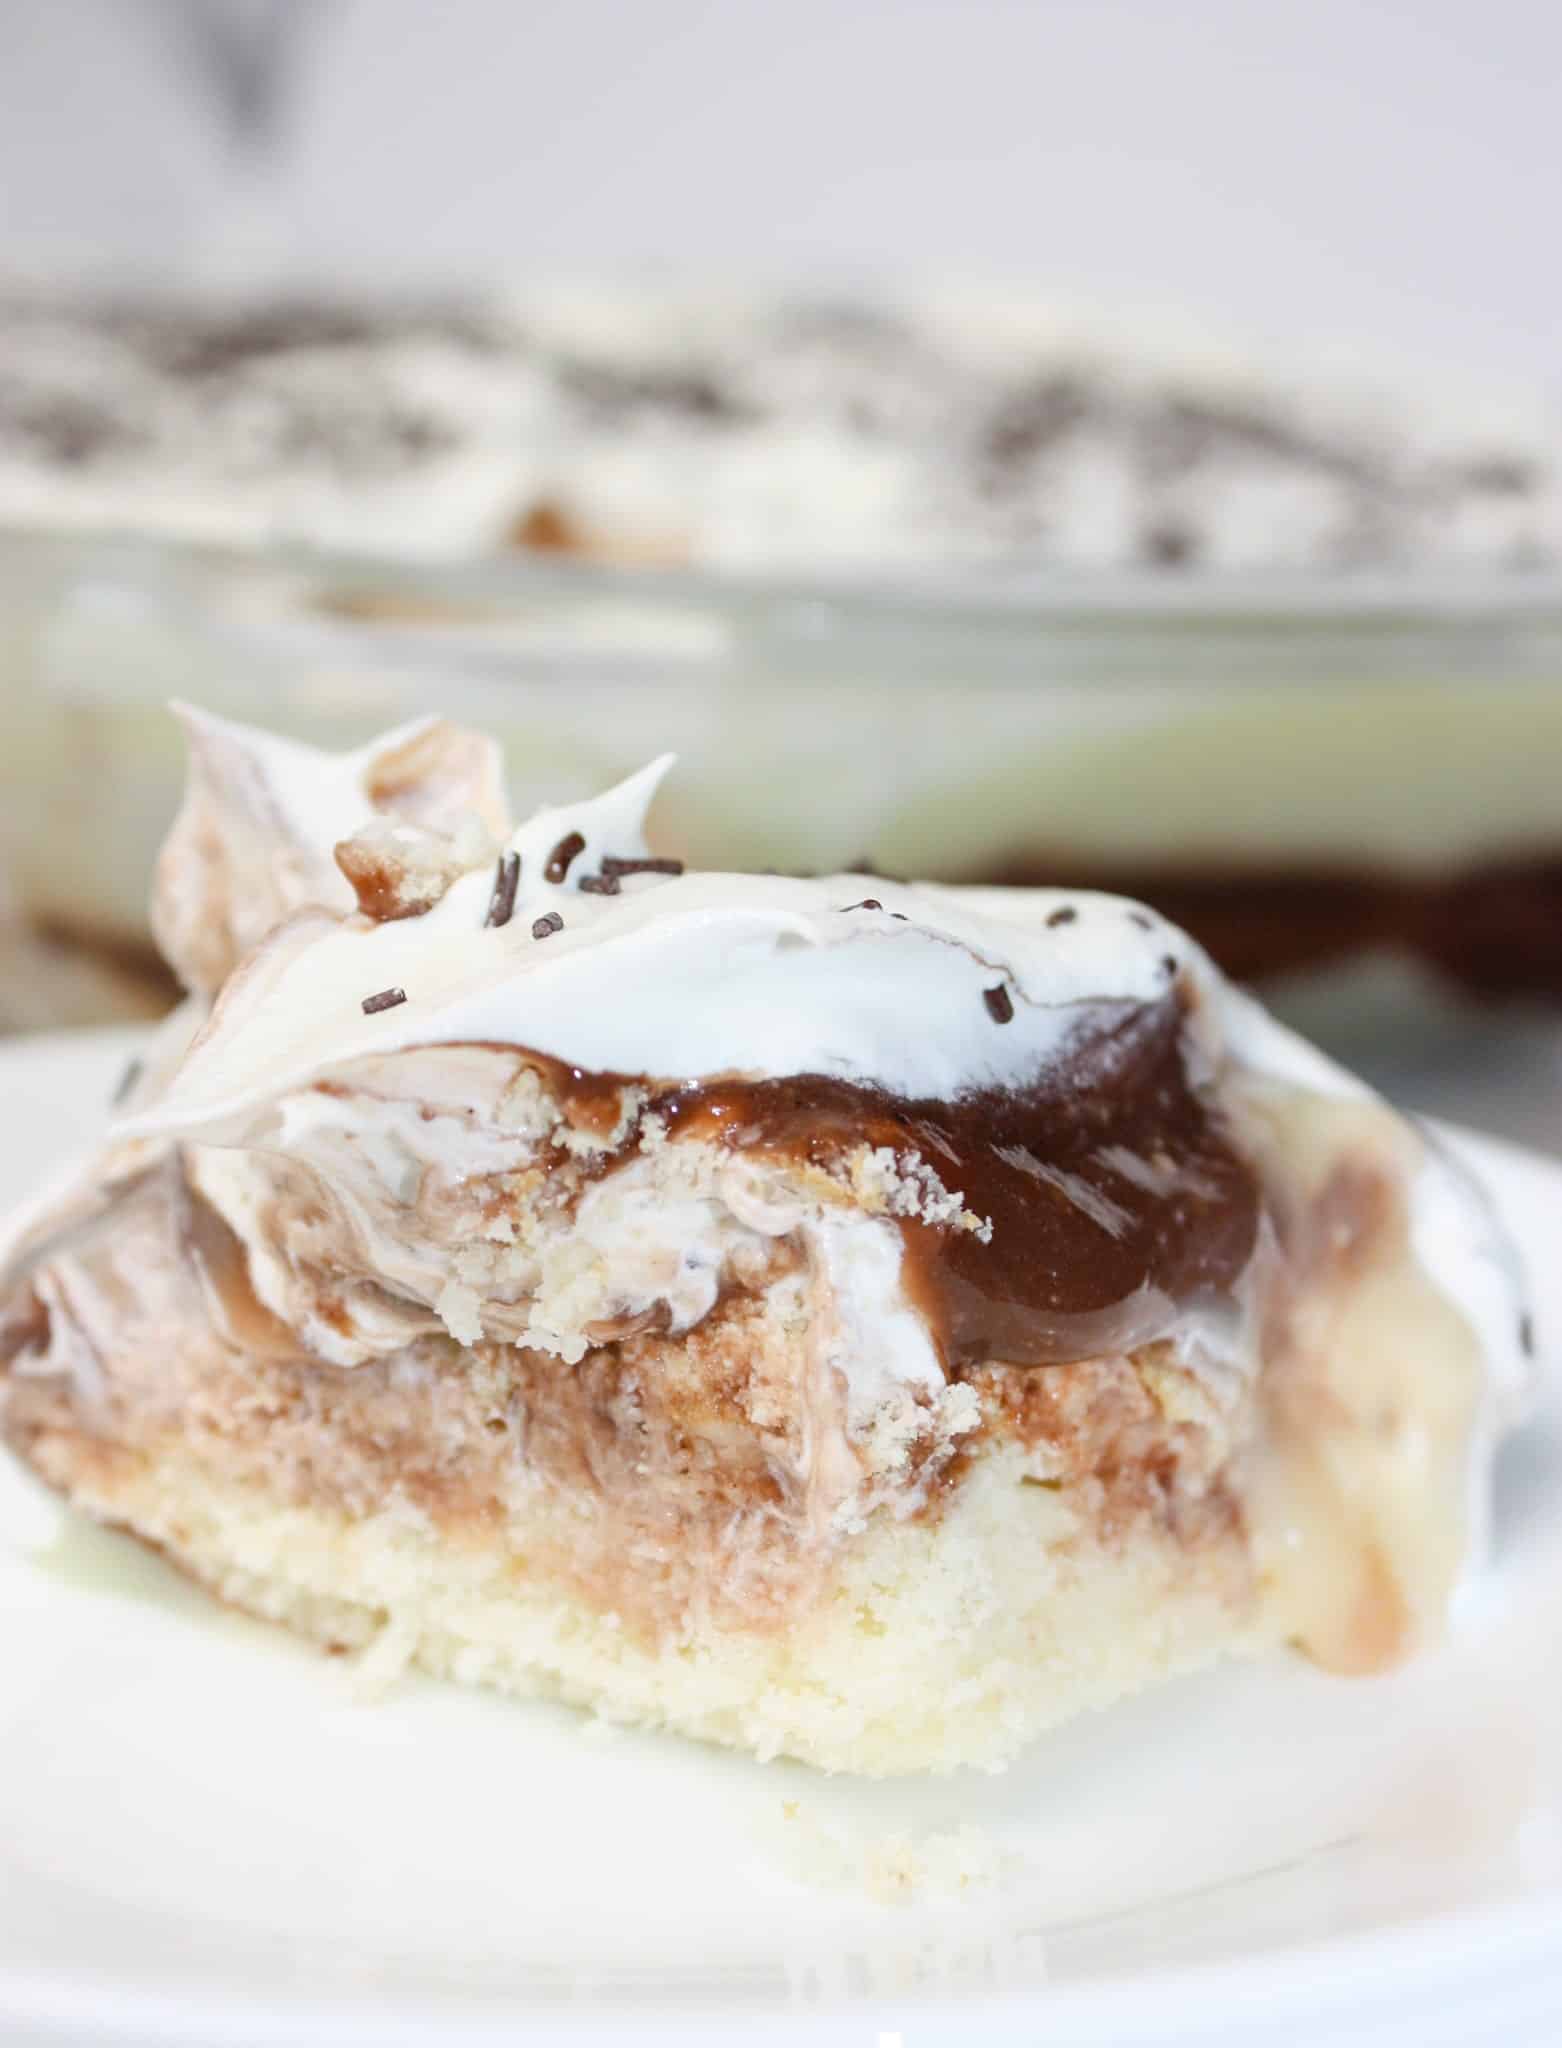
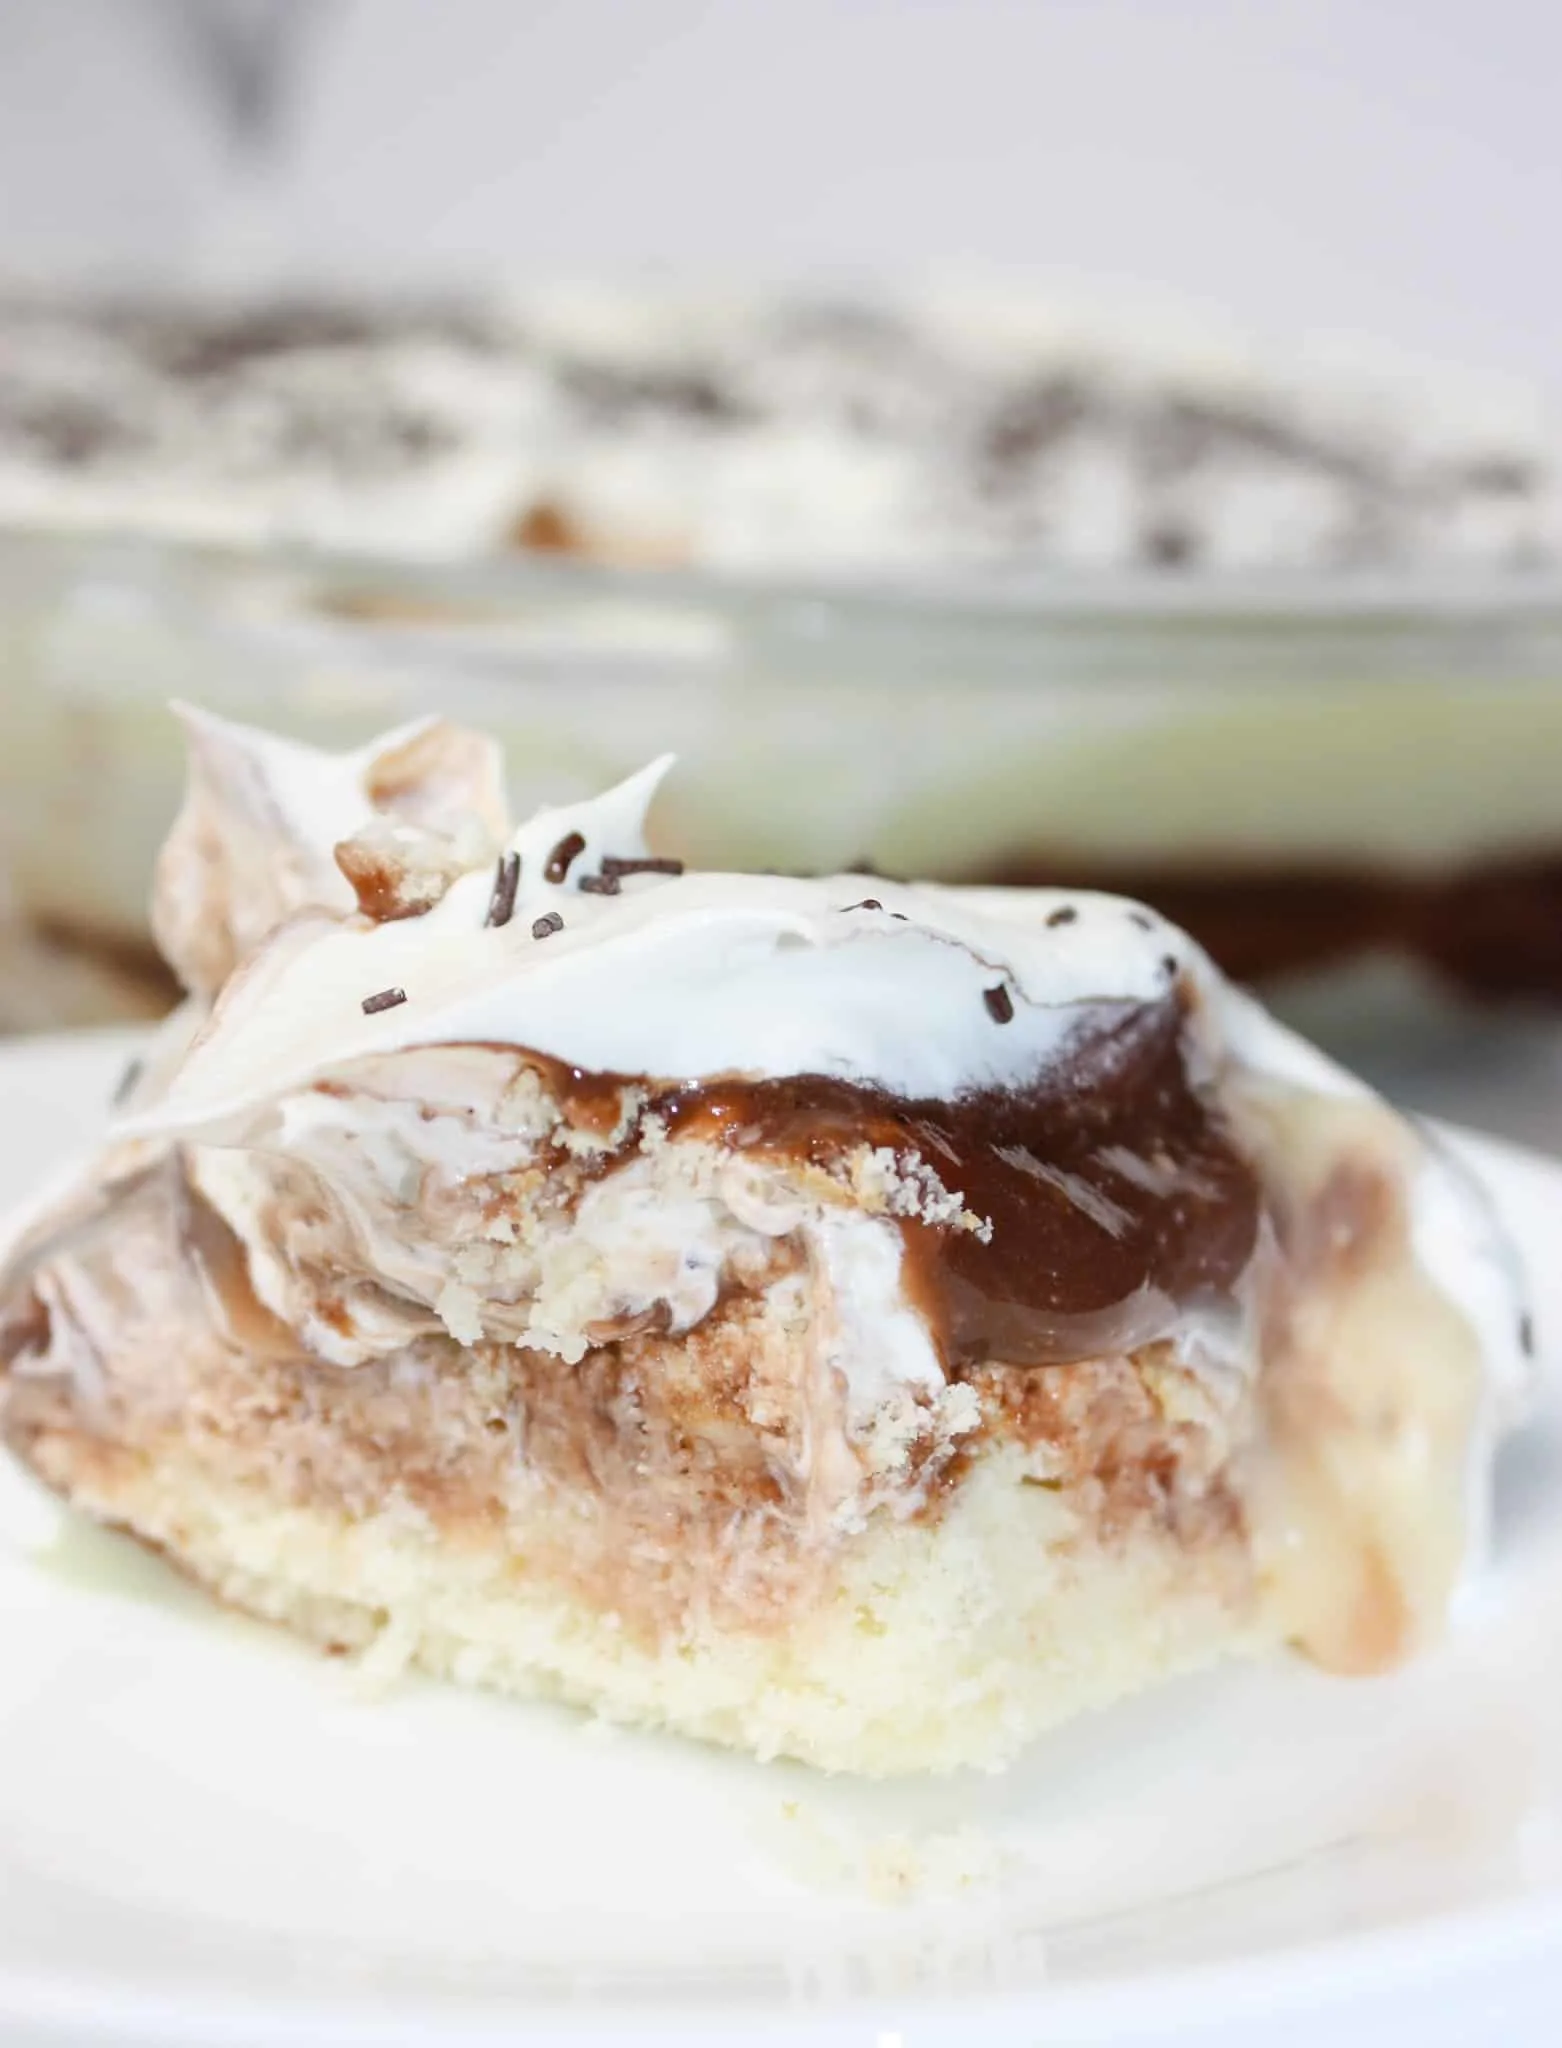
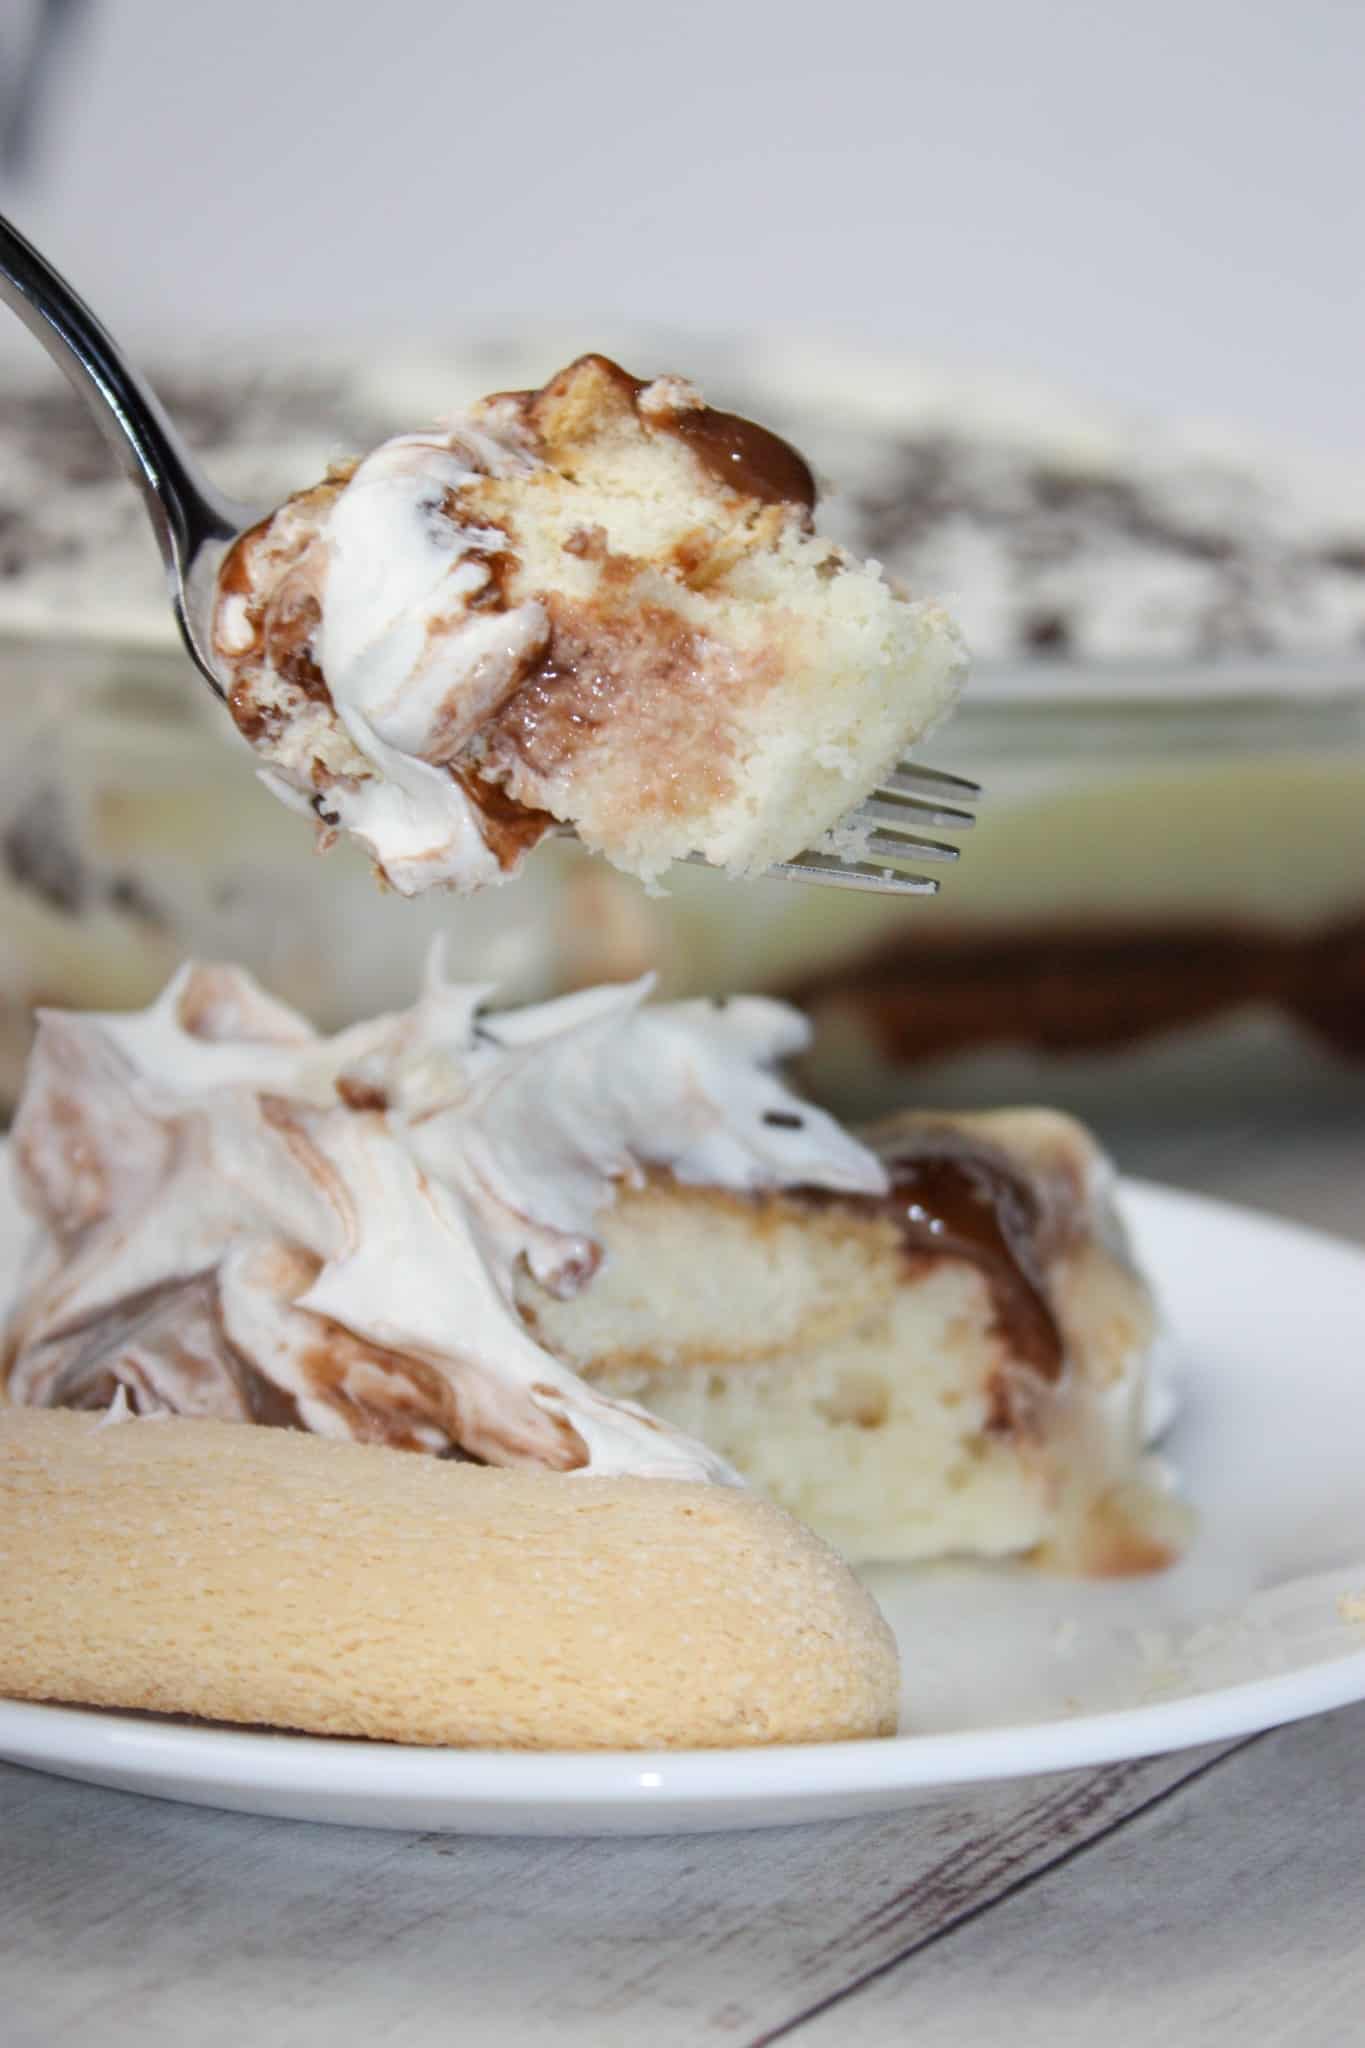
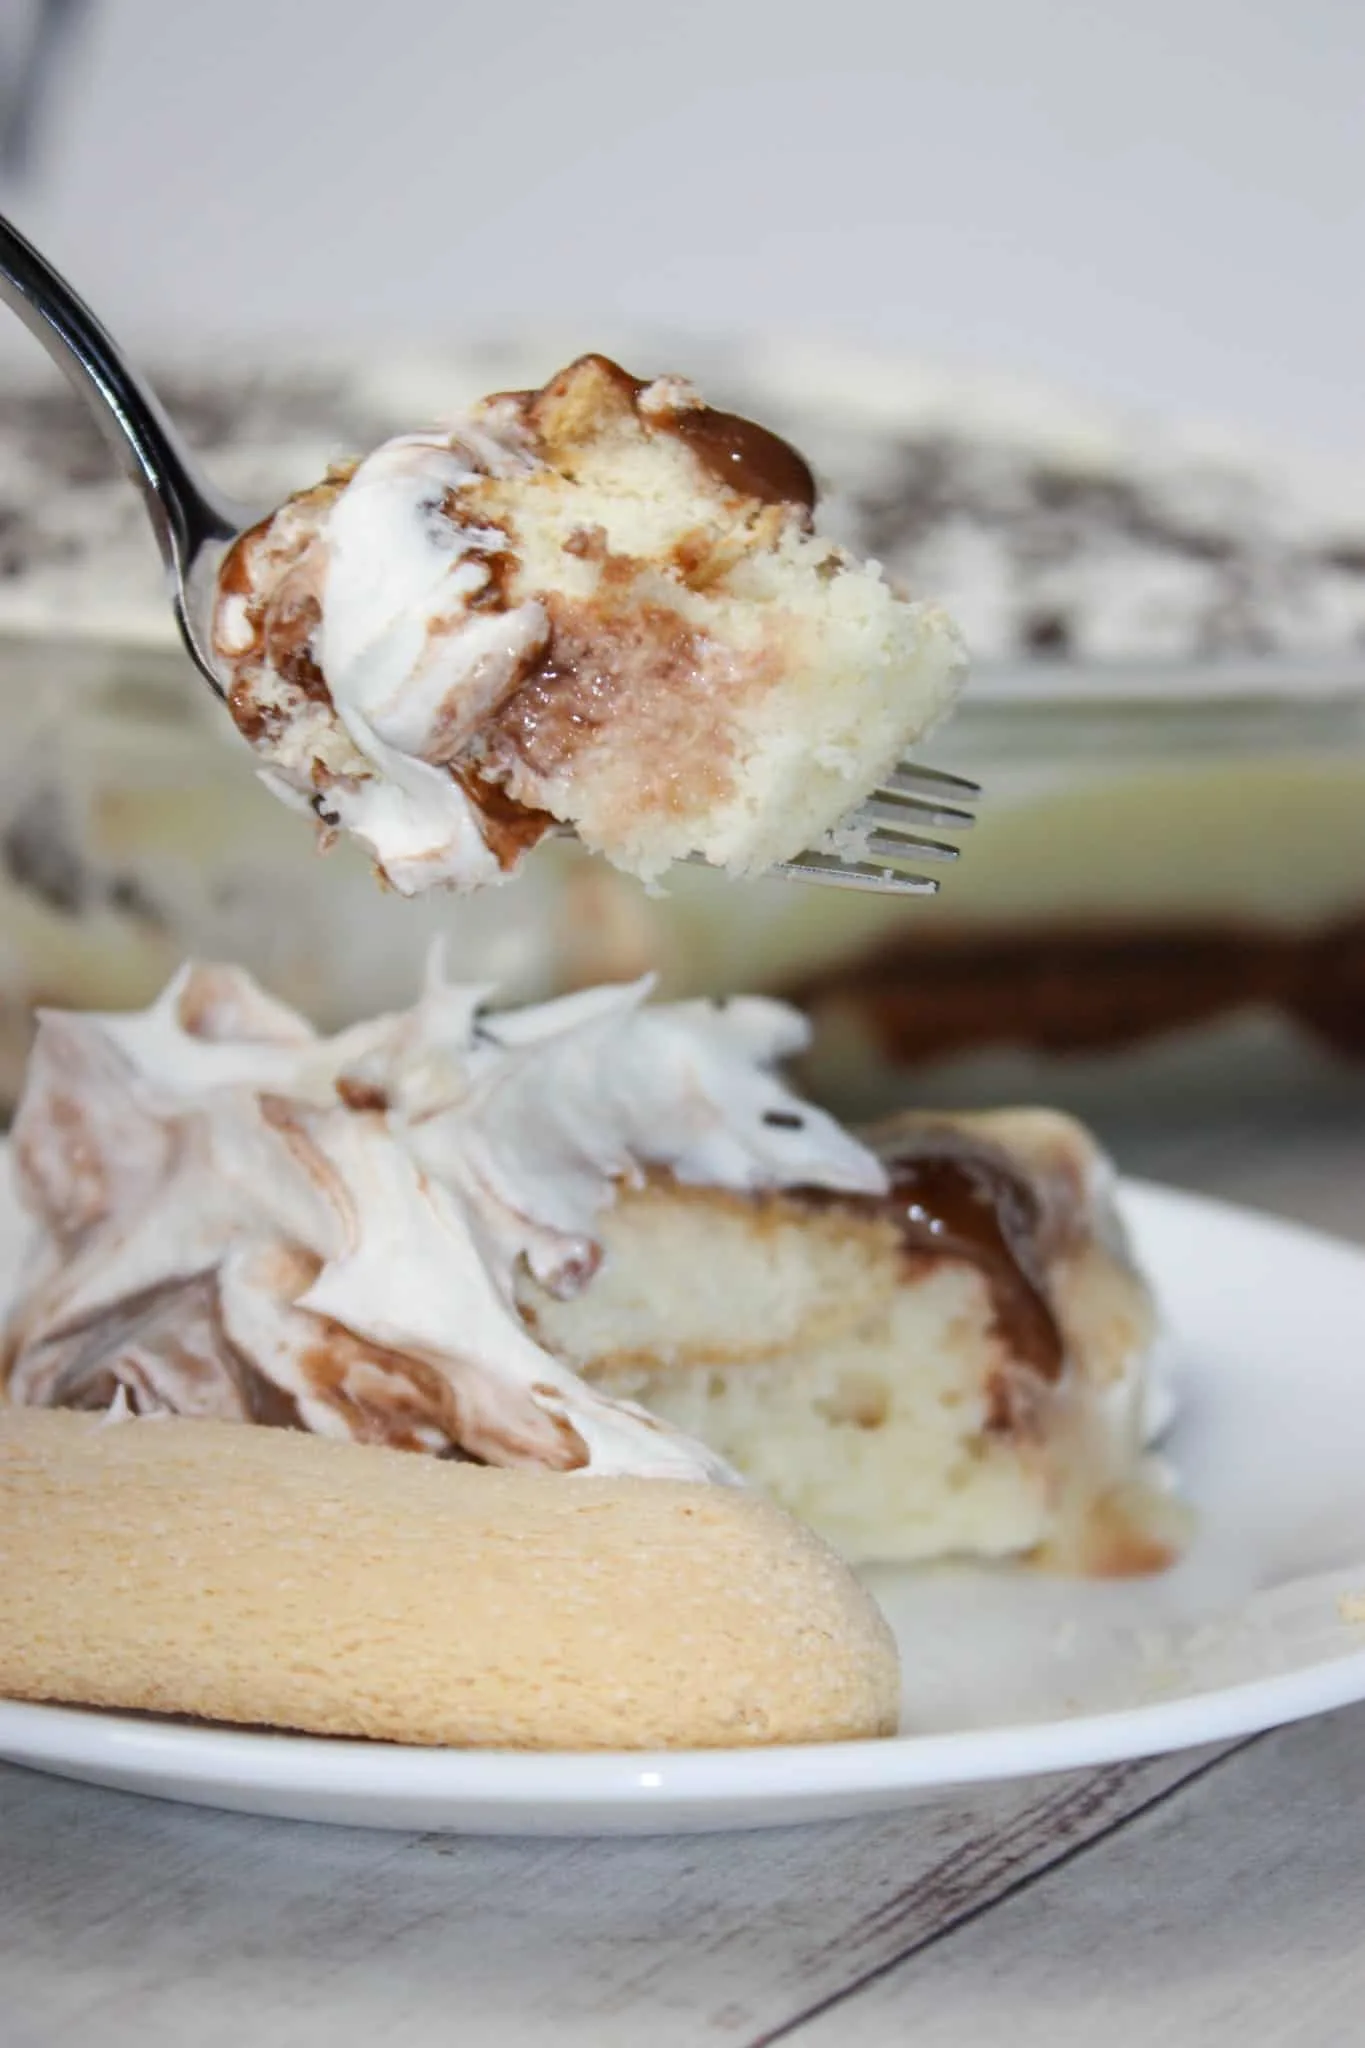
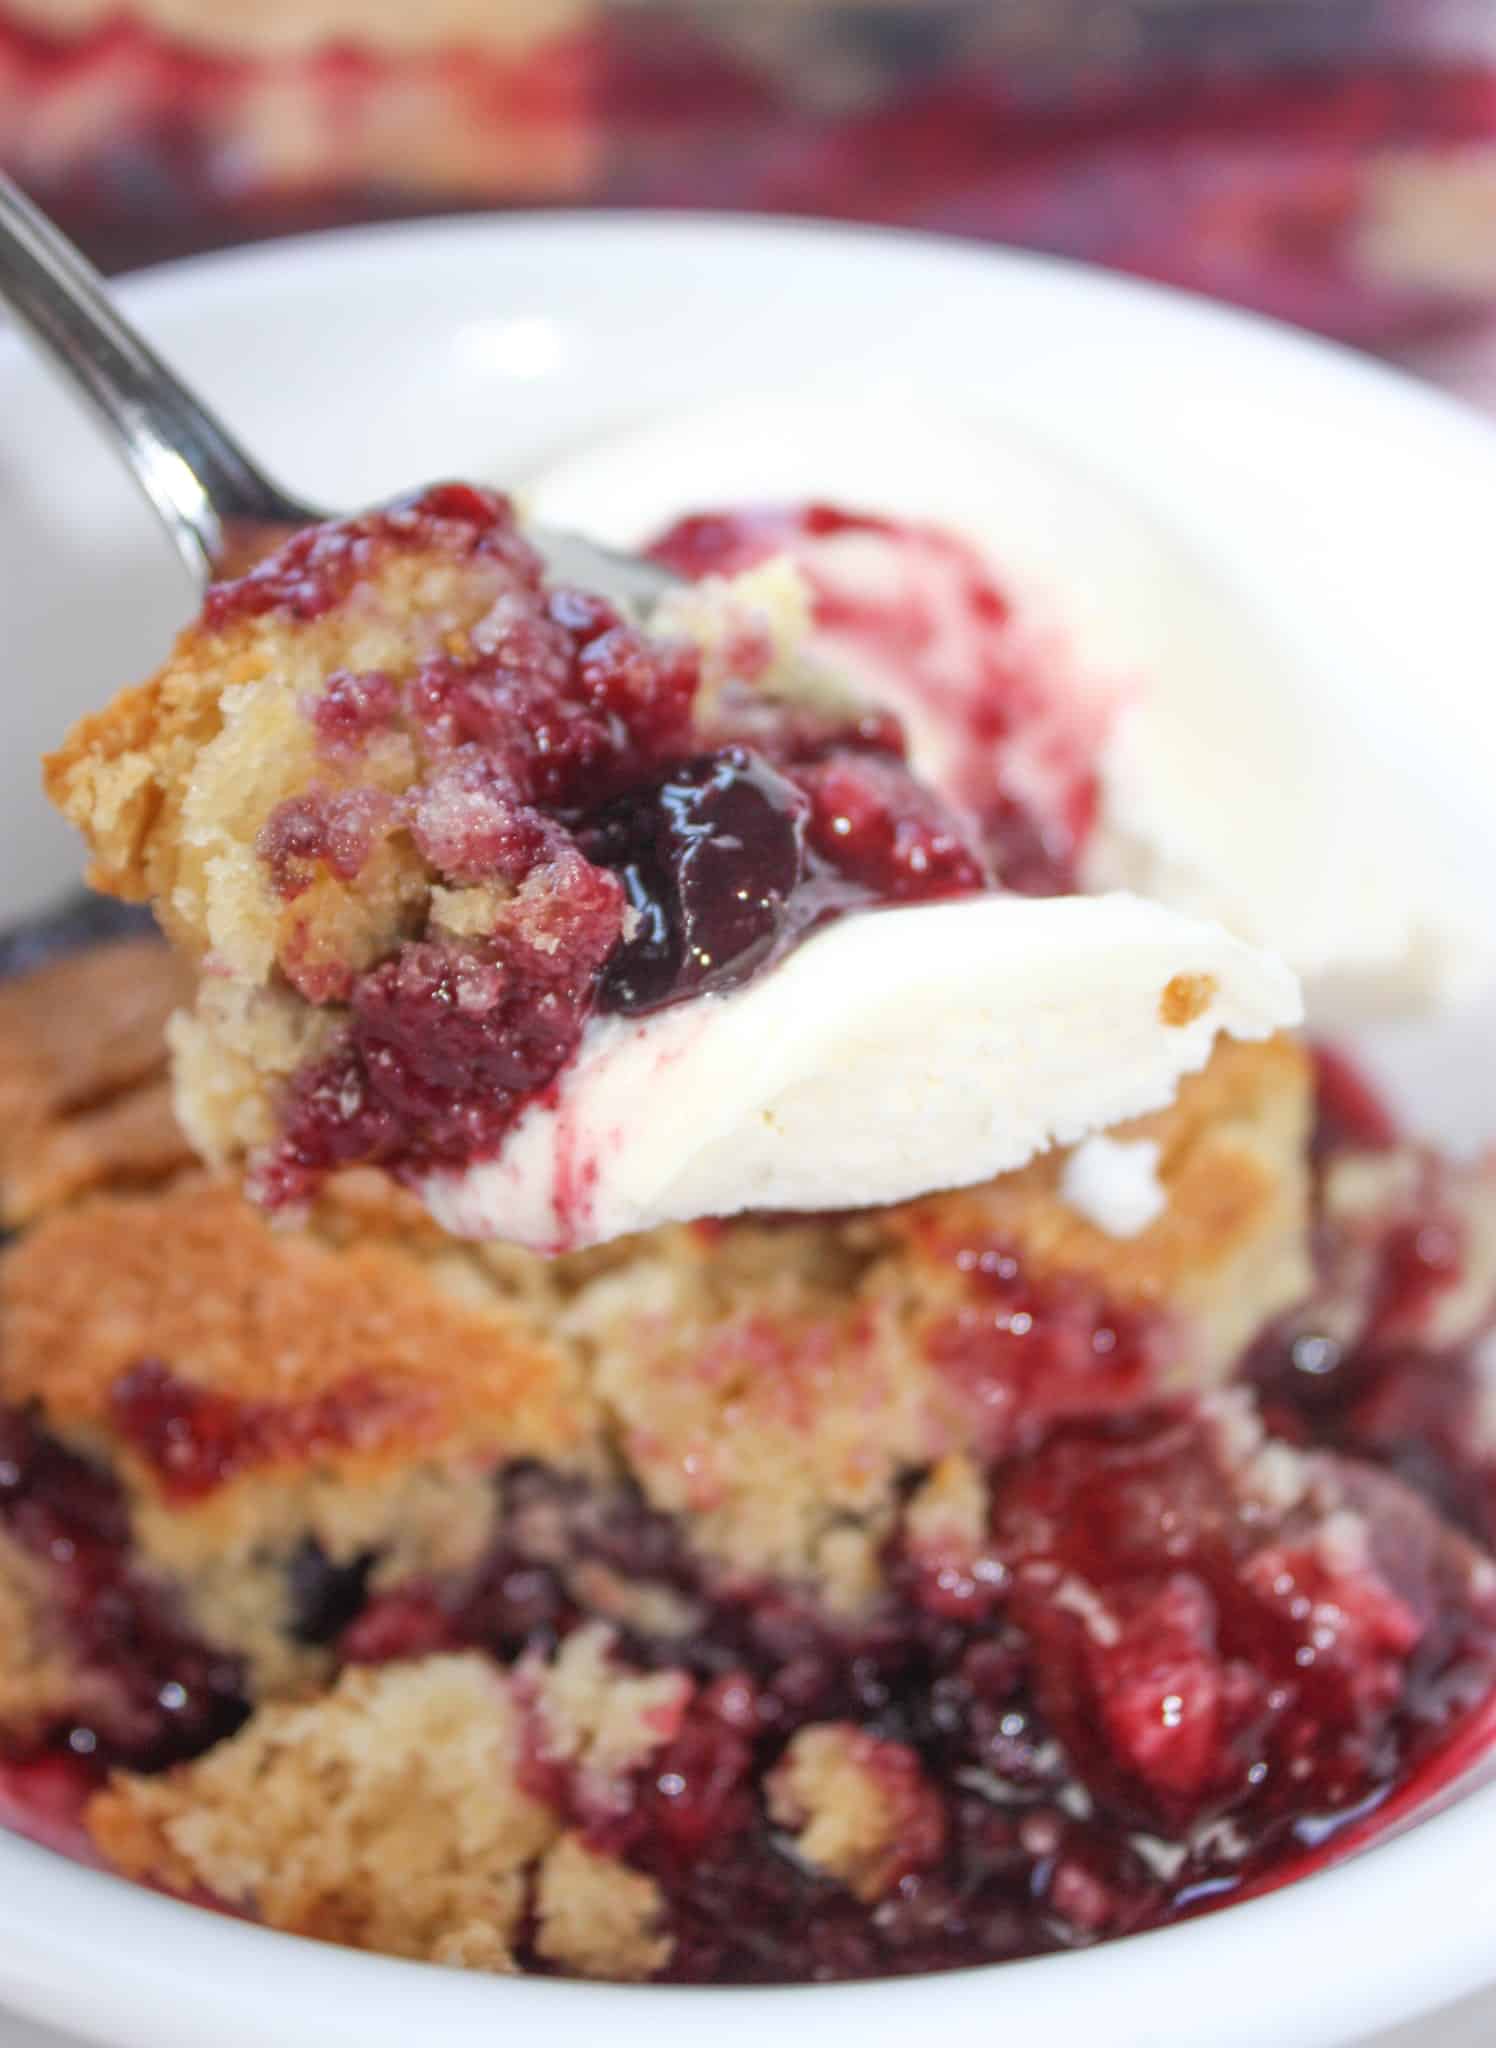
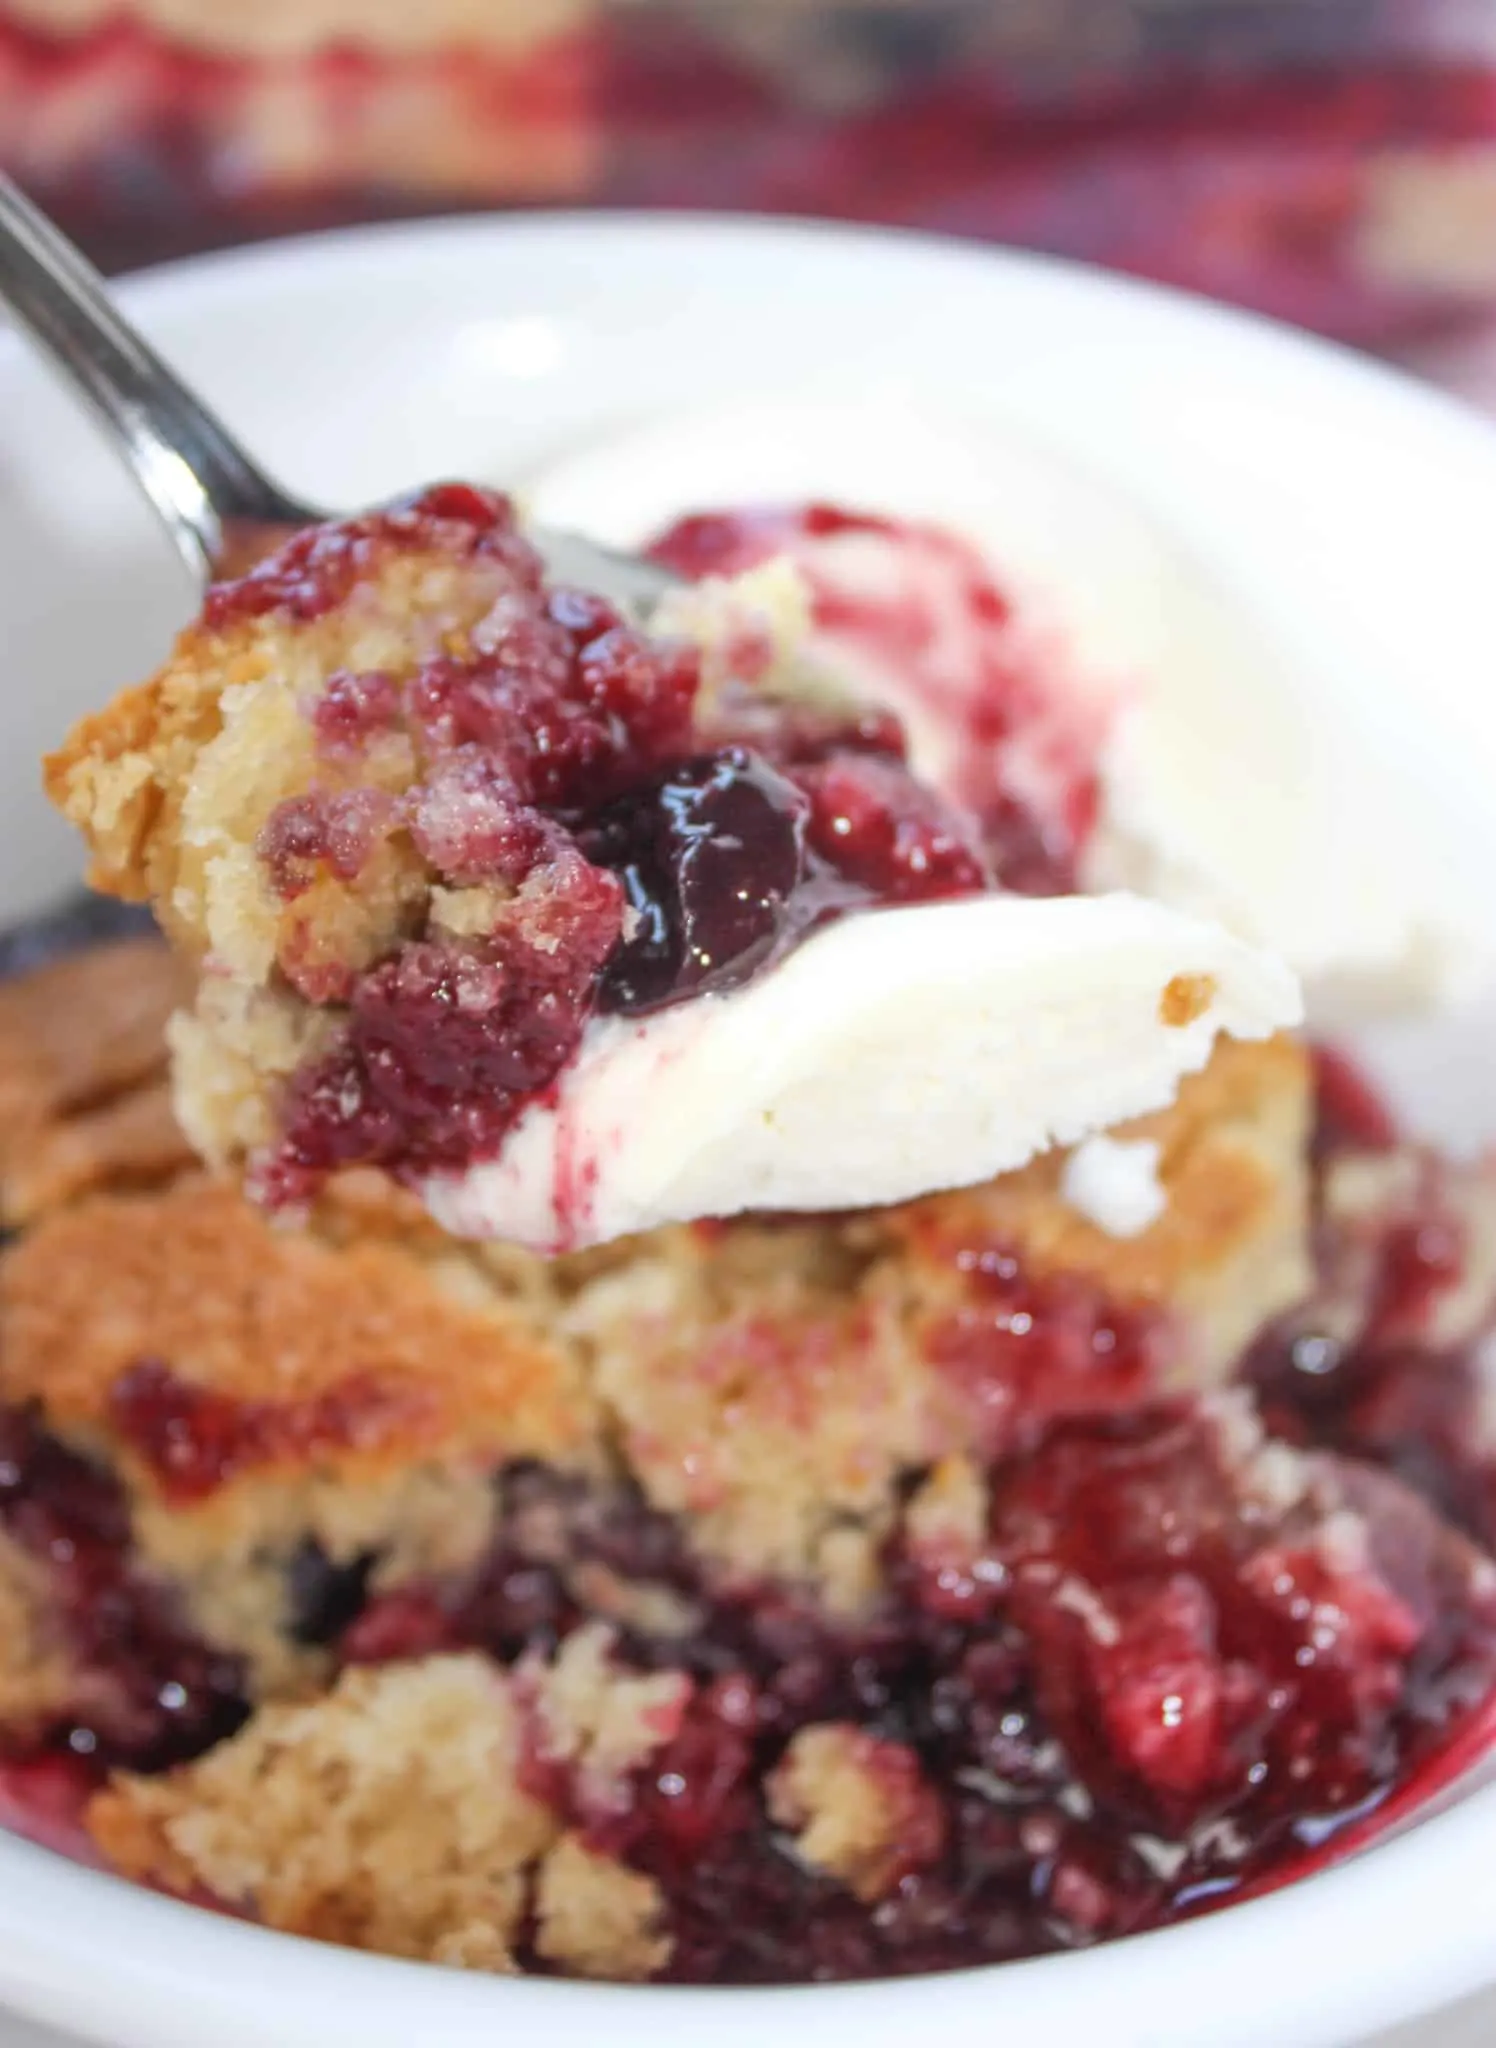
Lady Finger Poke Cake is a light, refreshing dessert that is perfect to serve after a larger meal.
This gluten free cake is easy to create and can be easily adapted to suit your tastes, or the occasion.
Lady Finger Poke Cake yields 12 – 16 servings of layered goodness. You can easily change up the pudding flavours and the garnish. Just remember that if you use almond milk the pudding will not get as thick.
If you want a thicker pudding you could divide the almond milk and make a roux first with corn starch on the stove to add to the mix later.
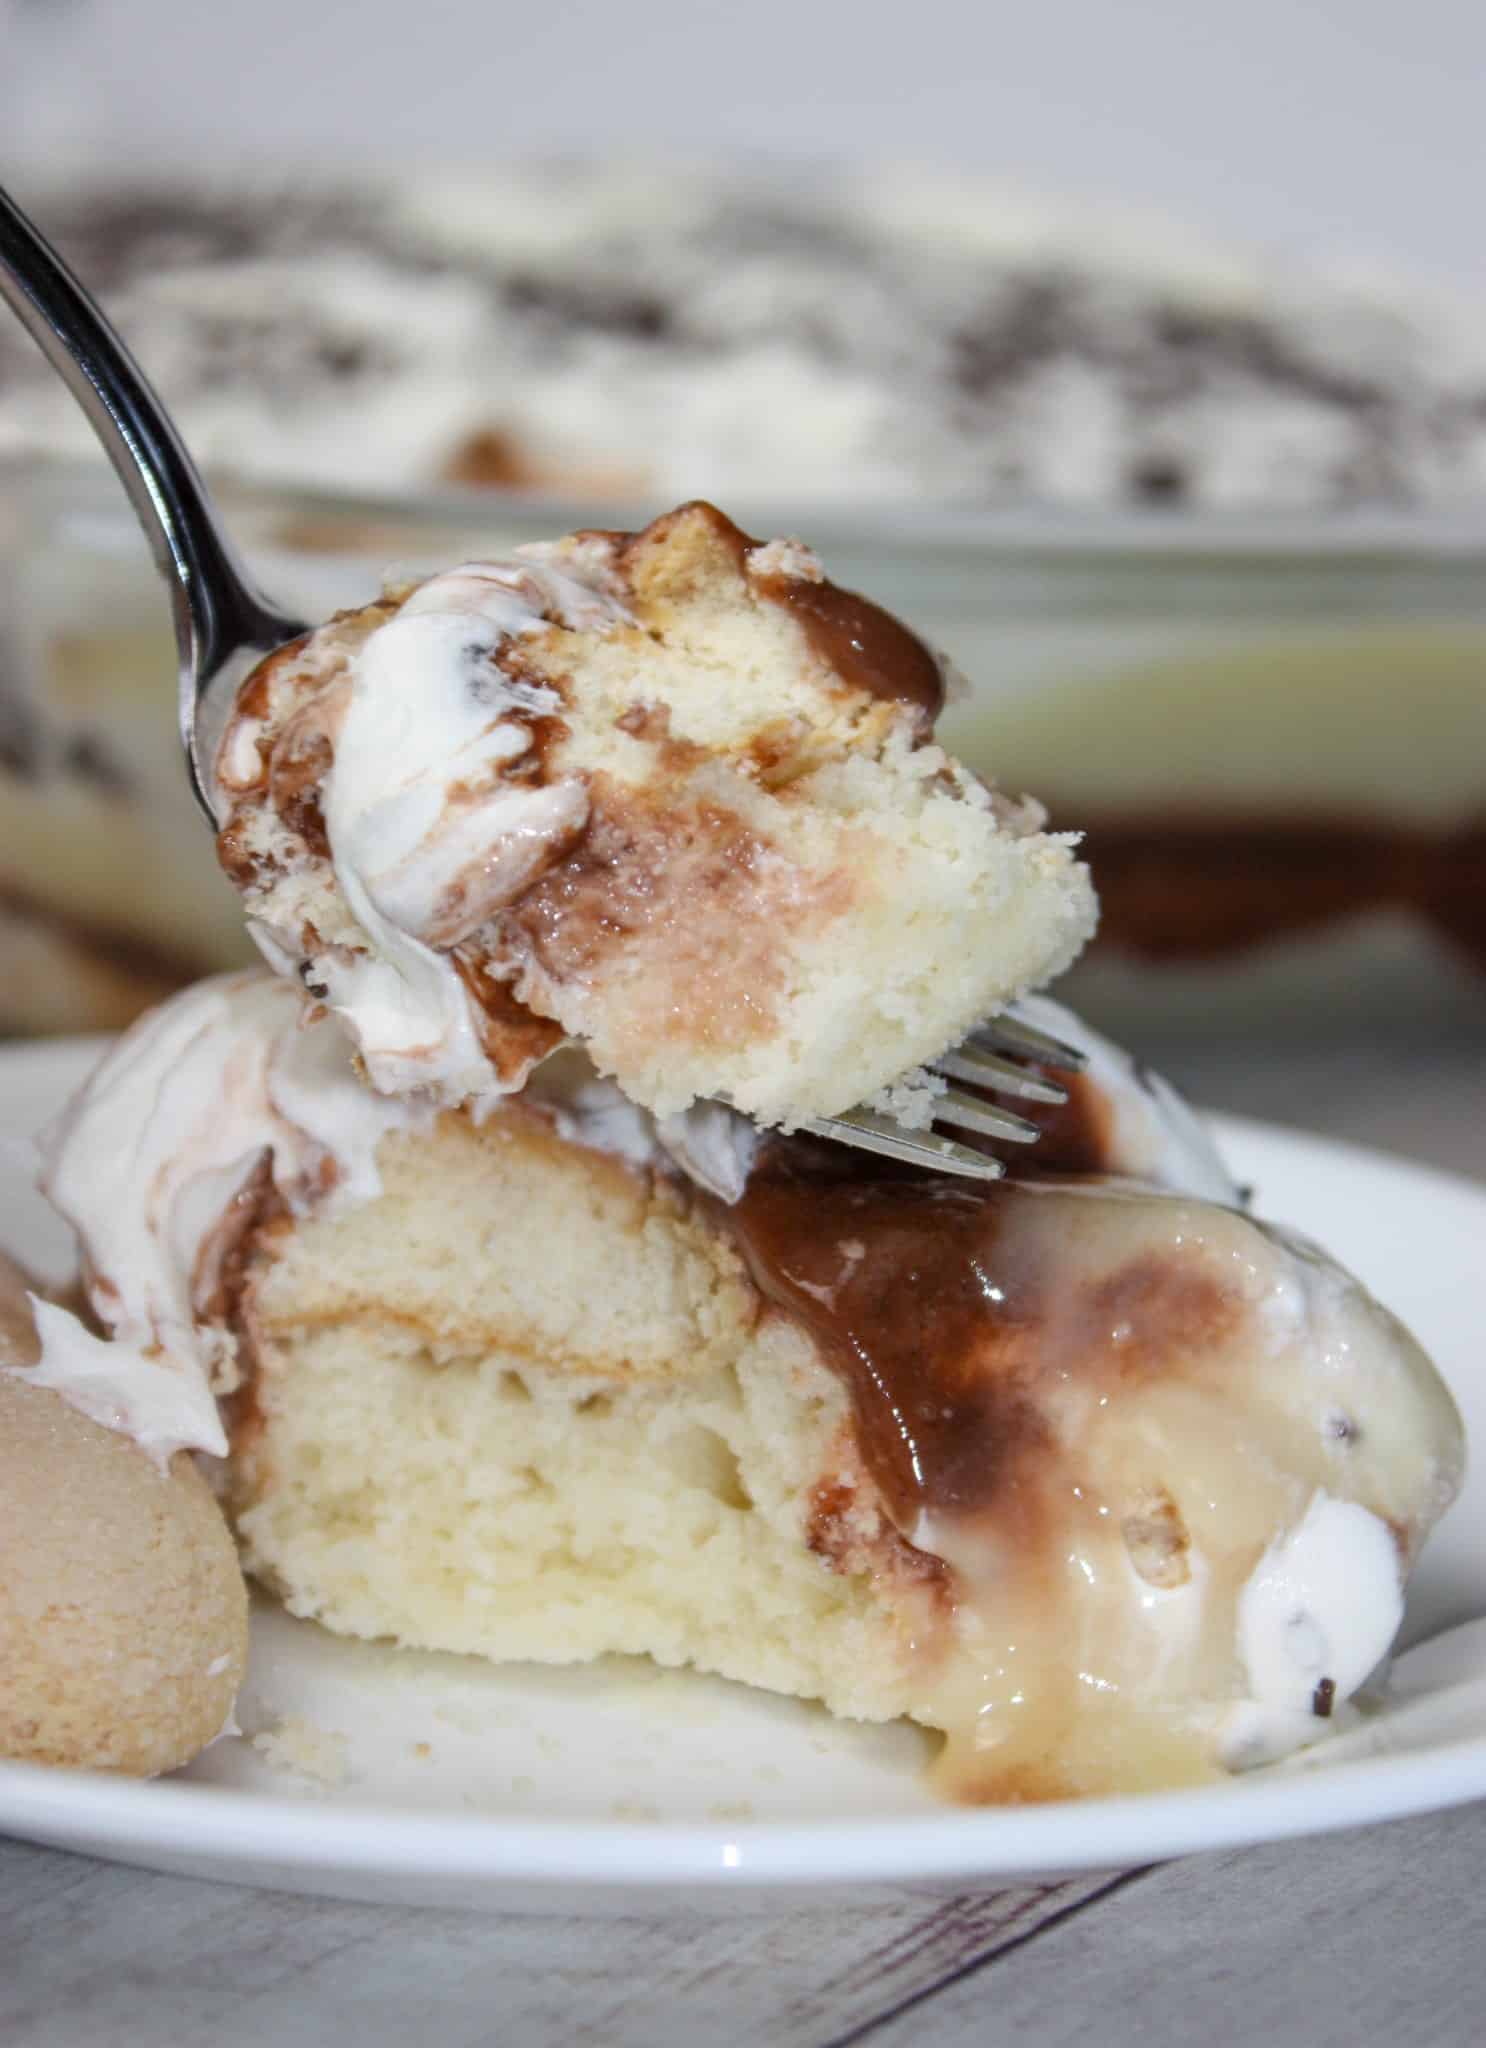
Enjoy the blends of flavours and textures in every decadent mouthful!

Printable Recipe Card with a Full List of Ingredients and Instructions is Located at the Bottom of the Post.
Be sure to read through the entire post so that you don’t miss out on any important tips and tricks!
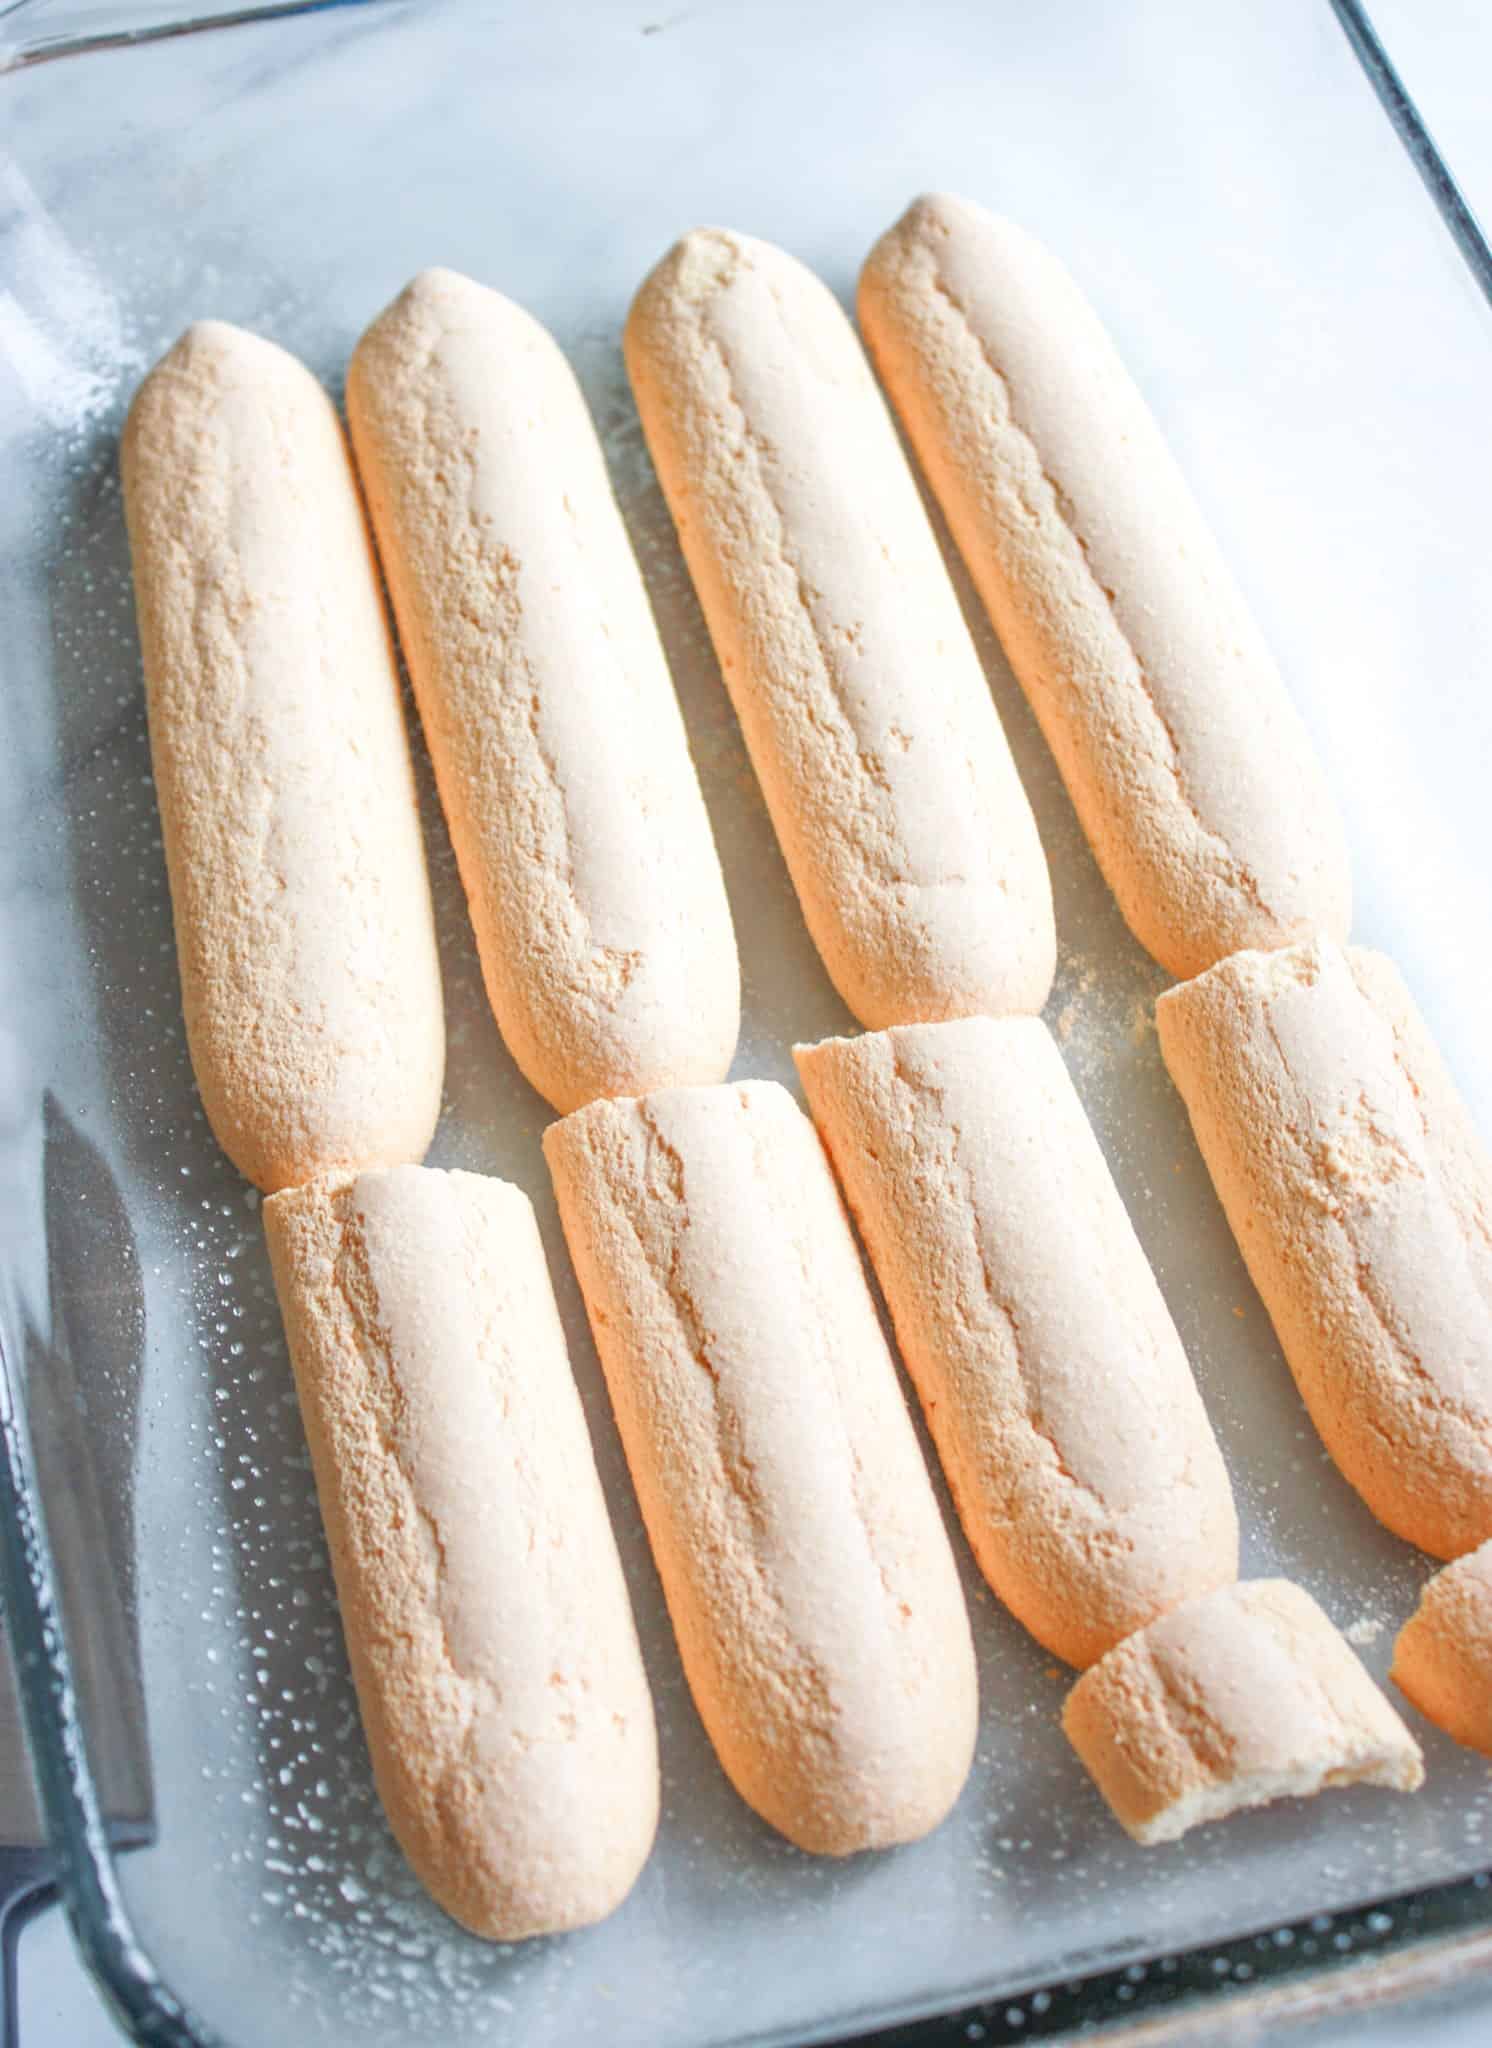
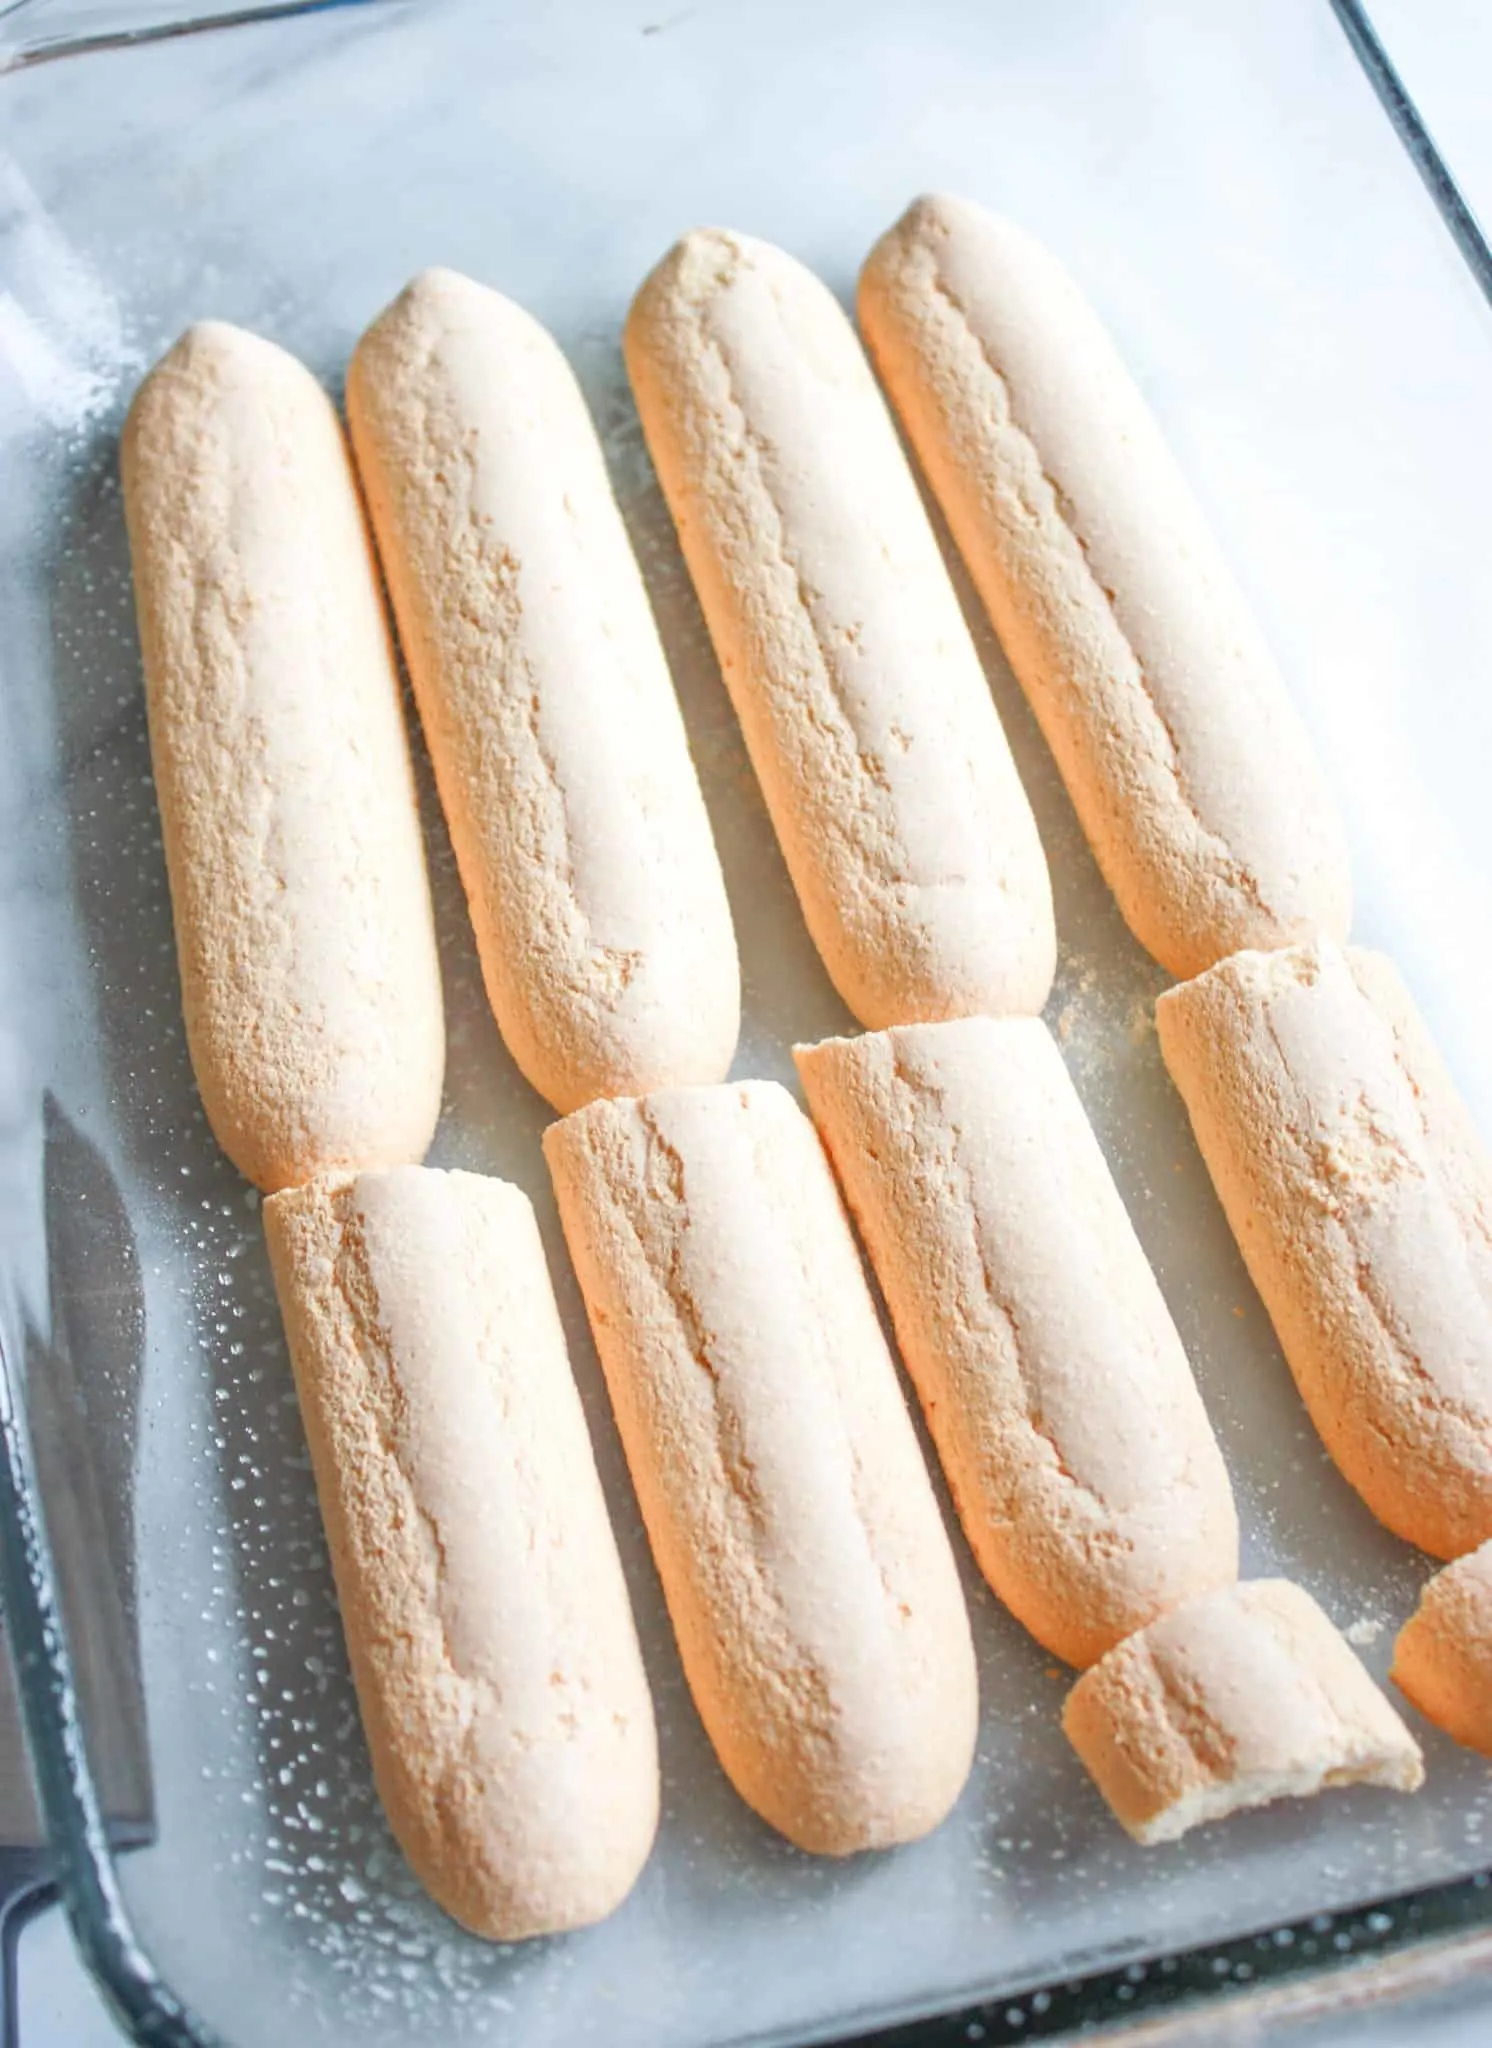
To start making Lady Finger Poke Cake I sprayed a 9″ x 13″ baking pan with cooking spray and laid out some Schar Gluten Free Lady Finger Biscuits on the bottom. I had to break them to make them fit.
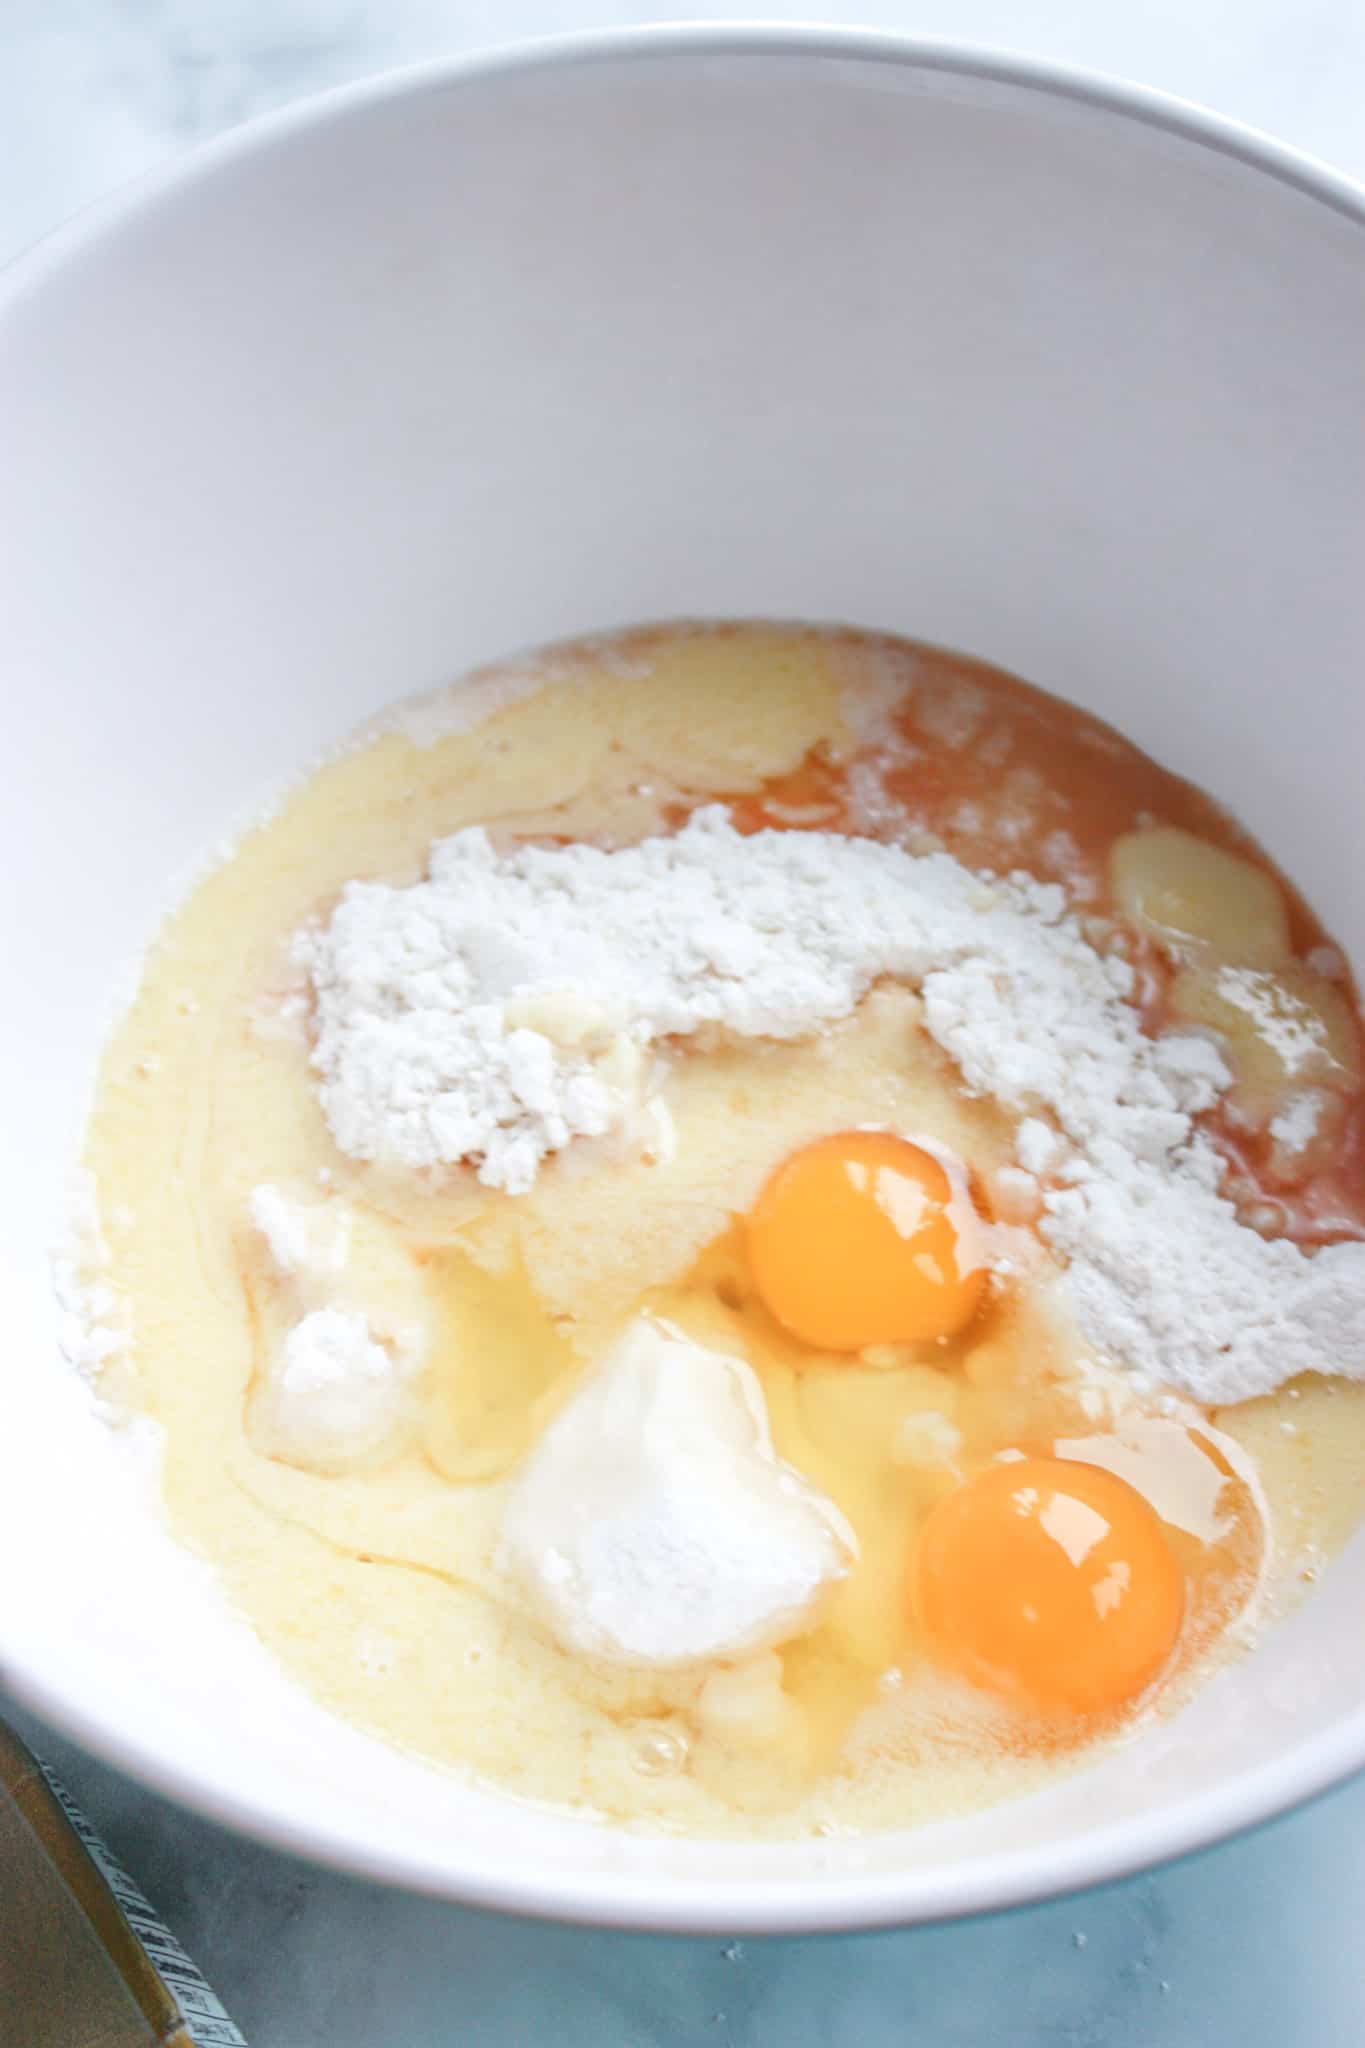
Next I prepared a Betty Crocker Gluten Free Golden Cake Mix according to the package directions.
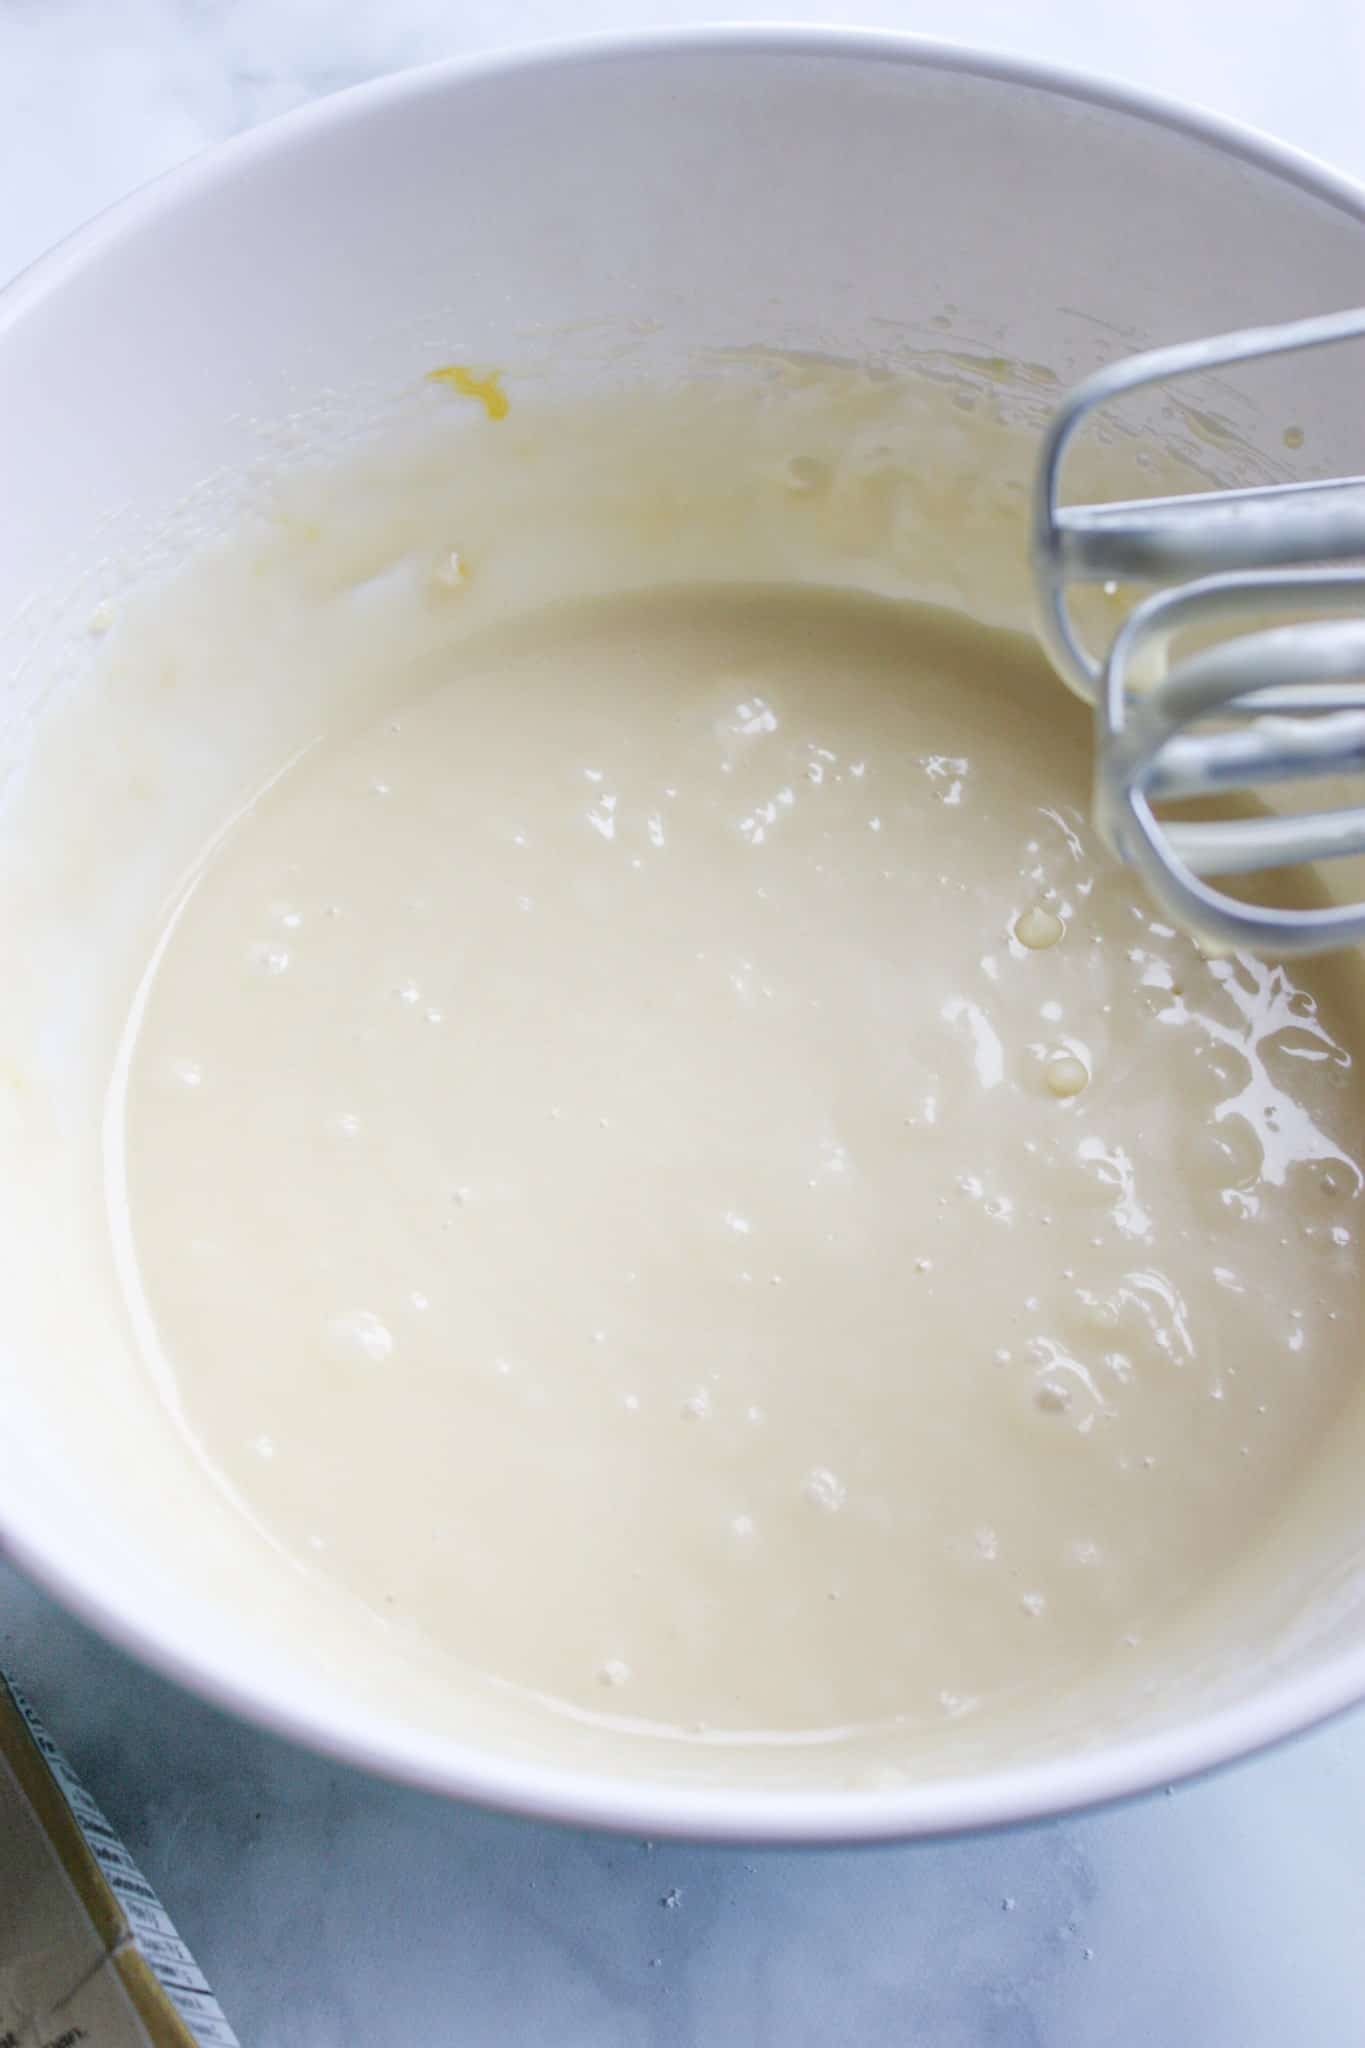
First I combined some melted margarine, water, large eggs and vanilla extract in a large mixing bowl and beat them together with an electric hand mixer.

Then I beat in the cake mix until well combined.

After the cake mix was ready I poured the batter over the lady fingers in the pan. I had to push them back into place a bit after.
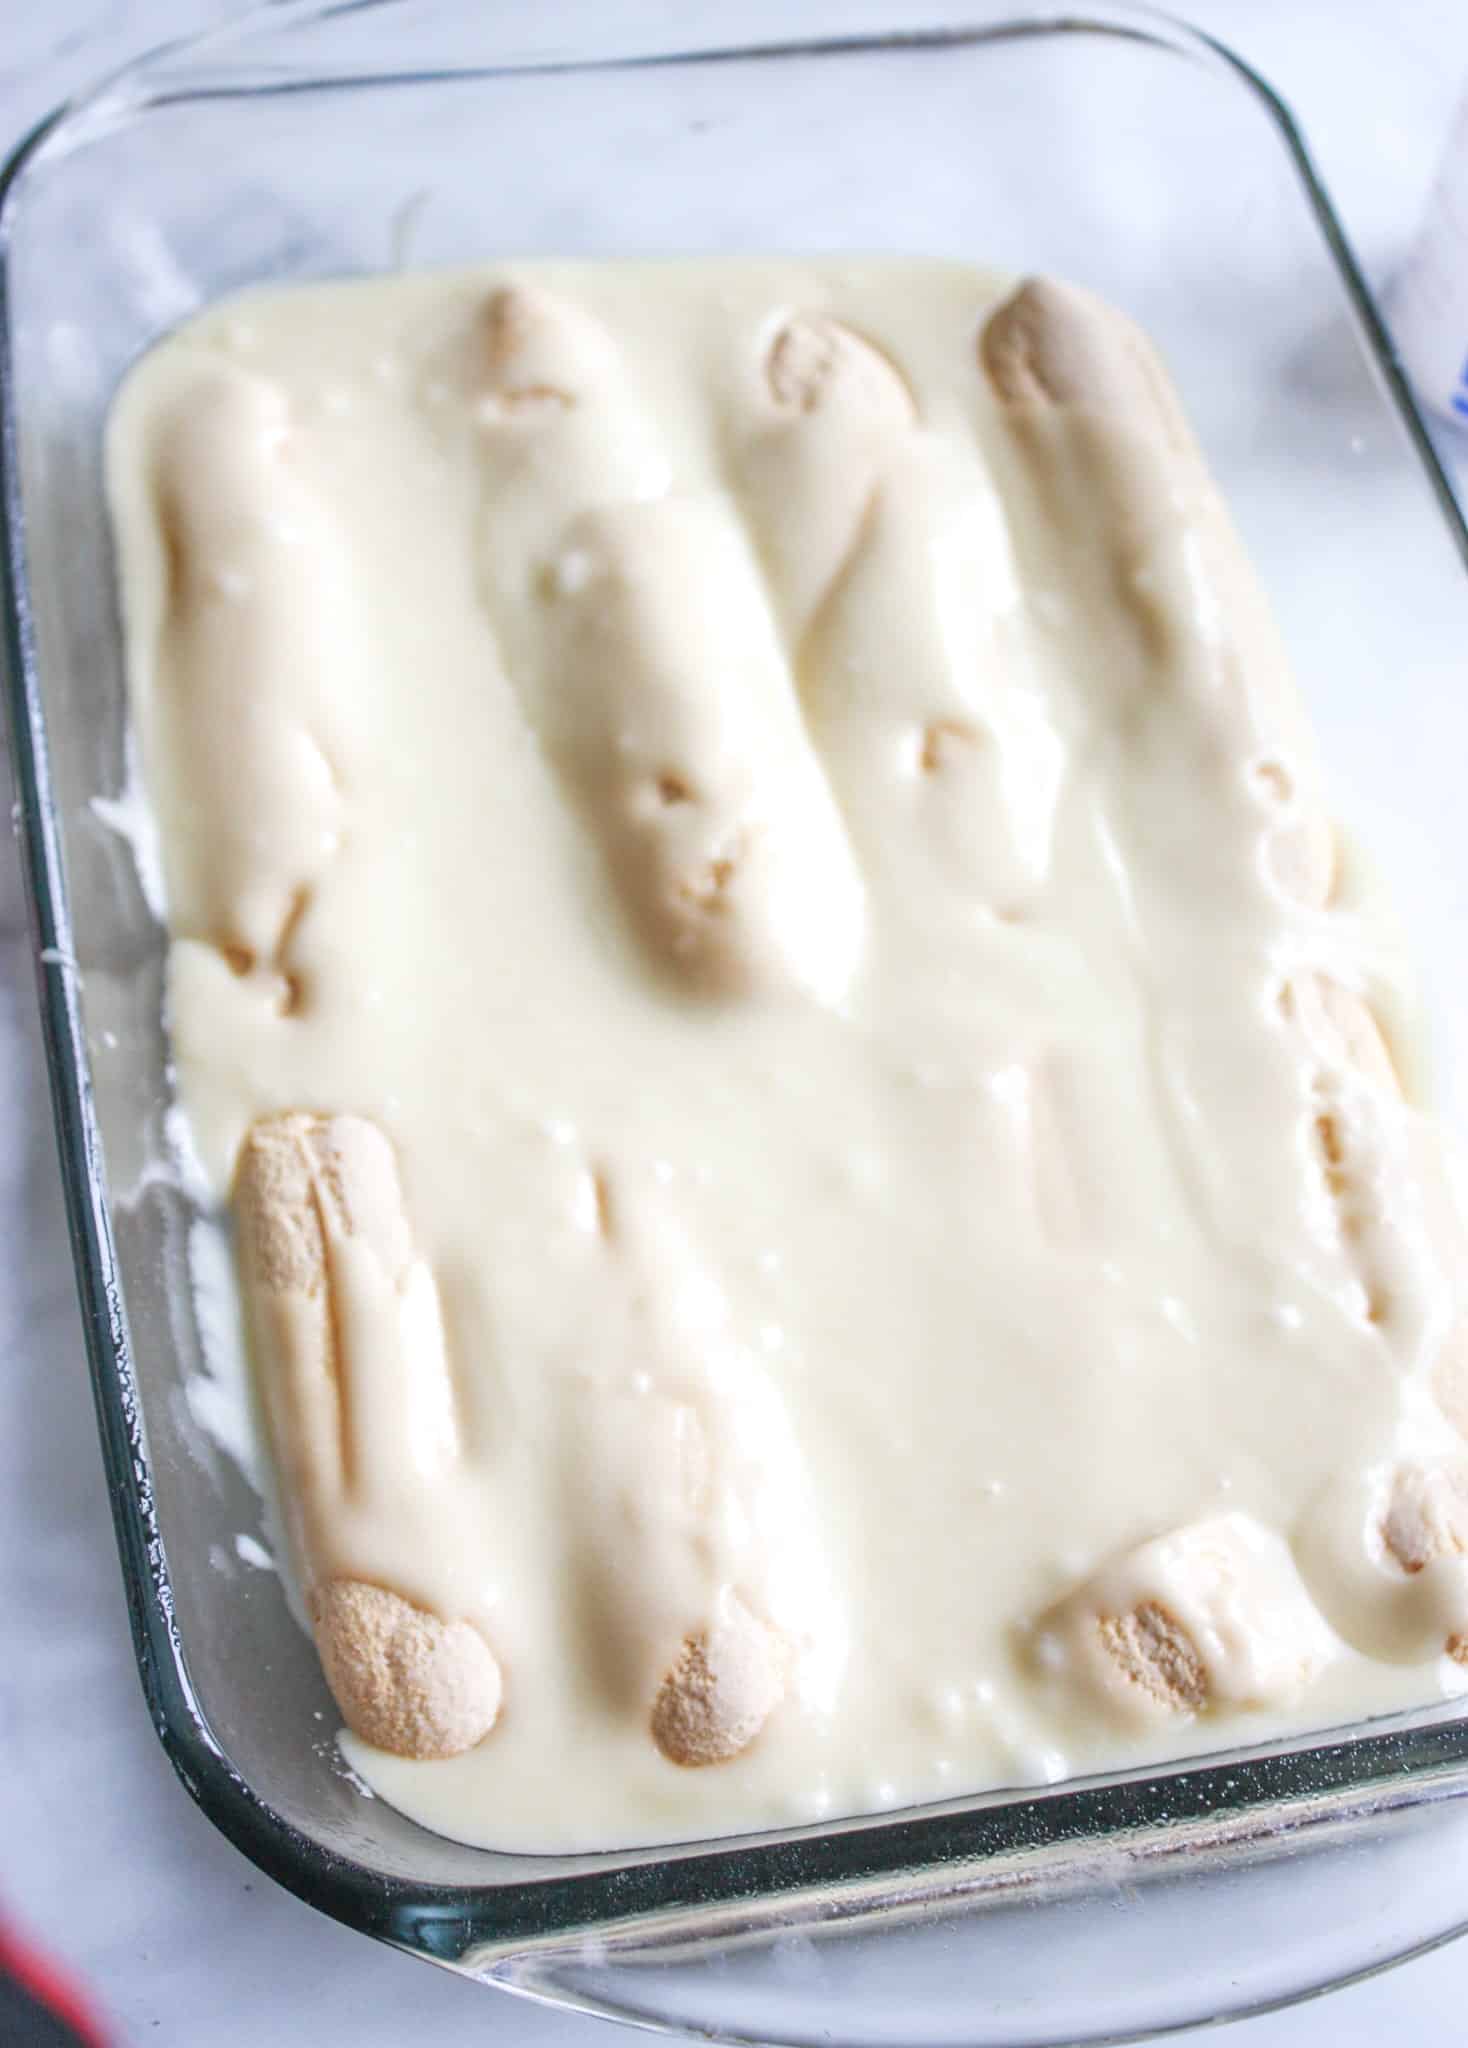

Then I placed the baking pan in a preheated 350F oven for about 25 – 30 minutes or until a toothpick inserted in the center came out clean.
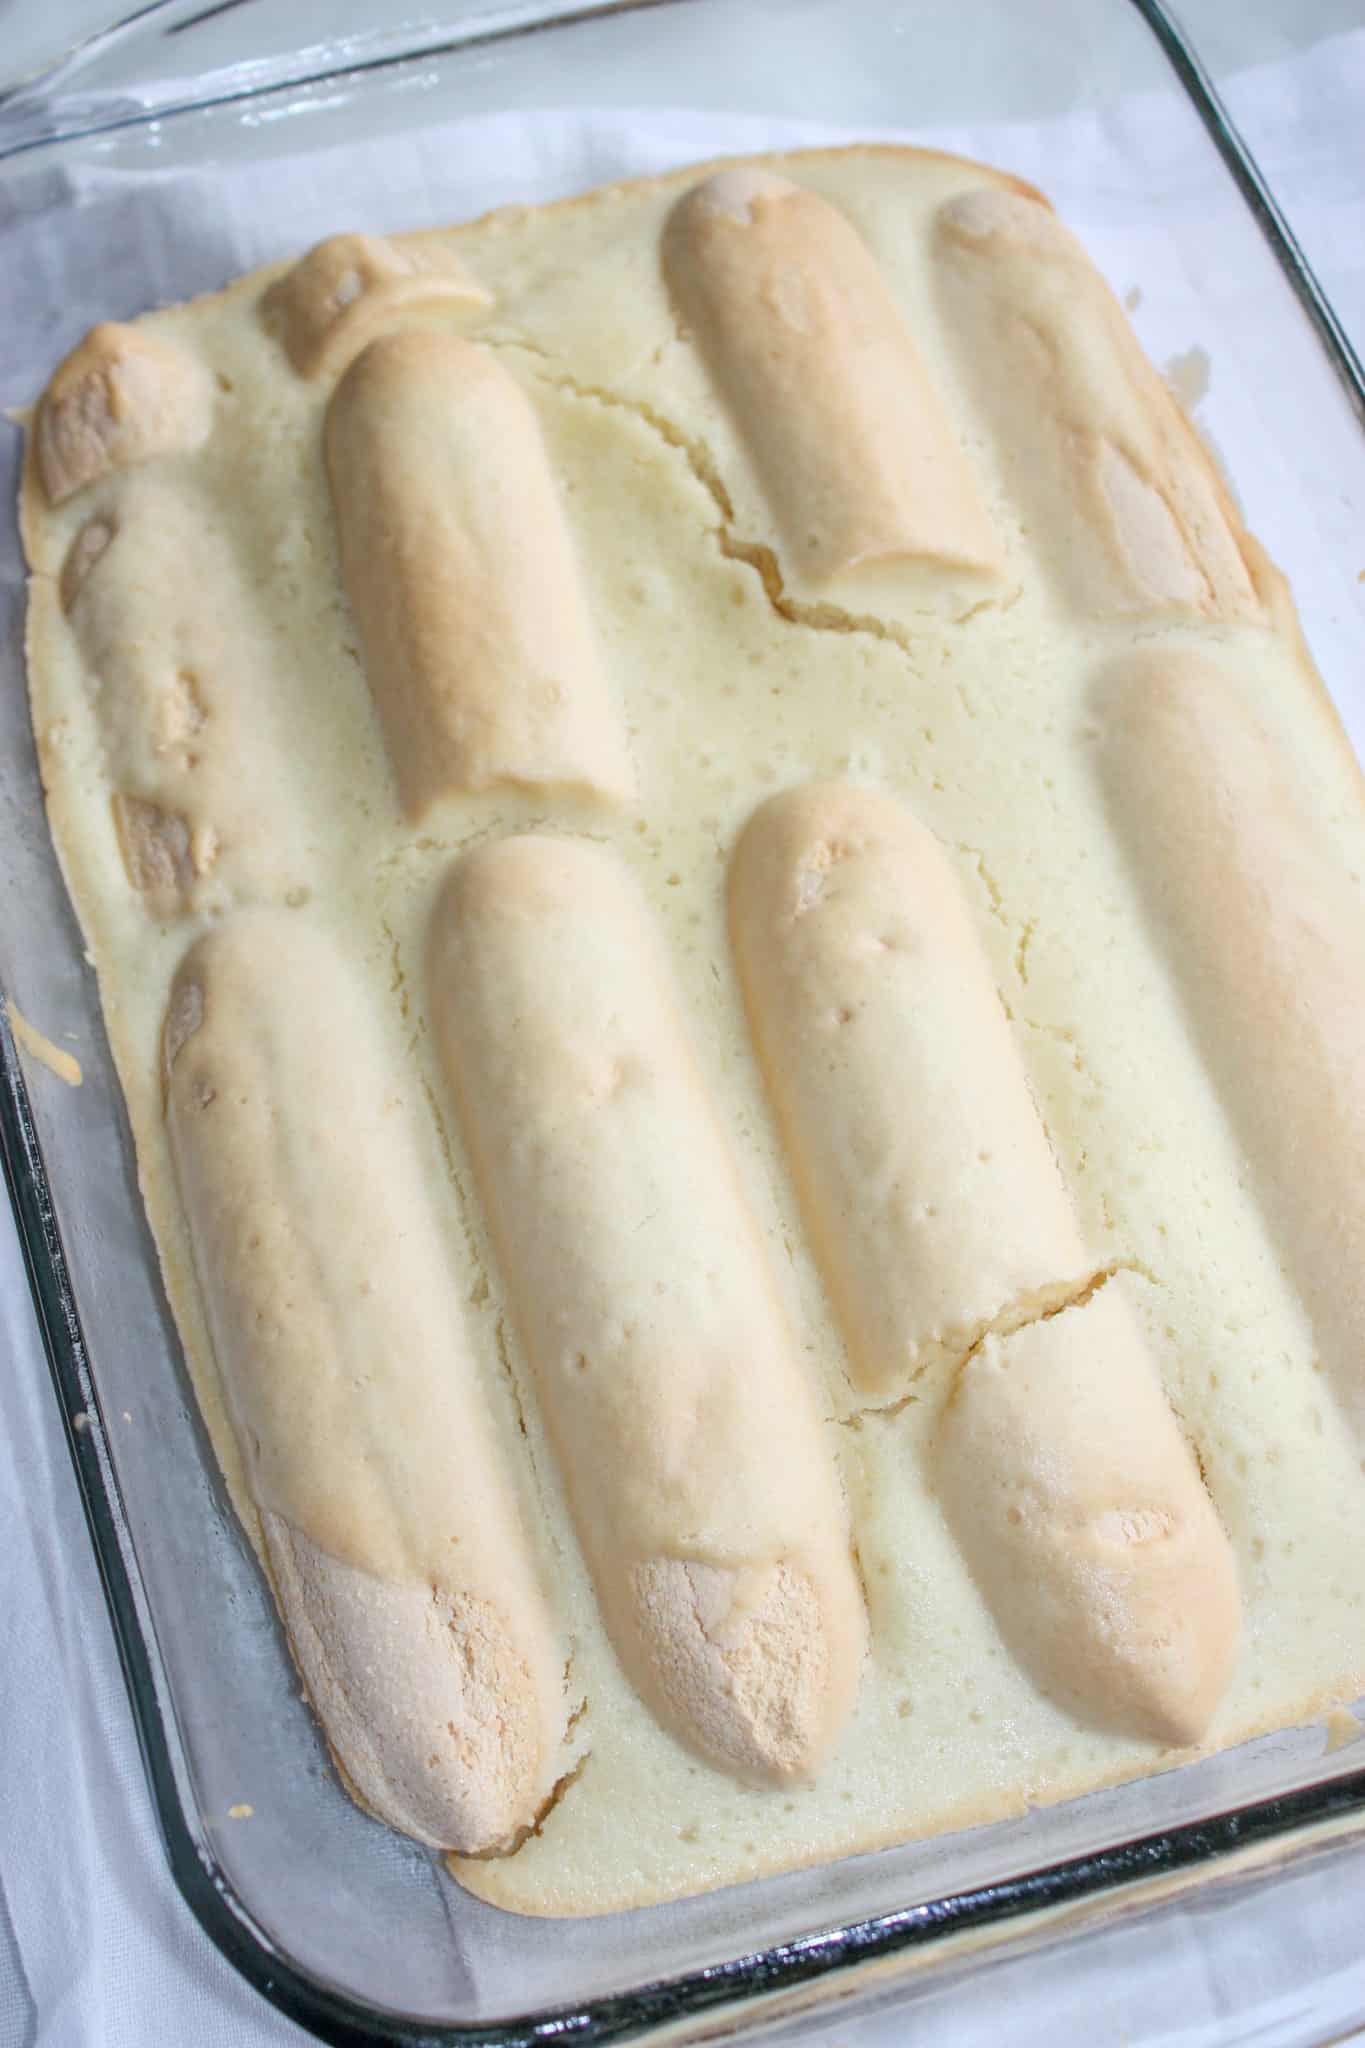

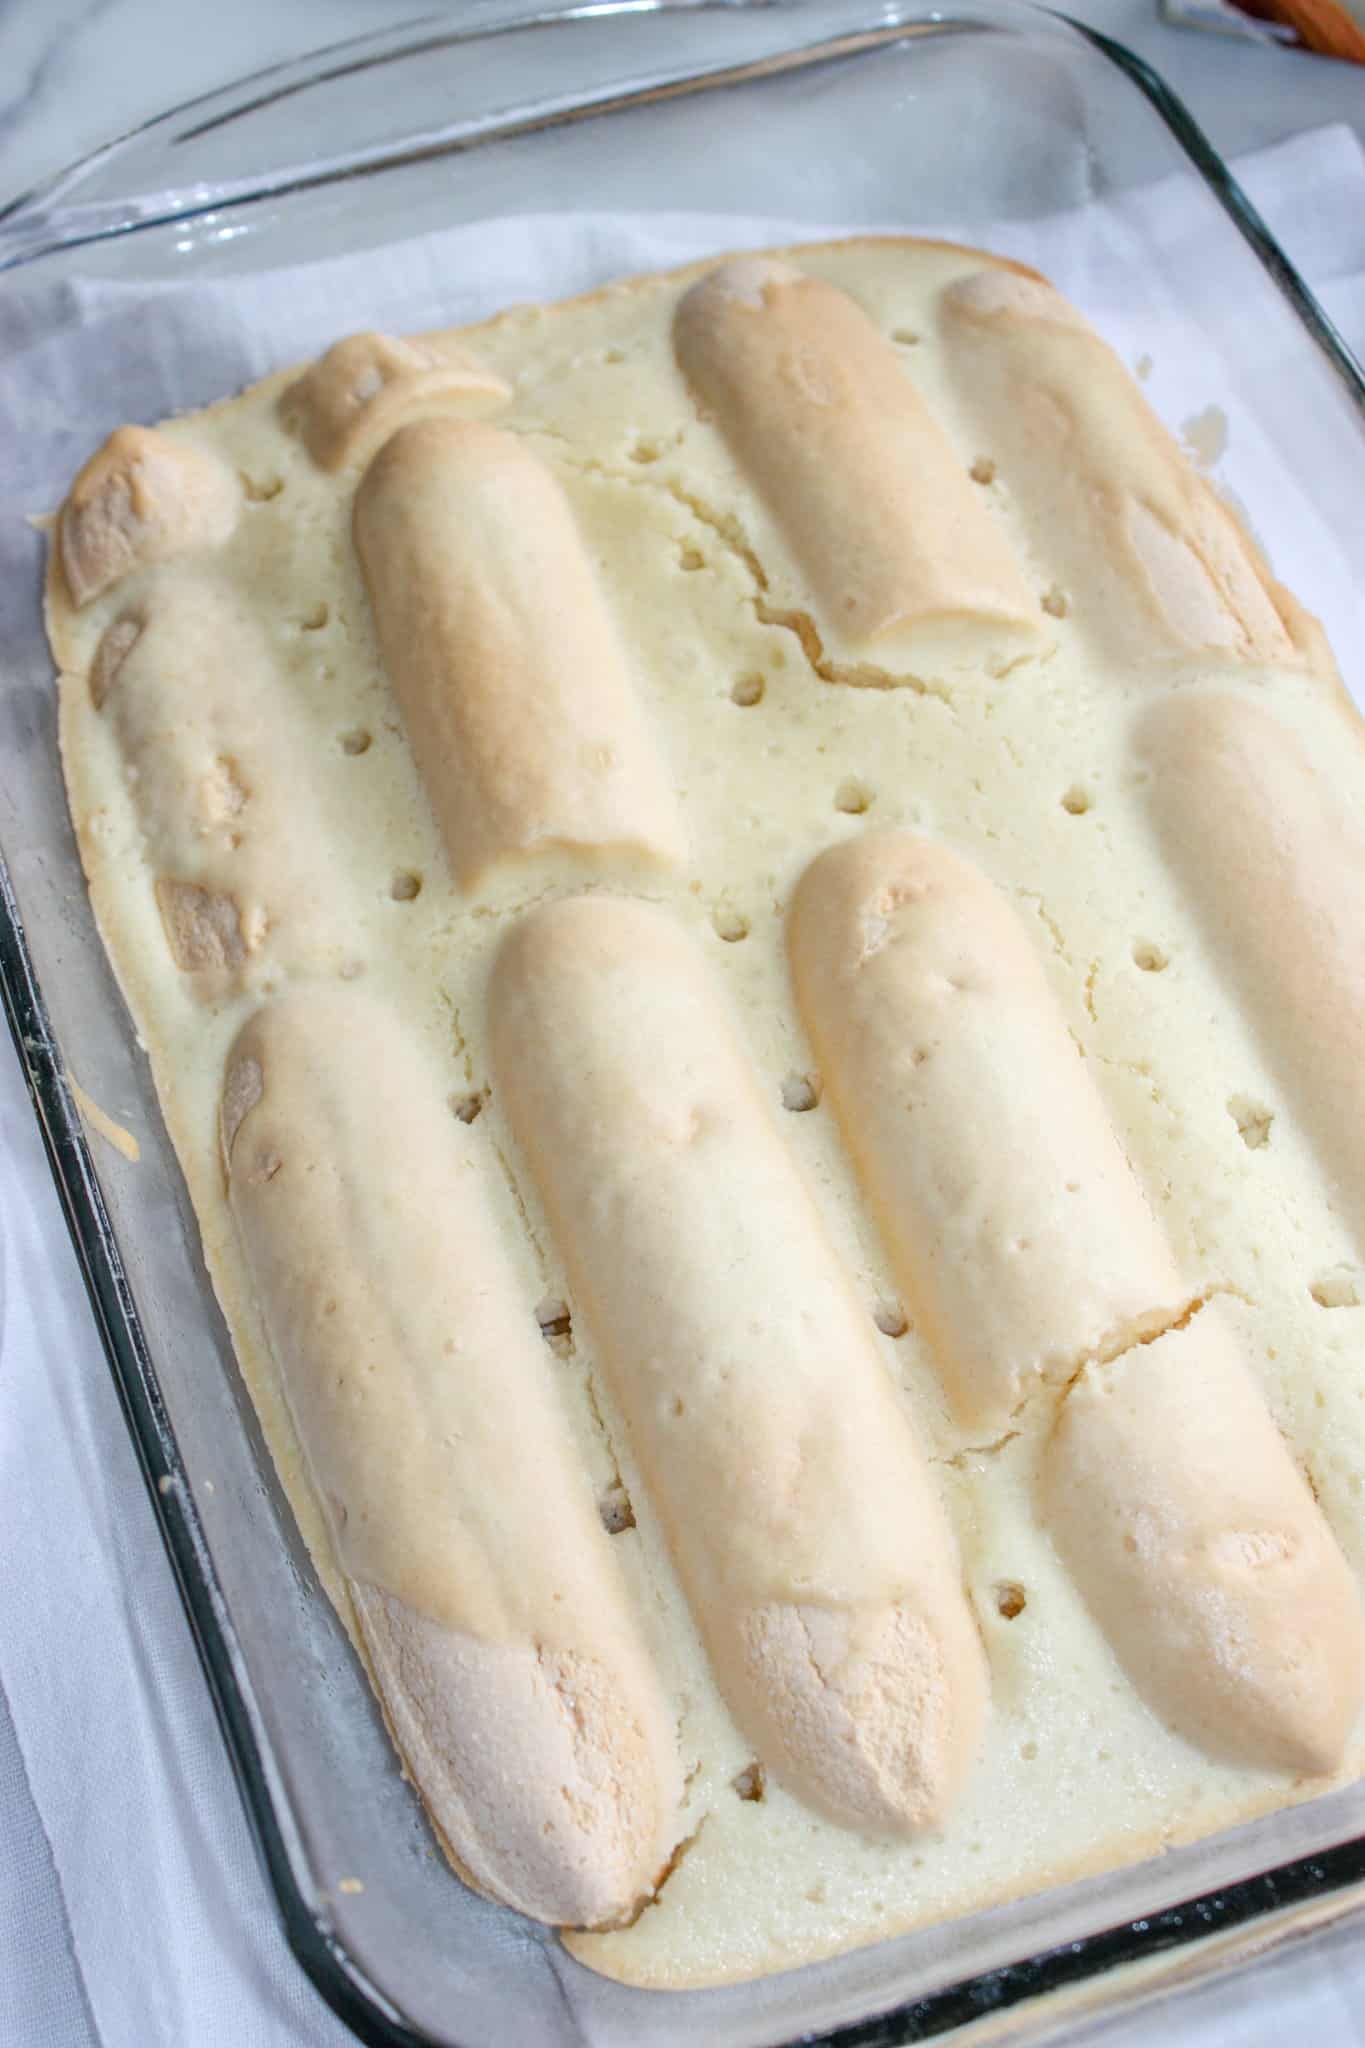
After removing the cake from the oven I allowed it to cool for about 10 minutes before using a straw to poke a bunch of holes in it.

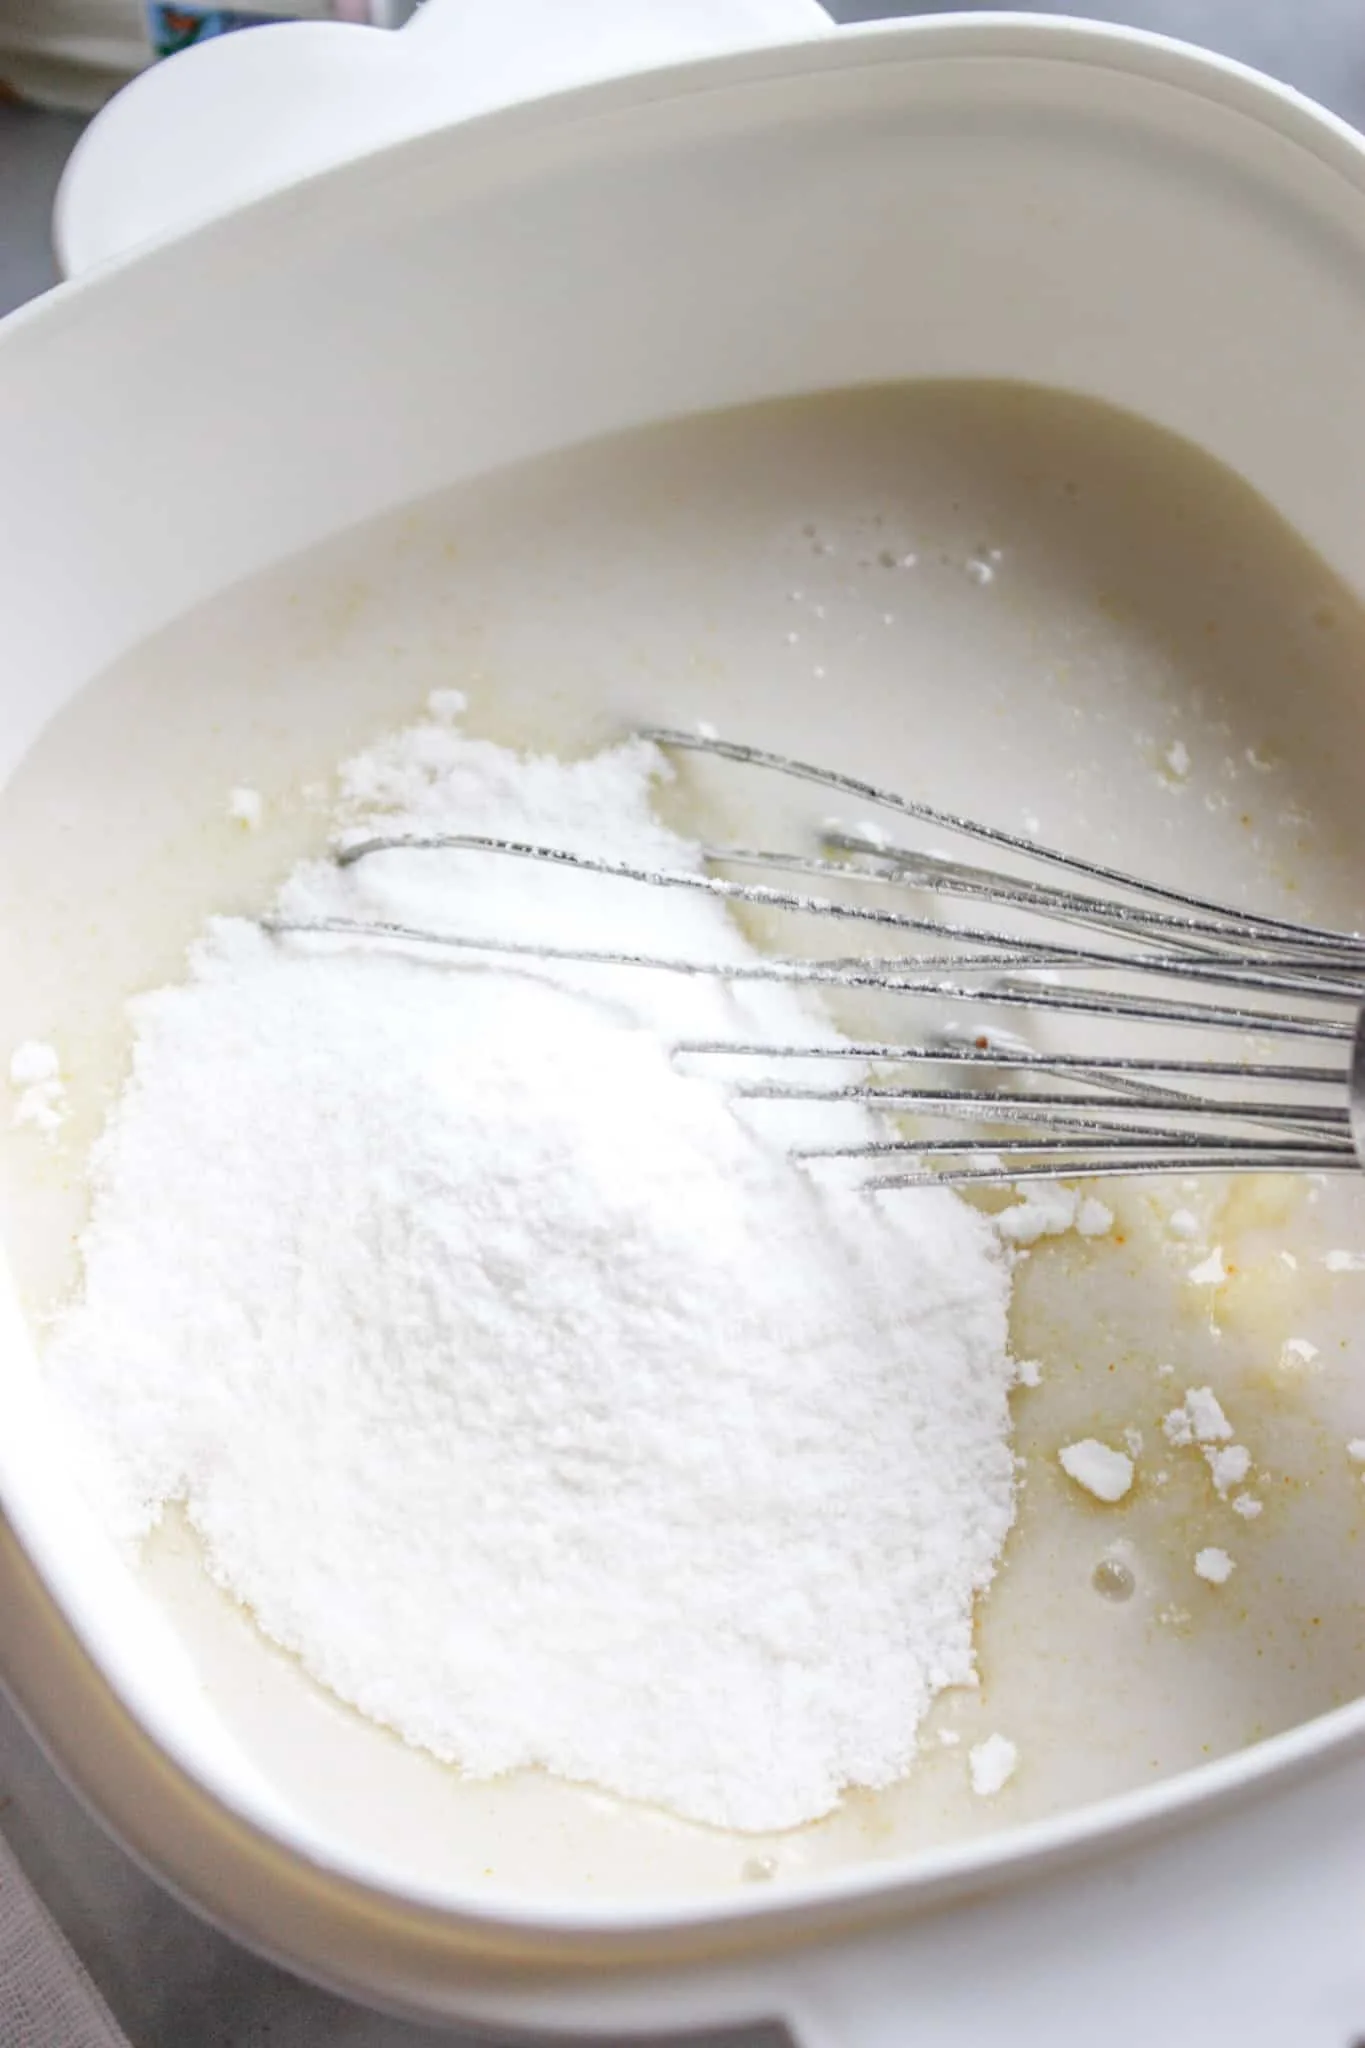
Then I dumped the chocolate pudding mix and some almond milk into a mixing bowl.

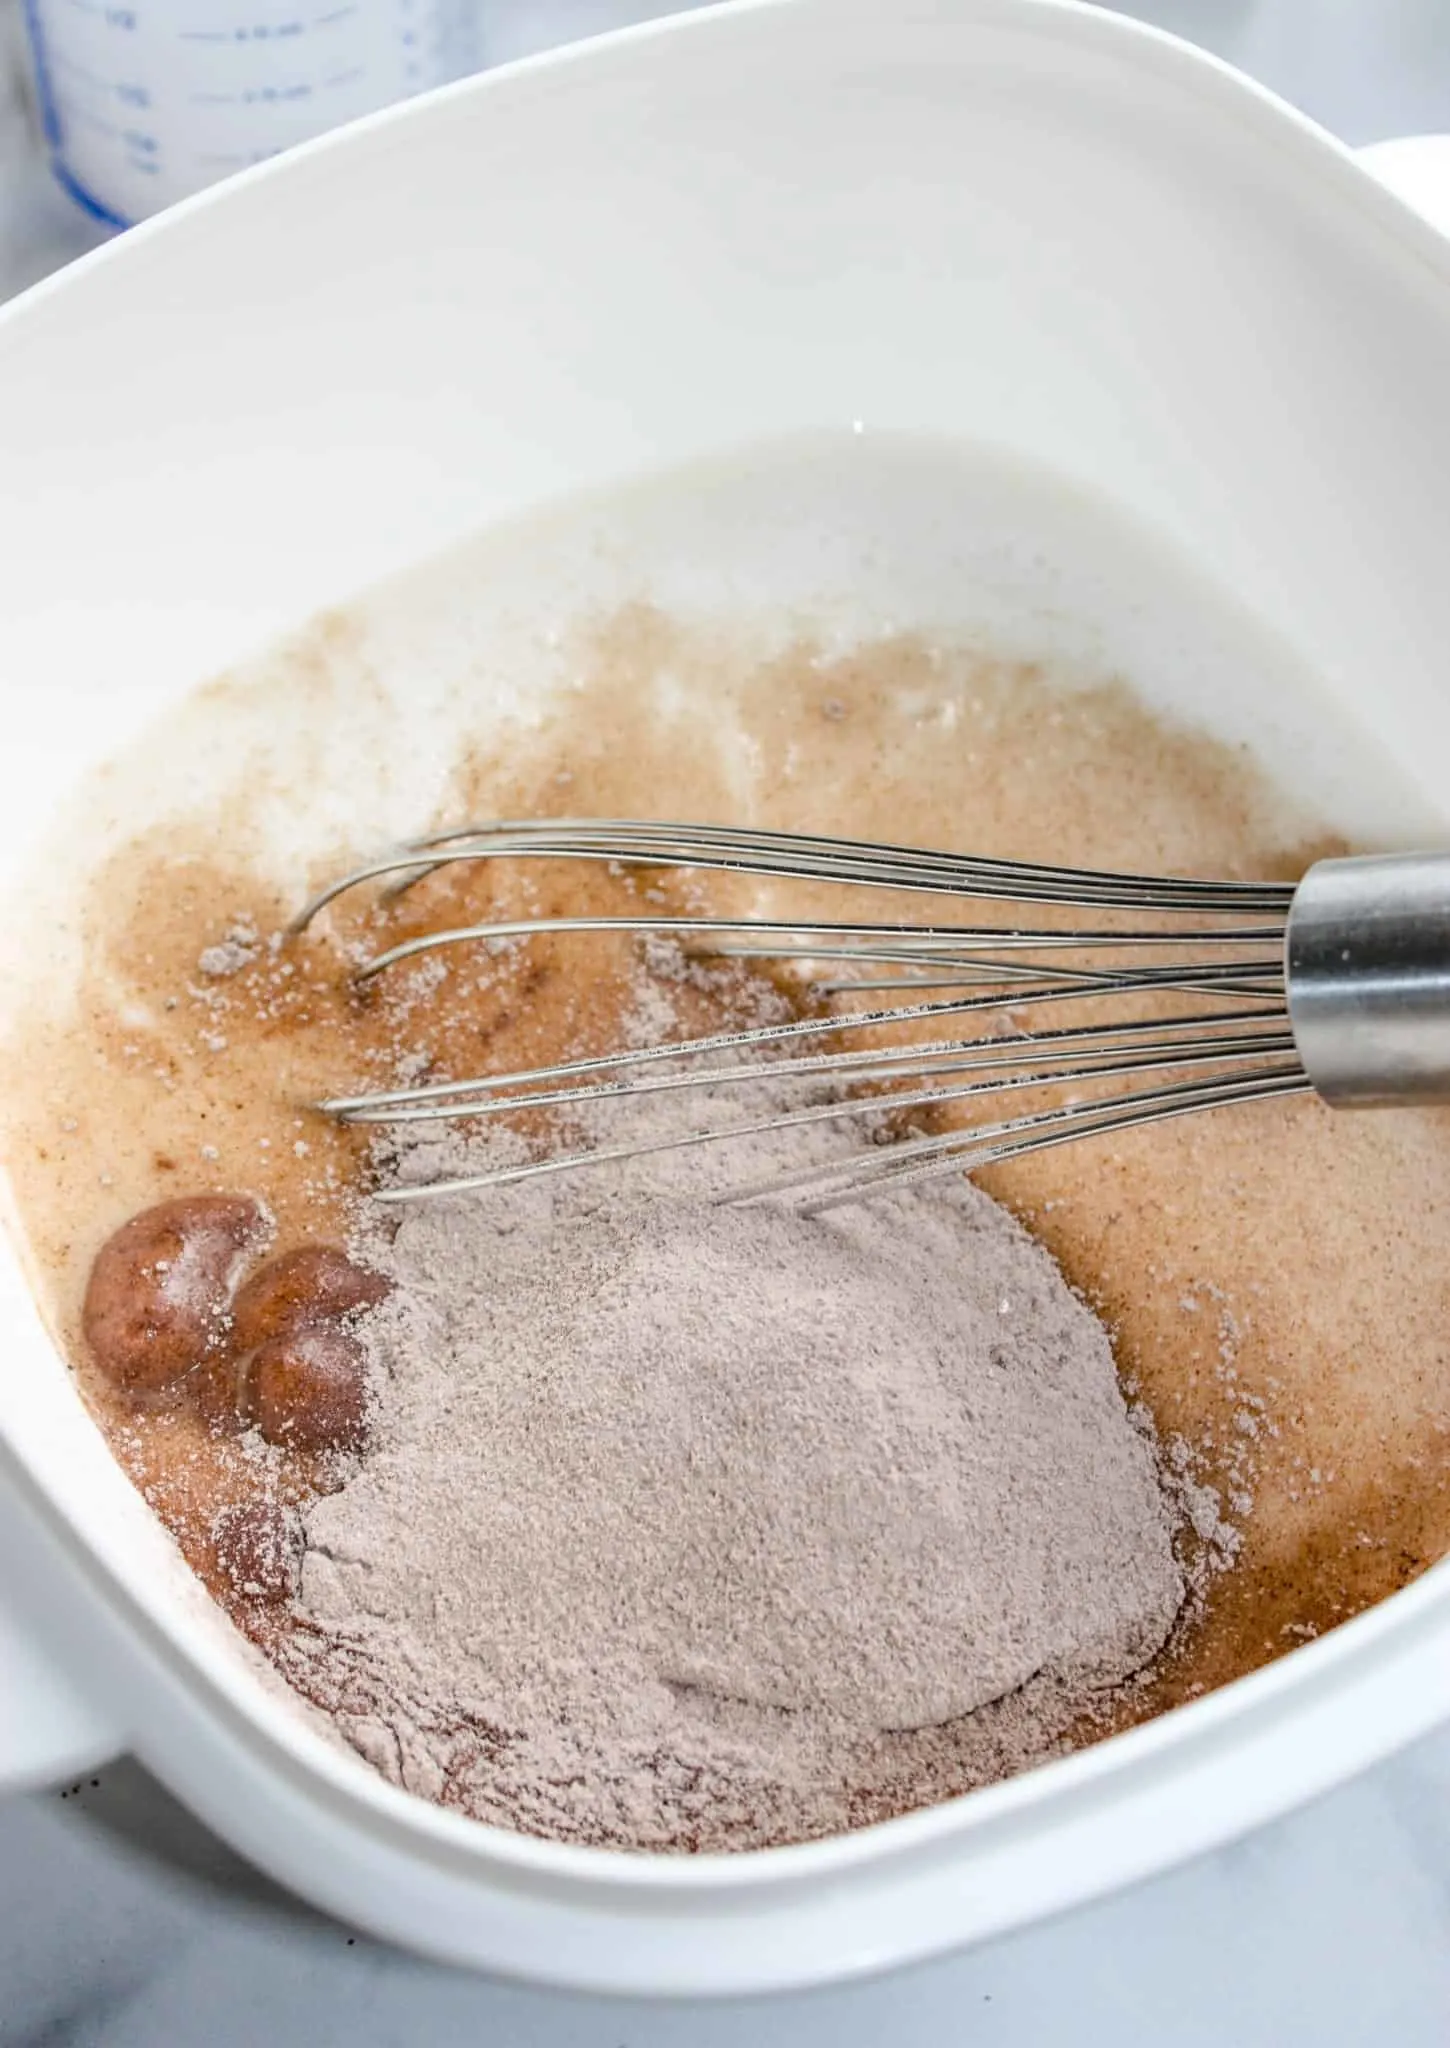
Then I whisked together the chocolate pudding mix and the almond milk.
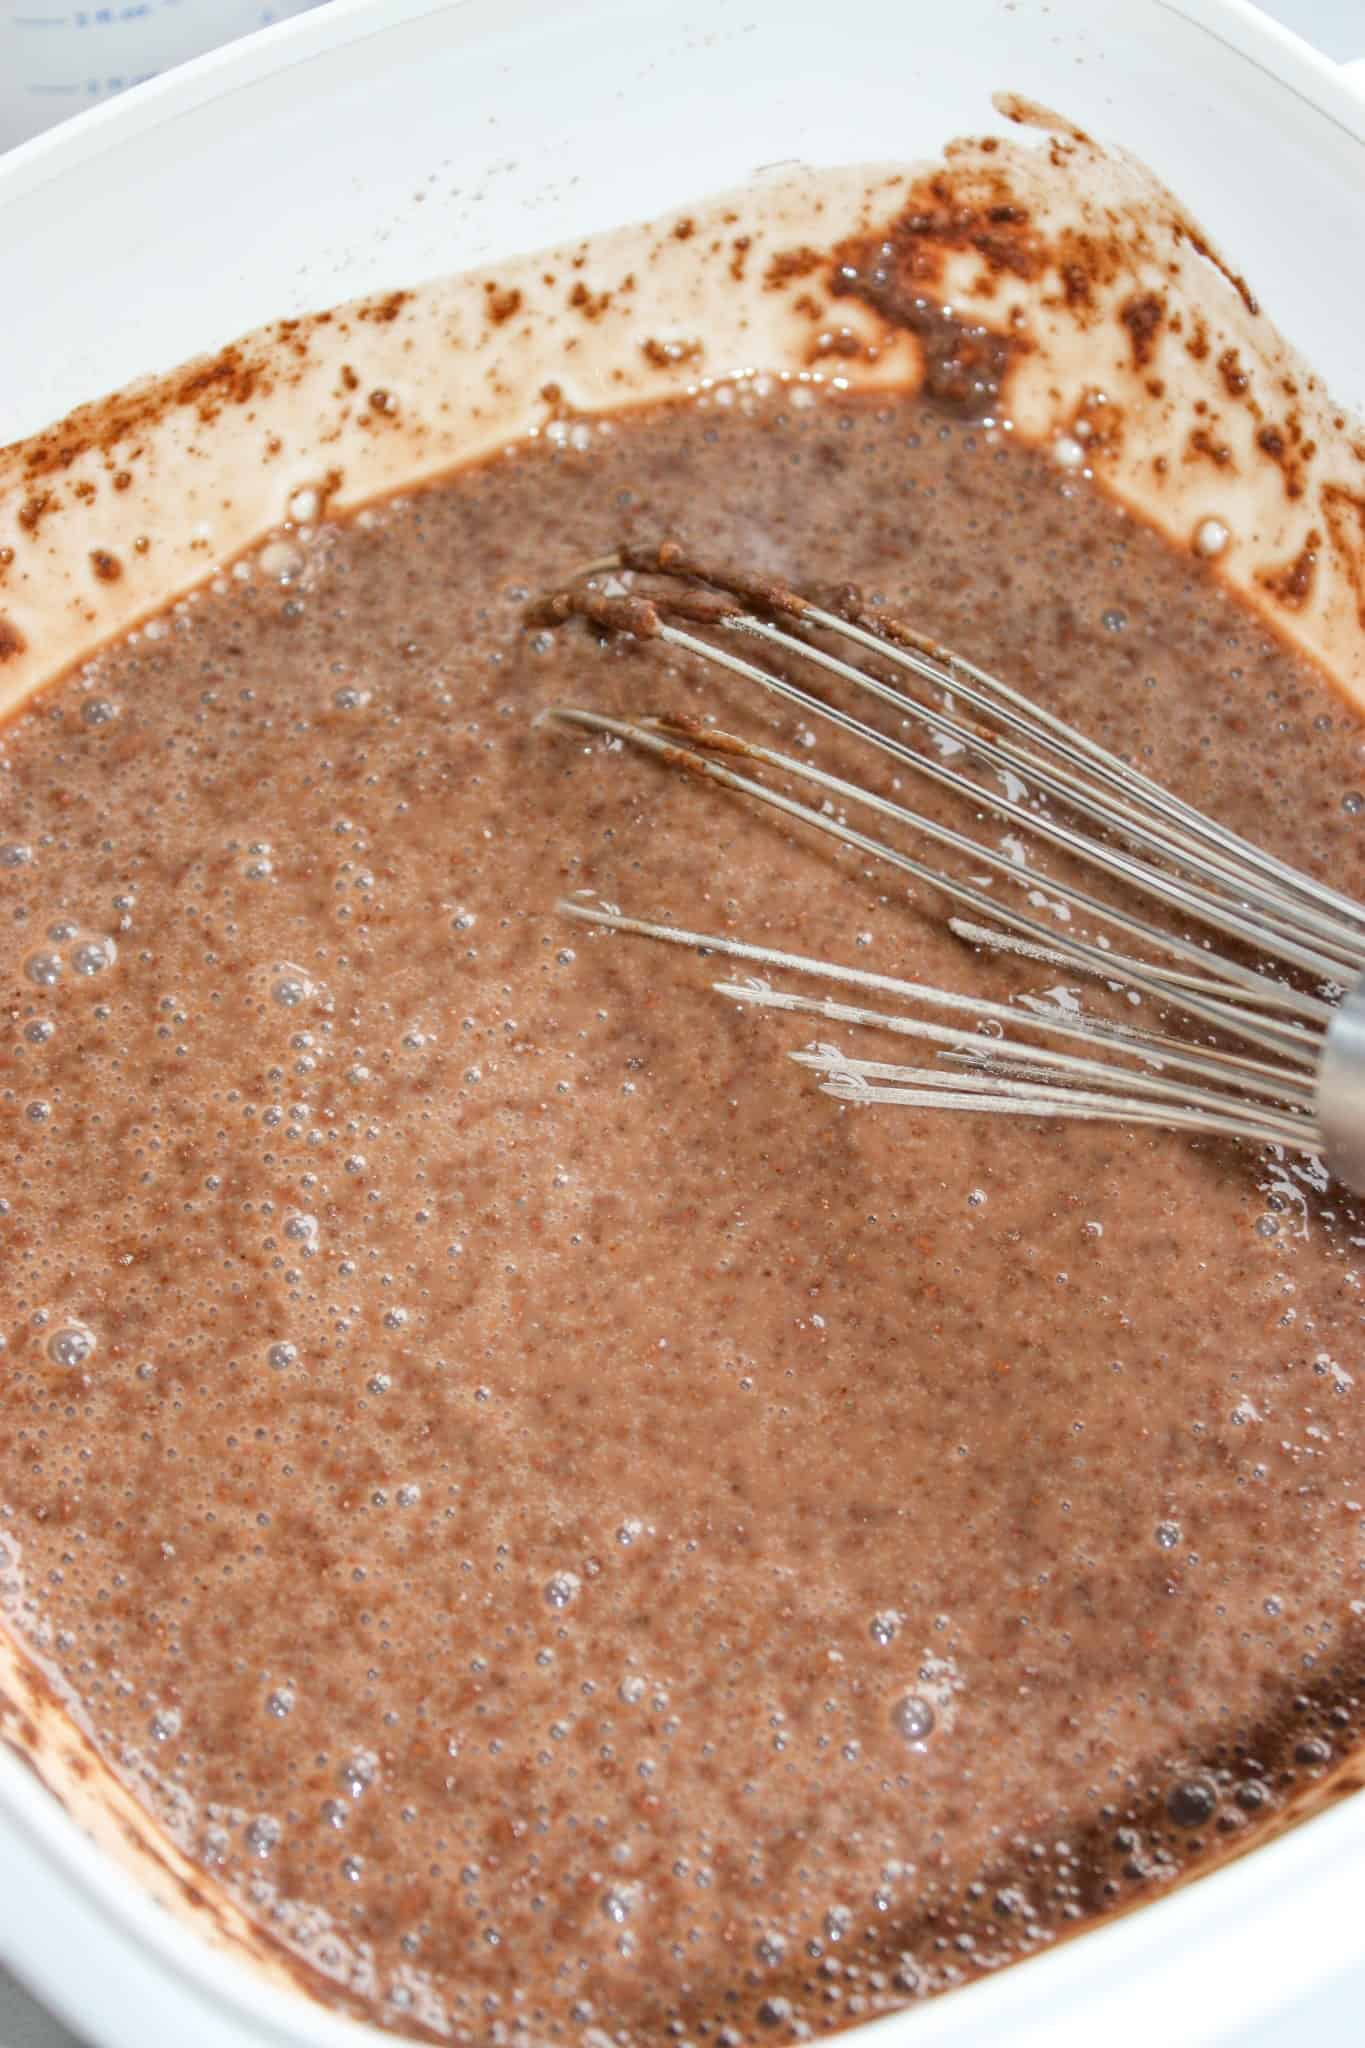

I immediately poured one cup of the mixture over the cake in the pan.
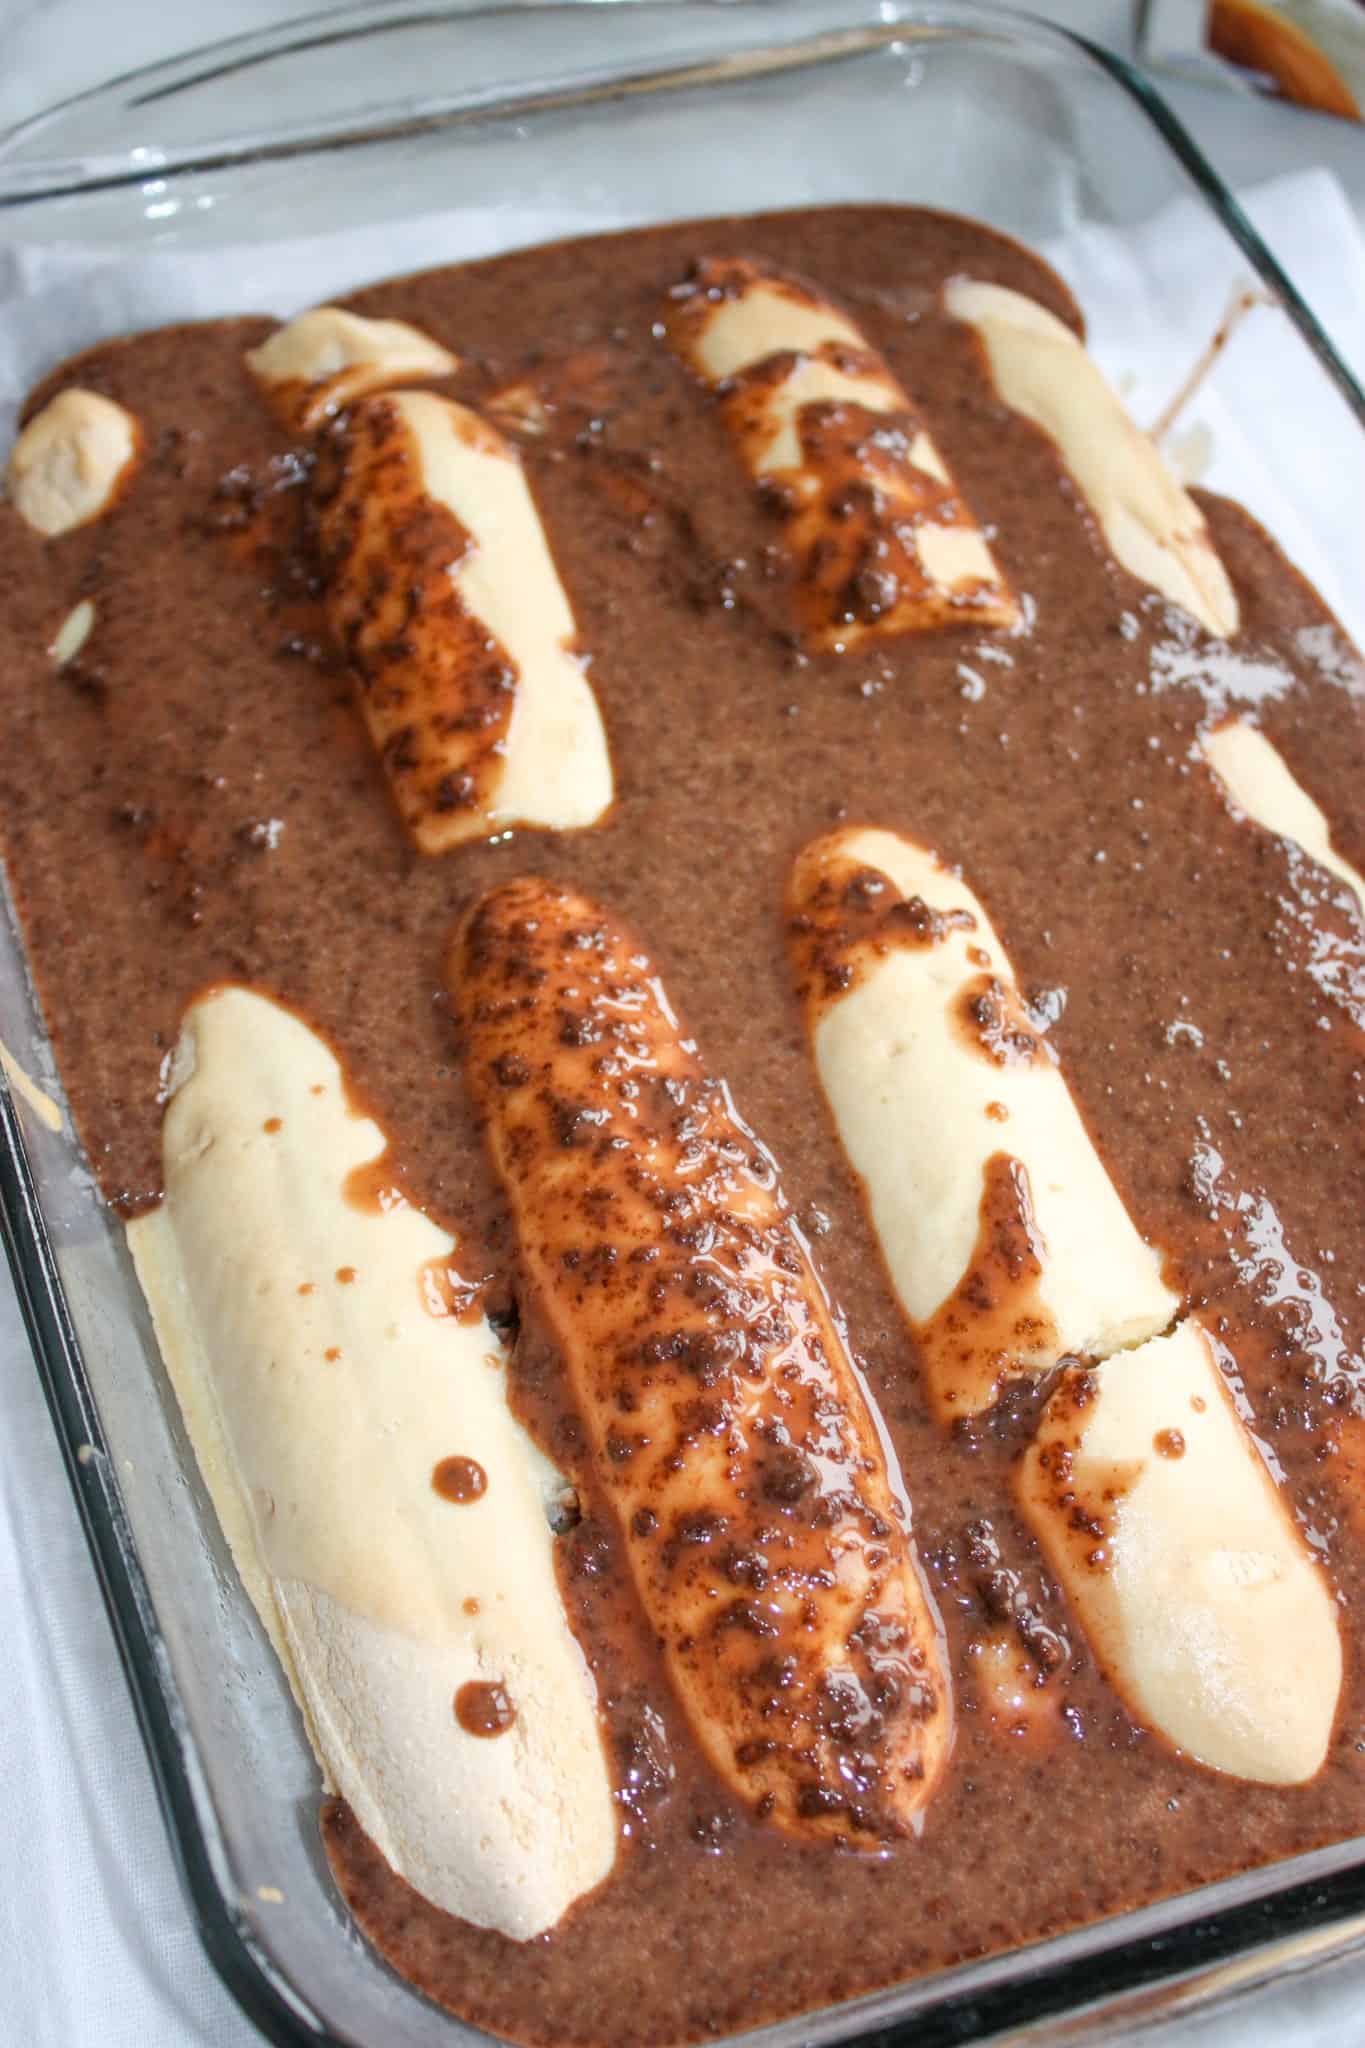

Then I finished beating the remainder of the pudding with an electric hand mixer for 2 minutes and set it aside.
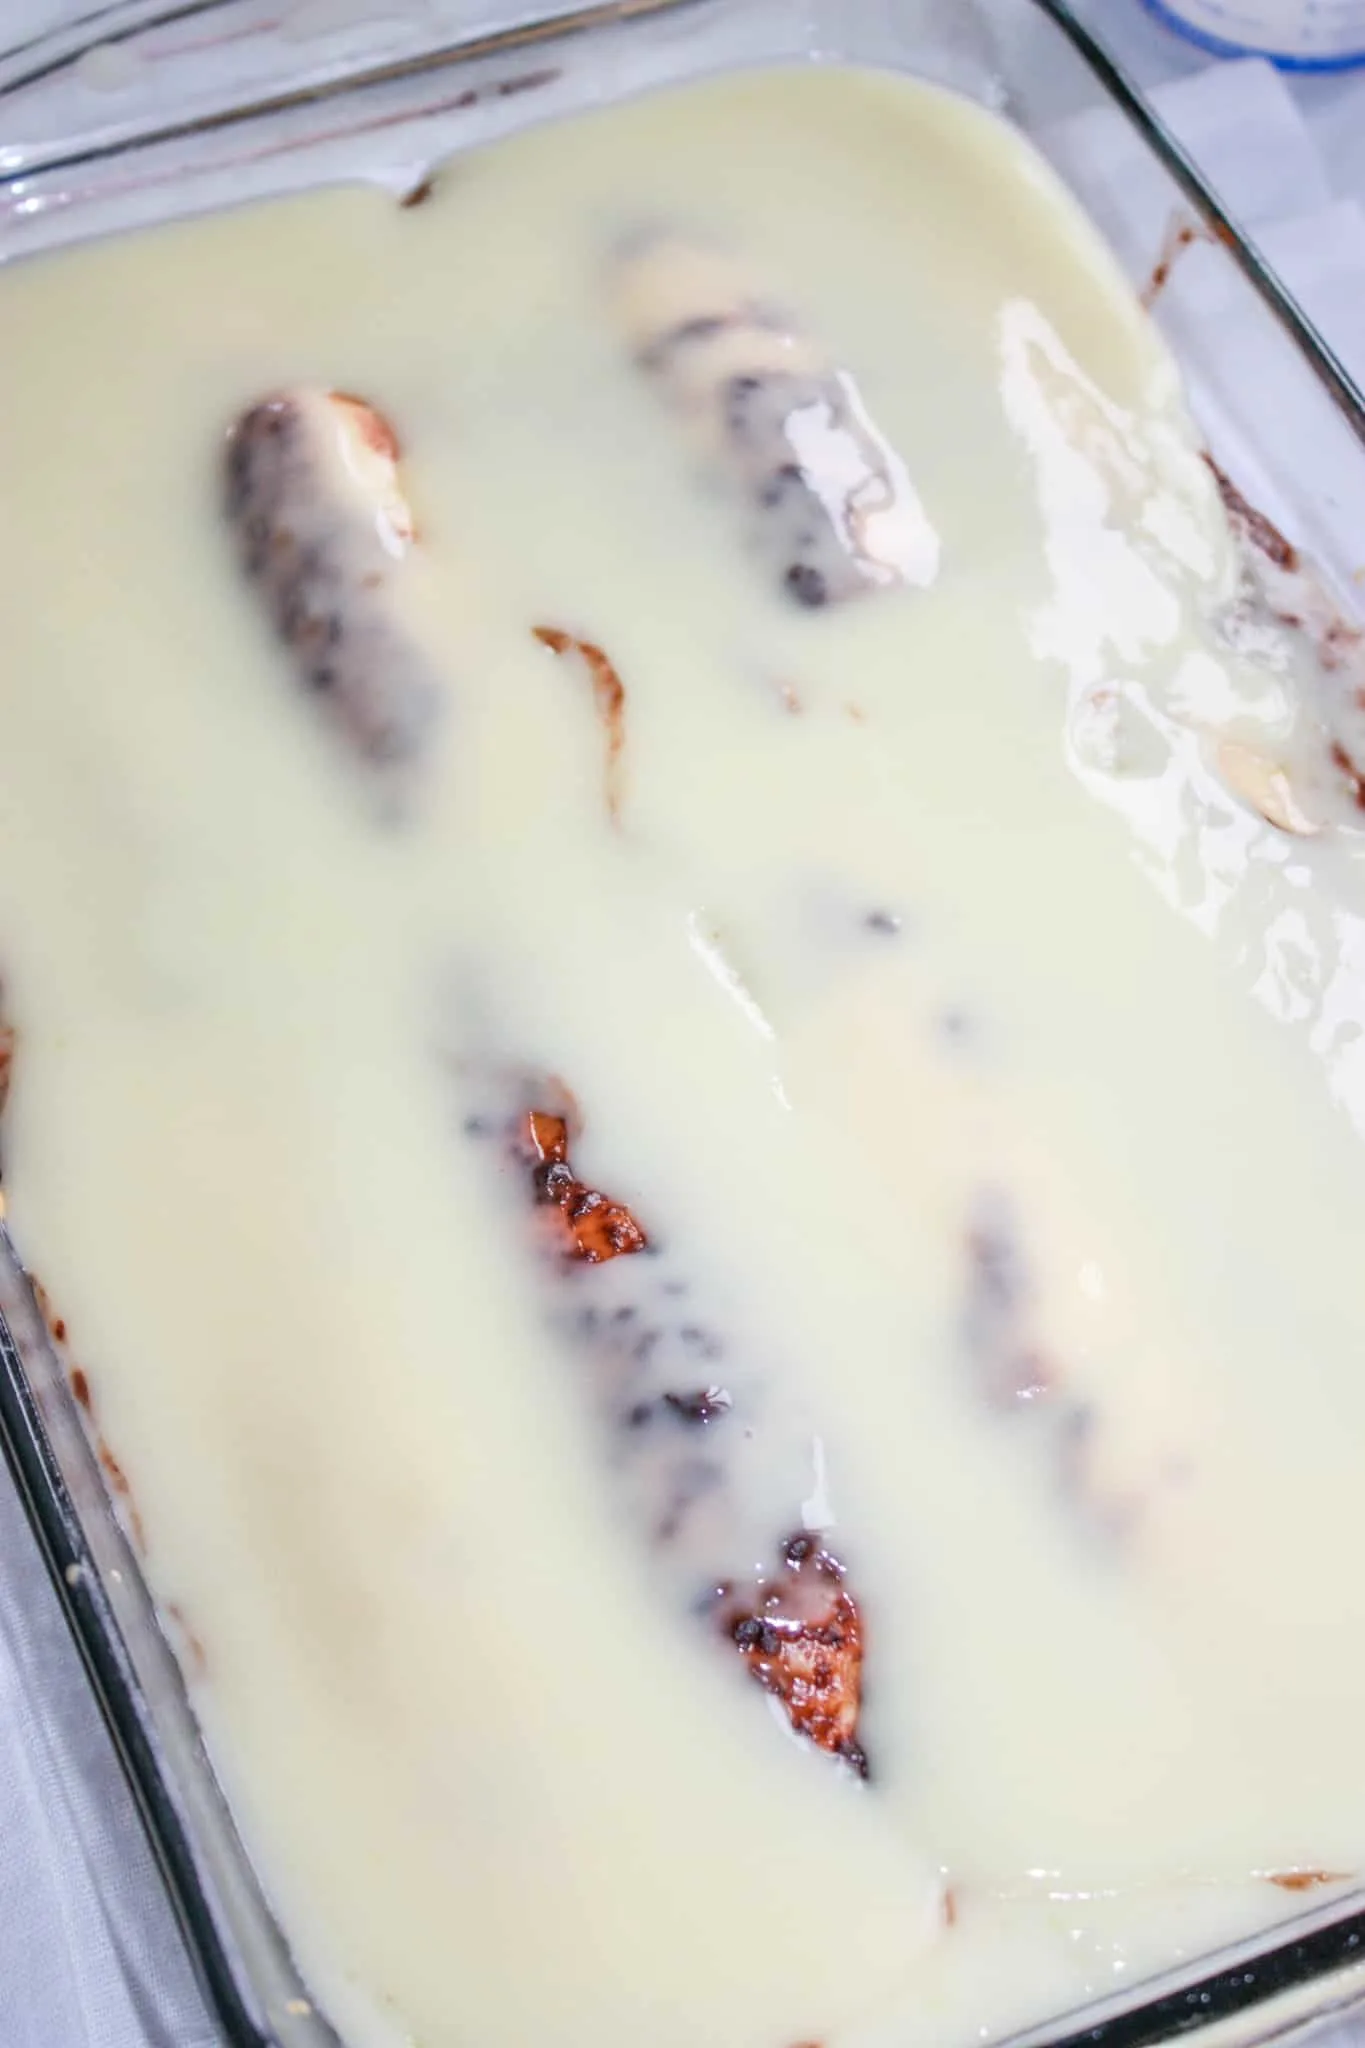
Next I dumped the vanilla pudding mix and some almond milk into a mixing bowl and repeated the procedure; a quick mix until just blended.

I poured one cup over the cake in the pan, beat the remainder for 2 minutes with an electric hand mixer and then set it aside for about 3 minutes.

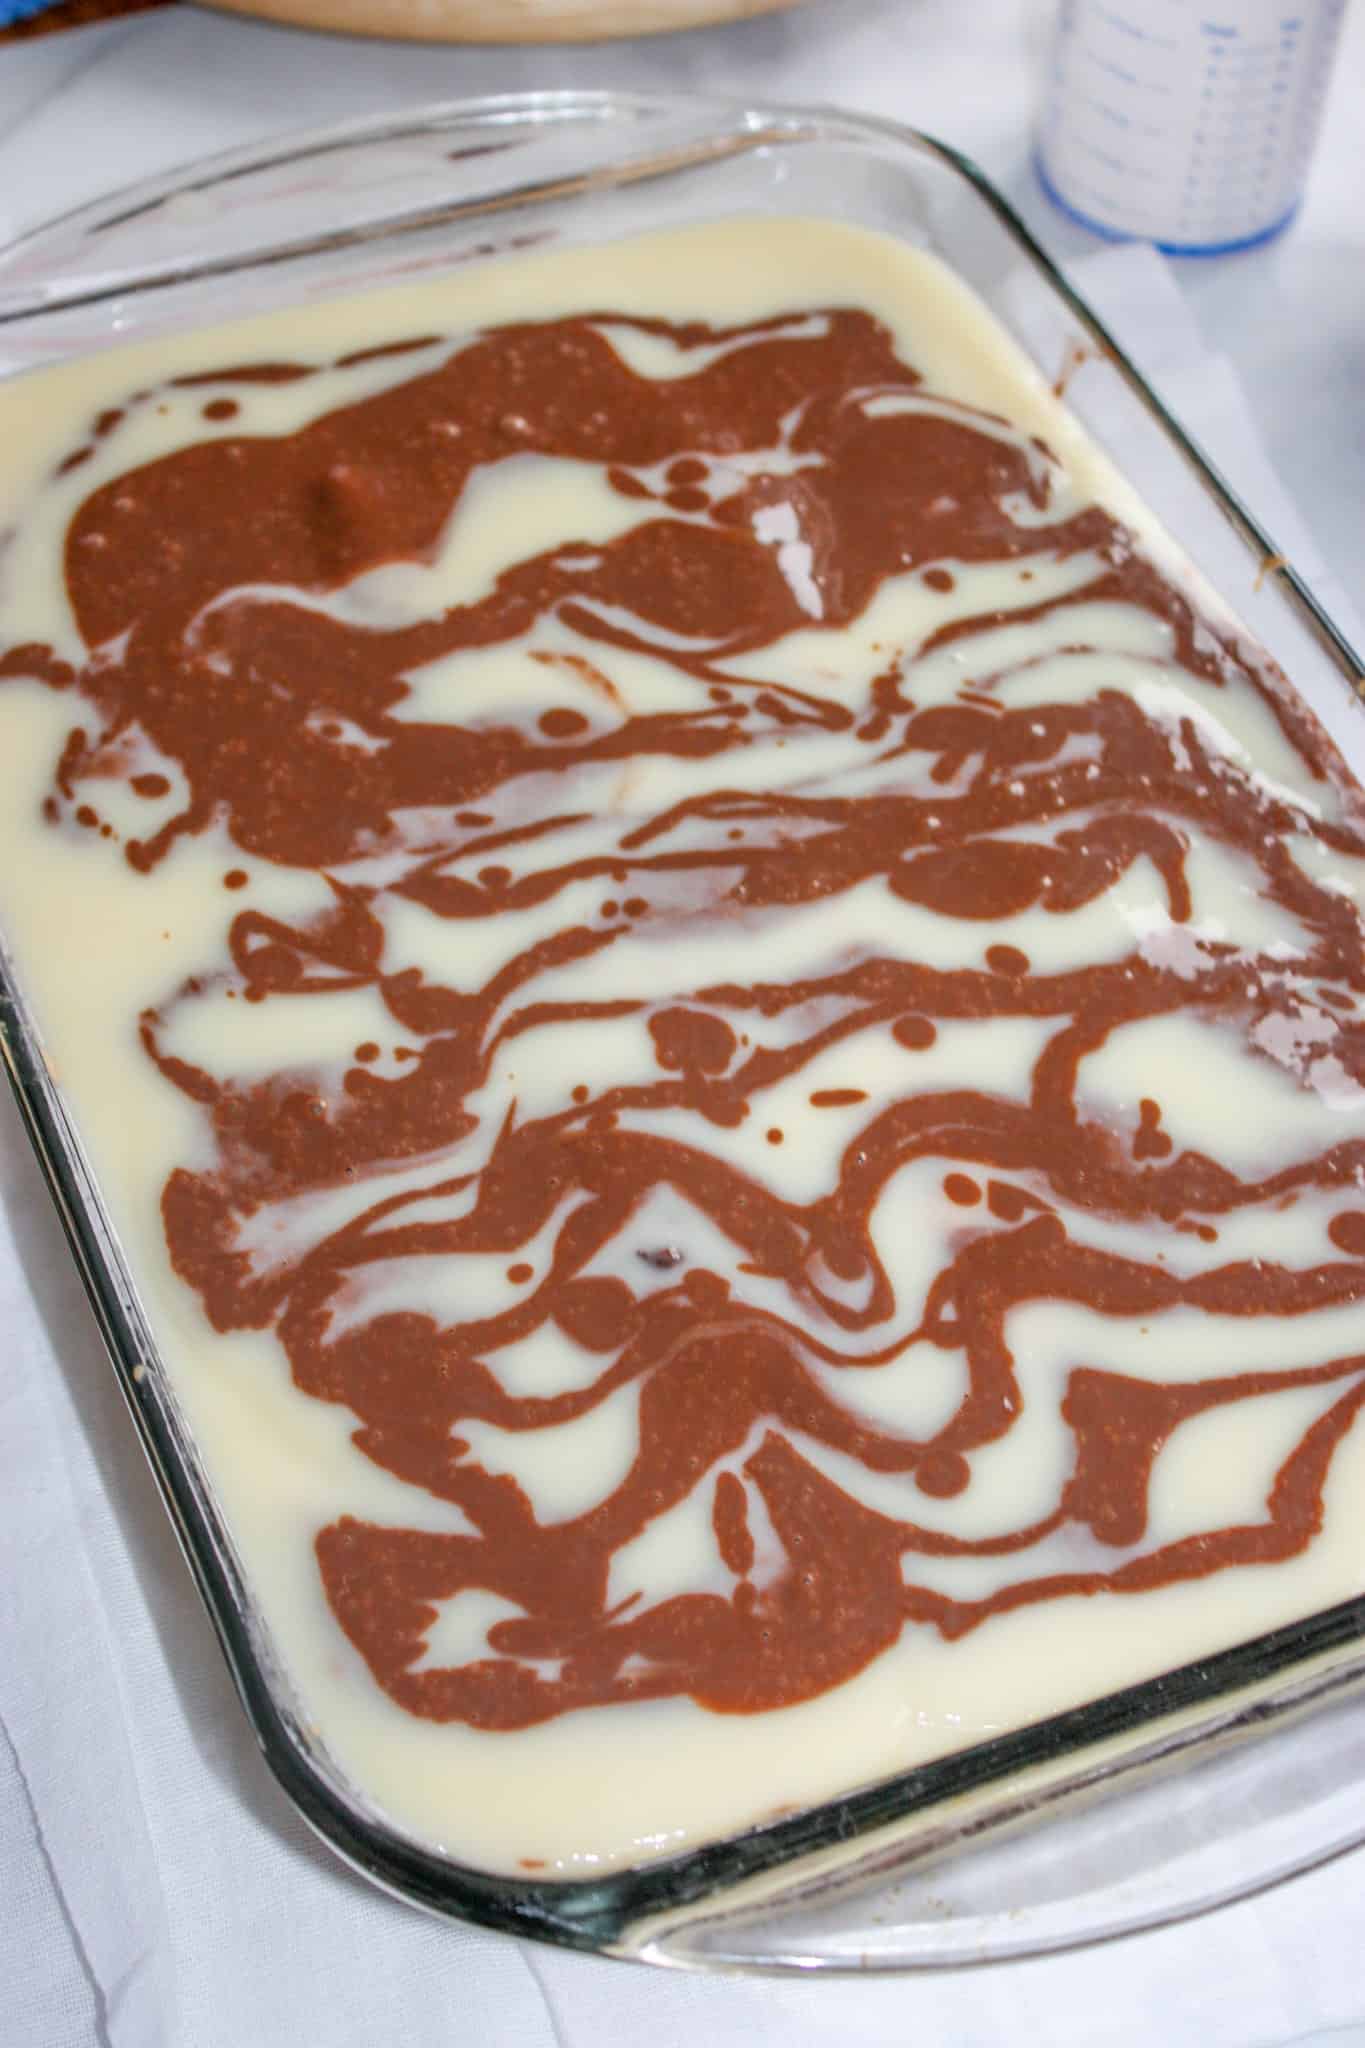
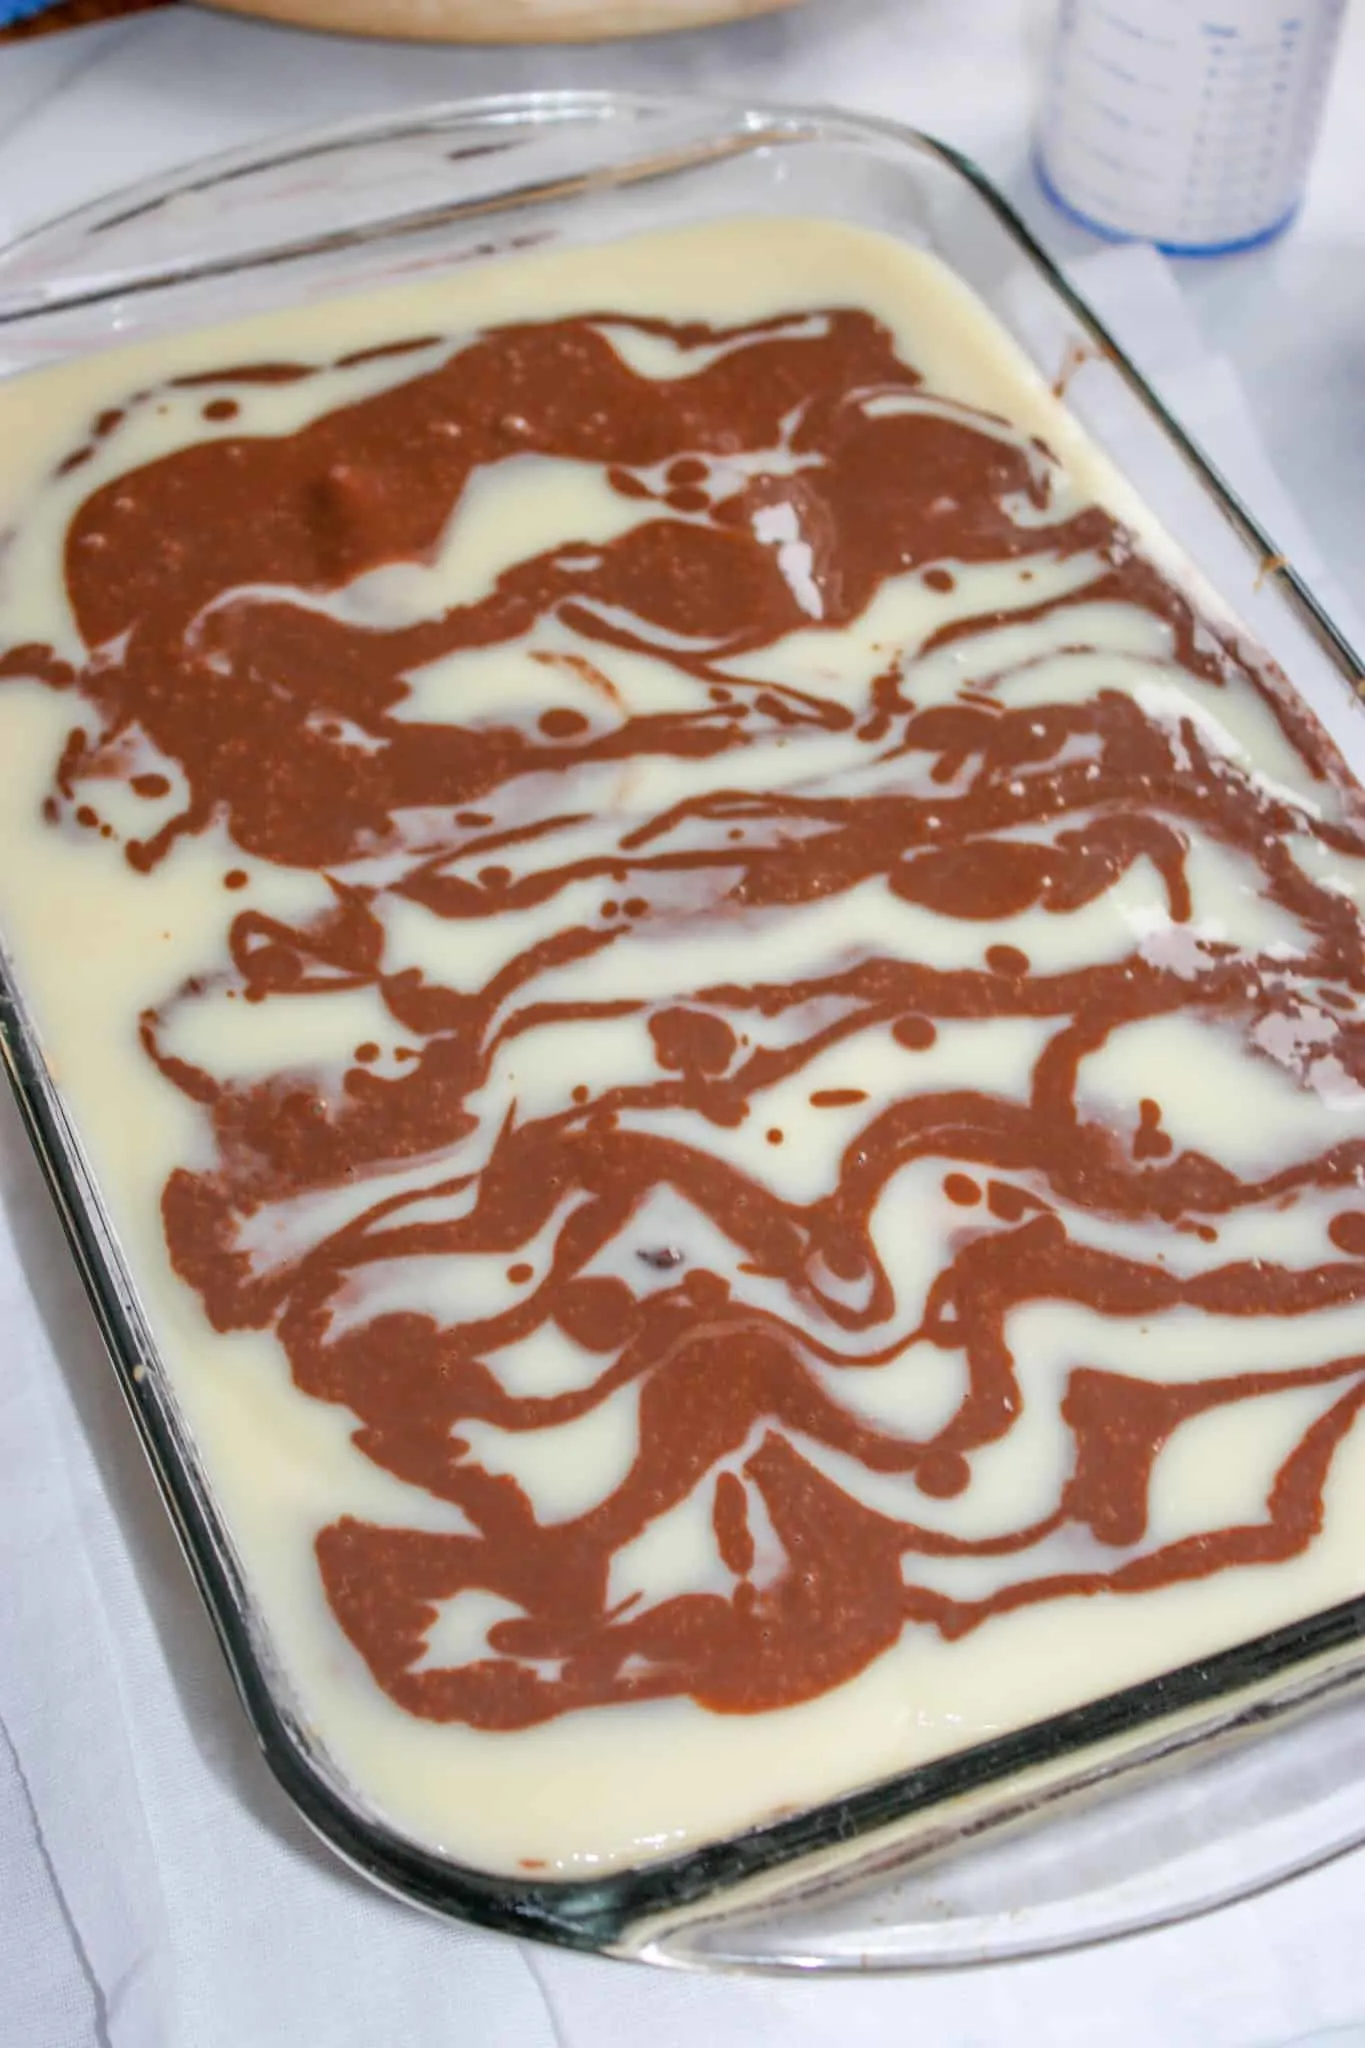
After 3 minutes I spread the thickened vanilla pudding over the cake in the pan and then dropped scoops of chocolate pudding on top.
I used a knife to cut through the chocolate pudding to create a marbling effect.
Then I placed the whole pan in the fridge for at least 30 minutes.
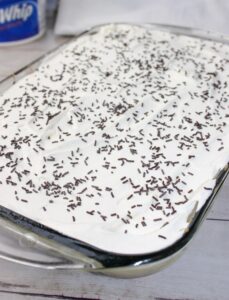
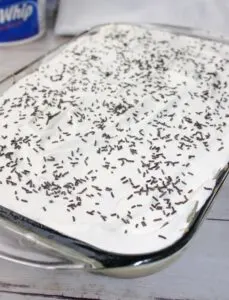
Before serving I dropped dollops of Cool Whip Dessert Topping all over the top of the Lady Finger Poke Cake.
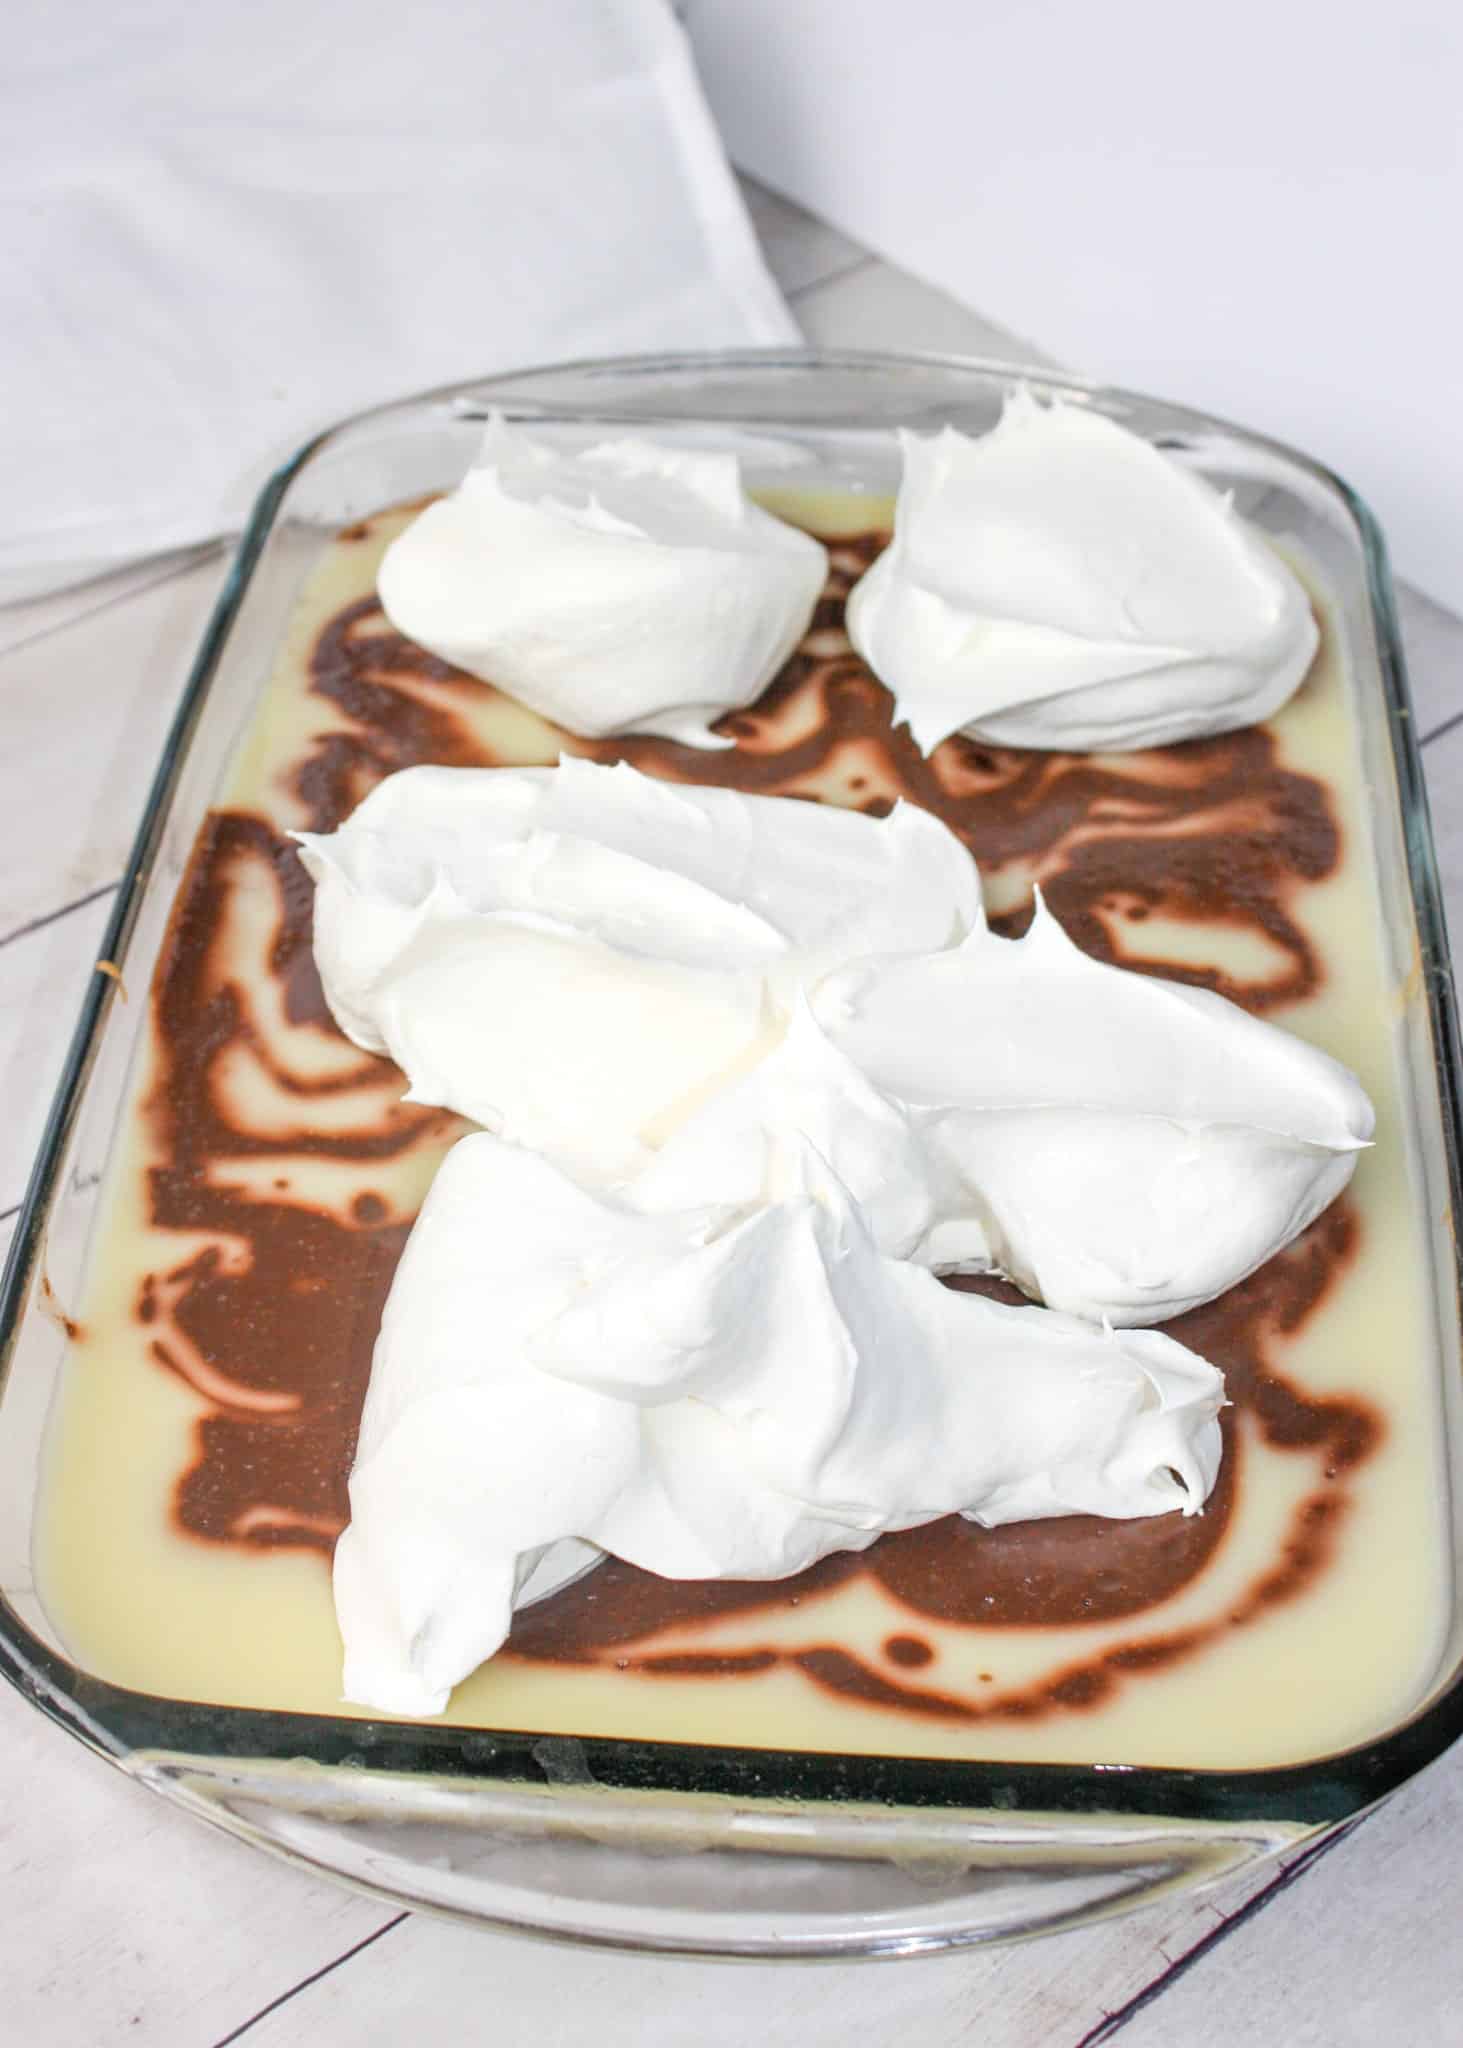

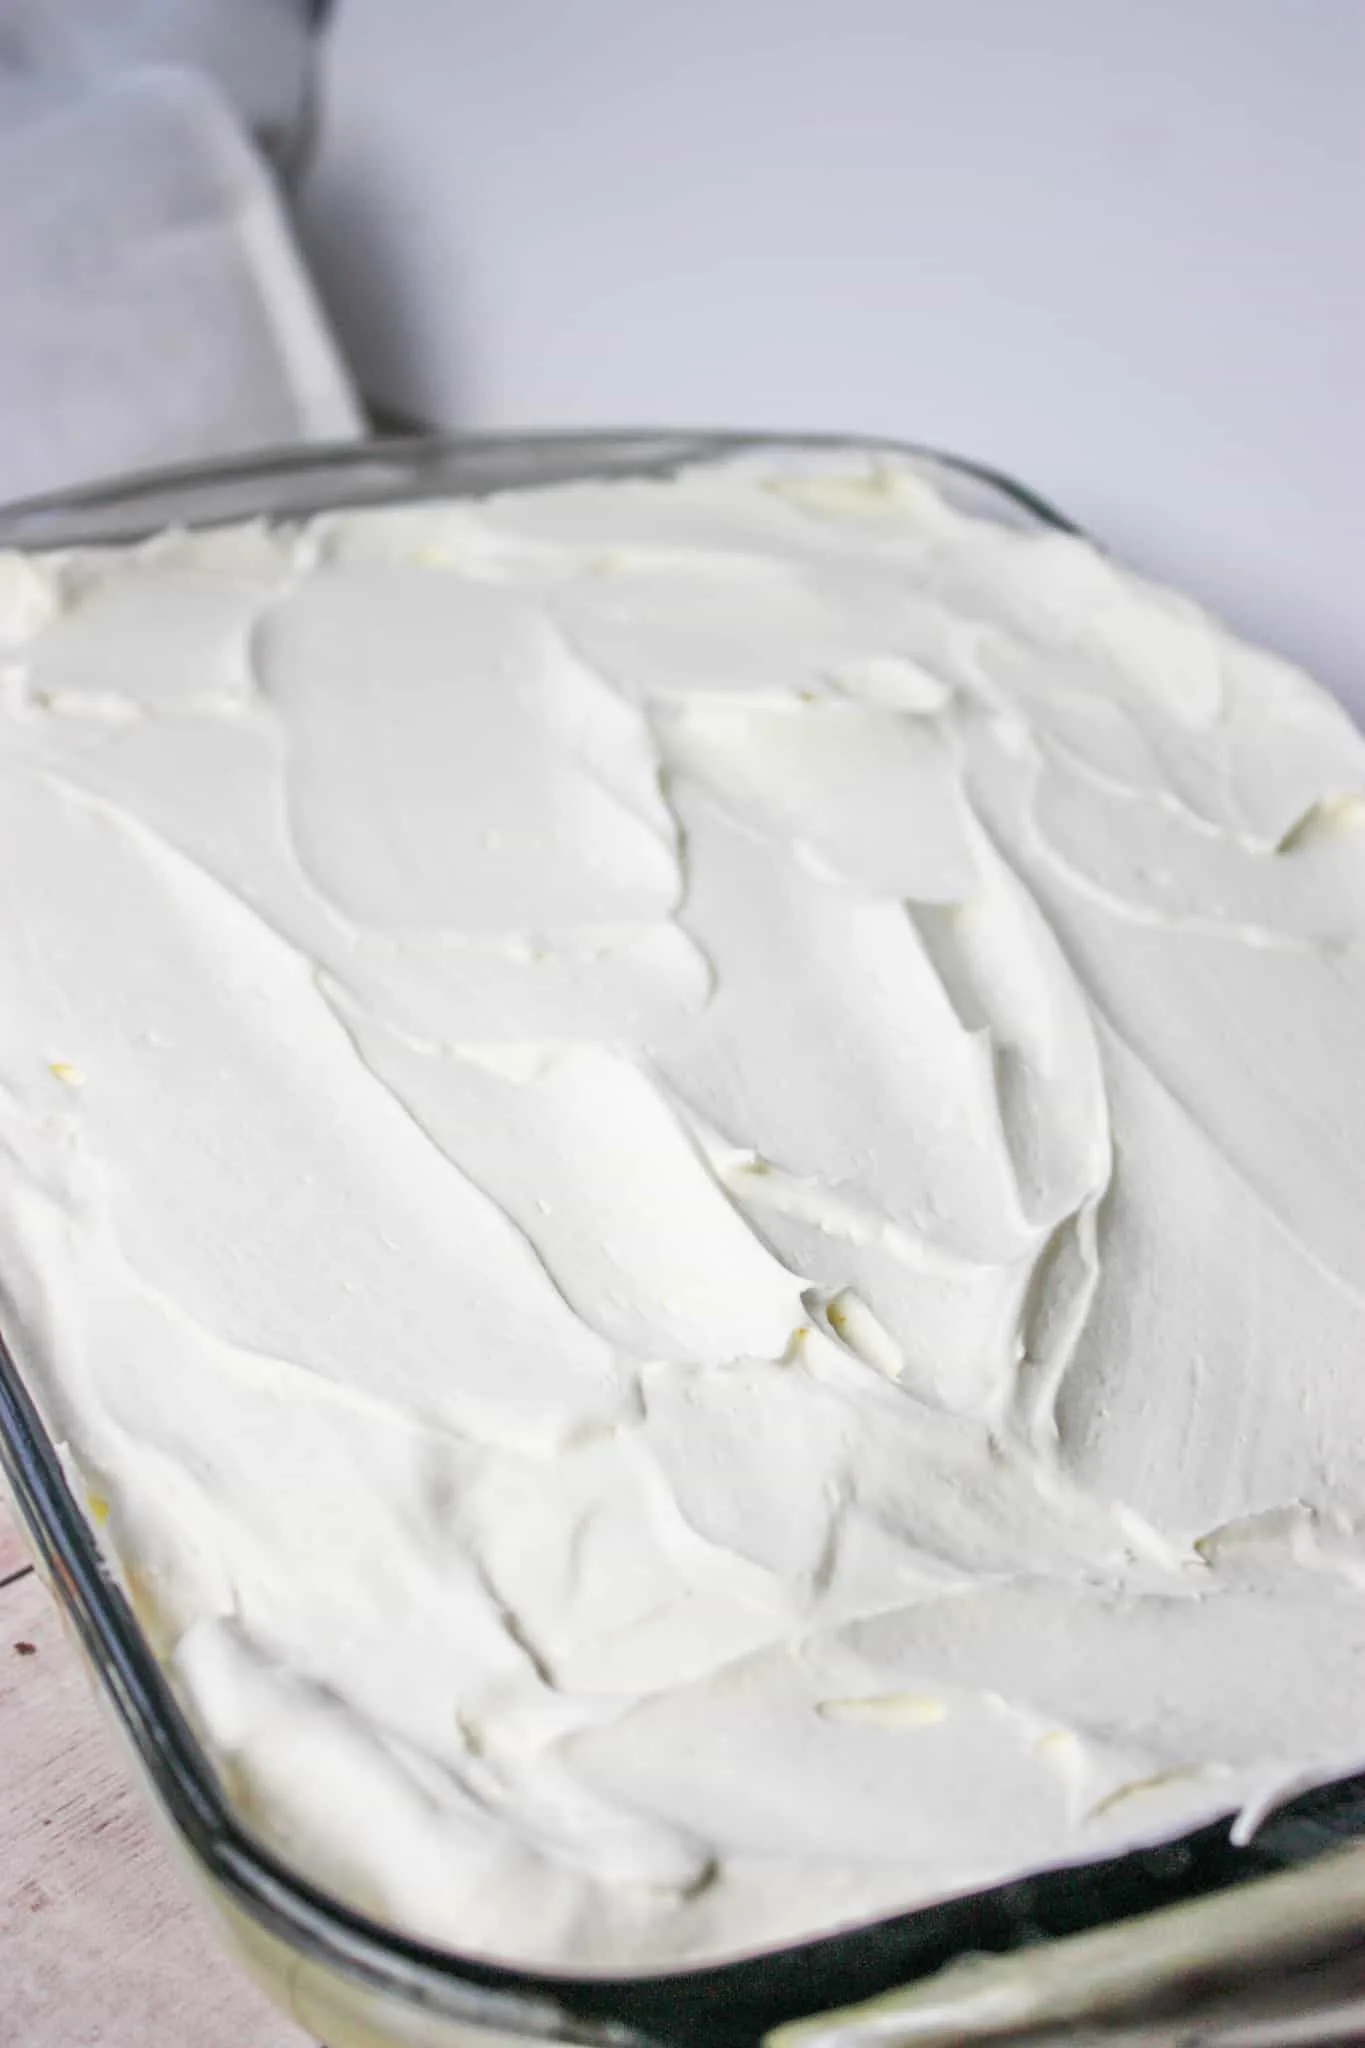
Then I used a rubber spatula to spread it out evenly over the top.

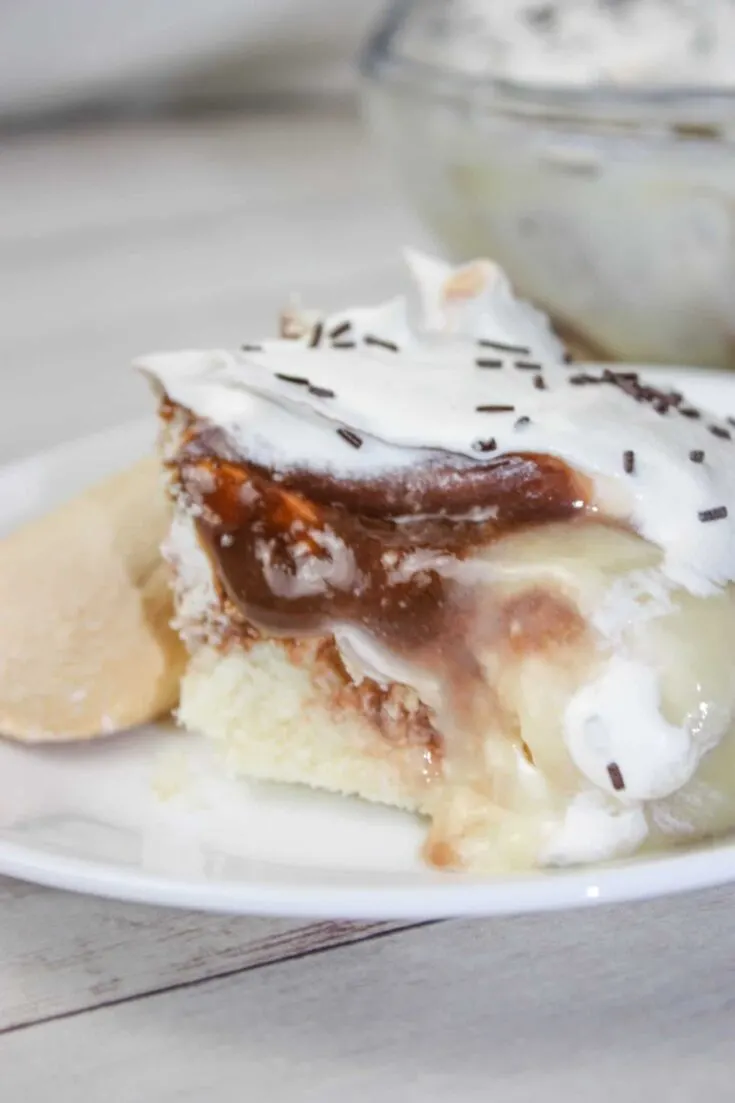
You can garnish as desired at this point. I had some Epicure chocolate sprinkles so I used them. You could also use shaved chocolate if you like.
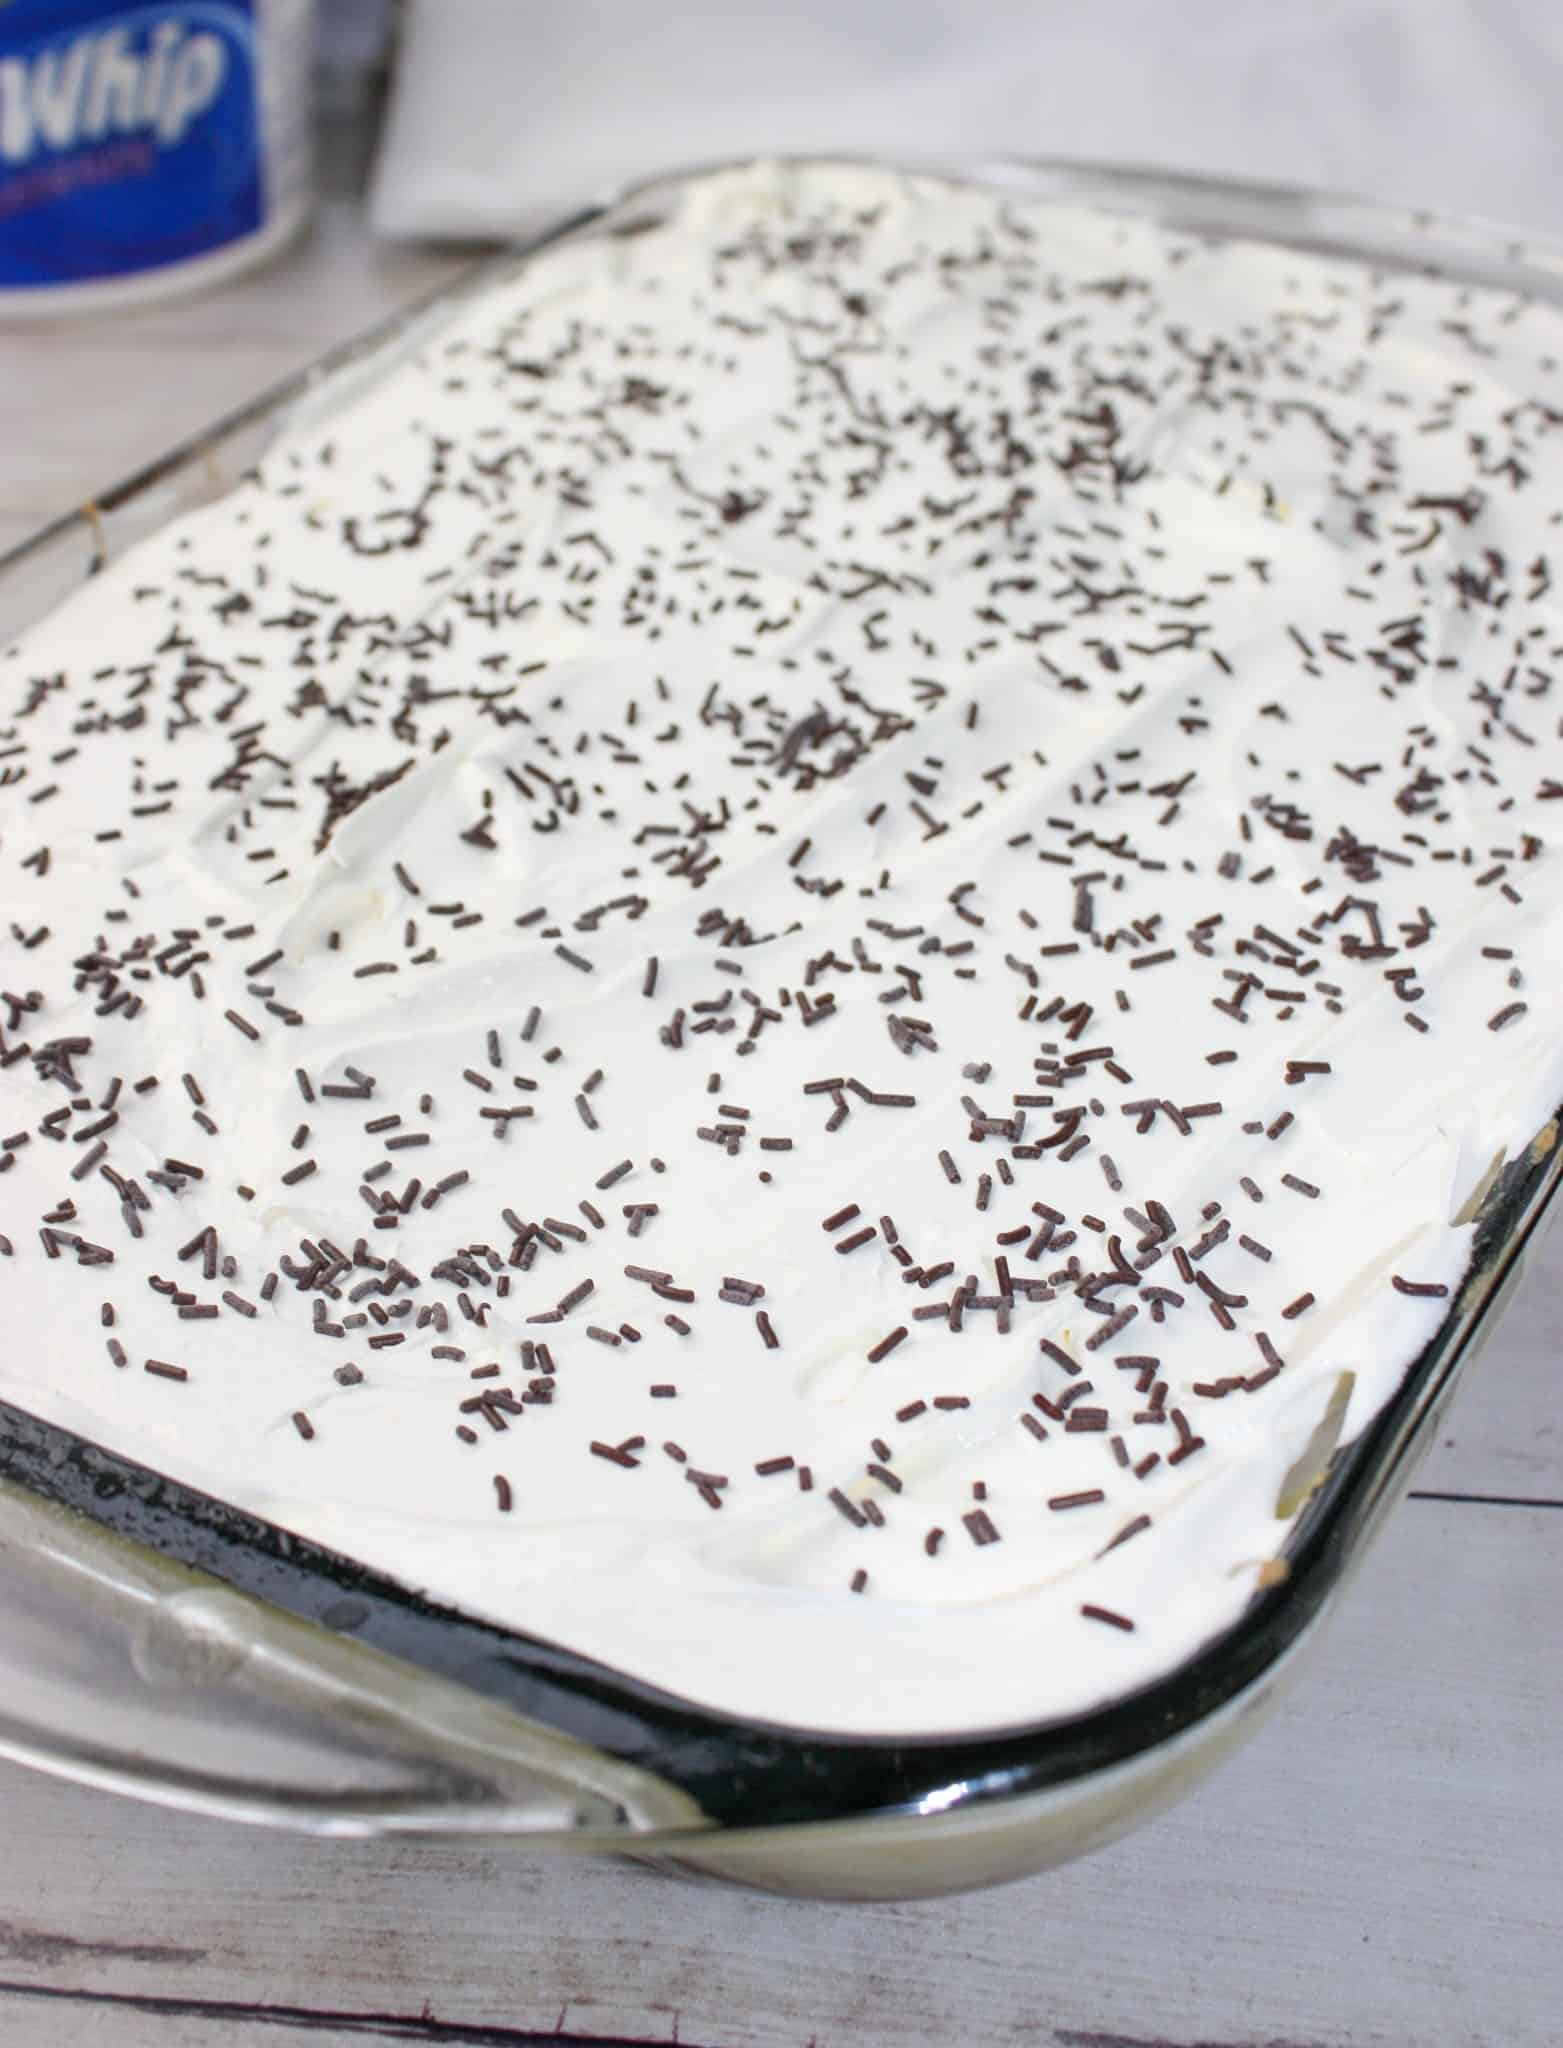

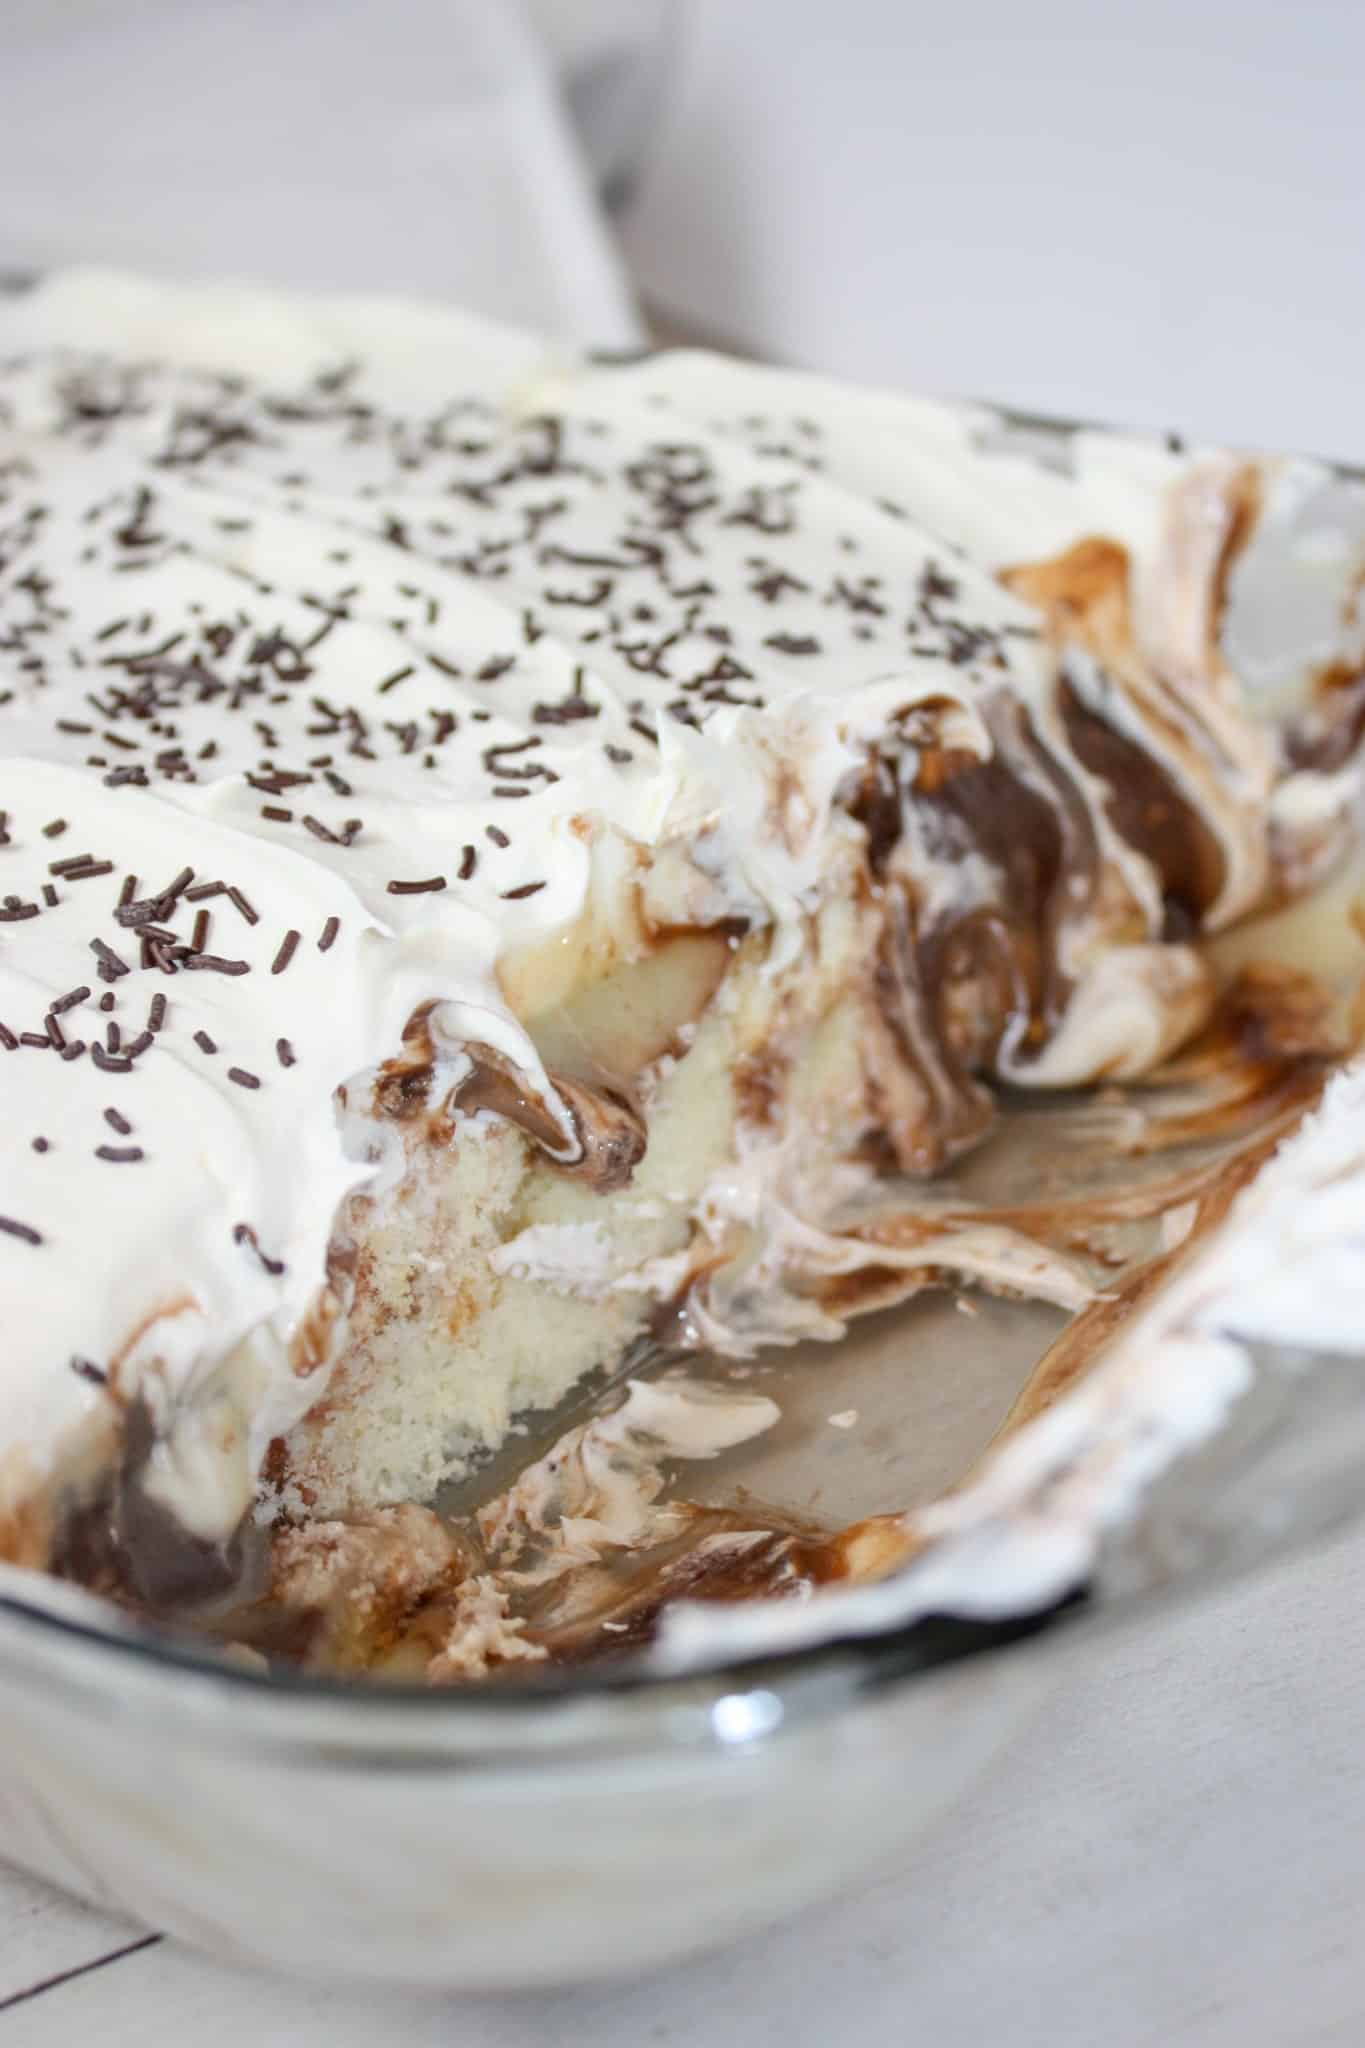
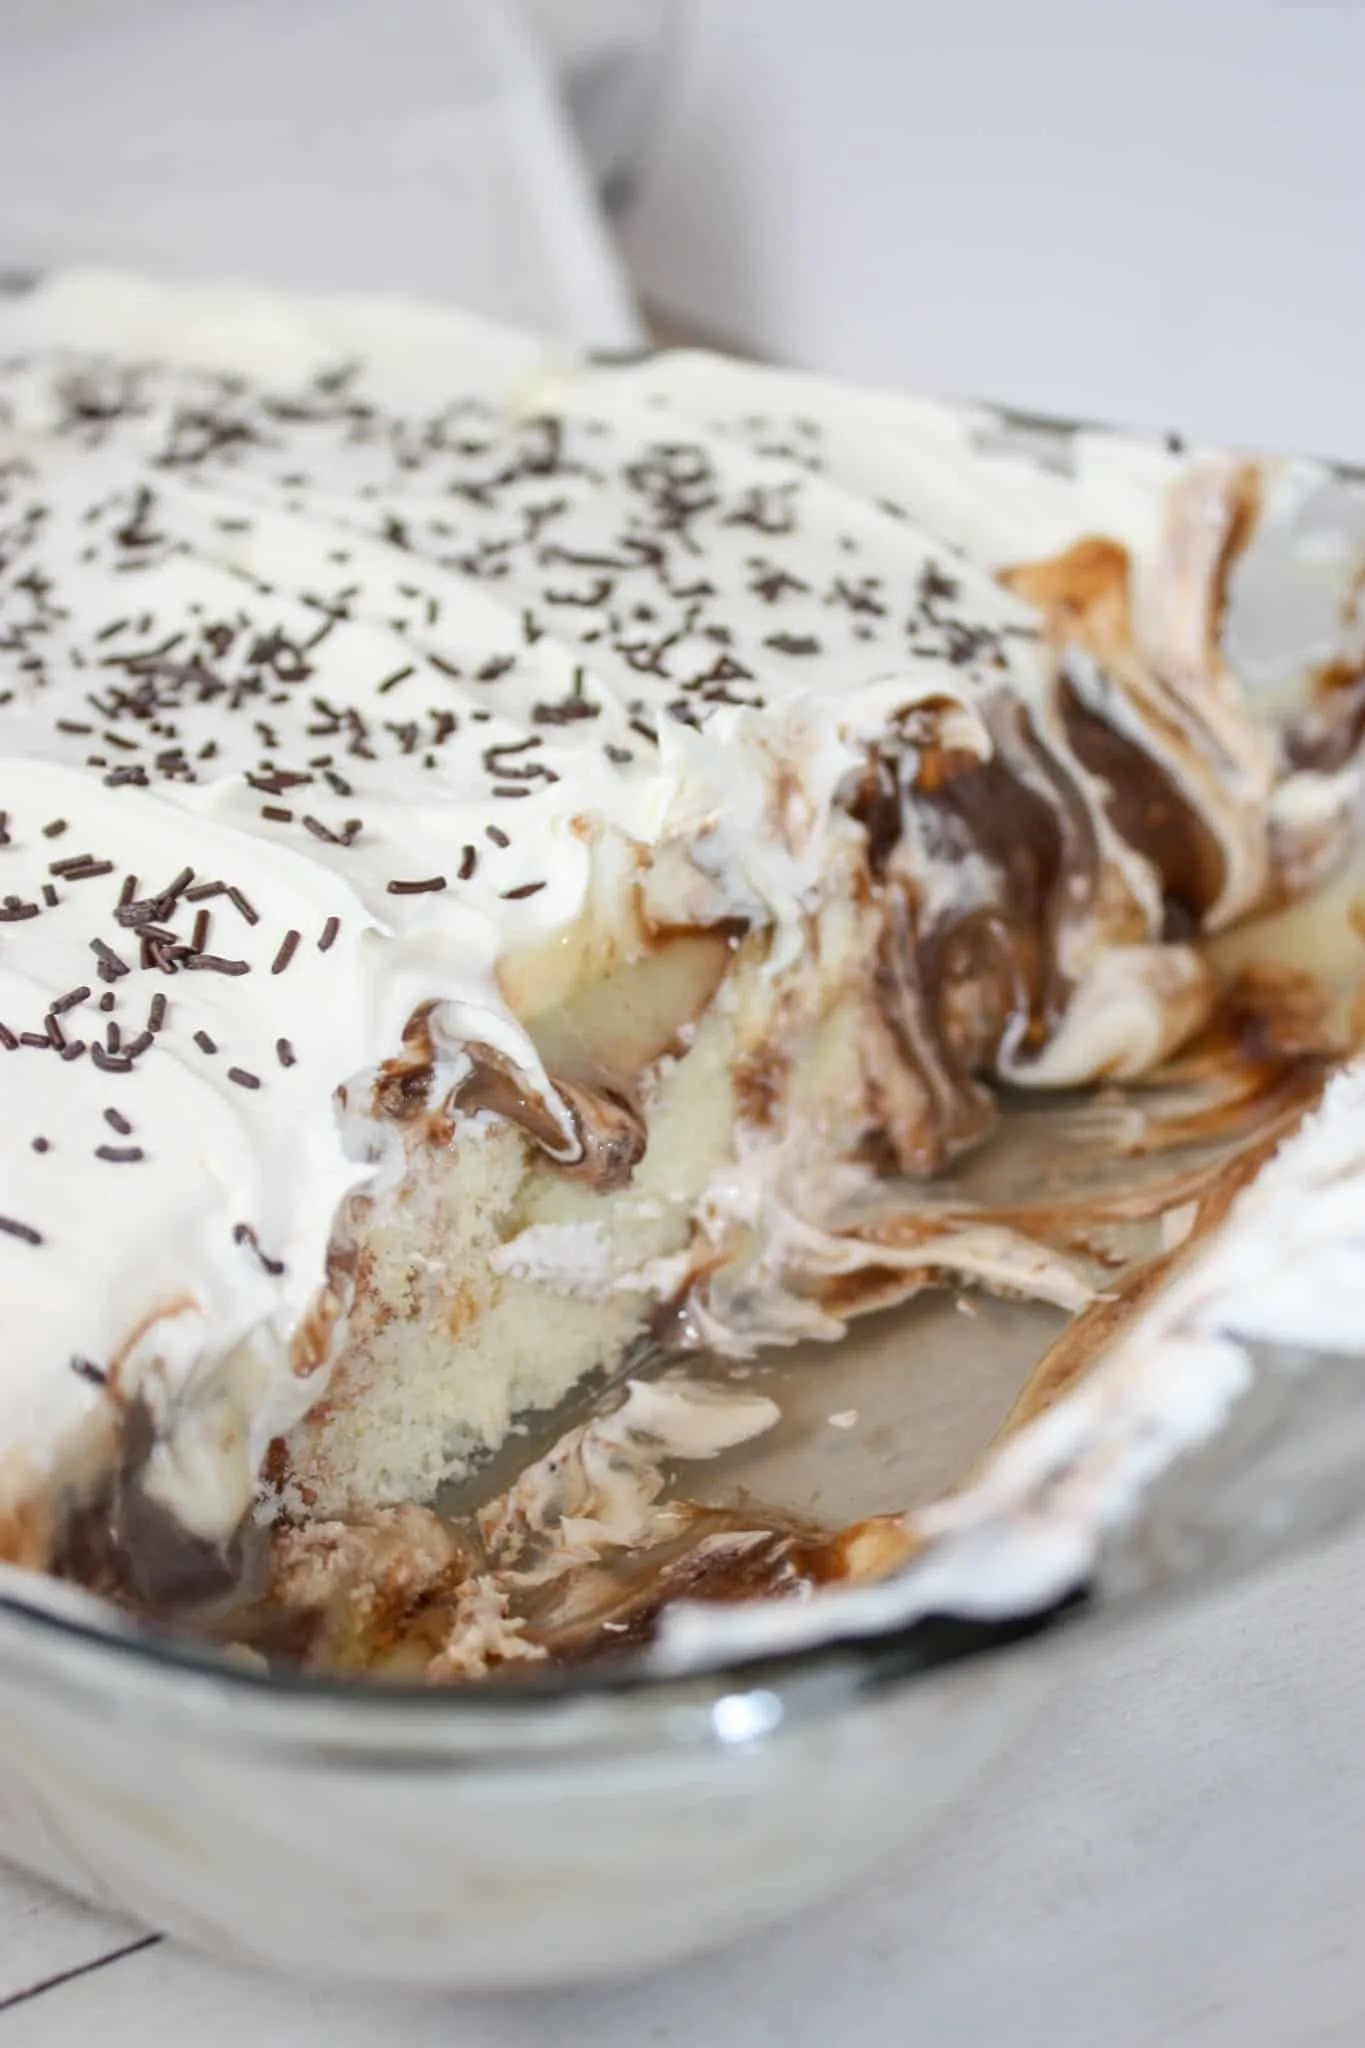
Lady Finger Poke Cake is a nice gluten free dessert option that everyone will enjoy.
Enjoy this layered dessert with a blend of chocolate and vanilla pudding or create your own flavour combinations.
Whatever flavours you choose, you are sure to love every bite of Lady Finger Poke Cake!
Printable Recipe Card with a Full List of Ingredients and Instructions is Located at the Bottom of the Post.
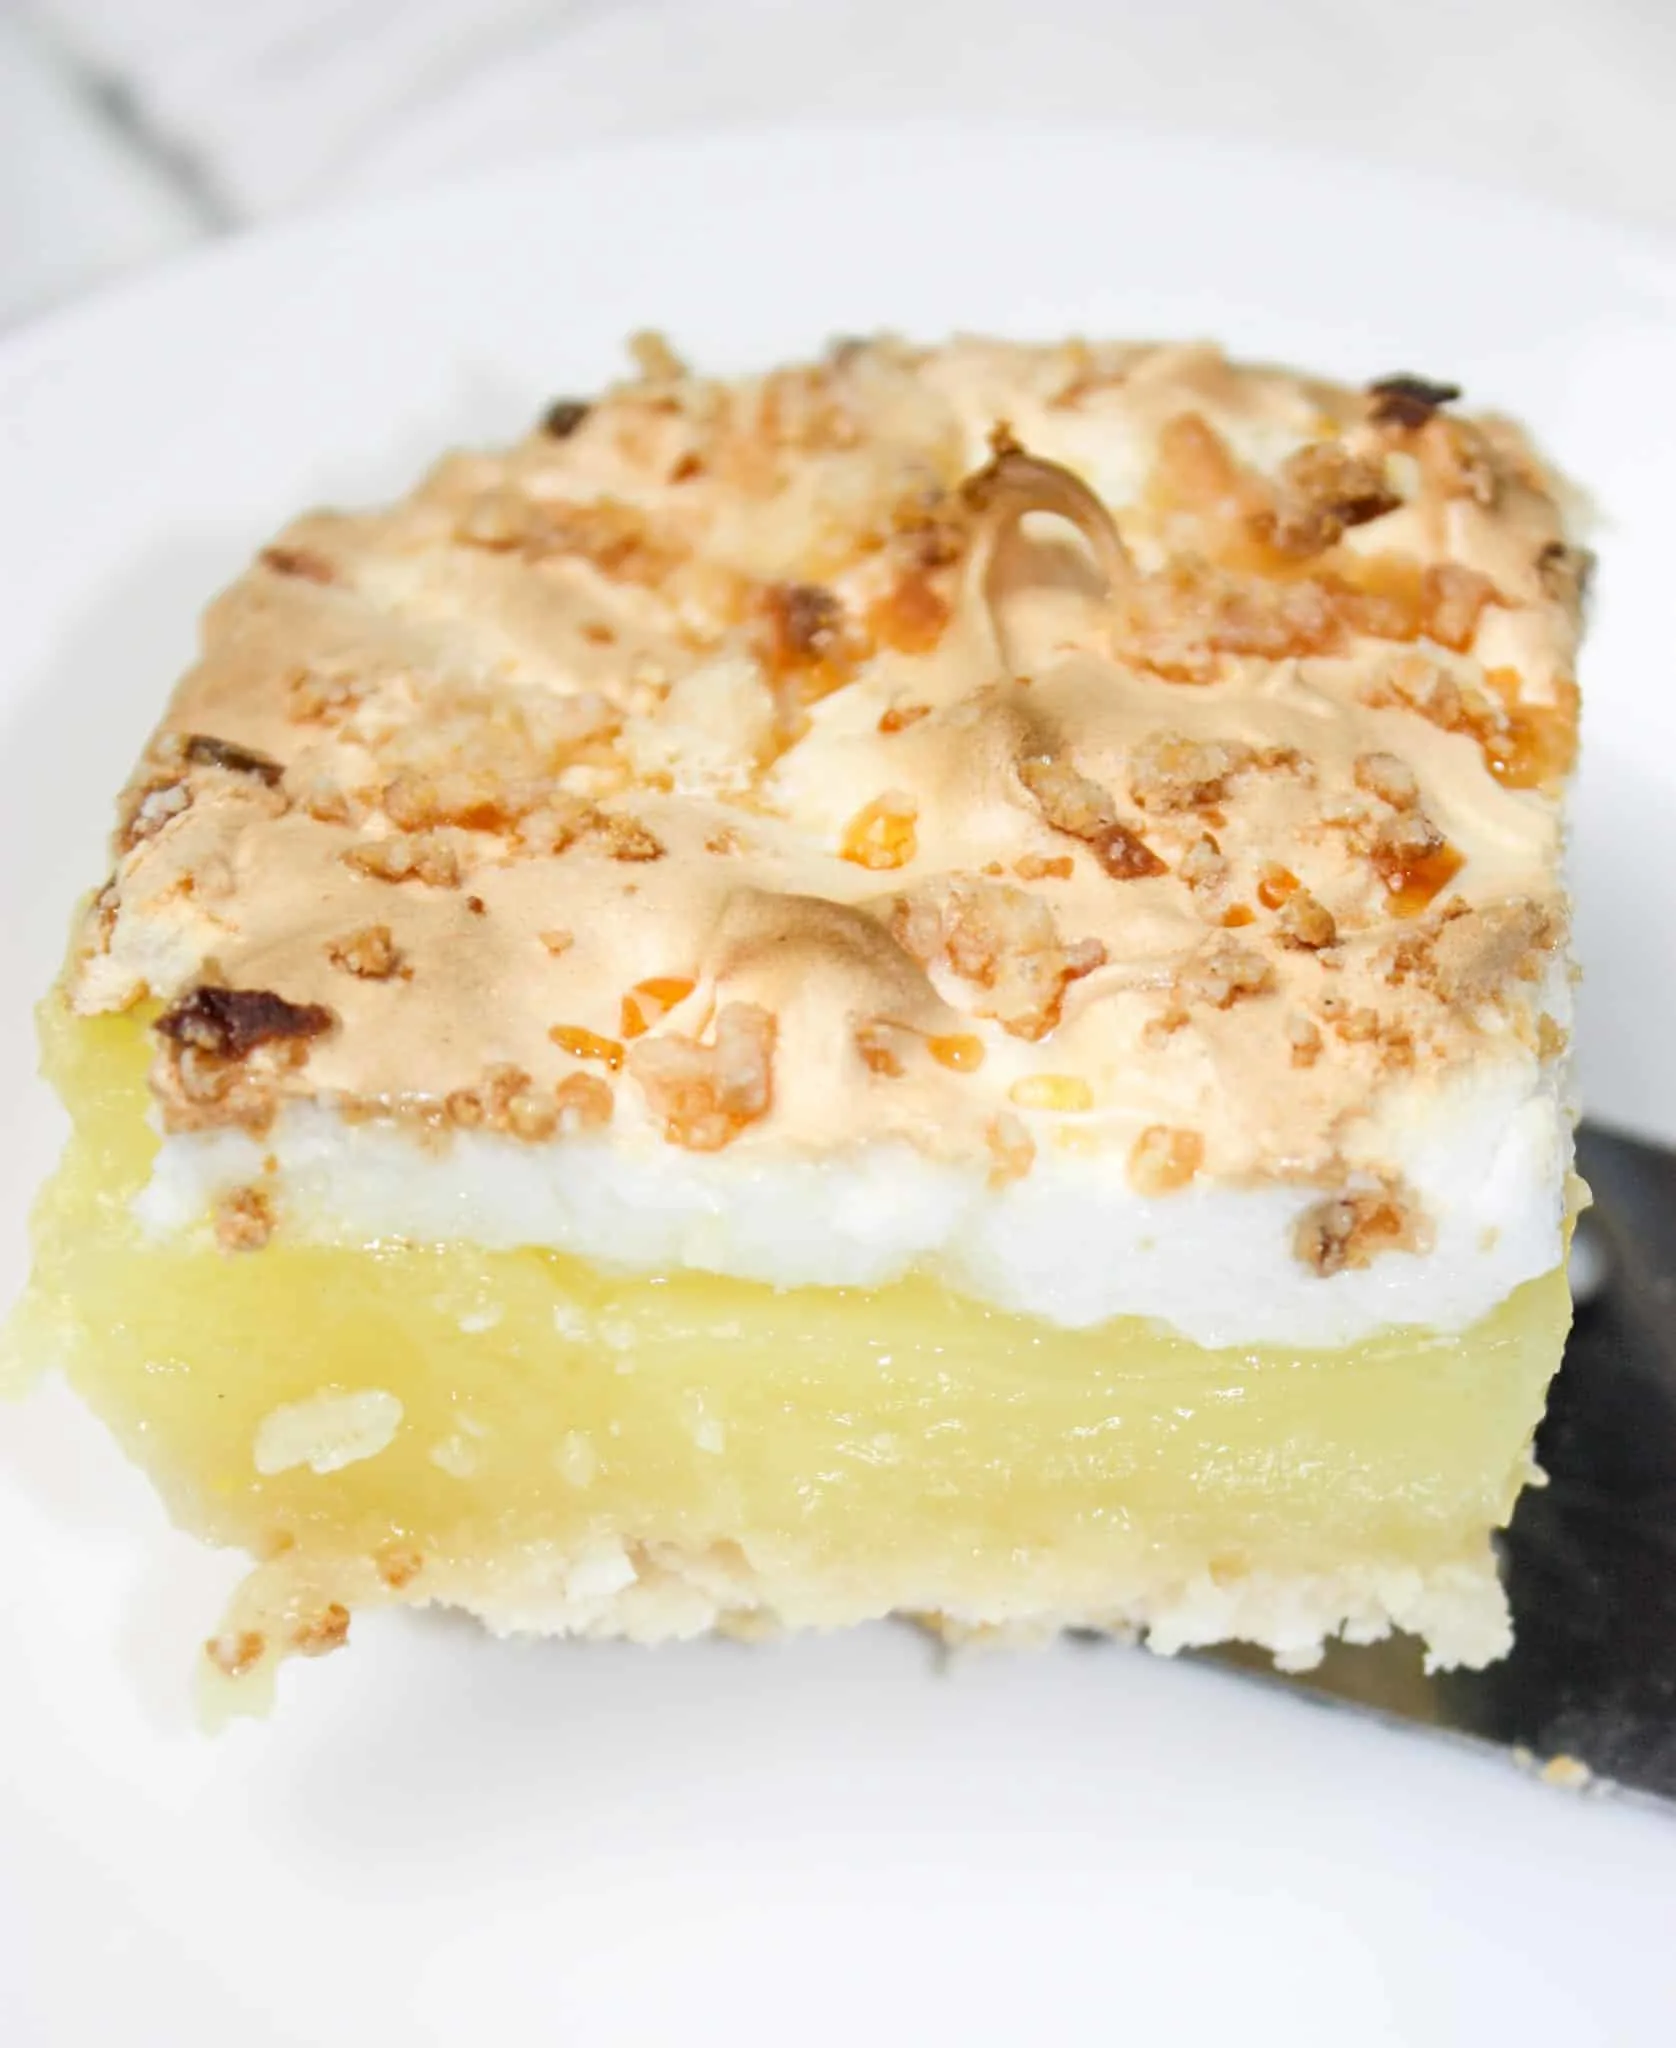
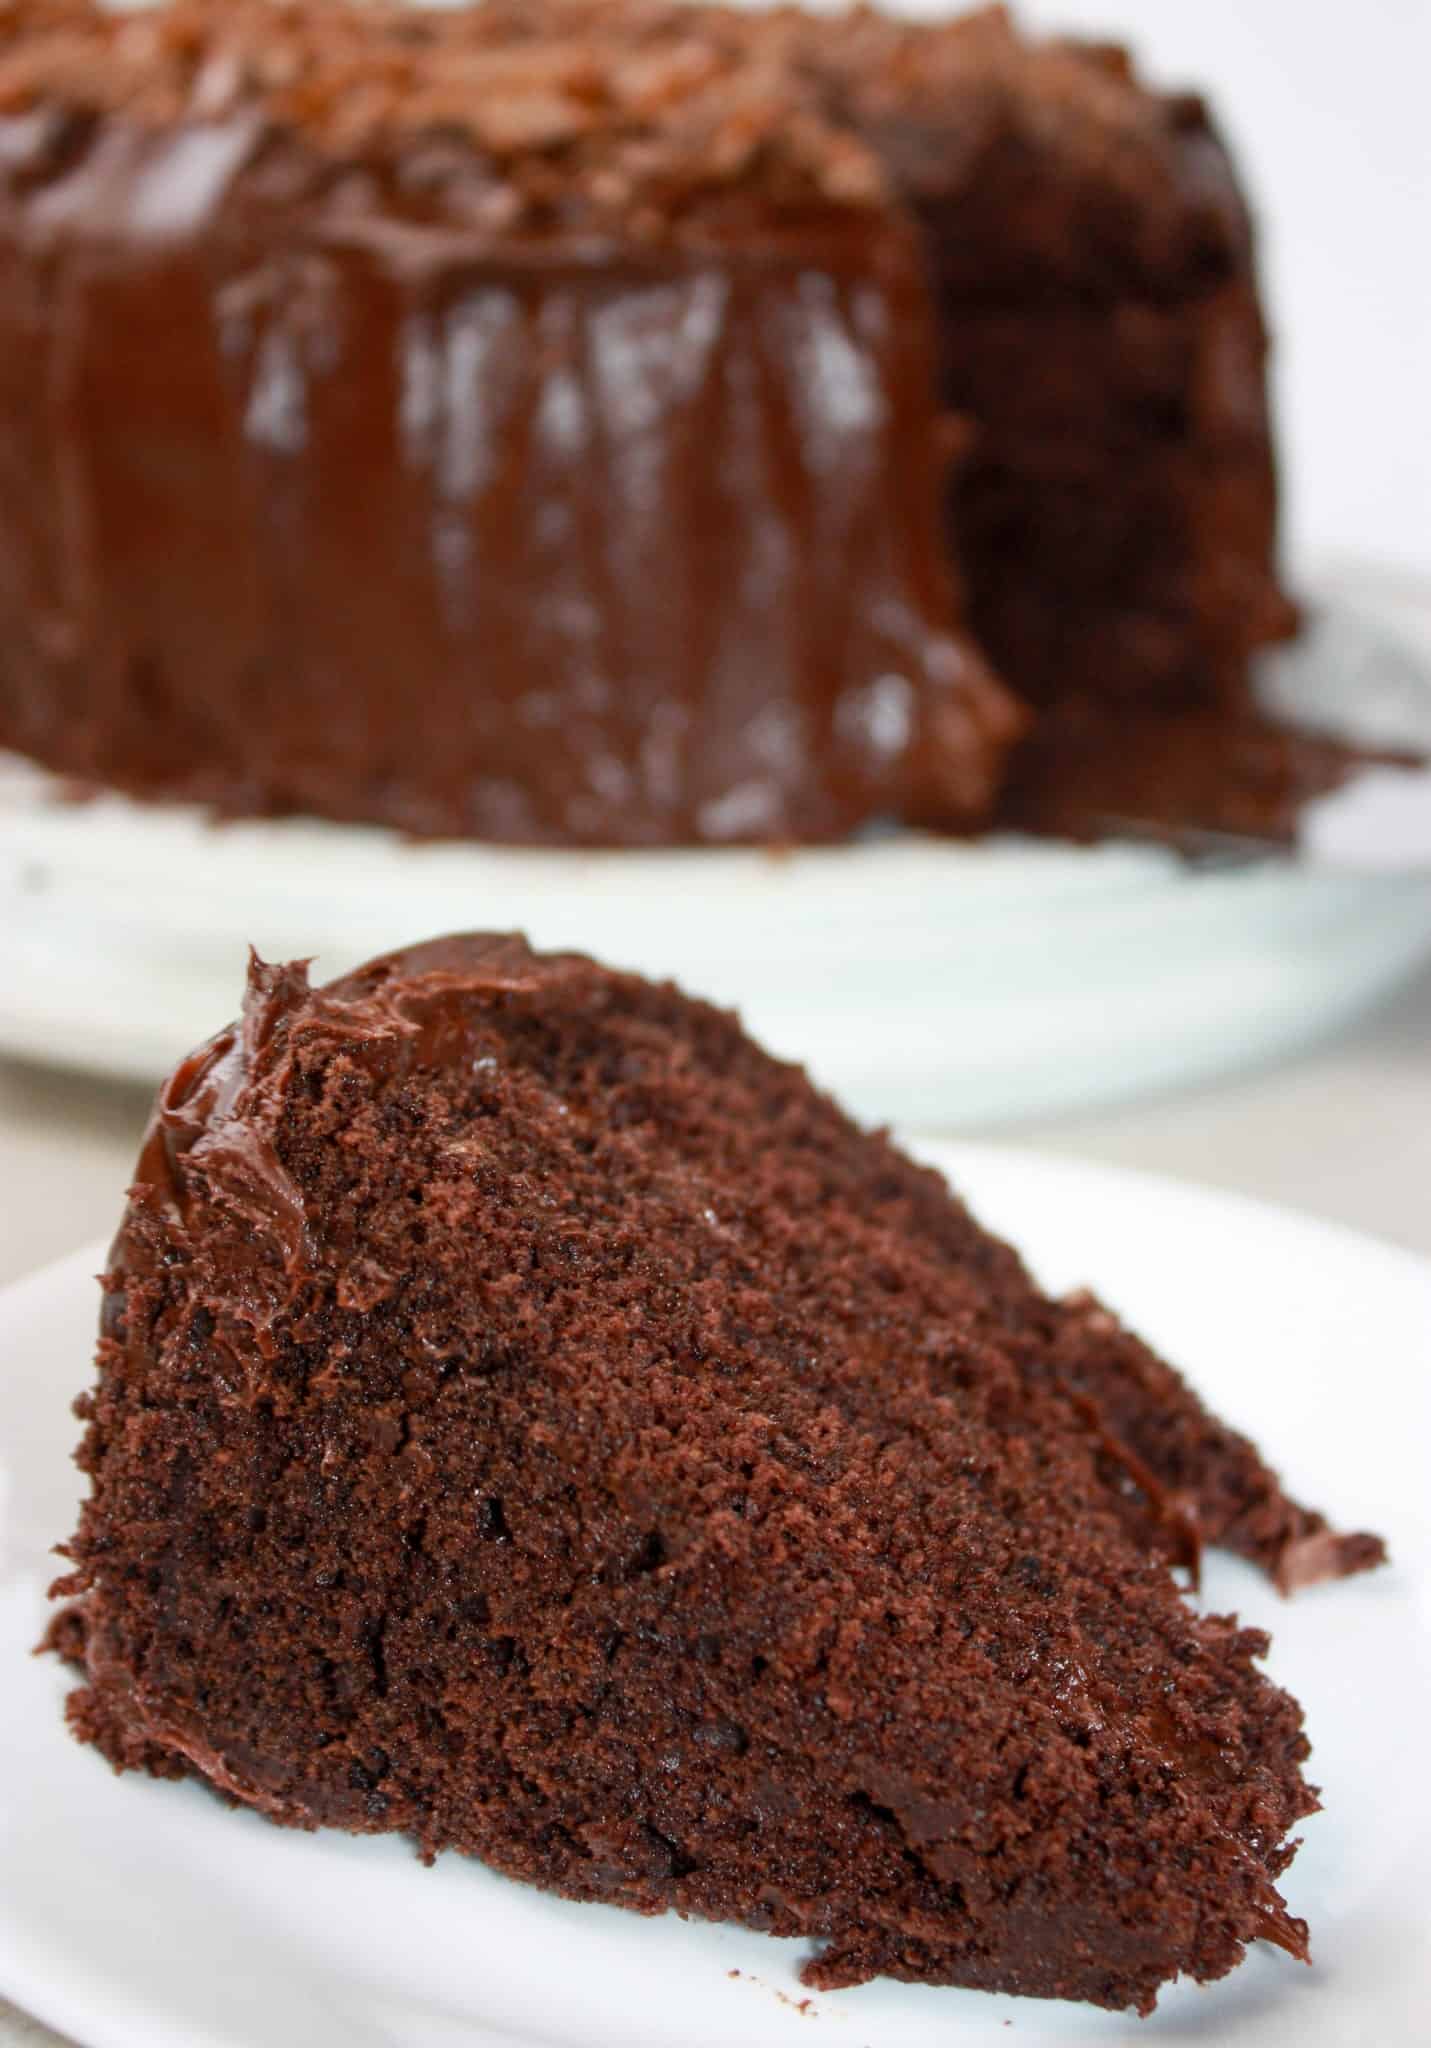
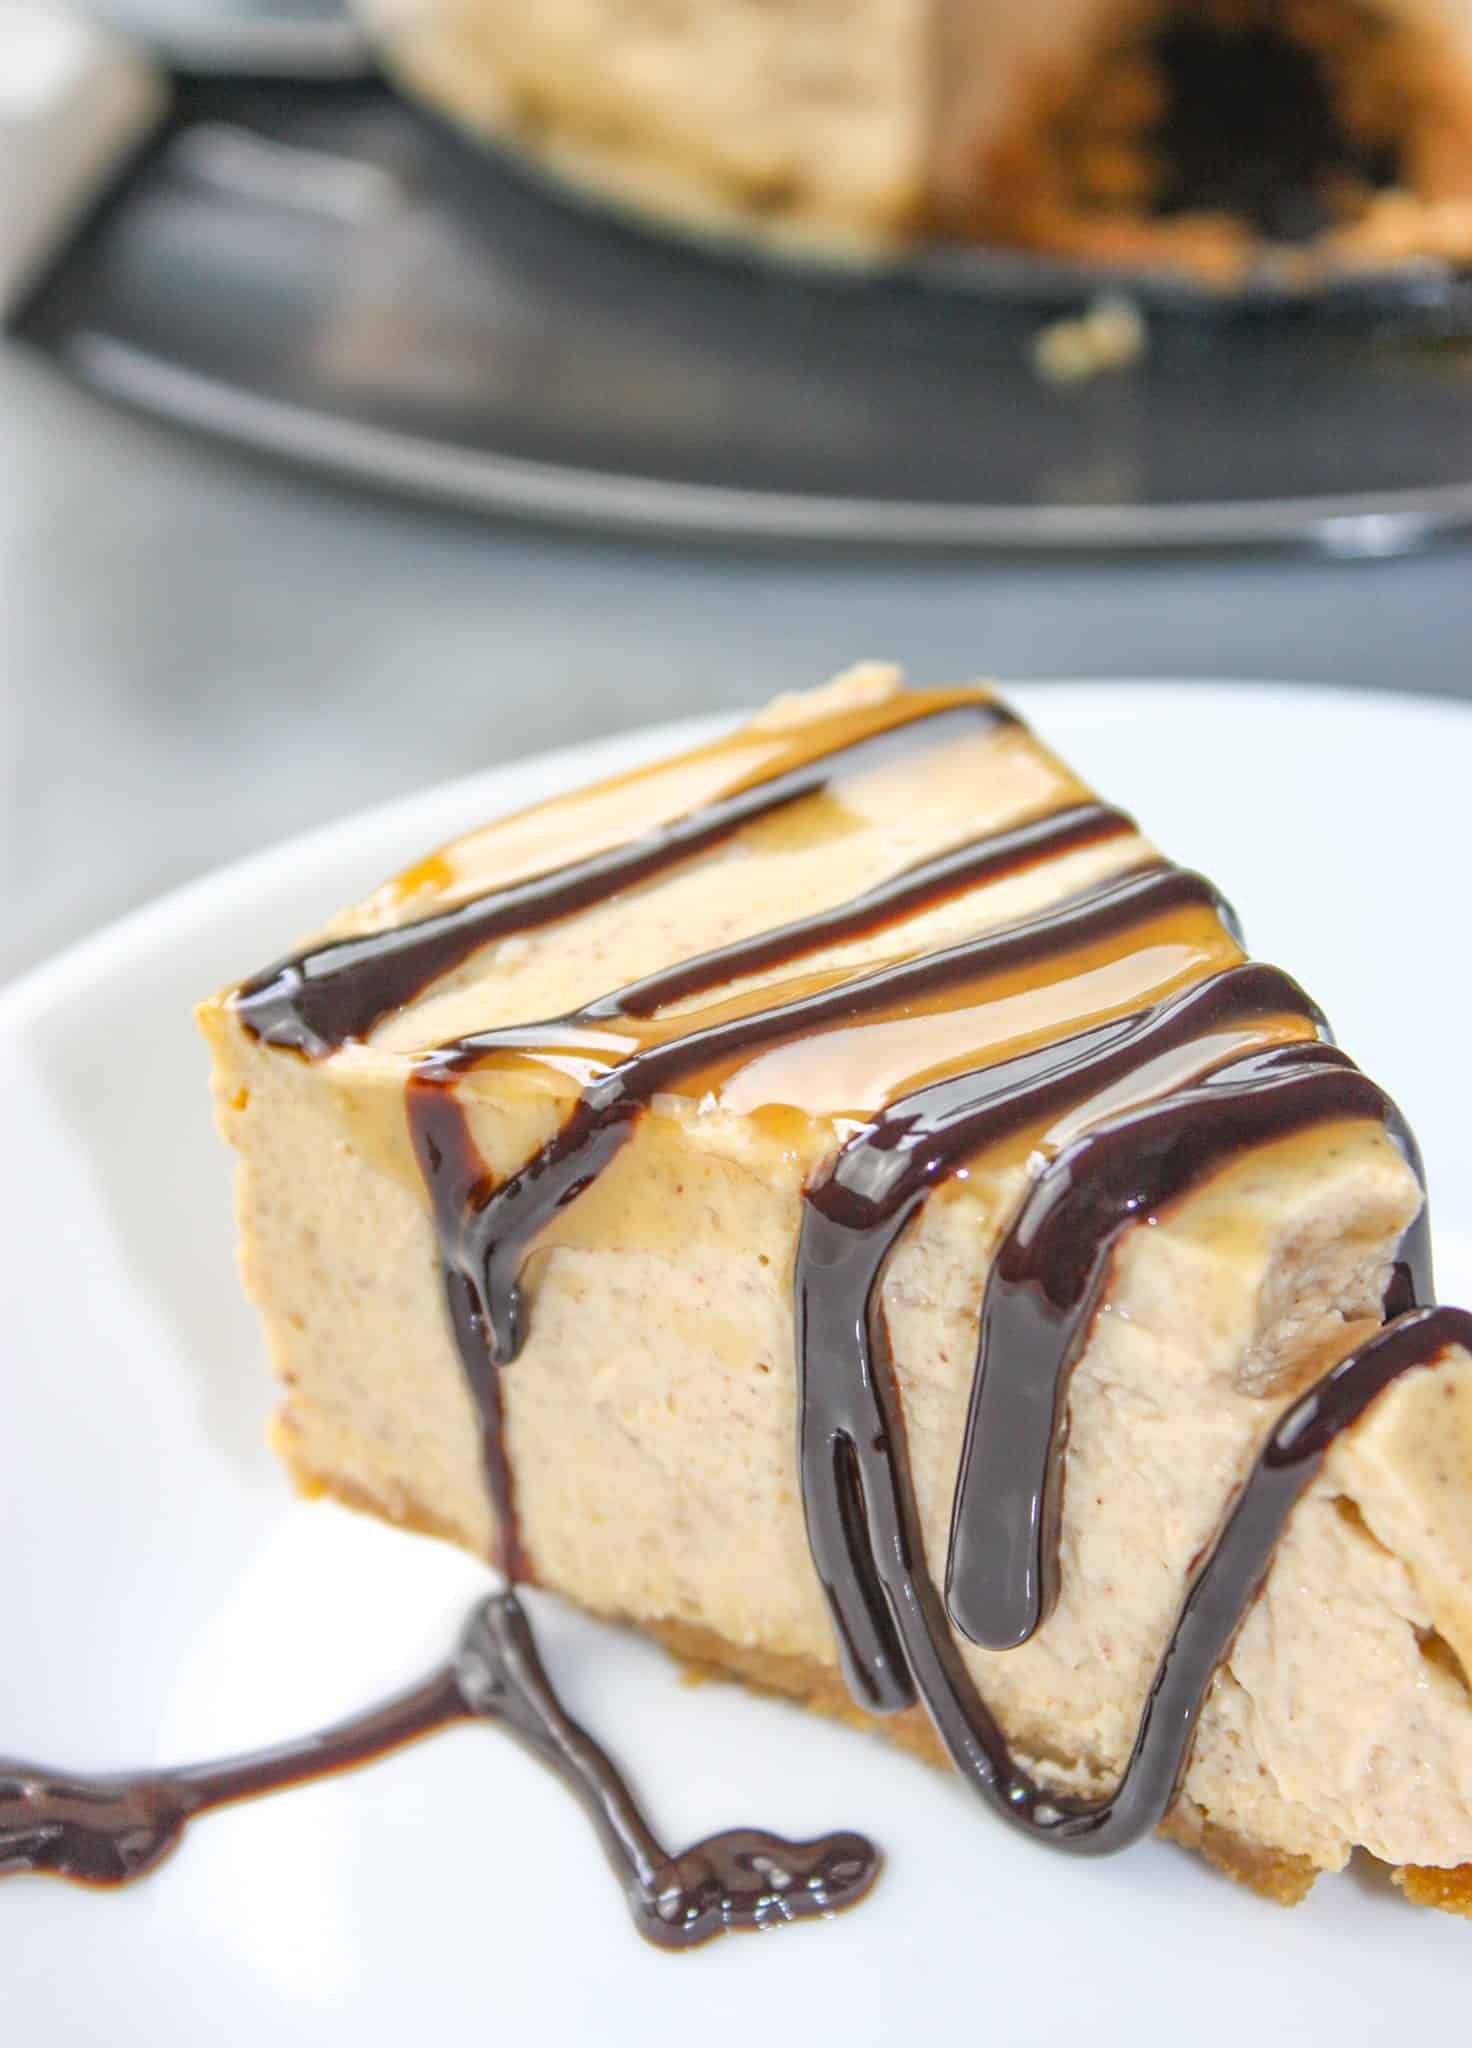
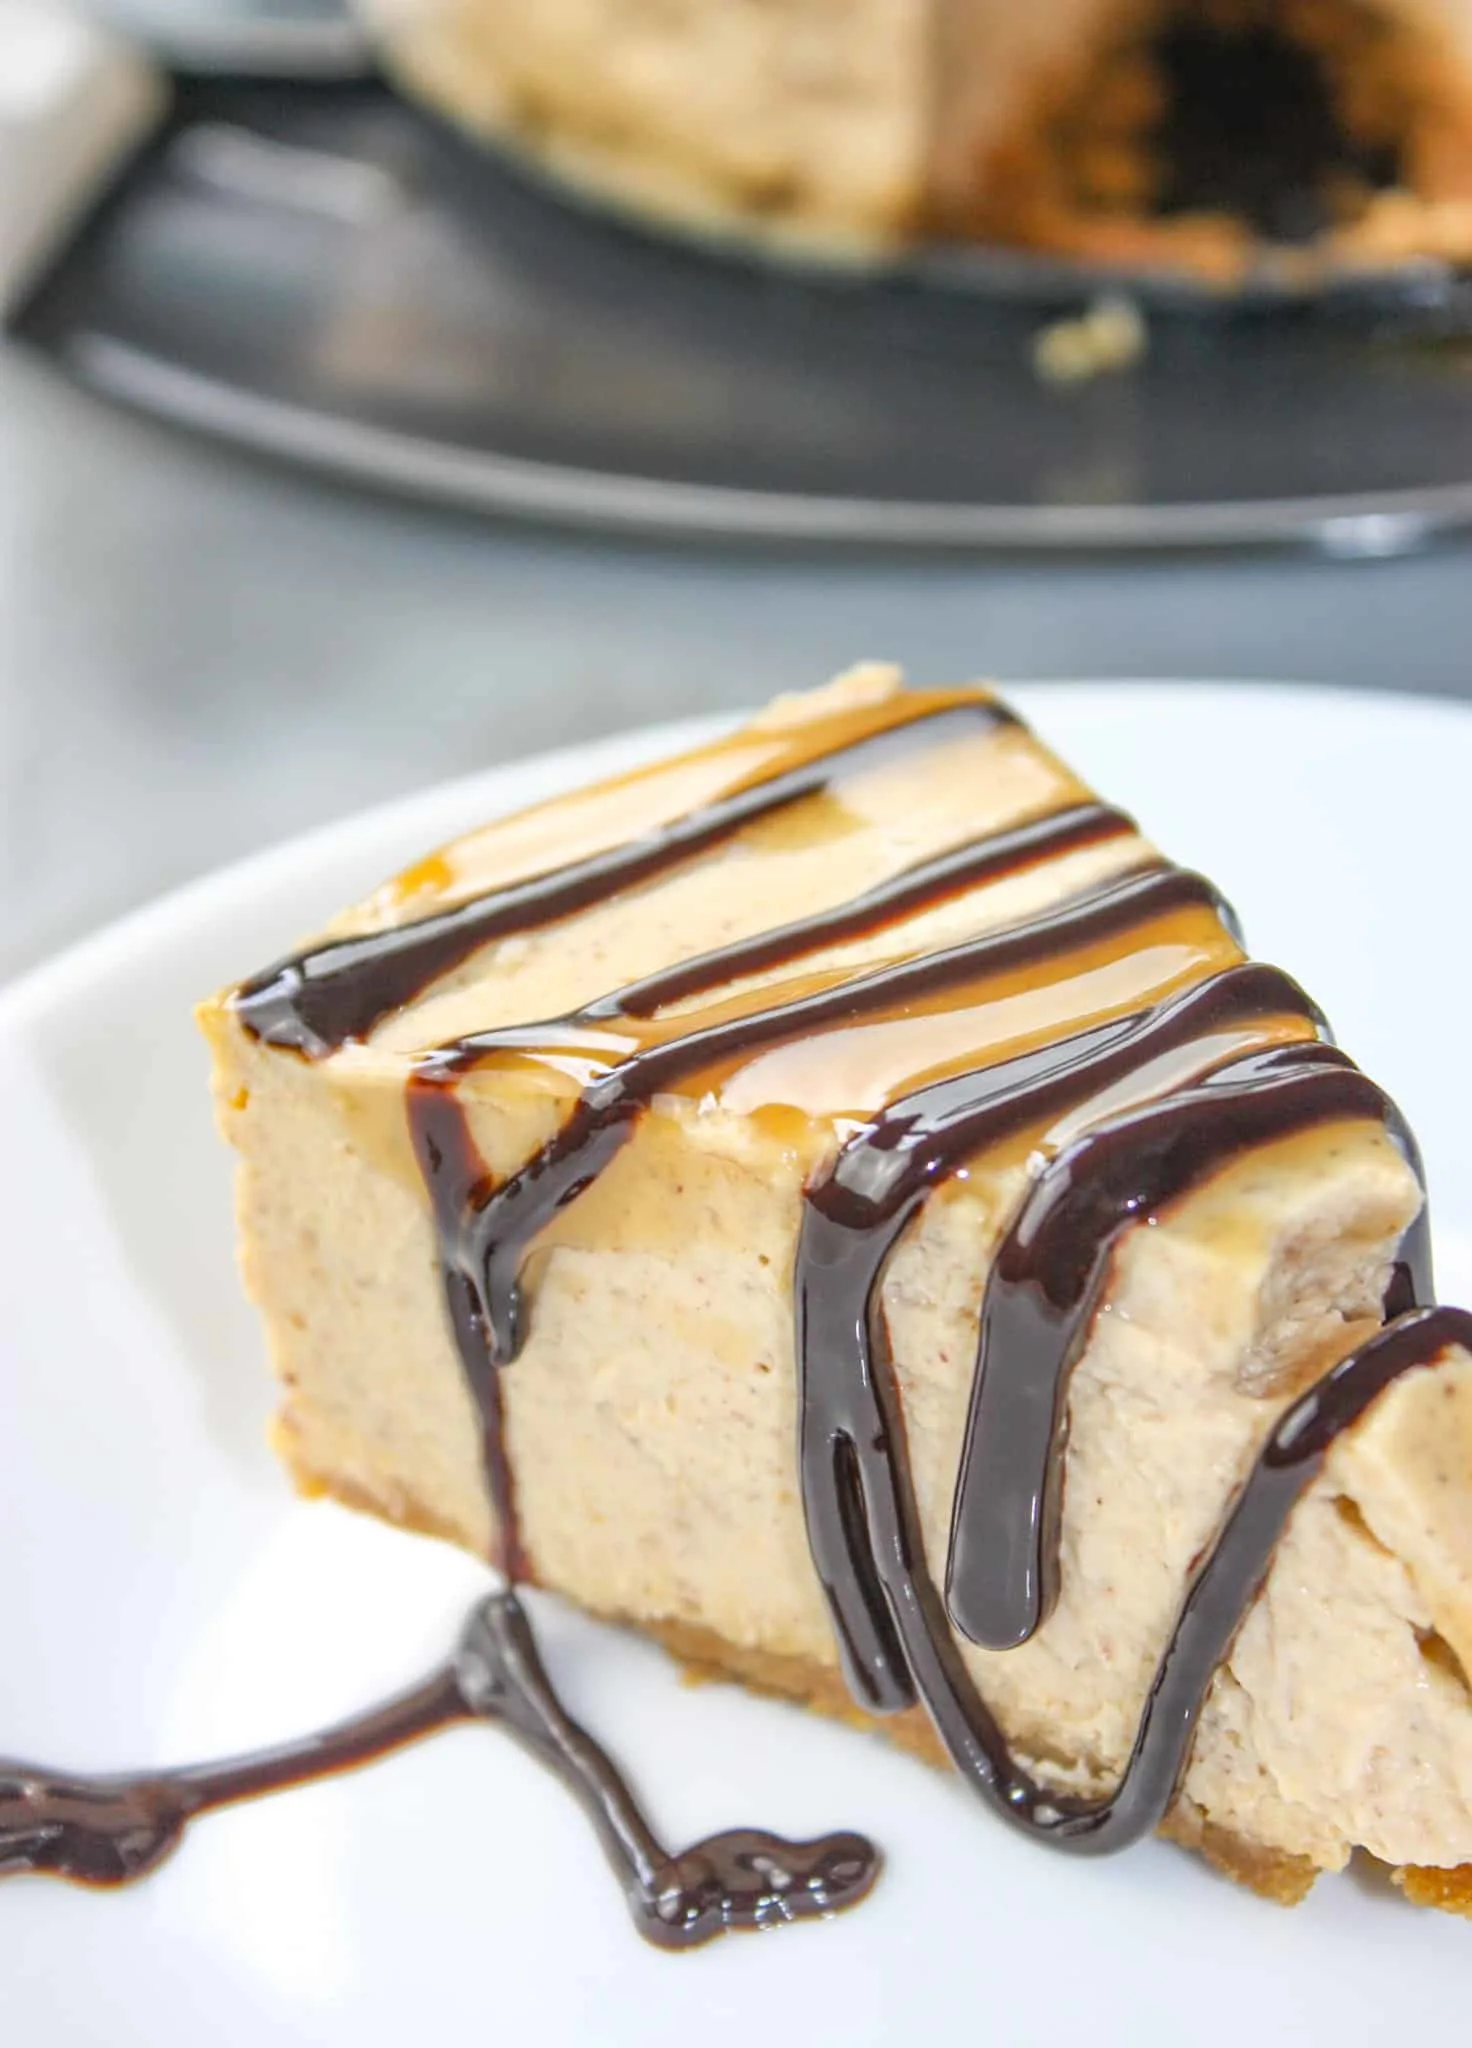
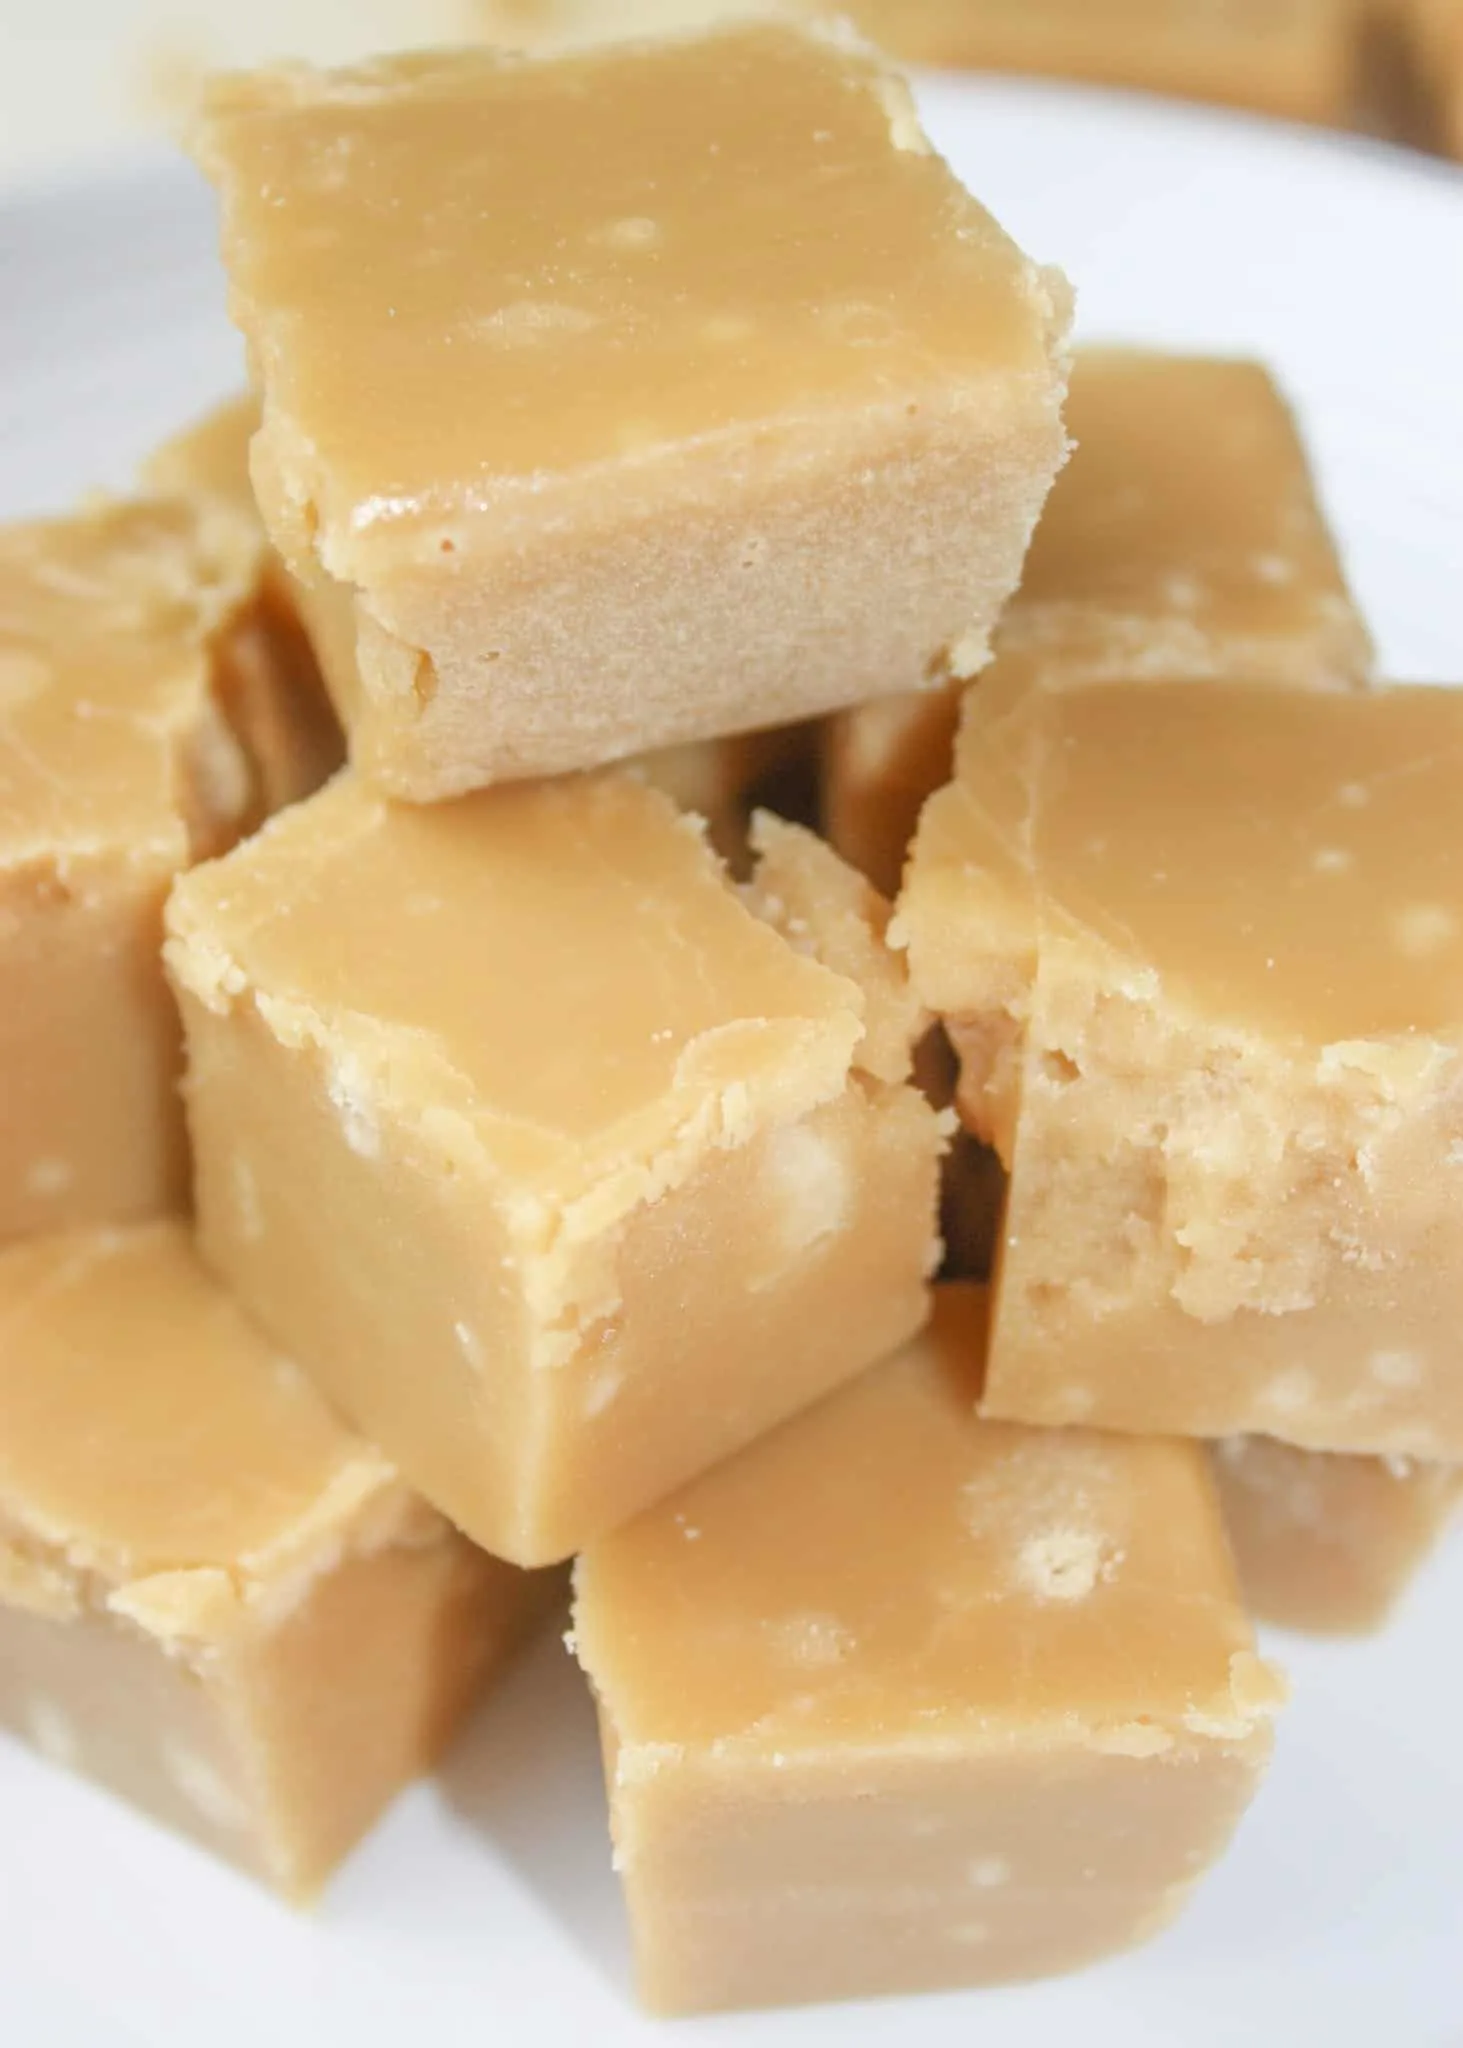
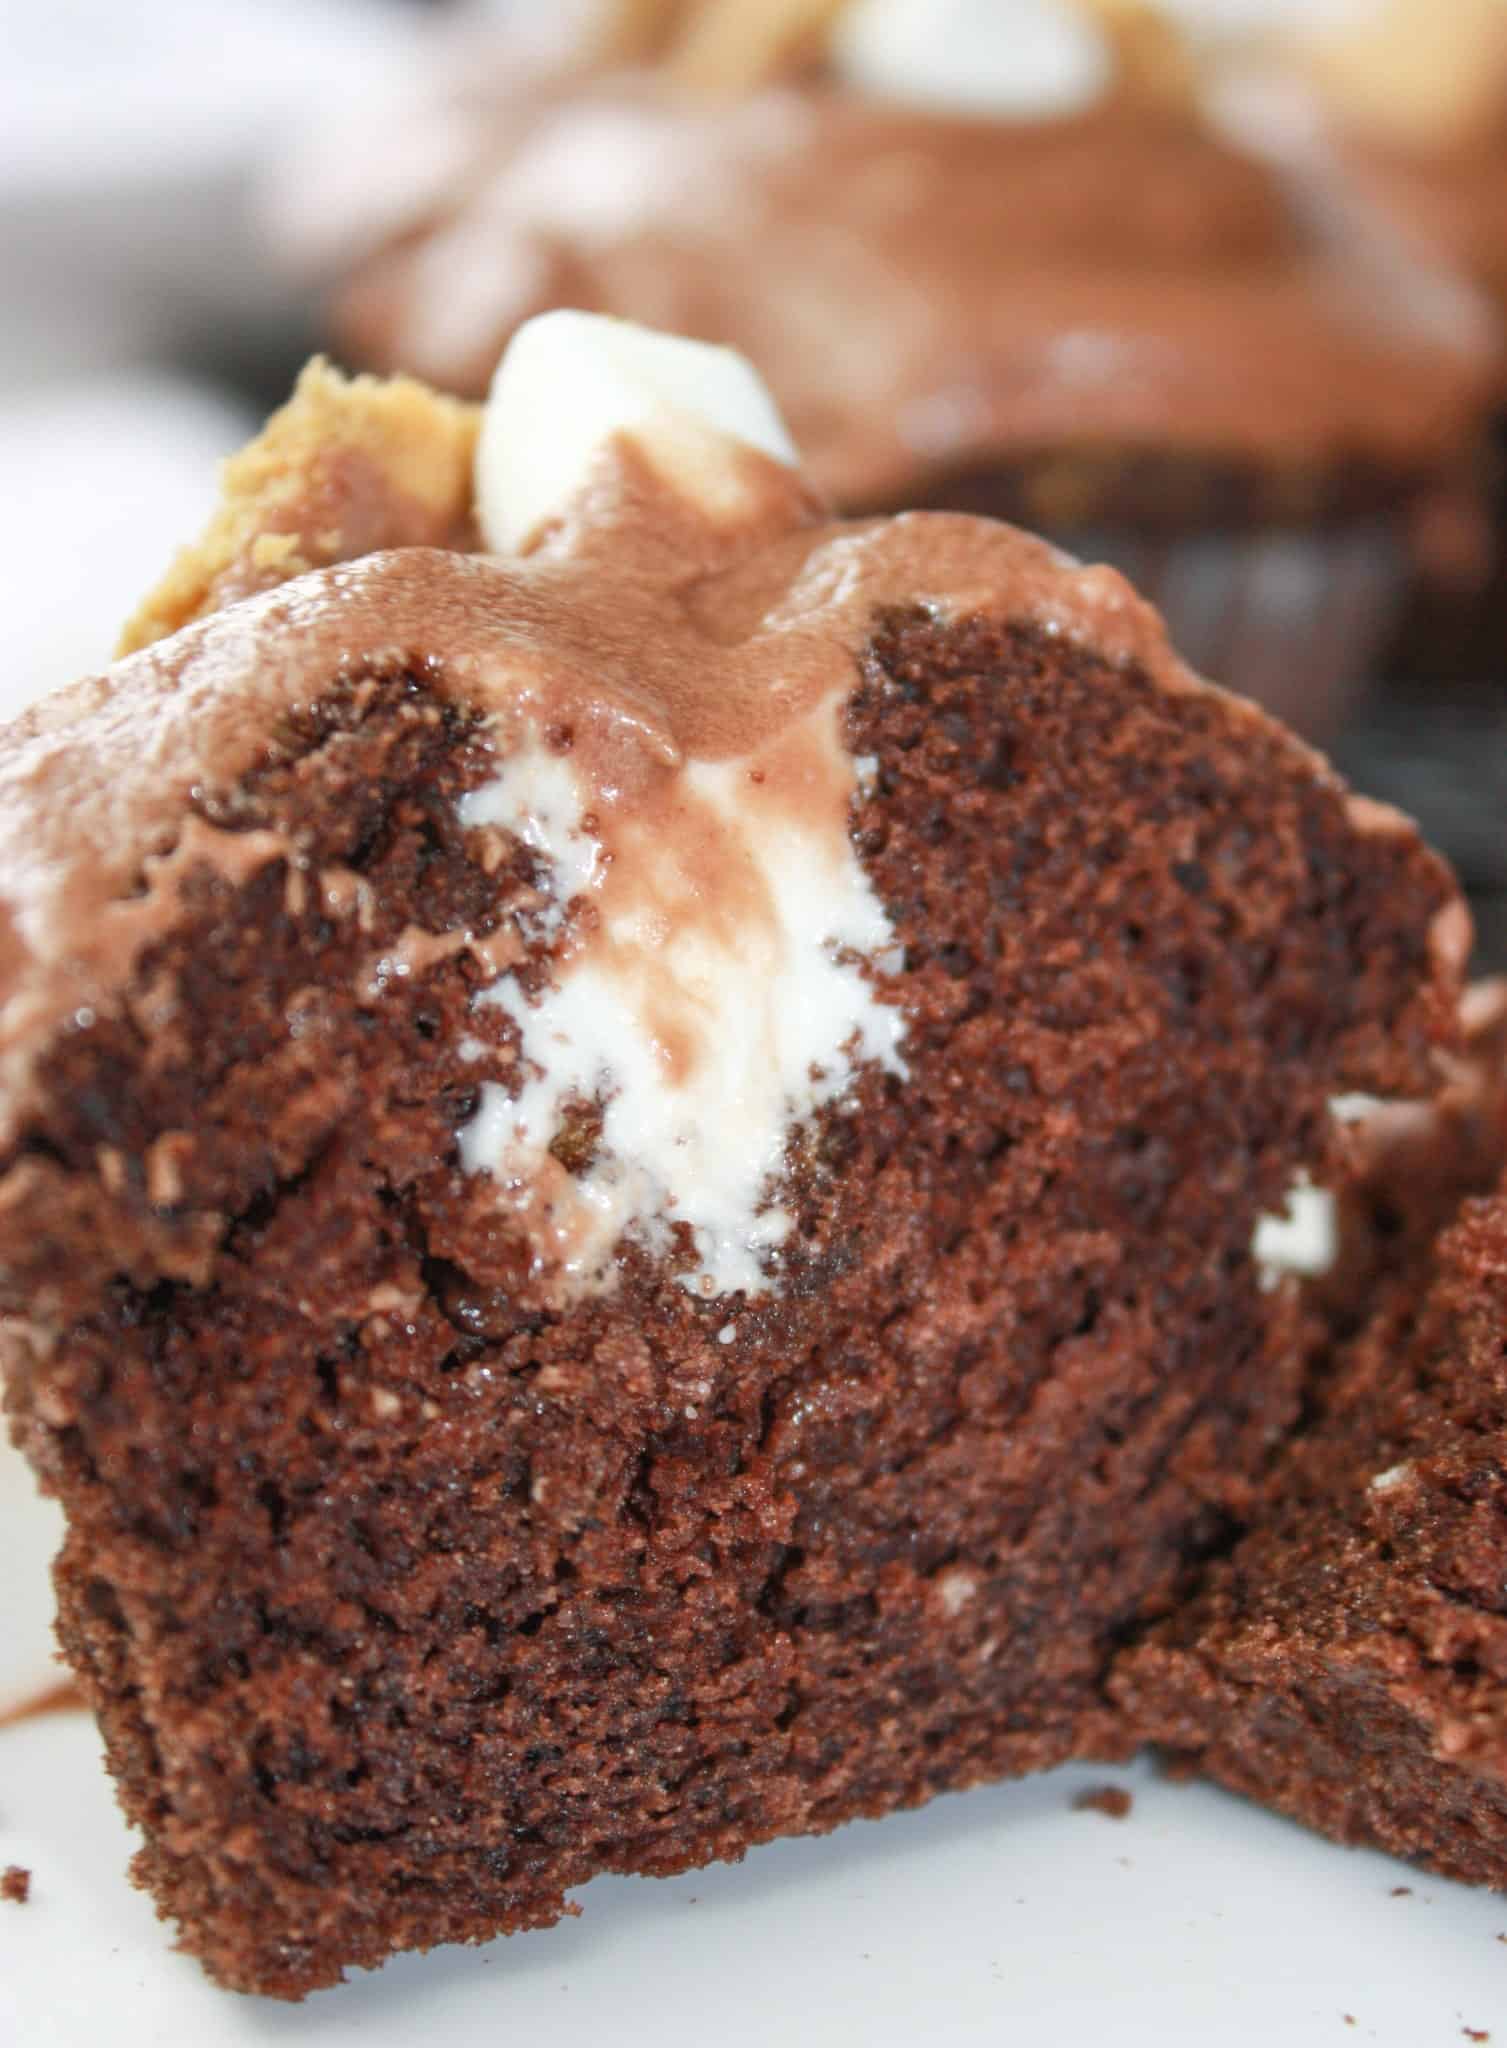
A Sampling of Other Desserts You Will Love…


PRINTABLE VERSION OF THE RECIPE CAN BE FOUND AT THE BOTTOM OF THE PAGE
Ingredients You’ll Need to Make this Lady Finger Poke Cake:
- 6 Schar gluten free lady finger biscuits
- 15 oz Betty Crocker Gluten Free Golden Cake Mix (425g)
- 1/3 cup melted margarine
- 3/4 cup water
- 2 eggs, large
- 2 tsp vanilla extract
- 3.9oz box chocolate instant pudding (113g)
- 3.4oz box vanilla instant pudding (102g)
- 4 cups almond milk
- 1 large tub Cool Whip Dessert Topping (1L in Canada)
Optional: - chocolate sprinkles or shaved chocolate for garnish
How to Make Lady Finger Poke Cake:
- Preheat oven to 350F.
- Spray a 9″ x 13″ baking pan with cooking spray.
- Line the baking pan with the lady finger biscuits, breaking to fit if necessary.
- Prepare the cake mix according to package directions using the melted margarine, water, large eggs and vanilla extract.
- Place baking pan in the preheated oven for about 30 minutes or until a toothpick inserted in the center comes out clean.
- Remove baking pan from oven and allow the cake to cool for about 10 minutes before using a straw to poke holes in the cake.
- Prepare the chocolate pudding by whisking together the pudding mix and half of the almond milk.
- As soon as combined pour one cup of chocolate over the cake in the pan.
- Use an electric hand mixer to continue beating the pudding for 2 minutes as suggested on package directions. Set aside.
- Prepare the vanilla pudding by whisking together the pudding mix and the remaining almond milk.
- As soon as combined pour one cup of the vanilla over the cake in the pan.
- Use an electric hand mixer to continue beating the pudding for 2 minutes as suggested on package directions. Set aside for 3 minutes.
- Spread the thickened vanilla pudding over the thin pudding and cake in the pan.
- Drop scoopfuls on the thickened chocolate pudding on top of the vanilla pudding and use a knife to pull it through to create a marbling effect.
- Put the Lady Finger Poke Cake in the fridge for at least 30 minutes.
- Before serving cover the pudding with the tub of Cool Whip Dessert Topping and garnish as desired.
- Cut into squares and serve.
- Enoy!
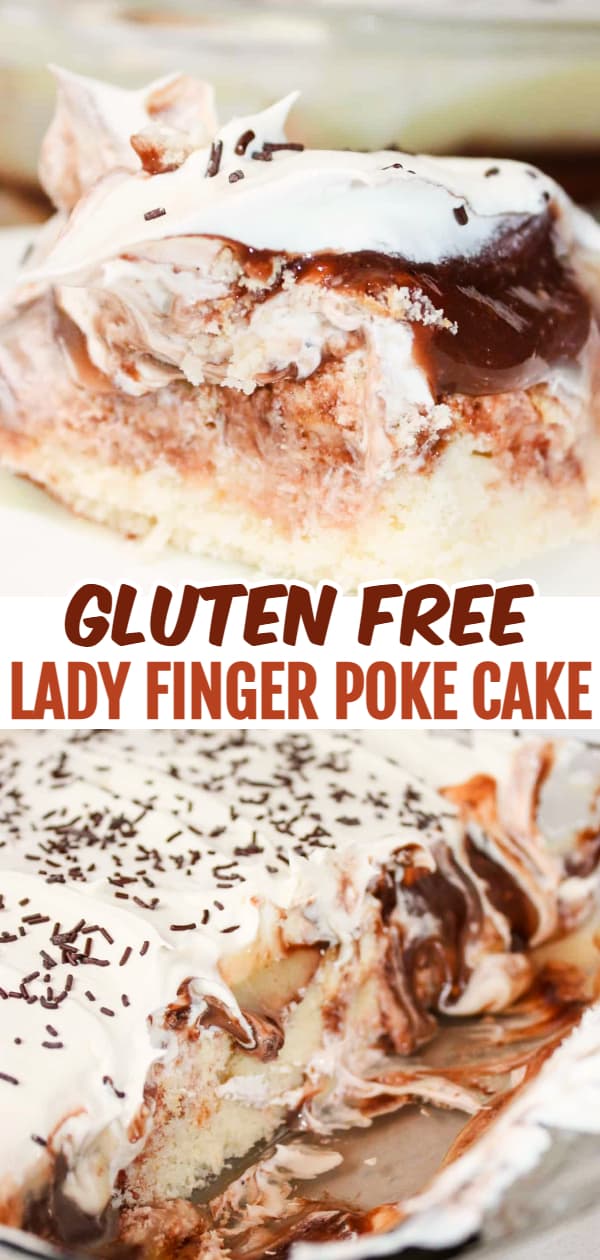

Lady Finger Poke Cake - Gluten Free

Lady Finger Poke Cake is a light, refreshing dessert that is perfect to serve after a larger meal.
Ingredients
- 6 Schar gluten free lady finger biscuits
- 15 oz Betty Crocker Gluten Free Golden Cake Mix (425g)
- 1/3 cup melted margarine
- 3/4 cup water
- 2 eggs, large
- 2 tsp vanilla extract
- 3.9oz box chocolate instant pudding (113g)
- 3.4oz box vanilla instant pudding (102g)
- 4 cups almond milk
- 1 large tub Cool Whip Dessert Topping (1L in Canada)
- Optional:
- chocolate sprinkles or shaved chocolate for garnish
Instructions
- Preheat oven to 350F.
- Spray a 9" x 13" baking pan with cooking spray.
- Line the baking pan with the lady finger biscuits, breaking to fit if necessary.
- Prepare the cake mix according to package directions using the melted margarine, water, large eggs and vanilla extract.
- Place baking pan in the preheated oven for about 30 minutes or until a toothpick inserted in the center comes out clean.
- Remove baking pan from oven and allow the cake to cool for about 10 minutes before using a straw to poke holes in the cake.
- Prepare the chocolate pudding by whisking together the pudding mix and half of the almond milk.
- As soon as combined pour one cup of chocolate over the cake in the pan.
- Use an electric hand mixer to continue beating the pudding for 2 minutes as suggested on package directions. Set aside.
- Prepare the vanilla pudding by whisking together the pudding mix and the remaining almond milk.
- As soon as combined pour one cup of the vanilla over the cake in the pan.
- Use an electric hand mixer to continue beating the pudding for 2 minutes as suggested on package directions. Set aside for 3 minutes.
- Spread the thickened vanilla pudding over the thin pudding and cake in the pan.
- Drop scoopfuls on the thickened chocolate pudding on top of the vanilla pudding and use a knife to pull it through to create a marbling effect.
- Put the Lady Finger Poke Cake in the fridge for at least 30 minutes.
- Before serving cover the pudding with the tub of Cool Whip Dessert Topping and garnish as desired.
- Cut into squares and serve.
- Enoy!
Notes
*Choose other flavours of pudding to blend together but remember if using almond milk the pudding will not thicken completely. It was okay with the chocolate and vanilla and possibly butterscotch would work as well. For a thicker pudding you would need to divide the almond milk and mix 1/2 on the stove with a bit of corn starch to make a roux first.
Nutrition Information:
Yield:
16Serving Size:
1Amount Per Serving: Calories: 252Total Fat: 9gSaturated Fat: 3gTrans Fat: 1gUnsaturated Fat: 5gCholesterol: 28mgSodium: 285mgCarbohydrates: 35gFiber: 1gSugar: 18gProtein: 4g