
Crock Pot Beef Chili
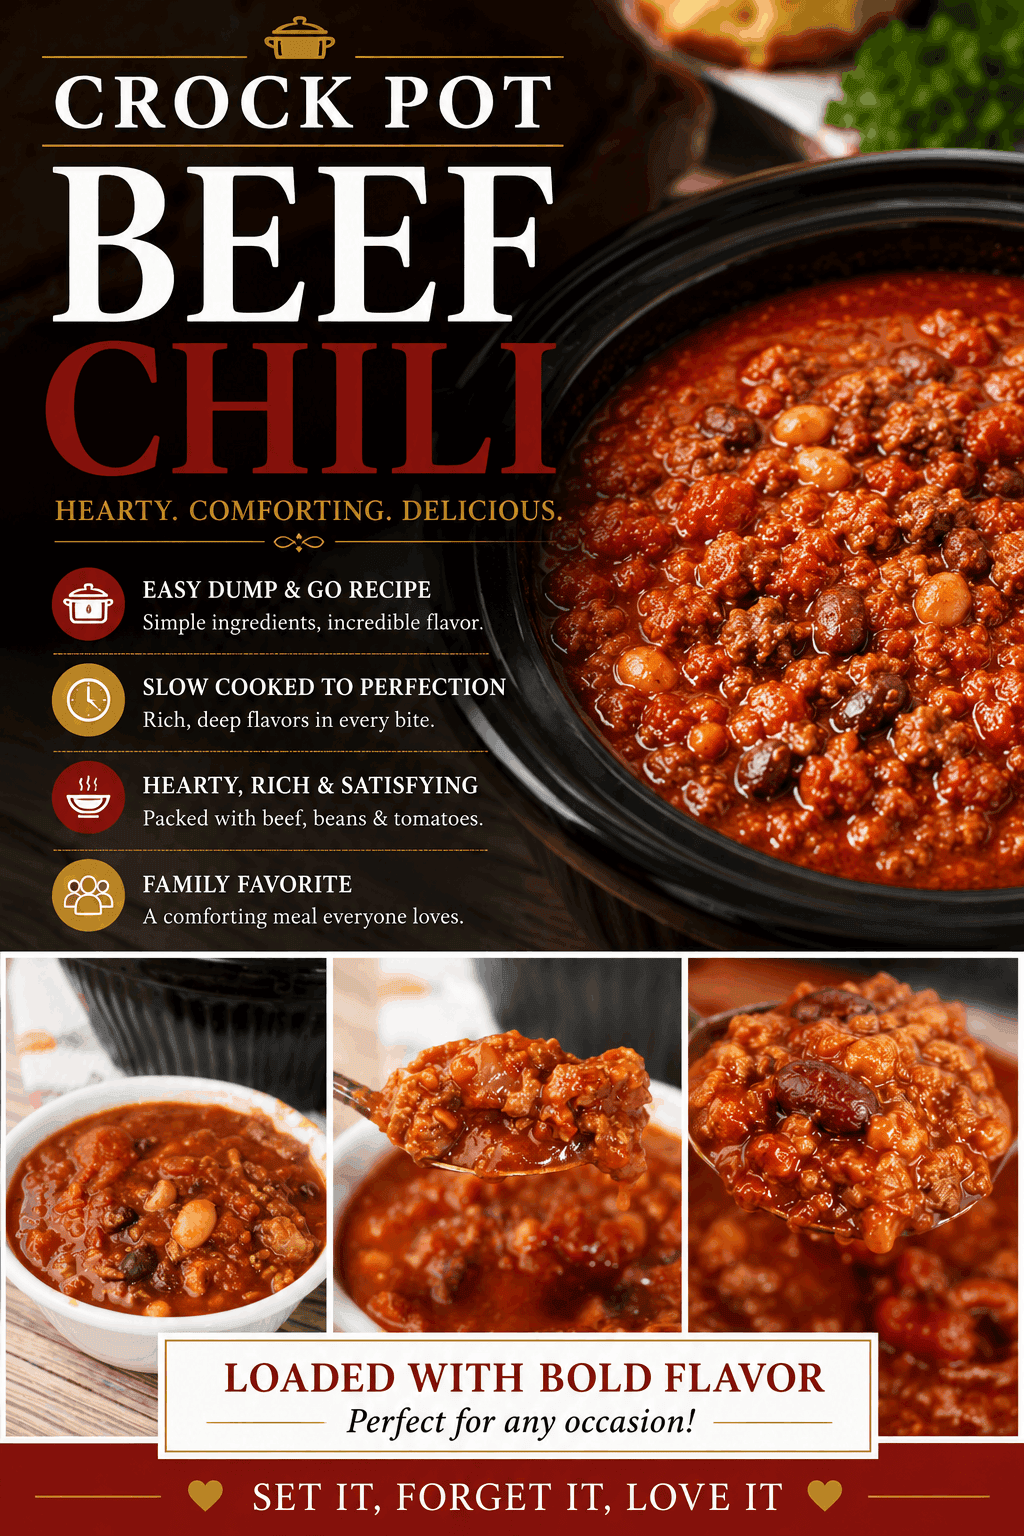
Crock Pot Beef Chili is the ultimate comfort food, packed with hearty ground beef, tender beans, and a rich tomato-based sauce.

This slow-cooked chili develops deep, savoury flavours as it simmers low and slow throughout the day.
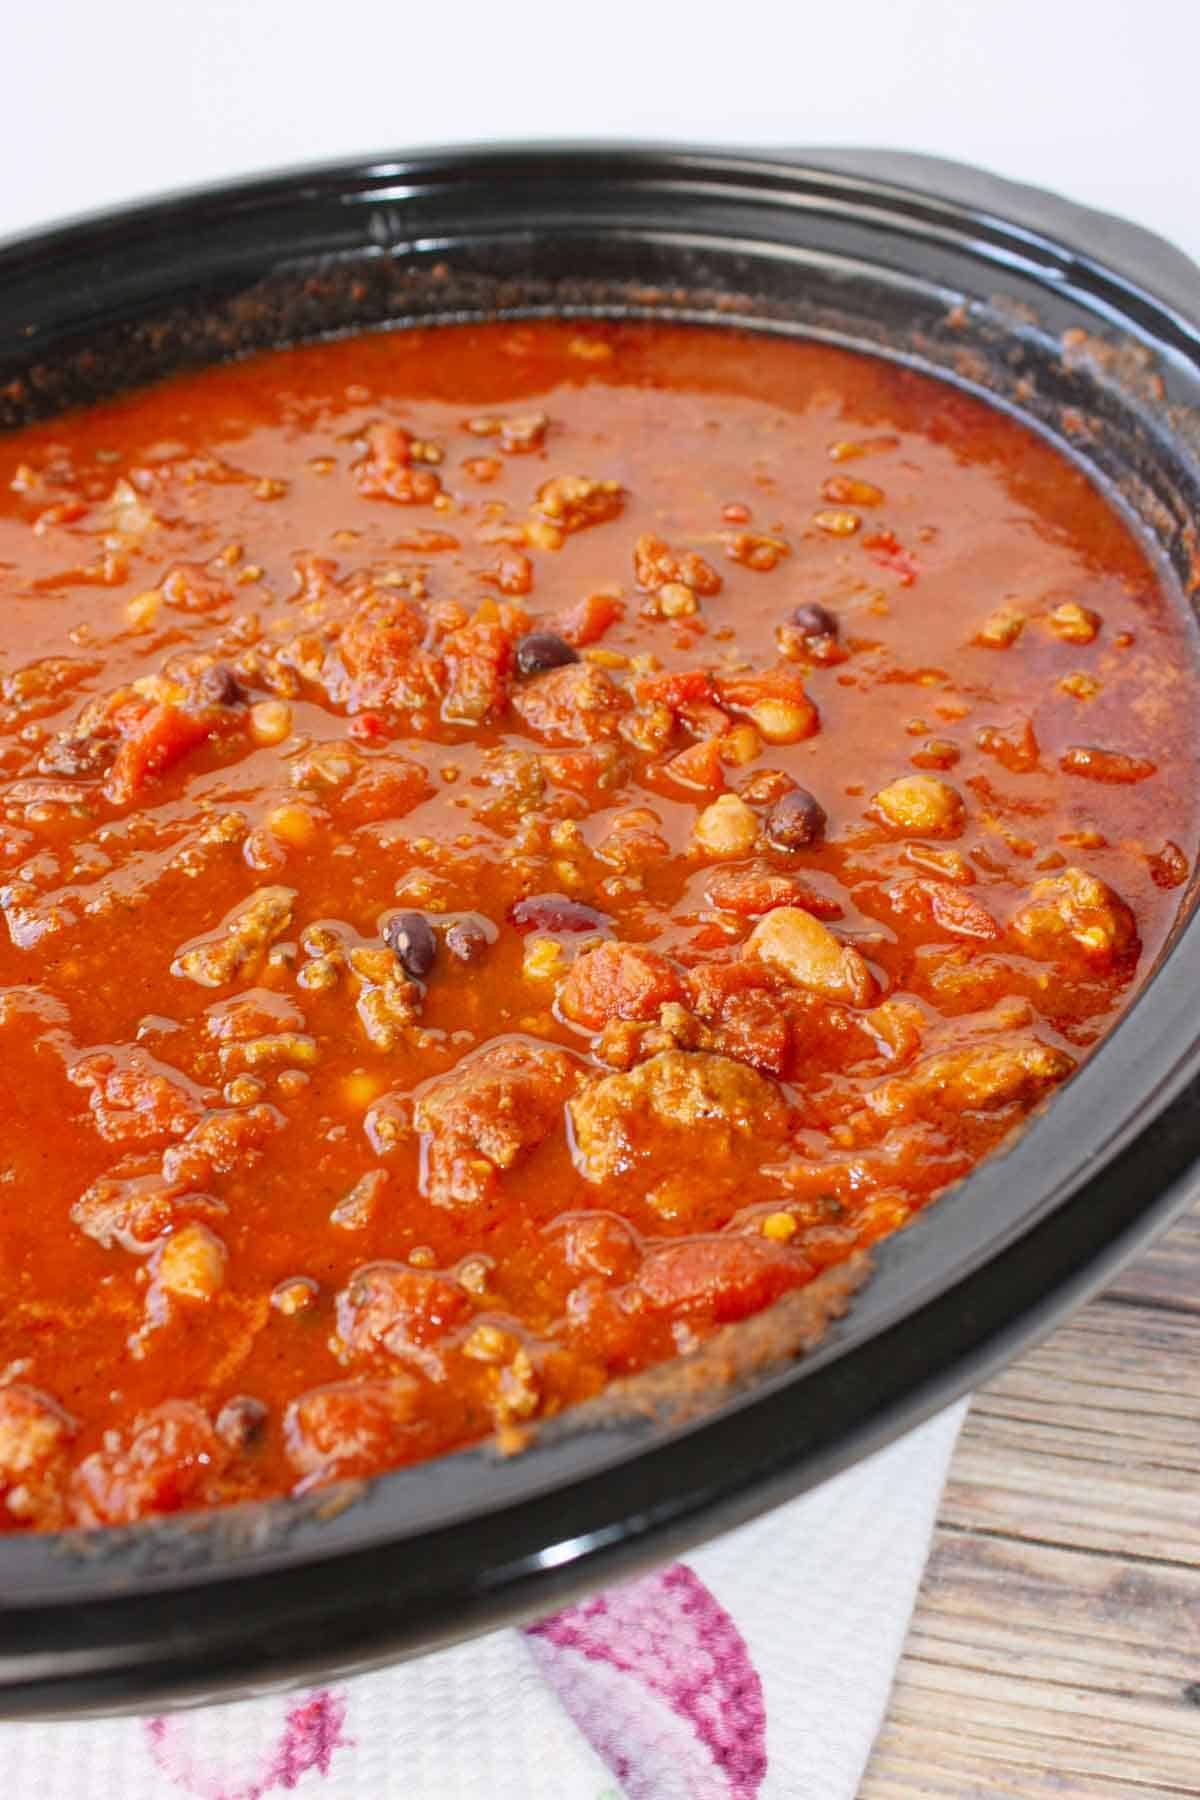
Every spoonful is loaded with satisfying ingredients that make it a filling family meal.
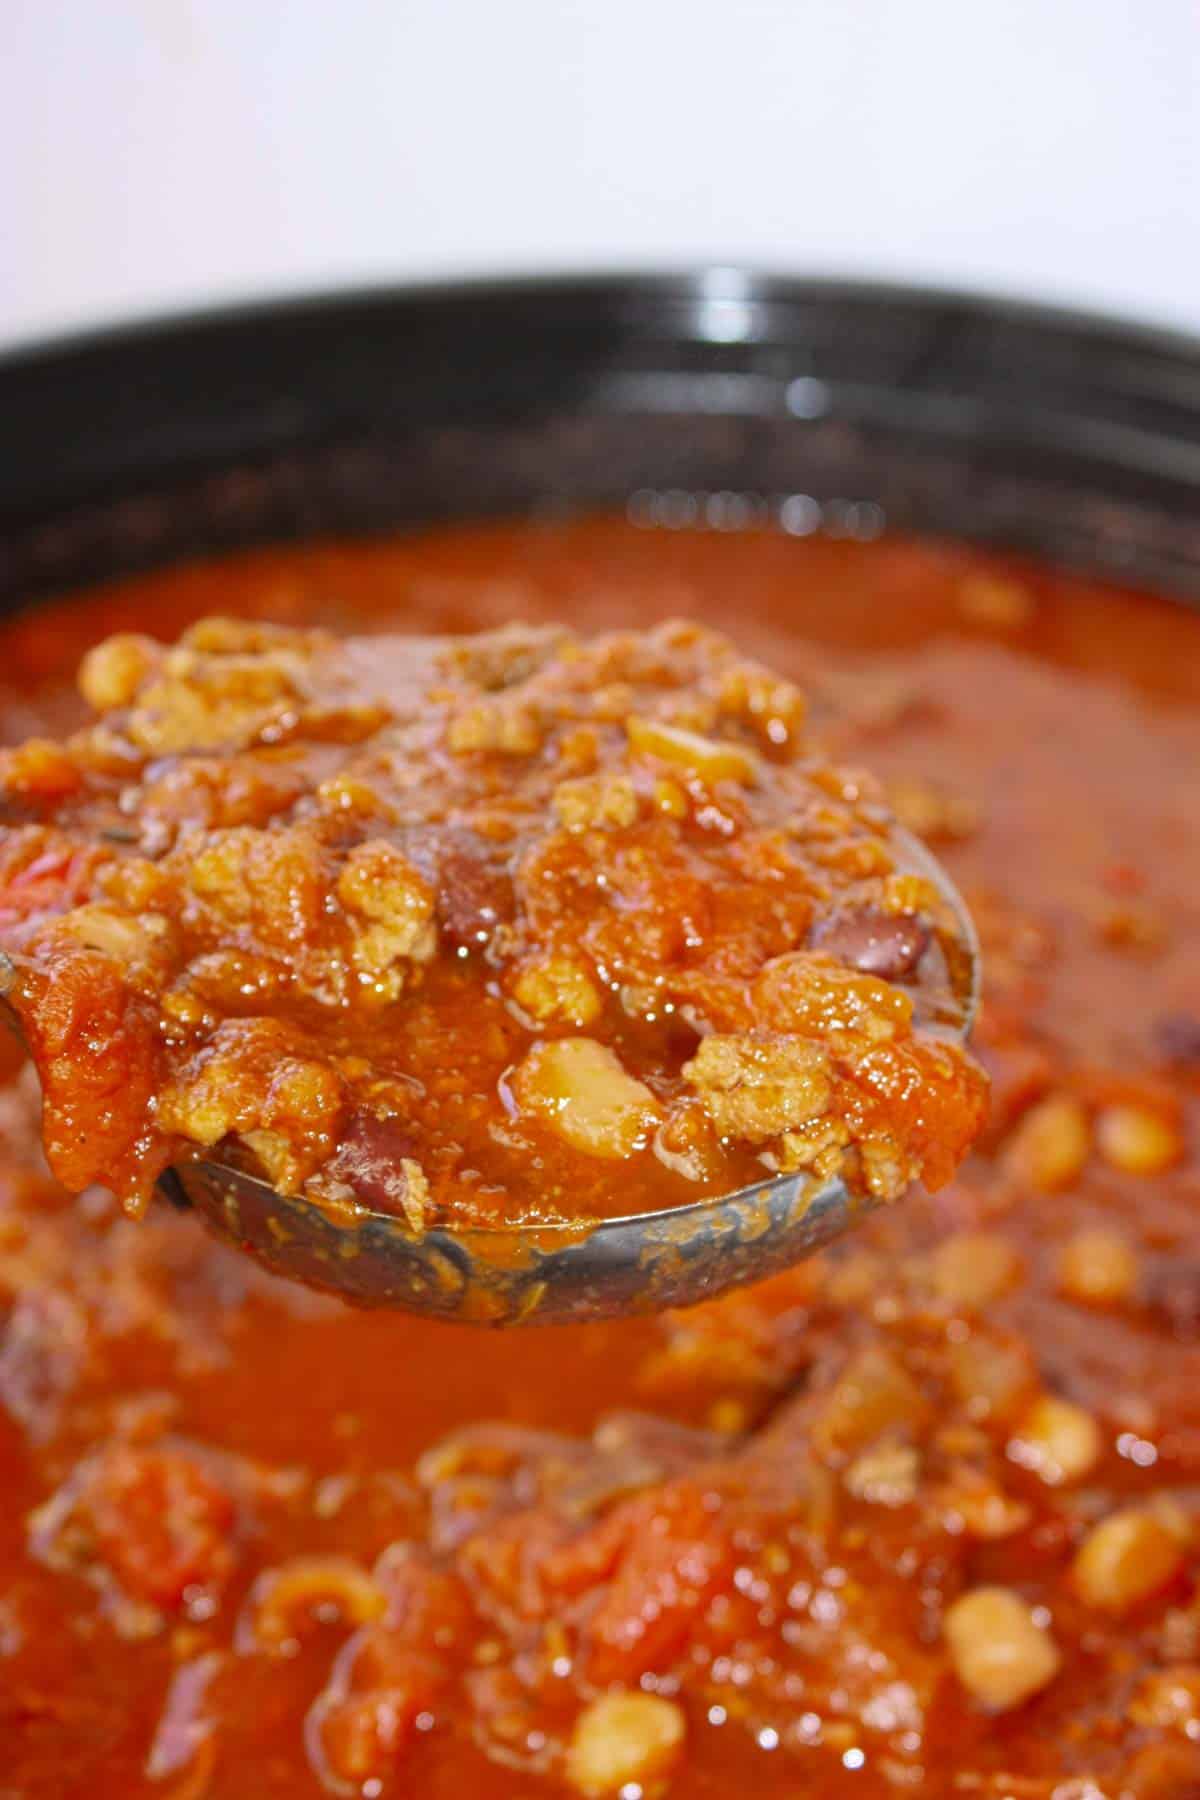
This recipe makes a generous batch, making it ideal for feeding a crowd. There will be about 12 generous servings.
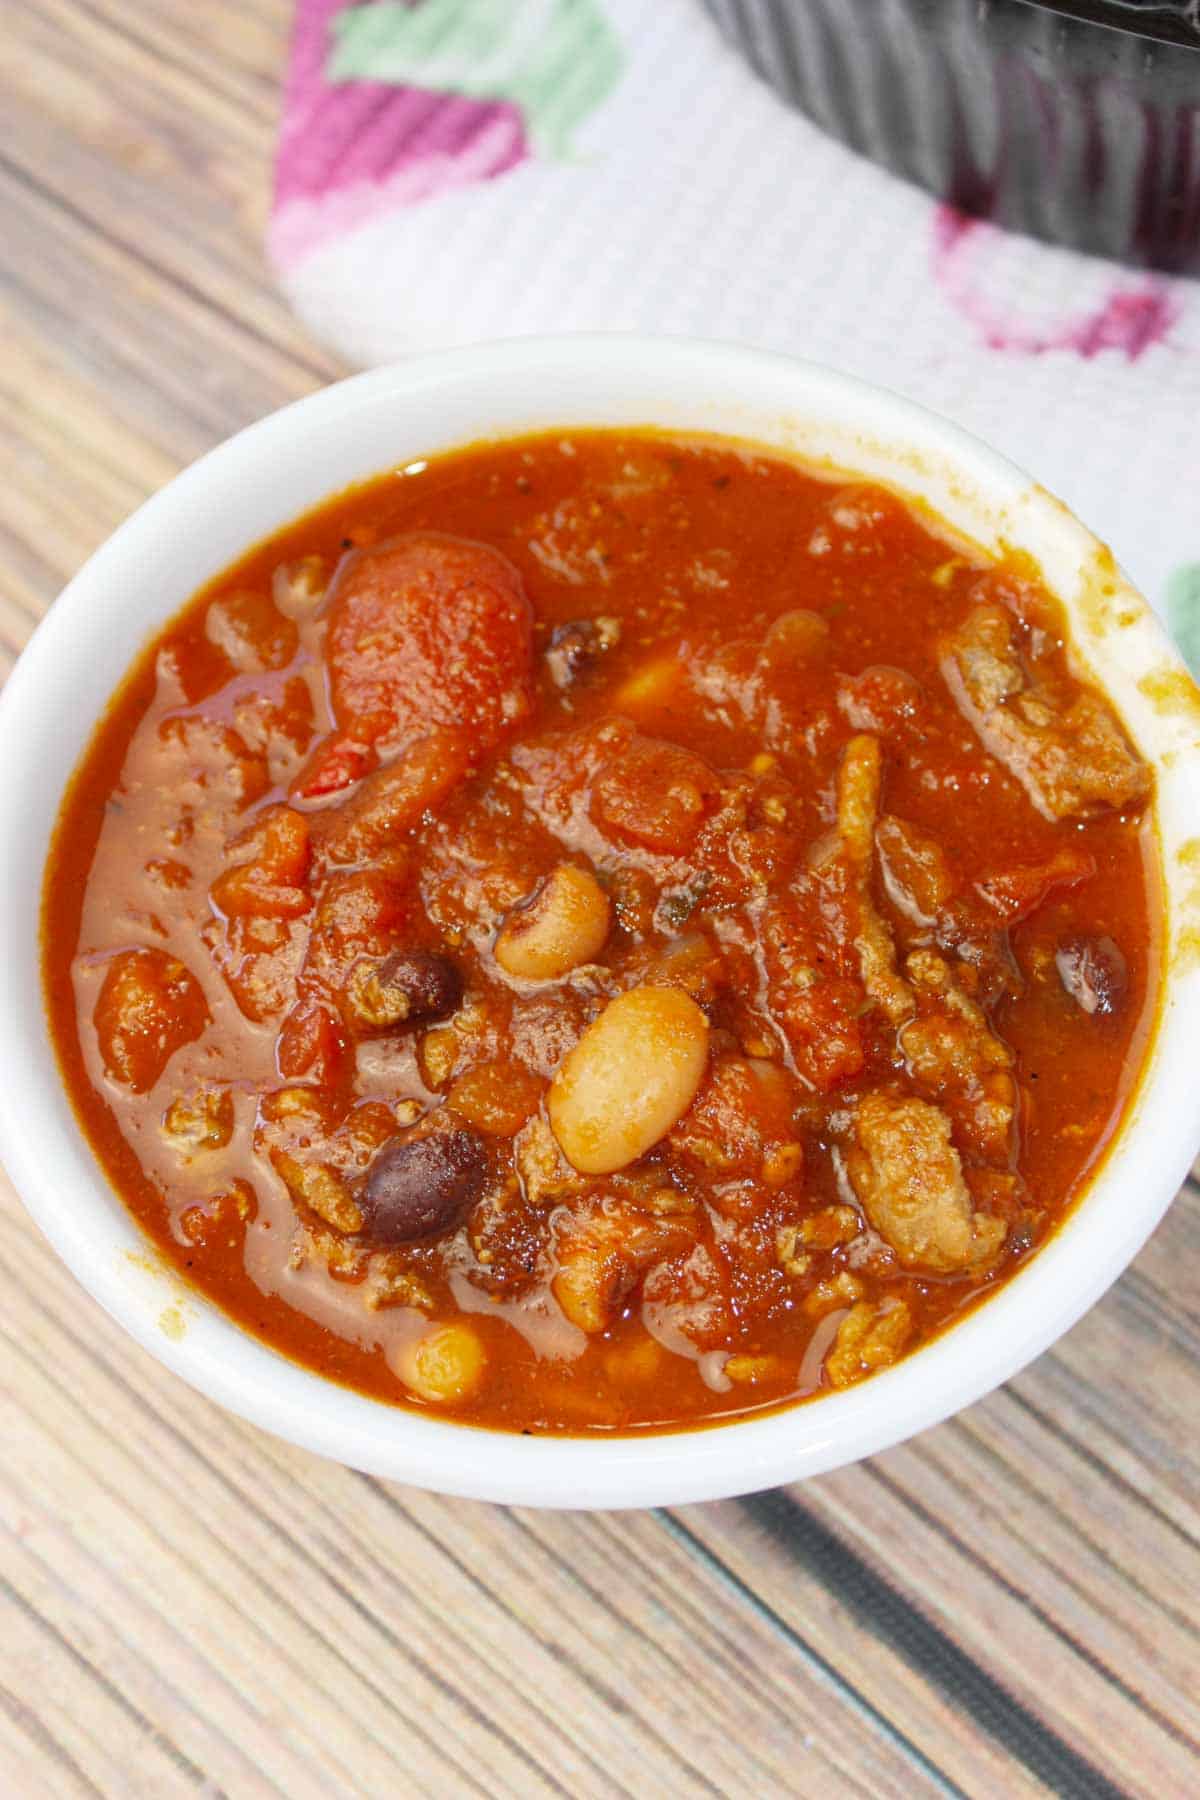
Whether served on its own or topped with your favourite garnishes, this chili is always a comforting and delicious choice.

Printable Recipe Card with a Full List of Ingredients and Instructions is Located at the Bottom of the Post.
Be sure to read through the entire post so that you don’t miss out on any important tips and tricks!
To begin making Crock Pot Beef Chili I poured some extra virgin olive oil into a frying pan.

Once the oil was heated I added some ground beef to the frying pan.
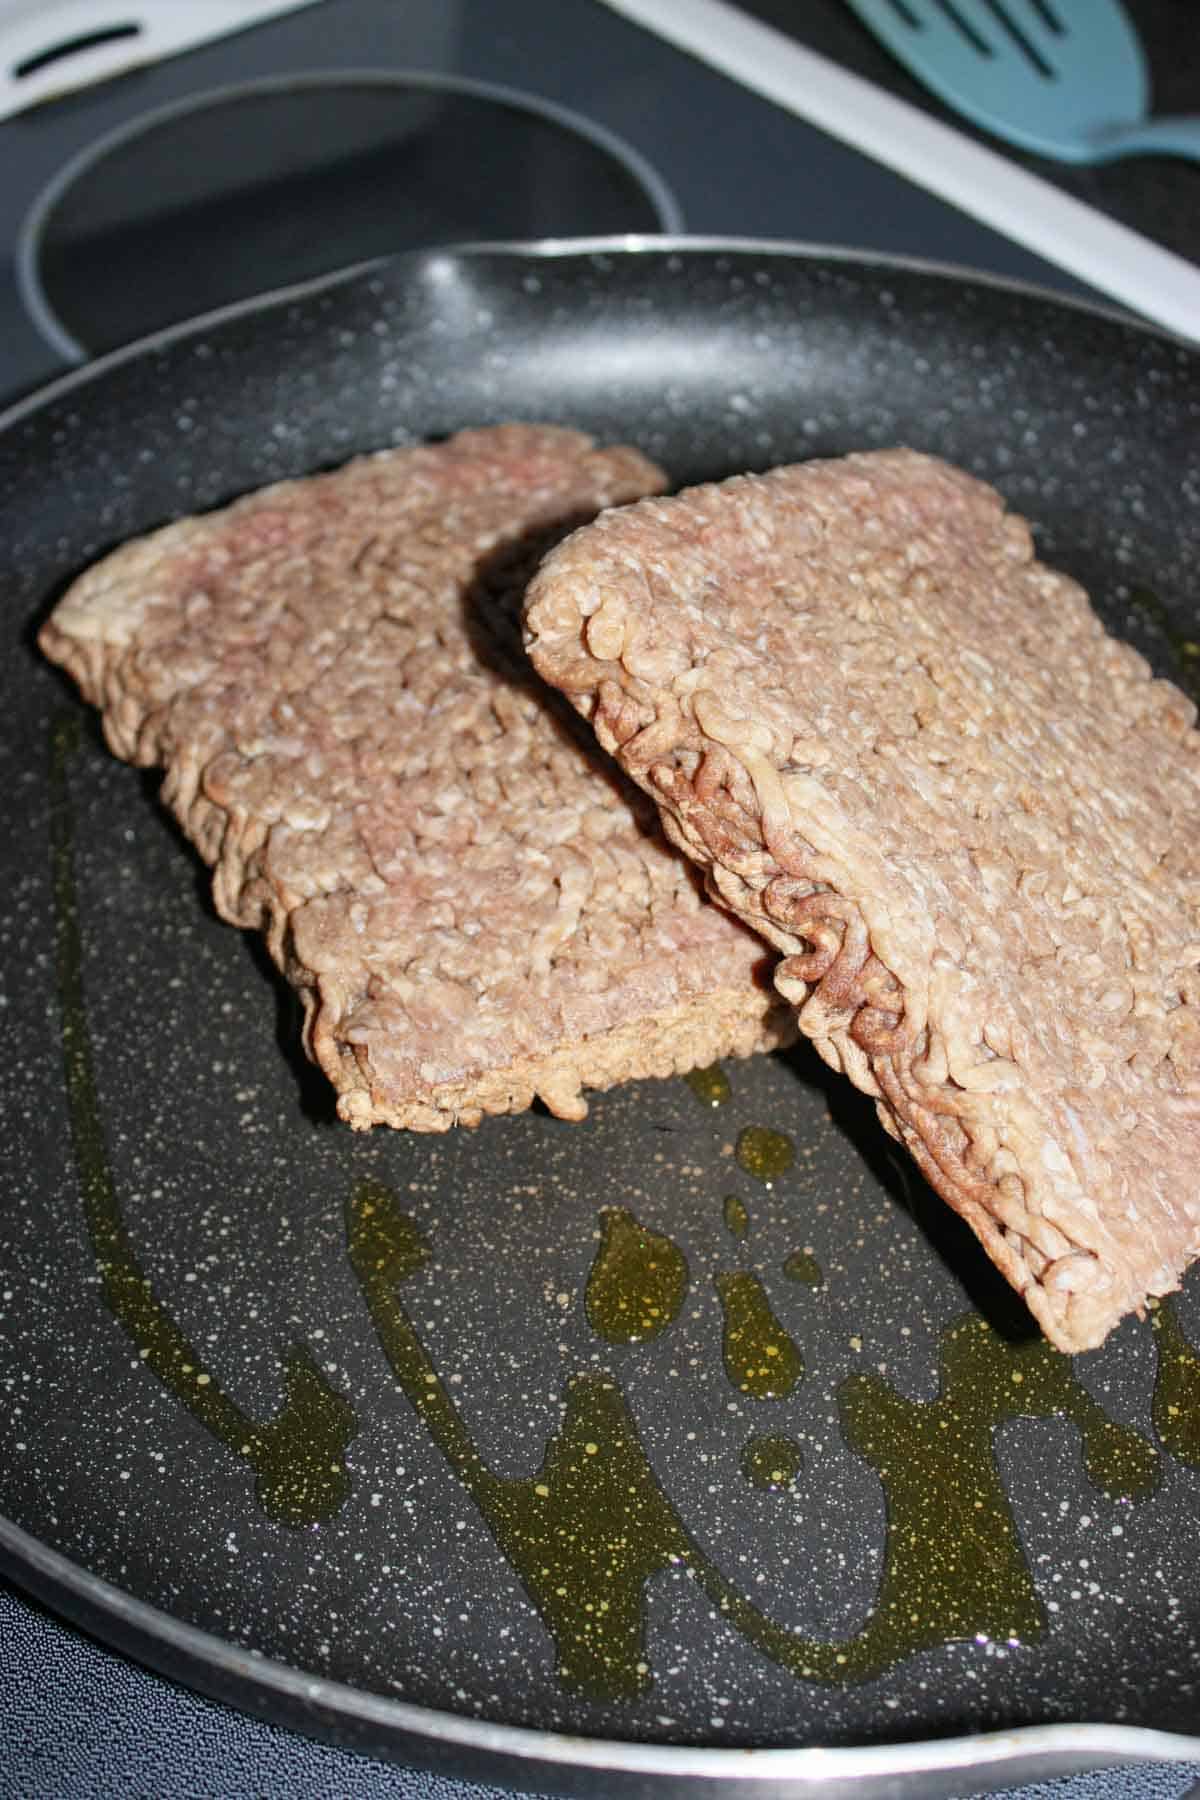
Next I broke up the ground beef while it was cooking.
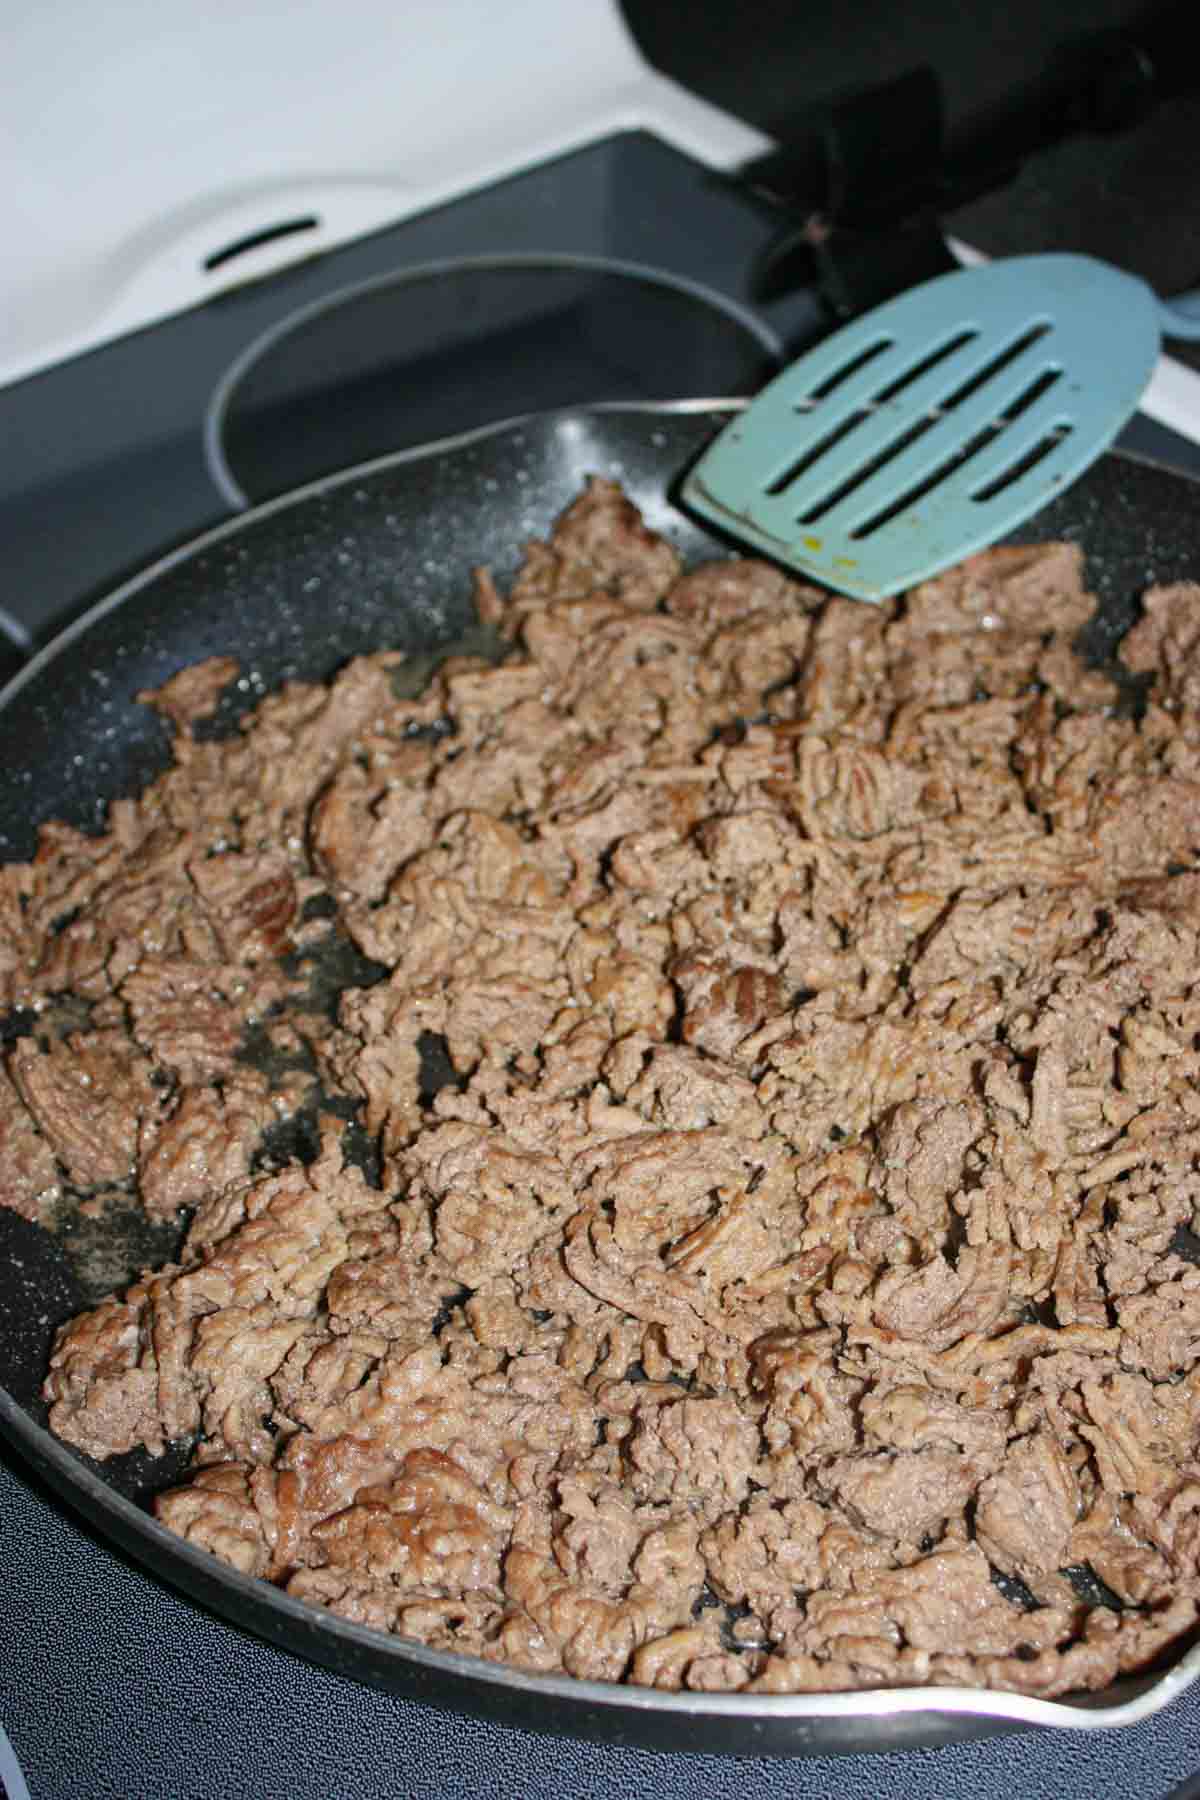
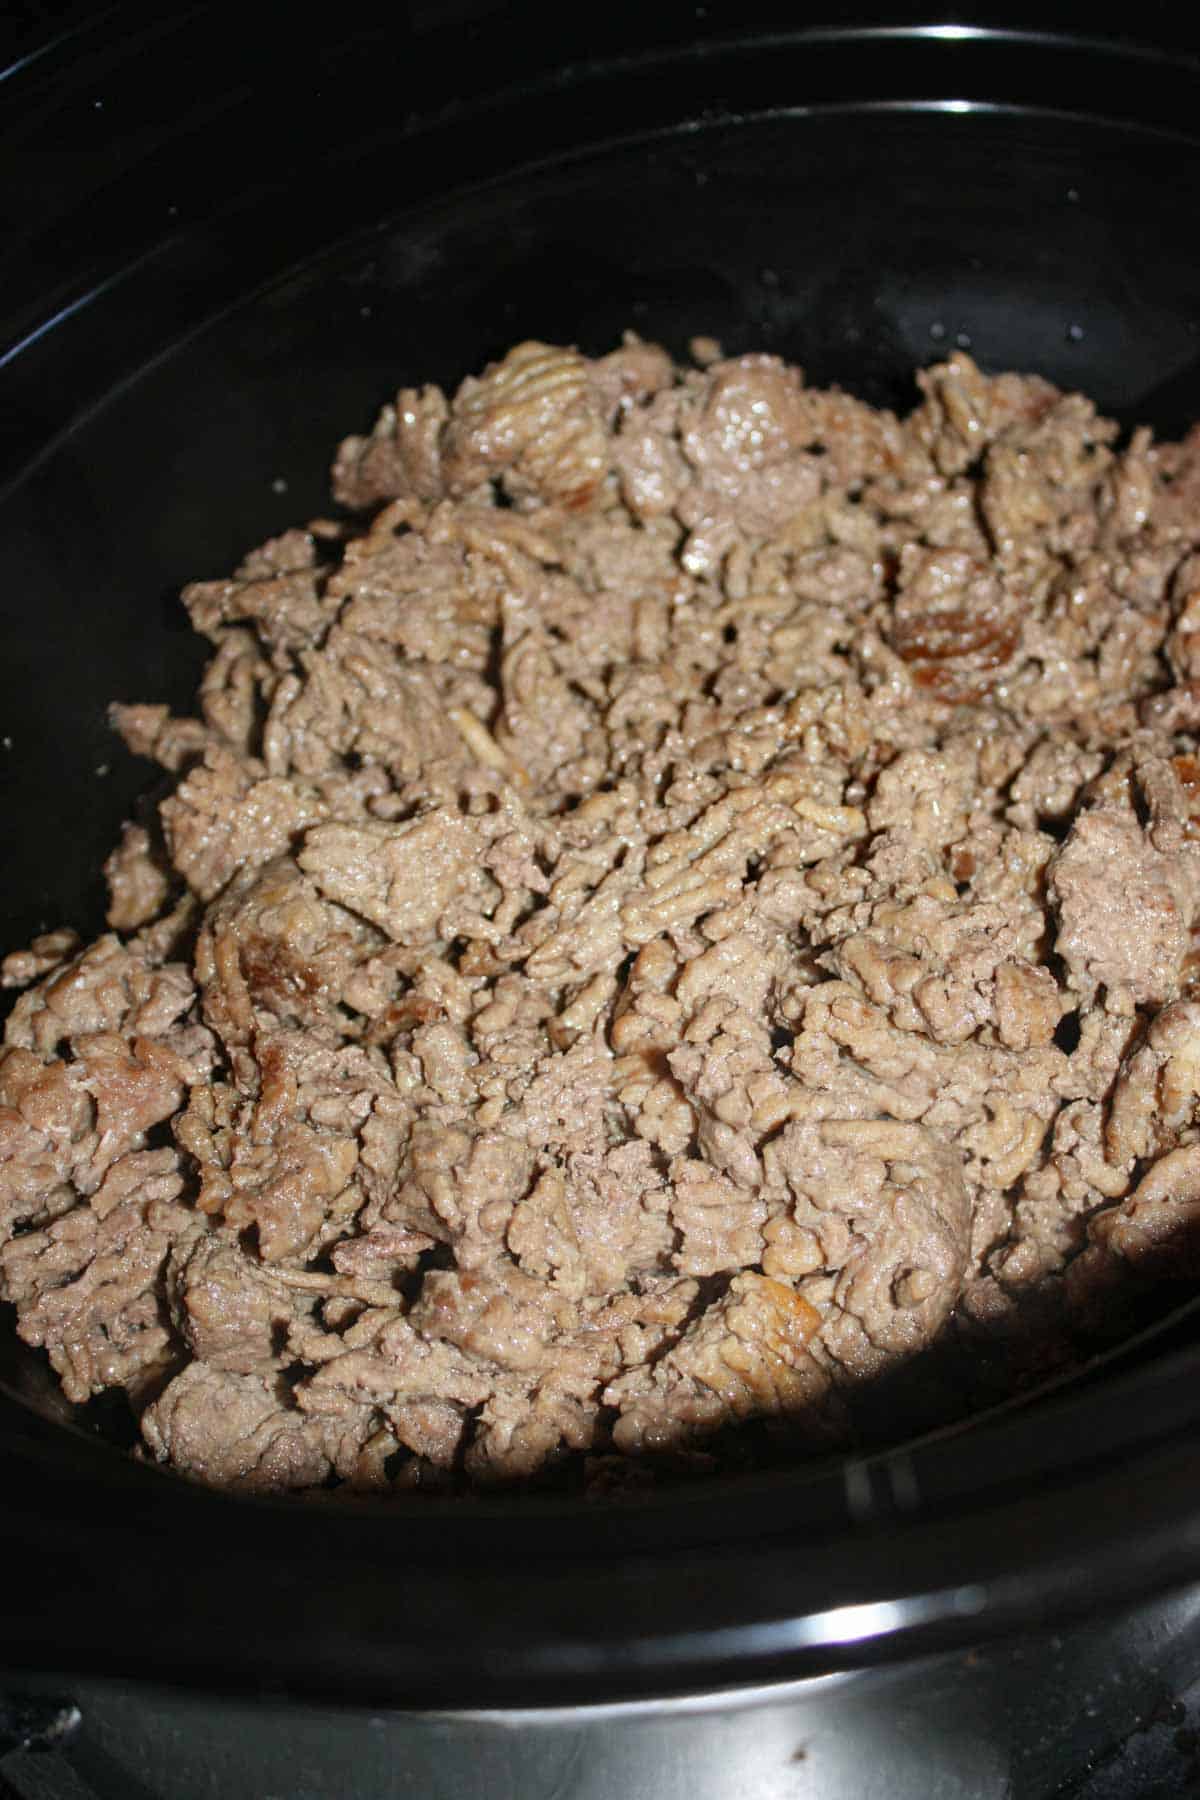
Once the ground beef was browned I scraped it into the Crock Pot.
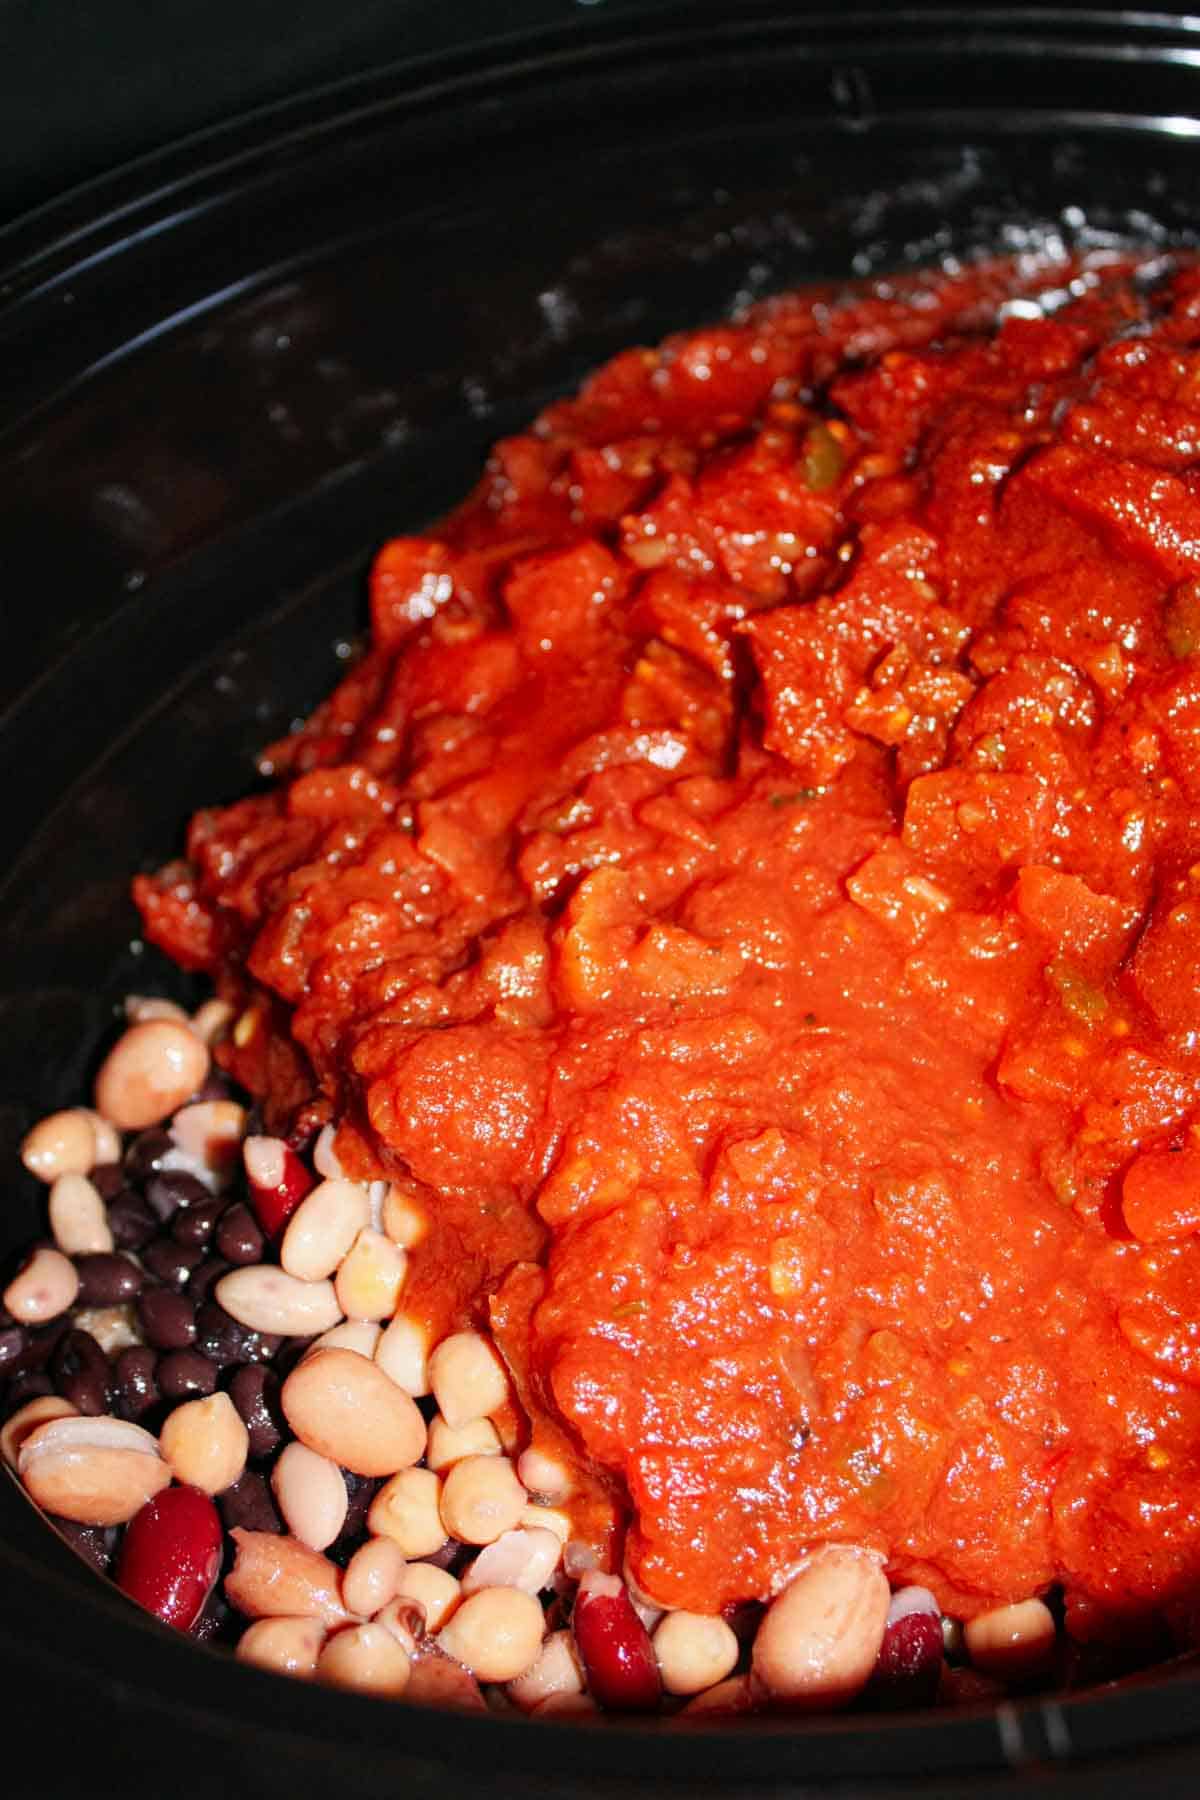
I drained and rinsed a can of Bean Medley and a can of black beans. I dumped them into the Pot with the ground beef. Salsa has all the ingredients that I would normally throw in to make a chili. So why not make life easier and just open a jar or two or three! The heat intensity is up to you. I used two mild and then added some medium to spice up the flavour a bit.
Then I stirred all of the ingredients together well.
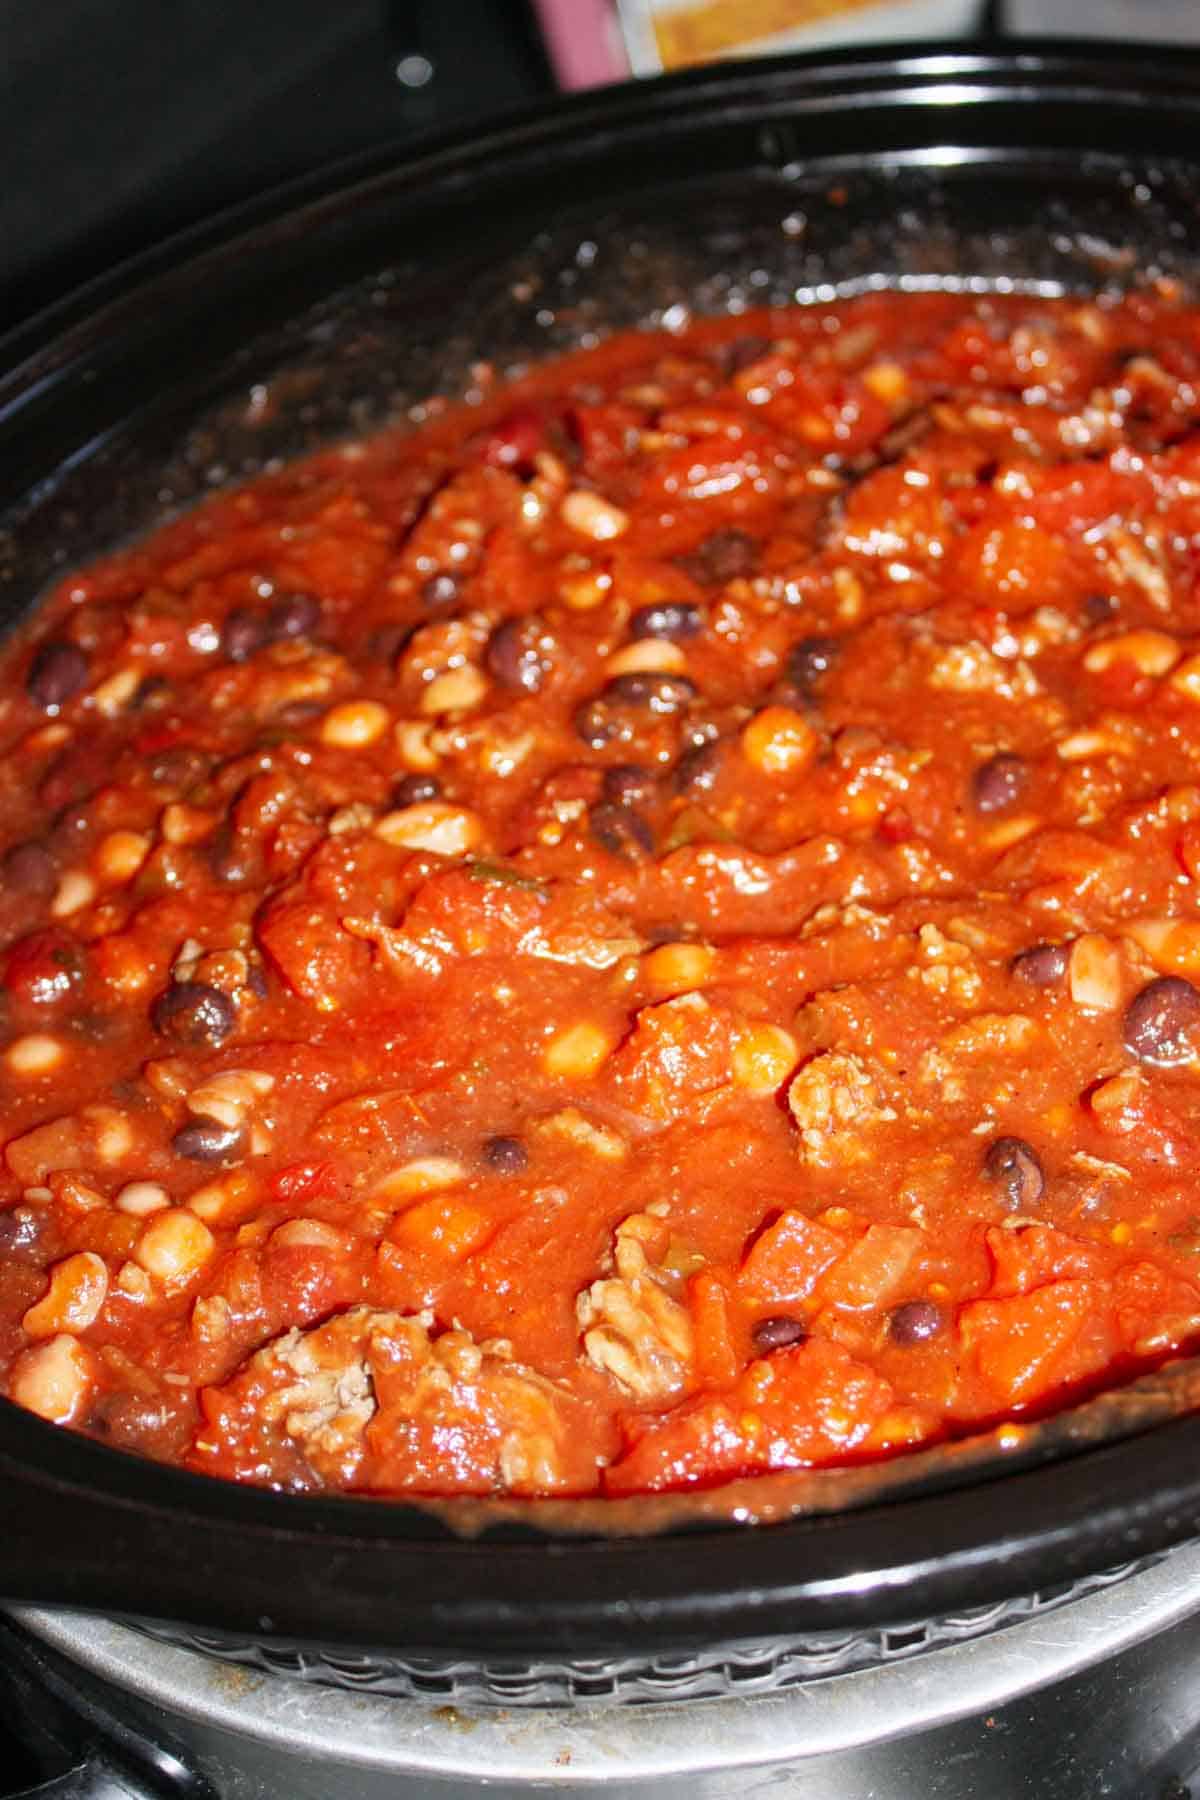
Next I put the lid on the Crock Pot and set it to 4 hours on High. You could also set it on Low for up to 8 hours.
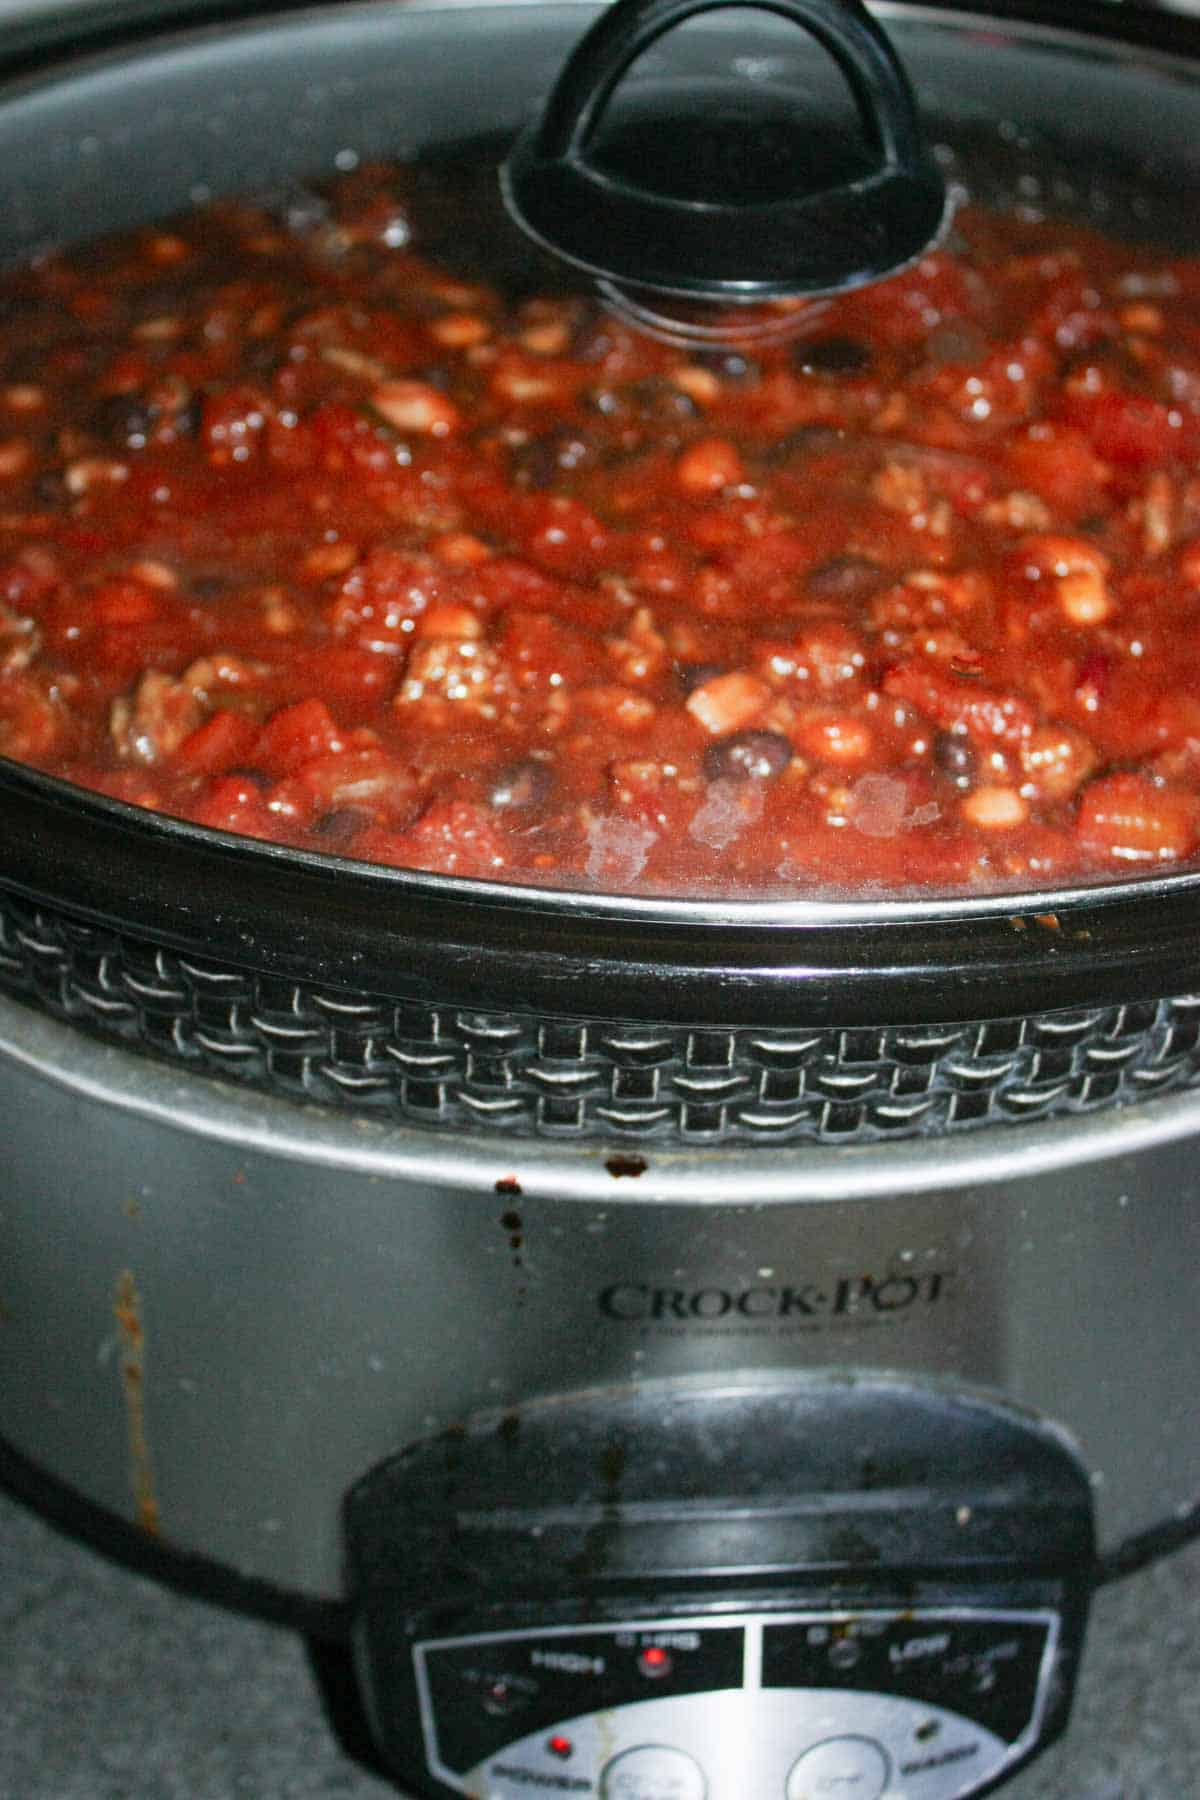
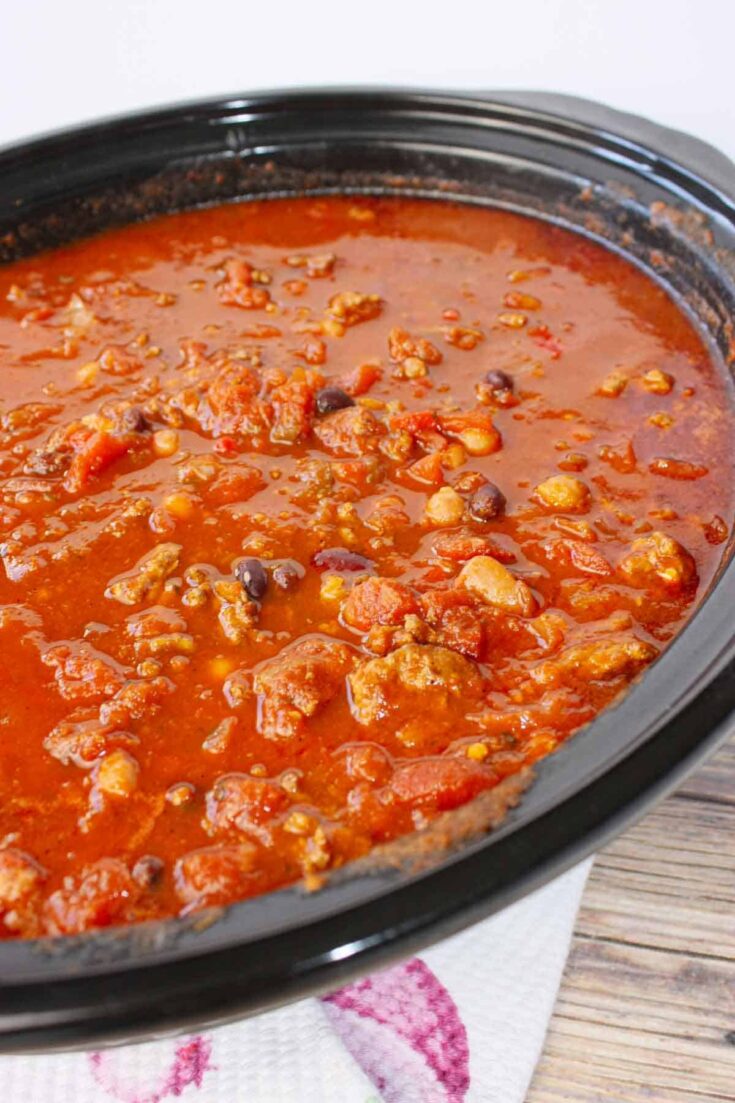
Once finished cooking I gave the Crock Pot Beef Chili another quick stir before serving.
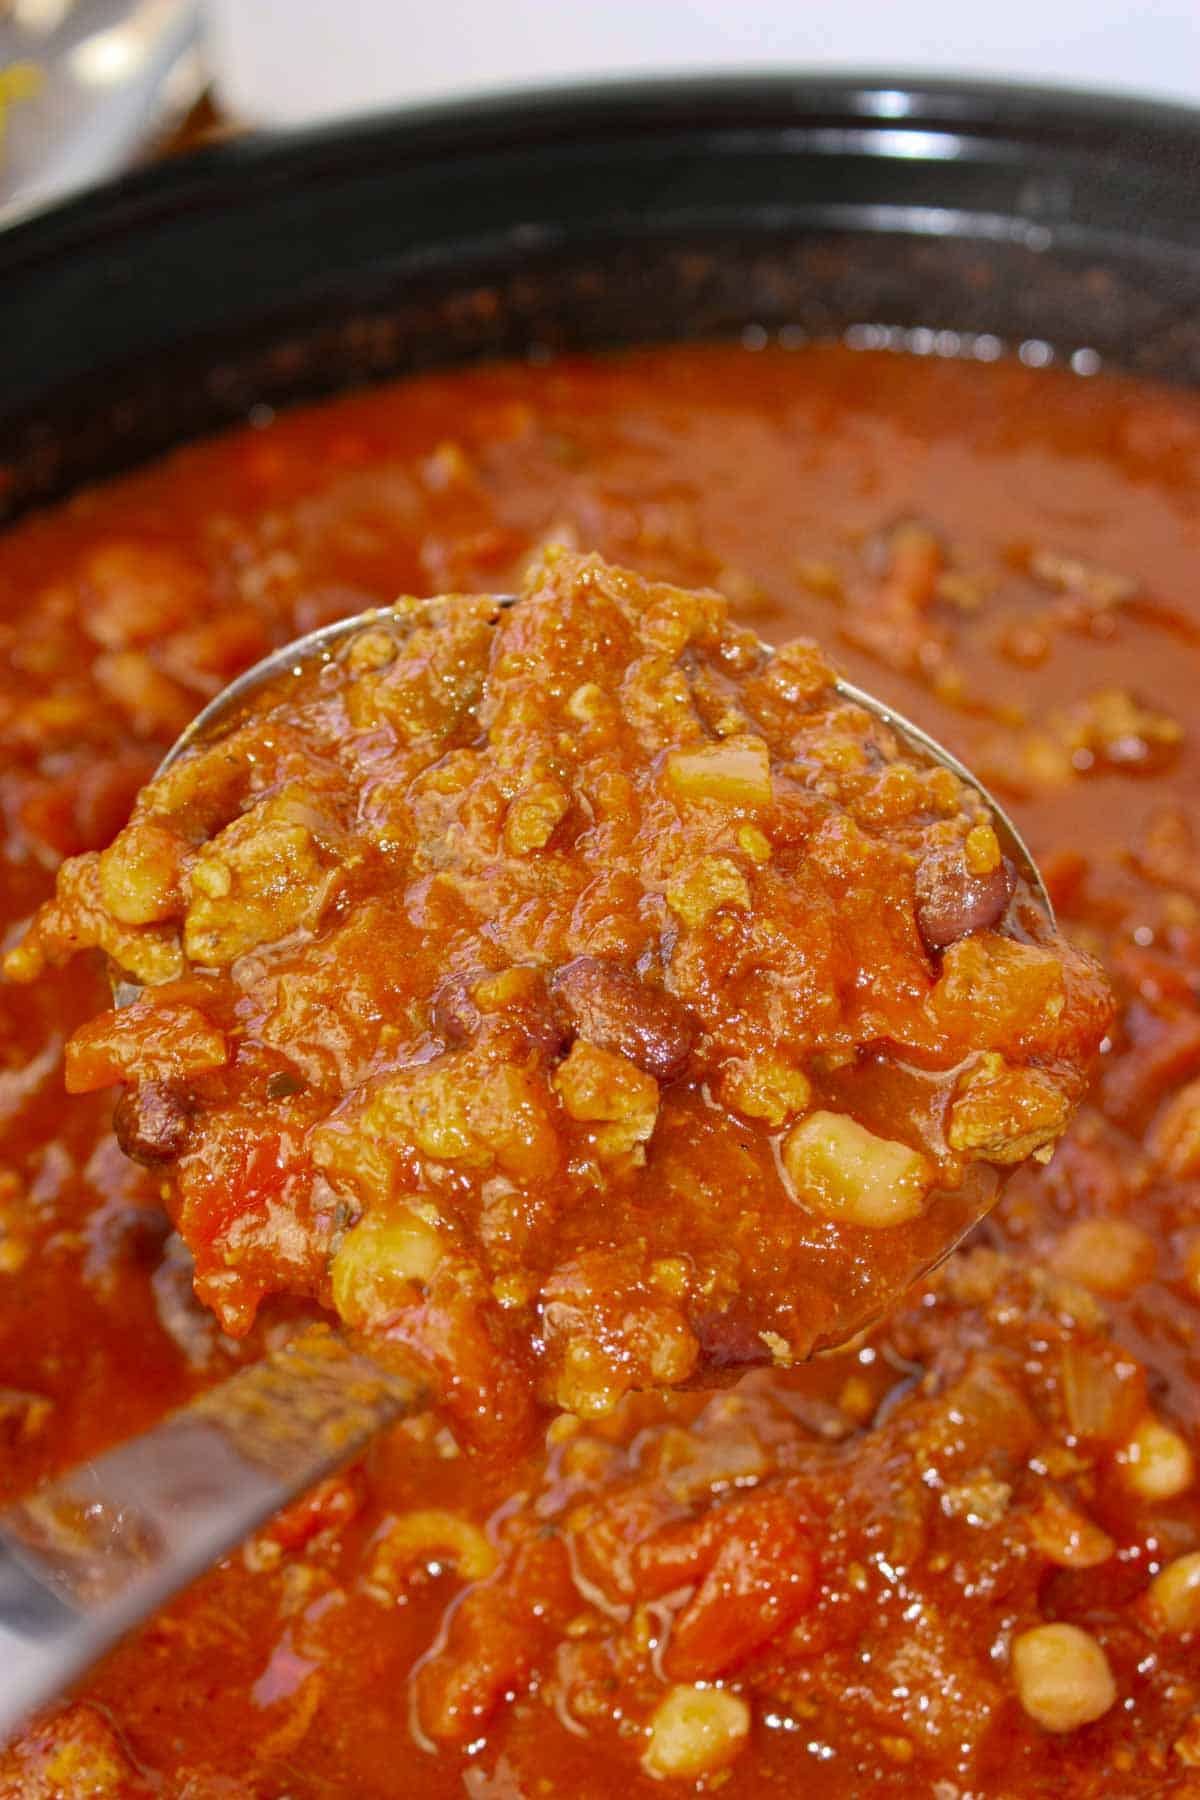
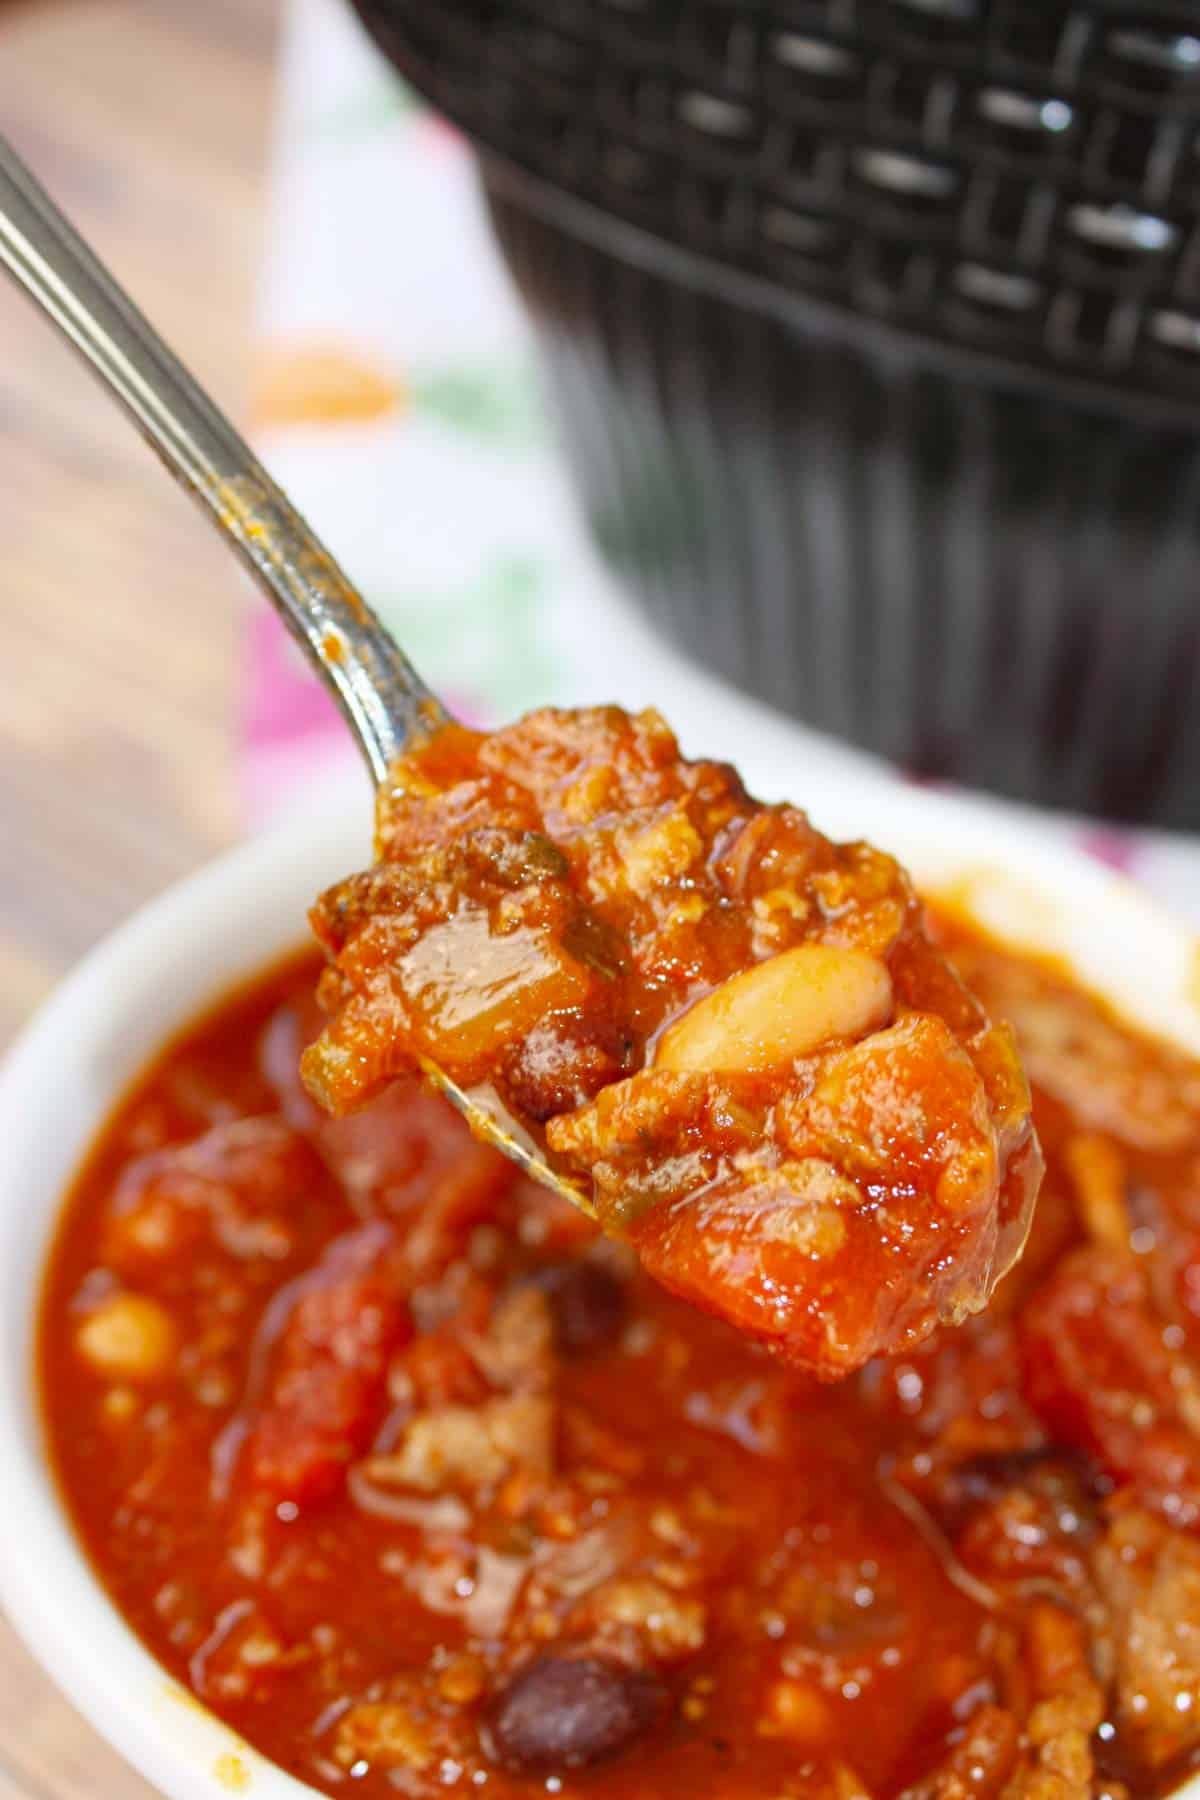
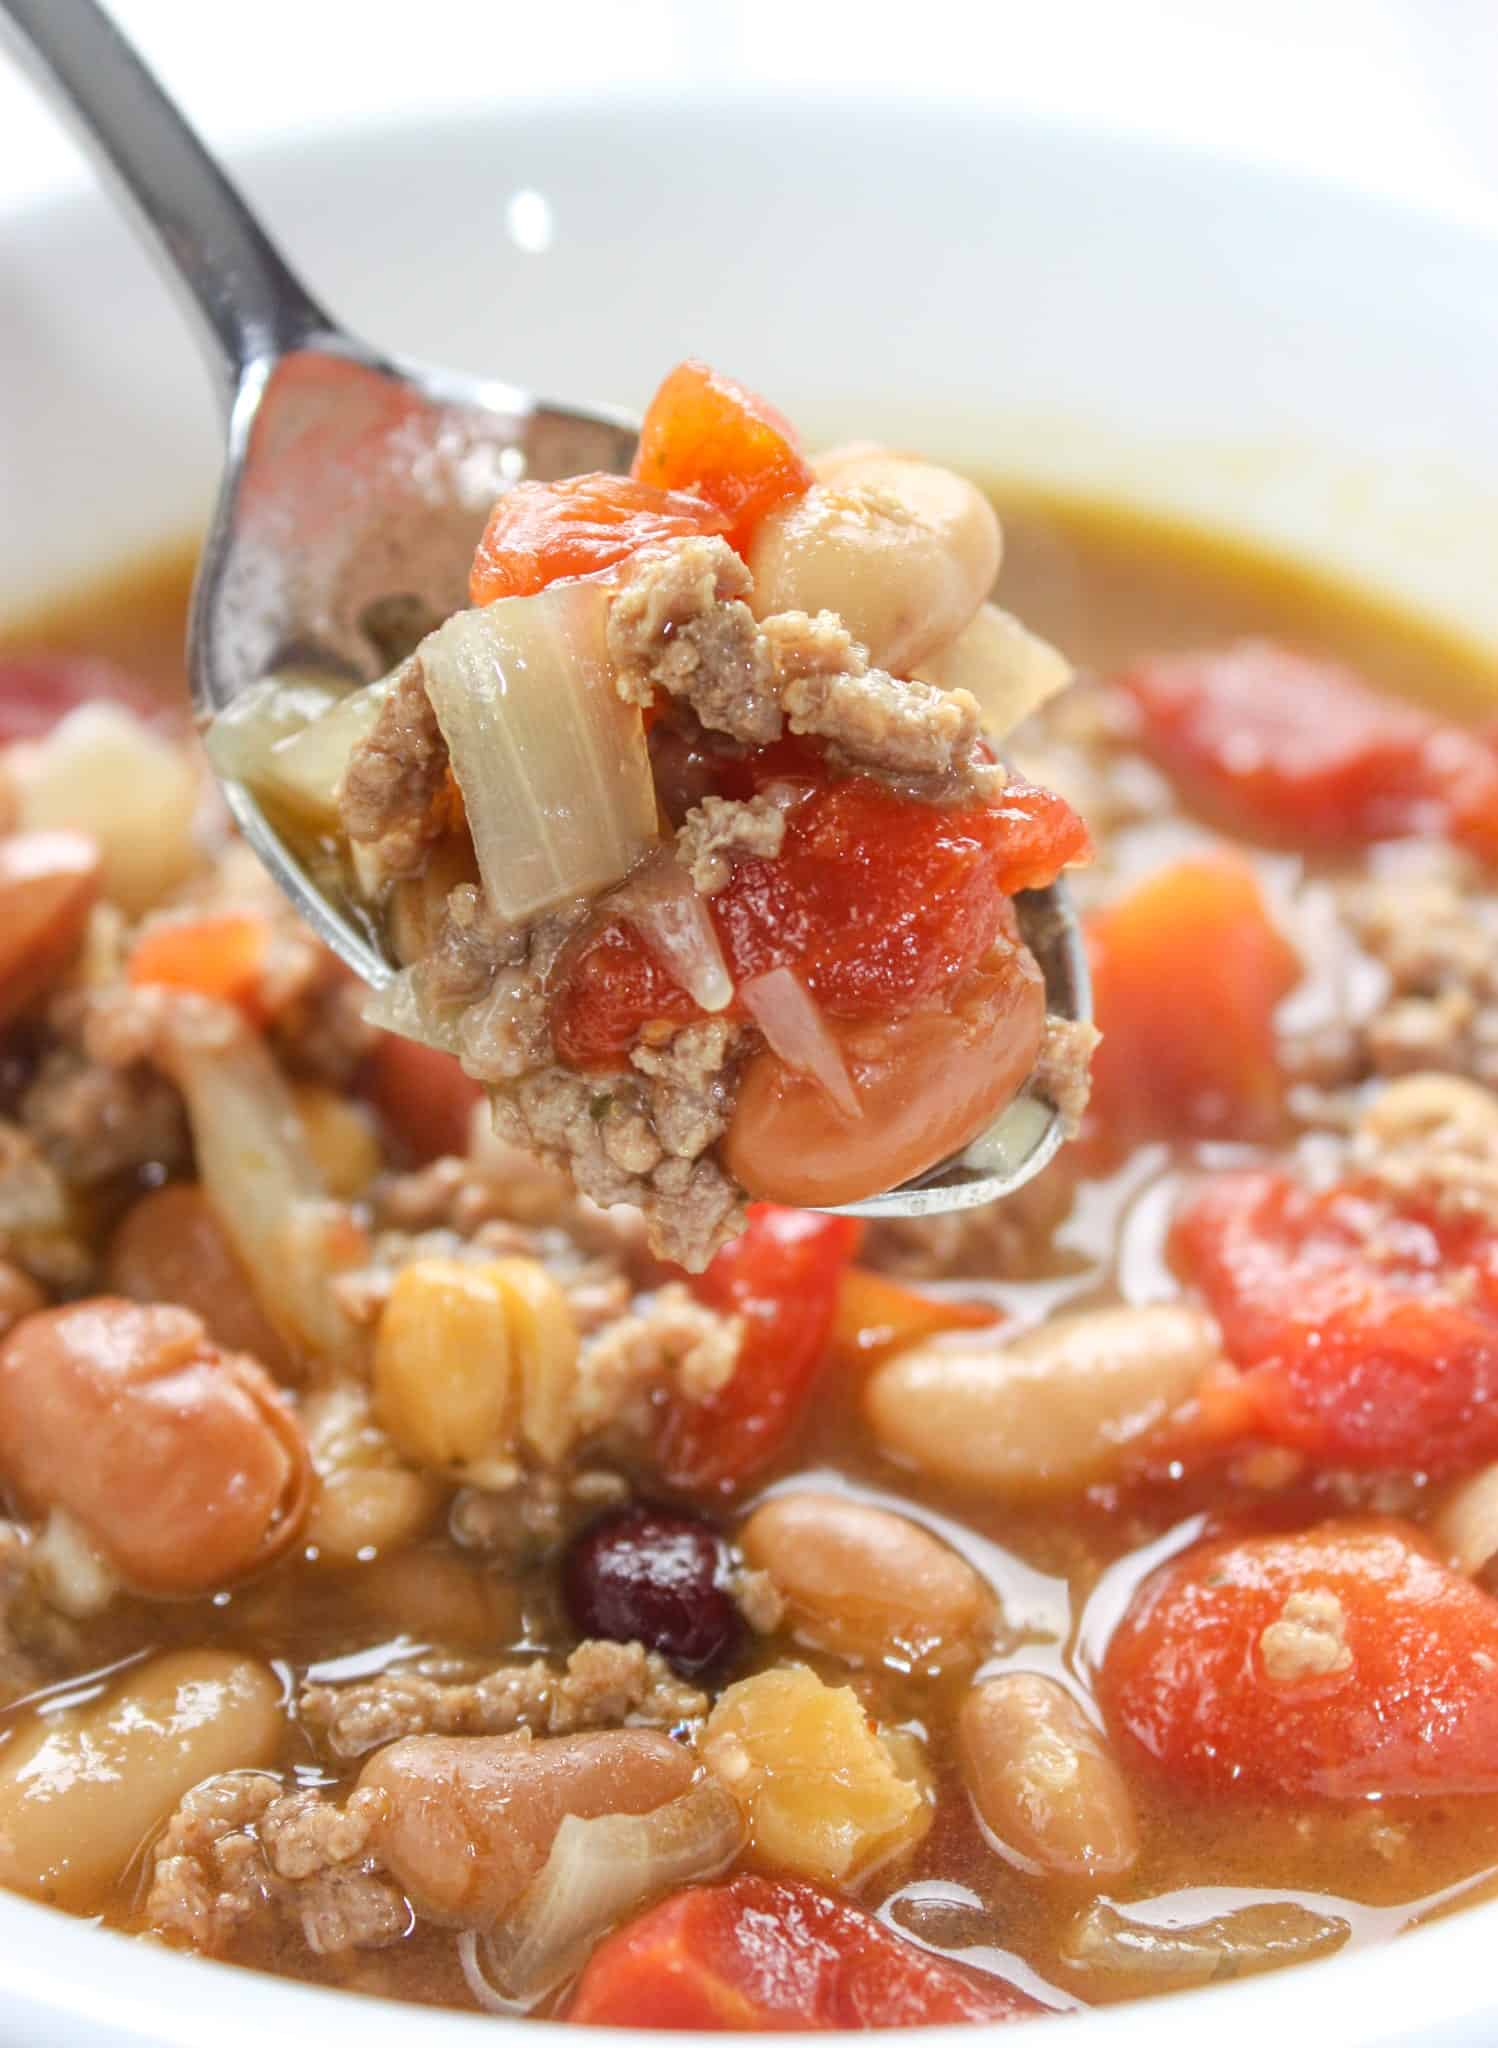
The combination of beef, beans, tomatoes, and spices creates a perfectly balanced bowl of chili.
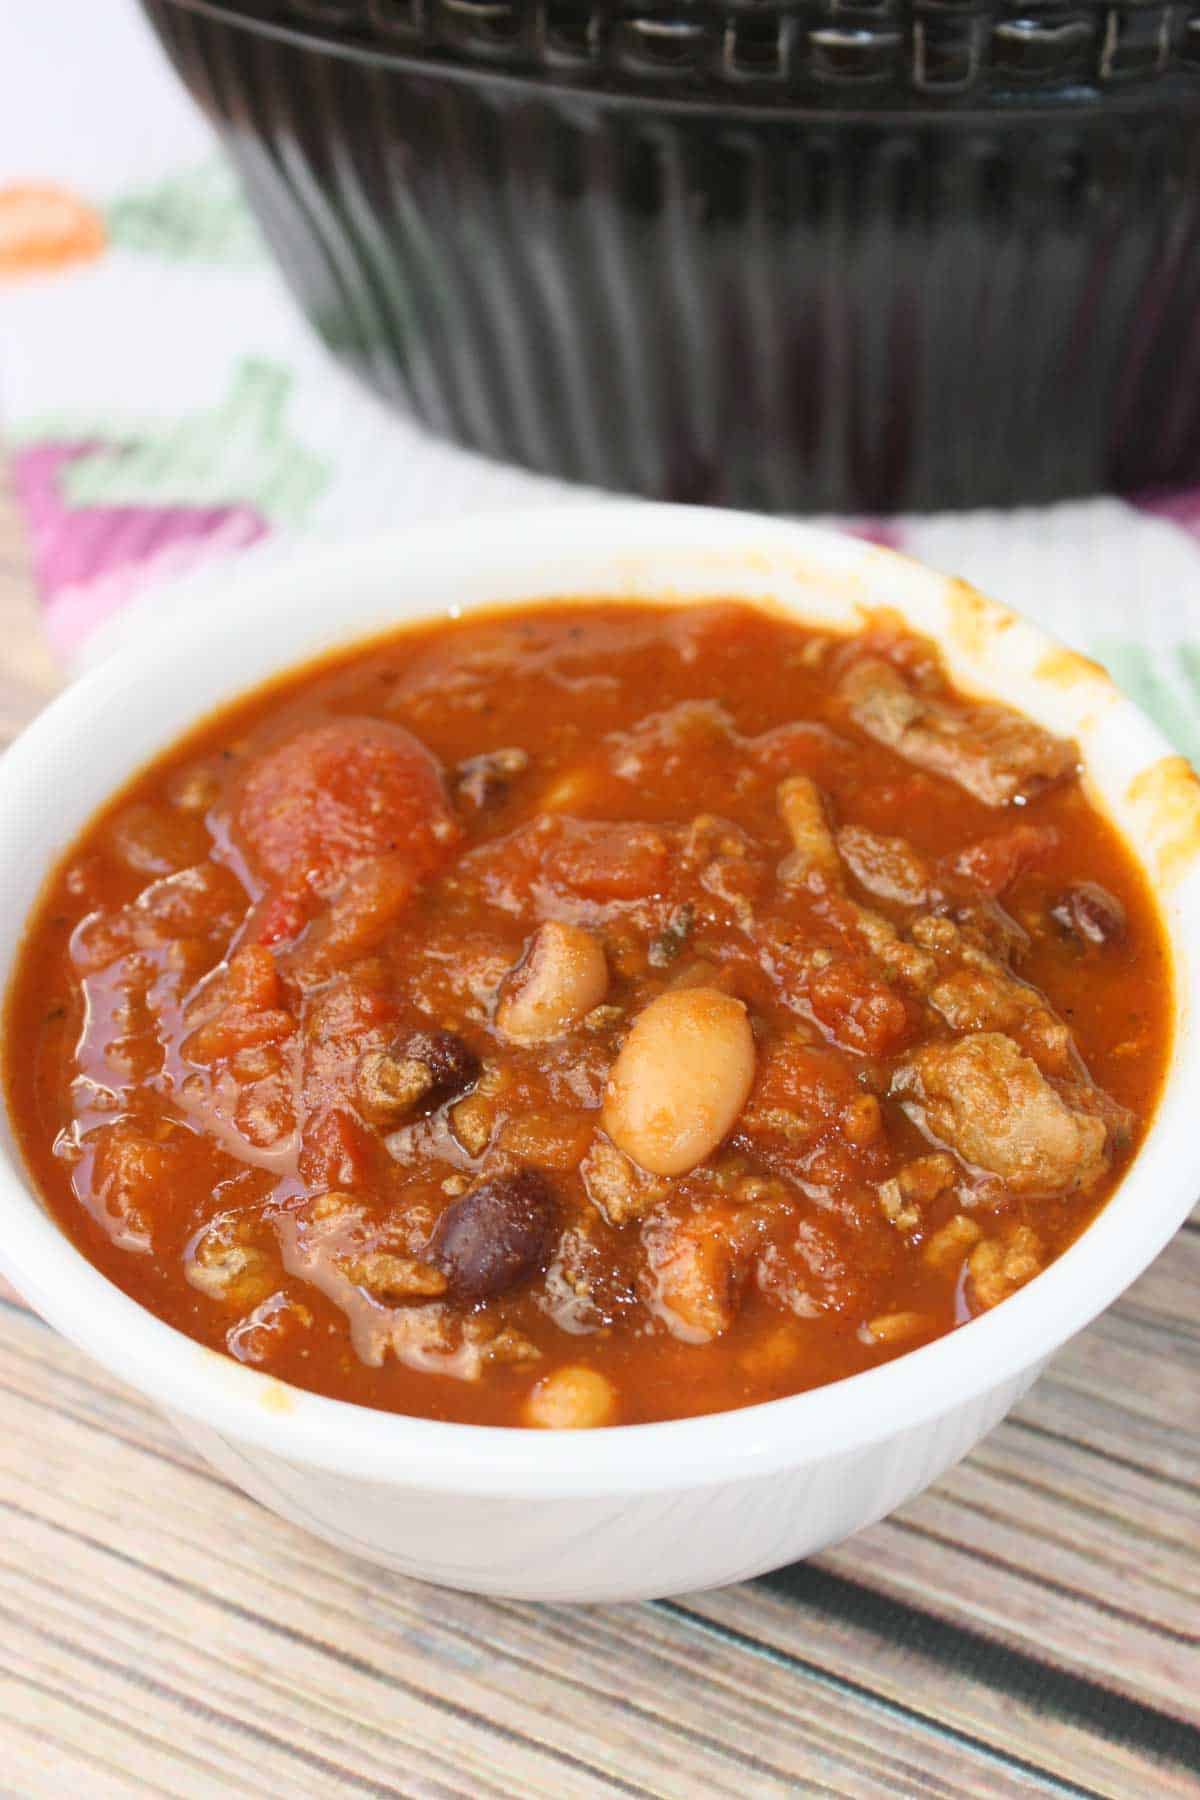
Serve it with shredded cheese, sour cream, or green onions for extra flavor.
Printable Recipe Card with a Full List of Ingredients and Instructions is Located at the Bottom of the Post.
More Instant Pot Ground Beef Recipes You'll Love...

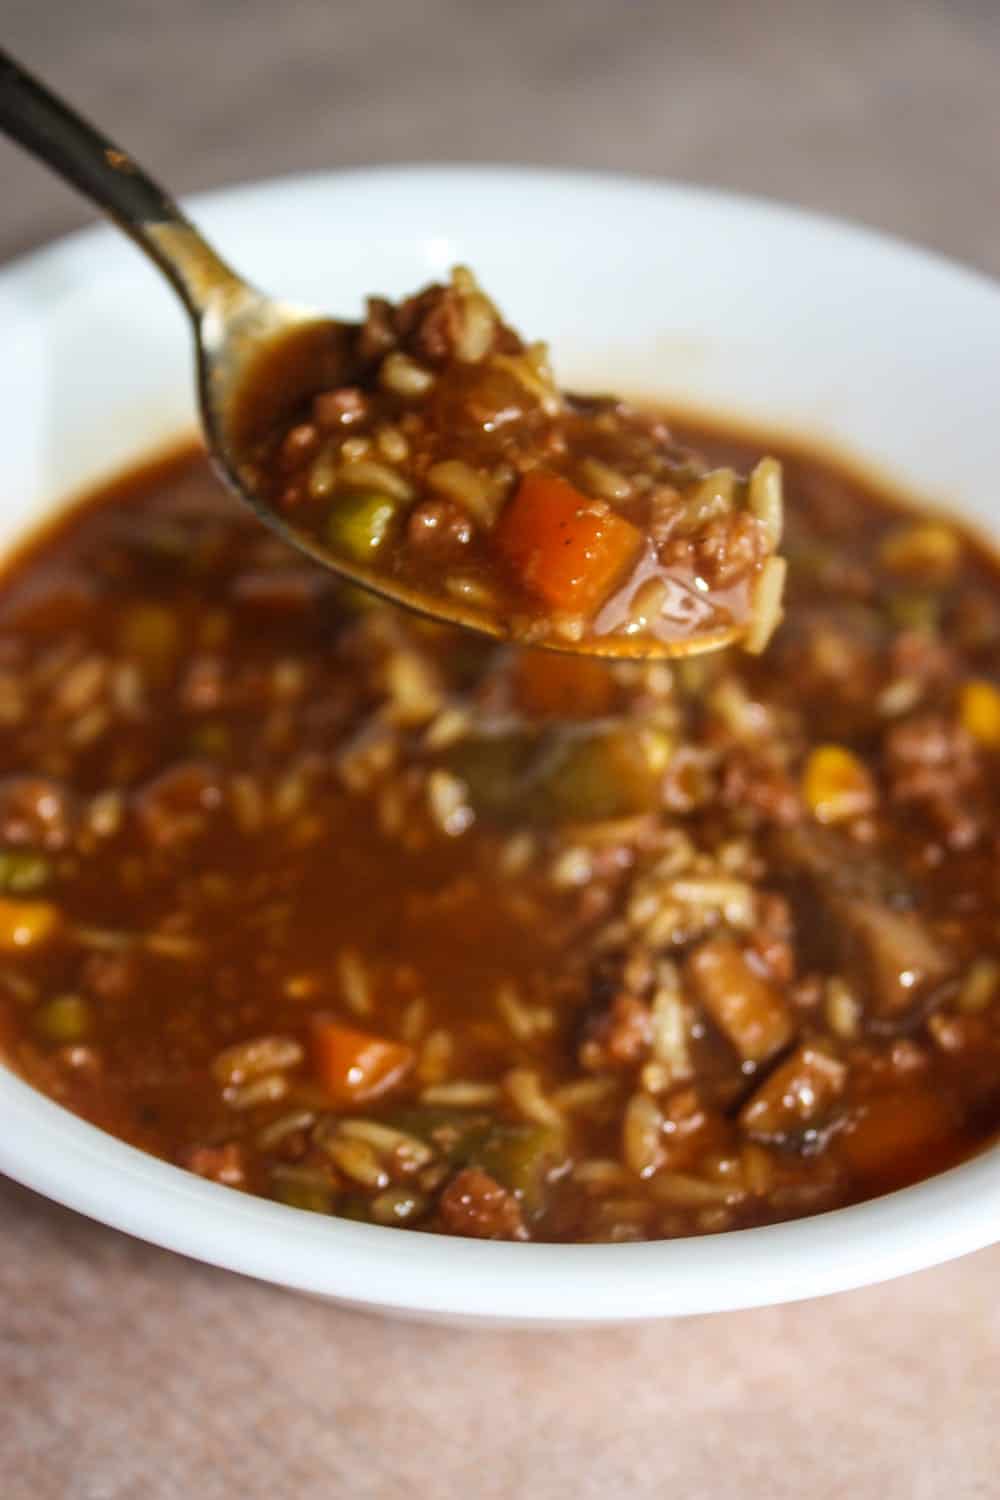
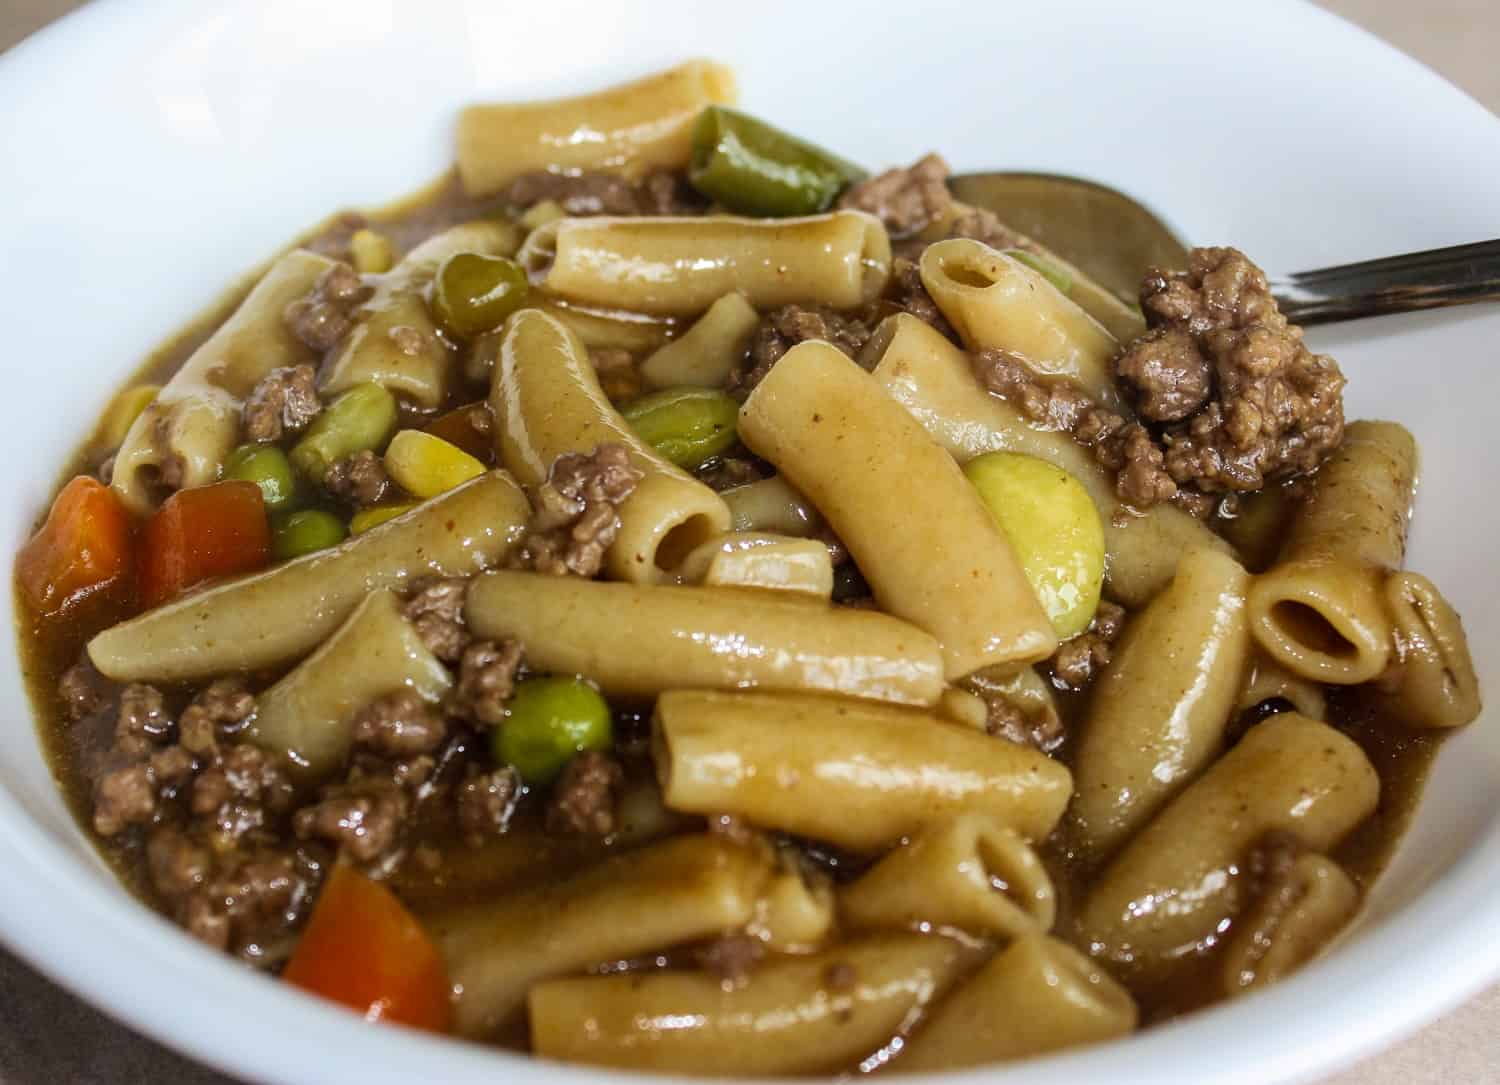

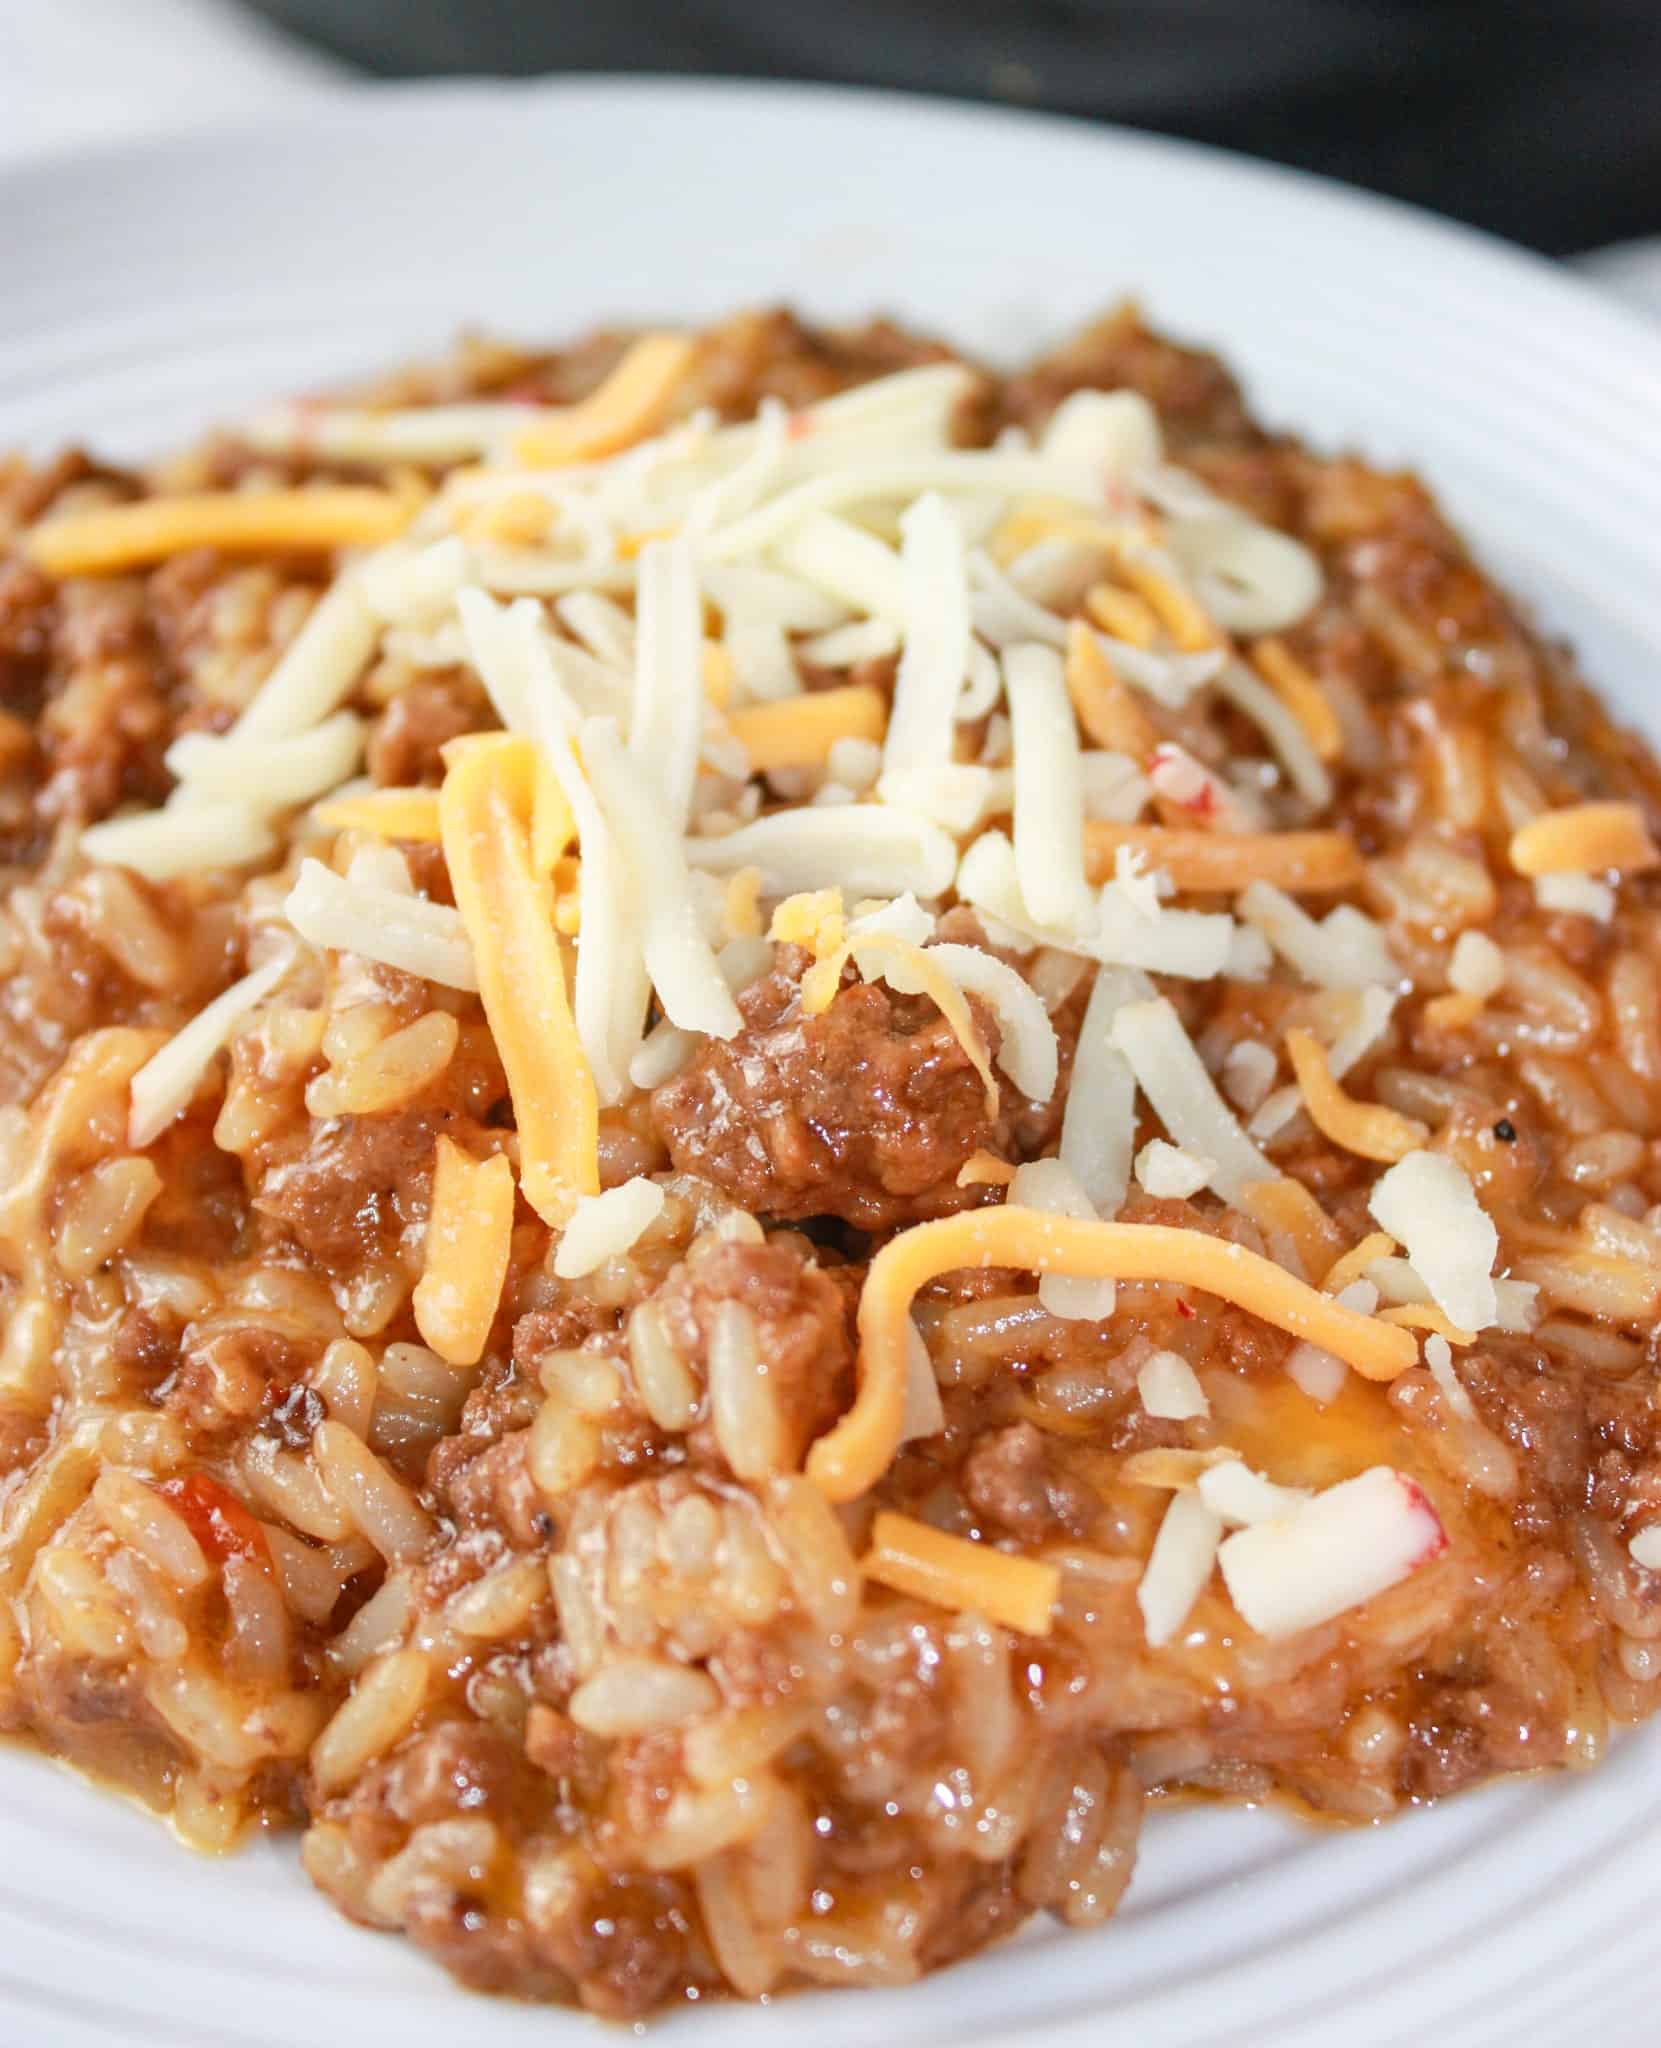

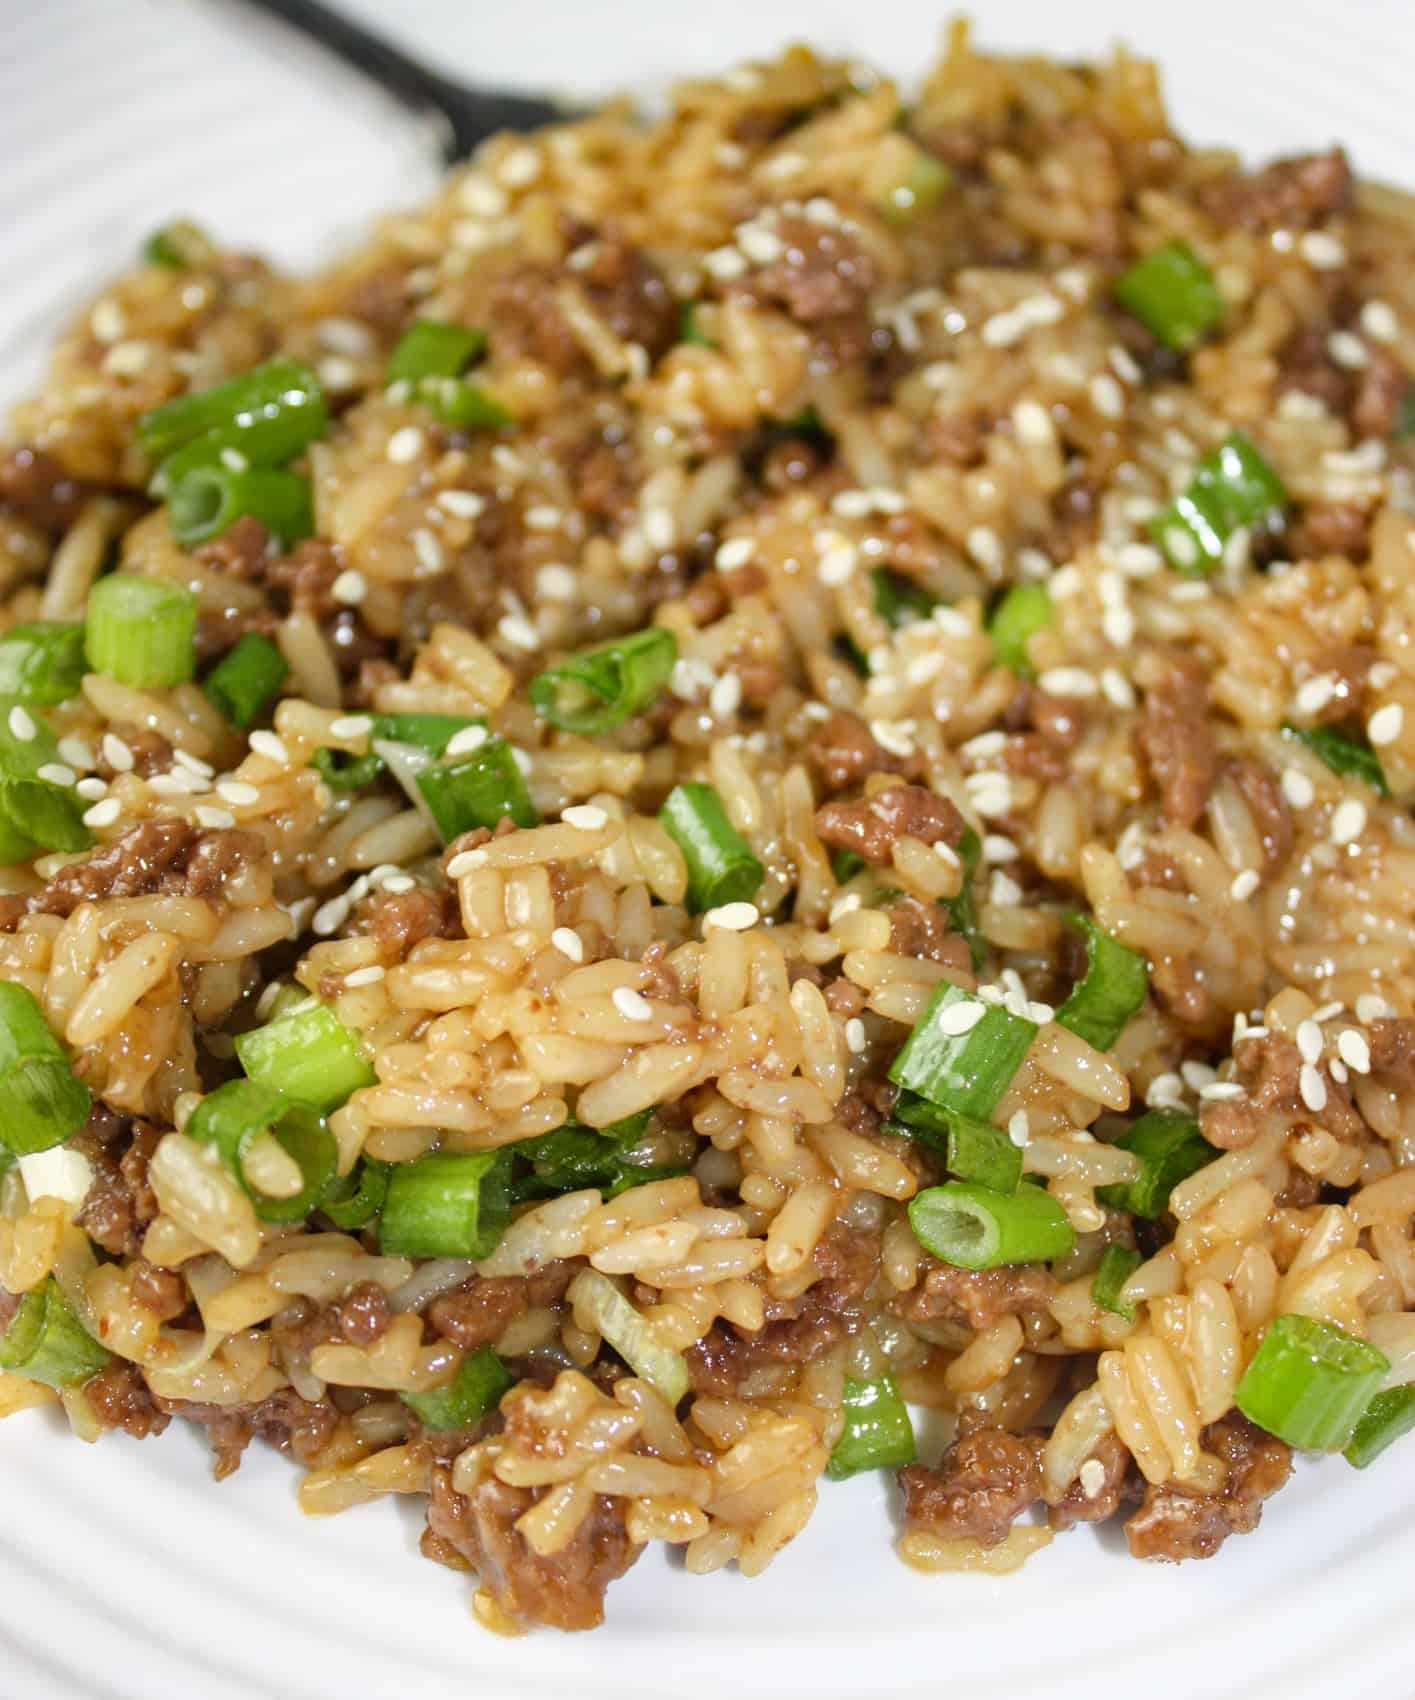
PRINTABLE VERSION OF THE RECIPE CAN BE FOUND AT THE BOTTOM OF THE PAGE
Ingredients You'll Need to Make this Crock Pot Beef Chili:
- 2 tablespoon olive oil
- 2 lbs lean ground beef
- 1 can bean medley (540ml or 18oz)
- 1 can black beans (540ml or 18oz)
- 2 jars mild salsa (650ml or 22 oz)
- 2 cans diced stew tomatoes with chili spices
- 950ml medium salsa
How to Make Crock Pot Beef Chili:
- Heat the olive oil in a large frying pan.
- Add the lean ground beef. Break the beef apart while it is cooking.
- Transfer the cooked beef to the Crock Pot.
- Drain and rinse both cans of beans. Add them to the pot.
- Dump all of the salsa and stewed tomatoes on top of the beef and beans.
- Stir all the contents together.
- Place the lid on the Crock Pot and set to cook on high heat for 4 hours or on low for 8 hours.
- After the required time remove lid and give contents a good stir.
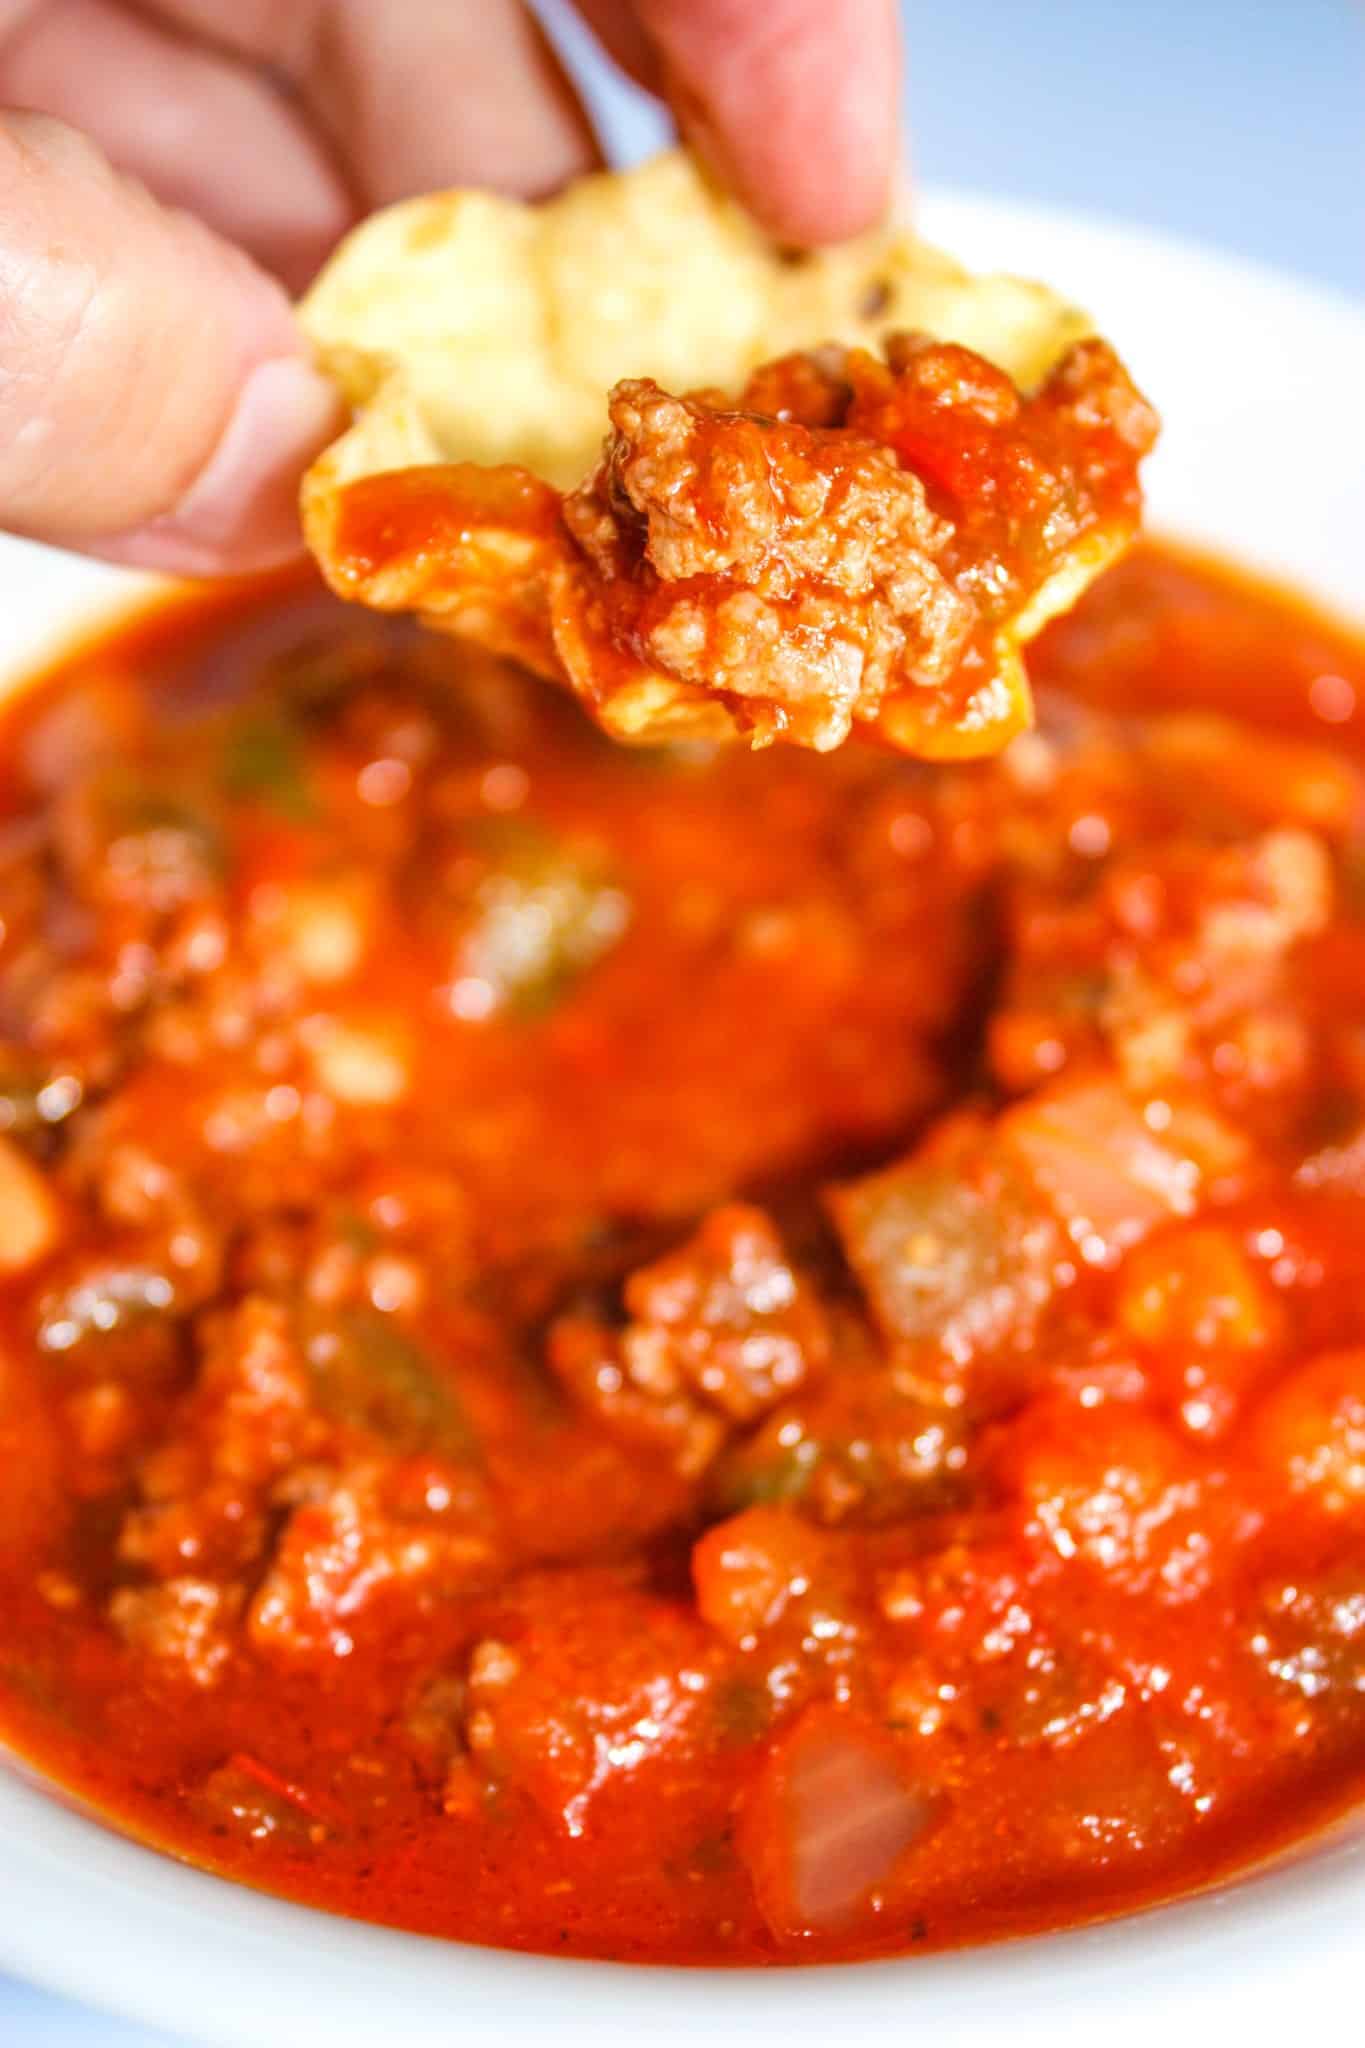
- Serve with fresh buns, toast or Tortilla Scoops!
- Optional: Sprinkle each serving with grated cheese.
FAQs:
What should I serve with Crock Pot beef chili?
Crock Pot Beef Chili is hearty and filling, so the best side dishes add texture, freshness, or something perfect for scooping up every last bite. Here are some delicious options:
Gluten Free Bread and Cornbread
- Warm cornbread is a classic pairing that complements the rich, savory flavors of chili.
- Corn muffins are perfect for serving alongside individual bowls.
- Crusty artisan bread is ideal for dipping into the thick chili broth.
- Garlic bread adds a buttery, savory touch to the meal.
- Biscuits provide a soft and fluffy contrast to the hearty chili.
Fresh and Light Sides
- A simple green salad with a tangy vinaigrette helps balance the richness of the chili.
- Coleslaw adds a cool, crunchy texture and a touch of sweetness.
- Cucumber and tomato salad offers a fresh, refreshing contrast.
- A mixed greens salad with avocado pairs beautifully with the bold flavors of chili.
Toppings Bar
Create a fun chili bar with toppings such as:
- Shredded cheddar cheese
- Sour cream
- Diced green onions
- Sliced jalapeños
- Crushed tortilla chips
- Diced avocado
- Fresh cilantro
Potato Favorites
- Baked potatoes topped with chili make a hearty and satisfying meal.
- Sweet potatoes add a slightly sweet contrast to the savory chili.
- Crispy potato wedges are perfect for dipping and scooping.
Gluten Free Tex-Mex Inspired Sides
- Tortilla chips and salsa make an easy appetizer or side.
- Mexican-style rice complements the chili's flavors.
- Quesadillas filled with cheese are a crowd-pleasing addition.
- Corn on the cob adds sweetness and texture.
Comfort Food Pairings
- Gluten Free macaroni and cheese creates a cozy and indulgent combination.
- Gluten Free grilled cheese sandwiches are perfect for dipping into chili.
- Gluten Free cheese biscuits add an extra layer of comfort and flavour.
For Dessert
After a hearty bowl of chili, keep the gluten free dessert simple:
- Brownies
- Apple crisp
- Oatmeal cookies
- Lemon bars
- Chocolate chip cookies
The most popular pairing is a bowl of Crock Pot Beef Chili served with warm gluten free cornbread, shredded cheese, and a crisp green salad for a complete and satisfying meal.
How do I store Crock Pot beef chili?
Refrigerator
Allow the chili to cool completely before transferring it to an airtight container. Store it in the refrigerator for up to 4 days. The flavors often become even richer and more delicious after a day or two.
Freezer
Crock Pot Beef Chili freezes beautifully. Place cooled chili in freezer-safe containers or freezer bags, leaving a little room for expansion. Freeze for up to 3 months.
Thawing
For best results, thaw frozen chili overnight in the refrigerator before reheating. If you're short on time, you can reheat it directly from frozen over low heat on the stovetop.
Reheating
- Stovetop: Warm over medium-low heat, stirring occasionally, until heated through.
- Microwave: Heat in microwave-safe bowls in 1-minute intervals, stirring between each interval.
- Crock Pot: Reheat larger batches on the low setting until hot.
Storage Tips
- Divide leftovers into individual portions for quick and easy lunches.
- Store toppings such as cheese, sour cream, green onions, and tortilla chips separately.
- Avoid leaving chili at room temperature for more than 2 hours.
A batch of Crock Pot Beef Chili is perfect for meal prep since it stores and reheats exceptionally well, making busy weeknight dinners quick and convenient.
Crock Pot Beef Chili
Crock Pot Beef Chili is the ultimate comfort food, packed with hearty ground beef, tender beans, and a rich tomato-based sauce.
Ingredients
- 2 tablespoon olive oil
- 2 lbs lean ground beef
- 1 can bean medley (540ml or 18oz)
- 1 can black beans (540ml or 18oz)
- 2 jars mild salsa (650ml or 22 oz)
- 2 cans diced stew tomatoes with chili spices
- 950ml medium salsa
Instructions
- Heat the olive oil in a large frying pan.
- Add the lean ground beef. Break the beef apart while it is cooking.
- Transfer the cooked beef to the Crock Pot.
- Drain and rinse both cans of beans. Add them to the pot.
- Dump all of the salsa and stewed tomatoes on top of the beef and beans.
- Stir all the contents together.
- Place the lid on the Crock Pot and set to cook on high heat for 4 hours or on low for 8 hours.
- After the required time remove lid and give contents a good stir.
- Serve with fresh buns, toast or Tortilla Scoops!
- Optional: Sprinkle each serving with grated cheese.
Nutrition Information:
Yield:
12Serving Size:
1Amount Per Serving: Calories: 238Total Fat: 12gSaturated Fat: 4gUnsaturated Fat: 8gCholesterol: 68mgSodium: 131mgCarbohydrates: 8gFiber: 2gSugar: 1gProtein: 24g