
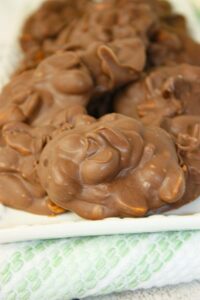
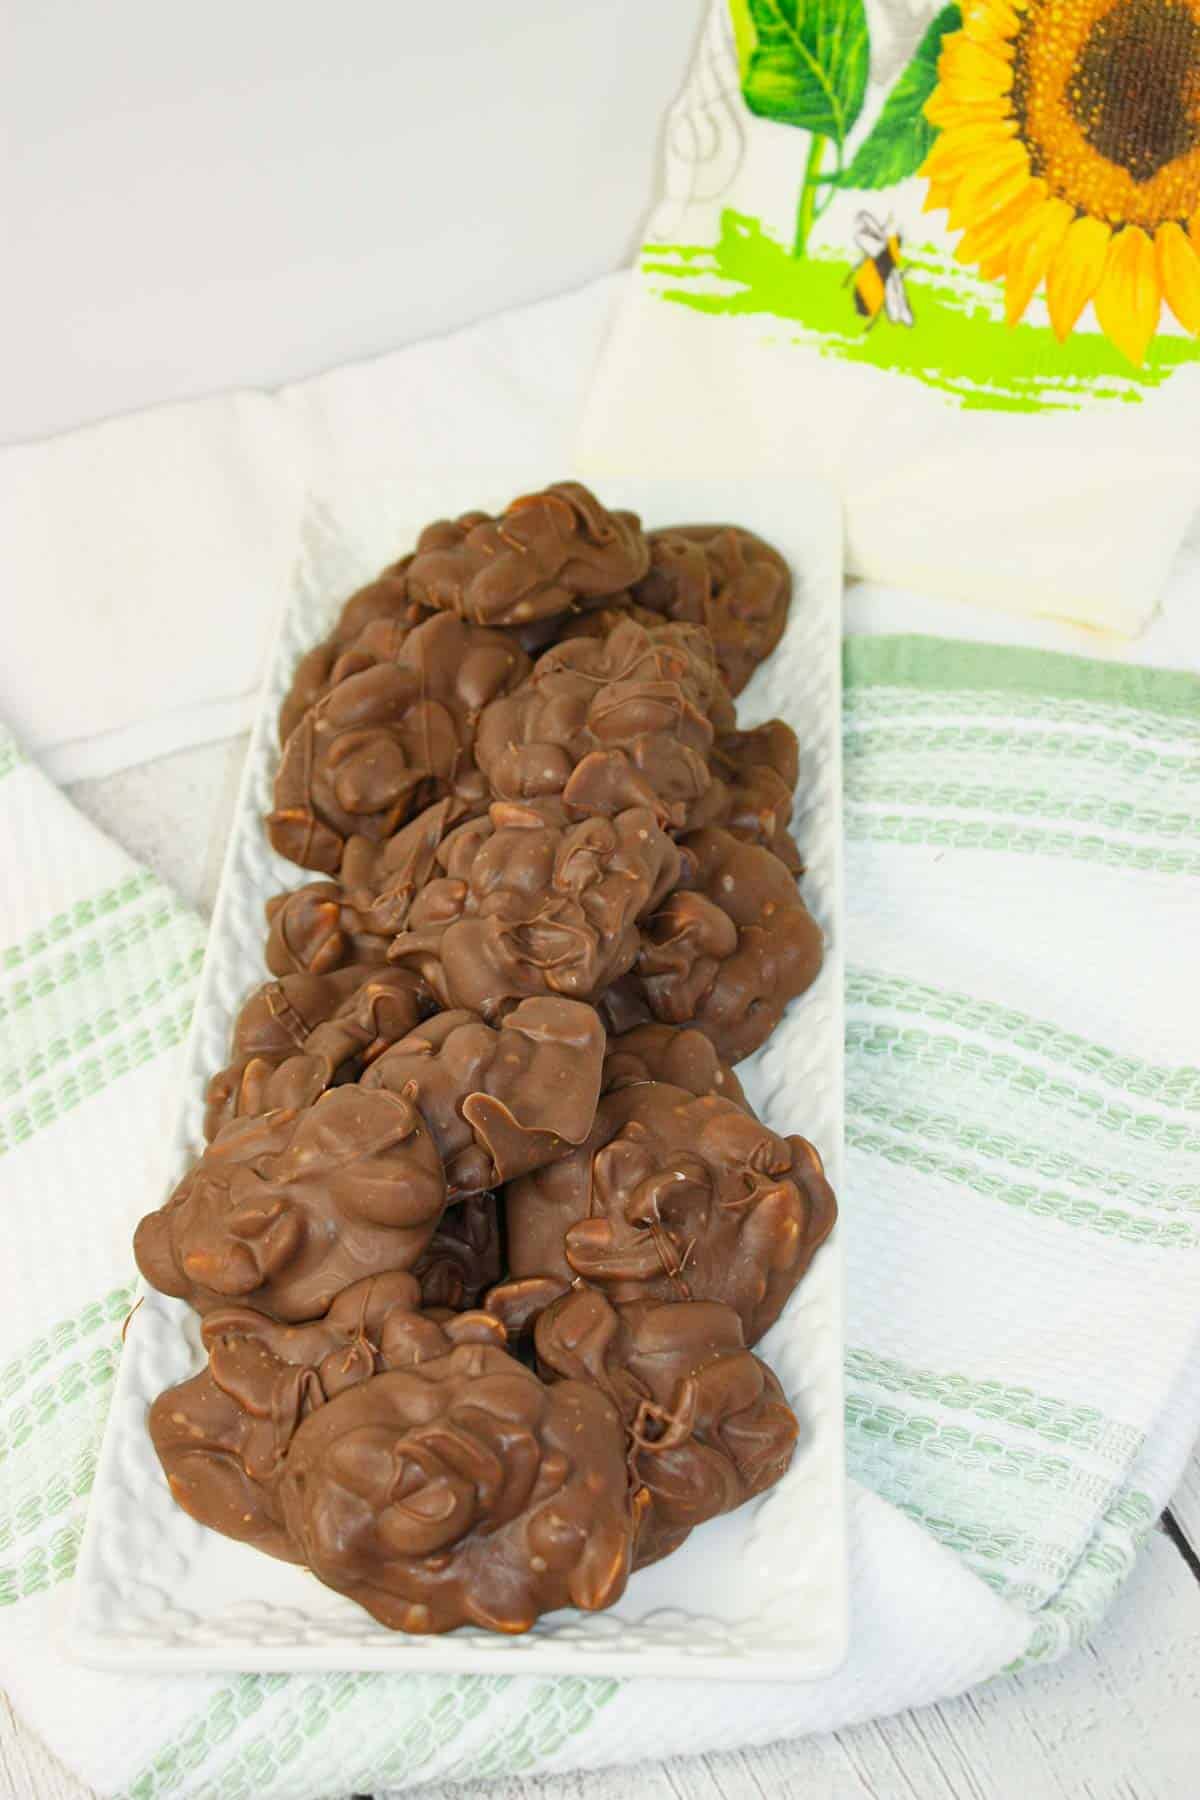
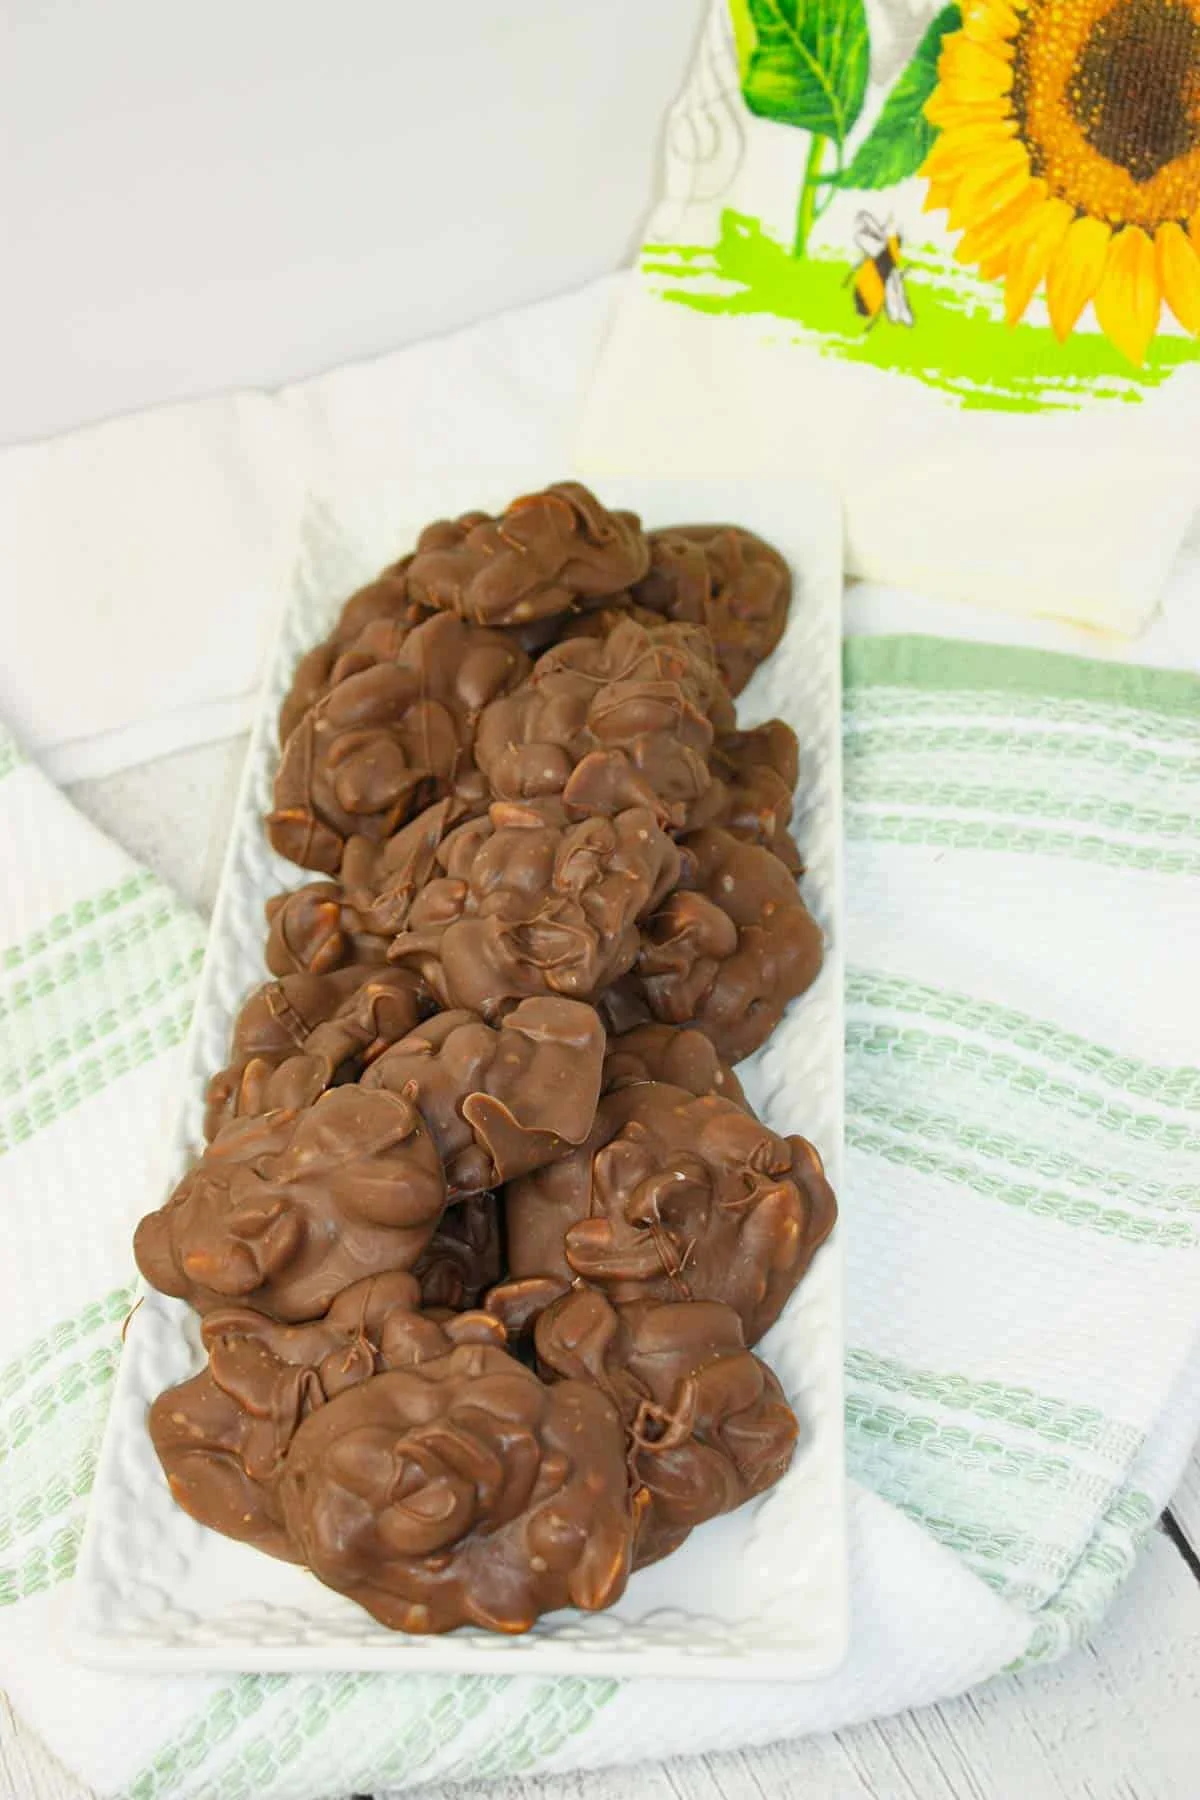
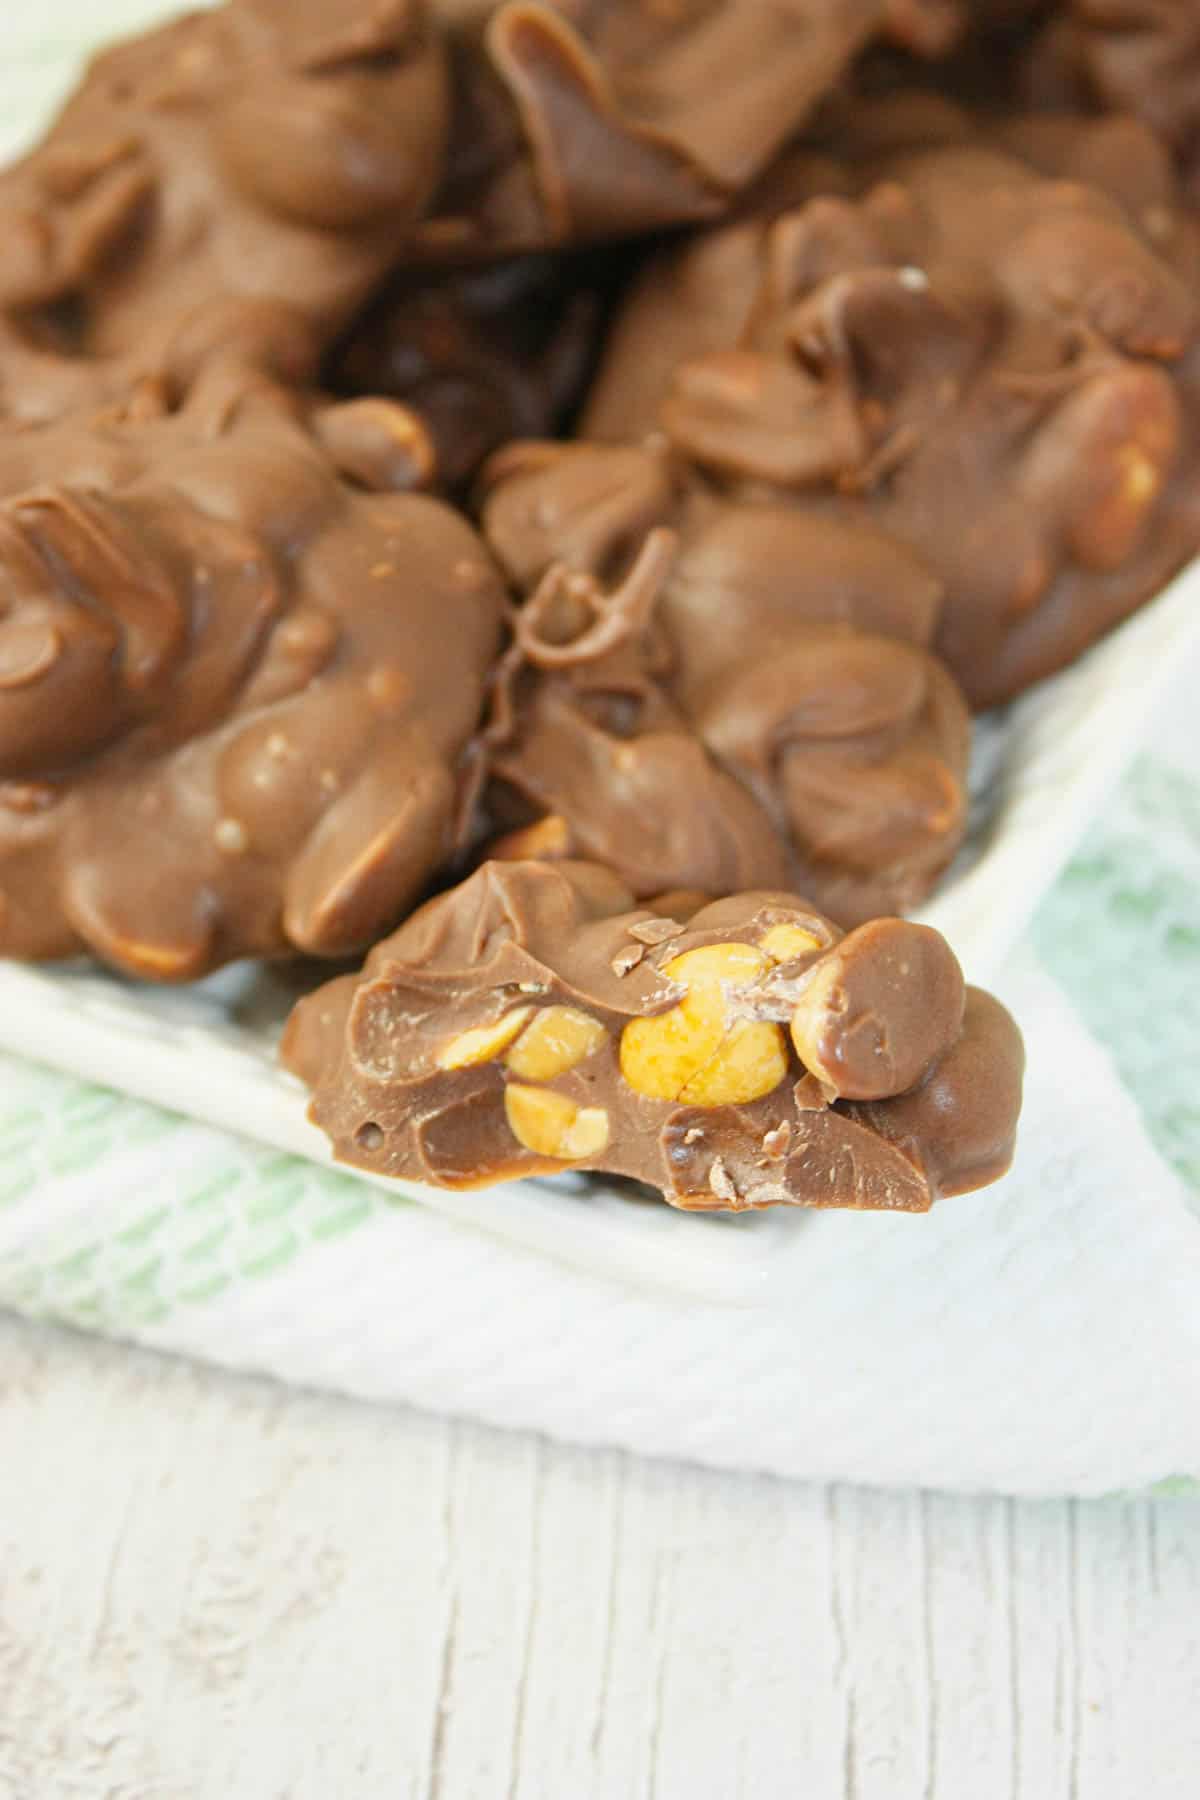
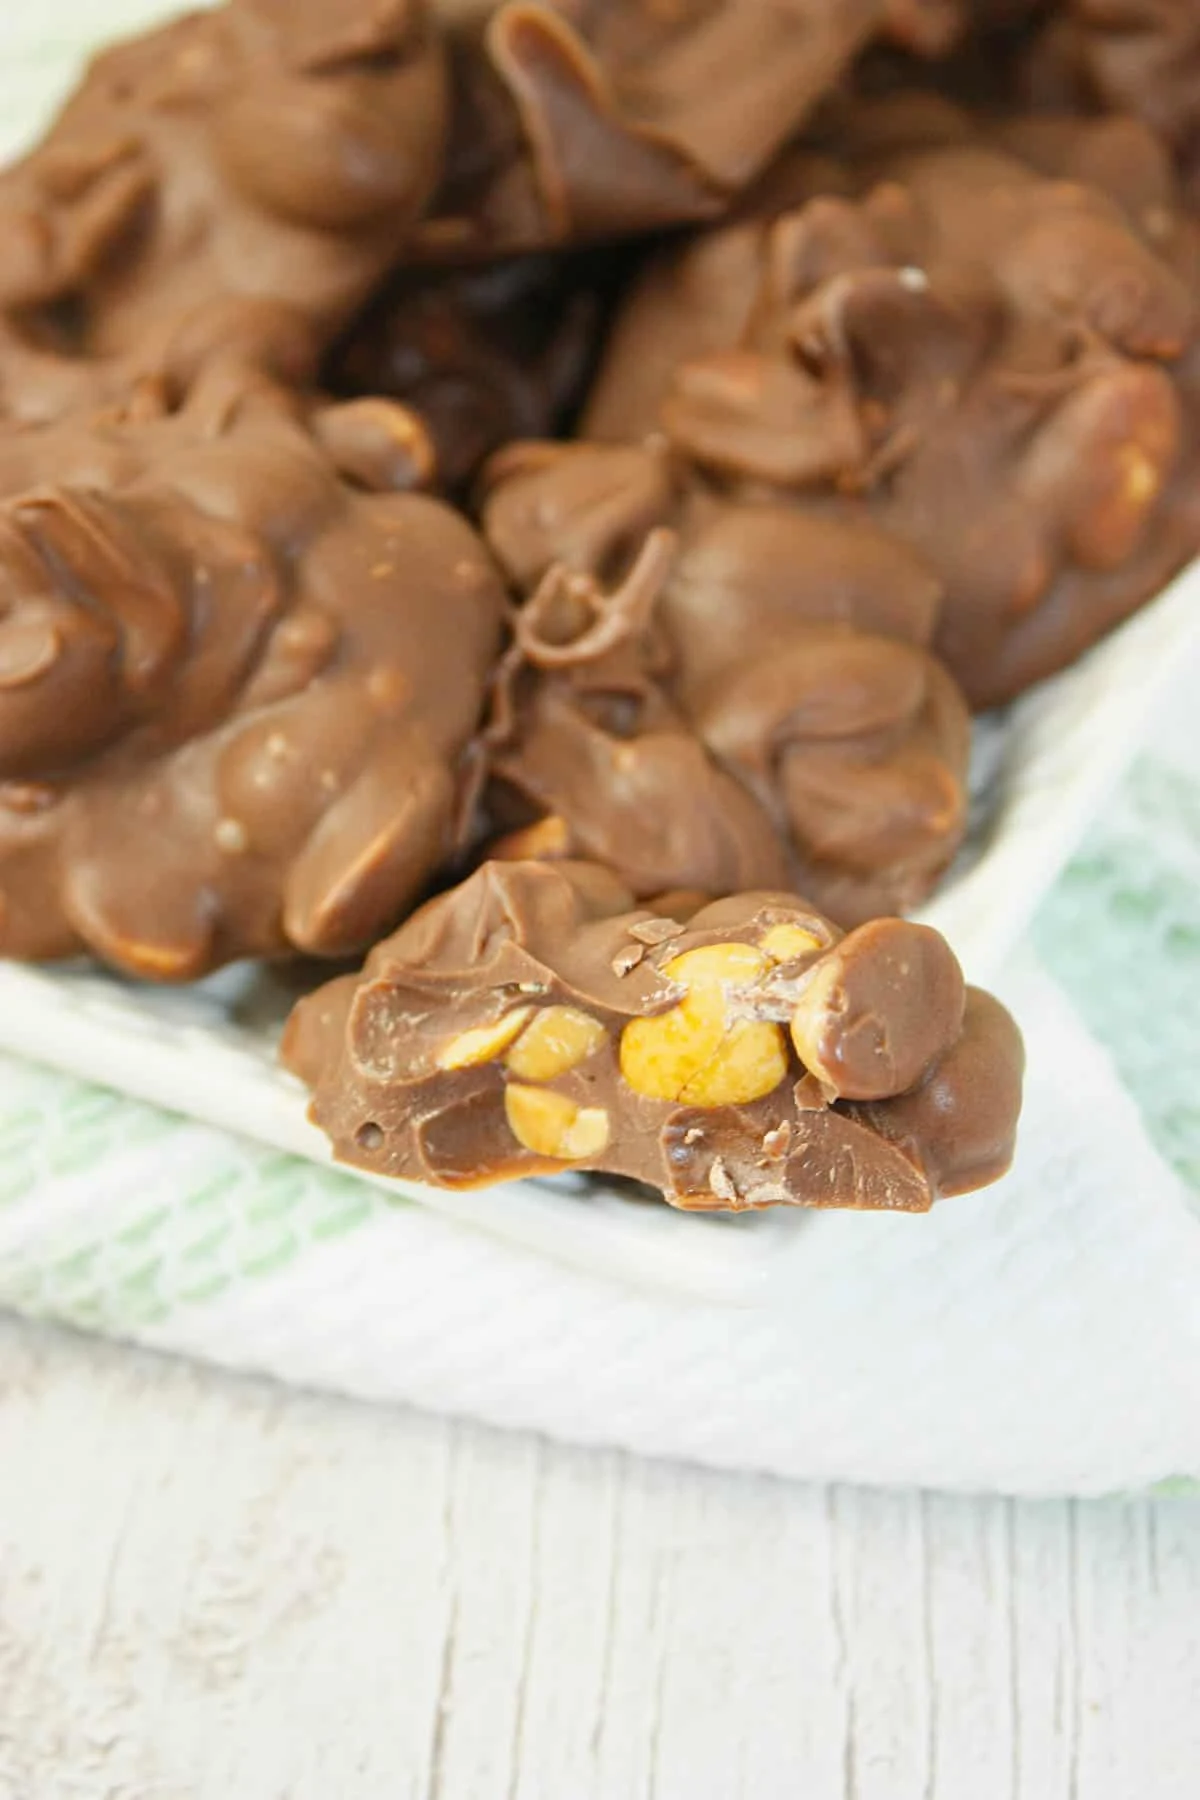
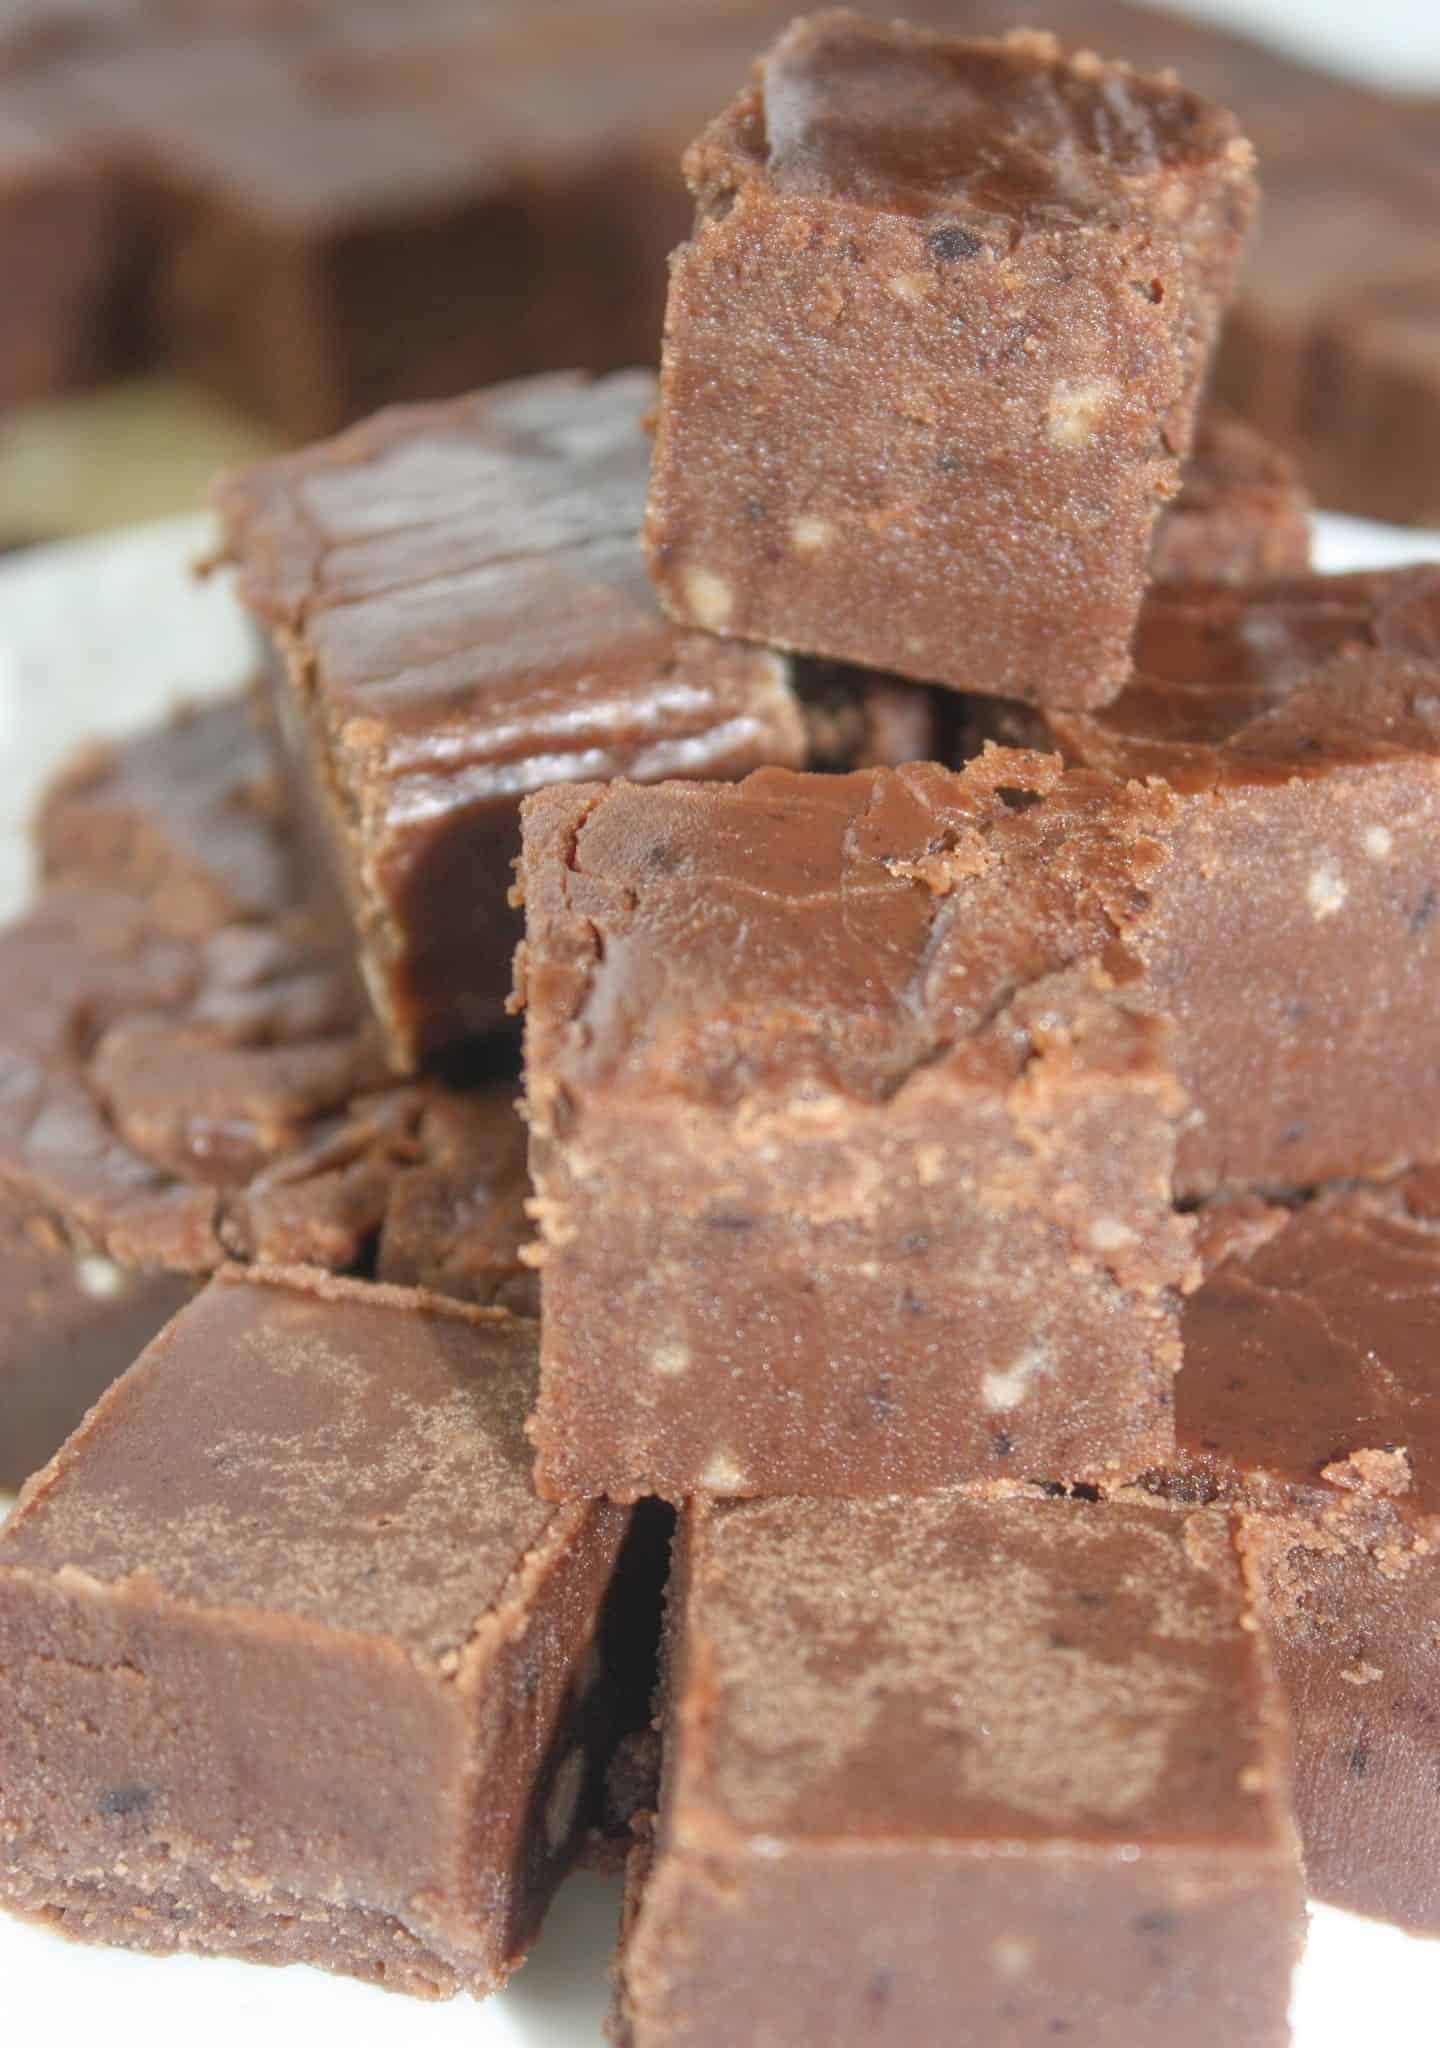
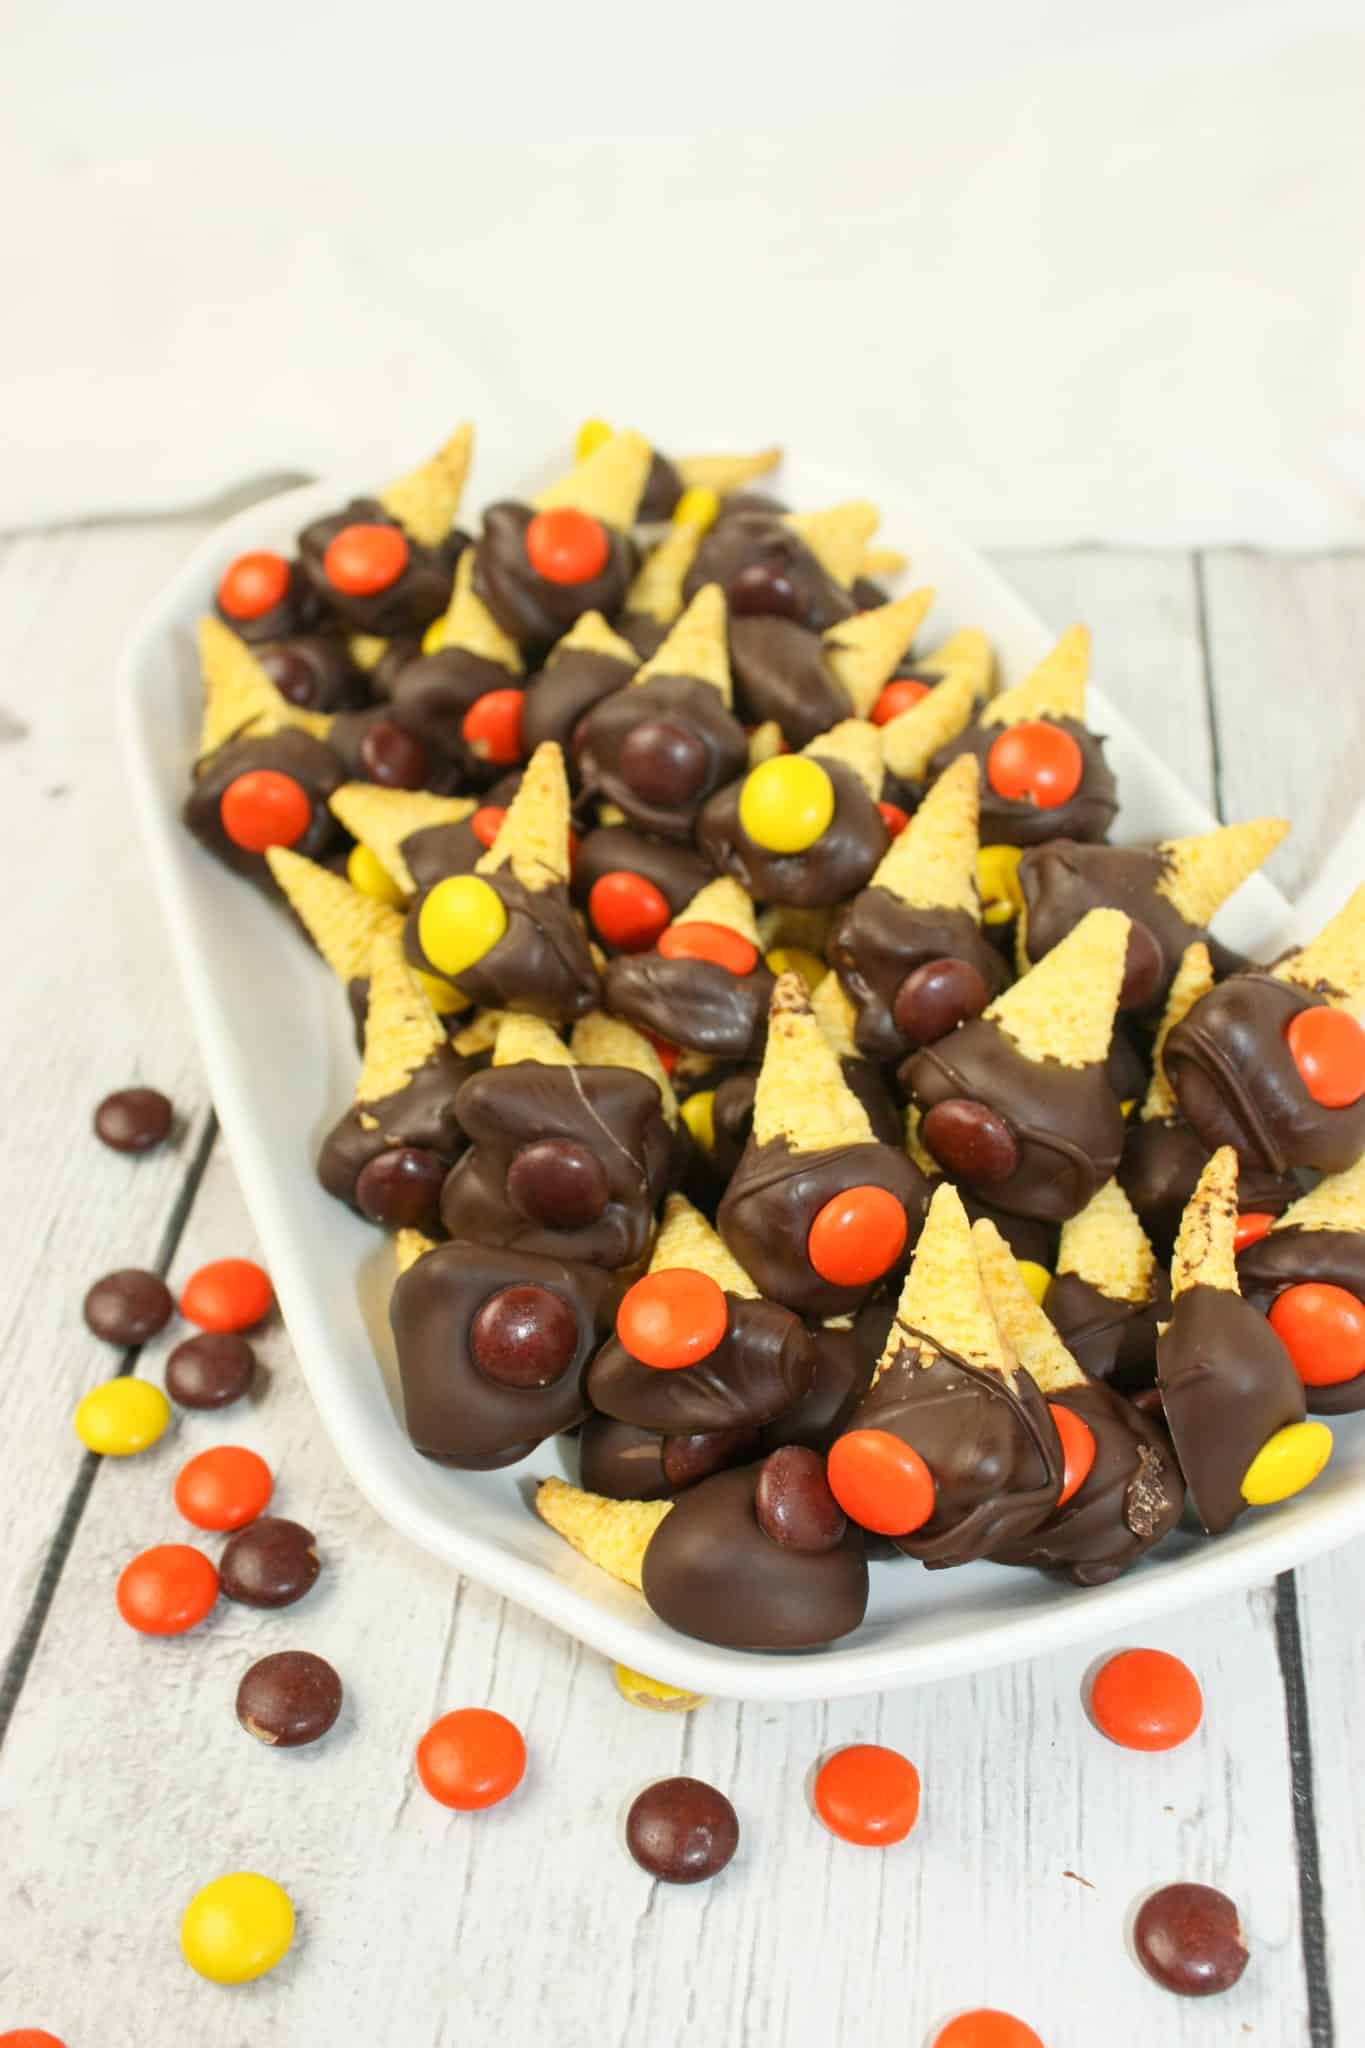
Peanut clusters are the ultimate sweet and salty treat, bringing together the irresistible crunch of roasted peanuts and the creamy smoothness of rich chocolate.

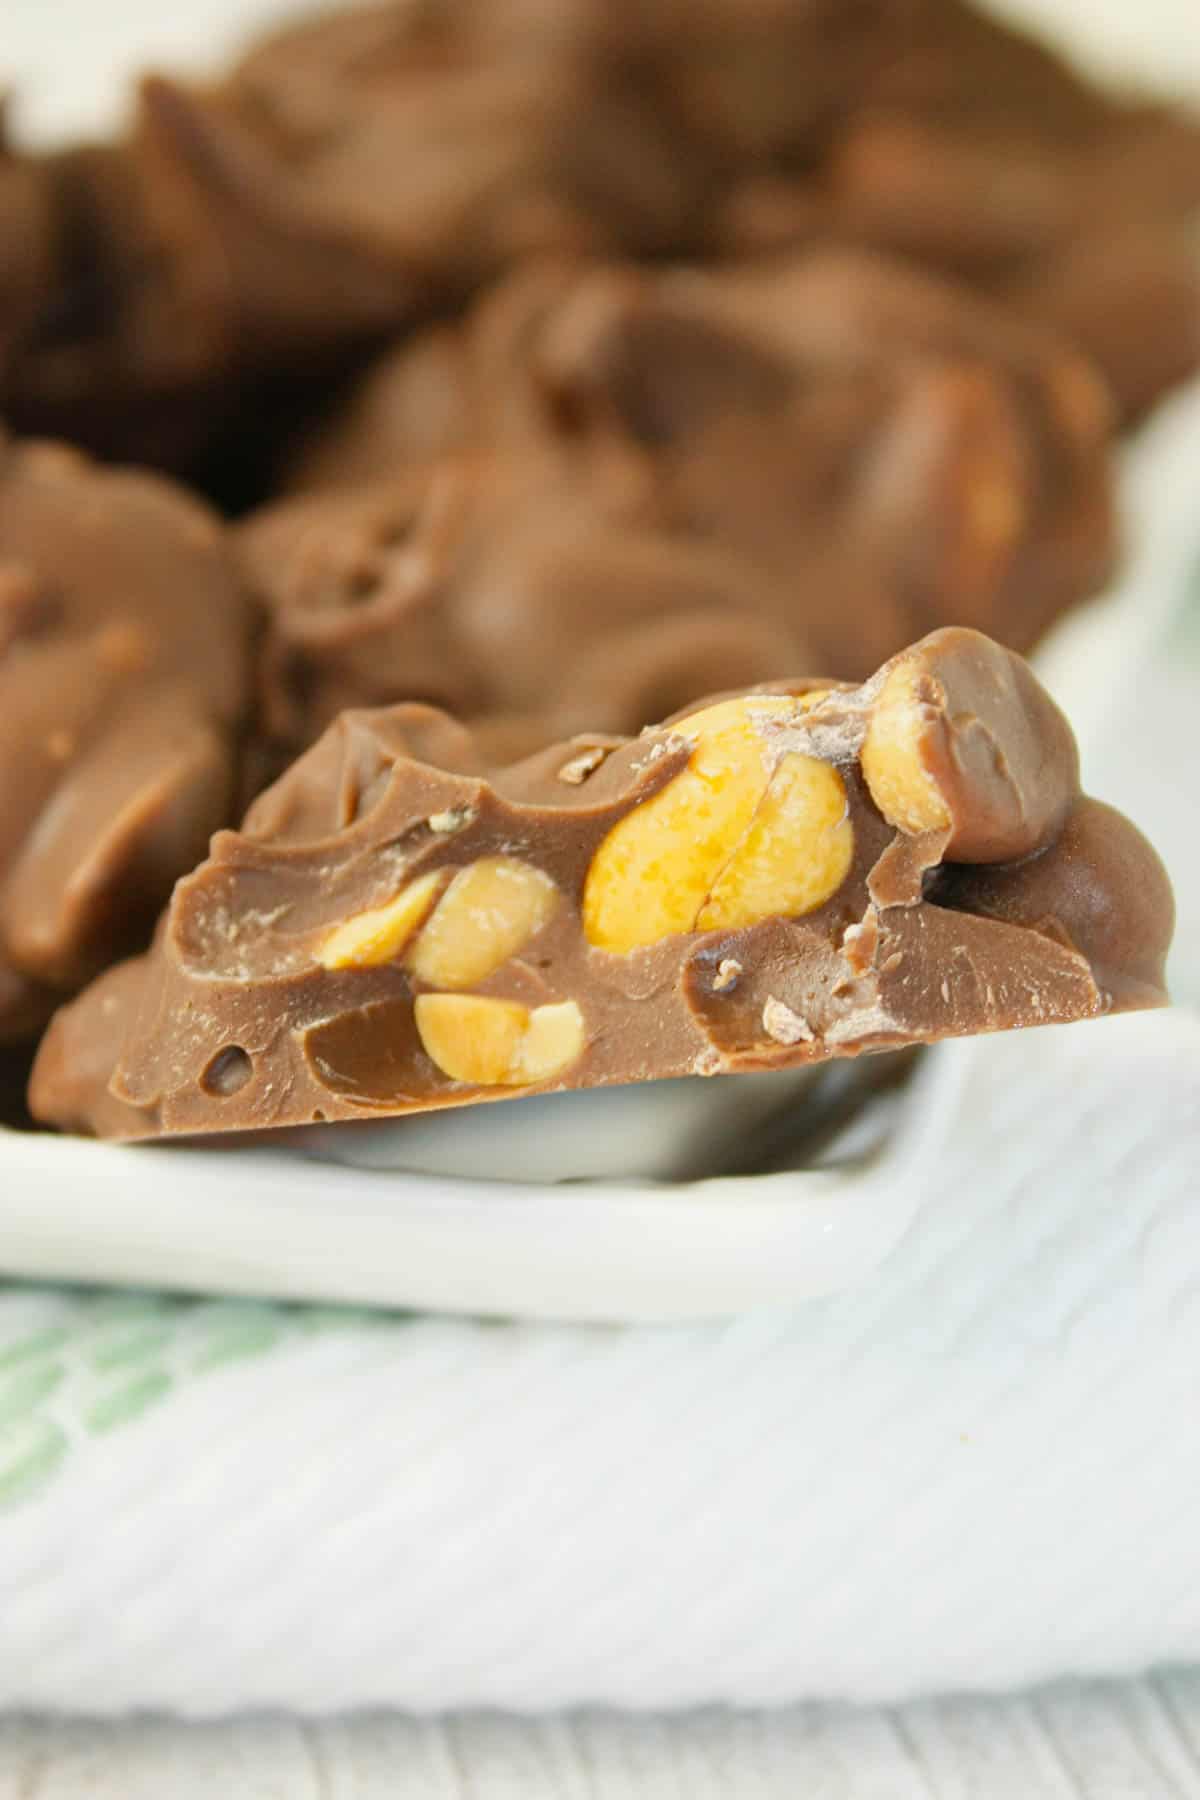
Each bite is a delightful contrast—nutty, crunchy, and just the right amount of sweet. This recipe yielded 26 clusters but yield will vary depending on the size you choose to make them.

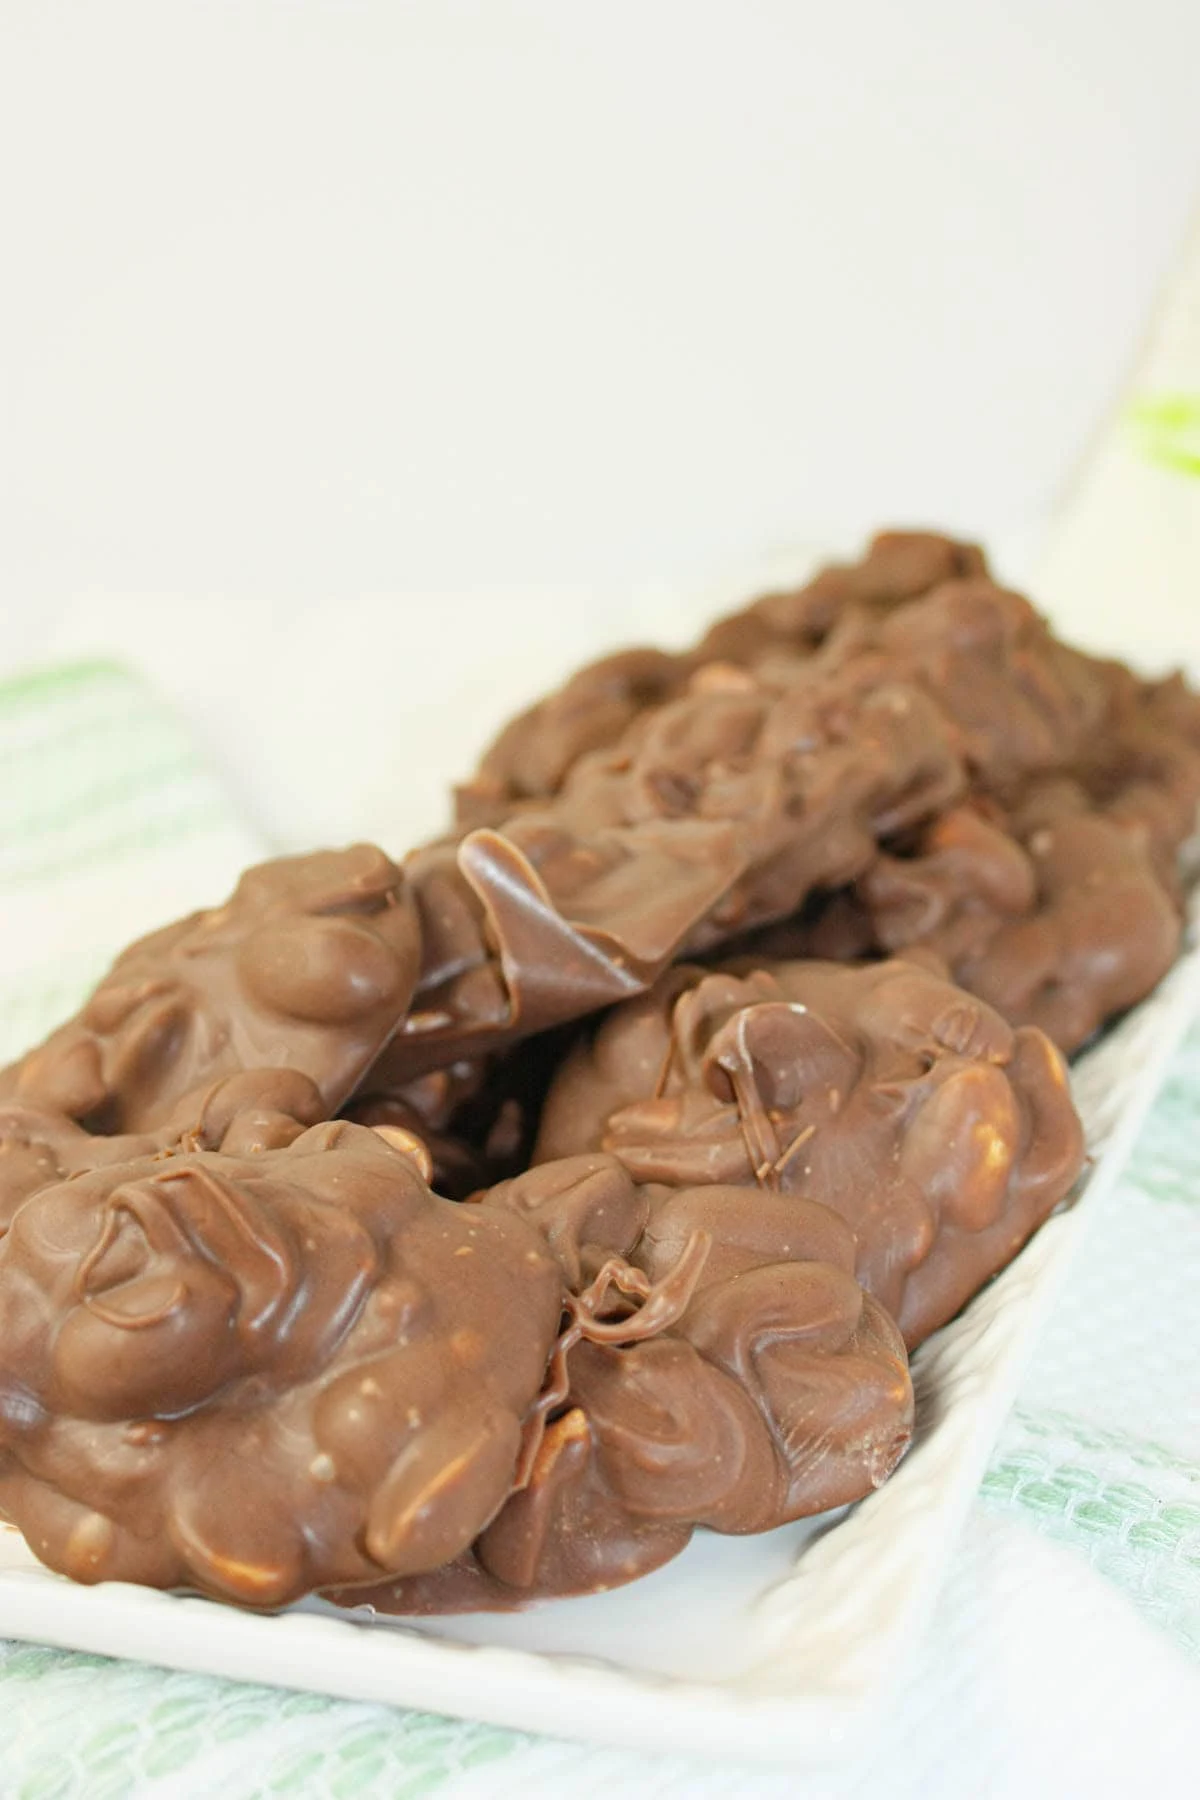
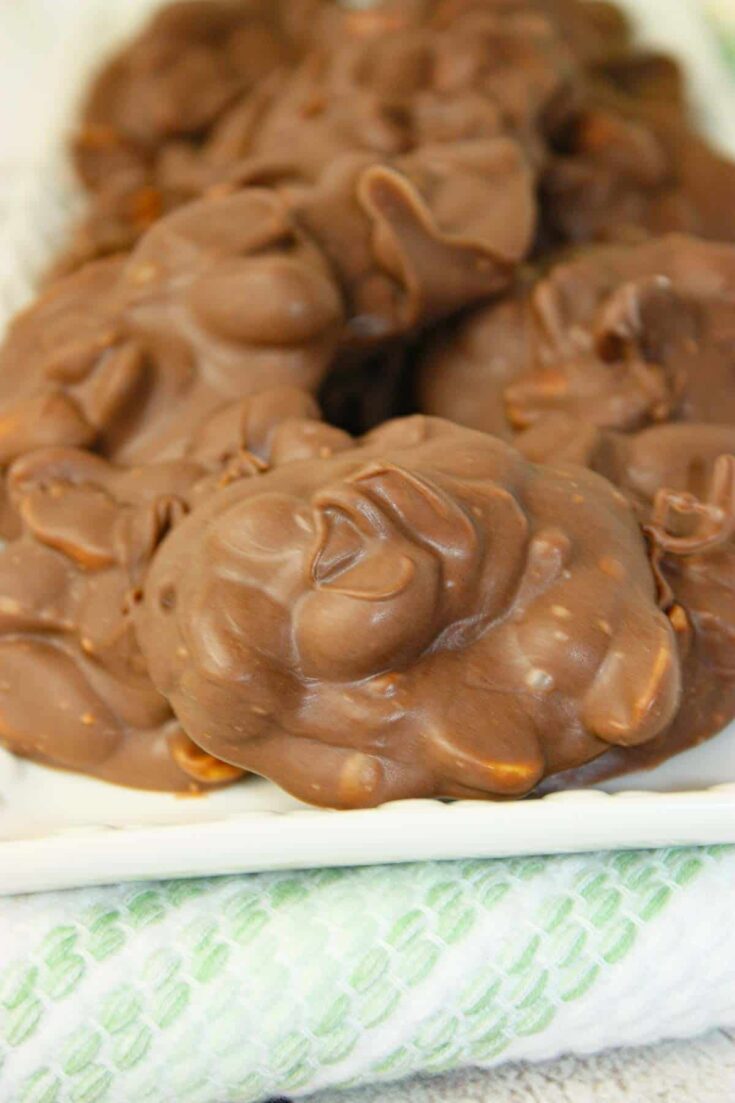
The peanuts are generously coated in melted chocolate, forming little mounds of bite-sized goodness.

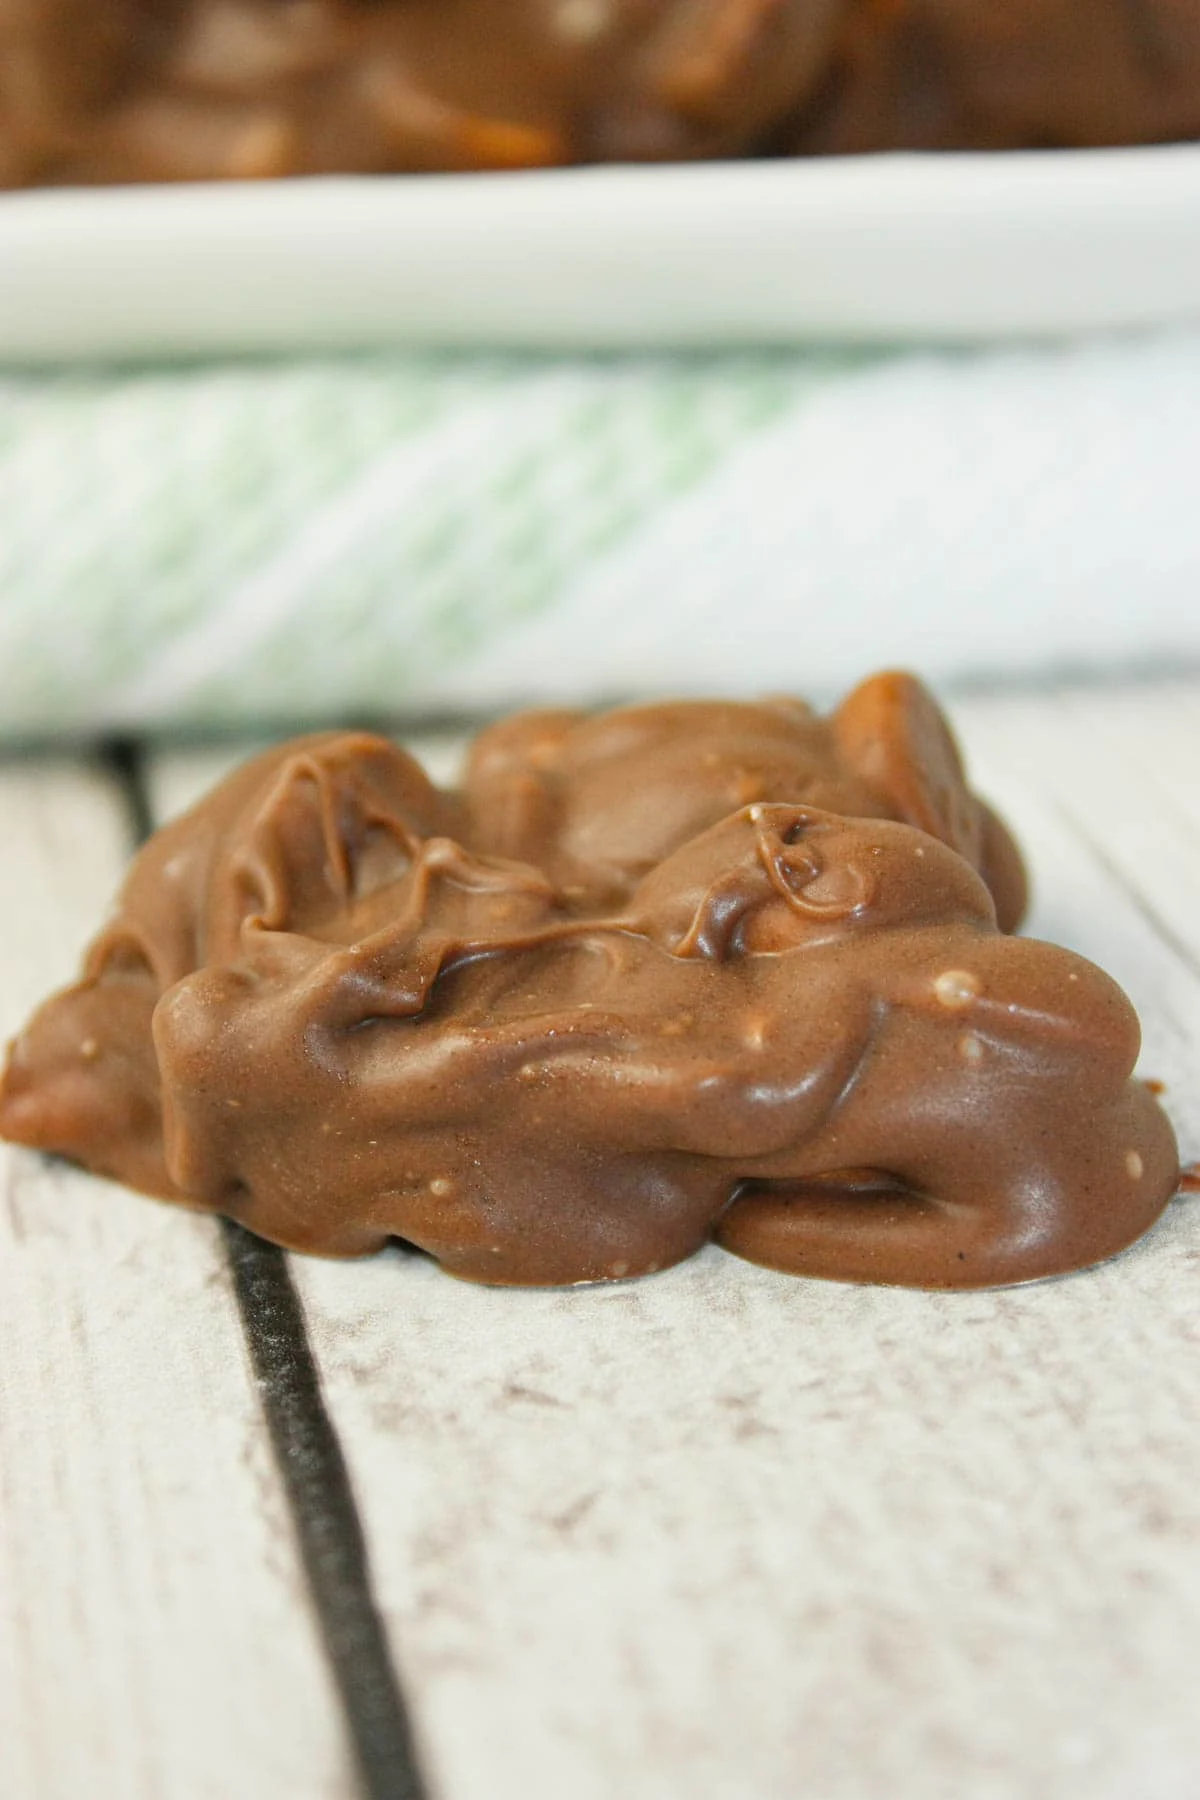
The clusters have a rustic, homemade look, with uneven edges that make them charmingly imperfect.
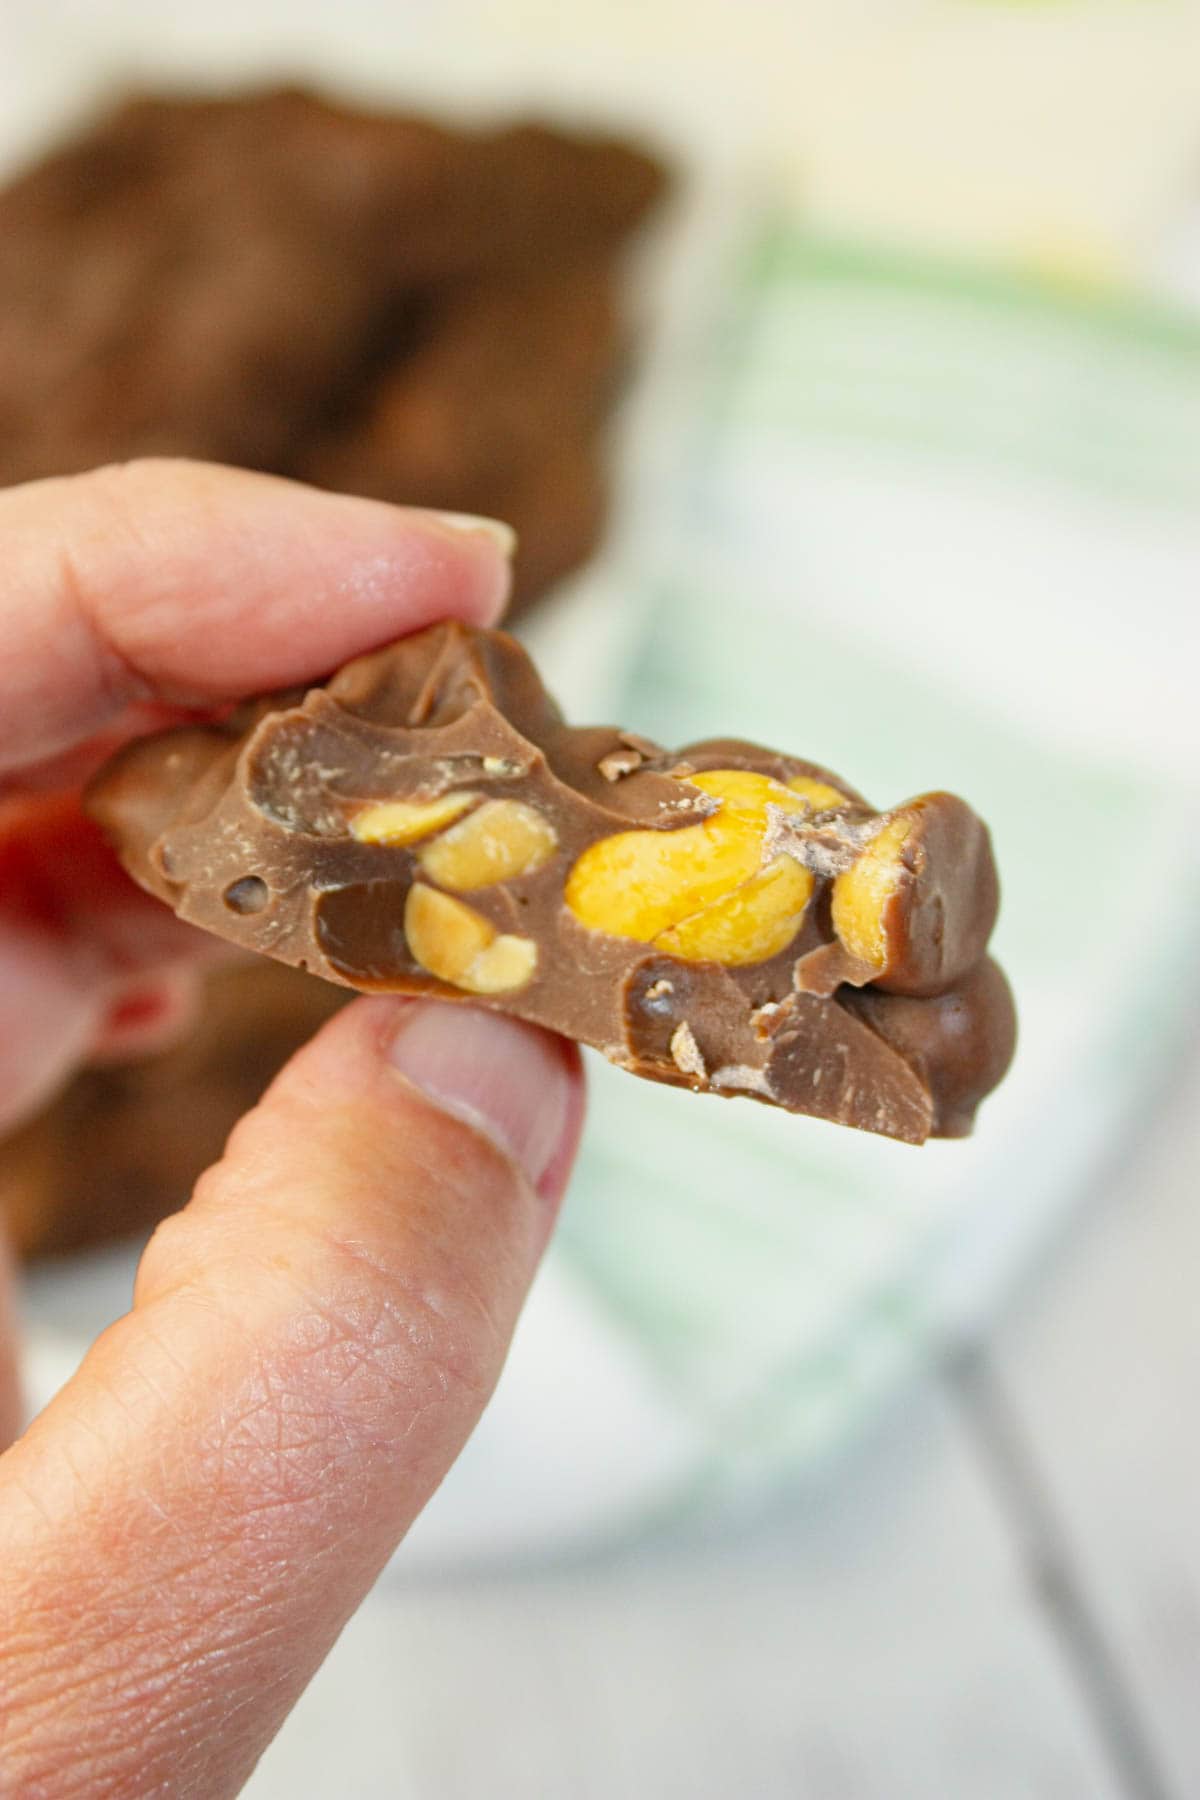
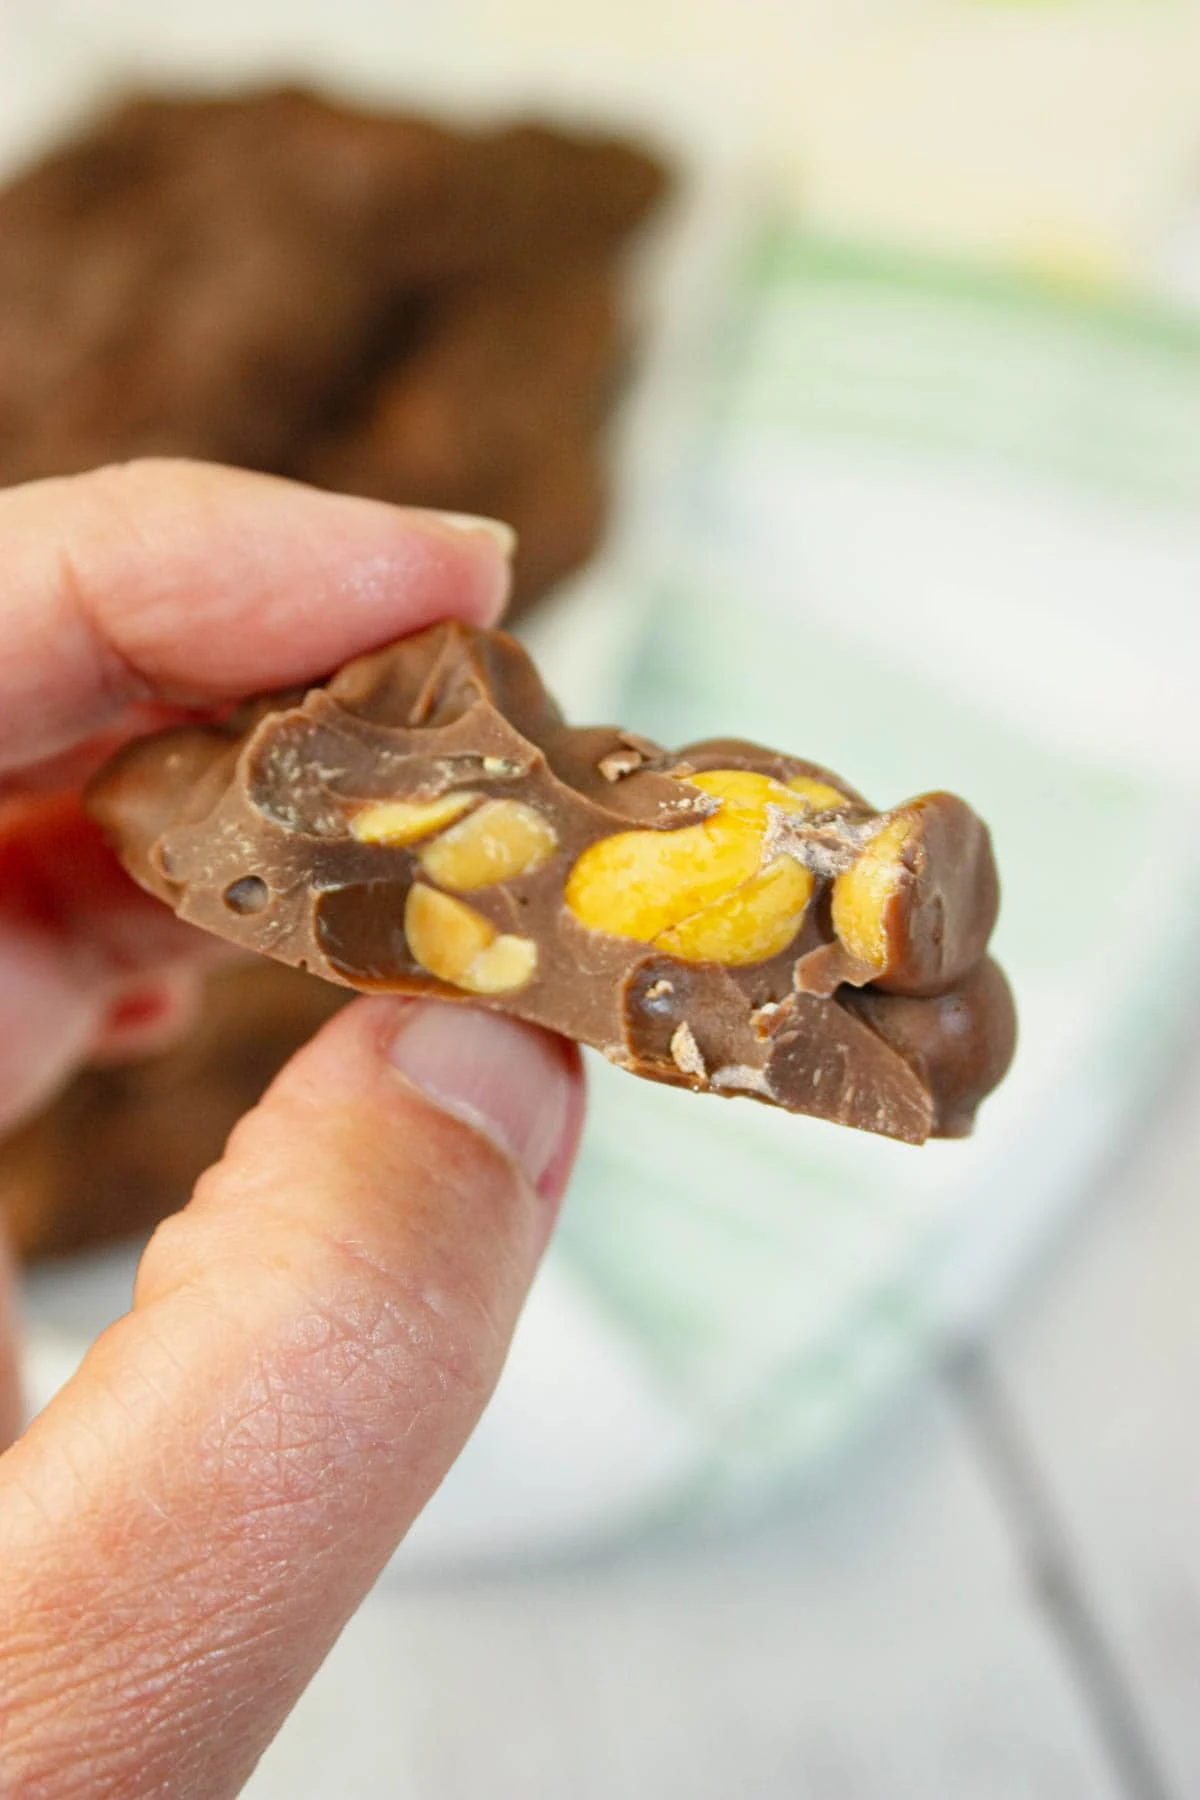
Every cluster feels like a little bite of joy, simple yet incredibly satisfying. he peanuts inside add a hearty texture and toasty flavor that balances out the sweetness.

Printable Recipe Card with a Full List of Ingredients and Instructions is Located at the Bottom of the Post.
Be sure to read through the entire post so that you don’t miss out on any important tips and tricks!
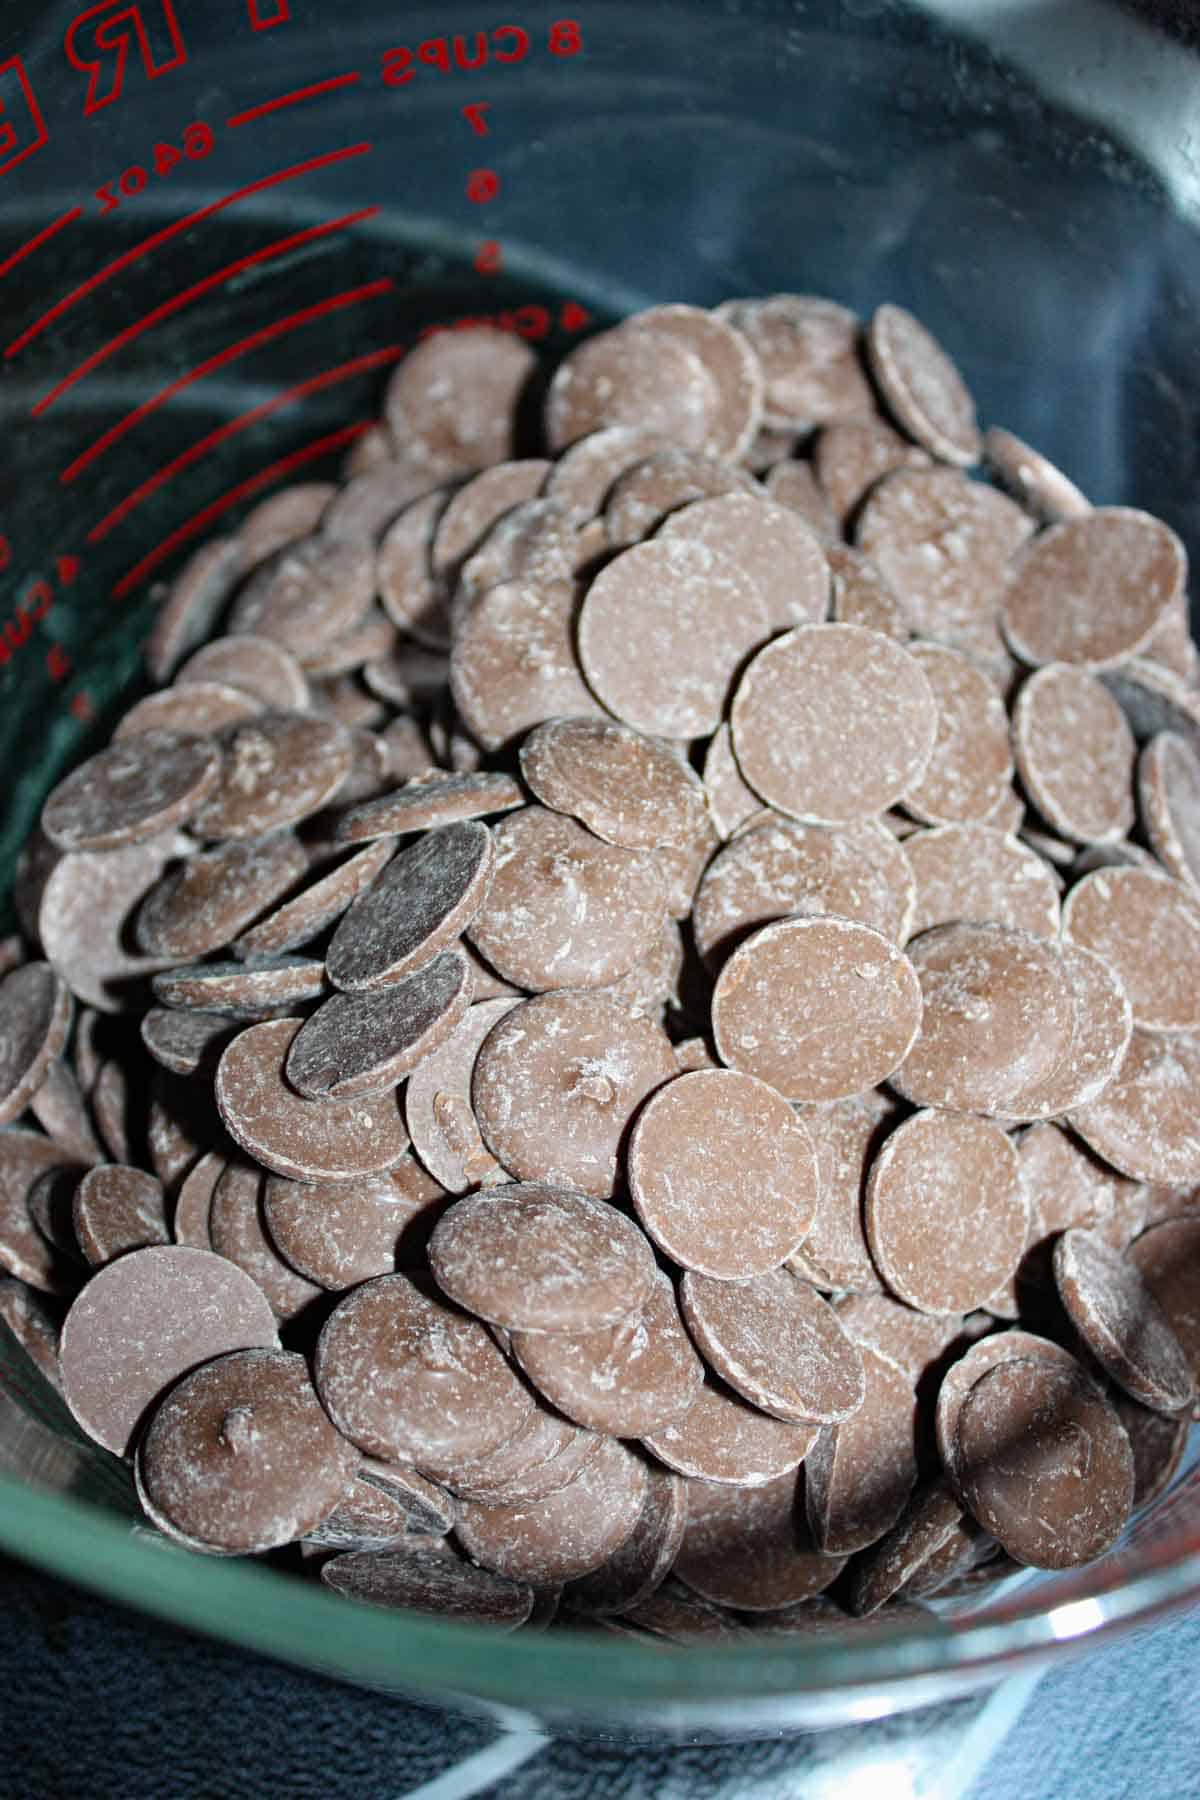
To begin making Peanut Clusters I placed chocolate in a large microwaveable measuring cup. This time I used milk chocolate wafers.

Then I placed the chocolate wafers in the microwave. I melted them on high for 1 minute.


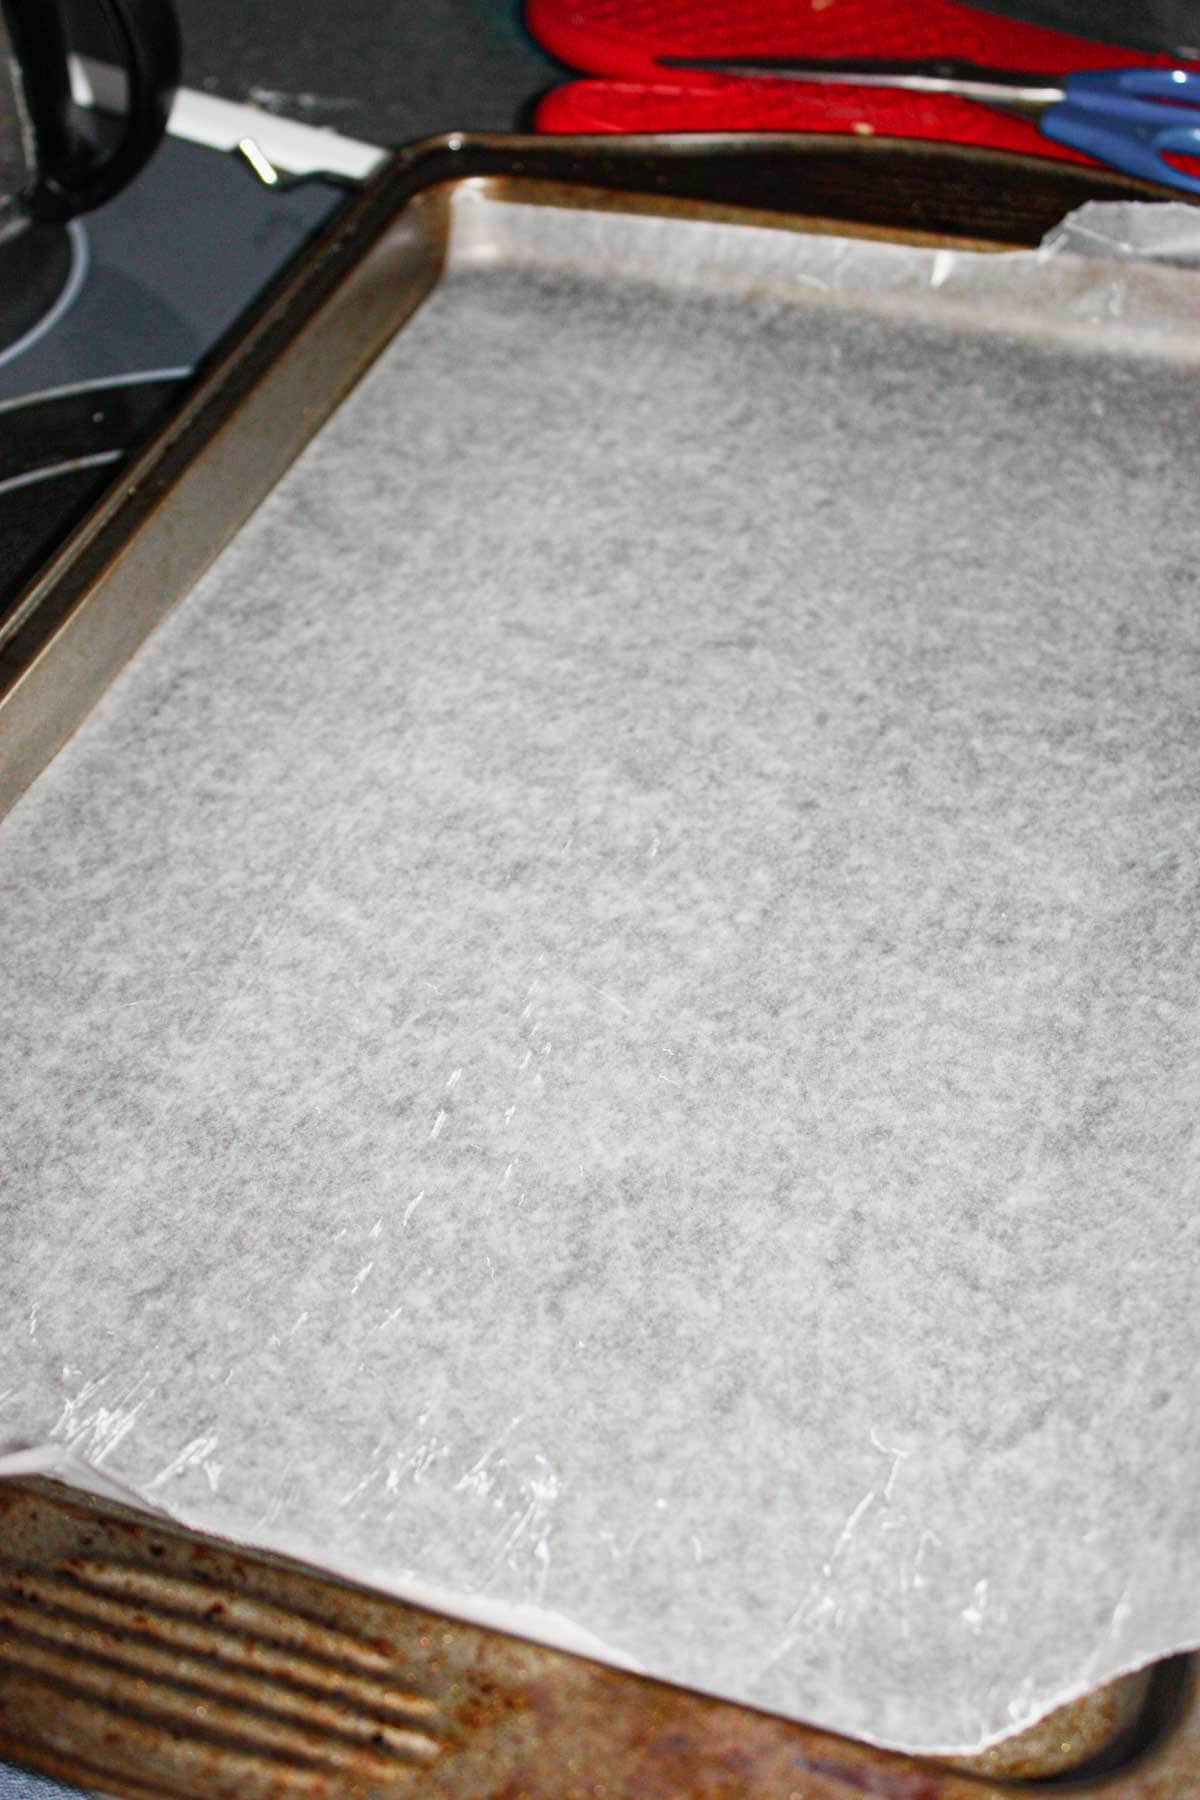
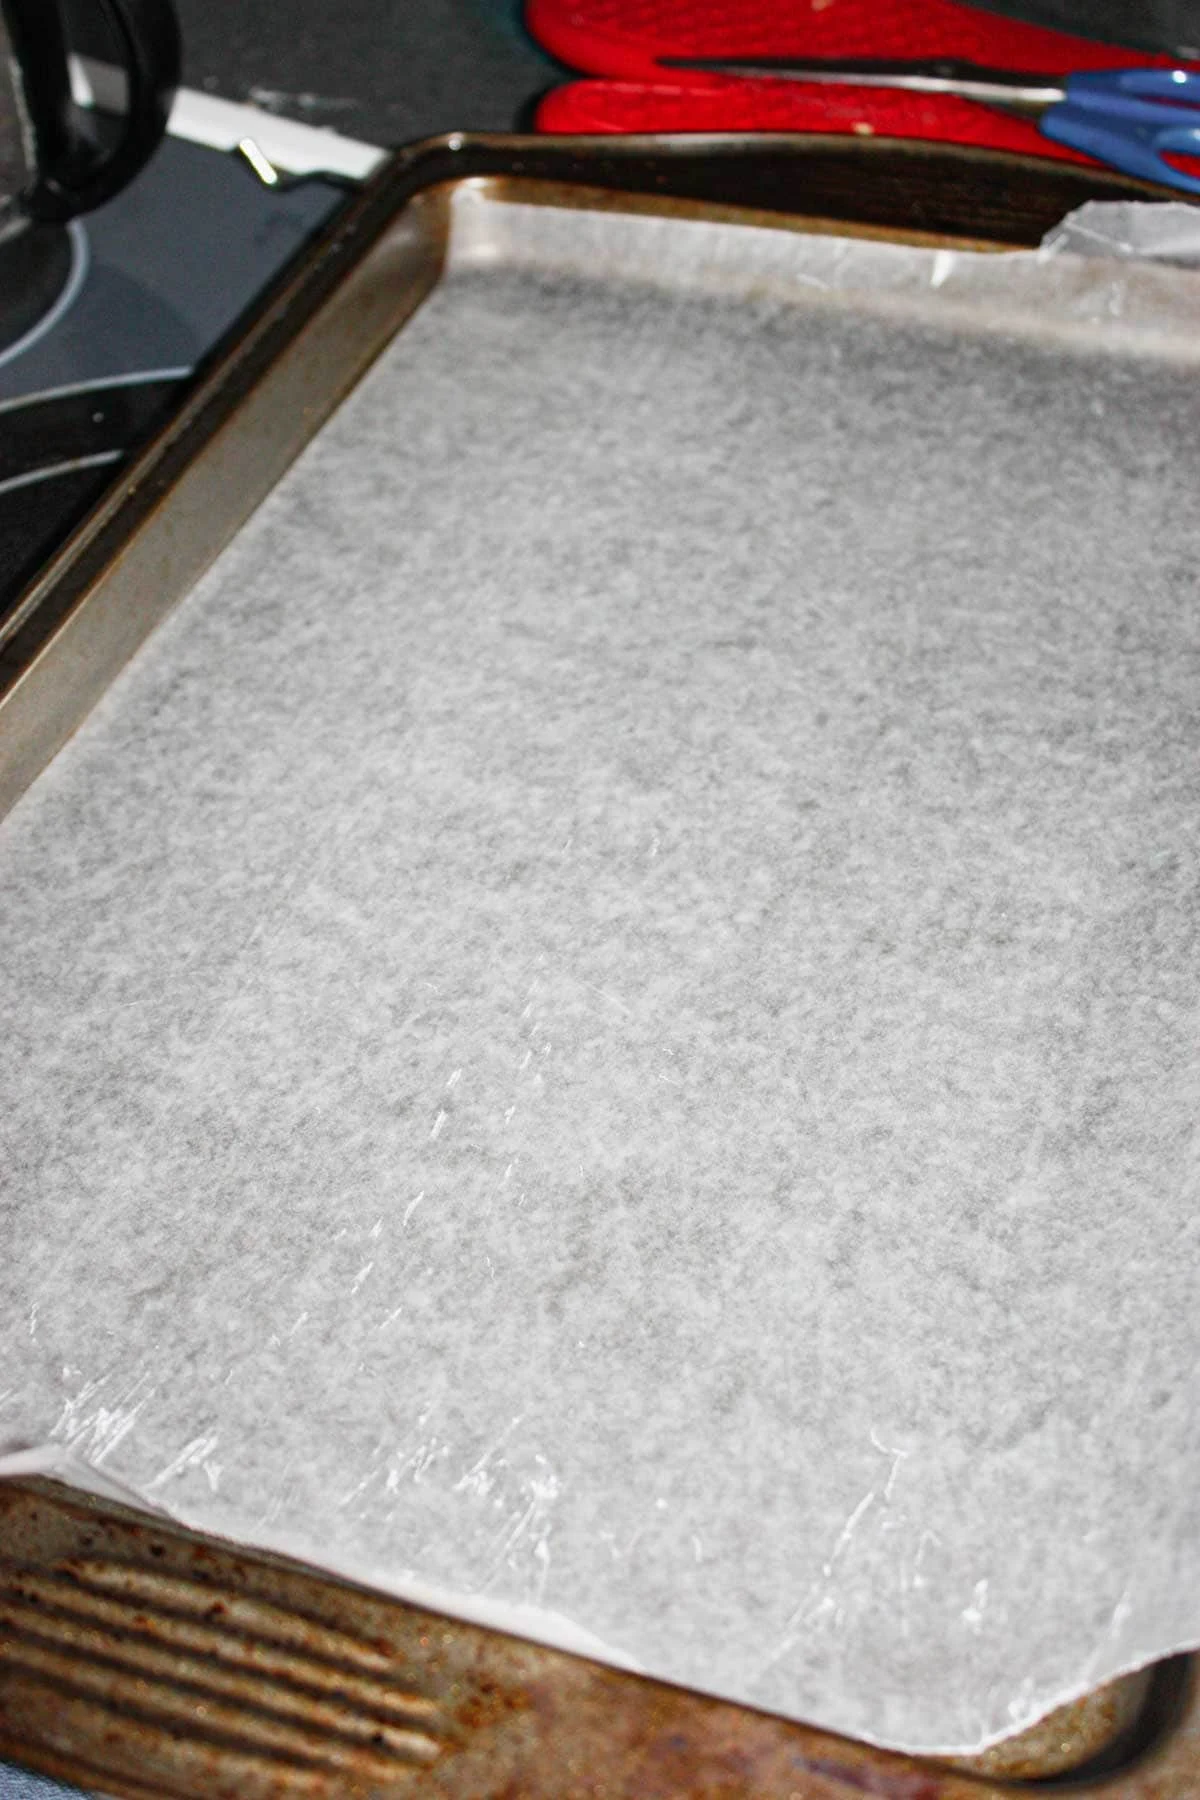
While the chocolate was melting I lined a cookie sheet with wax paper.
After a minute I removed the chocolate from the microwave and gave it a stir. I then returned it to the microwave for 20 second intervals, stirring after each.

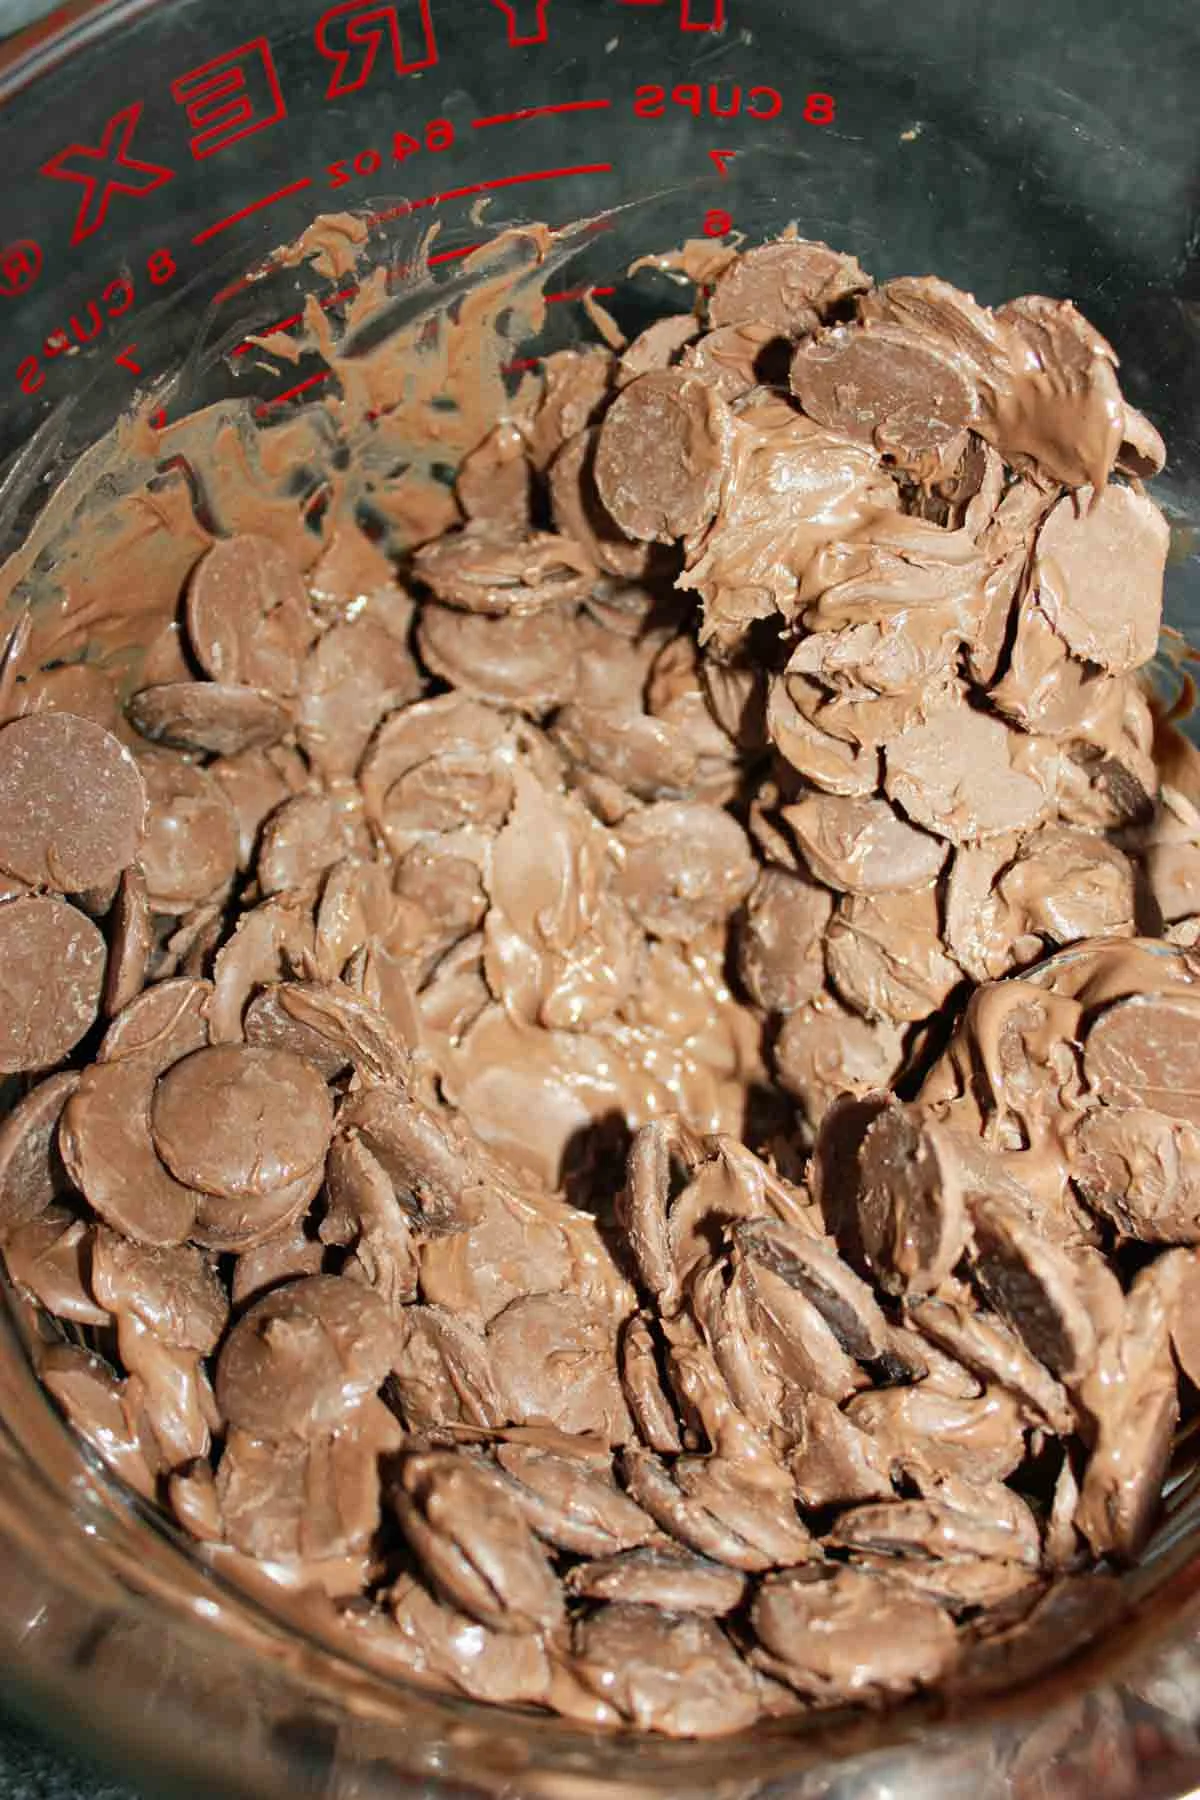
I continued with the intervals until the chocolate was smooth.


Then I dumped in some roasted unsalted peanuts.

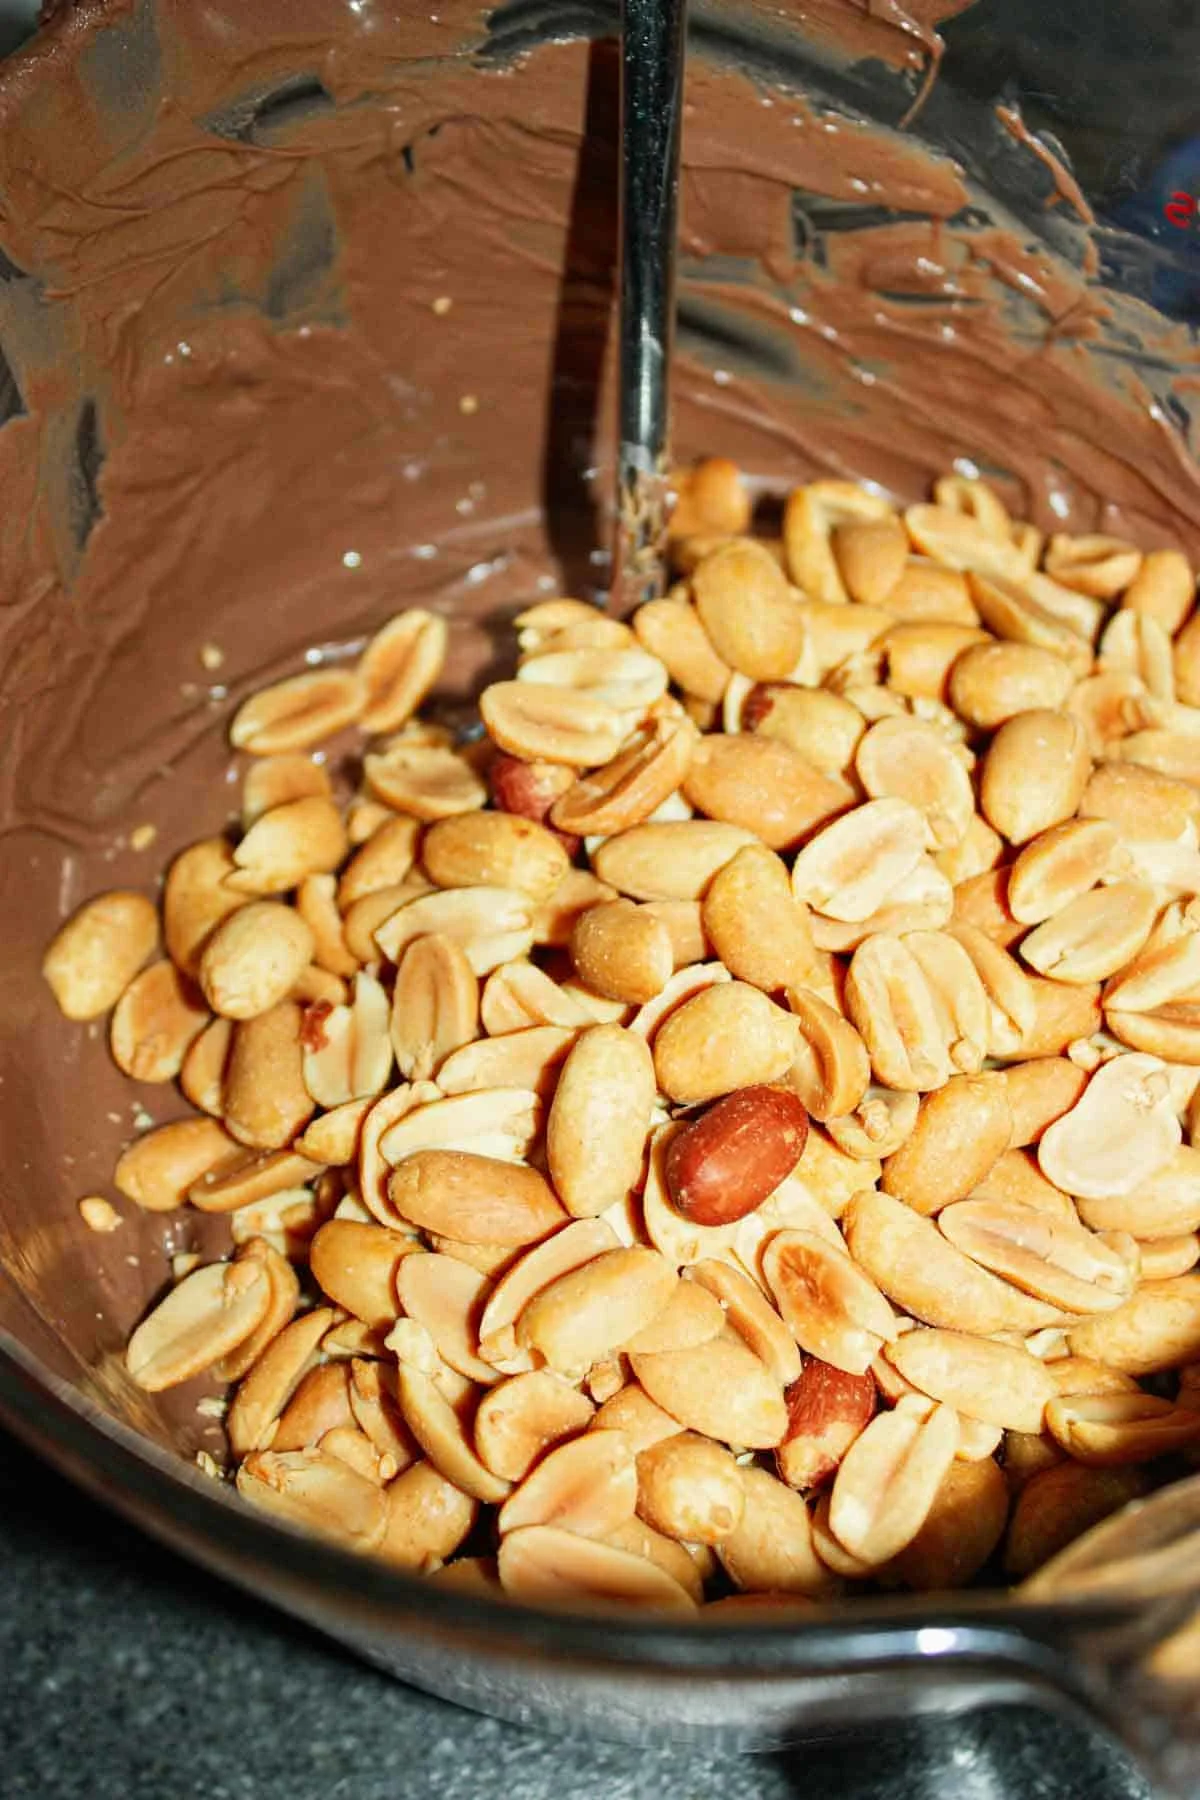
I stirred until the peanuts were all coated in the melted chocolate.


Next I used a tablespoon to drop the chocolate mixture onto the prepared cookie sheet.
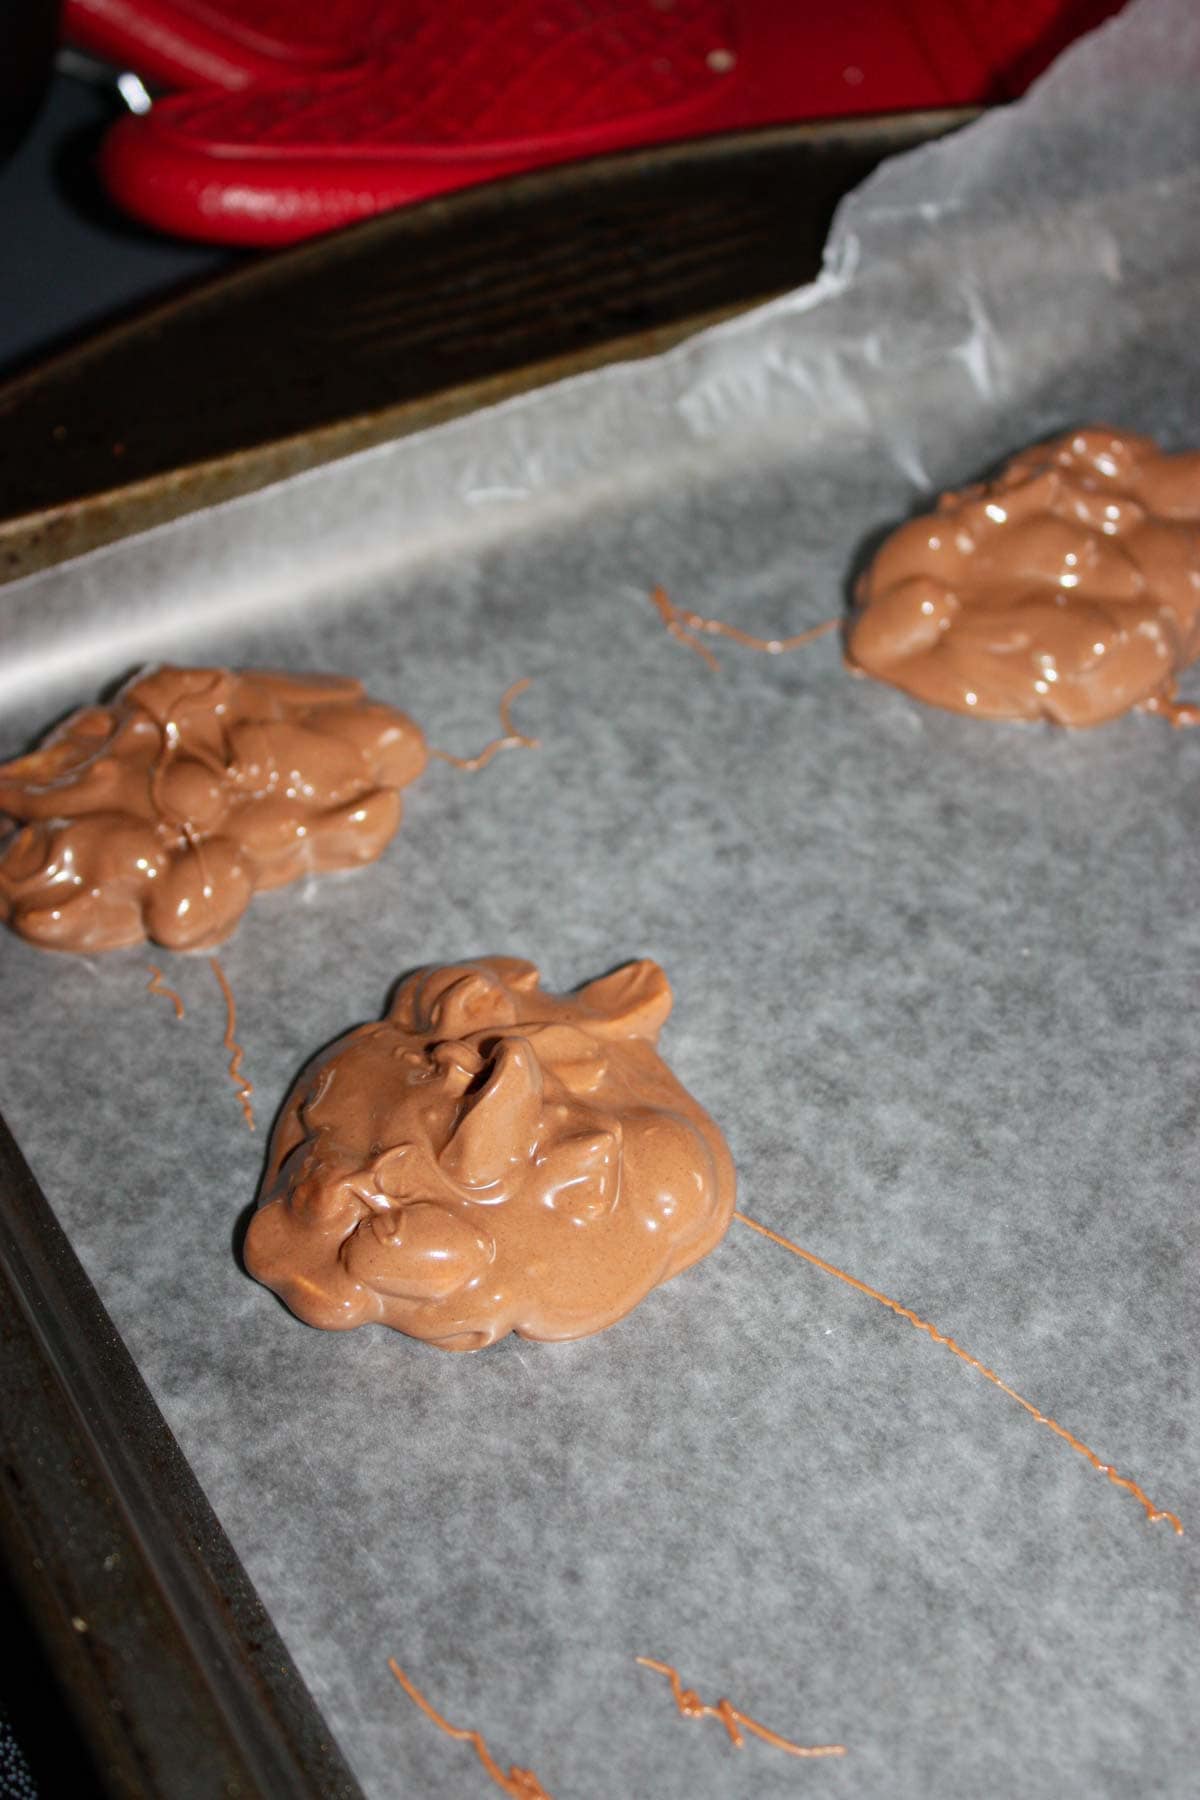
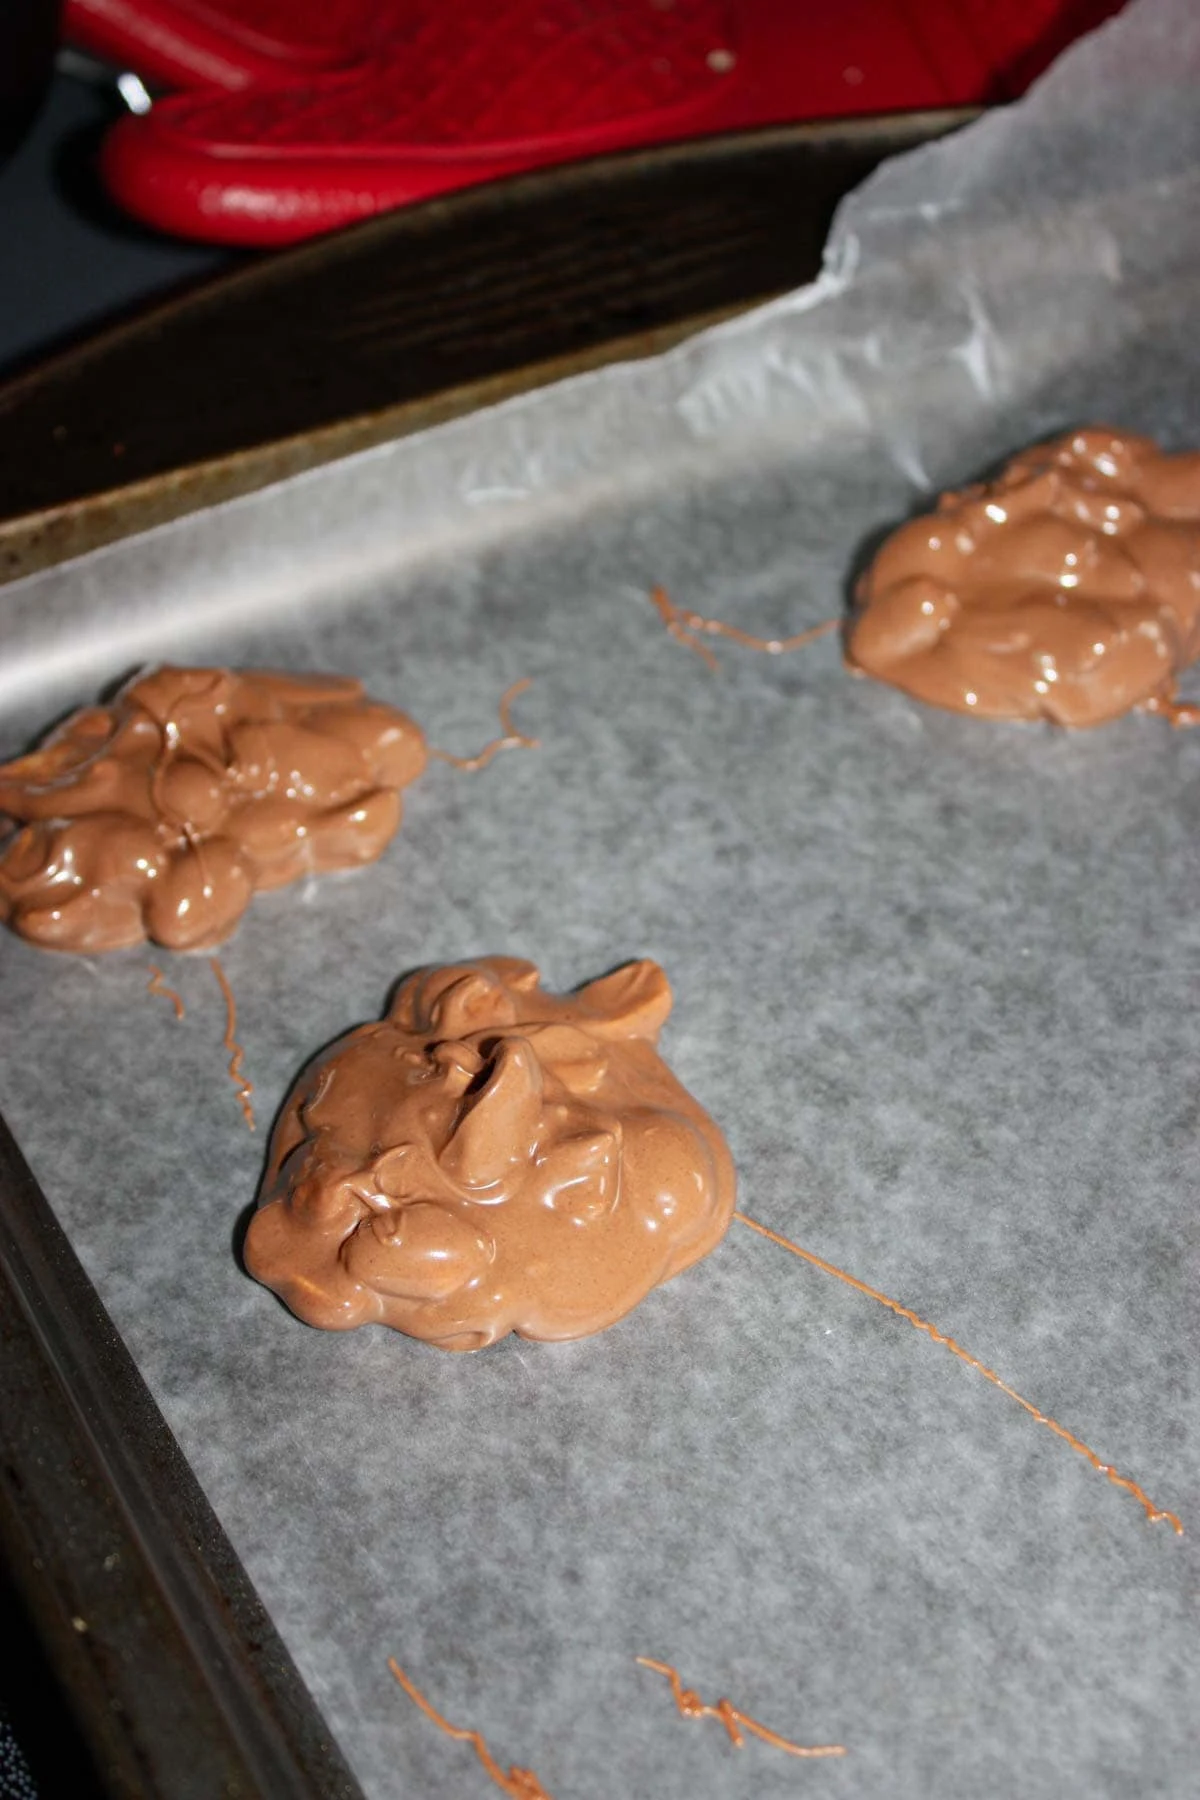
You might need more than one sheet depending on the size and spacing you use for your clusters.


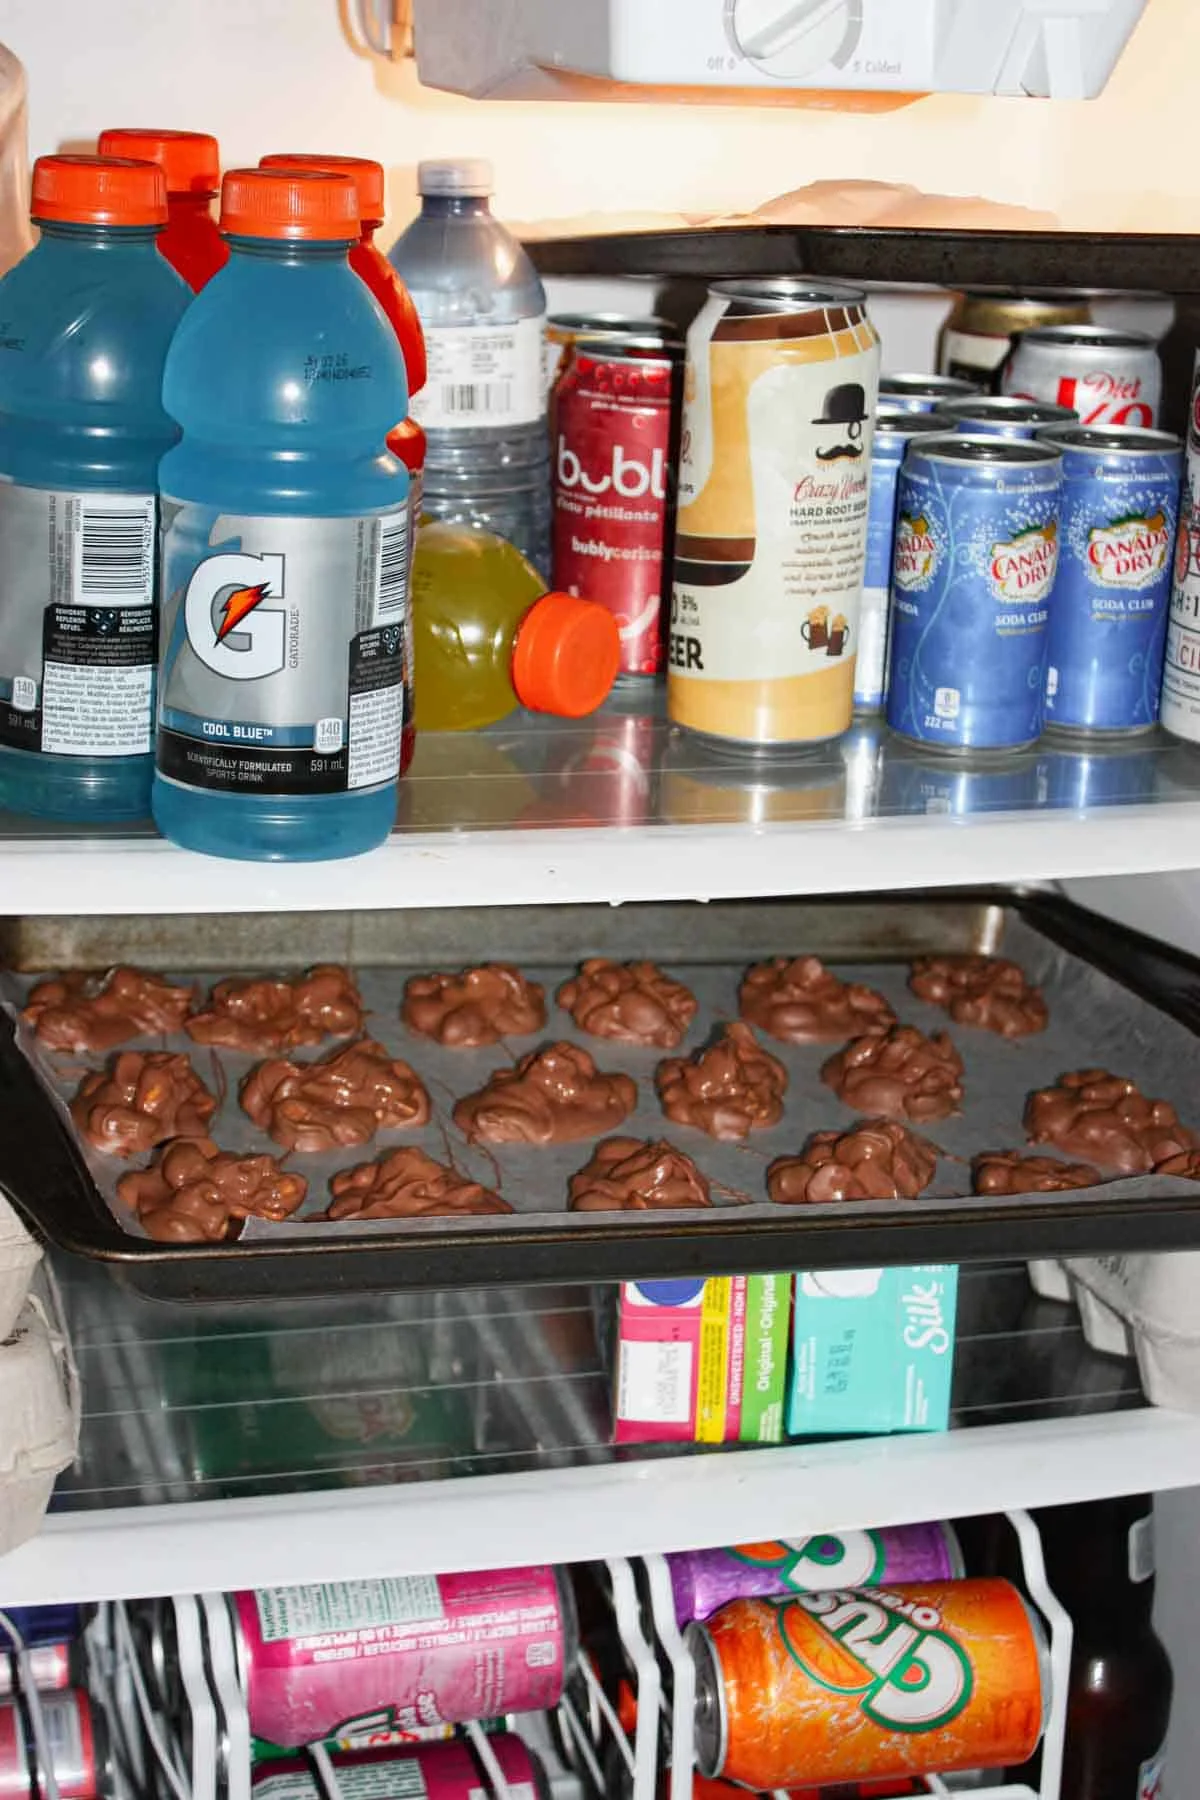
After all the mixture was used up, I placed the cookie sheets into the fridge for a couple of hours to allow the chocolate to set.

Peanut Clusters are as easy to make as they are fun to eat, appealing to both kids and adults alike.


They’re a timeless candy that feels both nostalgic and satisfying, reminding many of old-fashioned holiday treats or homemade gifts.
The peanuts inside add a hearty texture and toasty flavour that balances out the sweetness.
Whether enjoyed as an afternoon pick-me-up, a holiday indulgence, or a gift wrapped in a pretty tin, peanut clusters always hit the spot.
More Candy Recipes You Will Love…


PRINTABLE VERSION OF THE RECIPE CAN BE FOUND AT THE BOTTOM OF THE PAGE
Ingredients You’ll Need to Make these Peanut Clusters:
- 680g chocolate for melting (I used milk chocolate wafers)
- 275g roasted unsalted peanuts
How to Make Peanut Clusters:
- Pour the chocolate for melting into a large microwaveable bowl or measuring cup.
- Microwave on high power for 1 minute. Remove and stir.
- Line a cookie sheet with wax paper.
- Return chocolate to microwave for 20 second intervals. Stir after each interval until chocolate is finally melted and smooth.
- Pour in the peanuts.
- Stir until all the peanuts are coated in chocolate.
- Drop onto the prepared cookie sheet using a tablespoon. I was able to make 26 clusters. Yield will vary depending on the size that suits your needs.
- Place the cookie sheets in the fridge for a couple of hours to allow the chocolate to set.
- Remove from fridge.
- Enjoy!
FAQs:
What substitutions can I make in peanut clusters.
You’ve got lots of flexibility with peanut clusters! Here are some easy swaps you can try depending on your taste or what’s in the pantry:
-
Nuts: Swap peanuts for almonds, cashews, pecans, walnuts, pistachios, macadamias, or even a mix for variety.
-
Seeds: Use sunflower seeds, pumpkin seeds, or sesame seeds for a nut-free option.
-
Dried Fruit: Add or replace some of the nuts with dried cranberries, raisins, cherries, blueberries, or chopped apricots for a sweet-tart twist.
-
Coconut: Shredded or toasted coconut flakes give extra flavor and texture.
-
Candy Mix-ins: Try mini marshmallows, toffee bits, crushed gluten free pretzels, or gluten free crispy rice cereal for crunch.
-
Chocolate: Use milk, dark, or white chocolate—or swirl them together for a marbled look.
-
Nut Butters: Stir a spoonful of peanut butter, almond butter, or even sunflower seed butter into the melted chocolate for a creamy boost.
-
Spices & Flavorings: A sprinkle of cinnamon, sea salt, cayenne, or a drop of vanilla or peppermint extract can change up the flavor profile.
Here are some themed variations you can try with peanut clusters (or their substitutions):
Holiday Clusters
-
Peppermint twist: Use white chocolate and sprinkle crushed candy canes on top.
-
Festive fruit & nut: Mix in dried cranberries and pistachios for red-and-green clusters.
-
Spiced warmth: Add cinnamon, nutmeg, or ginger for a cozy holiday vibe.
Salty-Sweet Clusters
-
Pretzel crunch: Stir in broken gluten free pretzel pieces with the nuts.
-
Salted caramel: Drizzle caramel over the top and sprinkle with flaky sea salt.
-
Popcorn surprise: Add popcorn chunks for a fun, salty crunch.
Kid-Friendly Clusters
-
Marshmallow mix: Stir in mini marshmallows with the nuts.
-
Cereal crunch: Mix in gluten free Rice Krispies, Cheerios, or Cornflakes.
-
Color pop: Add candy-coated chocolates (like M&Ms) for a playful look.
Nut-Free or Lighter Options
-
Seed clusters: Use pumpkin seeds, sunflower seeds, or a mix.
-
Tropical twist: Add coconut flakes and dried pineapple.
-
Berry blend: Mix in dried blueberries, strawberries, or cherries.
How do I store peanut clusters?
You can store peanut clusters pretty easily! Here are the best options:
-
Room Temperature: Keep them in an airtight container at room temperature for up to 1 week. Make sure they’re in a cool, dry spot so the chocolate doesn’t get too soft.
-
Refrigerator: If your kitchen runs warm, store them in the fridge in a sealed container. They’ll stay fresh for 2–3 weeks. Just note that refrigeration can sometimes dull the shine of chocolate, but the taste won’t be affected.
-
Freezer: For long-term storage, freeze them! Place clusters in a single layer on a baking sheet to firm up, then transfer them to a freezer bag or airtight container with parchment between layers. They’ll keep well for 2–3 months.
Tip: Always let frozen clusters sit at room temperature for about 10–15 minutes before eating so the chocolate isn’t rock hard.
Peanut clusters make such a sweet little gift. Here are some cute packaging and storage ideas:
-
Cellophane Bags: Scoop a few clusters into clear cellophane treat bags, tie with a festive ribbon, and maybe tuck in a little gift tag. Simple but charming.
-
Mason Jars: Layer clusters inside a small jar and add a fabric square under the lid or a seasonal sticker. It keeps them fresh and looks homemade-chic.
-
Tins: Classic cookie tins lined with parchment or wax paper work beautifully. You can even mix peanut clusters with other candies for variety.
-
Boxes with Dividers: Small candy or cupcake boxes keep clusters from sticking together. Add mini cupcake liners inside each spot for a polished touch.
-
Holiday-Themed Wrapping: If you’re gifting around holidays, use themed ribbon, stickers, or even tuck a sprig of greenery under the bow for extra charm.
-
DIY Touch: Handwrite a little note like “Made with love” or “Sweet & nutty treat for you” and attach it.
Peanut Clusters

Peanut clusters are the ultimate sweet and salty treat, bringing together the irresistible crunch of roasted peanuts and the creamy smoothness of rich chocolate.
Ingredients
- 680g chocolate for melting (I used milk chocolate wafers)
- 275g roasted unsalted peanuts
Instructions
- Pour the chocolate for melting into a large microwaveable bowl or measuring cup.
- Microwave on high power for 1 minute. Remove and stir.
- Line a cookie sheet with wax paper.
- Return chocolate to microwave for 20 second intervals. Stir after each interval until chocolate is finally melted and smooth.
- Pour in the peanuts.
- Stir until all the peanuts are coated in chocolate.
- Drop onto the prepared cookie sheet using a tablespoon. I was able to make 26 clusters. Yield will vary depending on the size that suits your needs.
- Place the cookie sheets in the fridge for a couple of hours to allow the chocolate to set.
- Remove from fridge.
- Enjoy!
Notes
*This recipe was made using a 1200 watt microwave.
Nutrition Information:
Yield:
26Serving Size:
1Amount Per Serving: Calories: 202Total Fat: 13gSaturated Fat: 6gTrans Fat: 0gUnsaturated Fat: 6gCholesterol: 6mgSodium: 21mgCarbohydrates: 18gFiber: 2gSugar: 14gProtein: 5g