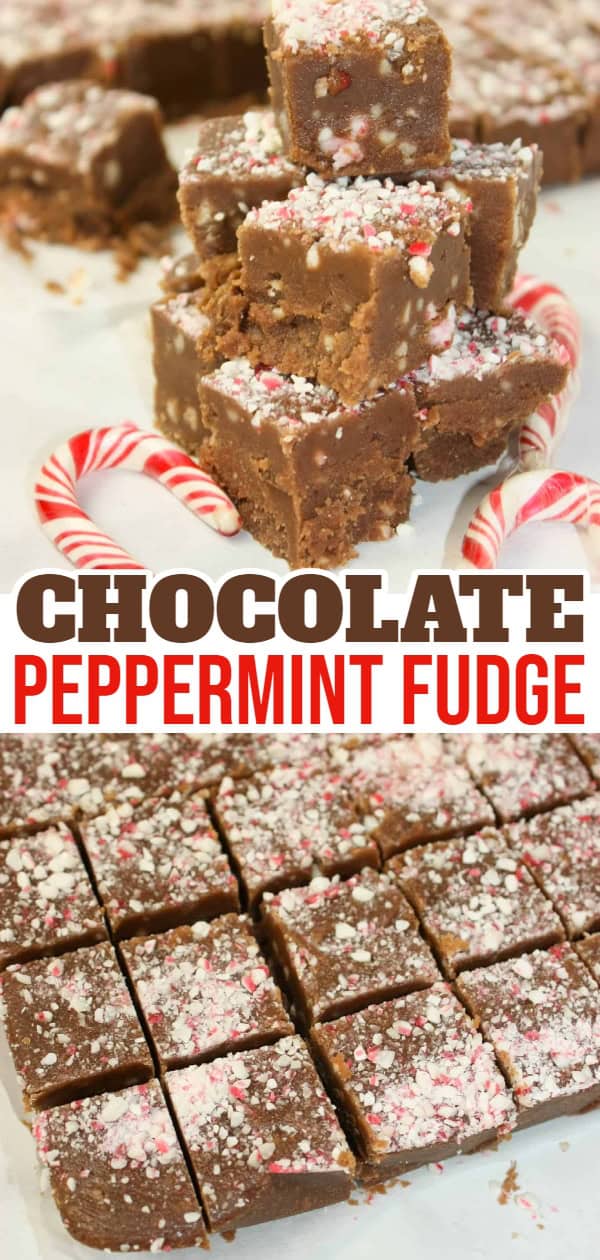
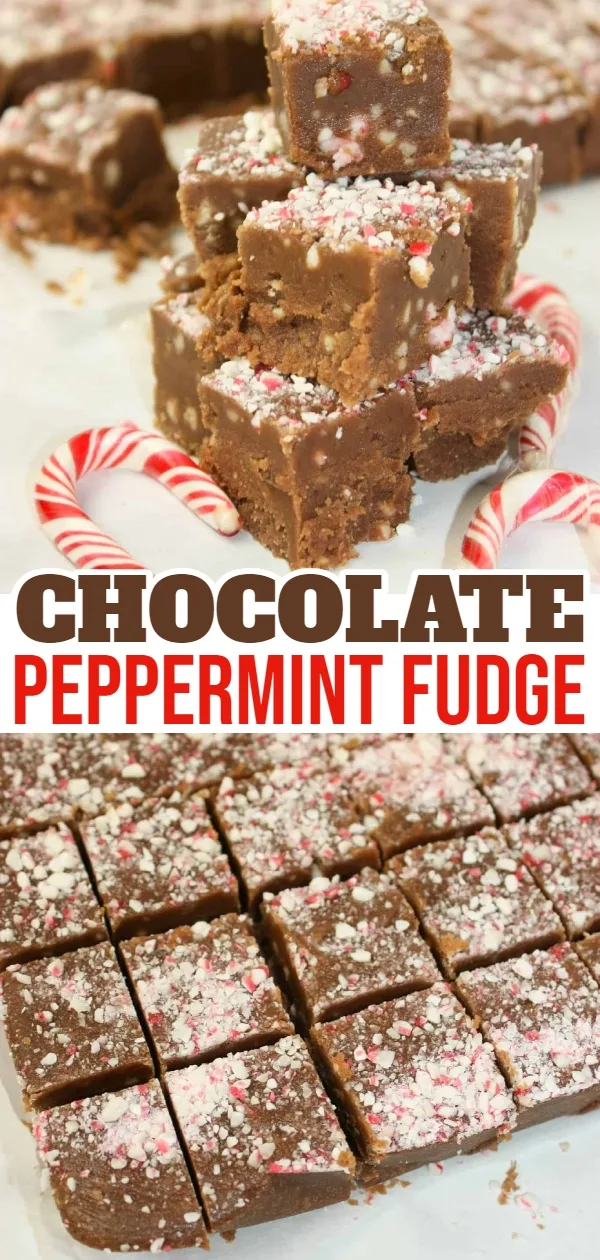
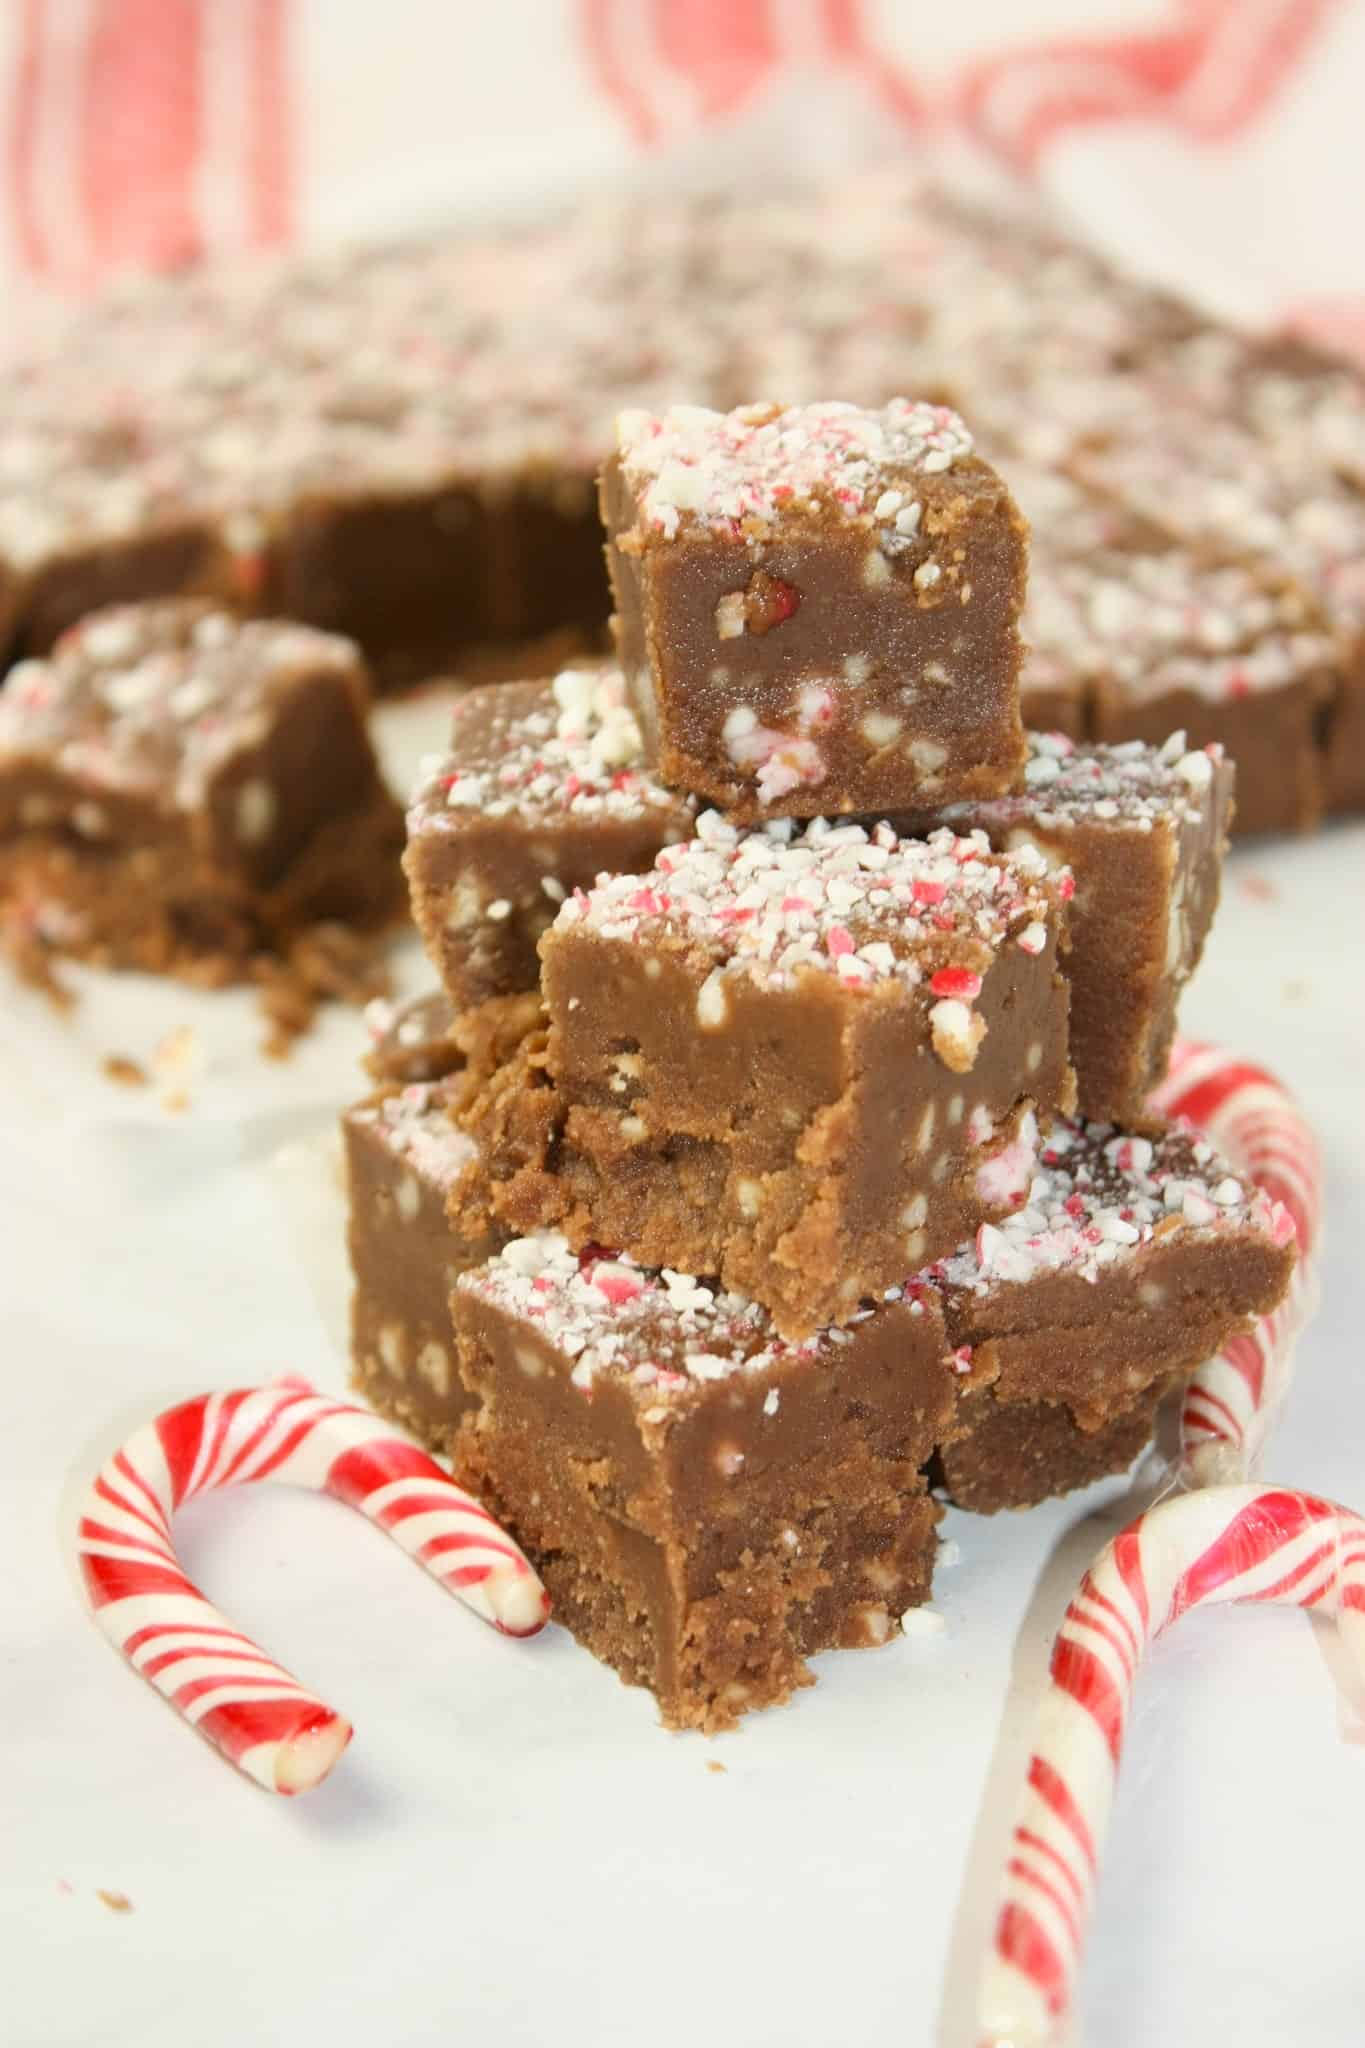
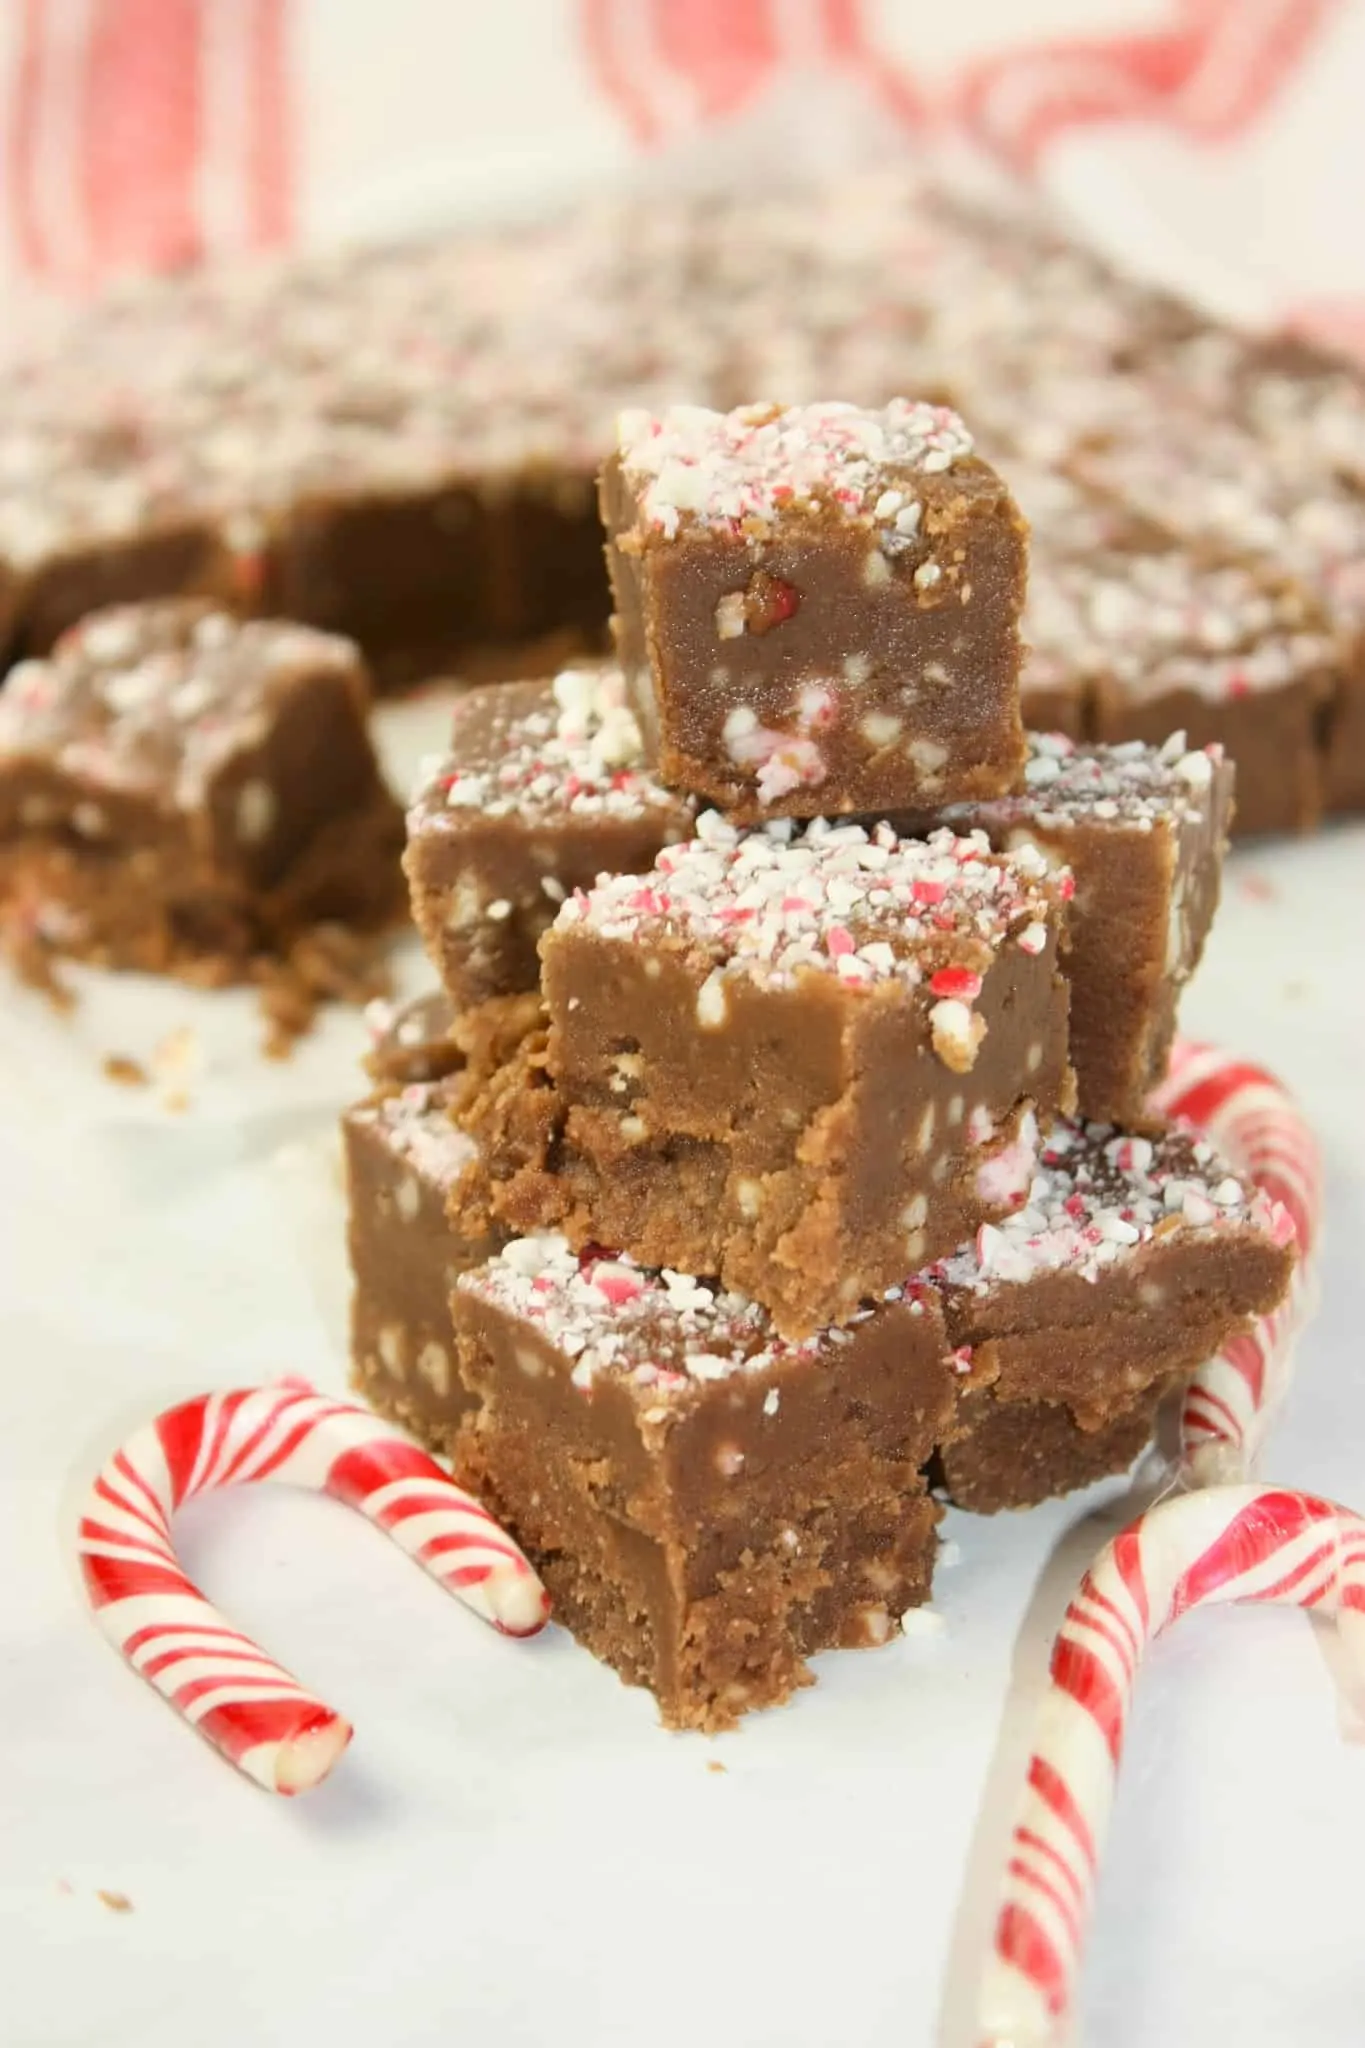
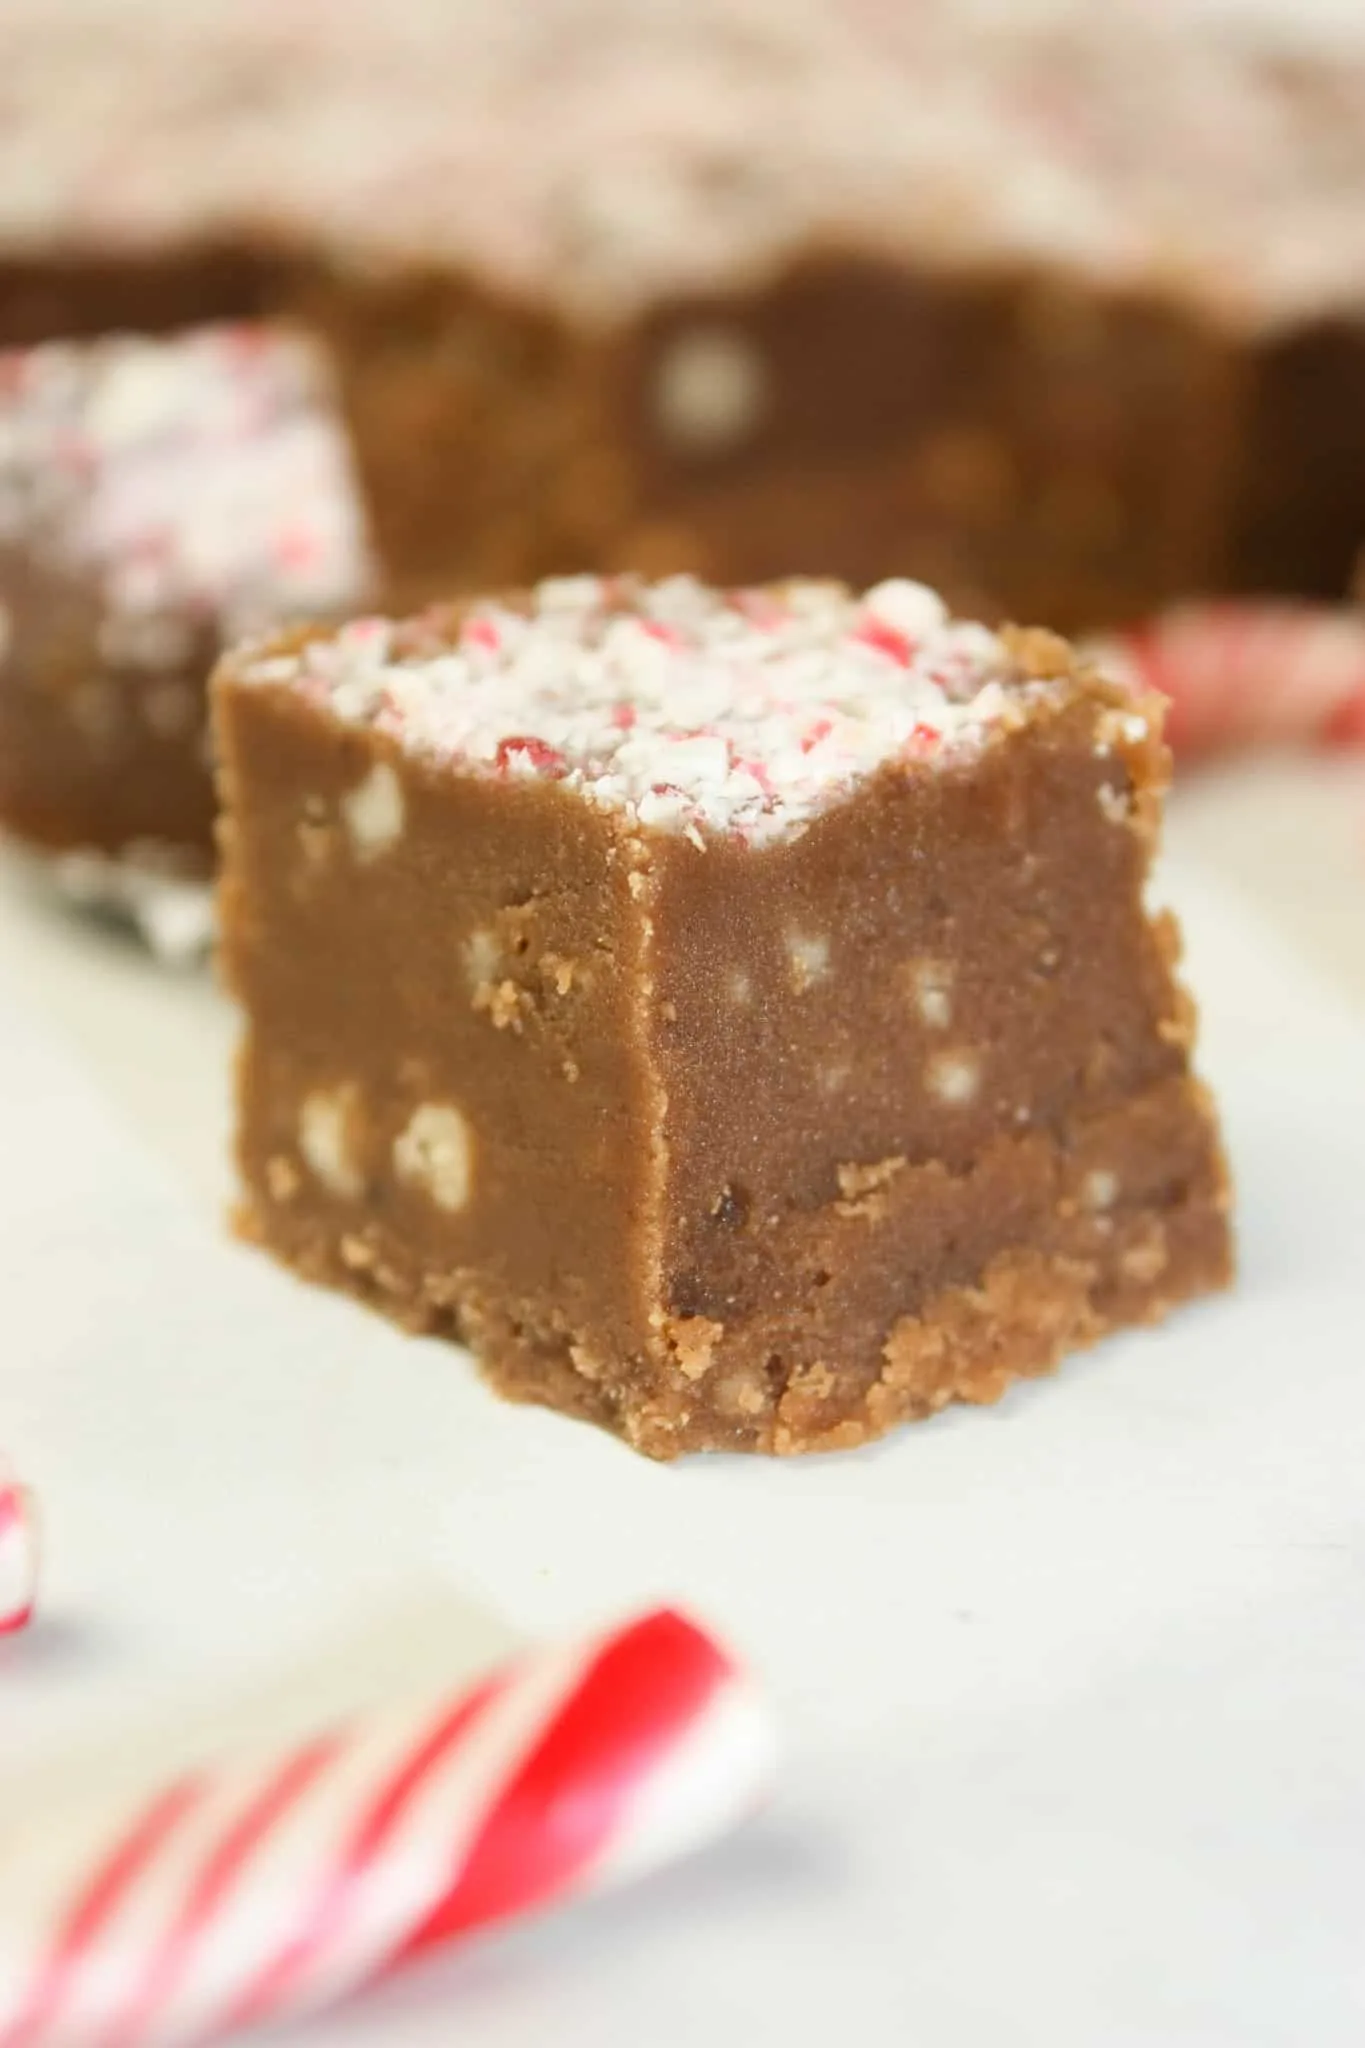
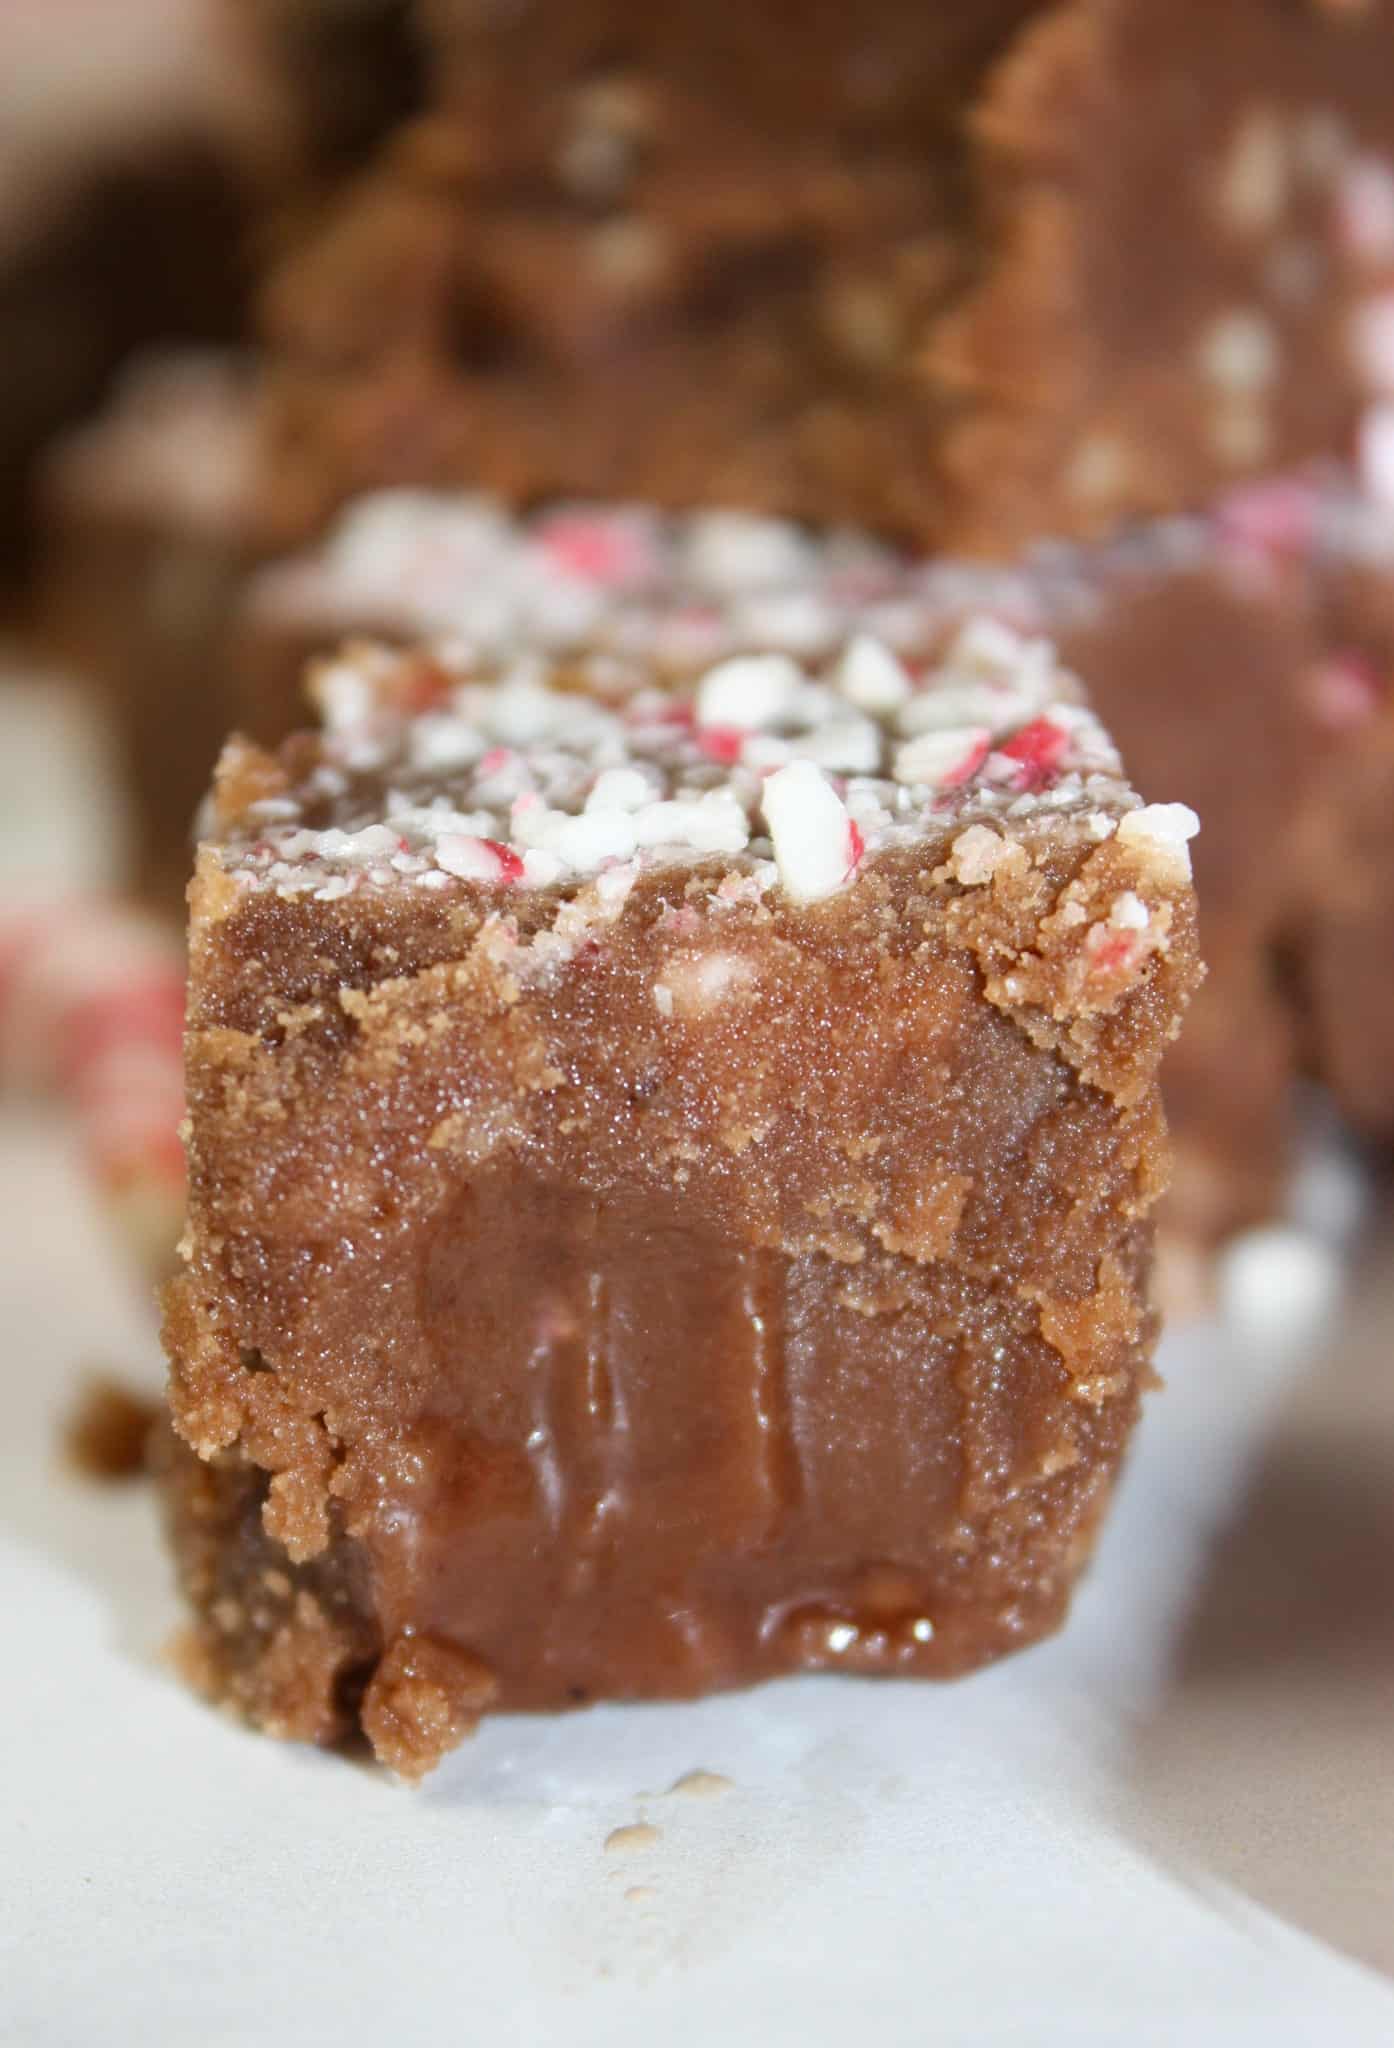
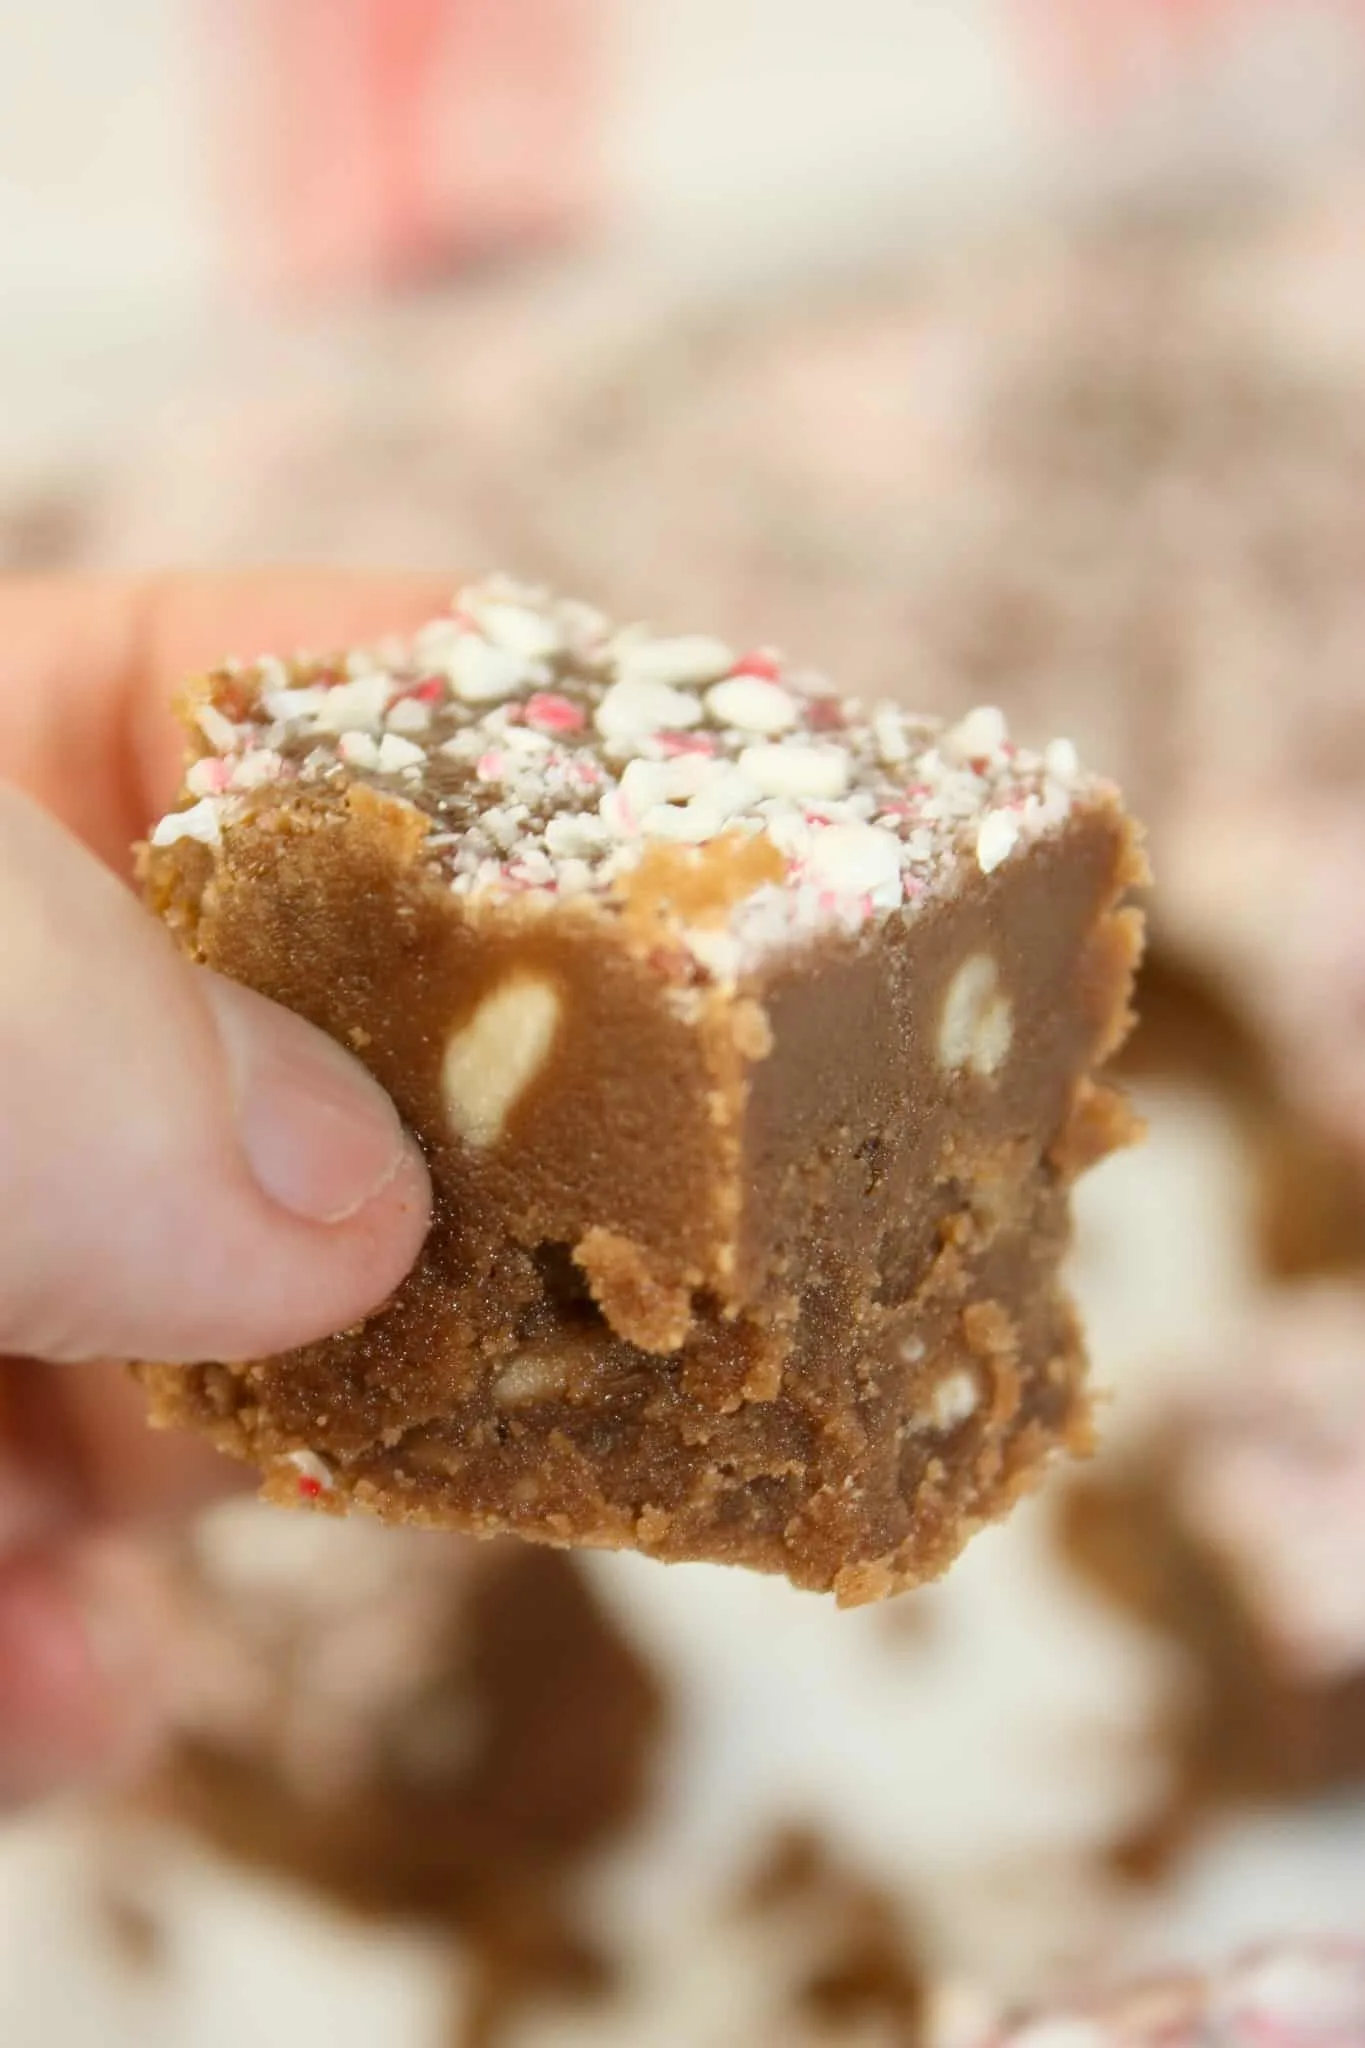
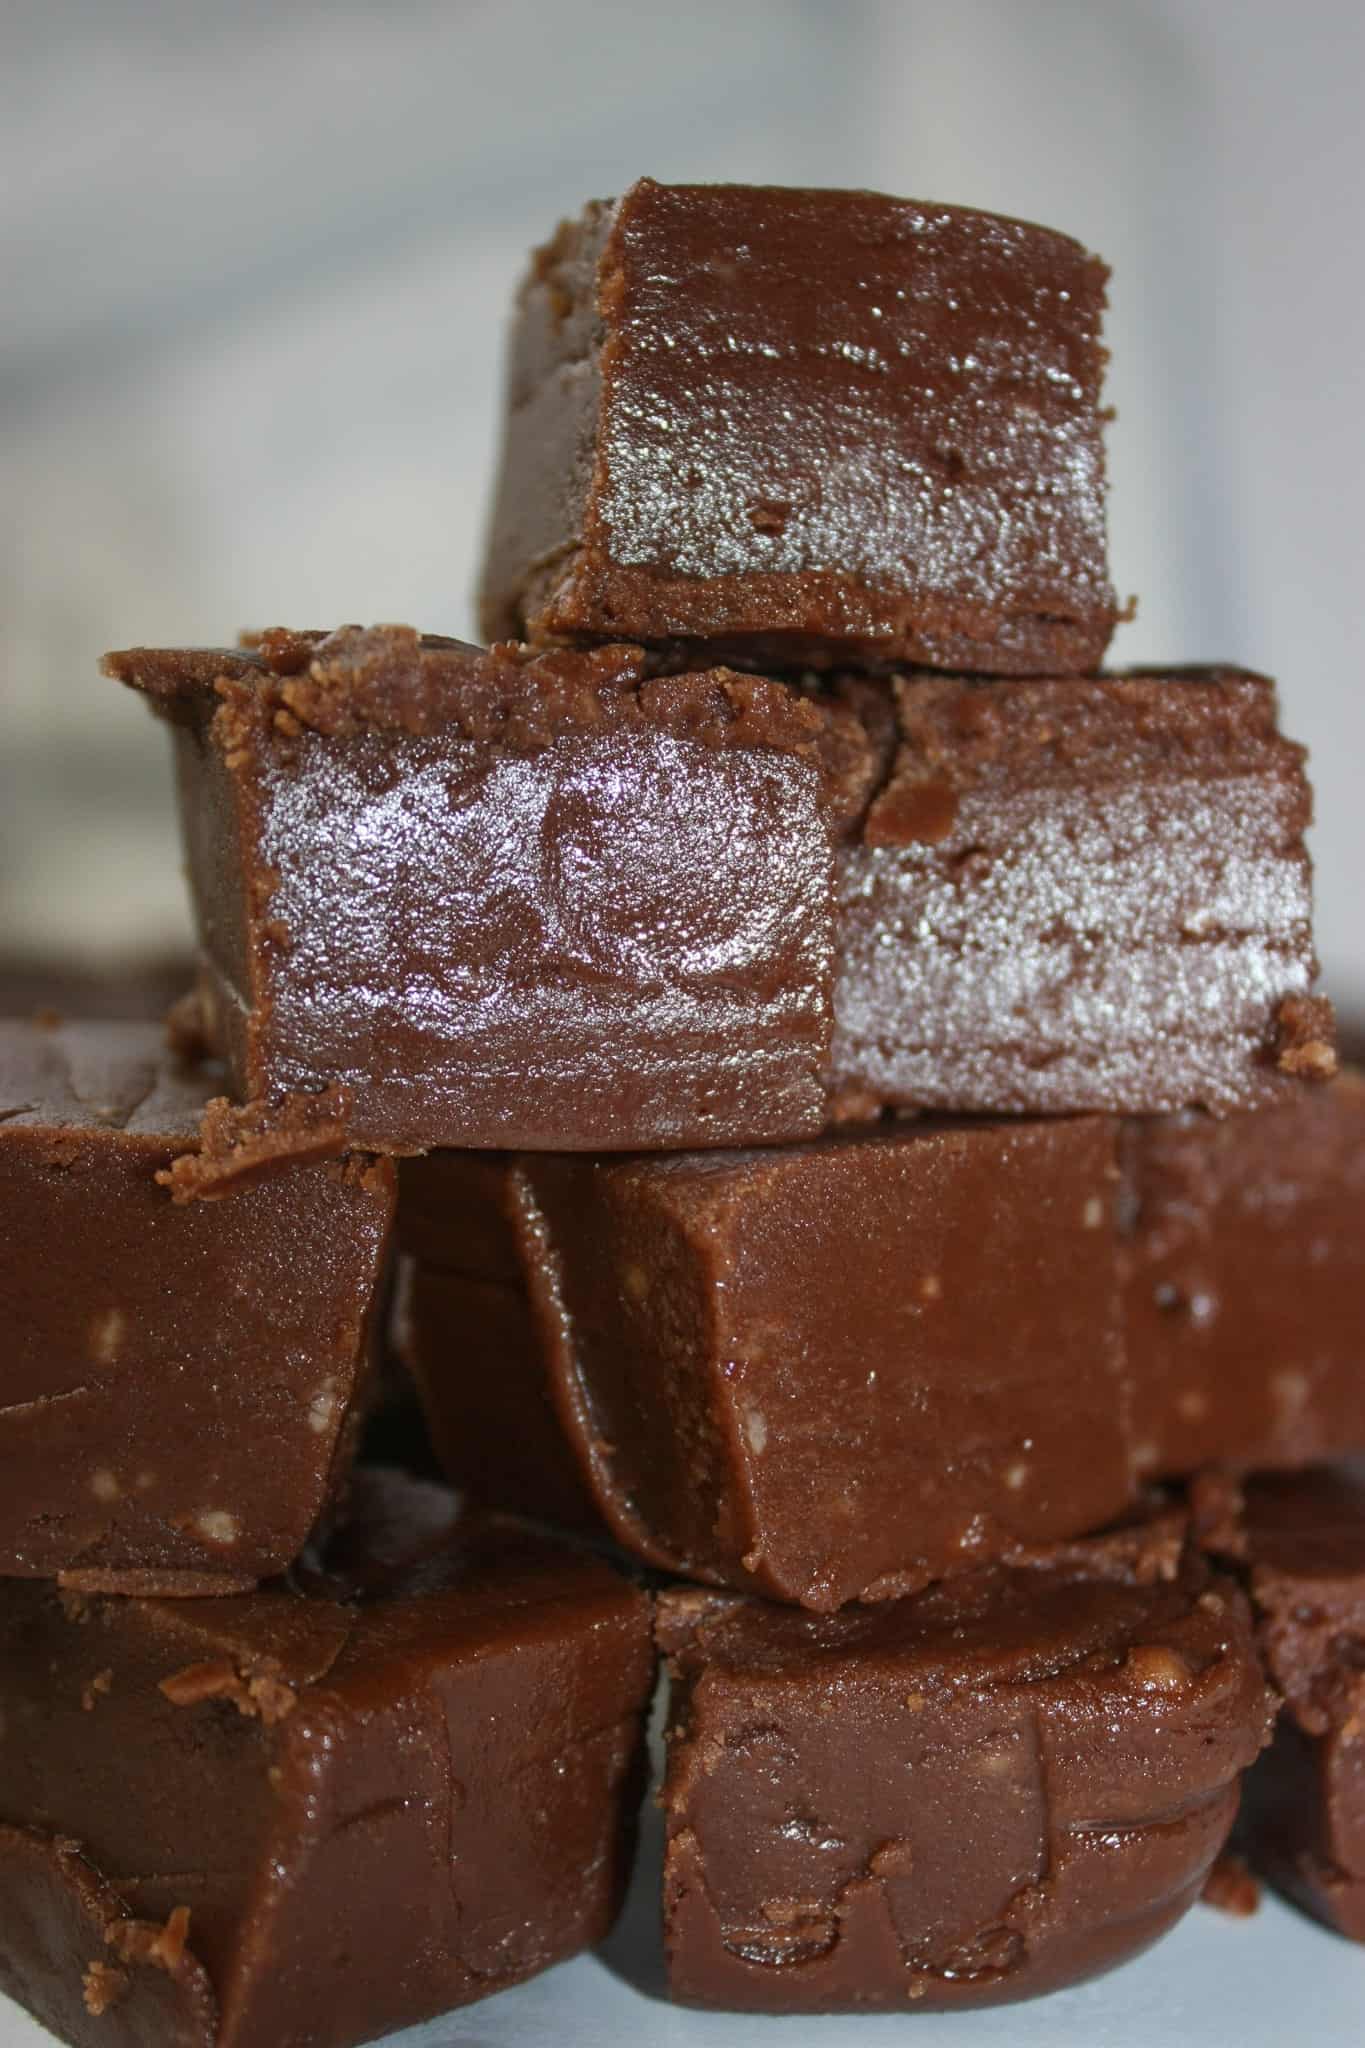
Melt in your mouth Chocolate Peppermint Fudge is hard to resist! This easy to create chocolate treat is a morsel of deliciousness that makes it hard to eat just one!!

This easy recipe does not require a candy thermometer and can be made in minutes.
Then just let it harden for a couple of hours and enjoy!
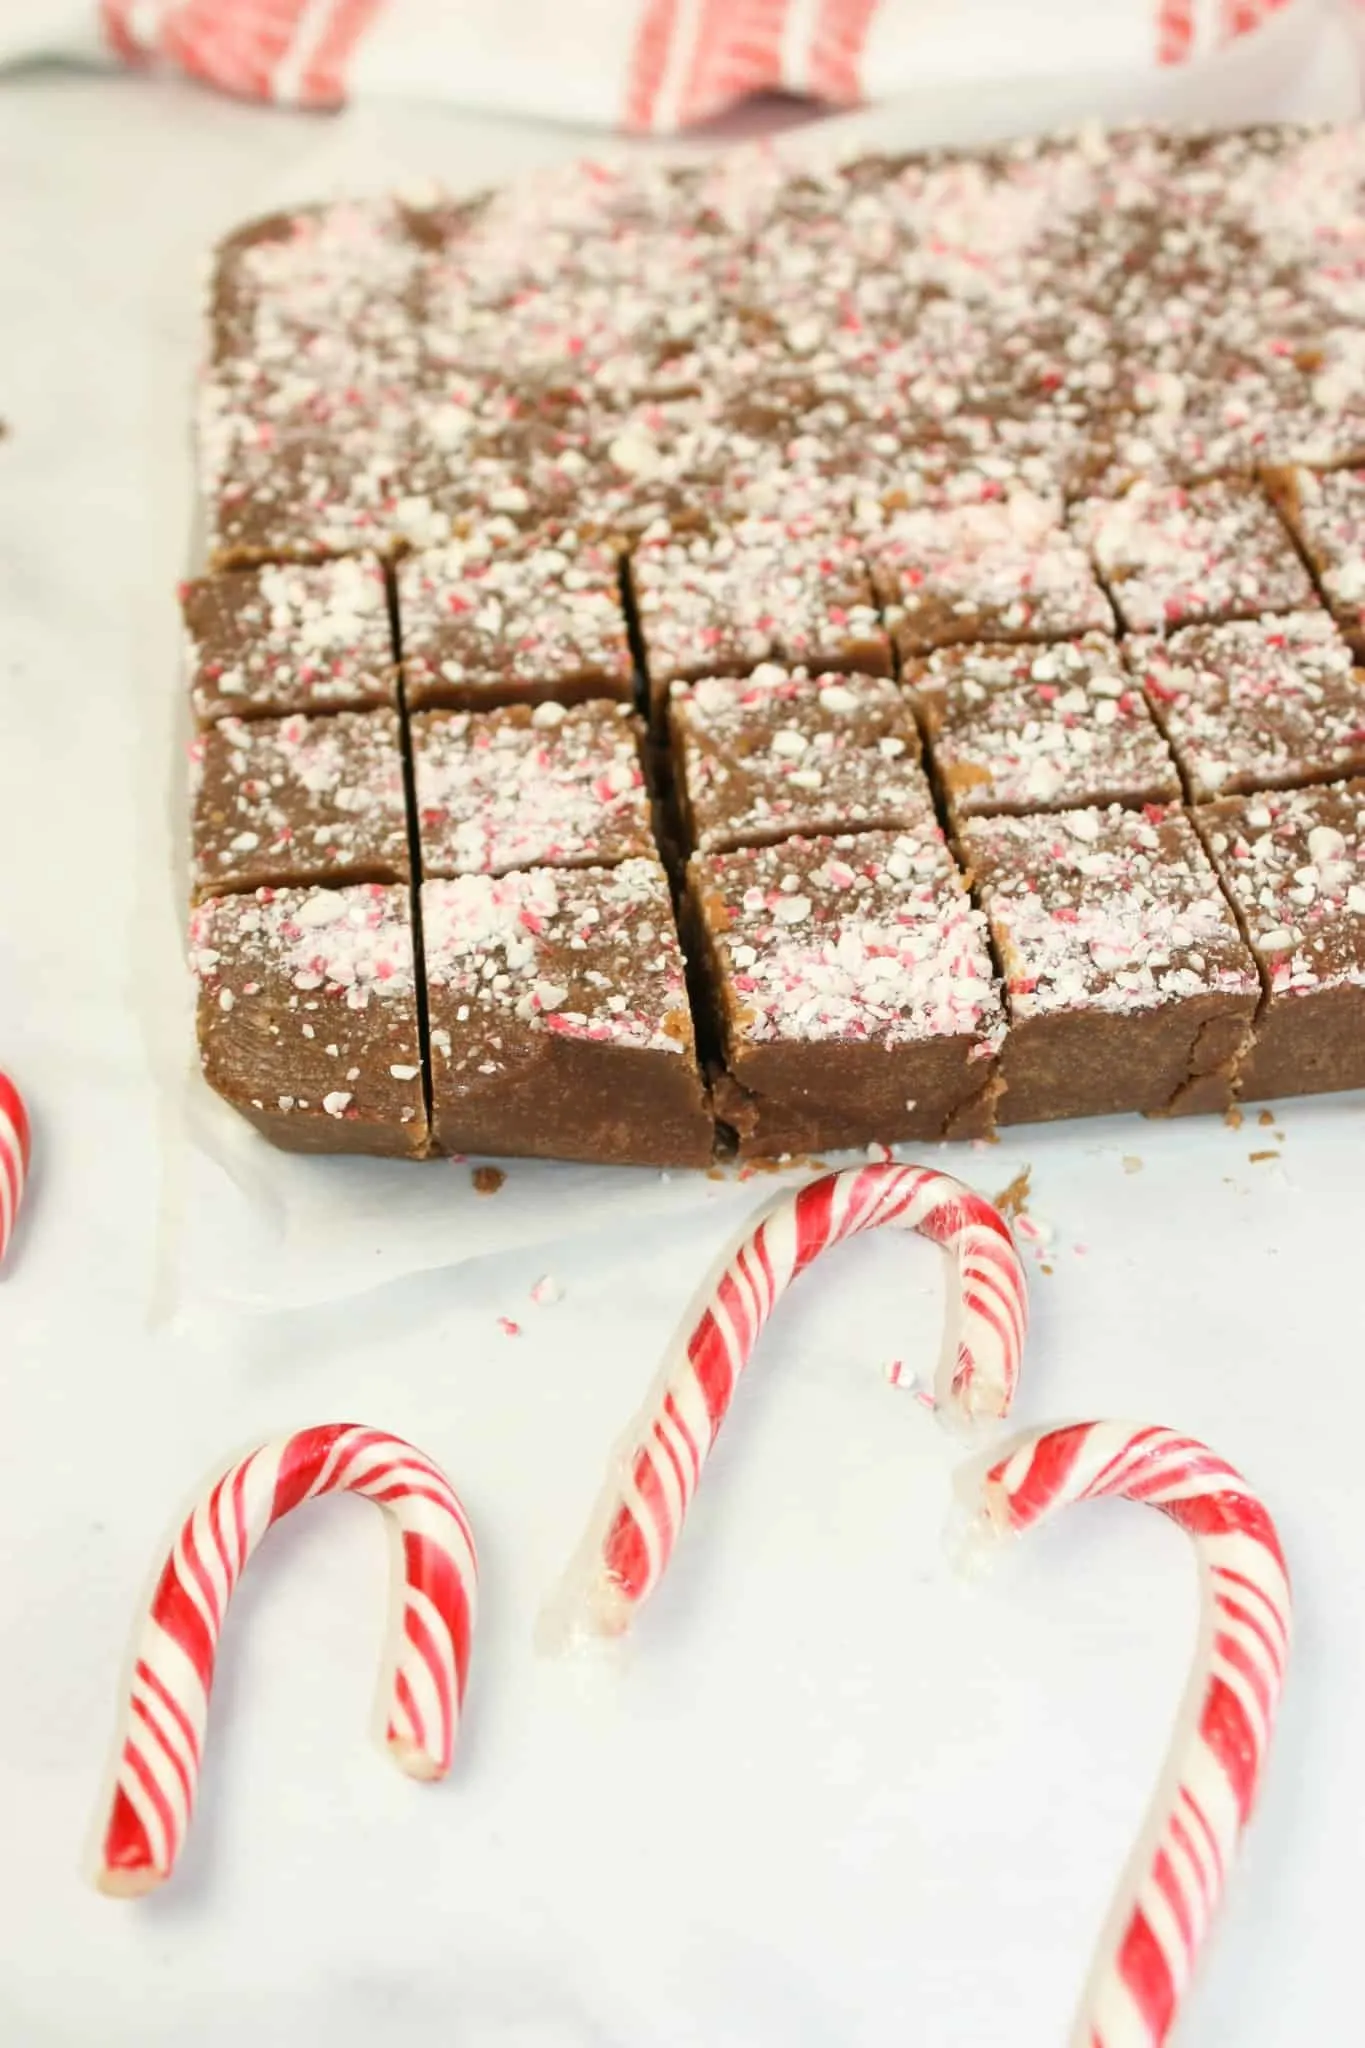
Bits of gluten free candy cane add colour and texture to this decadent treat.
This recipe yields 42 pieces of candy but that will vary depending on your serving size and your situation.

Chocolate Peppermint Fudge is a great addition to any holiday dessert tray!
Printable Recipe Card with a Full List of Ingredients and Instructions is Located at the Bottom of the Post.
Be sure to read through the entire post so that you don’t miss out on any important tips and tricks!
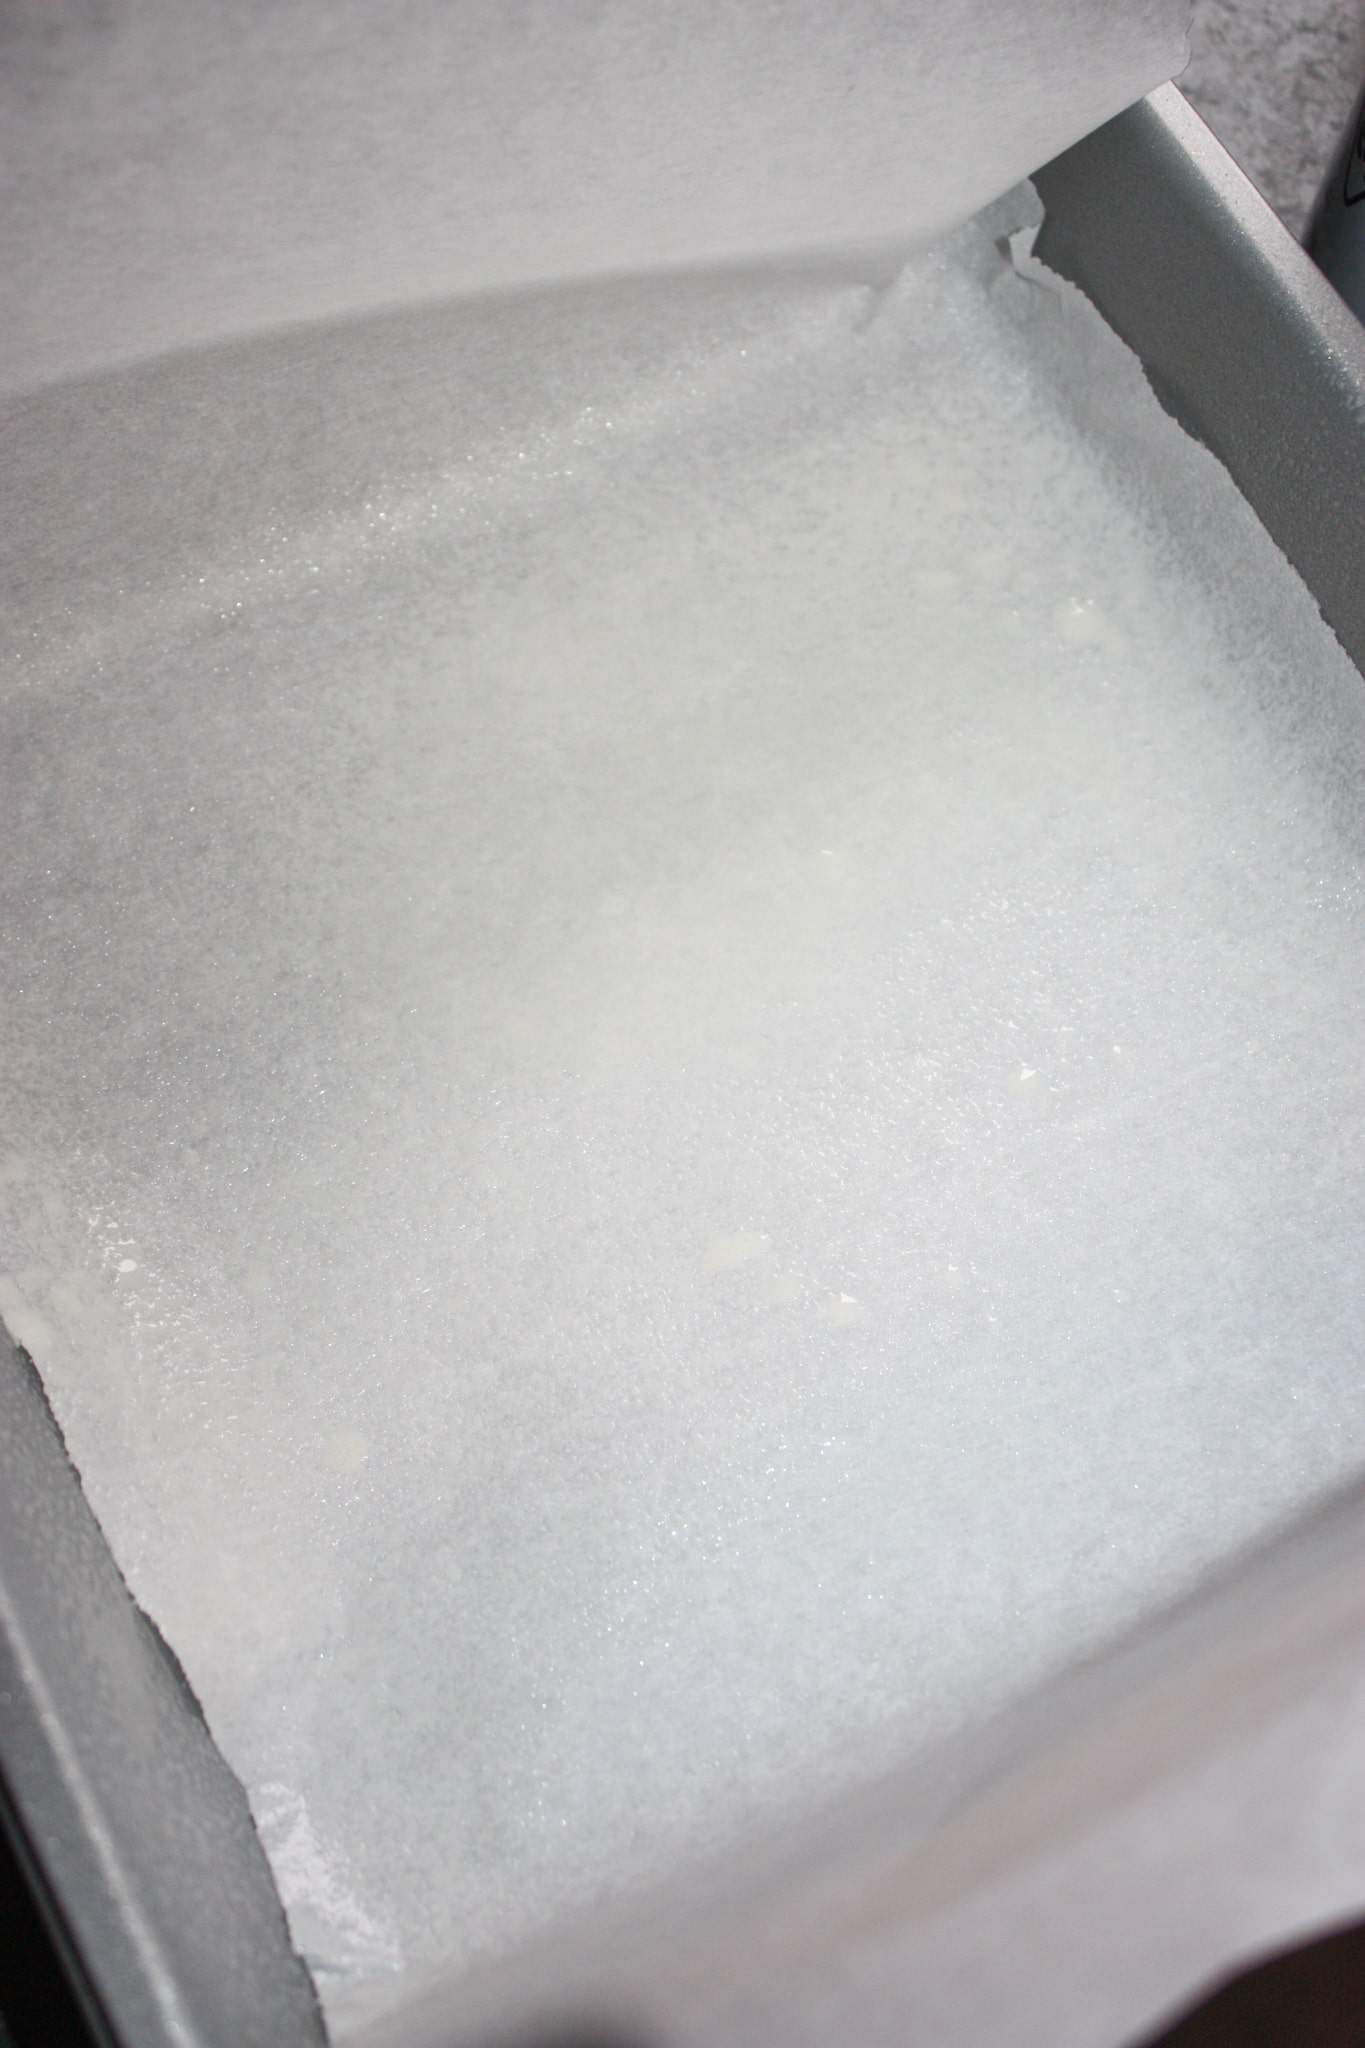
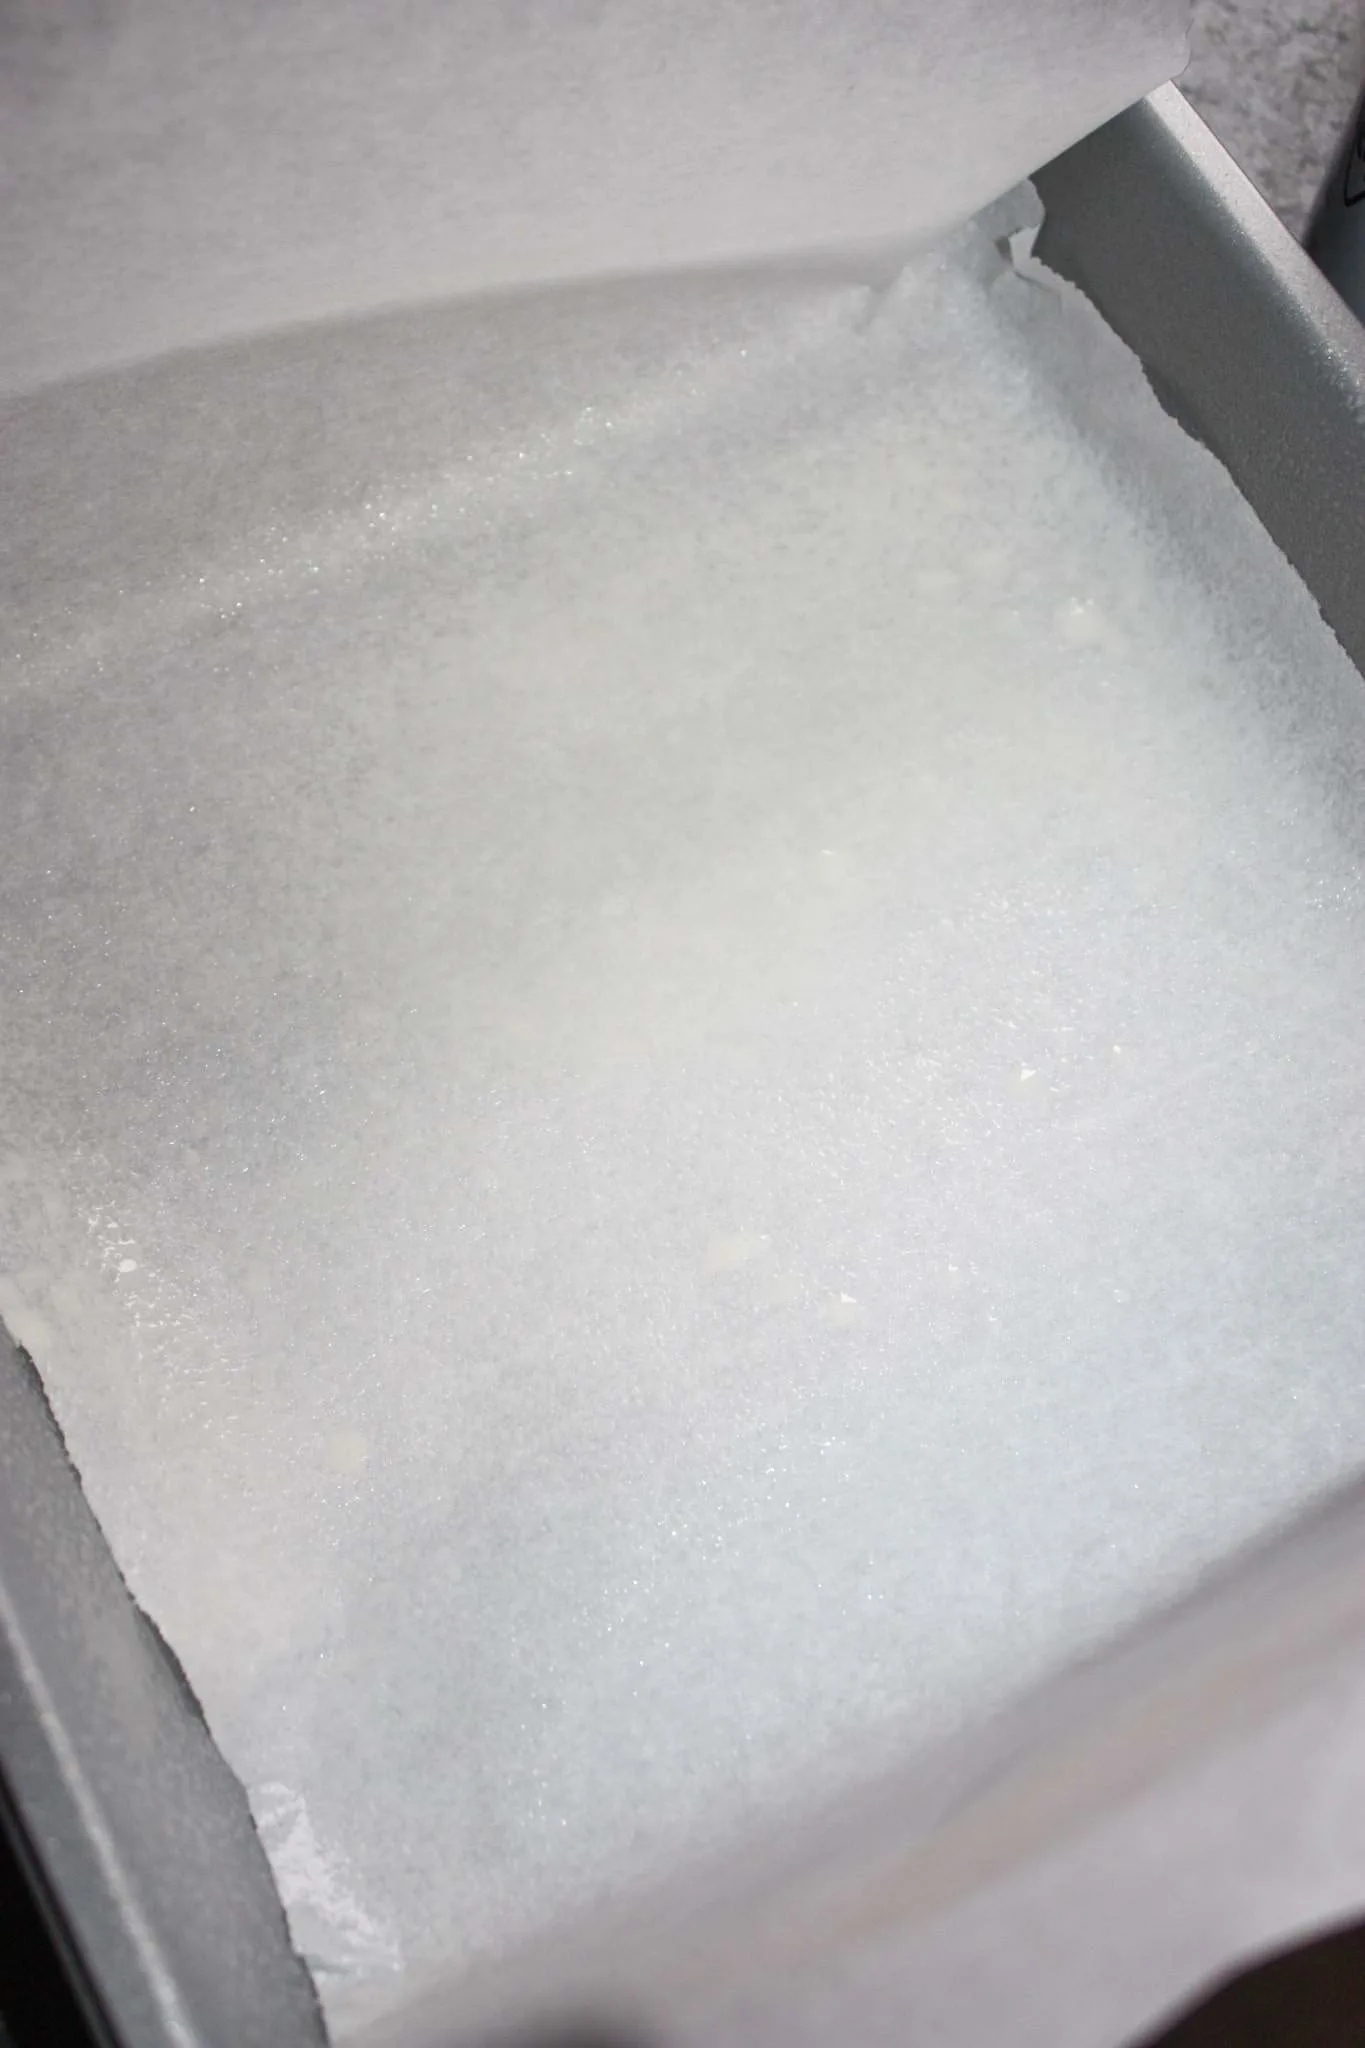
Before starting to cook the Chocolate Peppermint Fudge I lined an 8 x 8 inch baking pan with parchment paper and sprayed it lightly.
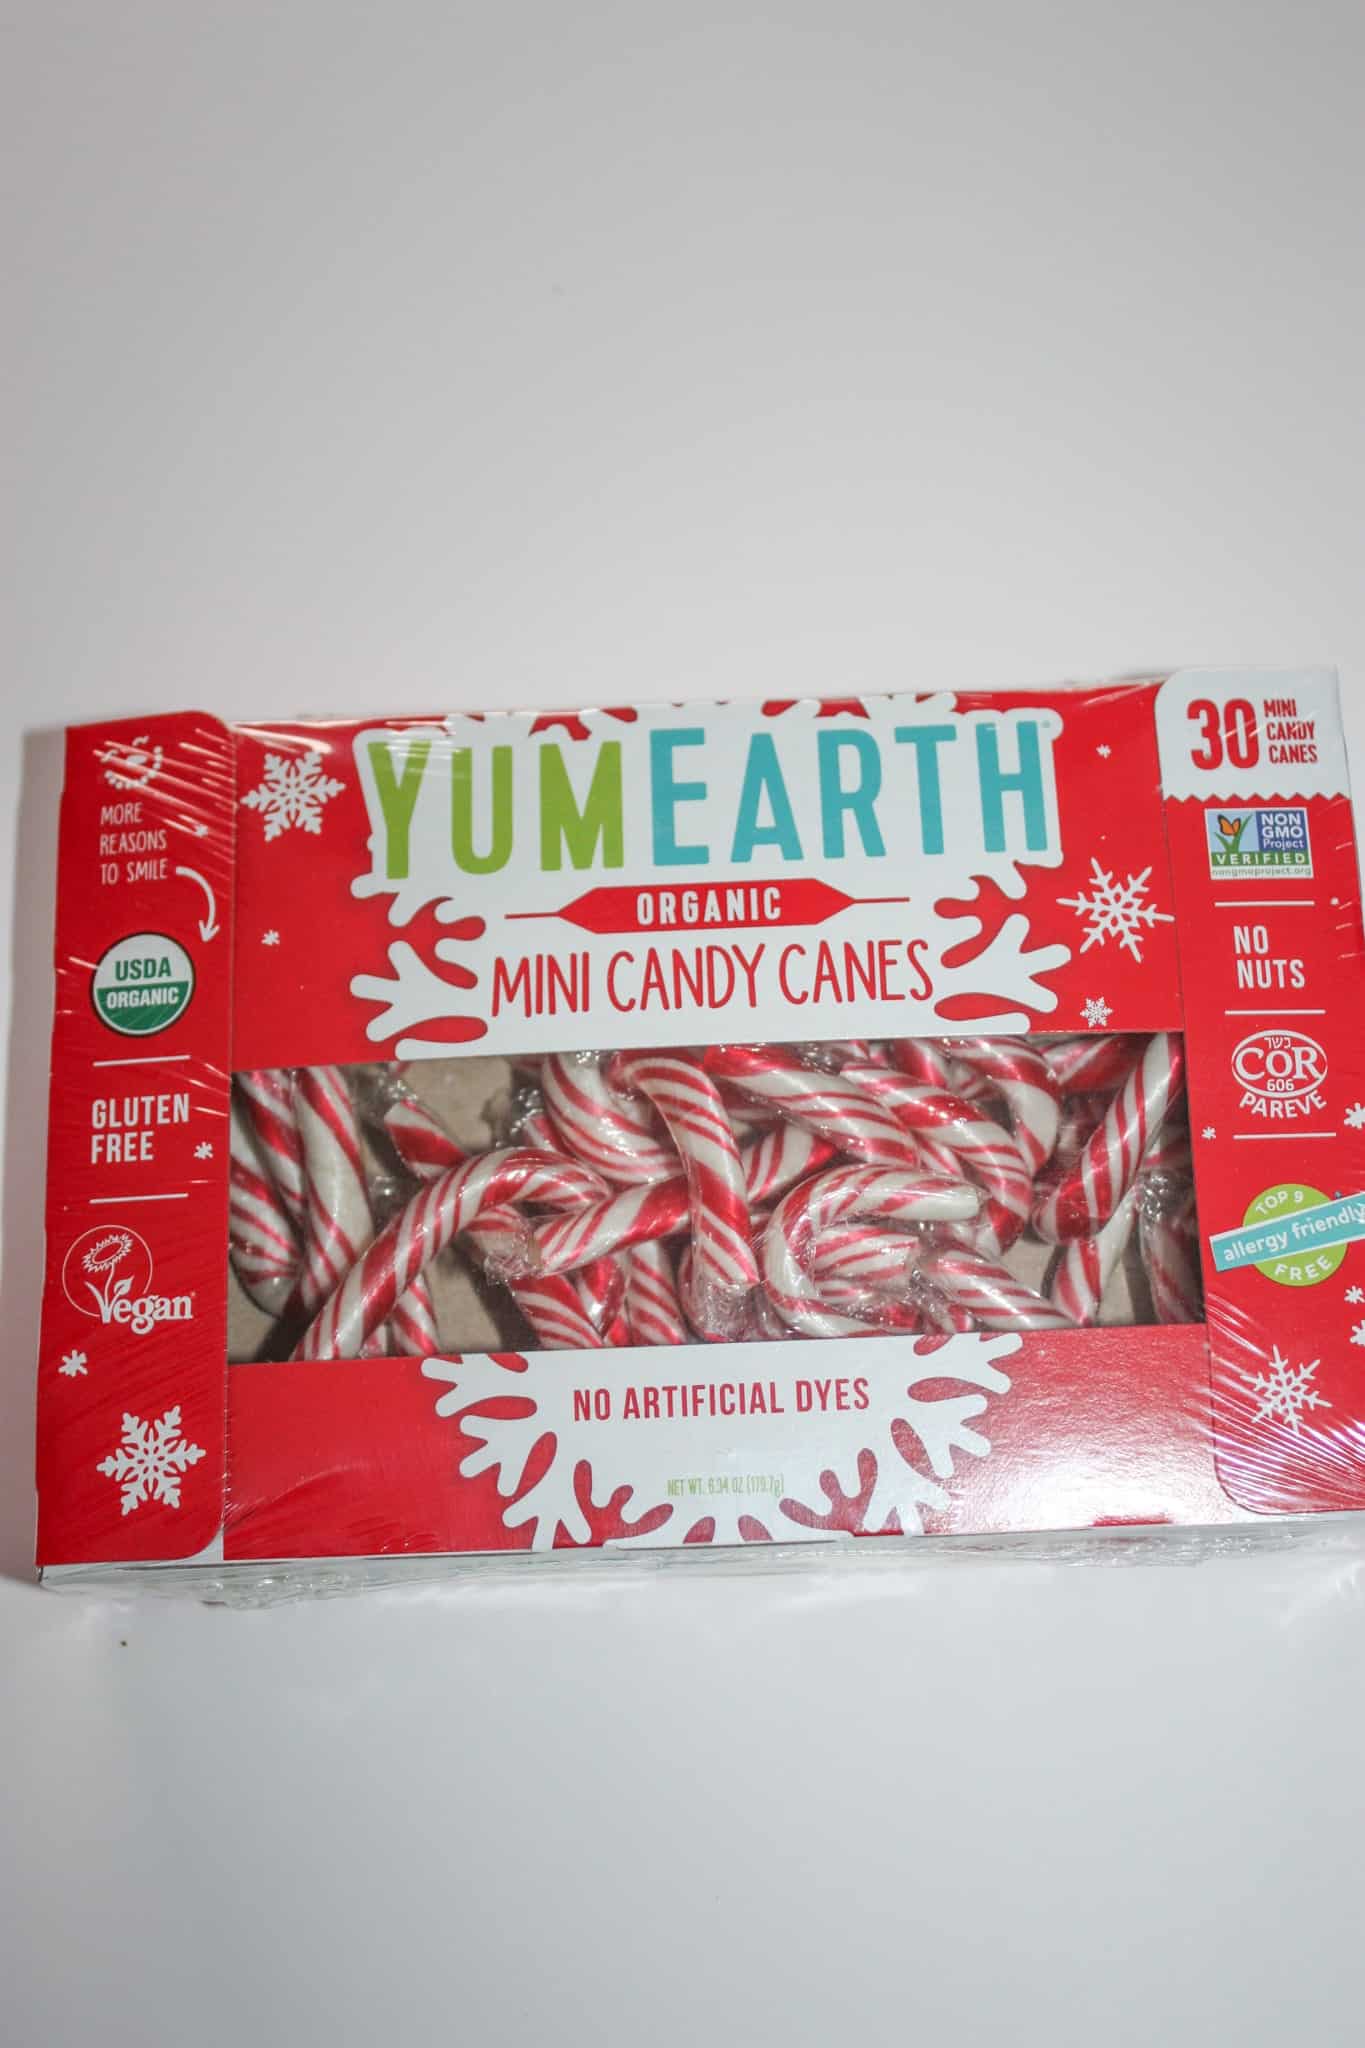
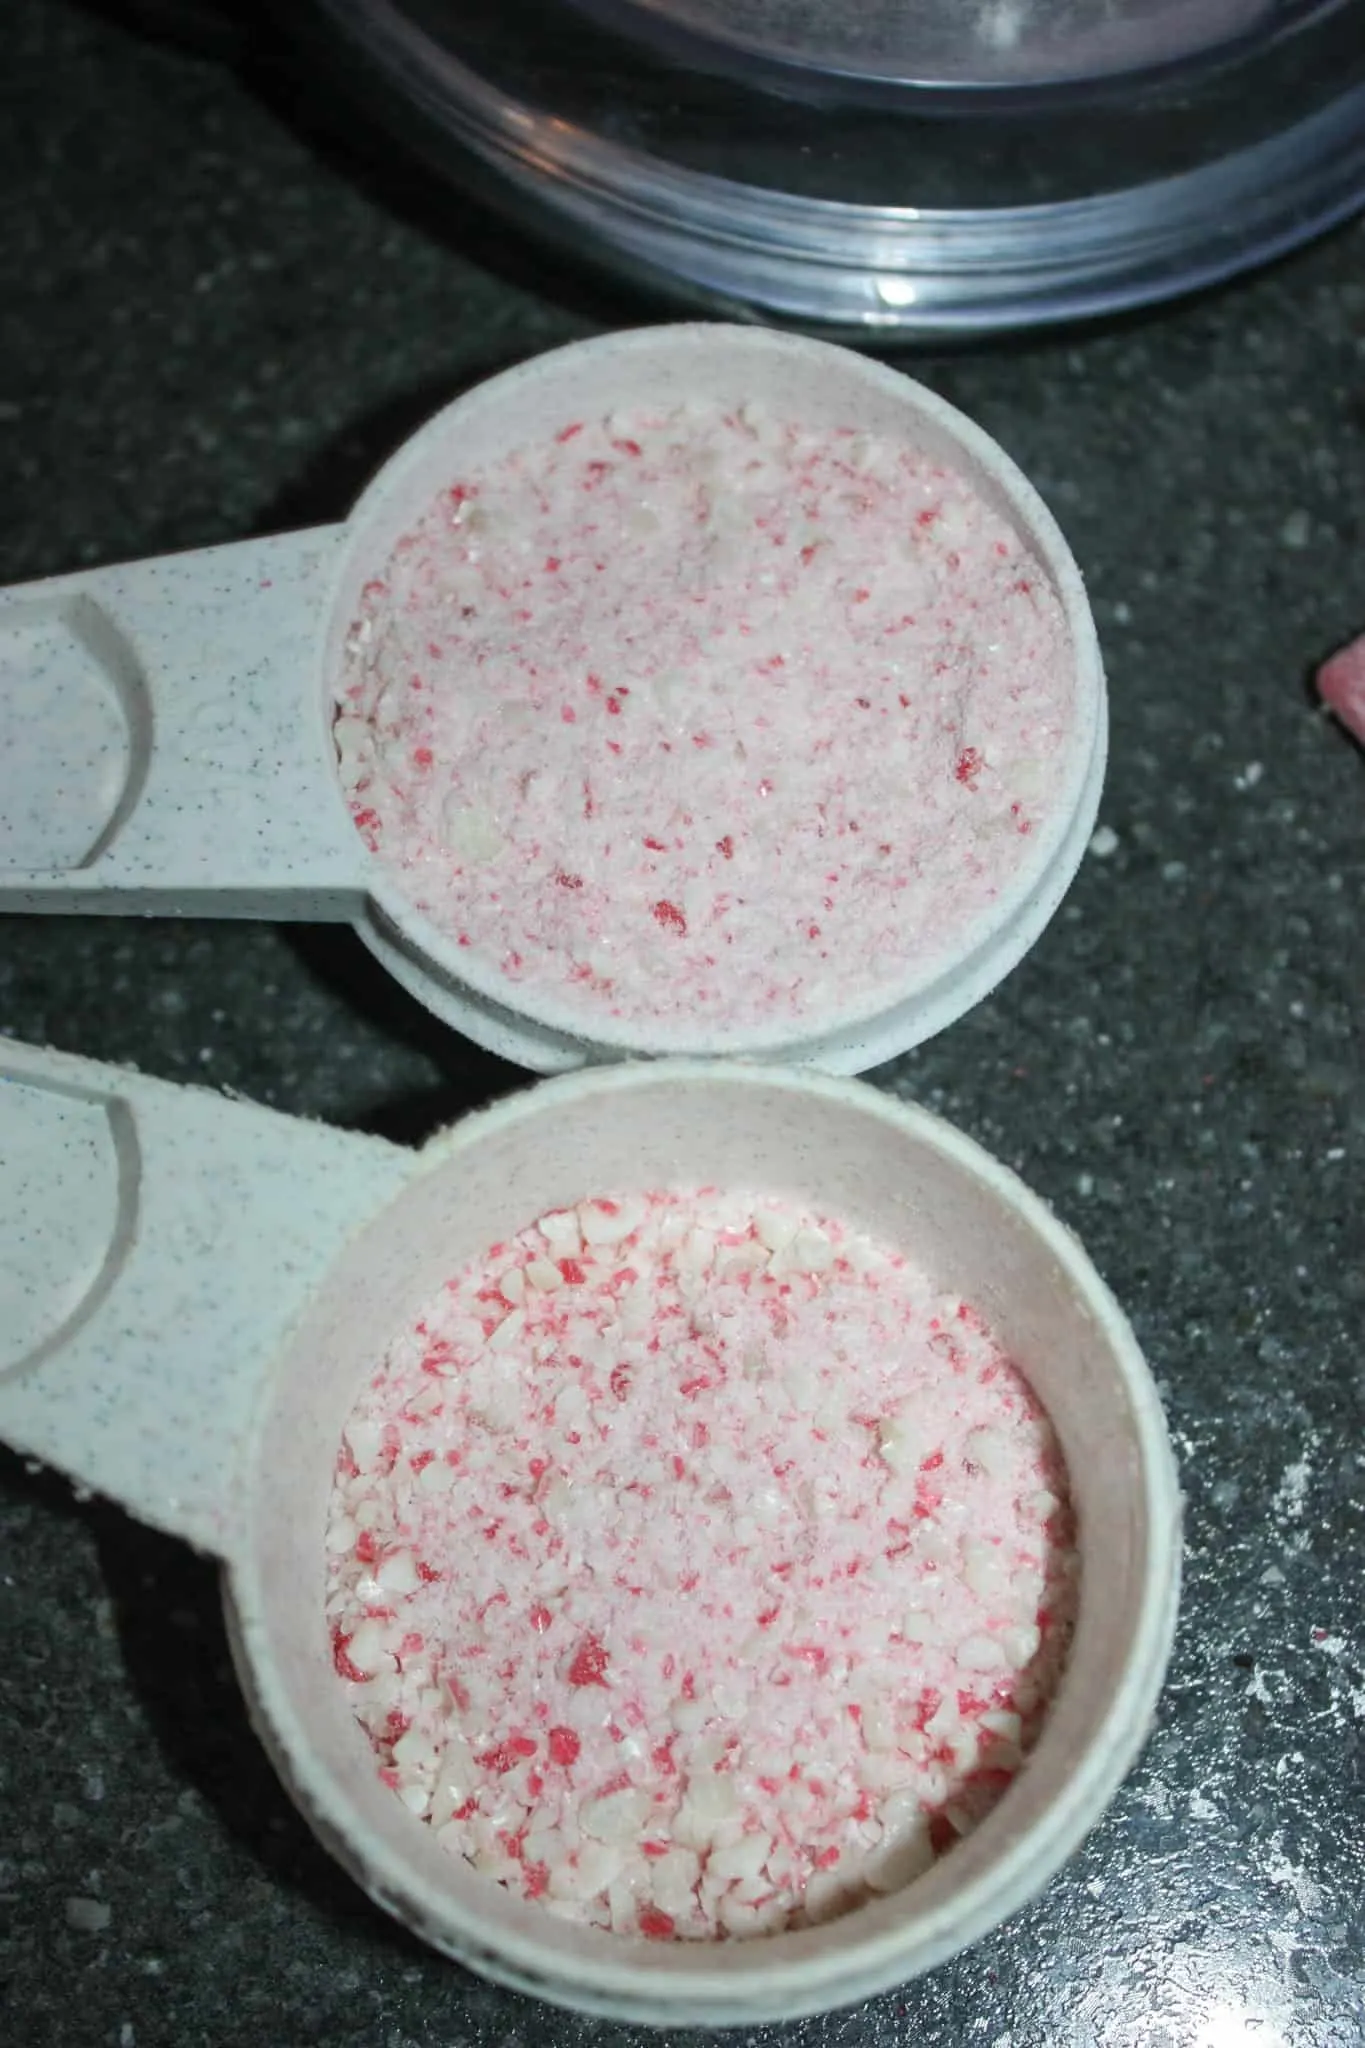
These are the gluten free candy canes I found at my local Health Food Store.
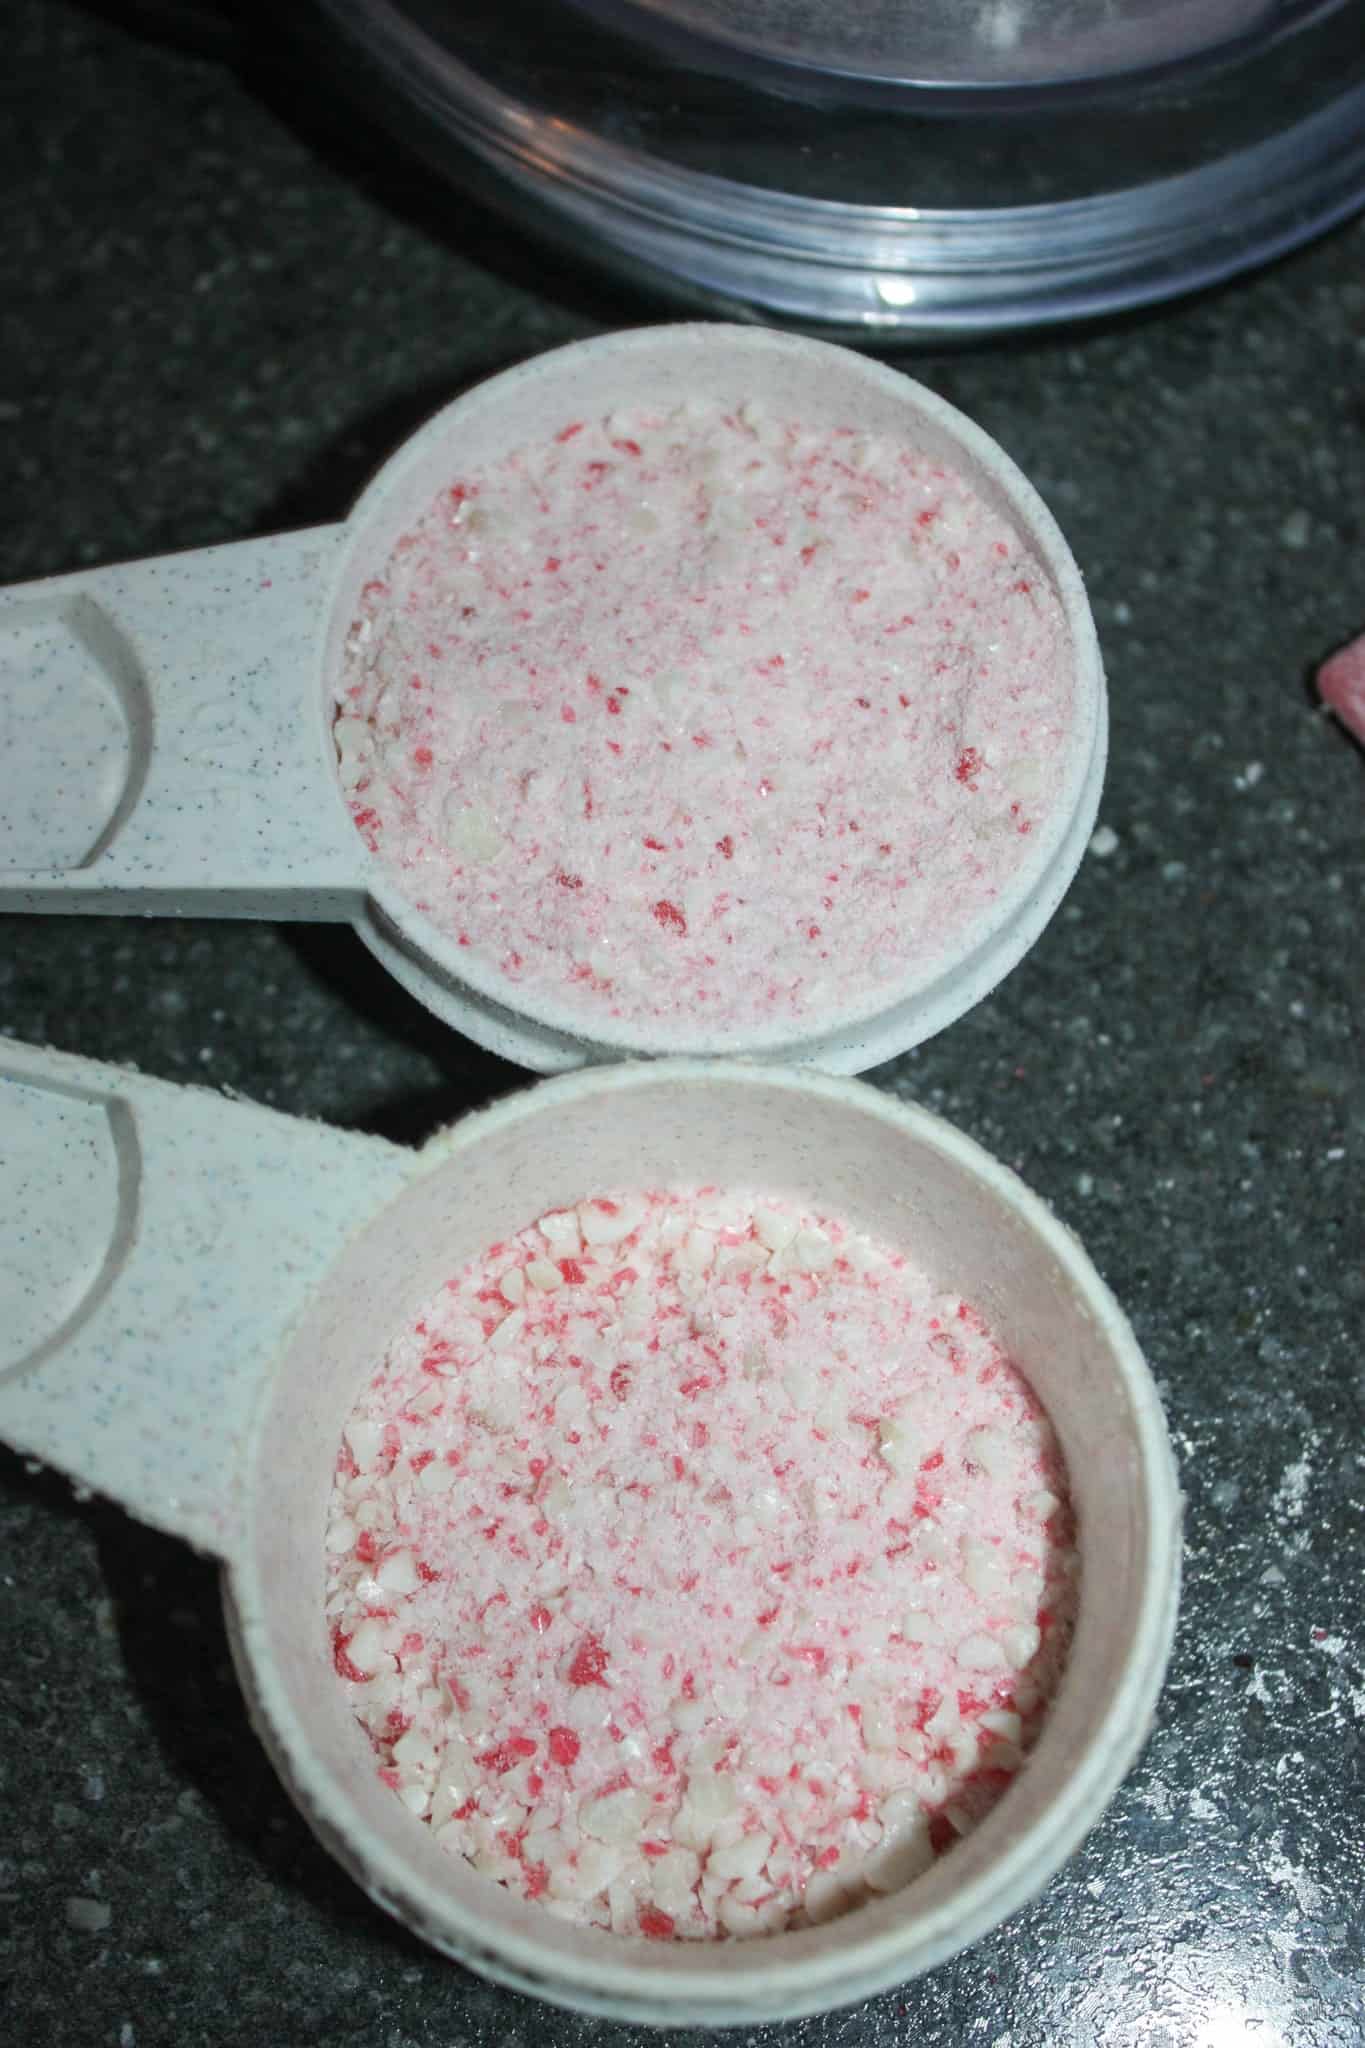
I crushed enough candy canes to equal 1/4 cup plus 2 tablespoons.
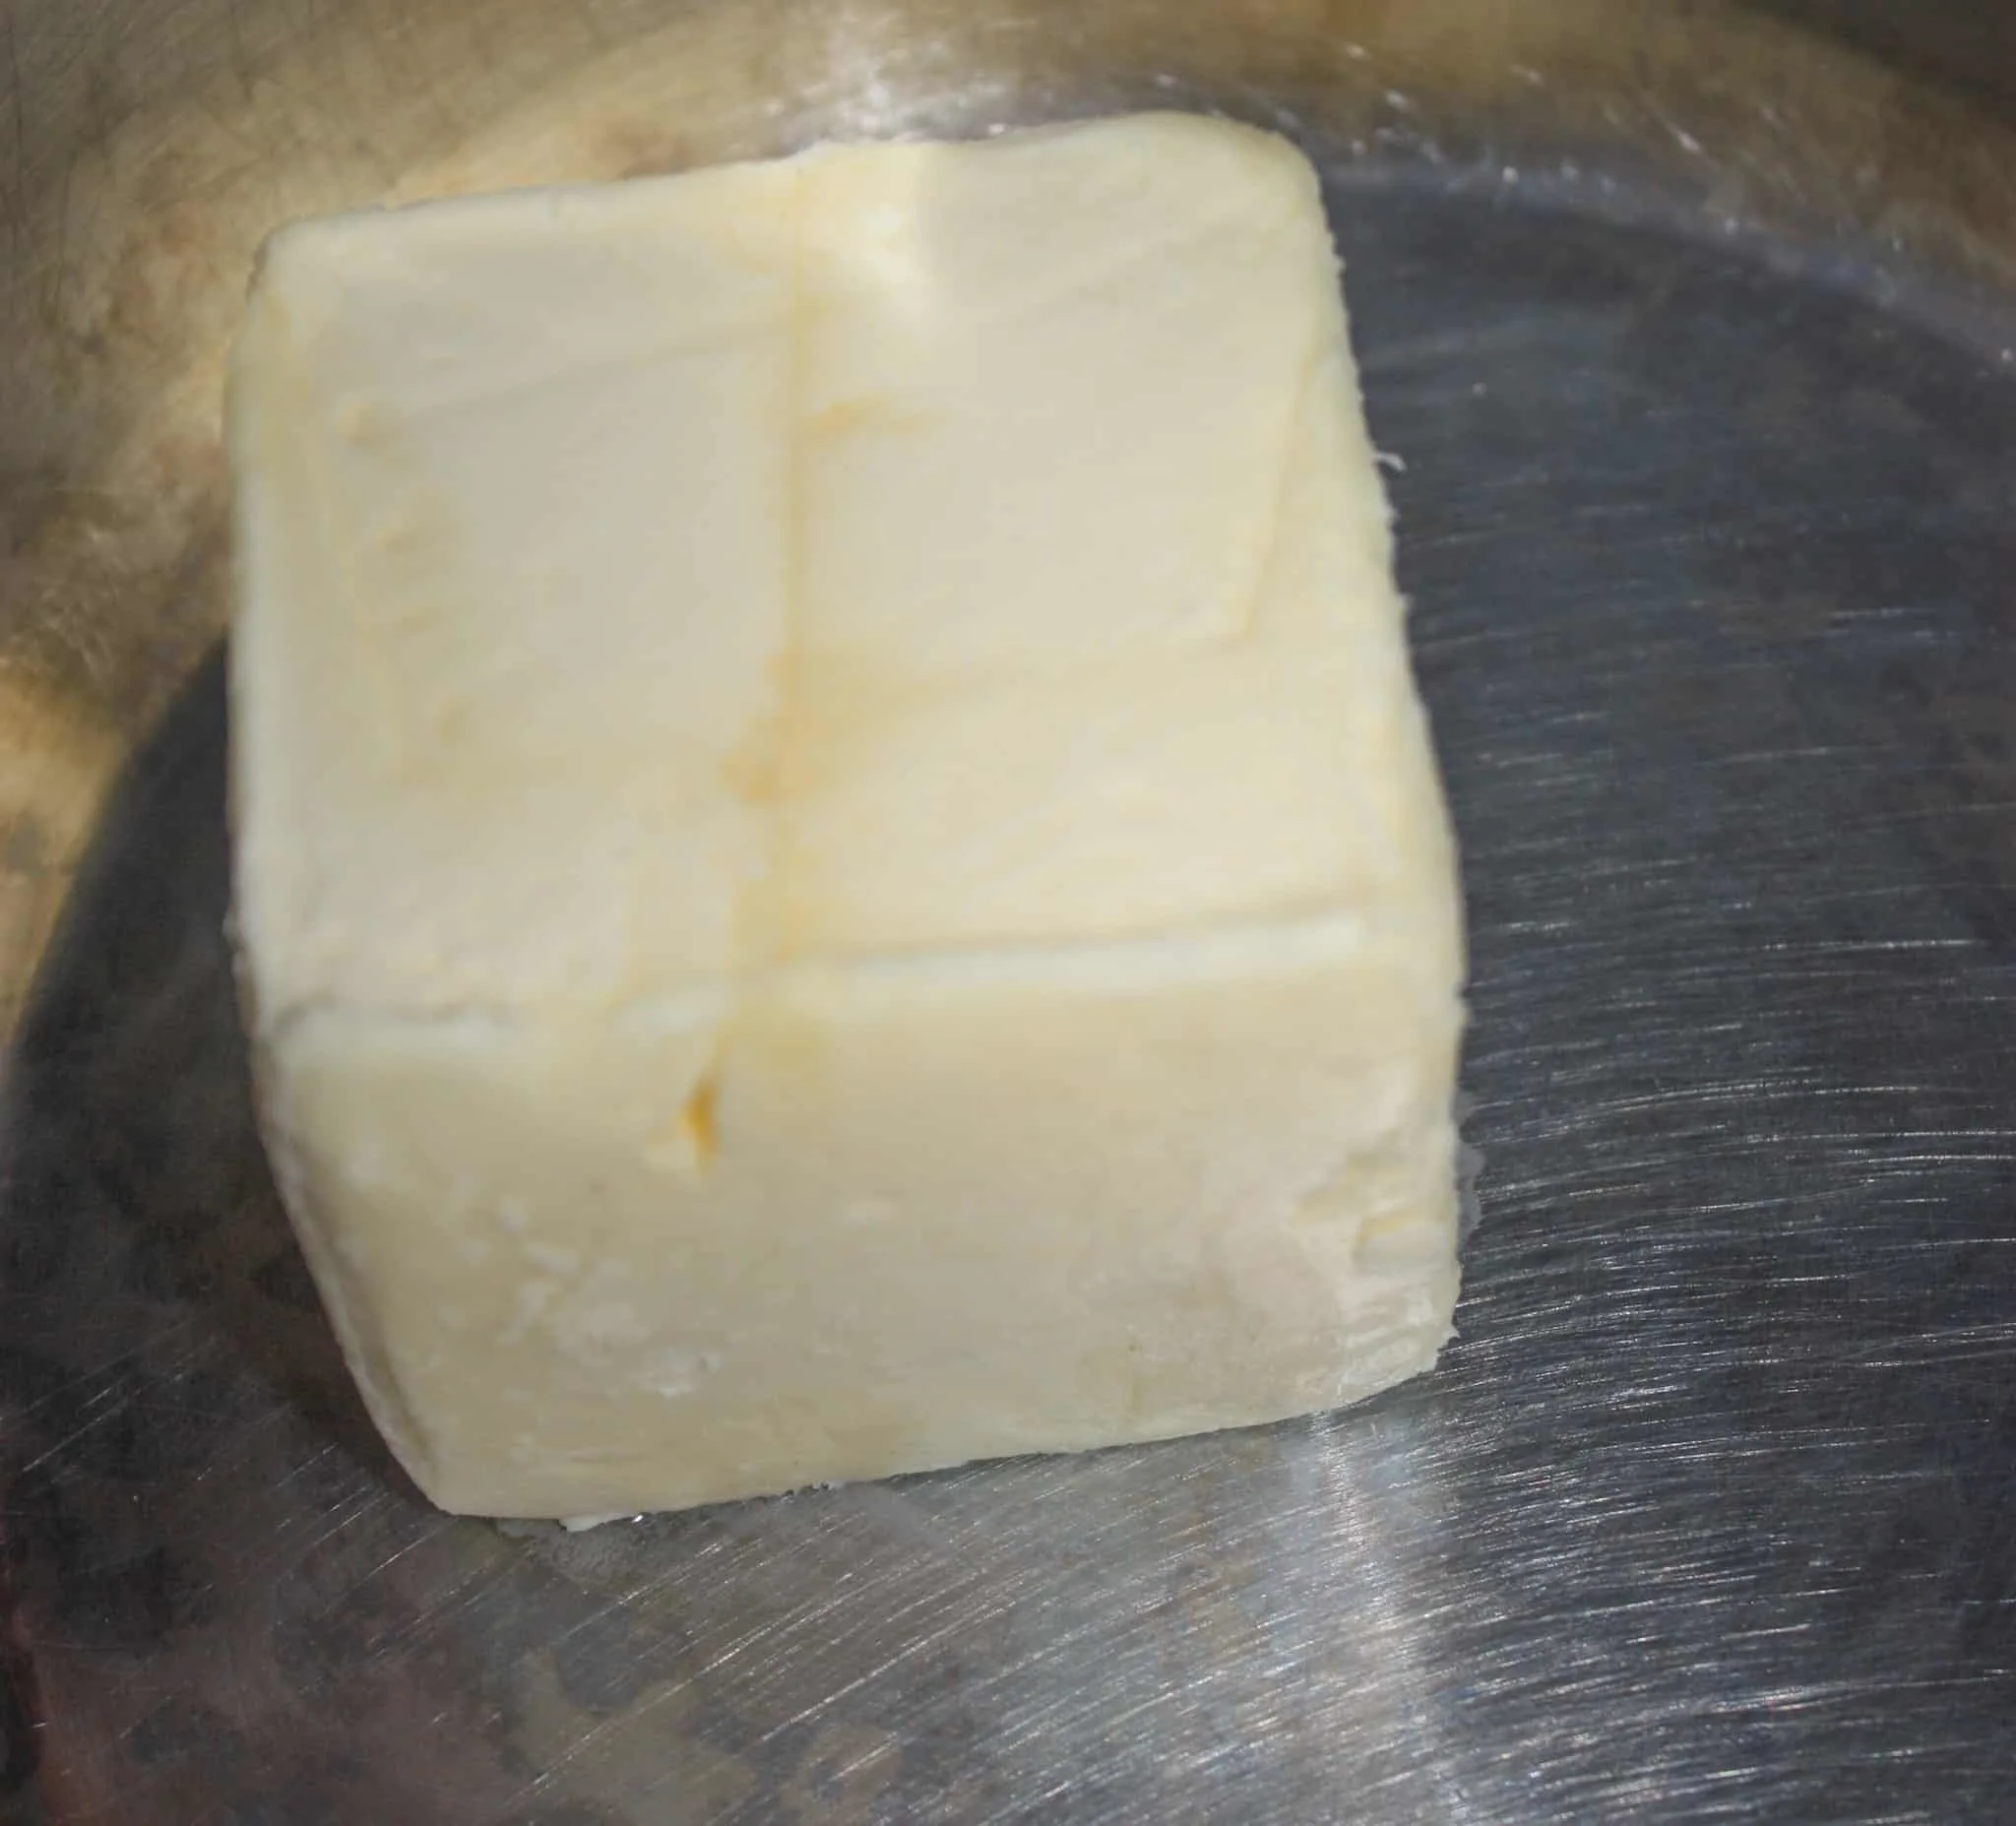
Then I placed a medium sized sauce pan on the stove, added a half pound of butter and turned the heat to medium.

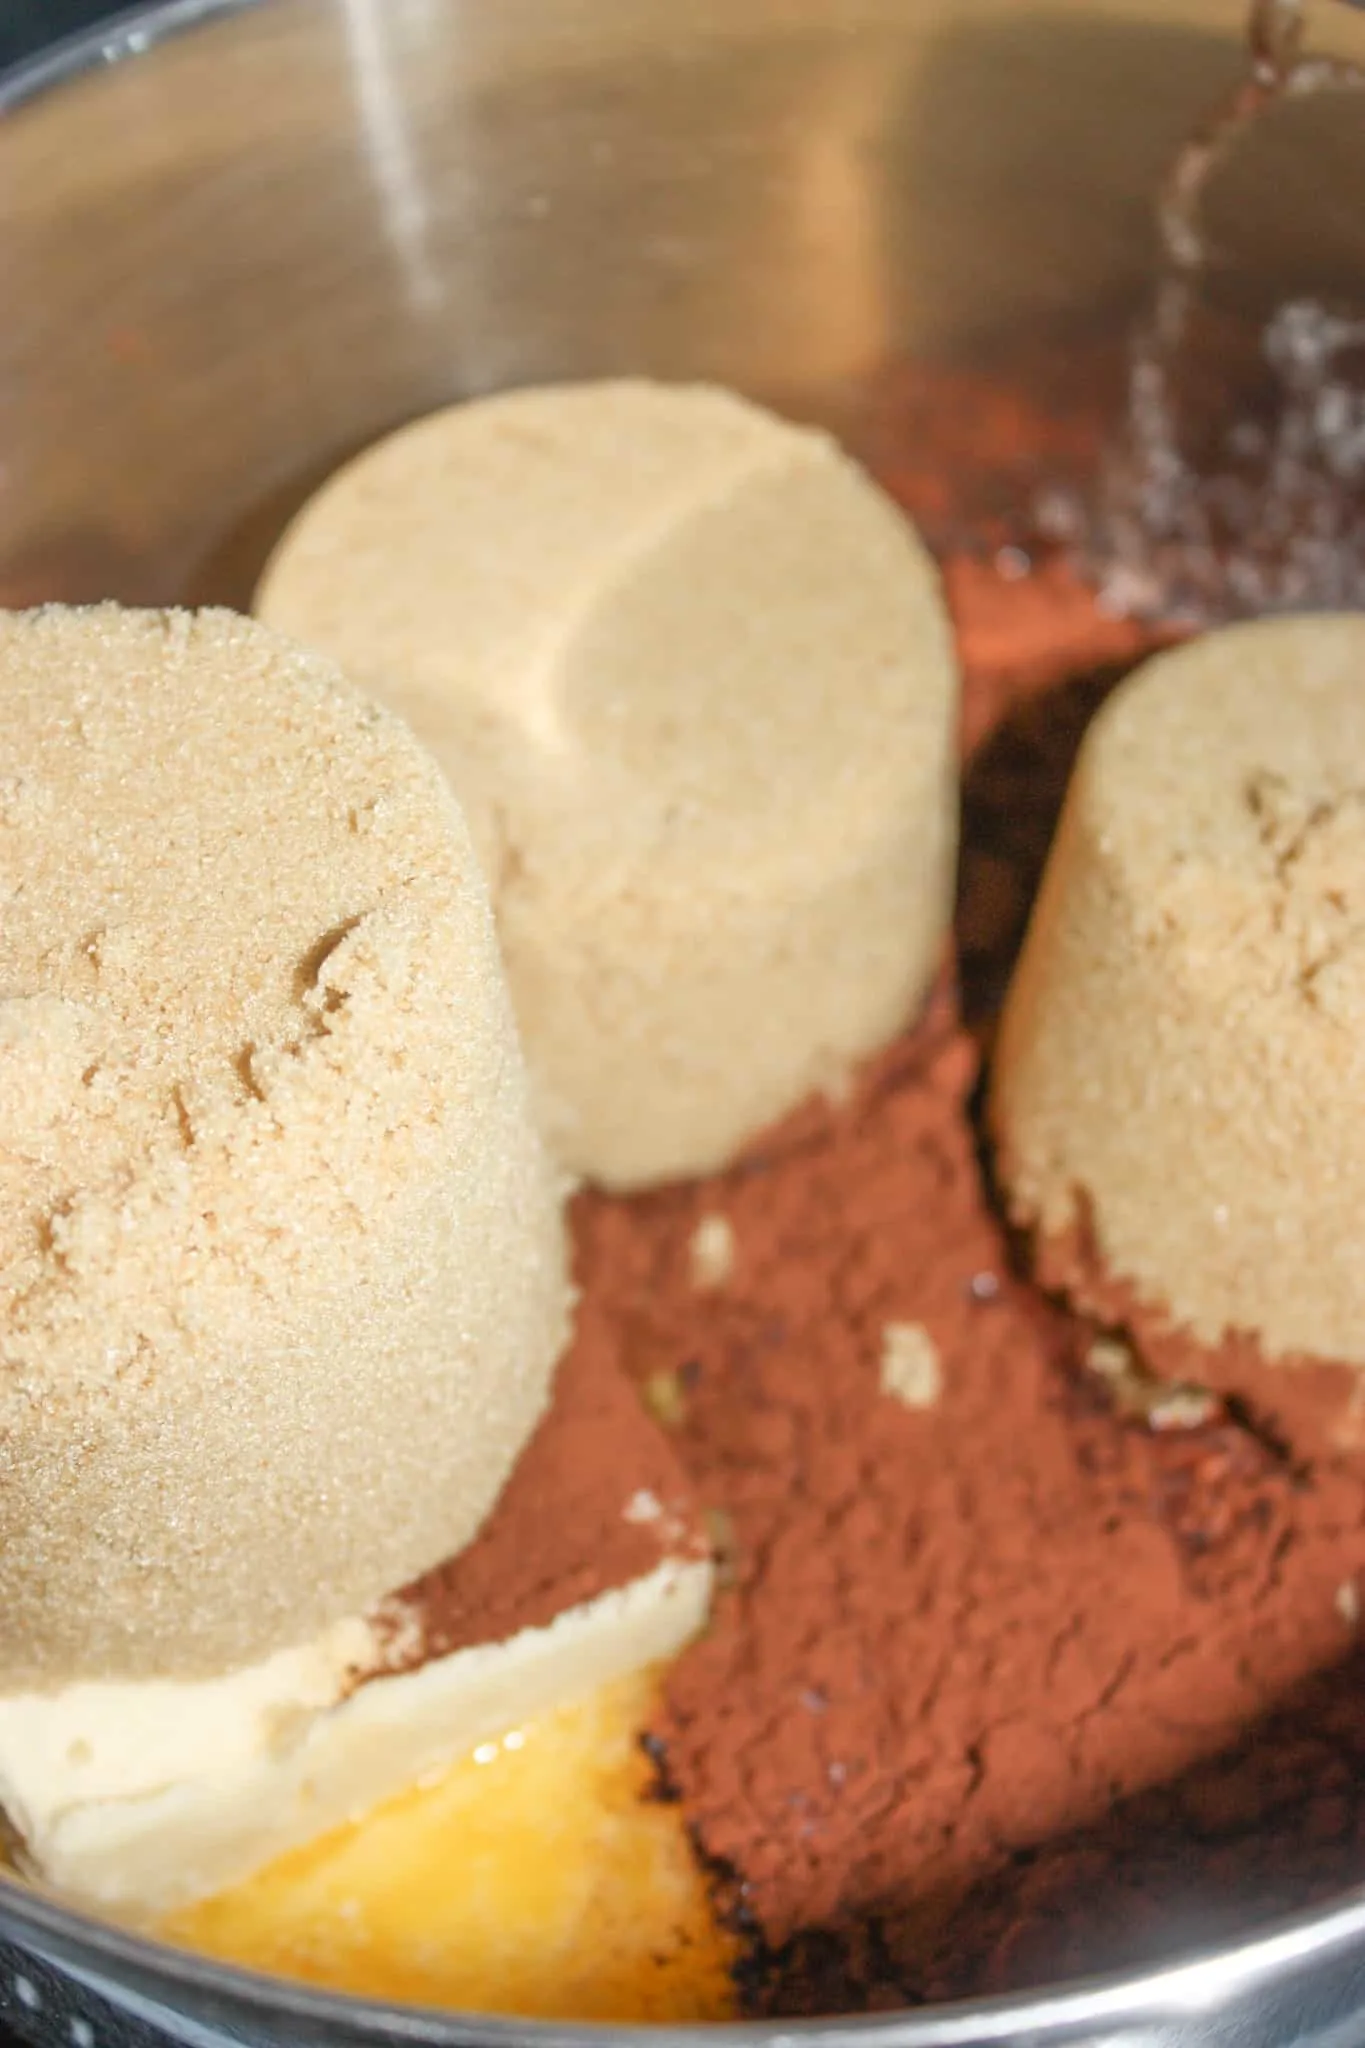
Next I measured in some evaporated milk, brown sugar and cocoa.

I occasionally stirred these ingredients together until the butter had melted. Once the butter melted I stirred it continuously until it started to bubble.
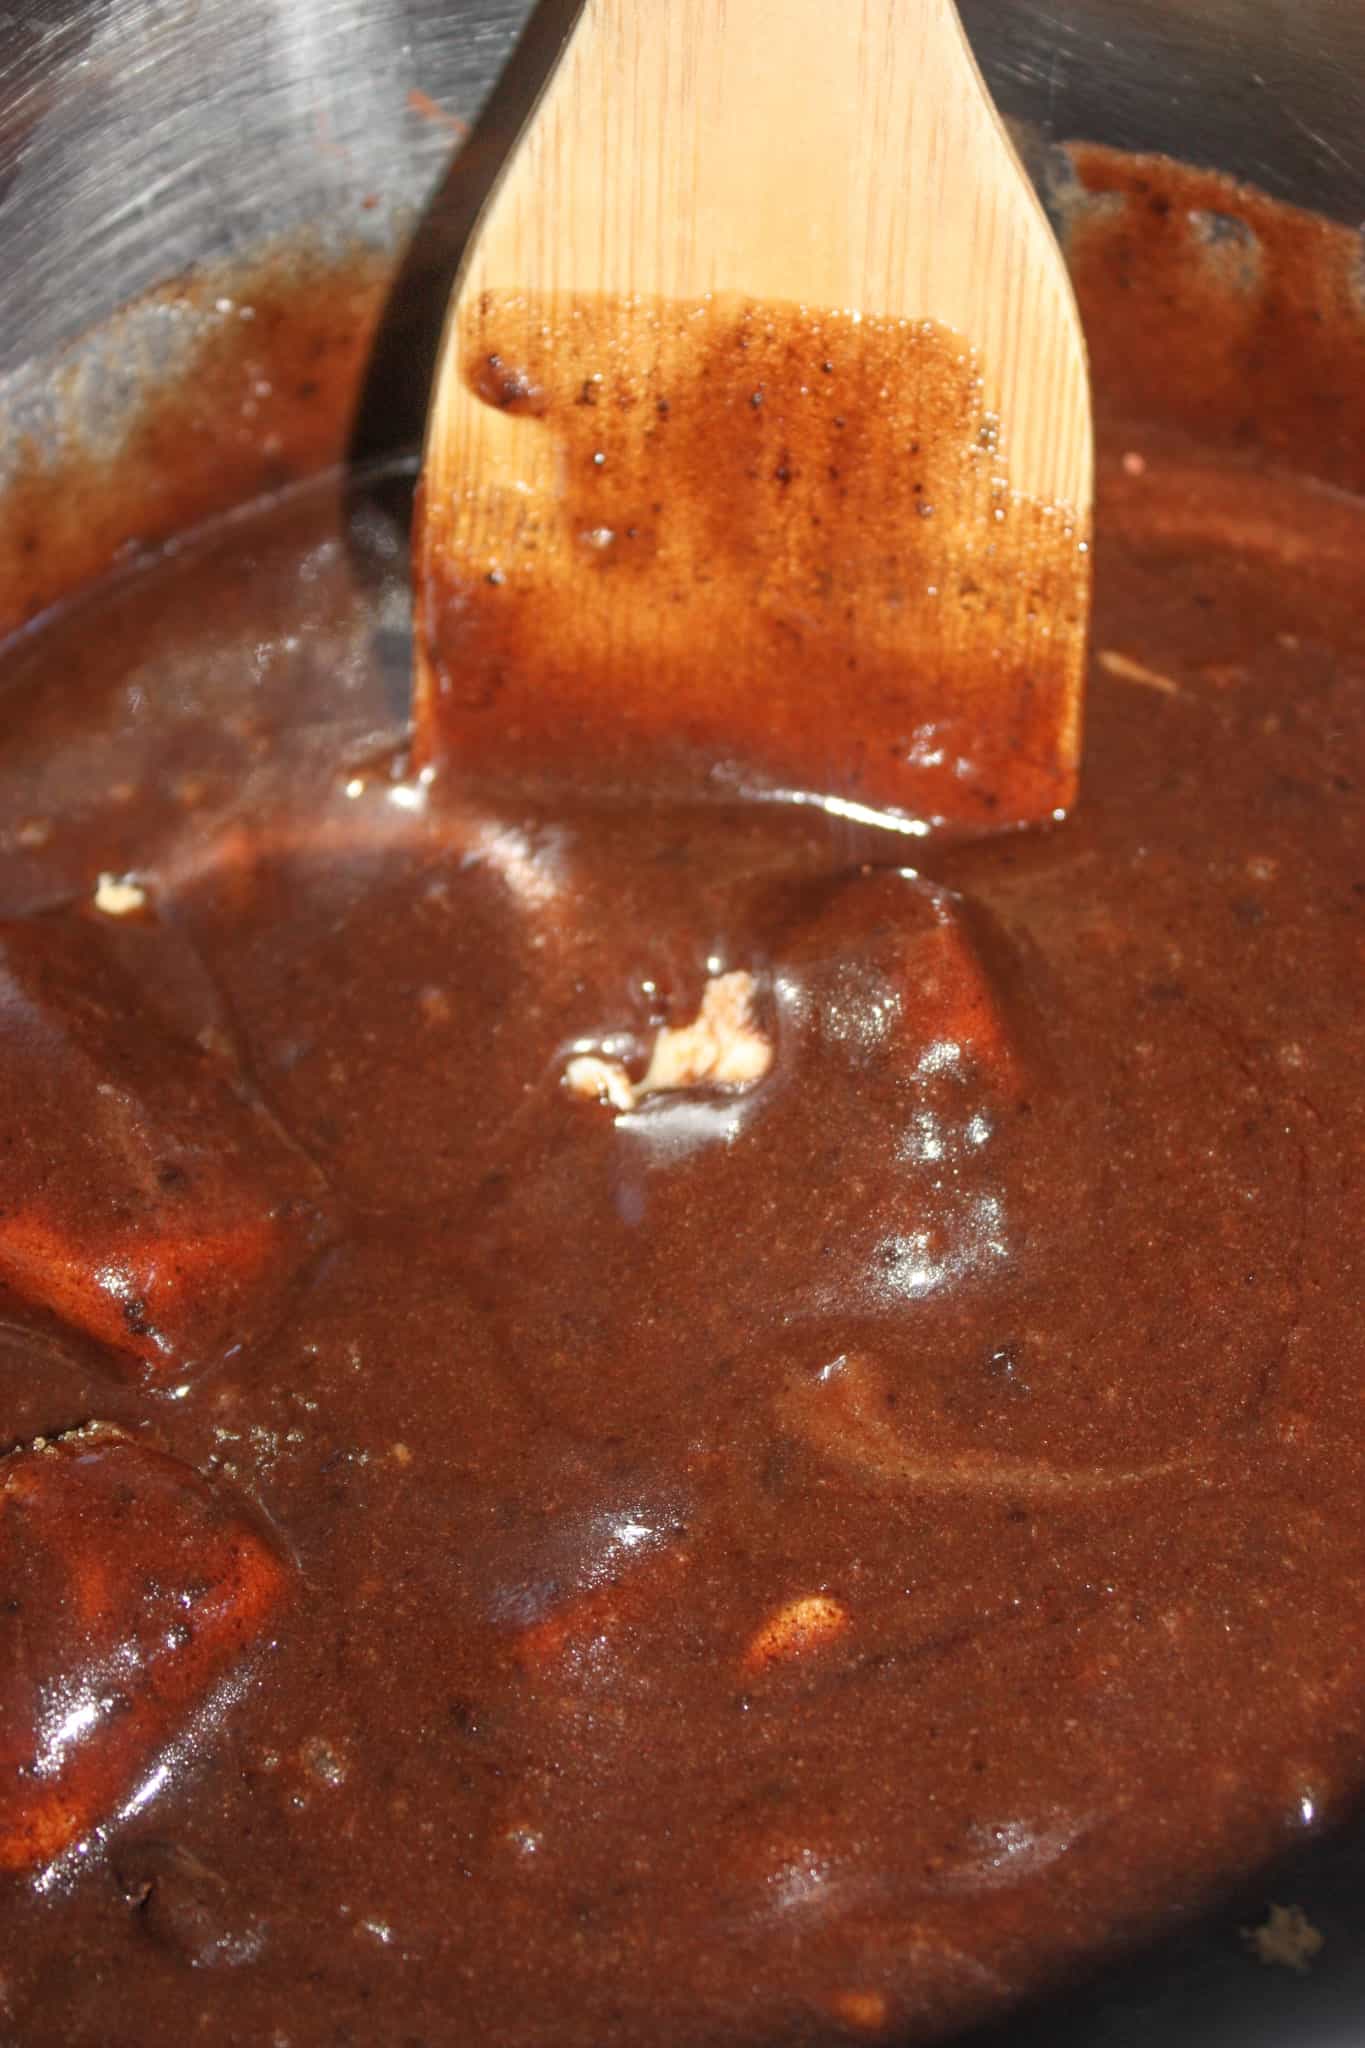
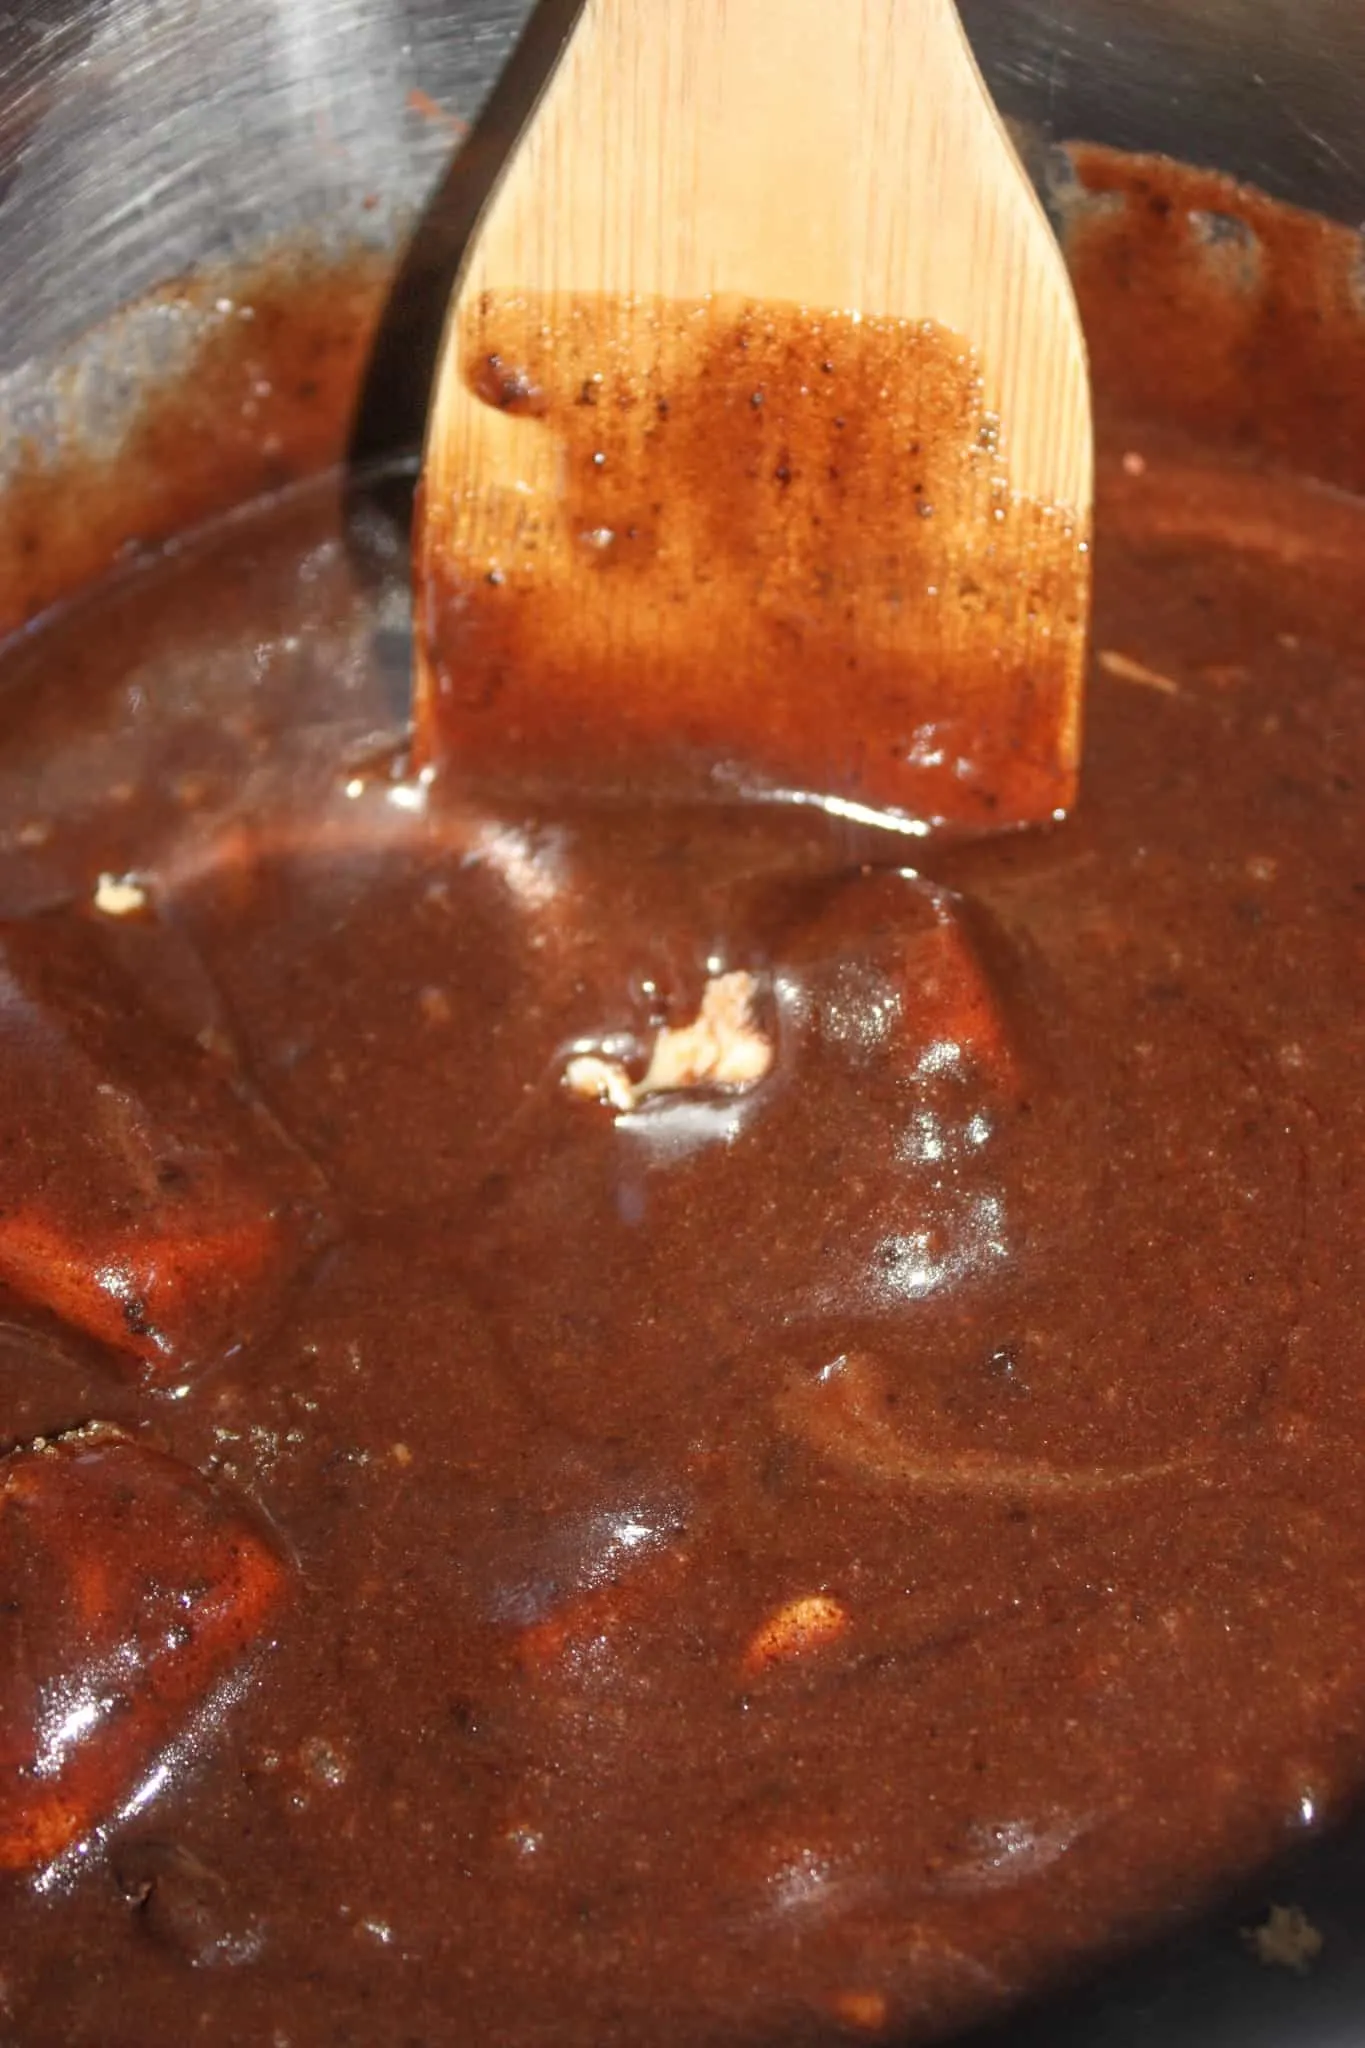
When it started to bubble I stopped stirring and allowed it to boil for 6 minutes.

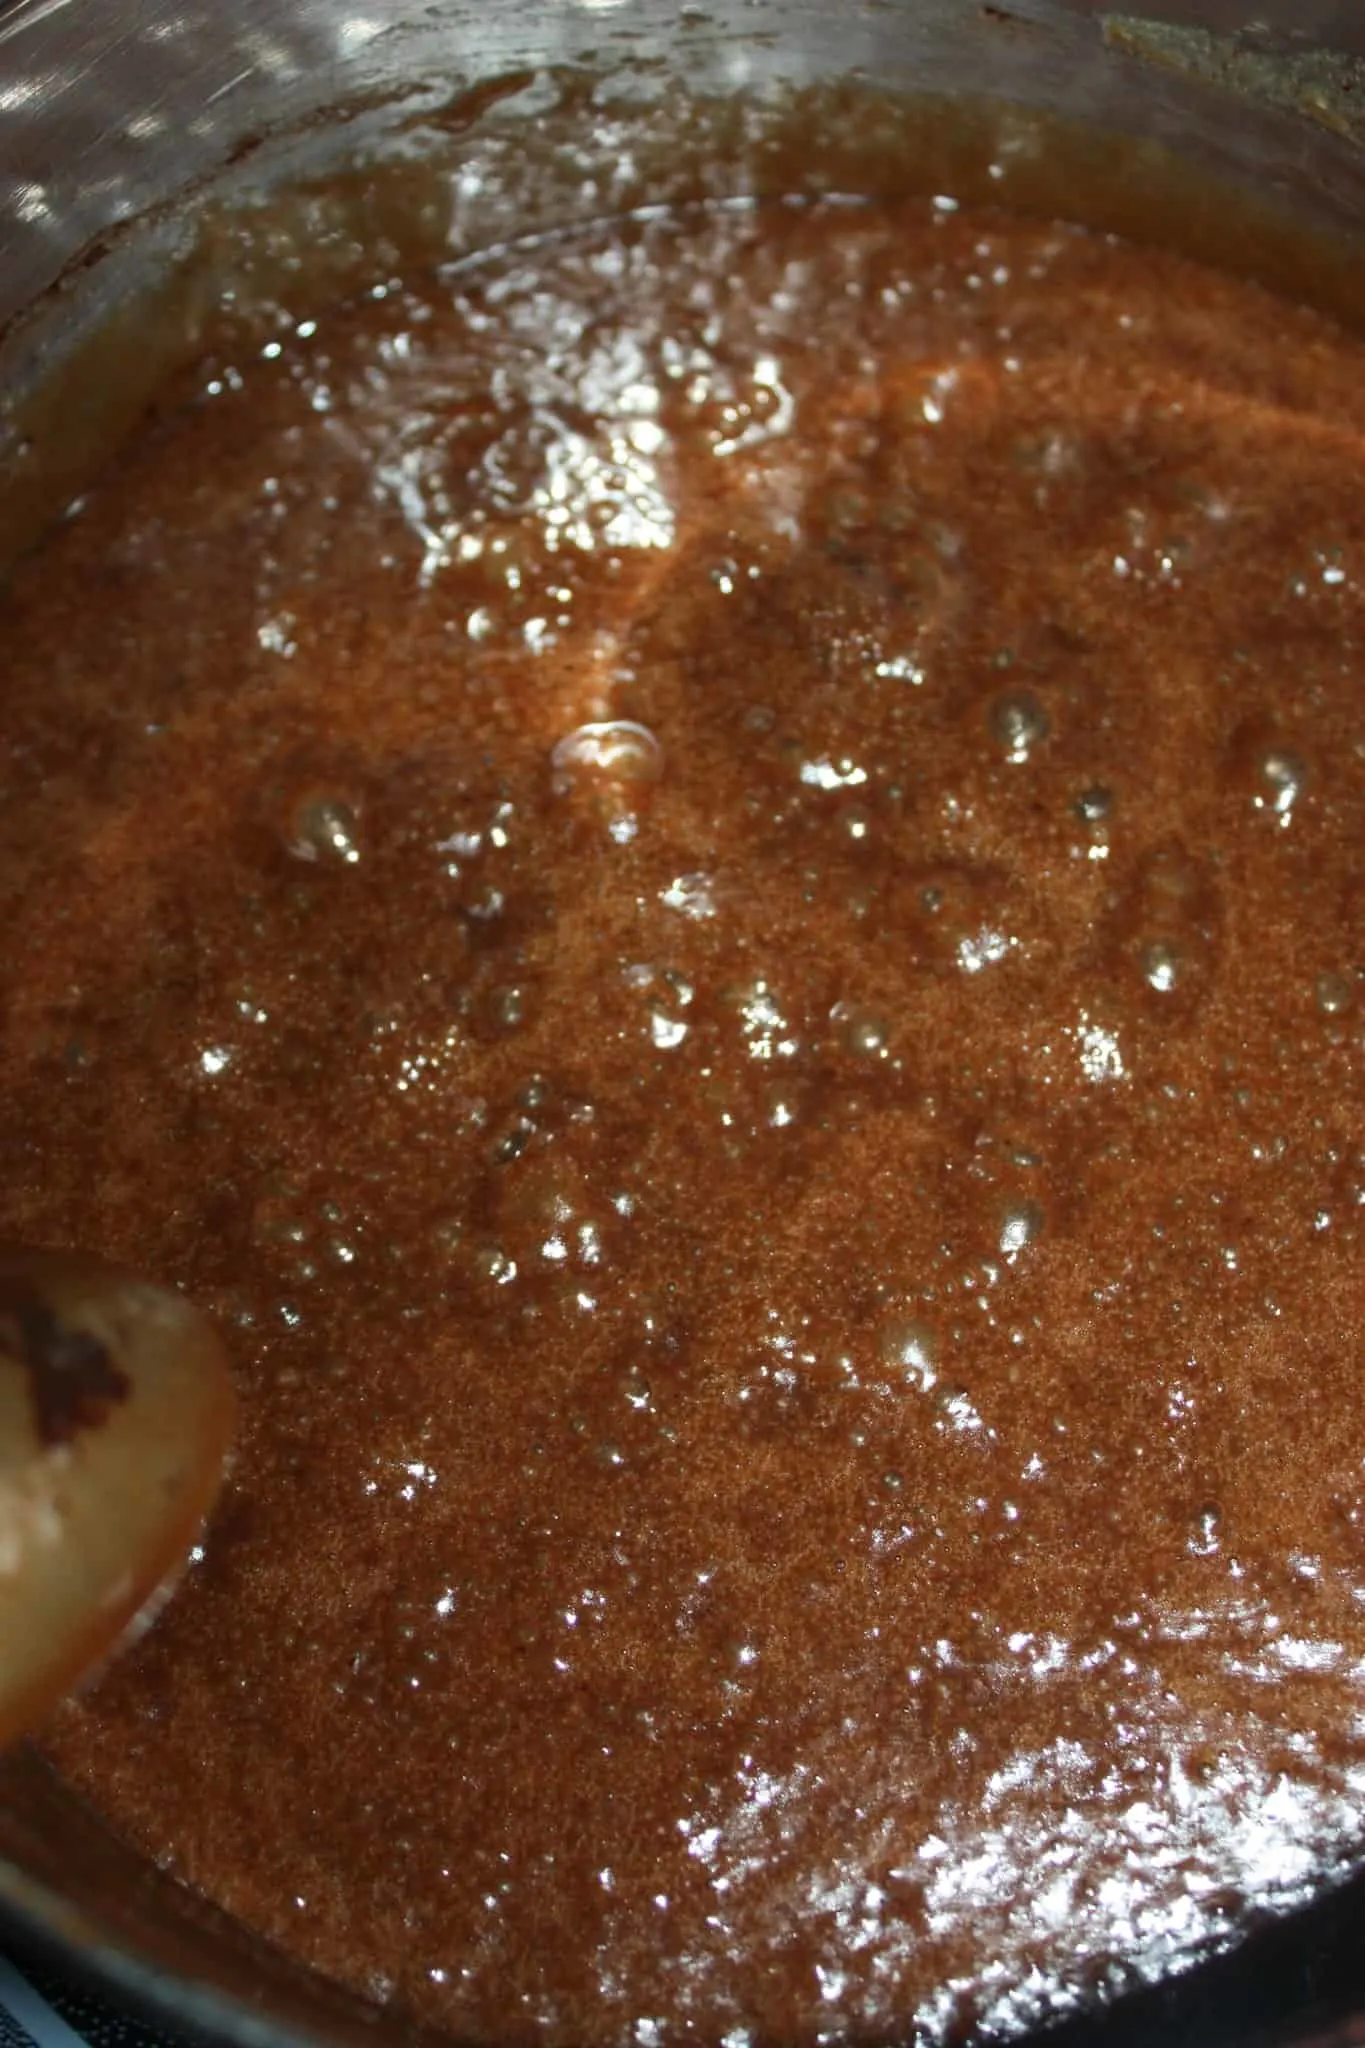
After 6 minutes I removed the fudge from the heat and poured it into a large Pyrex measuring cup.
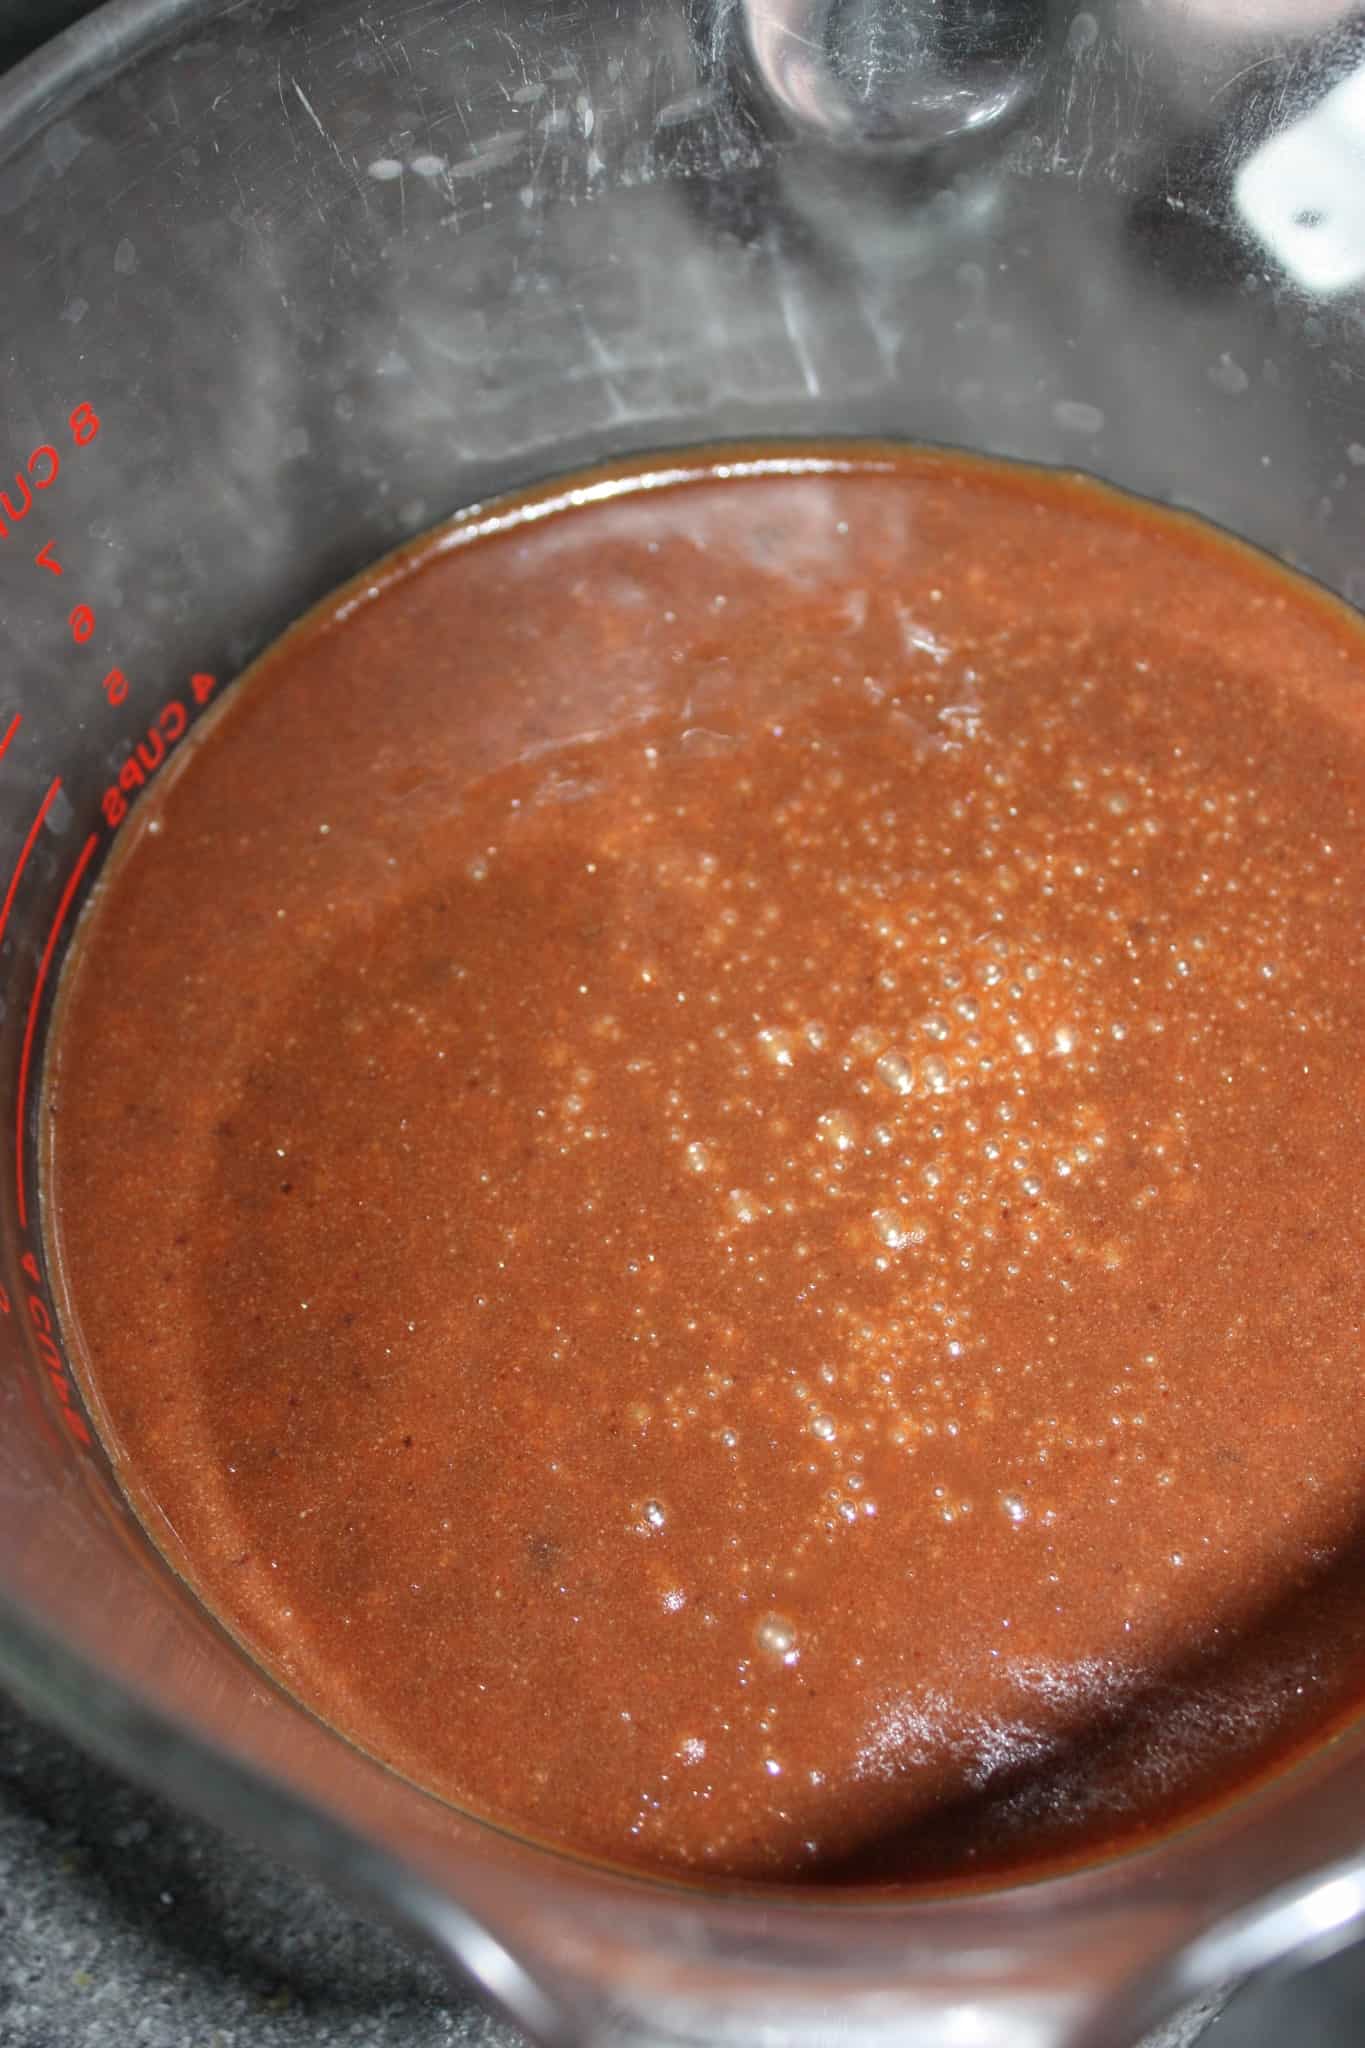

Then I measured in half of the crushed candy canes and a bit of peppermint extract.
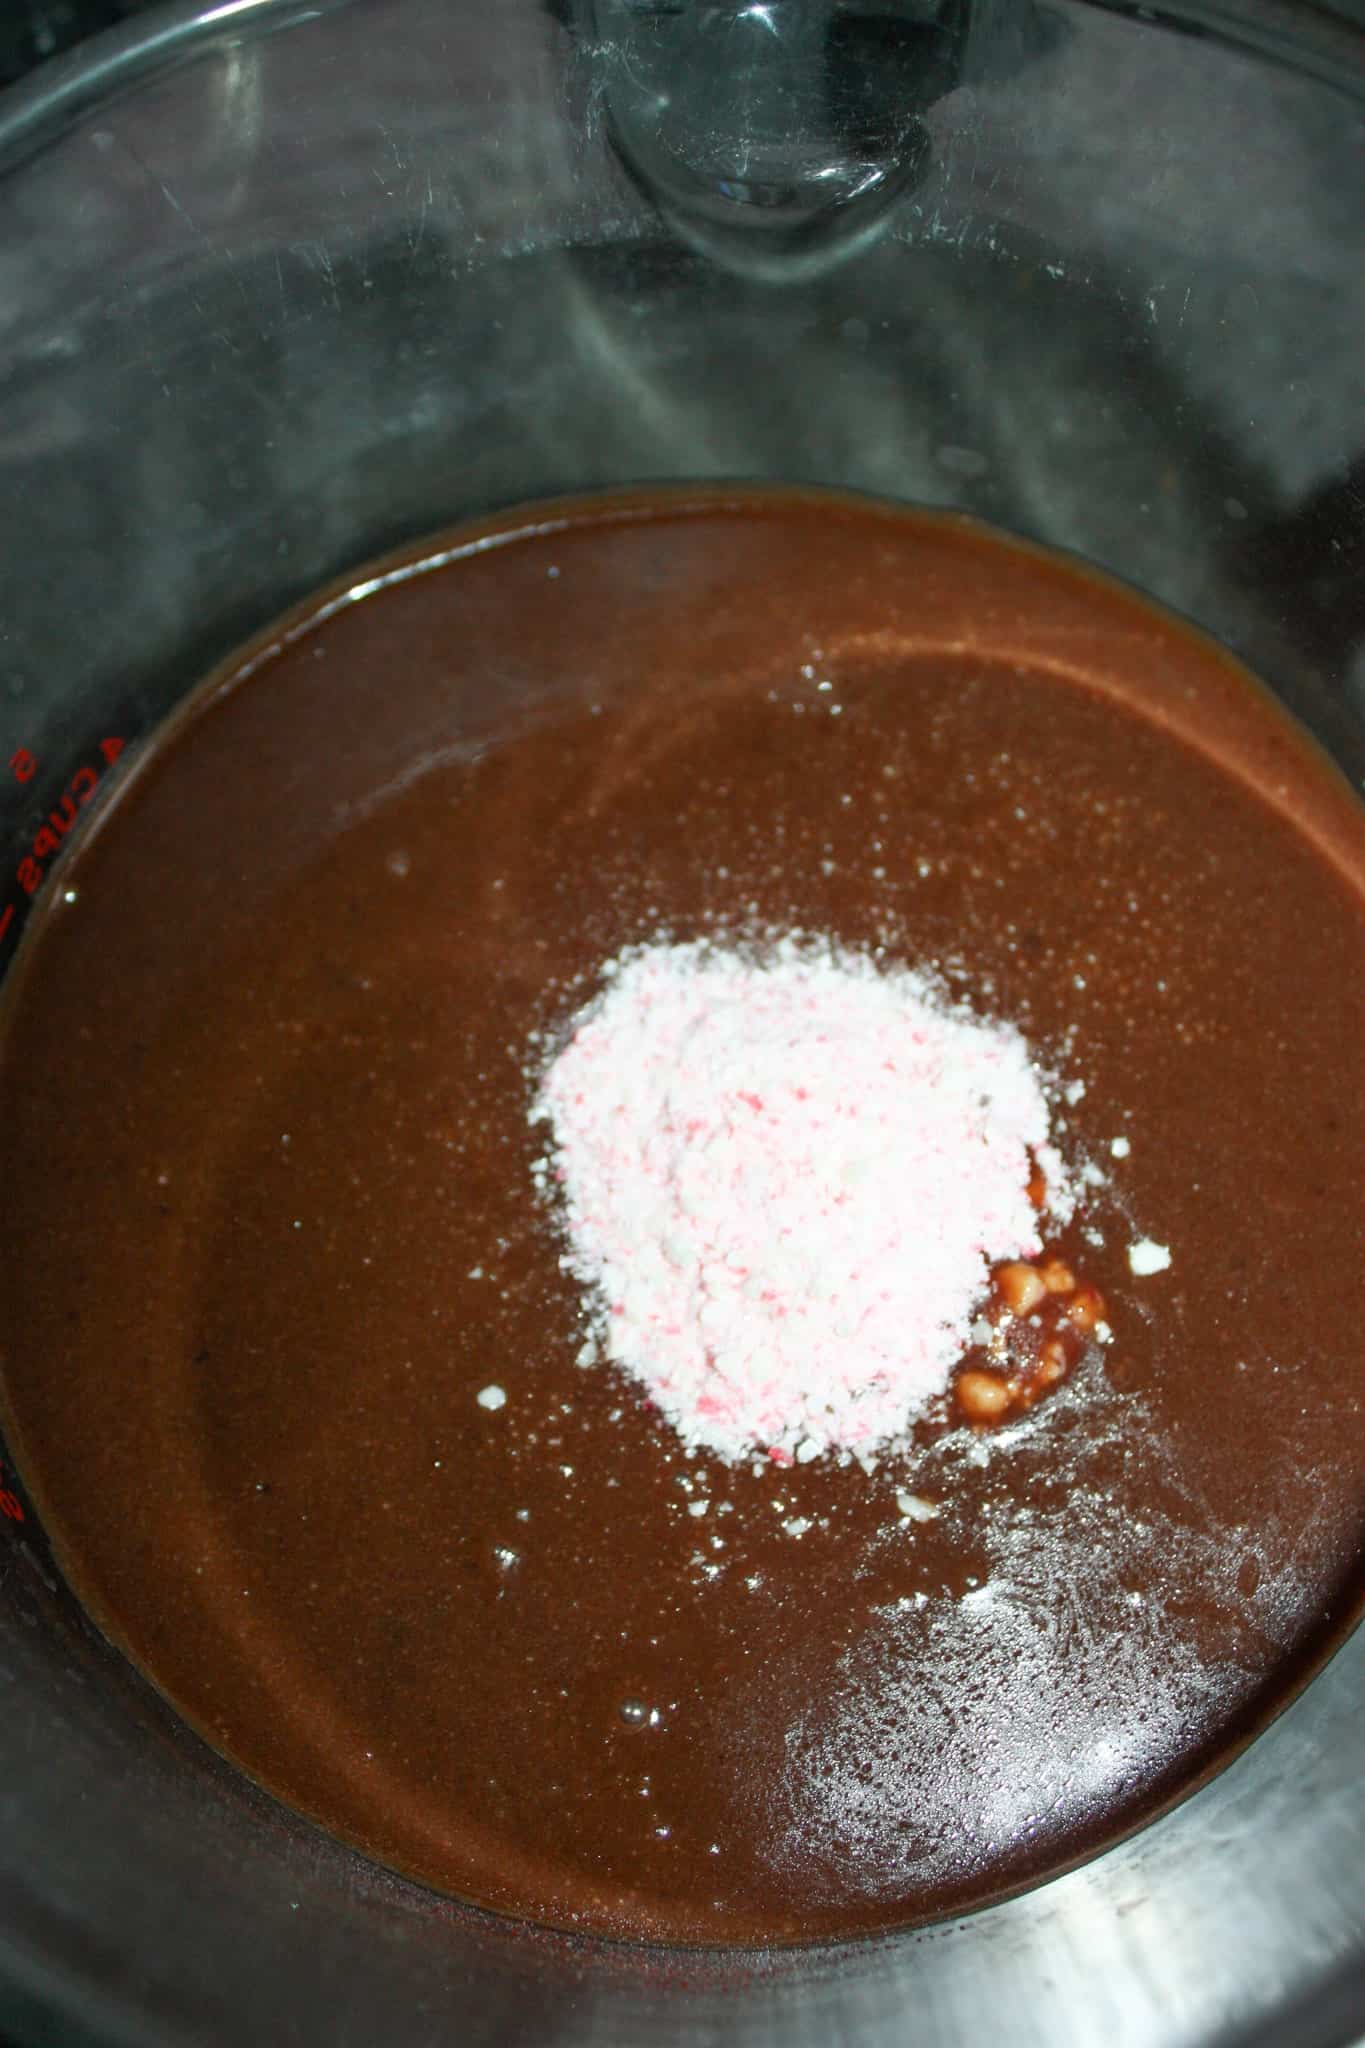

Next I gradually added in 2 1/2 cups of icing sugar while I continued stirring.
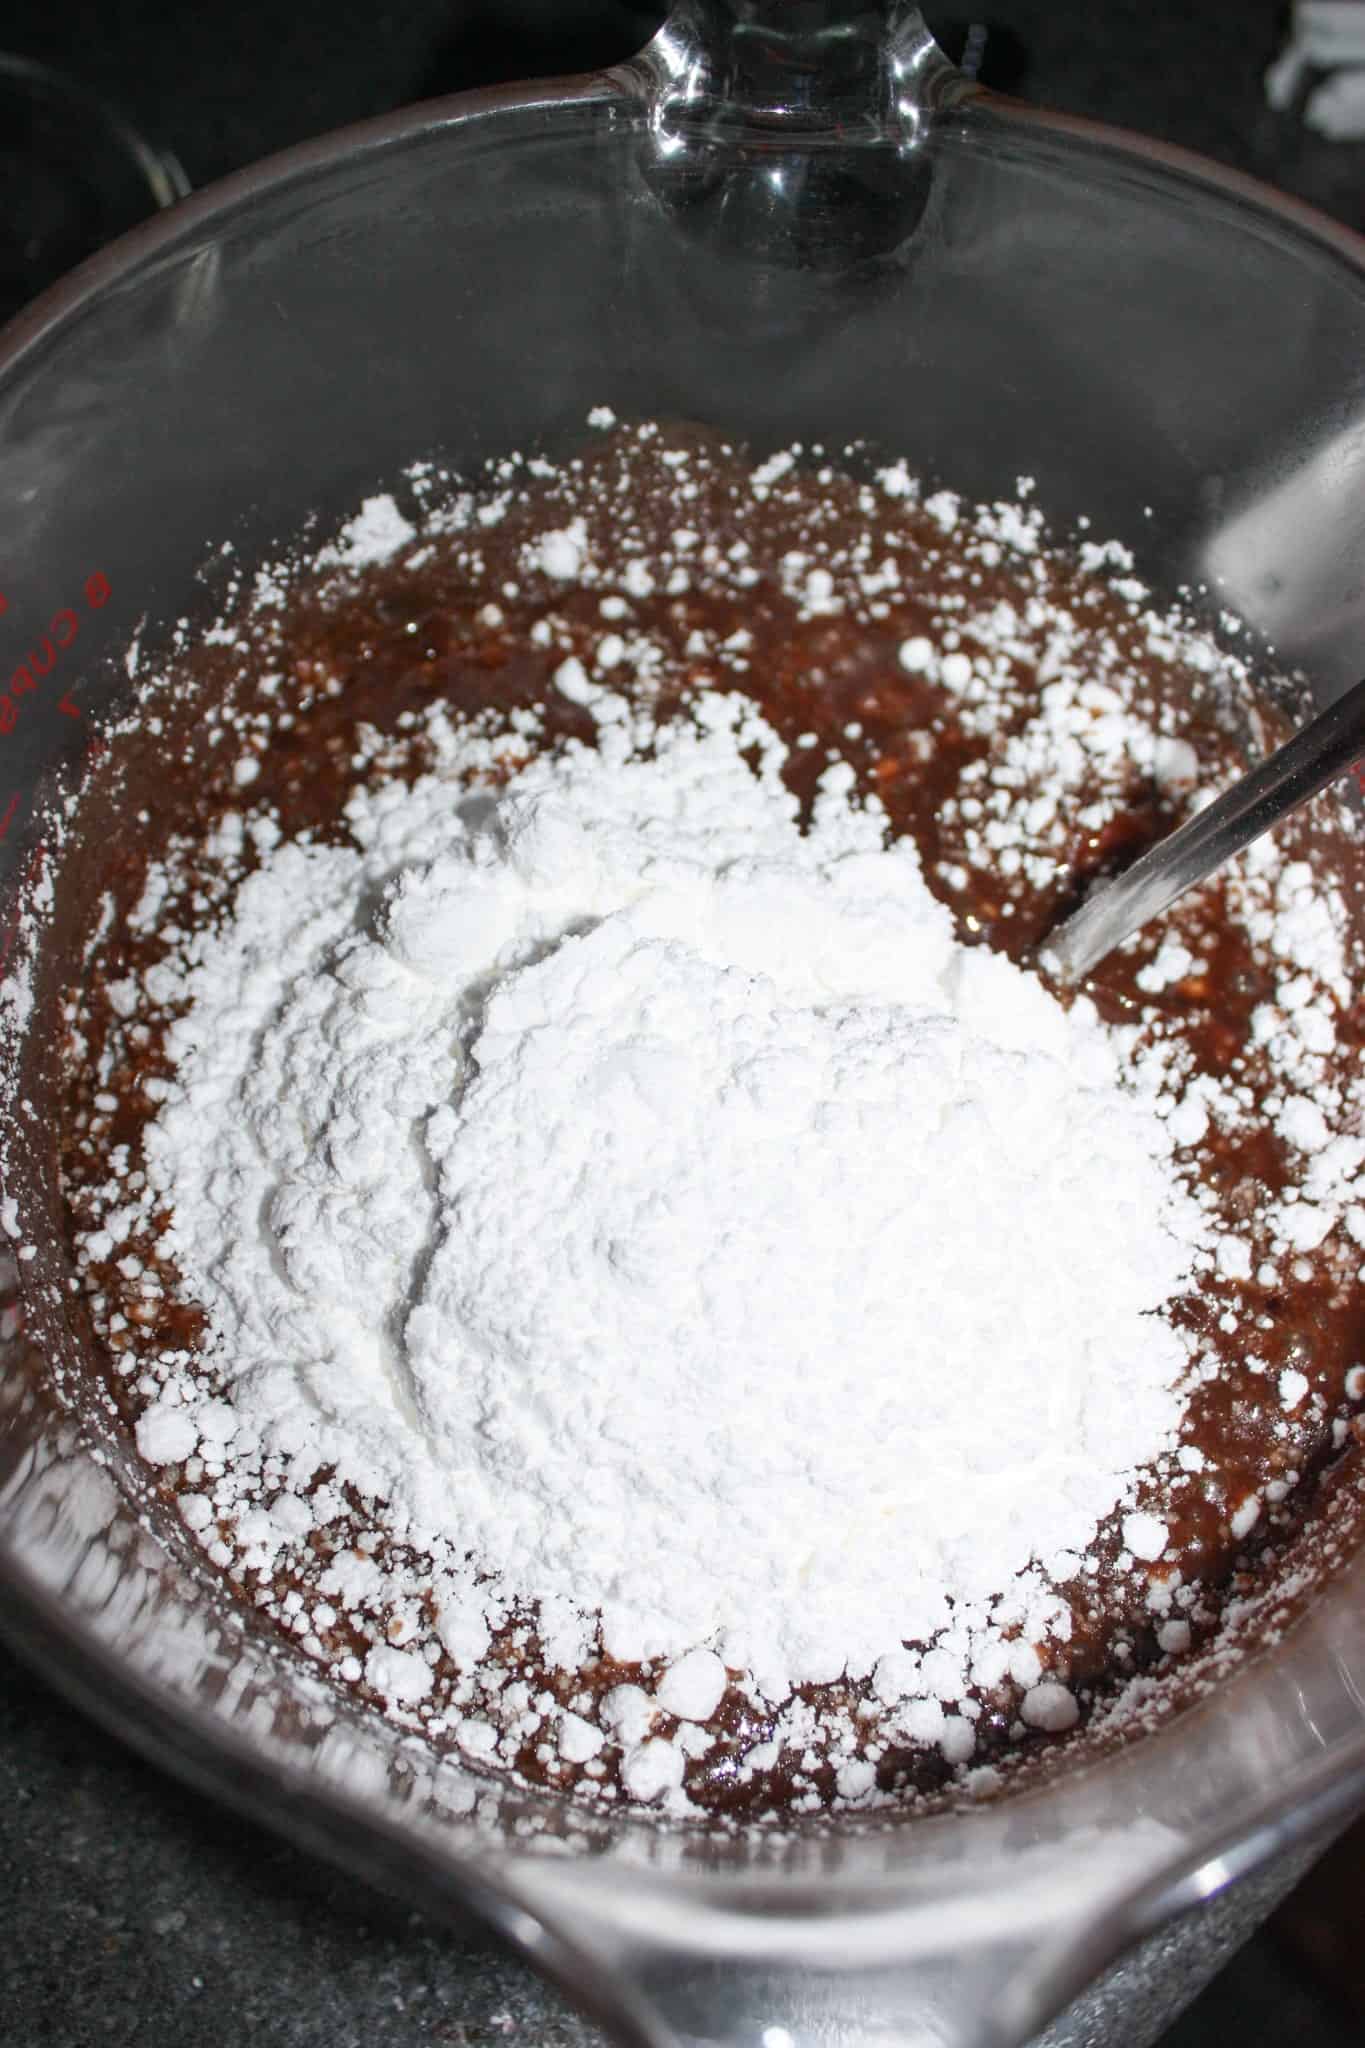

I stopped stirring once the icing sugar was fully integrated into the fudge. Crush as many icing sugar lumps as you can if you have not sifted it first.
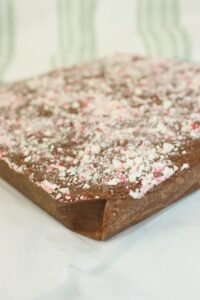
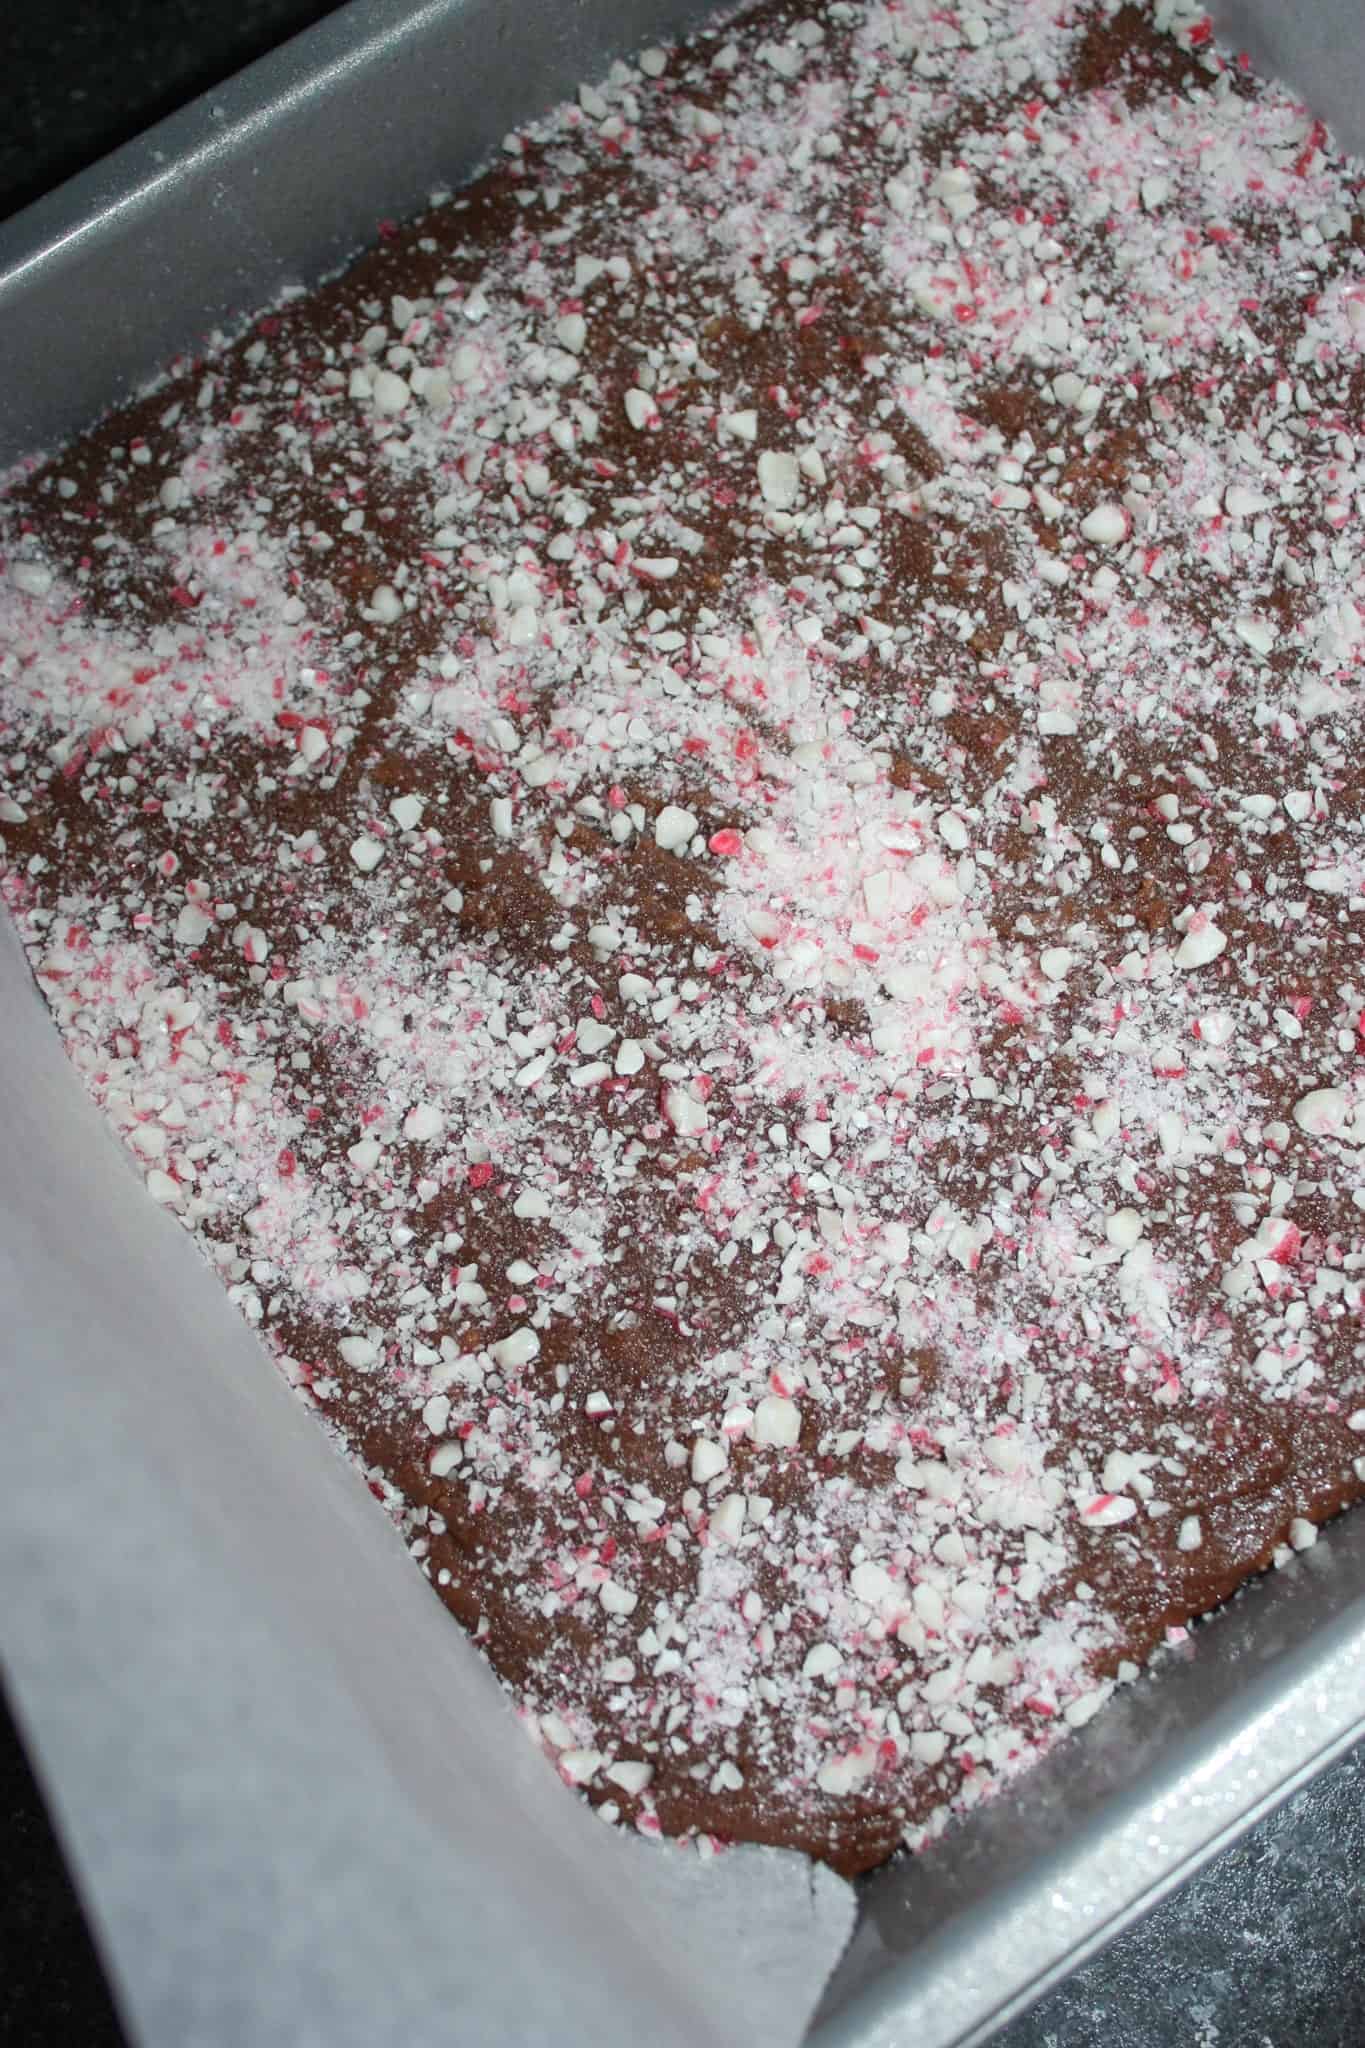
I poured the hot fudge into the prepared 8 x 8 inch baking pan.
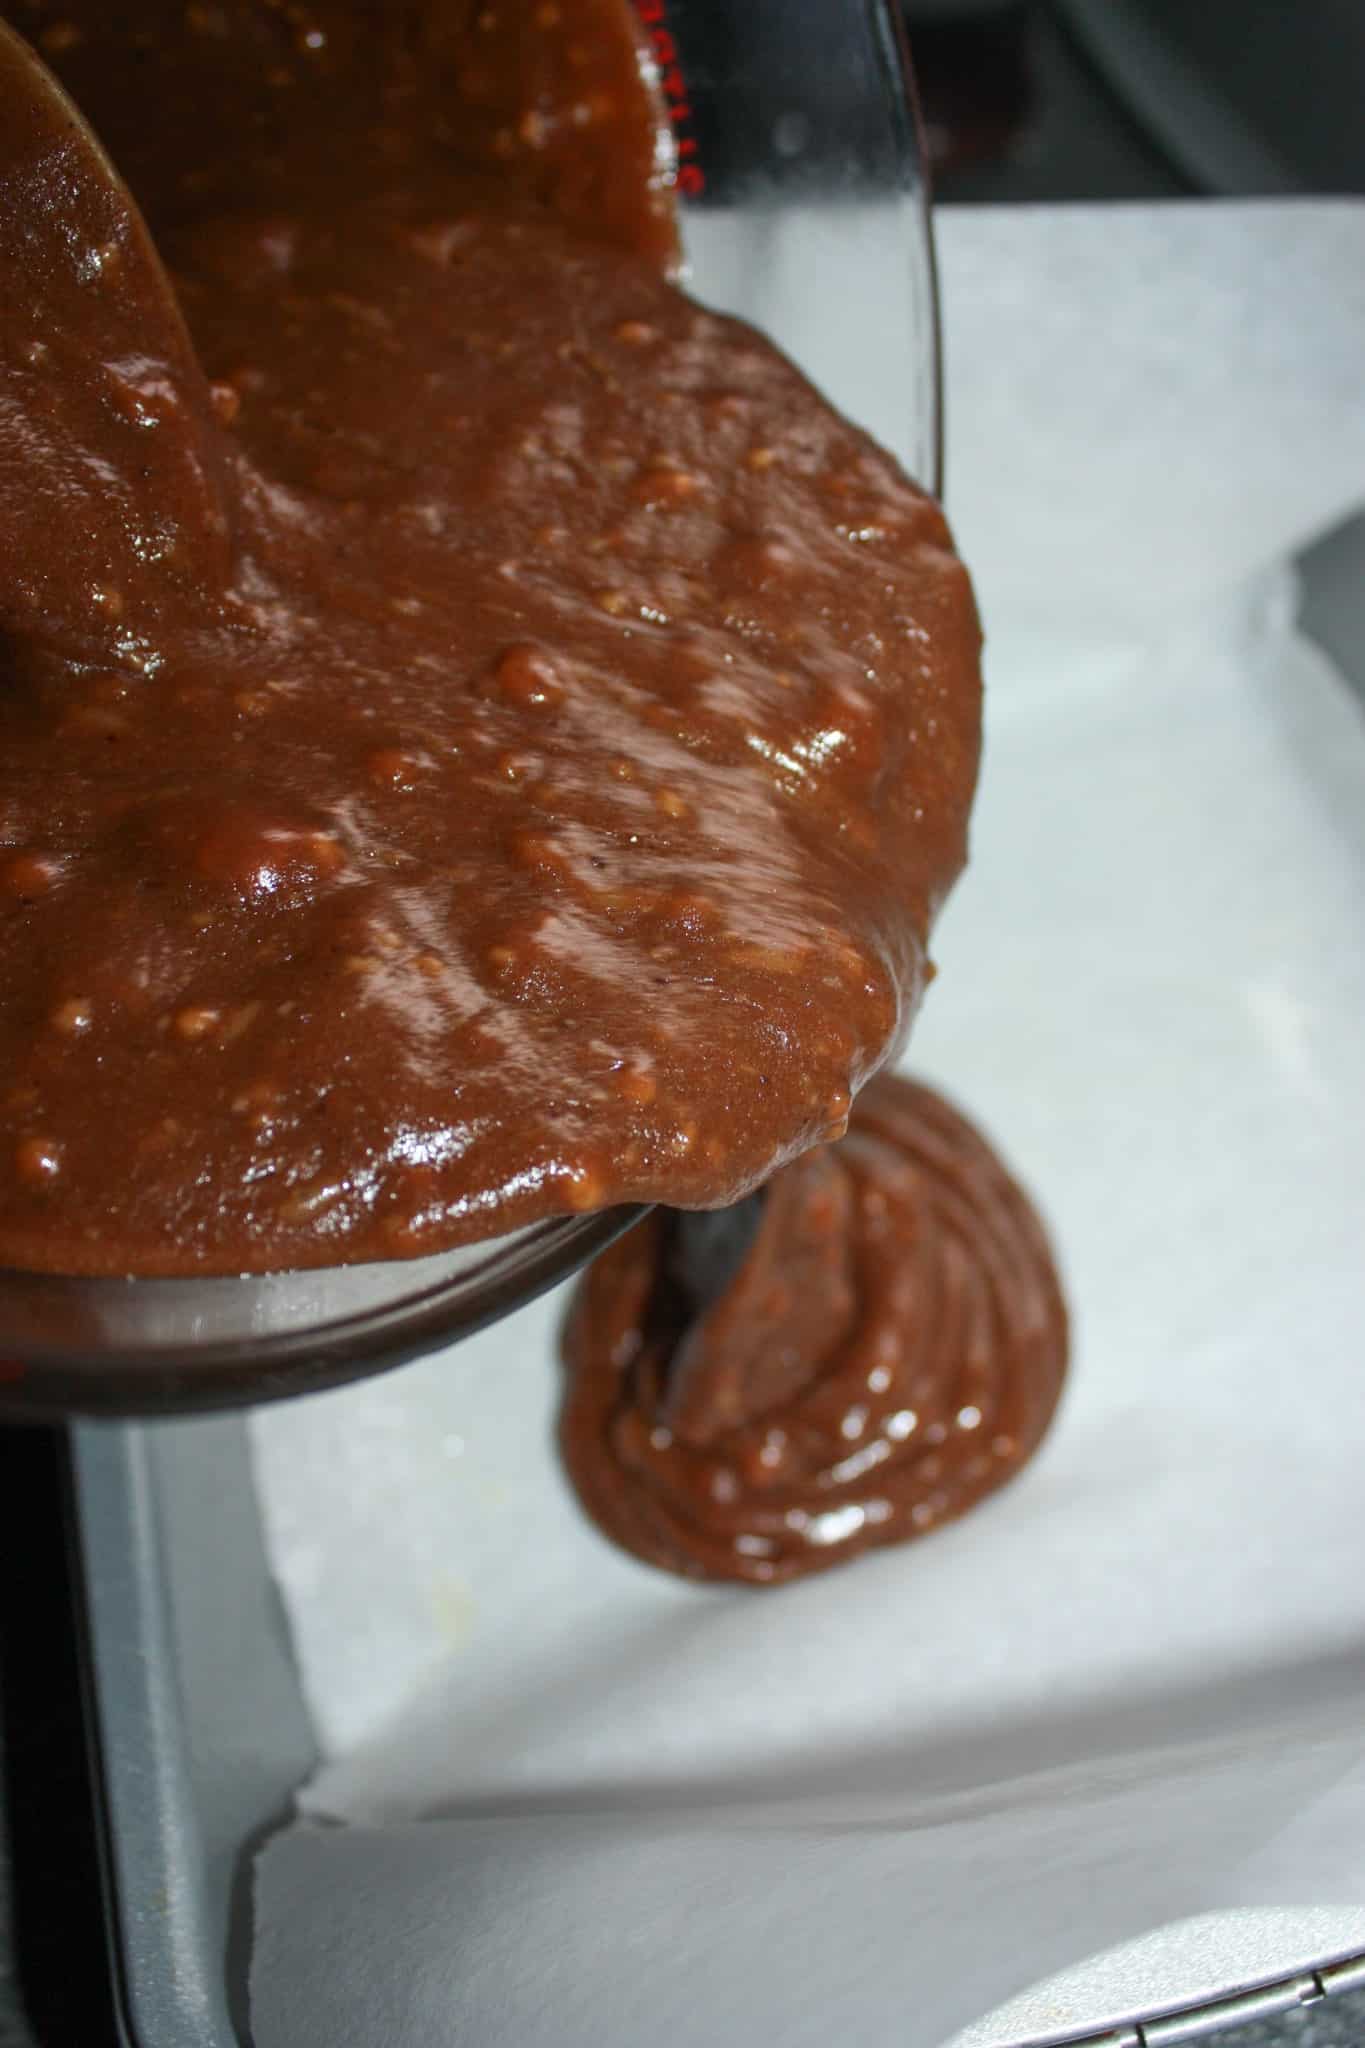
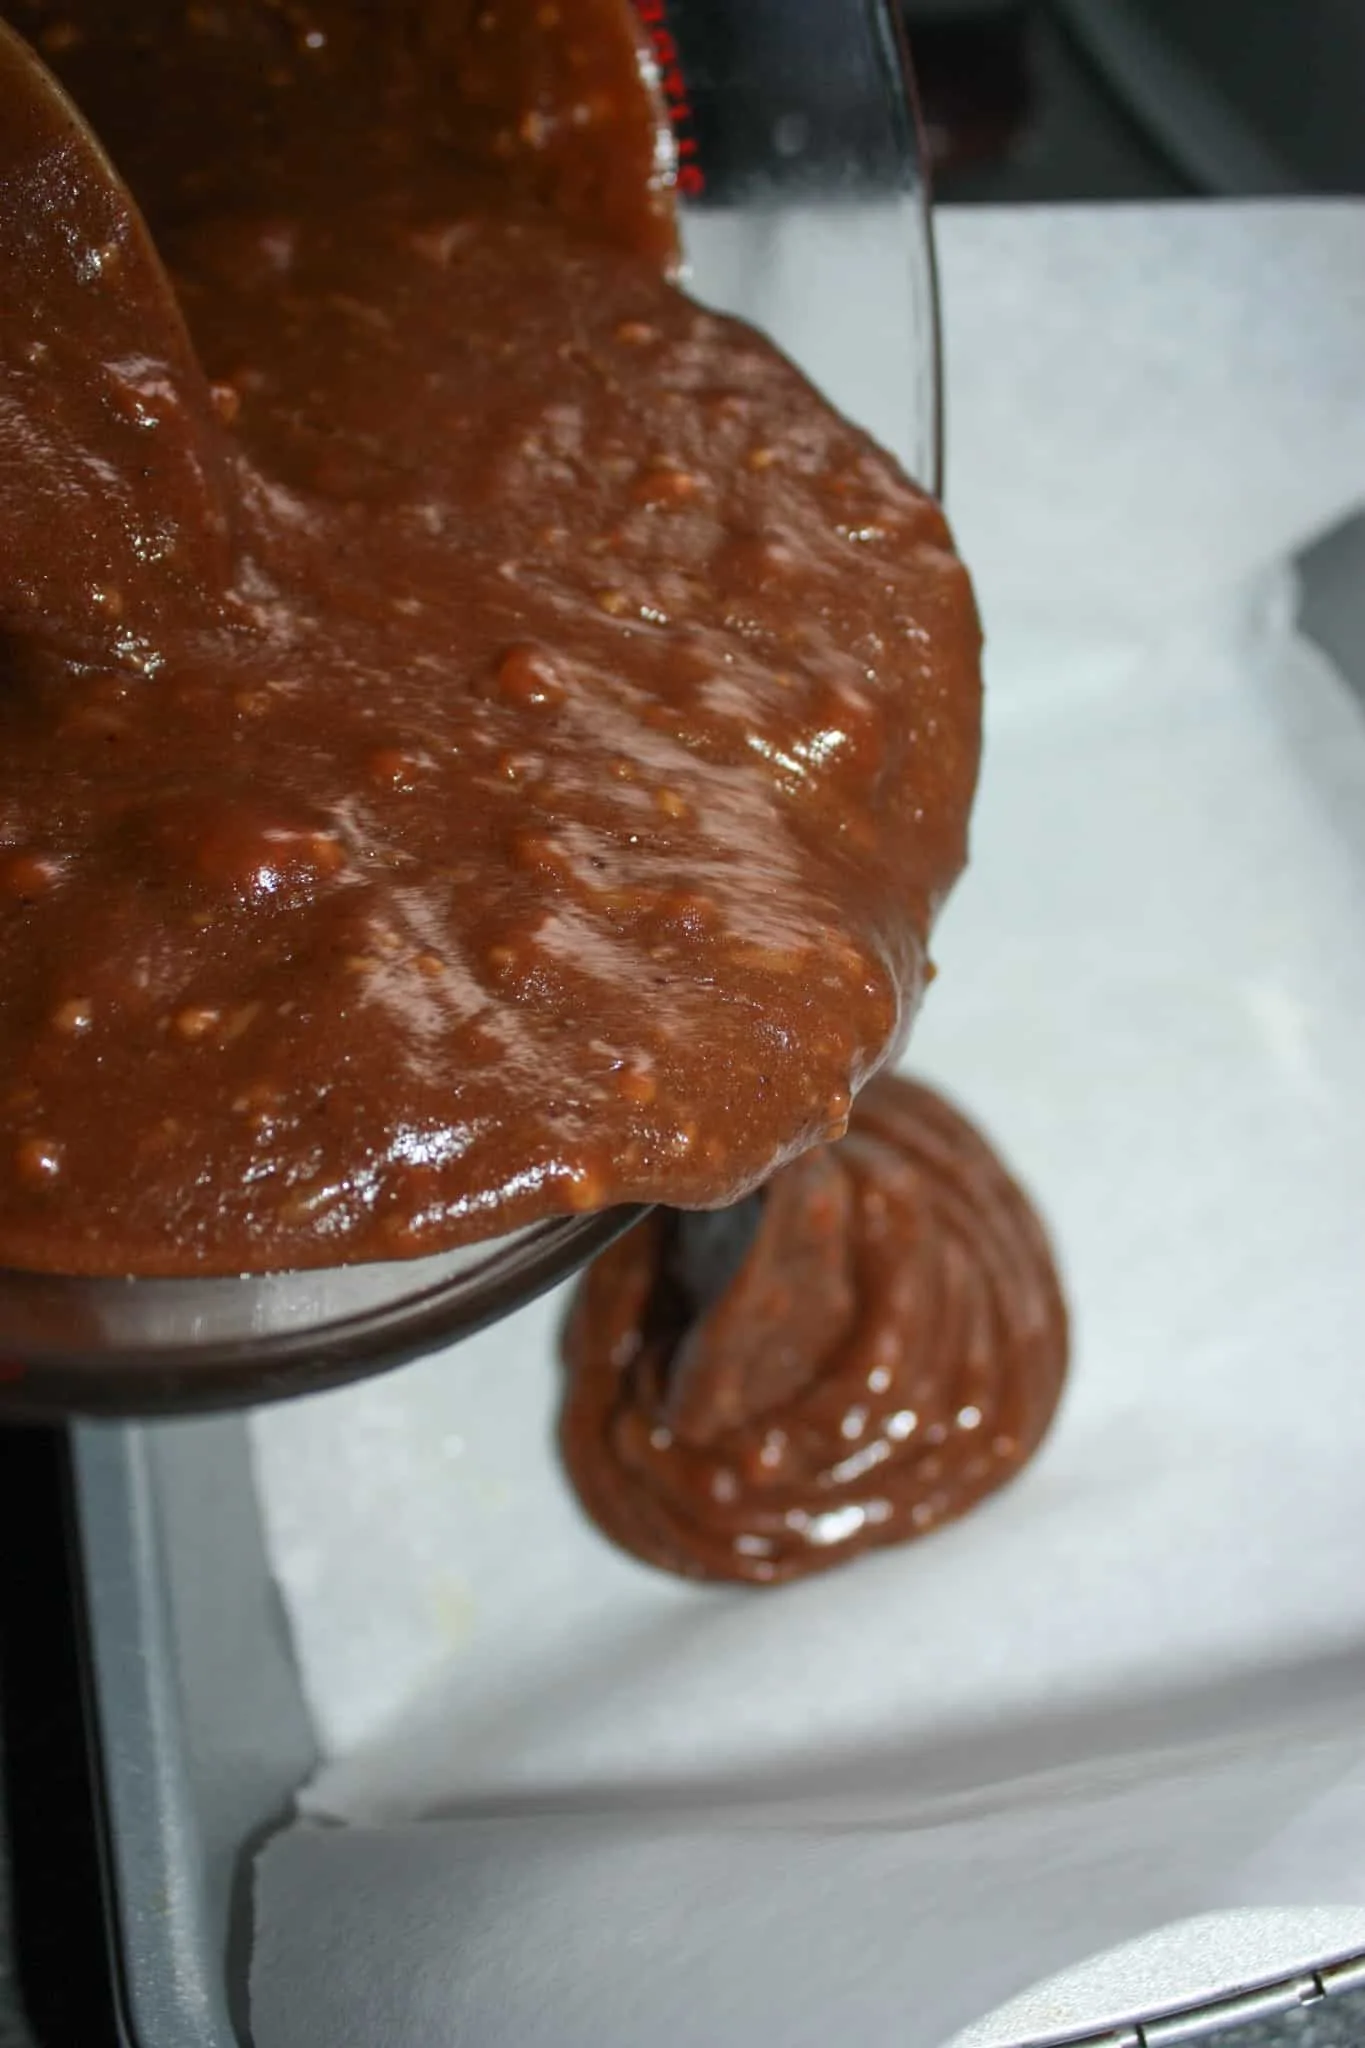
I jiggled the pan to spread the fudge out evenly.
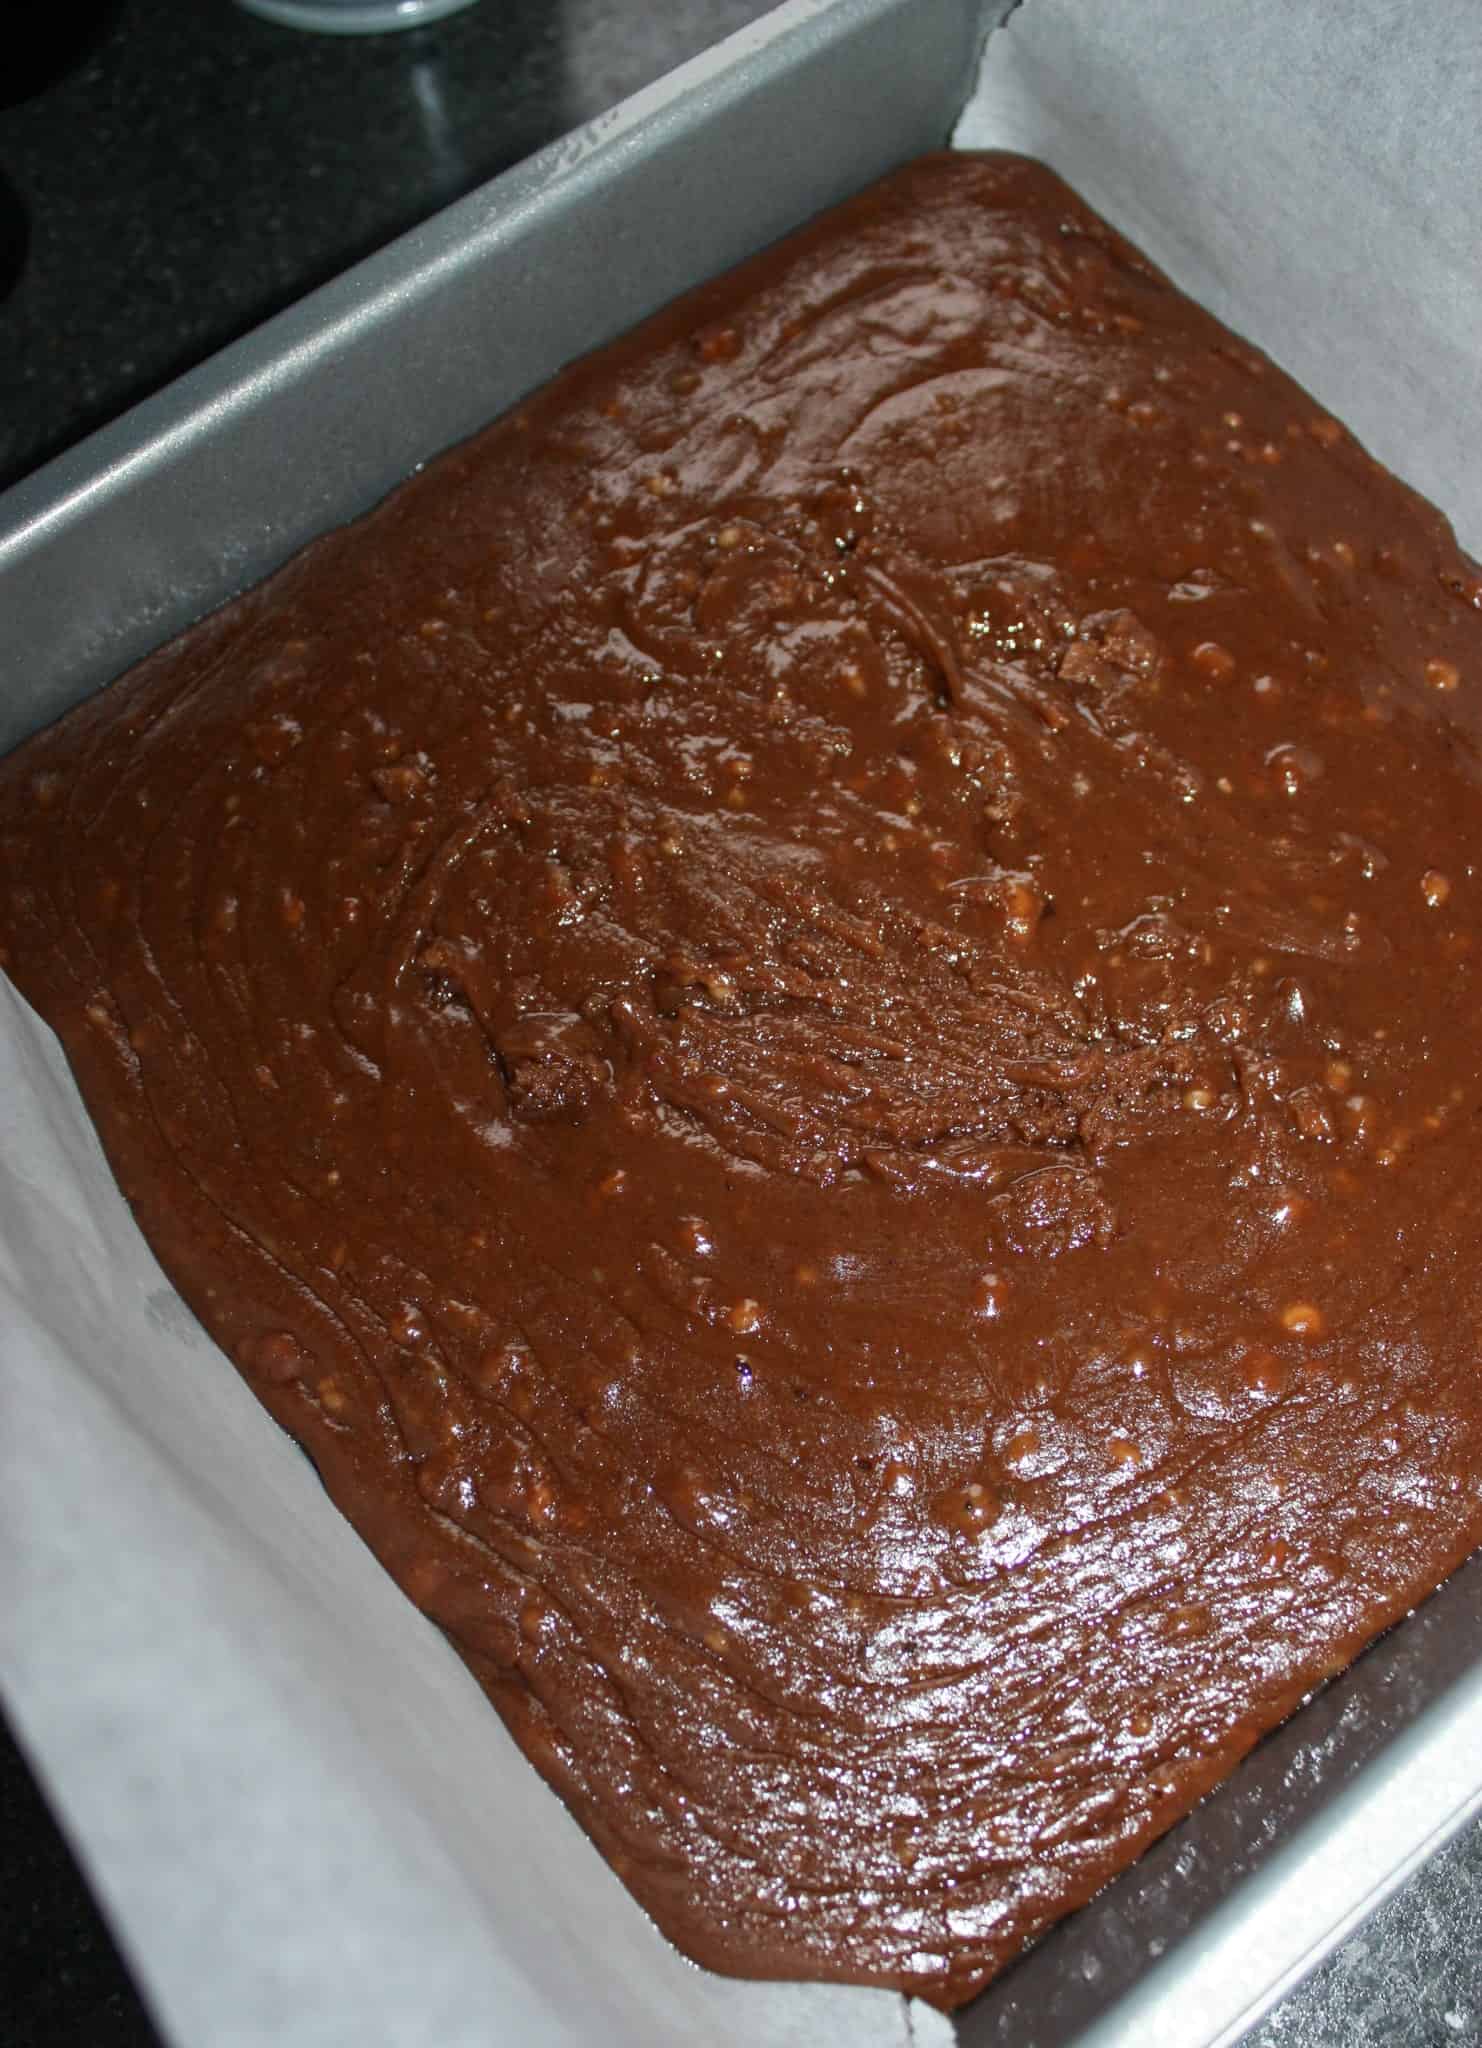

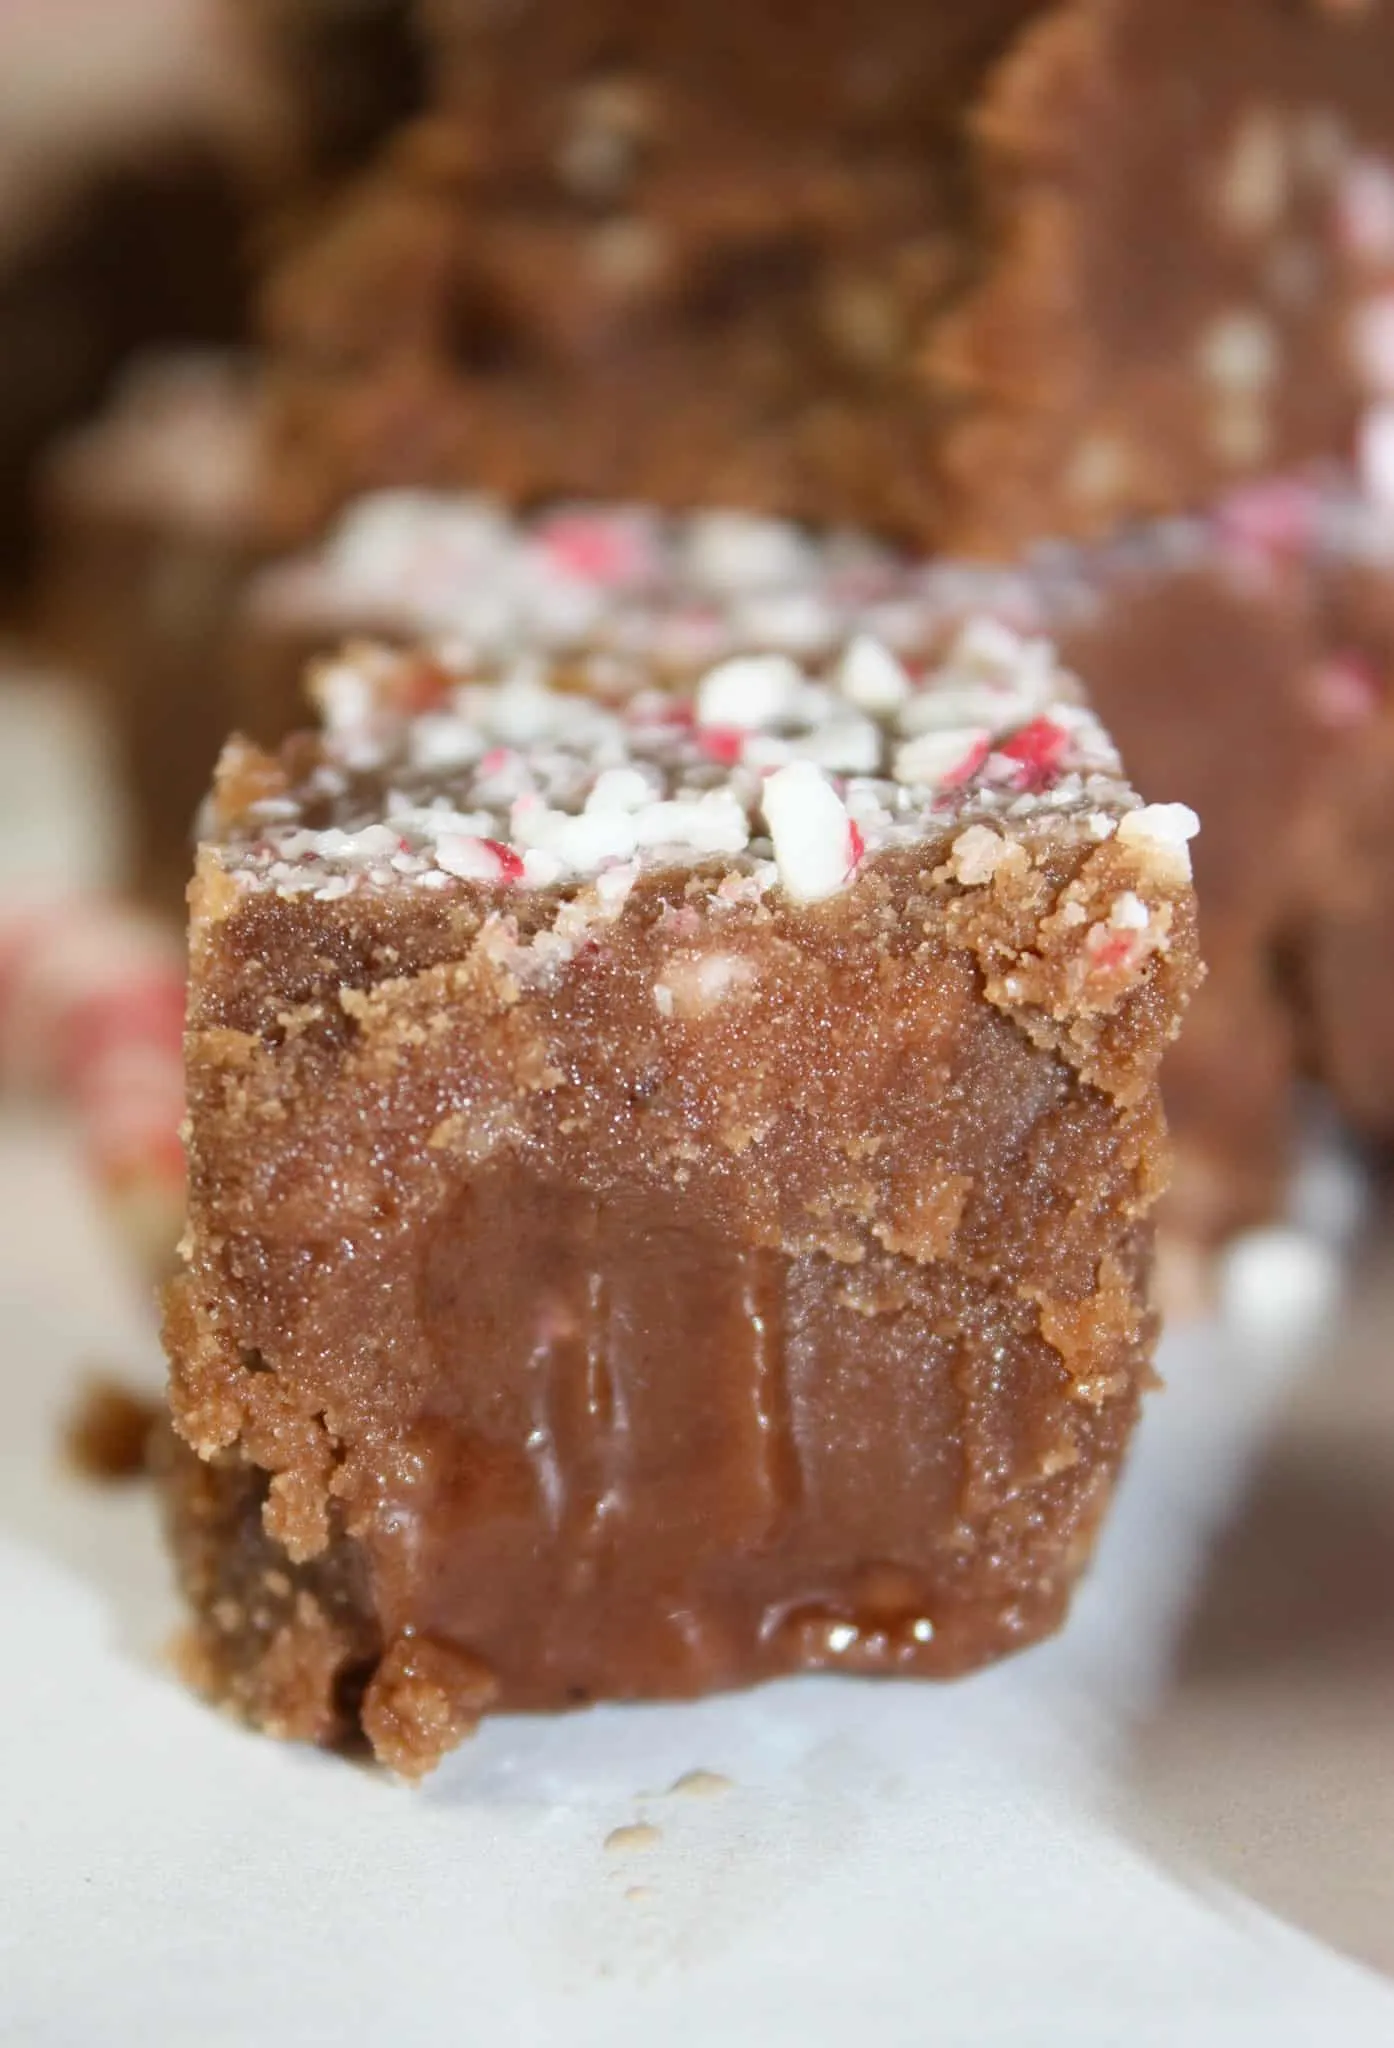
Next I sprinkled the remaining crushed candy canes on top of the fudge and then pressed them down into the fudge a bit.
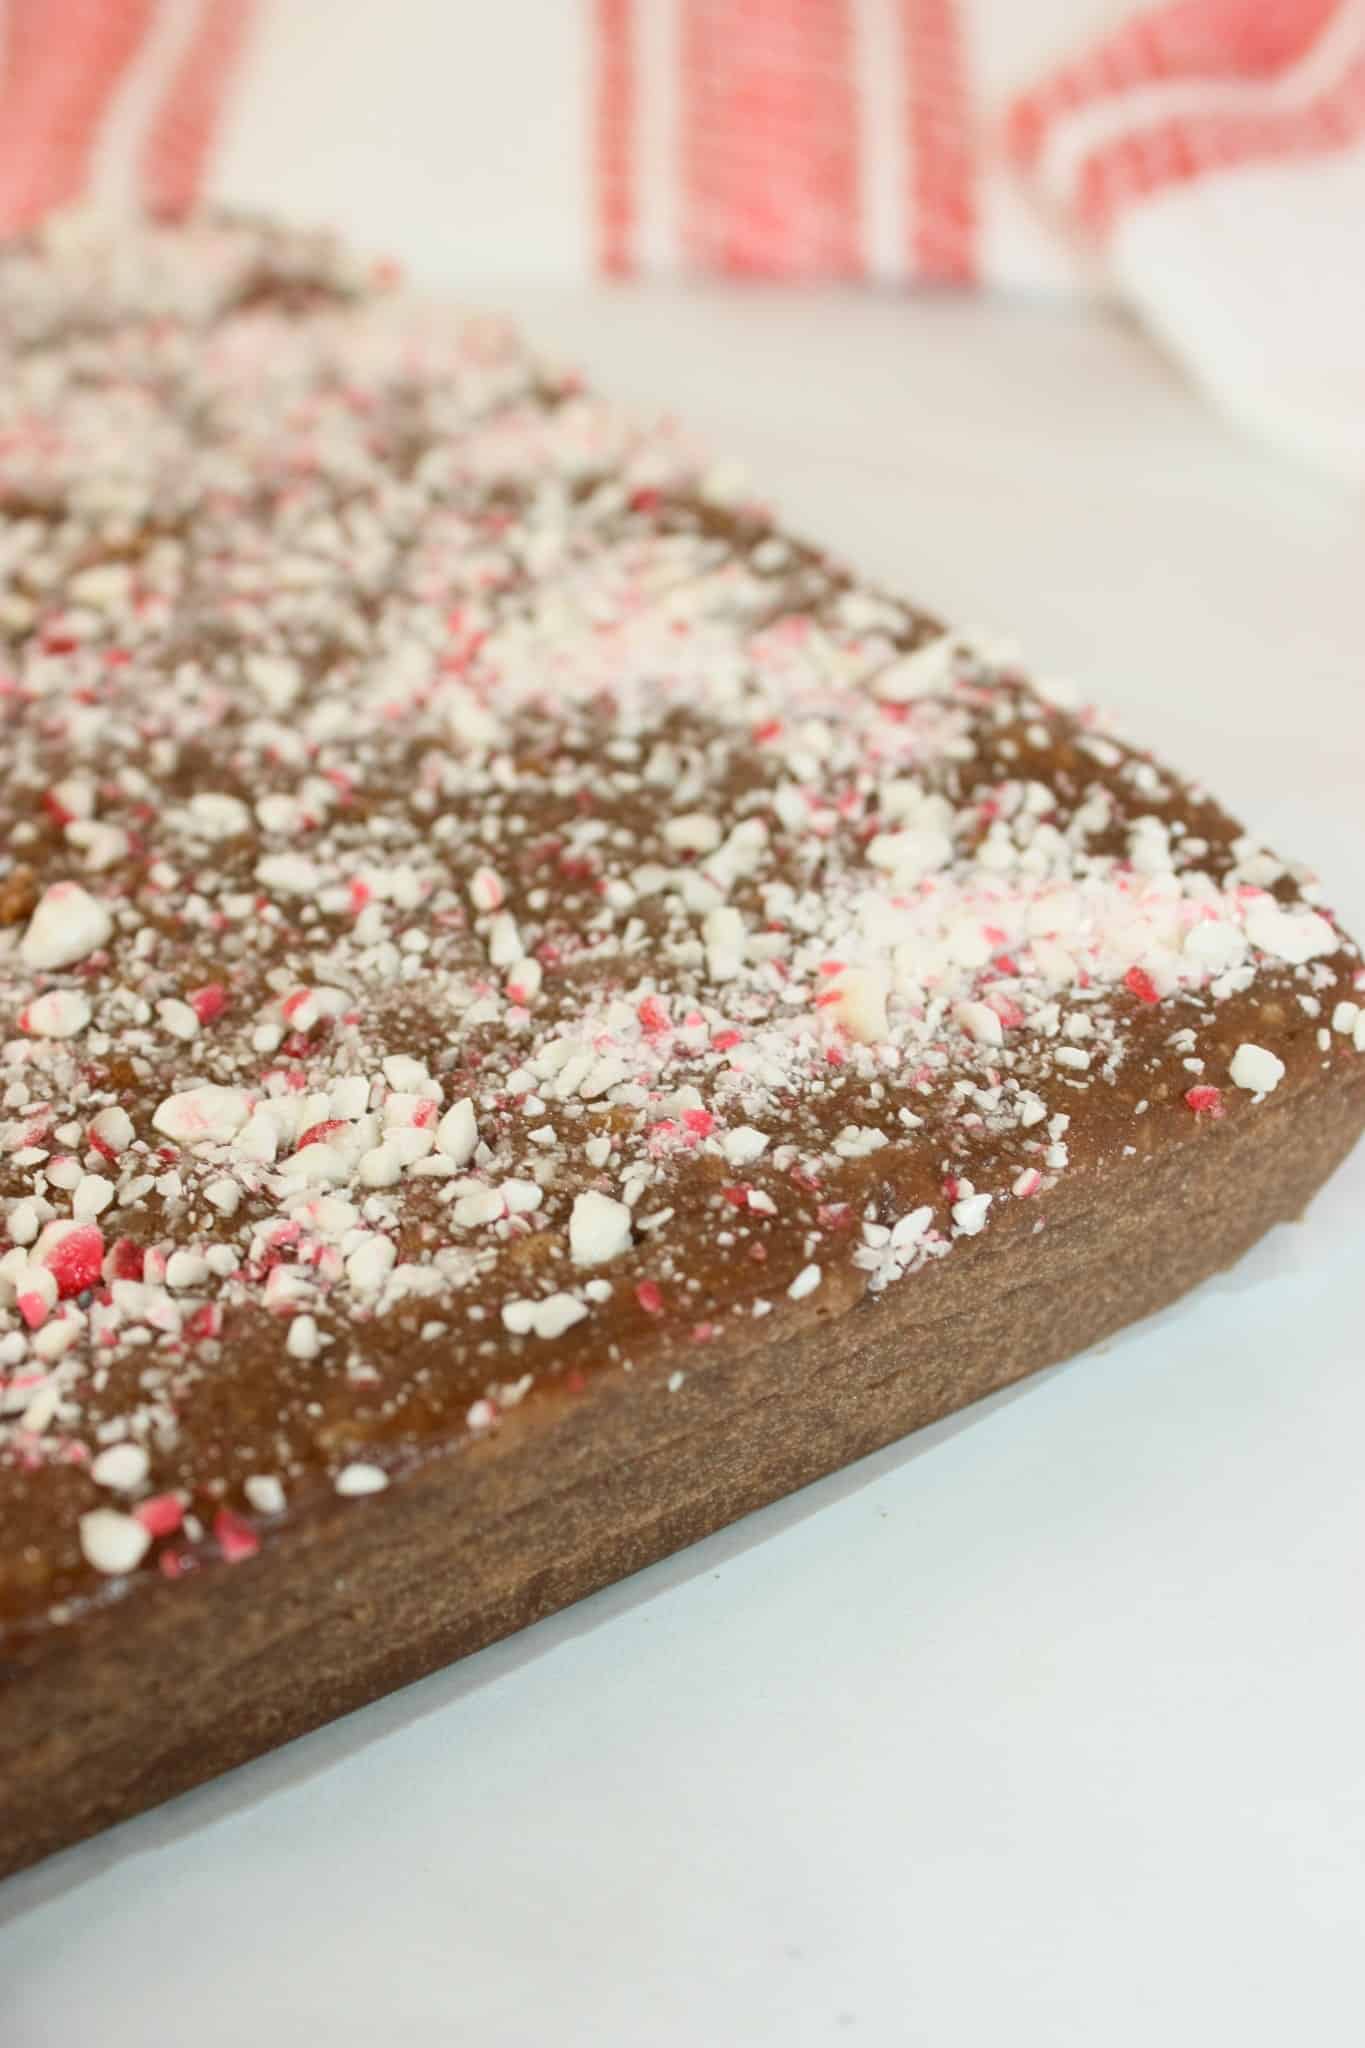
Then I allowed the fudge to cool and harden for a couple of hours.

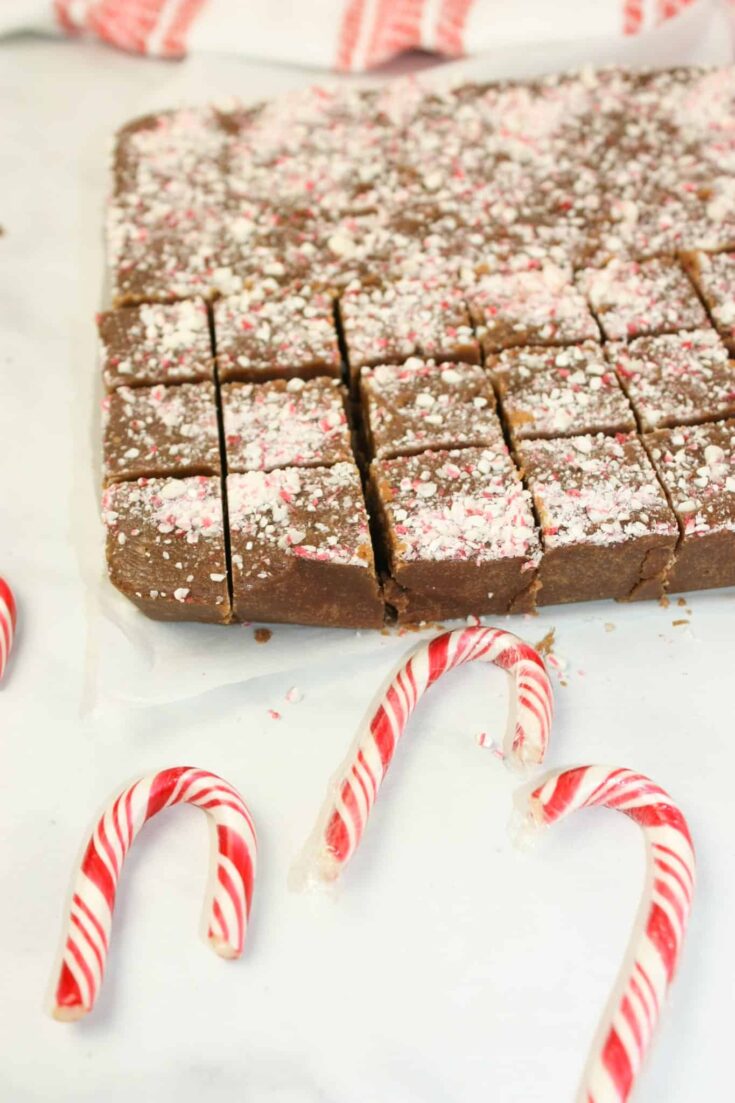
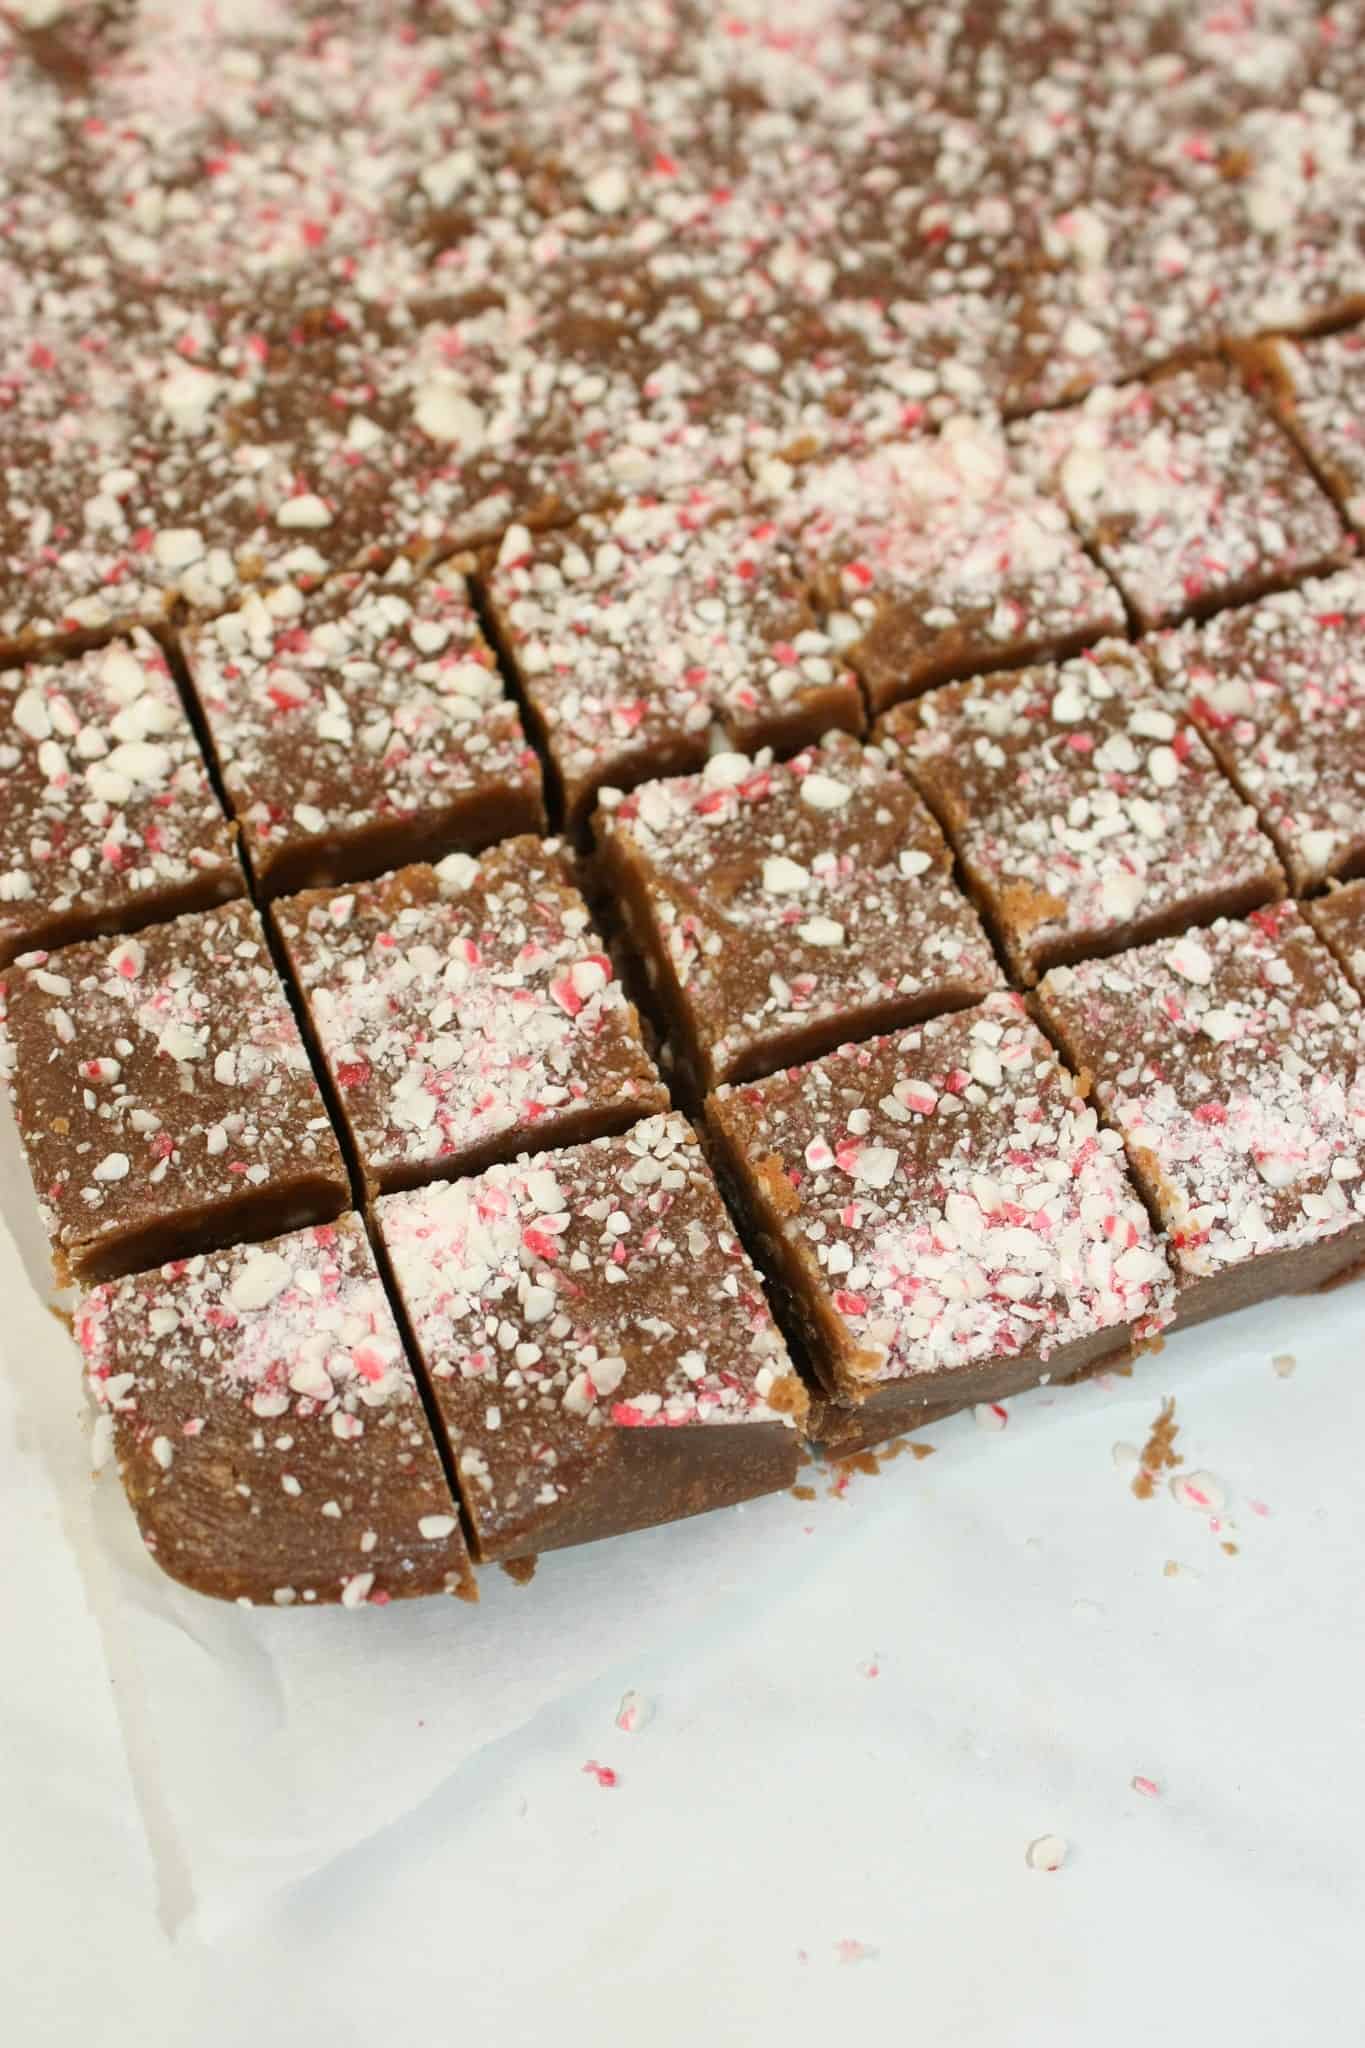
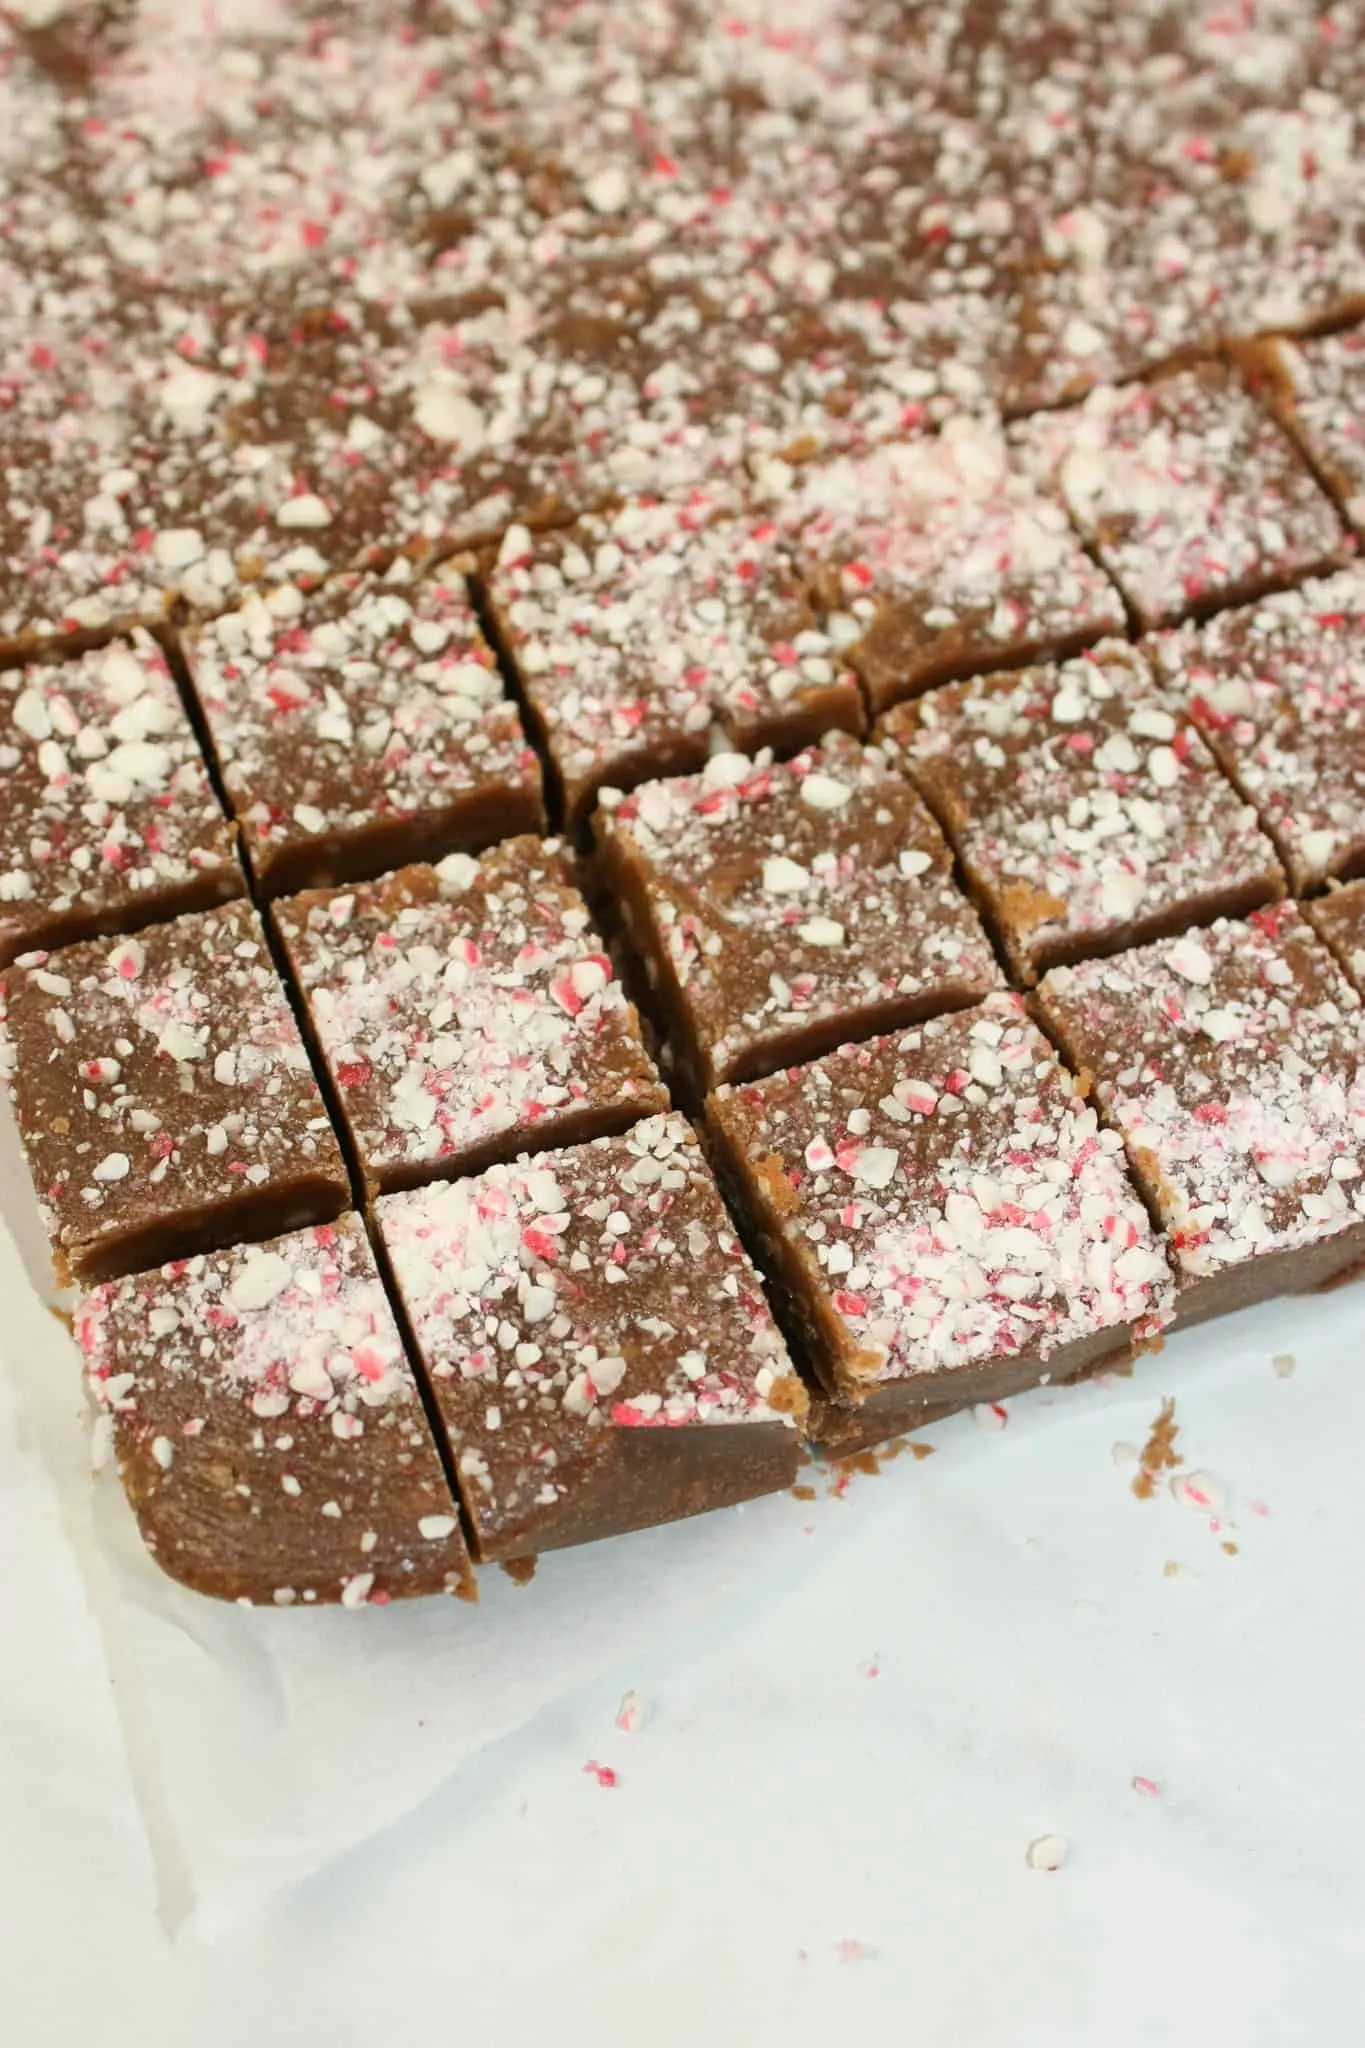
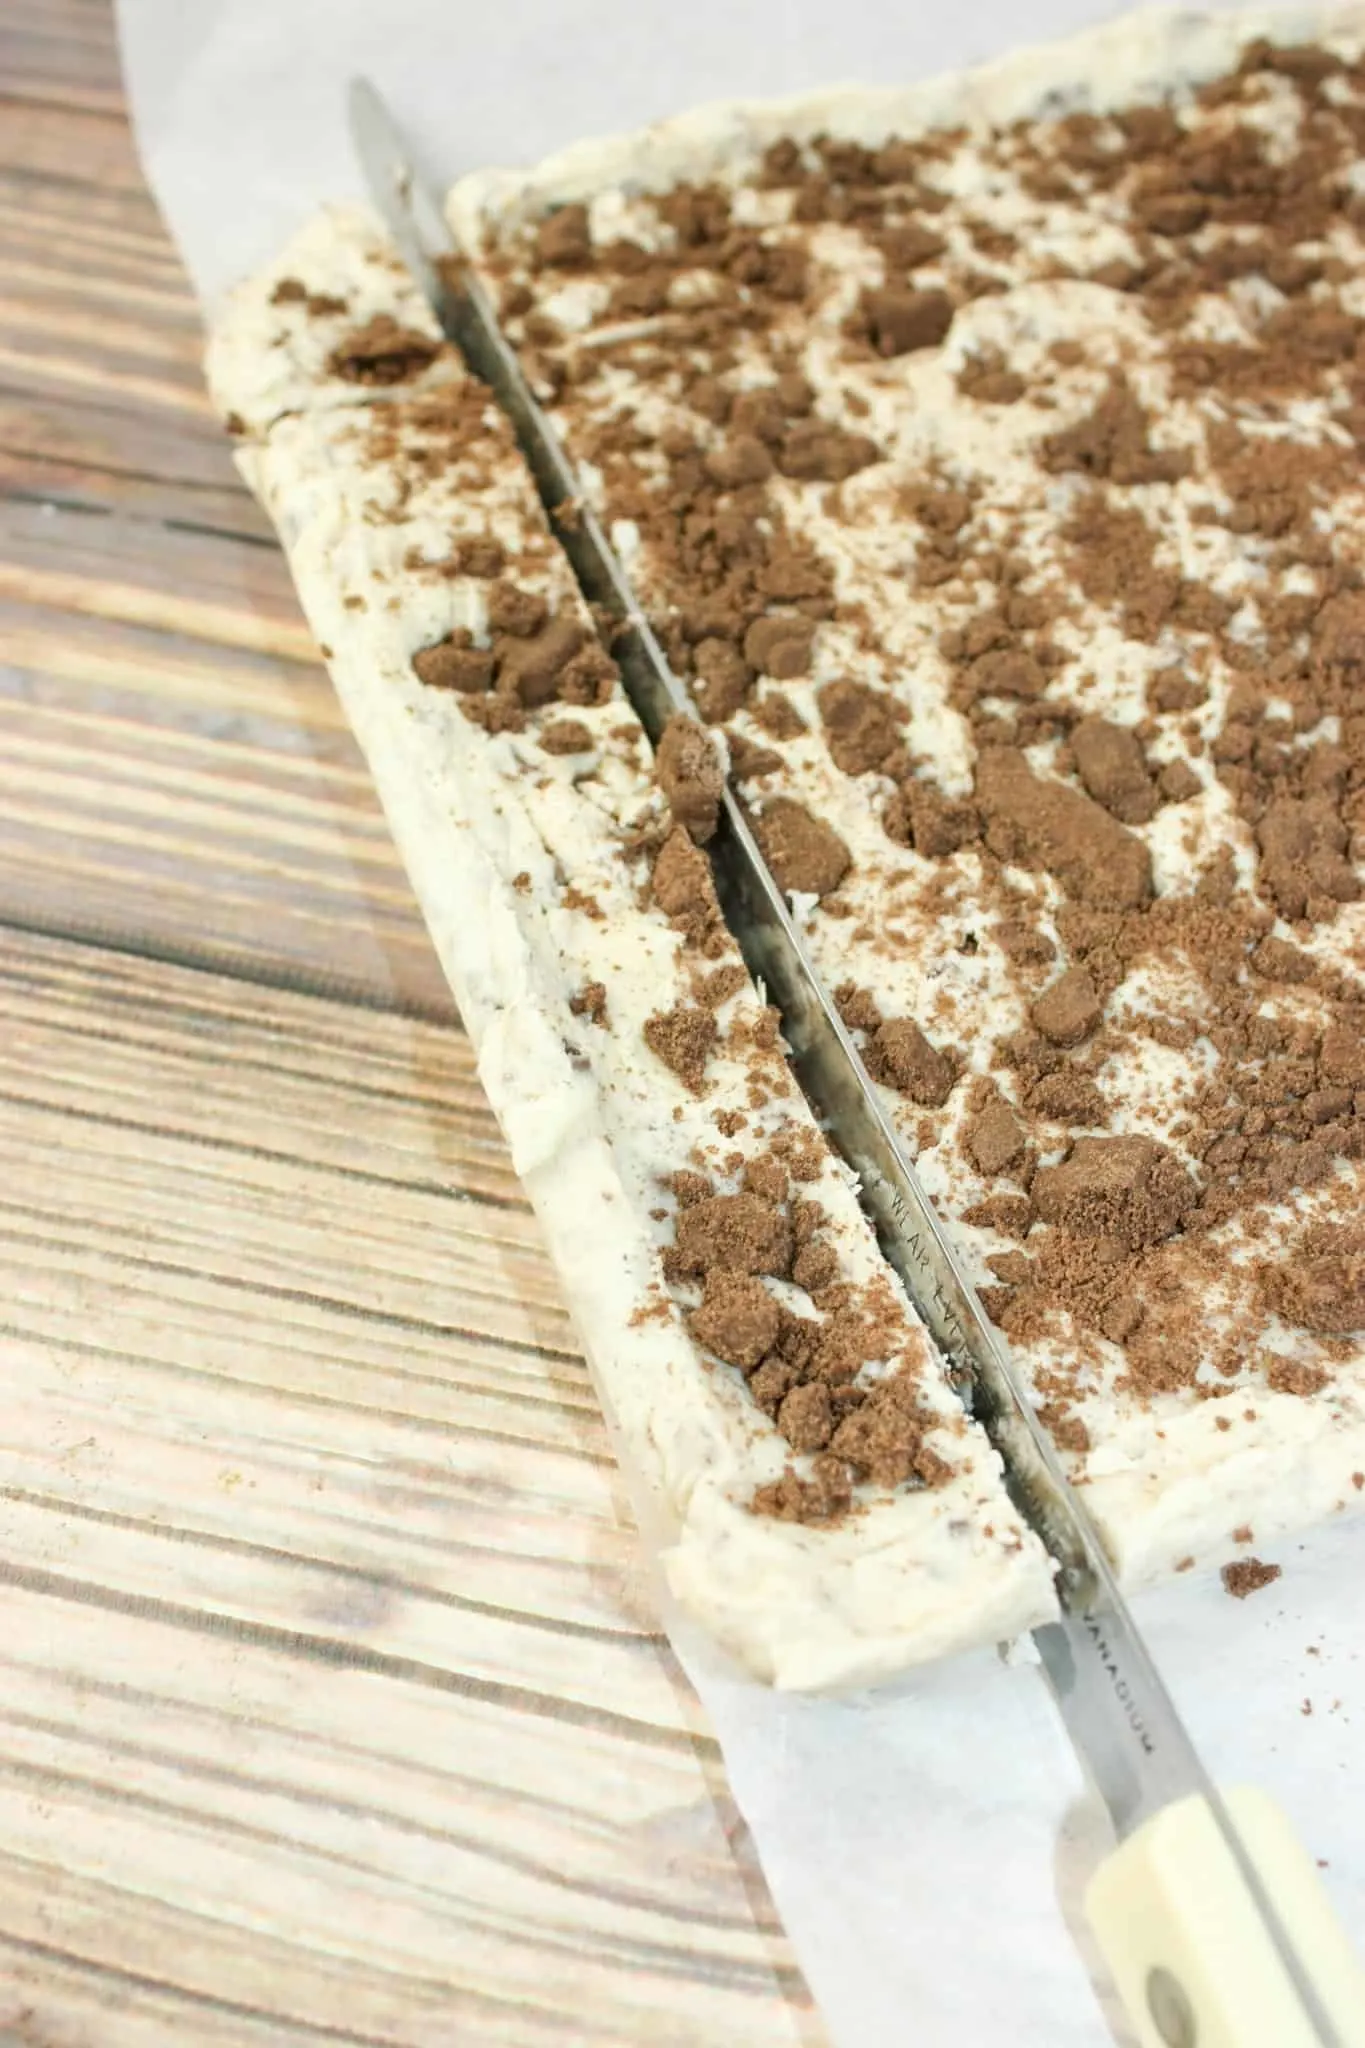
After the fudge had hardened I used the parchment paper to lift it out of the pan.

Next I cut this festive treat into small squares for serving.

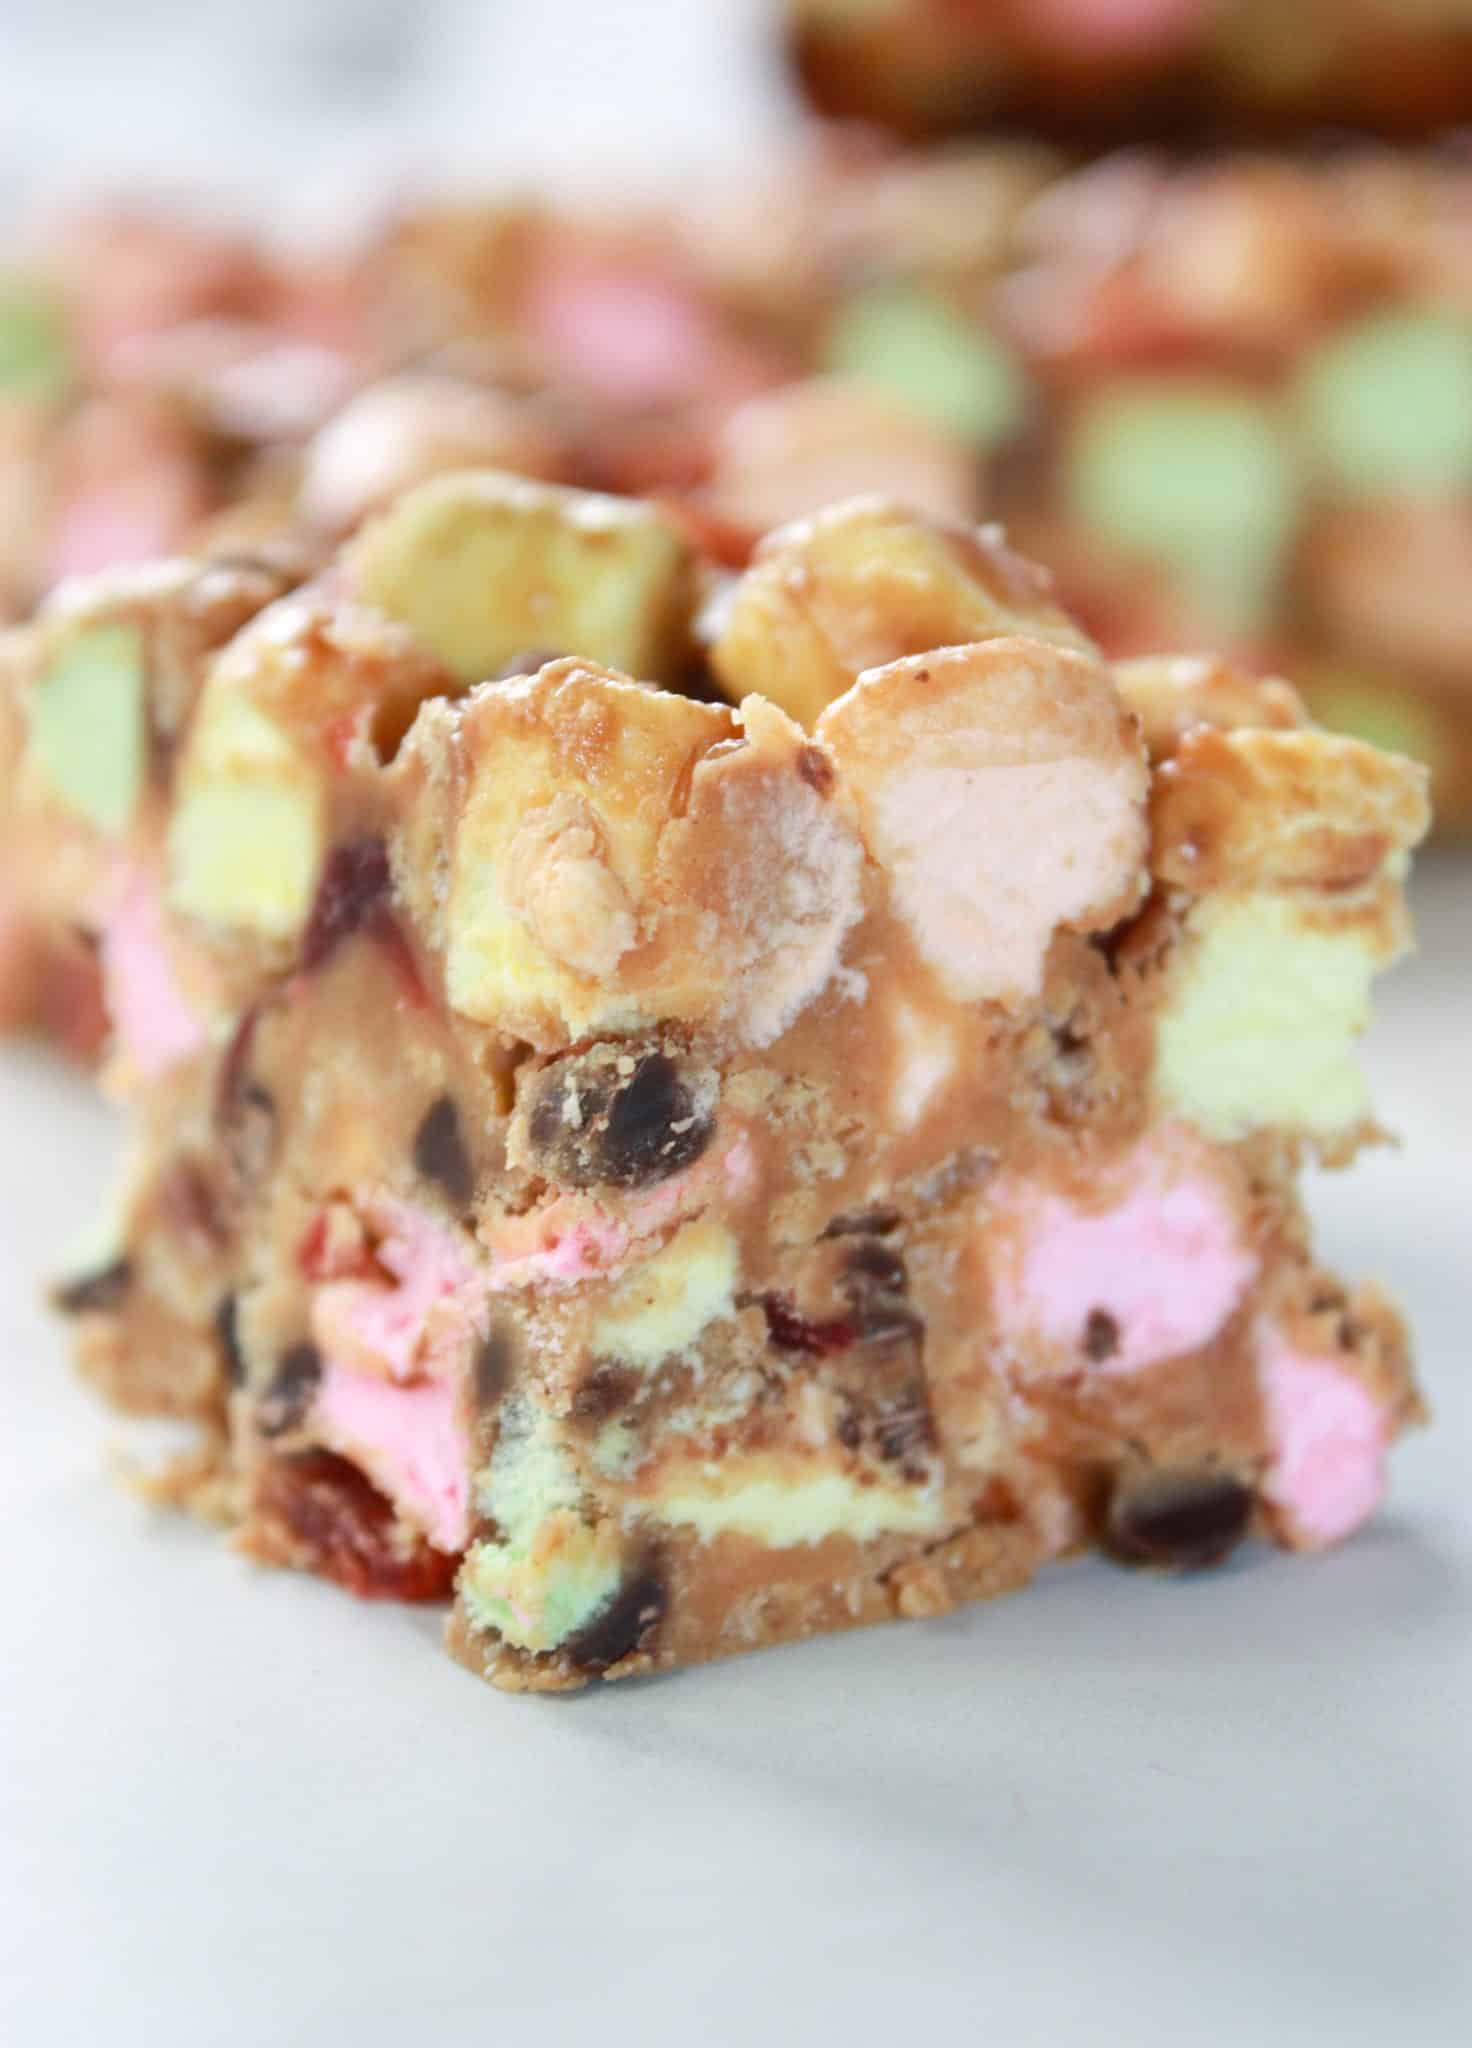
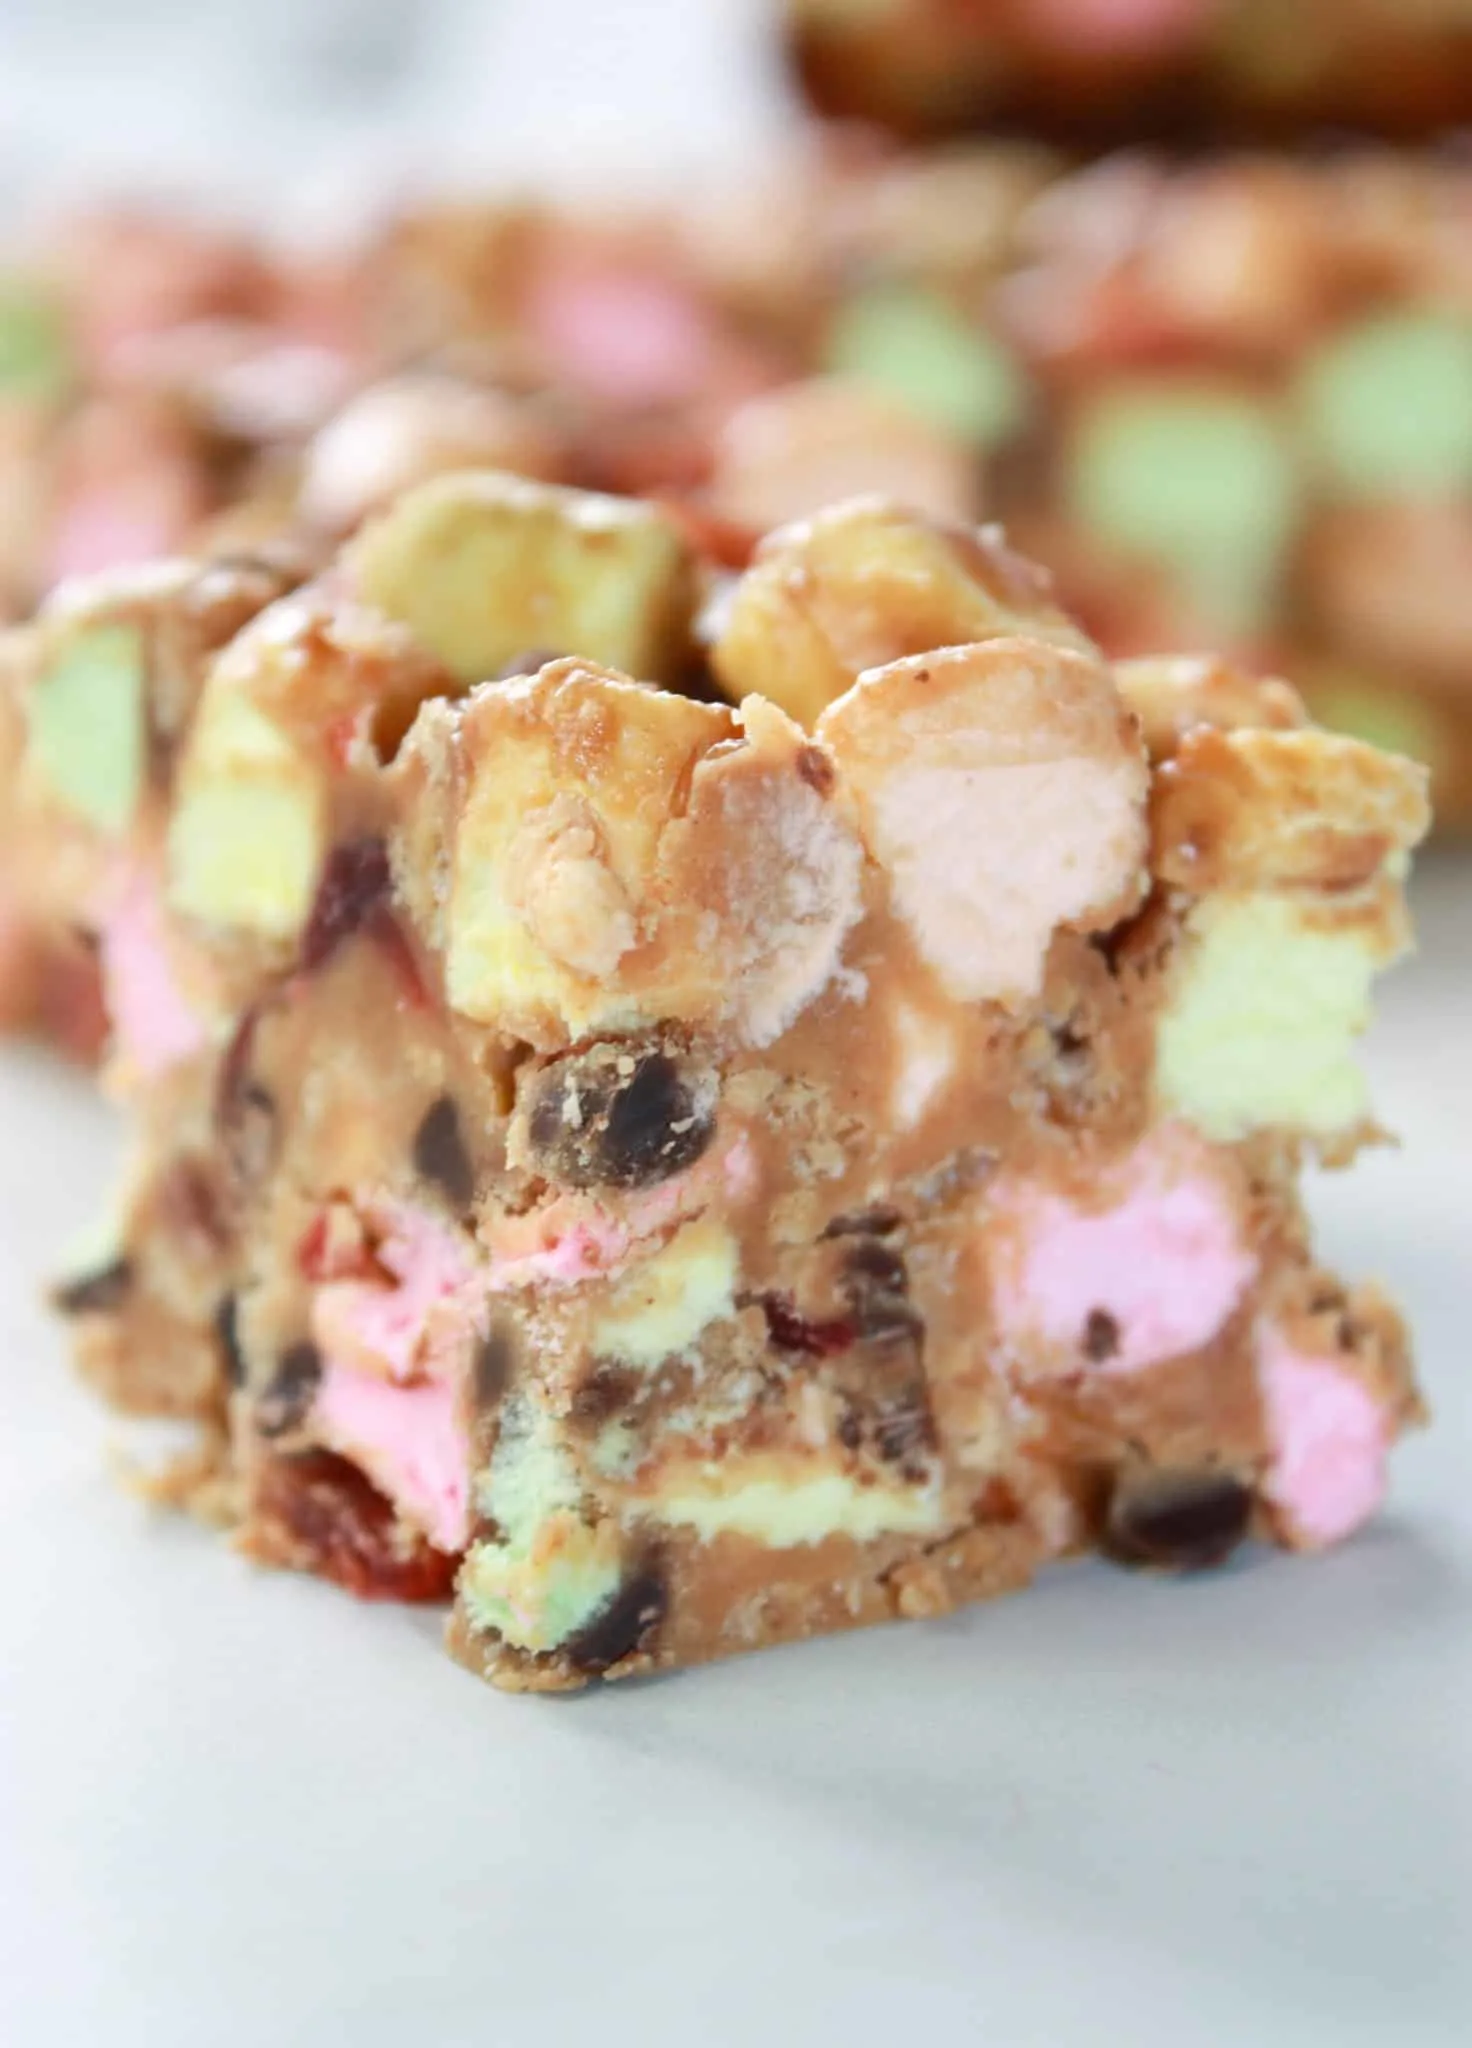
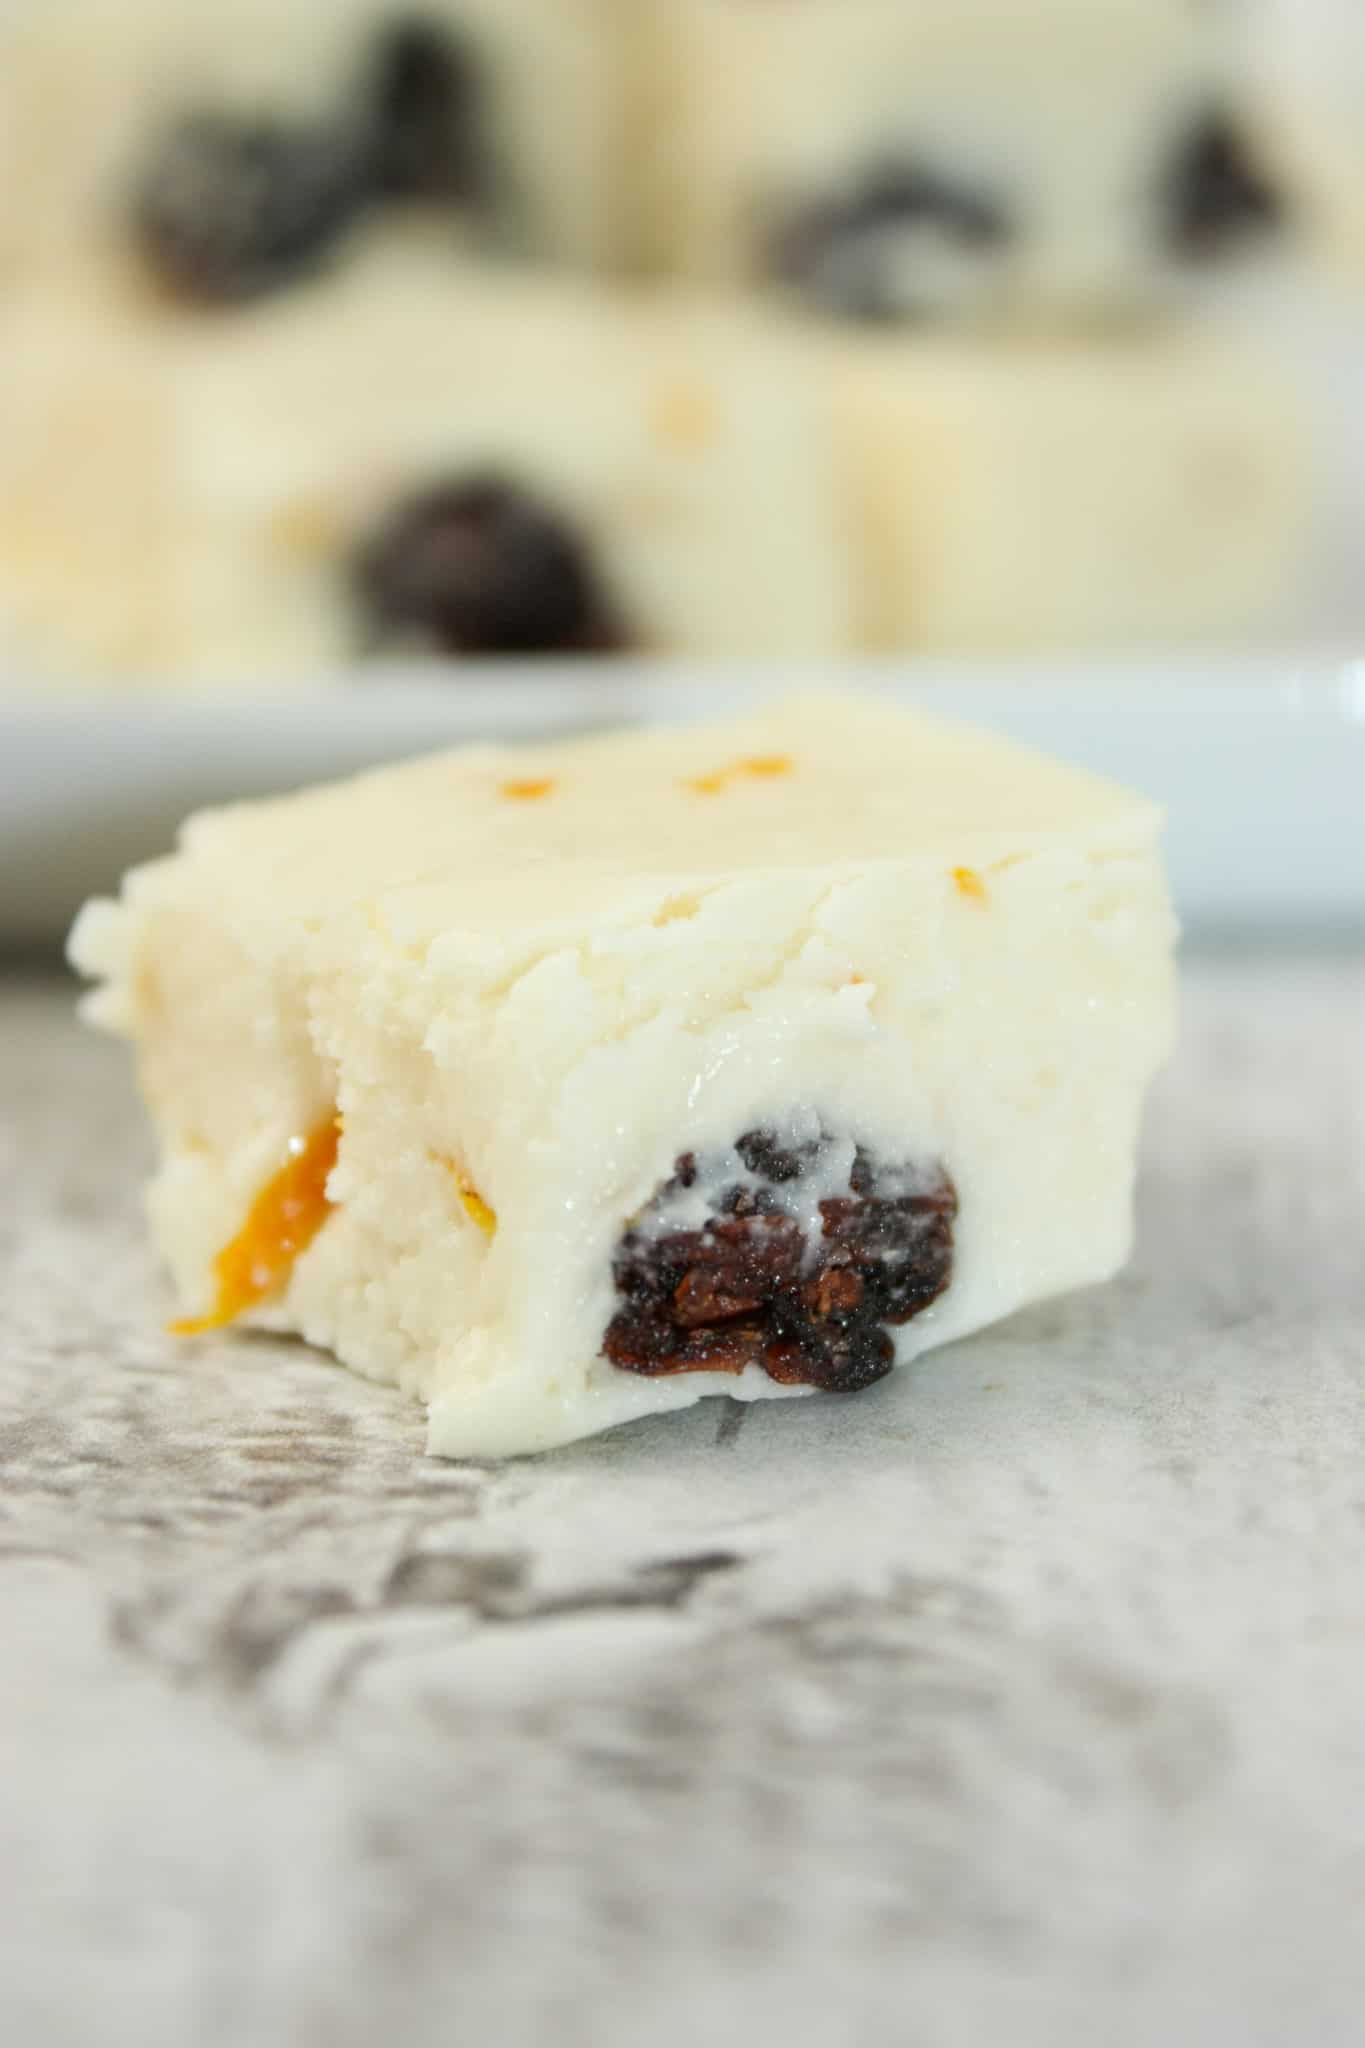
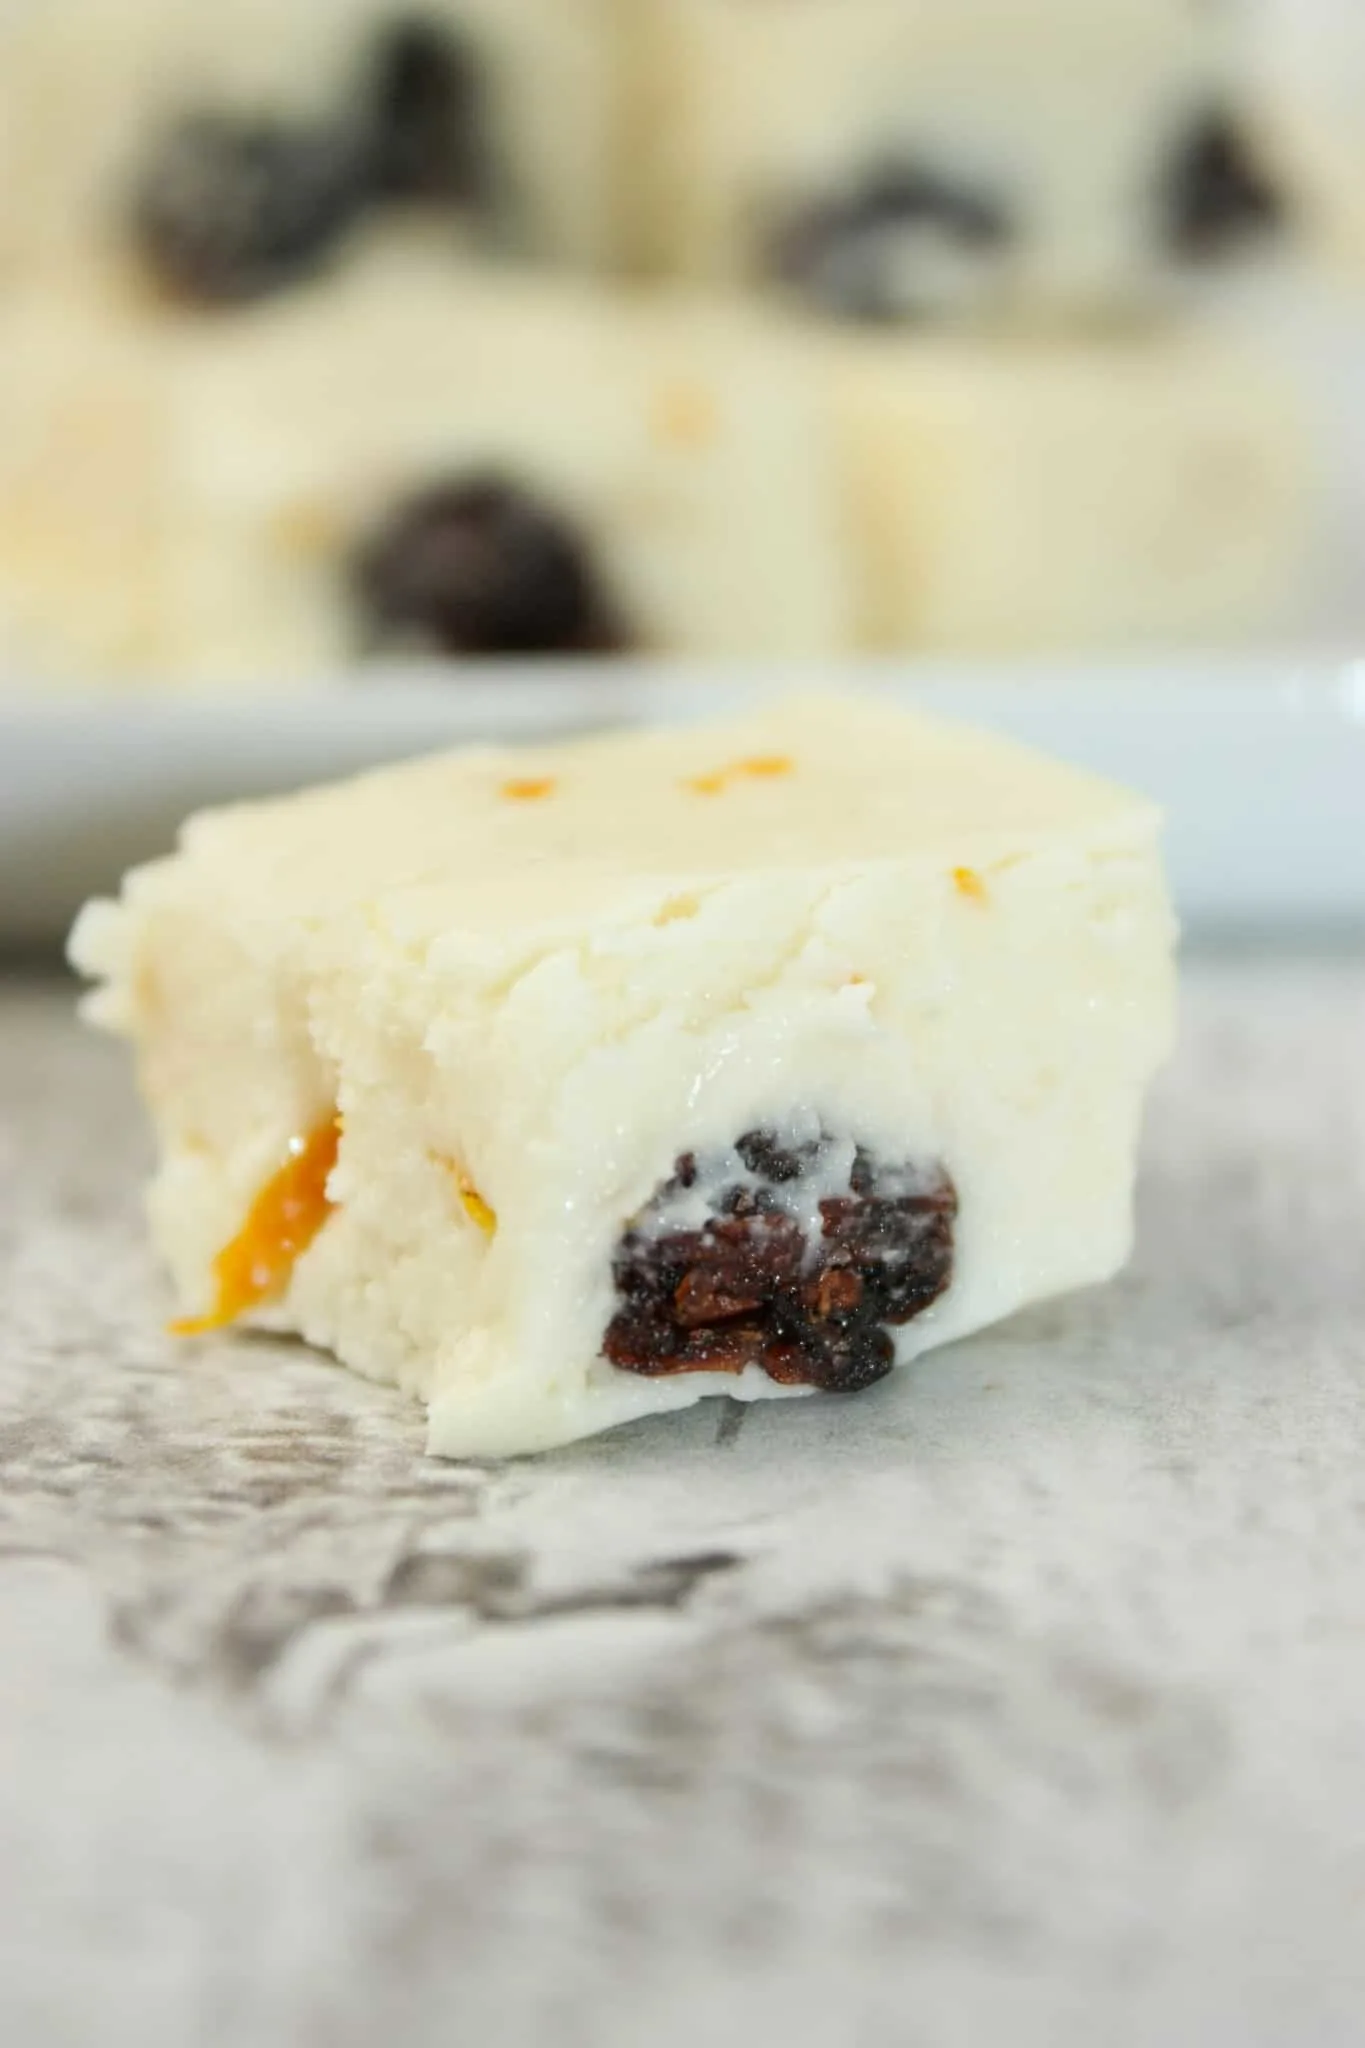
Melt in your mouth Chocolate Peppermint Fudge is a smooth, creamy treat that will satisfy your sweet cravings! Serve it up and be ready for it to disappear quickly!!
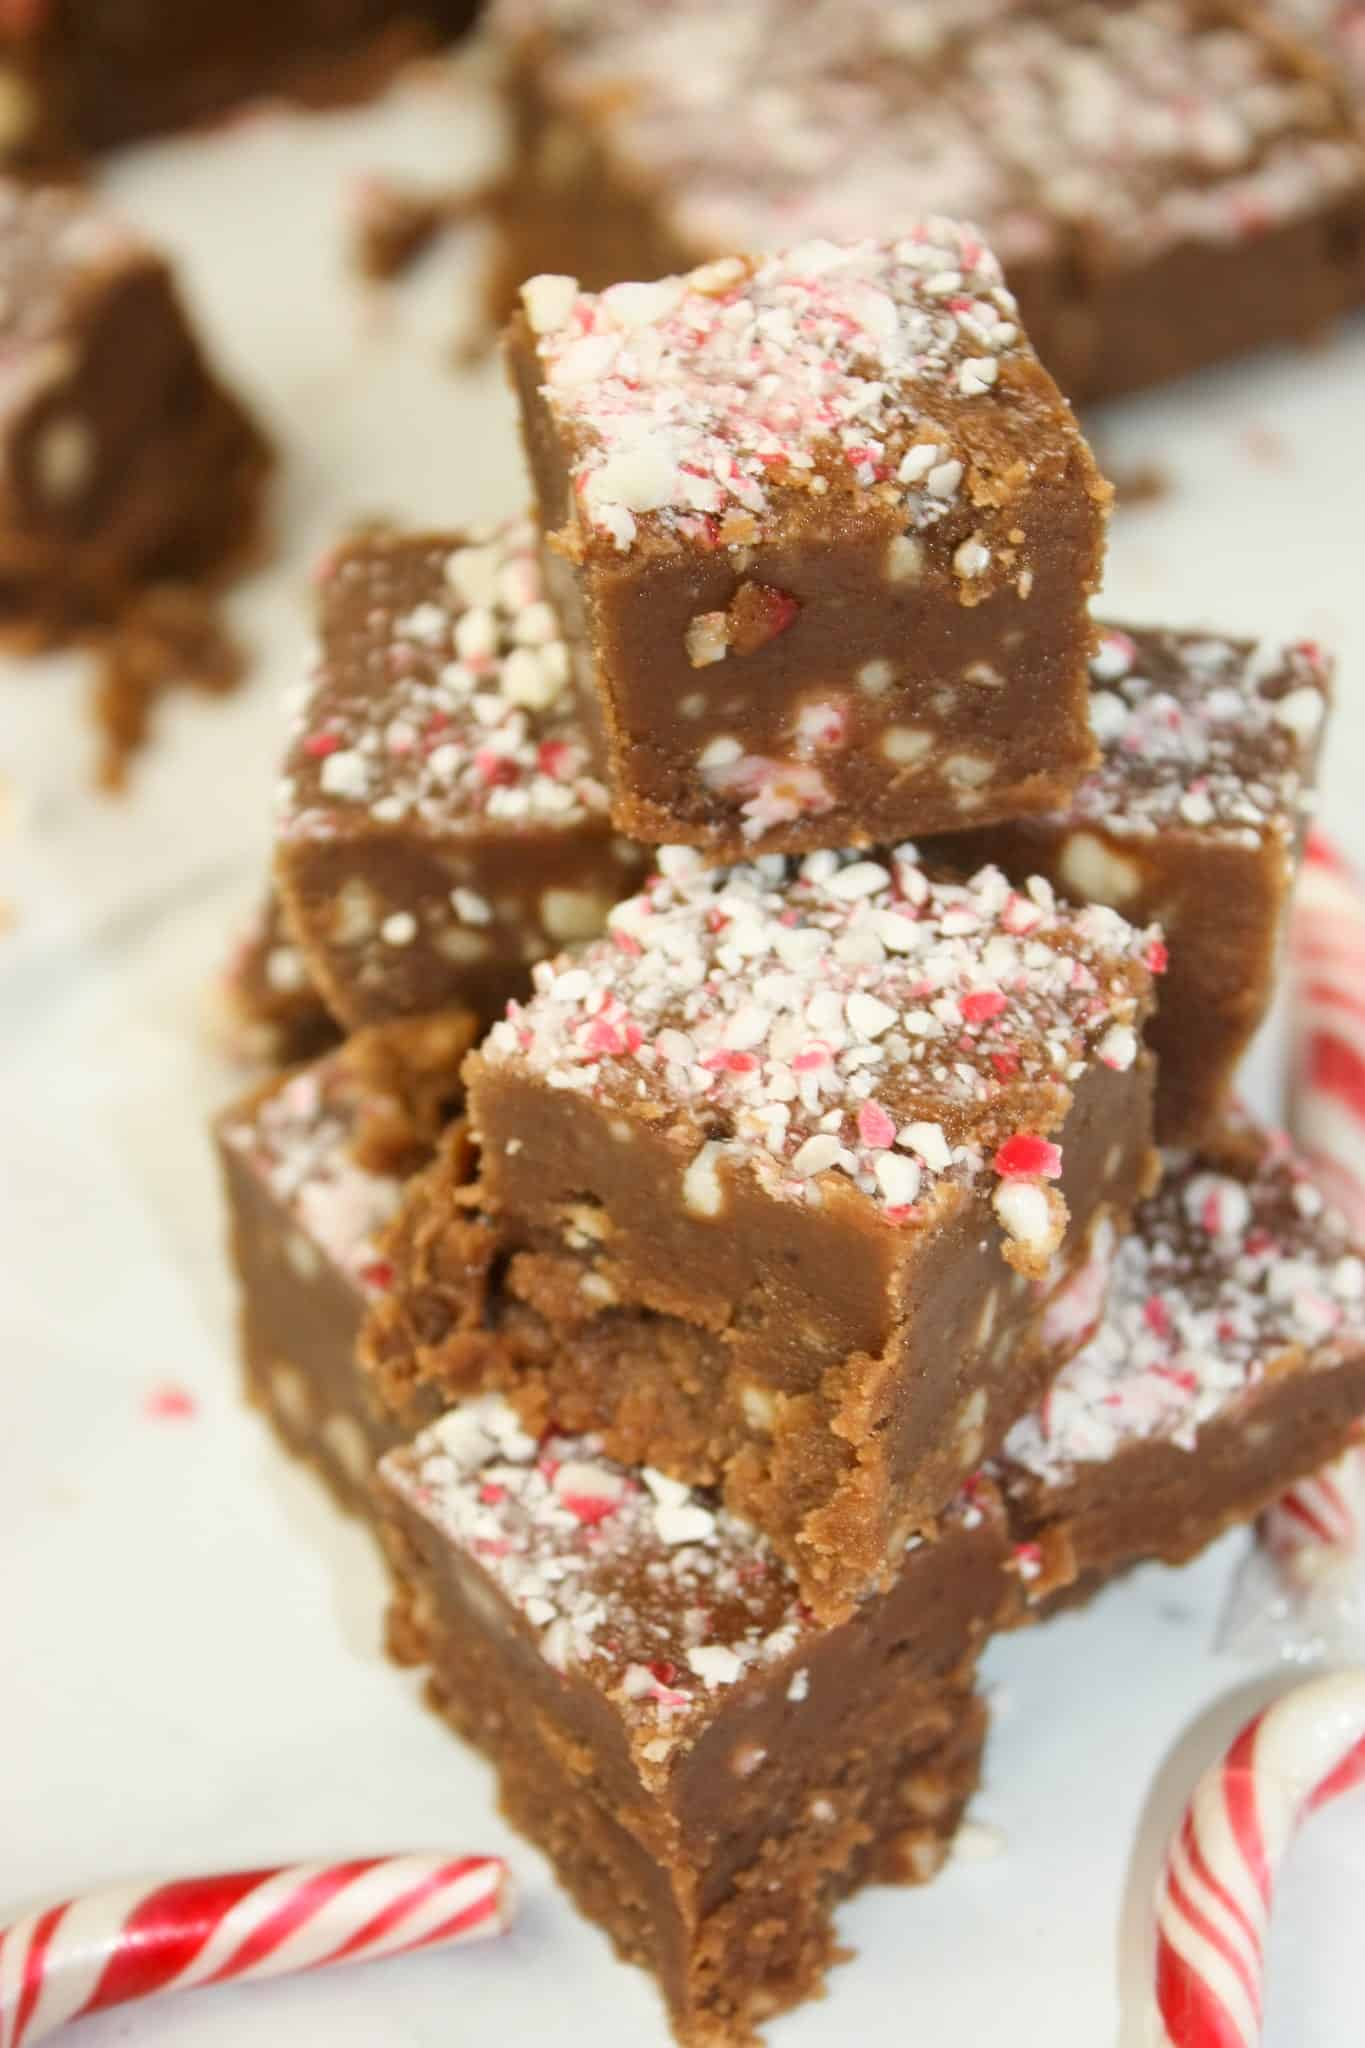

Bits of candy cane and peppermint flavouring make this a great holiday treat!

Printable Recipe Card with a Full List of Ingredients and Instructions is Located at the Bottom of the Post.
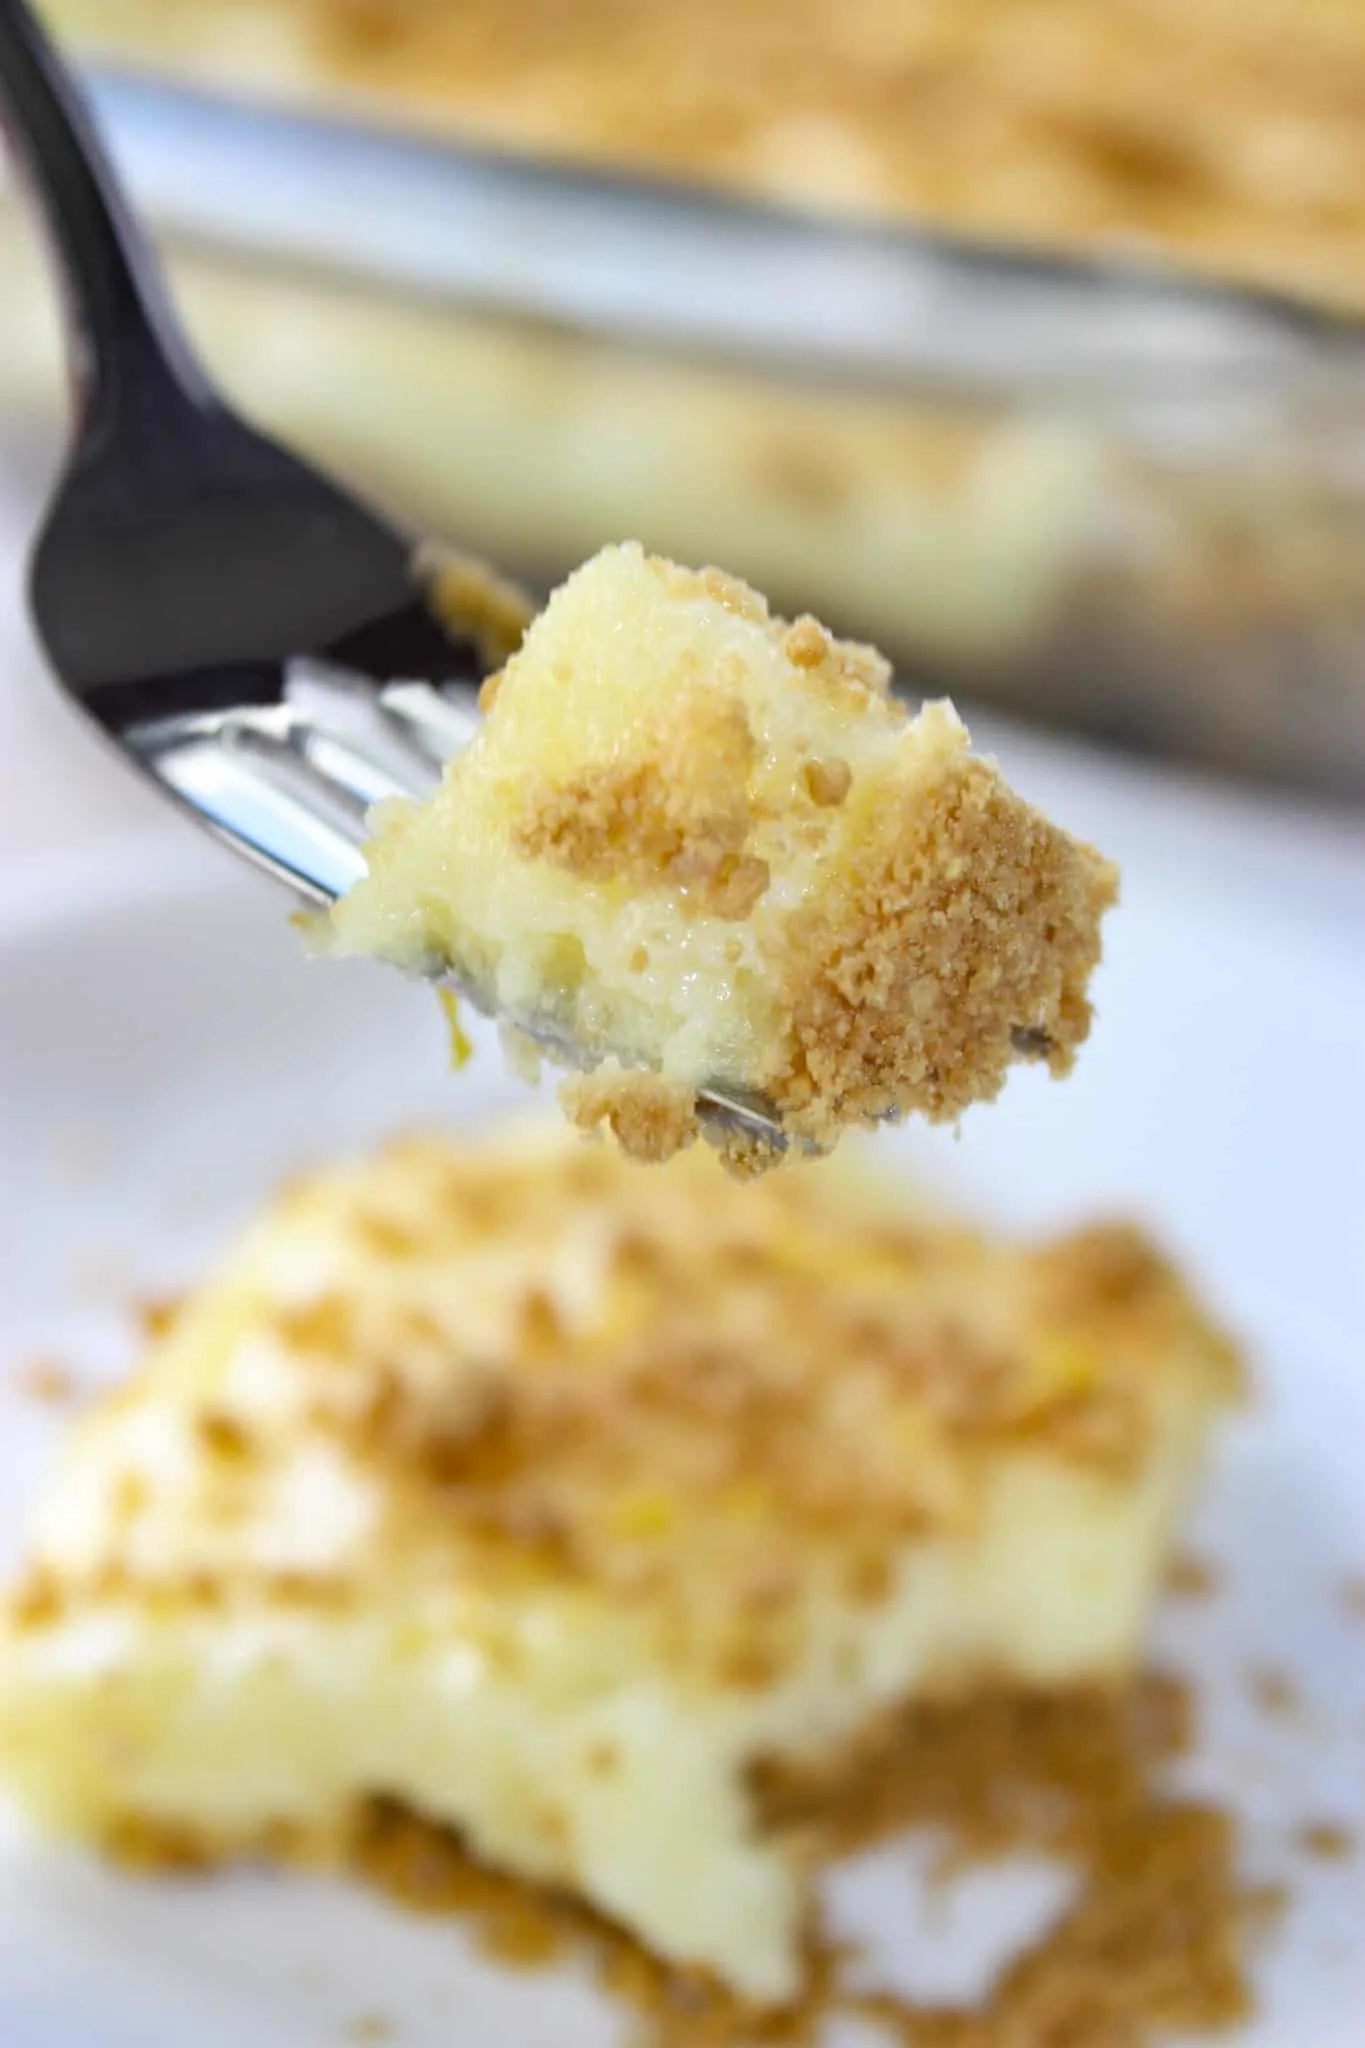
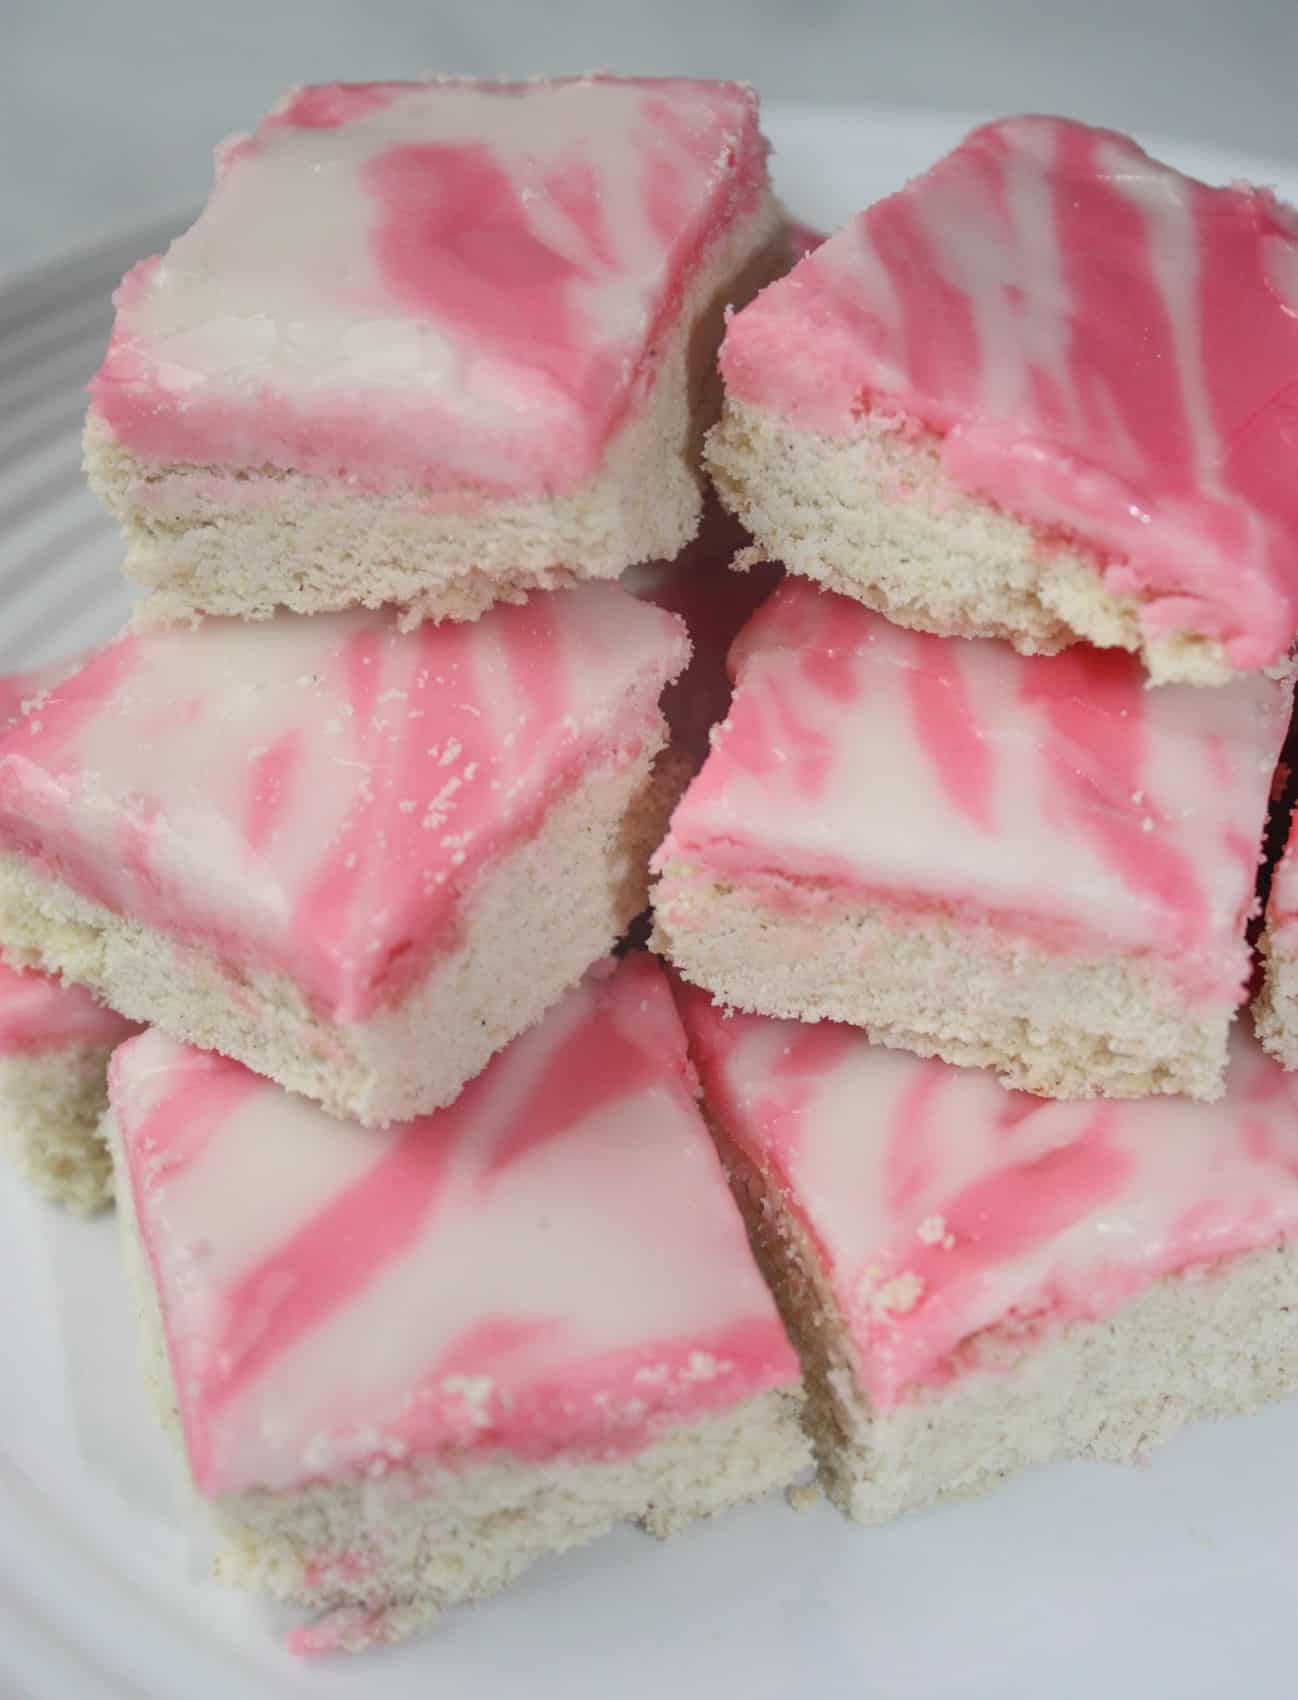
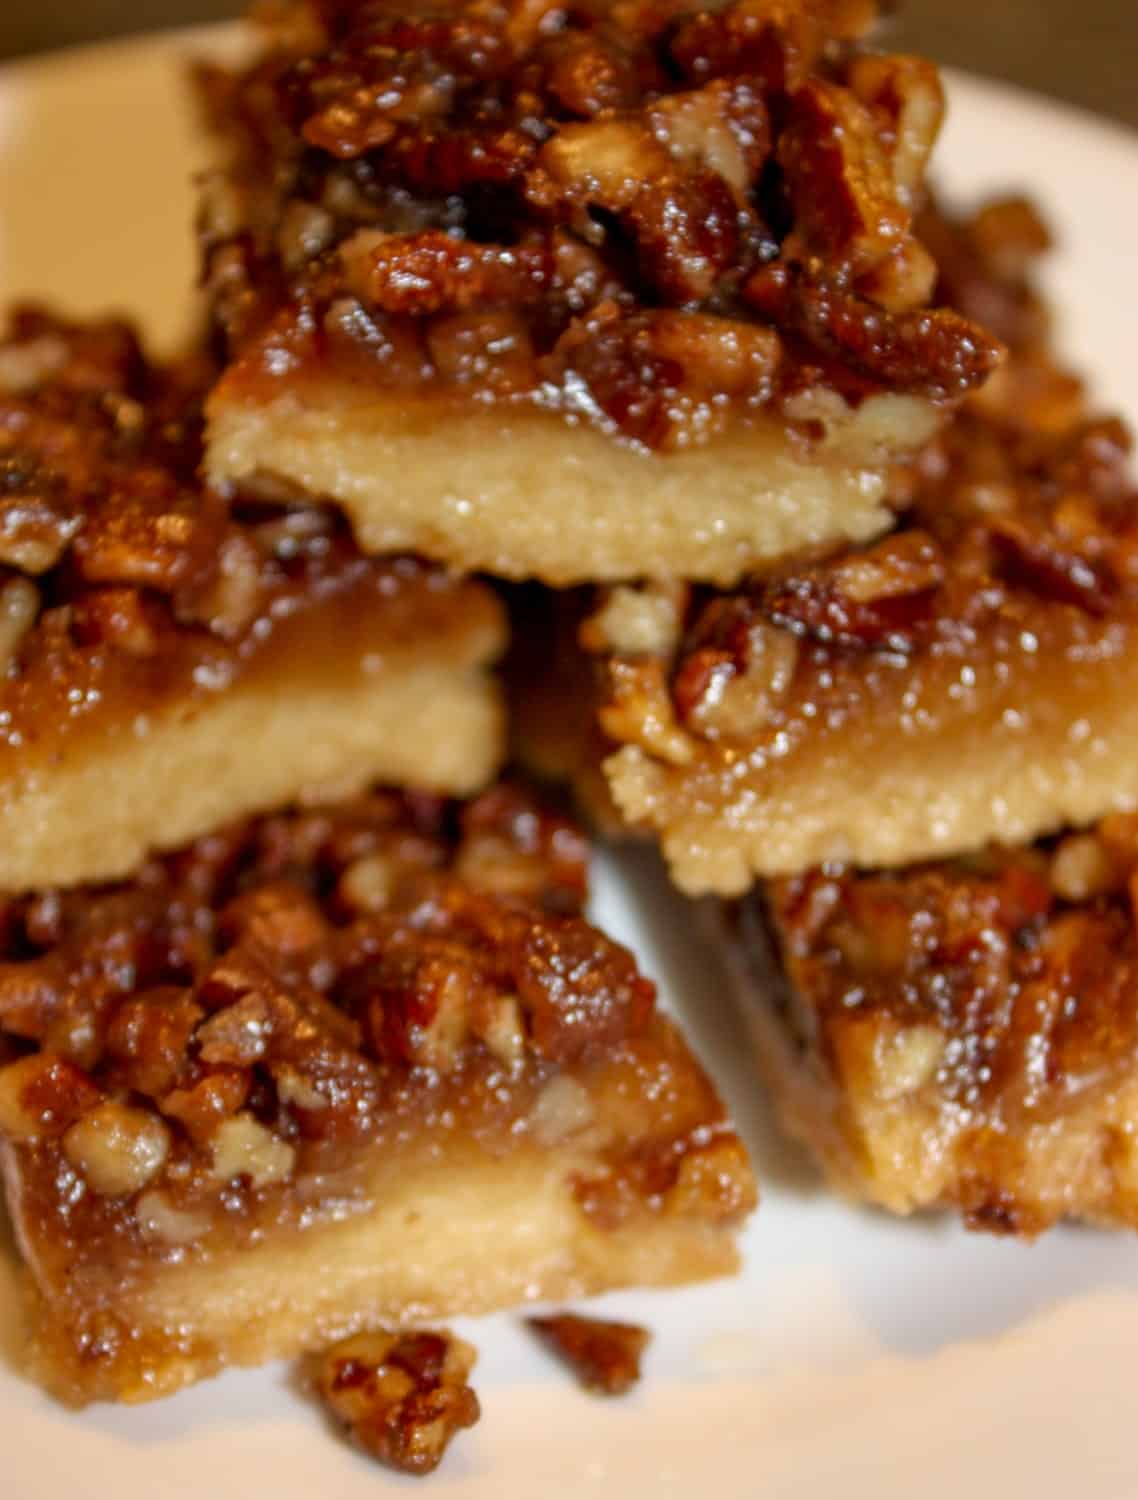
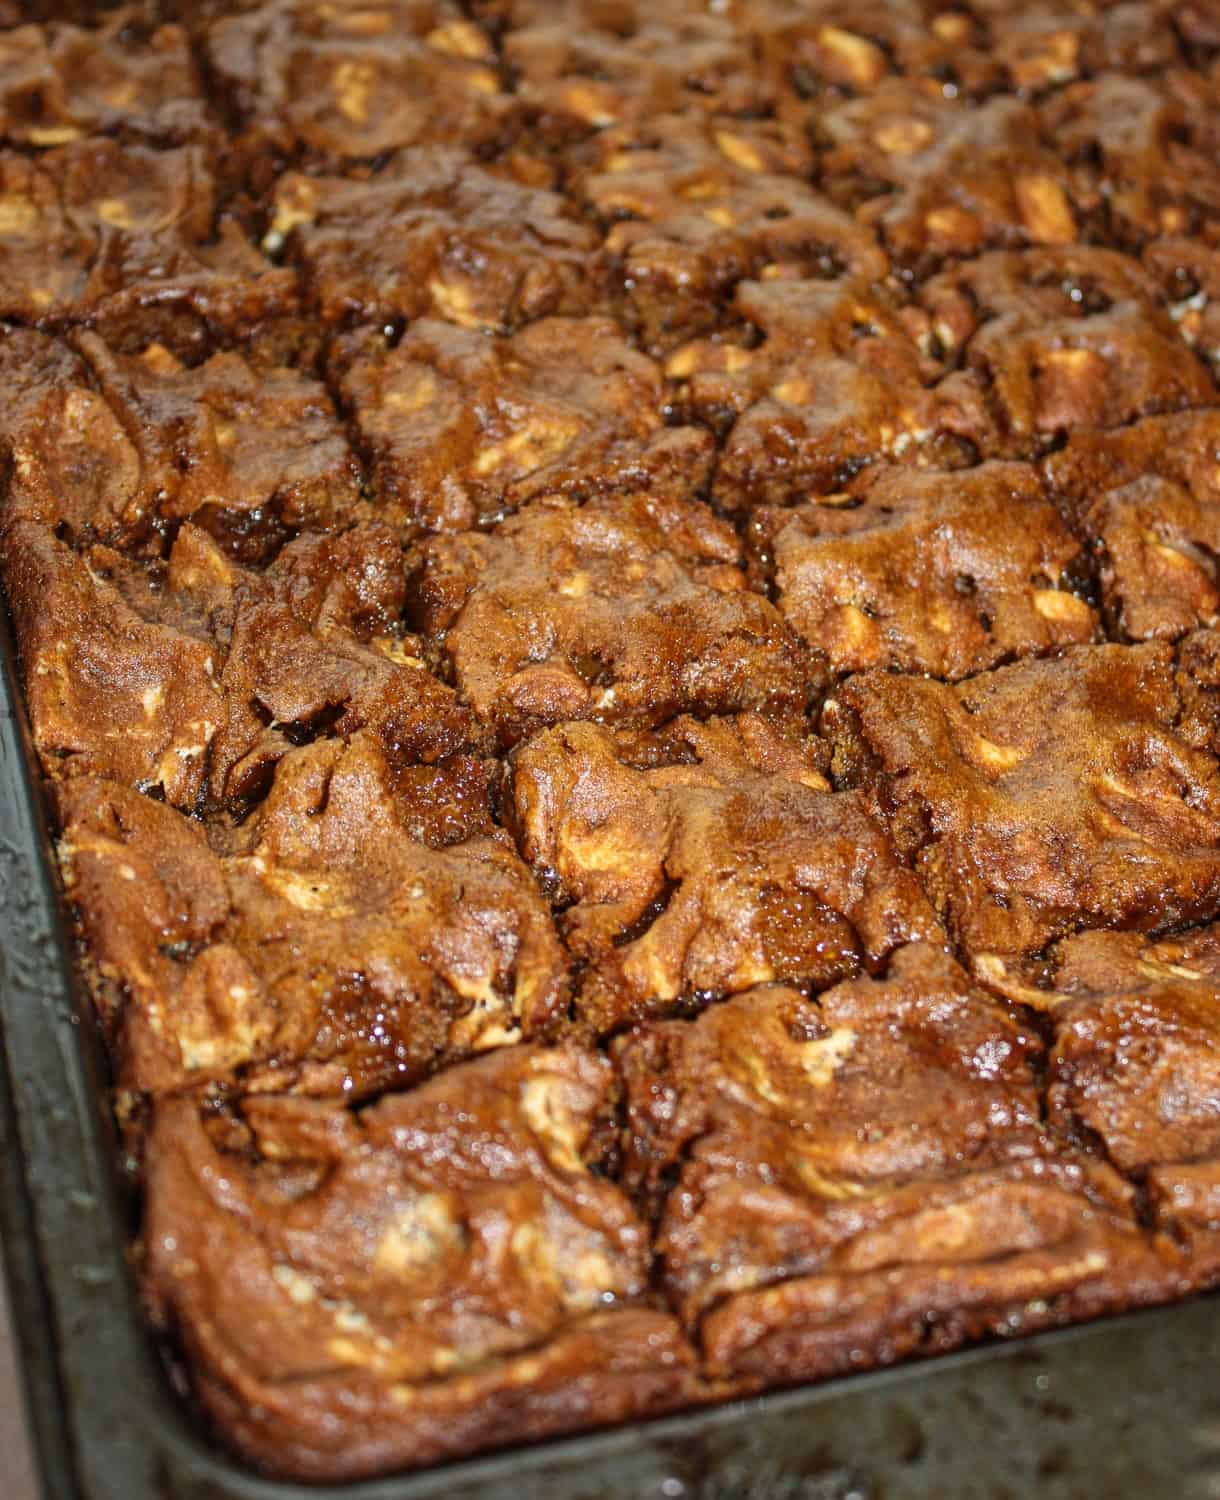
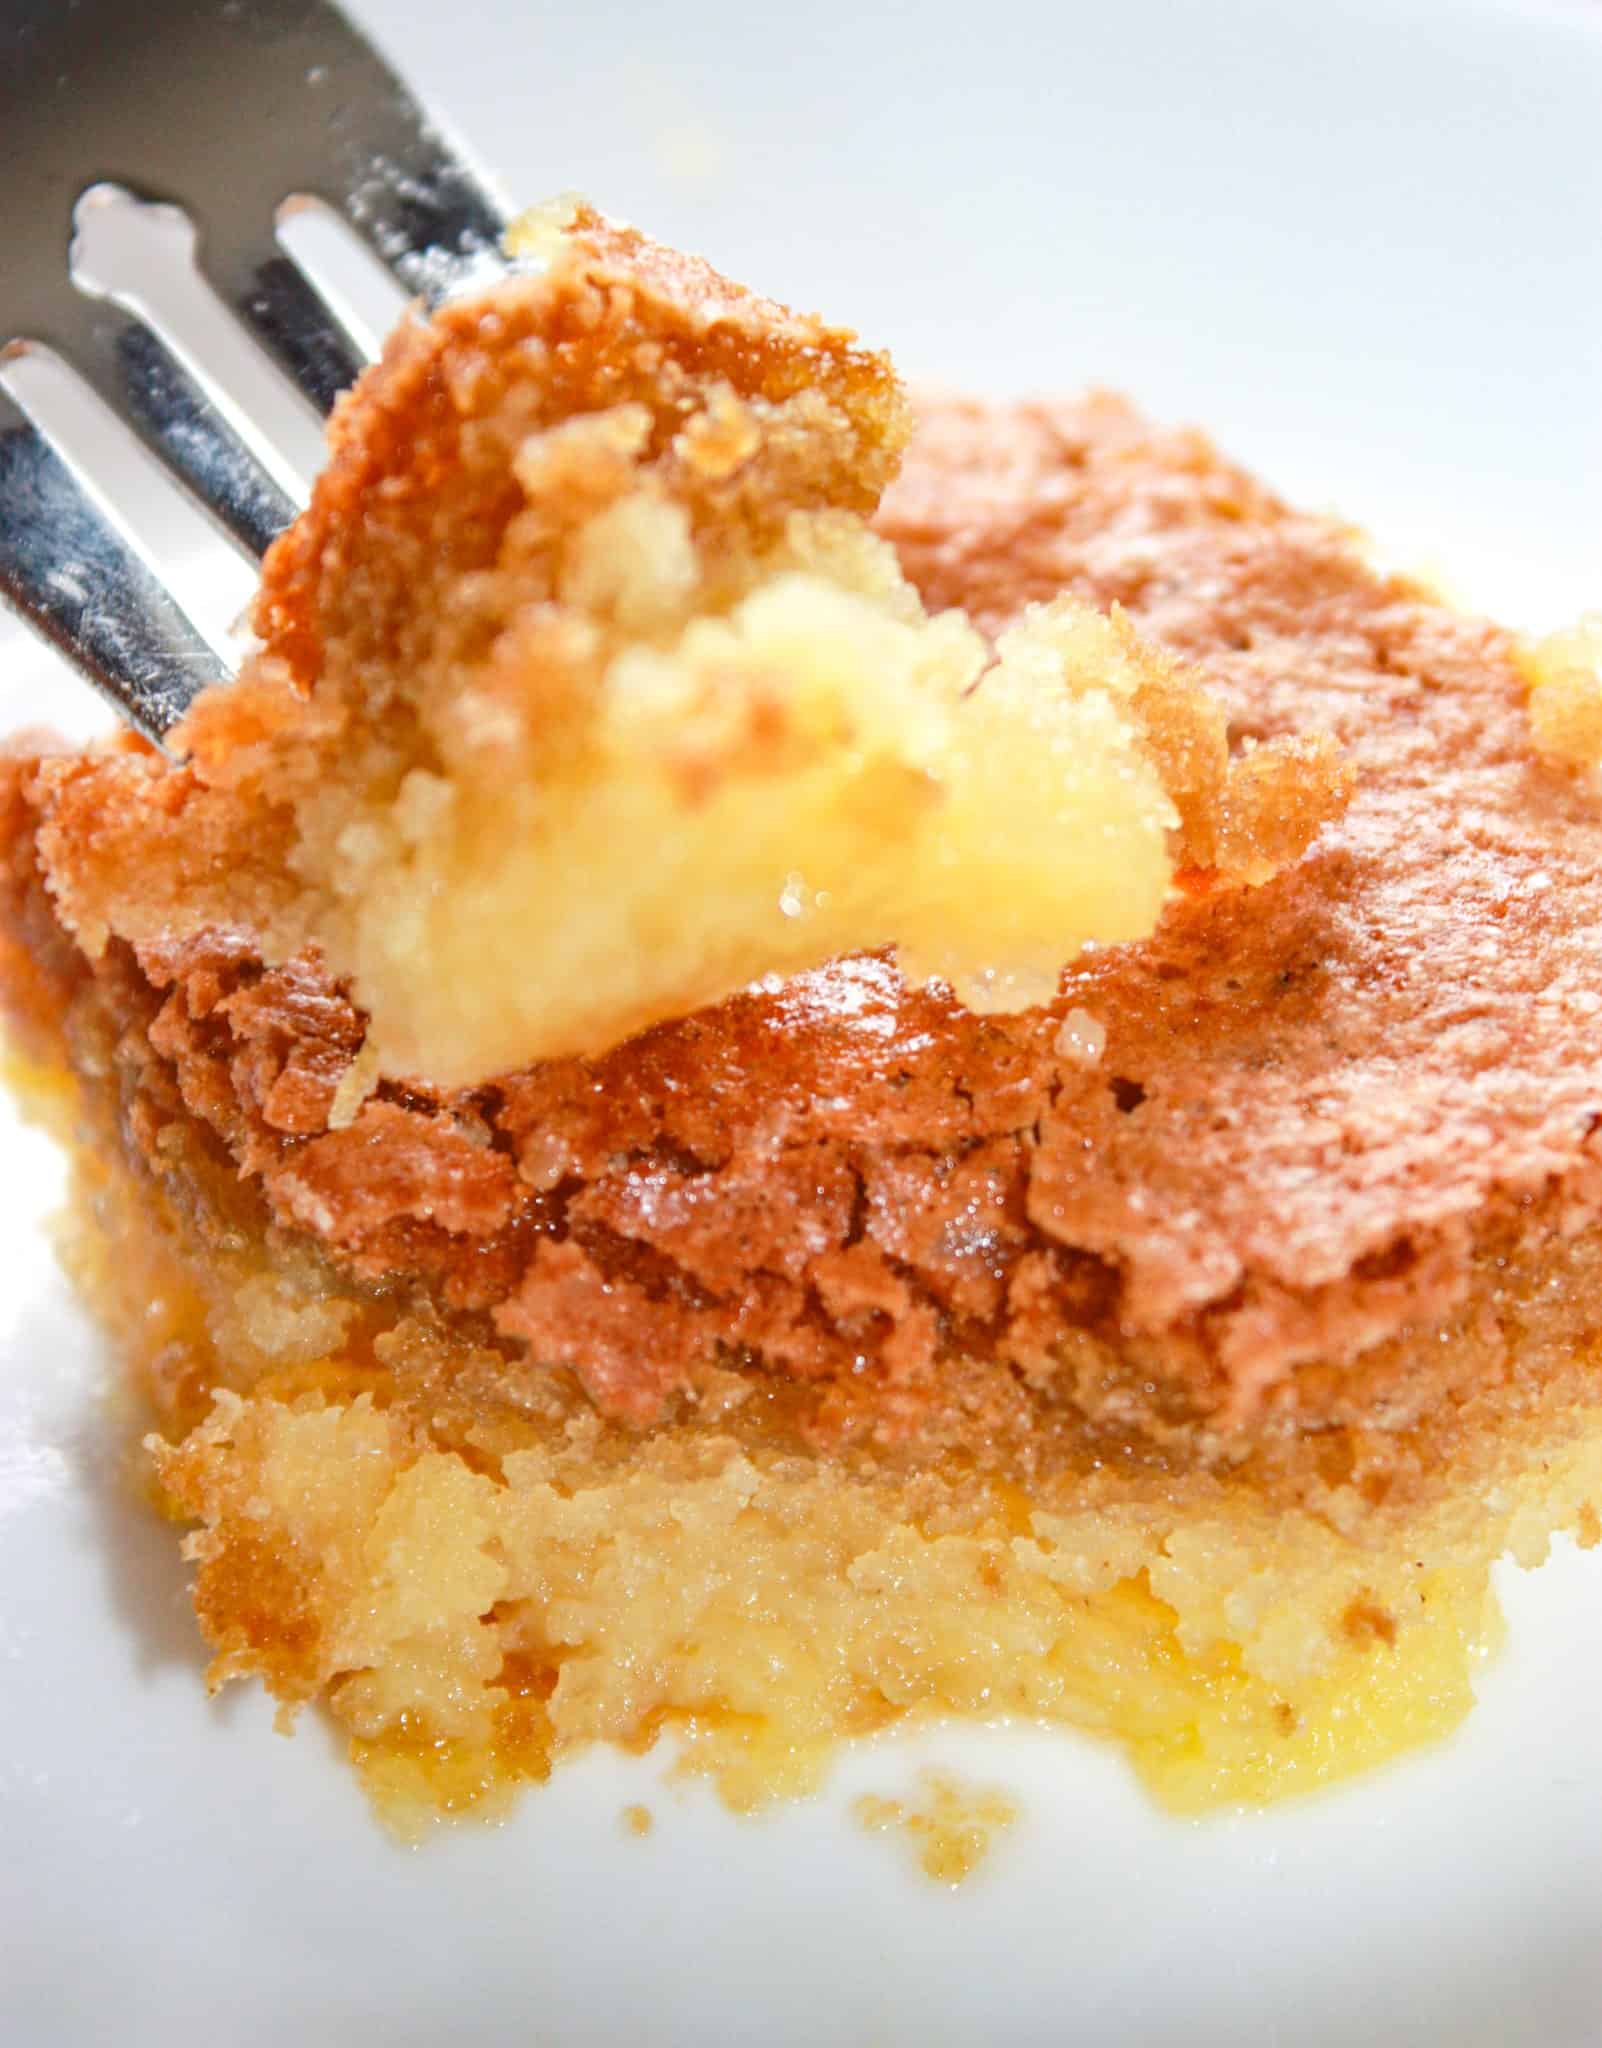
Here Are More Squares and Bars For You To Enjoy…


PRINTABLE VERSION OF THE RECIPE CAN BE FOUND AT THE BOTTOM OF THE PAGE
Ingredients You’ll Need to Make this Chocolate Peppermint Fudge:
- 1/4 cup plus 2 tbsp crushed gluten free candy canes, divided
- 1/2 lb butter
- 3 cups brown sugar
- 2/3 cup evaporated milk
- 1/4 cup cocoa
- 1 tsp peppermint extract
- 2 1/2 cups icing sugar
How to Make Chocolate Peppermint Fudge:
- Line an 8 x 8 inch baking pan with parchment paper sling and spray lightly with cooking spray.
- Crush enough gluten free candy canes to make 6 tablespoons.
- Place a medium sized sauce pan on the stove and dump the butter in.
- Turn the burner to medium heat.
- Add the brown sugar, the evaporated milk and the cocoa. Stir occasionally until butter melts and then stir continuously.
- Once it begins to boil stop stirring and allow to boil for 6 minutes.
- Remove from heat and pour into a pyrex measuring cup or bowl.
- Stir in the peppermint extract.
- Stir in half of the crushed candy canes.
- Gradually stir in the icing sugar until fully integrated.
- Scrape into the prepared pan.
- Sprinkle the remaining crushed candy canes on top of the fudge. Press the crushed candy canes down gently.
- Allow to set for a few hours.
- Use the parchment paper to lift the fudge onto cutting board and cut into squares with a sharp knife.
- Serve and enjoy!
FAQS:
How do I store chocolate peppermint fudge?
Storing chocolate peppermint fudge properly is important to maintain its freshness and flavor. Here are some tips on how to store peppermint fudge:
- Room Temperature: Chocolate peppermint fudge can be stored at room temperature in an airtight container. Make sure the container is sealed well to prevent the fudge from drying out or absorbing odors from the surroundings. Store it in a cool, dry place away from direct sunlight.
- Refrigeration: If you live in a warm climate or if your kitchen tends to be warm, you may consider storing peppermint fudge in the refrigerator. Again, use an airtight container to prevent the fudge from absorbing any unwanted flavors from the refrigerator.
- Layering: If you need to stack multiple layers of fudge, place a sheet of parchment paper between the layers to prevent them from sticking together.
- Avoid Moisture: Moisture can affect the texture and quality of fudge. Make sure the fudge is completely cooled before storing it, and avoid placing it in a humid environment.
- Separate Flavors: If you are storing different flavors of fudge together, consider separating them with layers of parchment paper or placing each flavor in its own container to prevent flavor transfer.
Remember to check the storage instructions on the specific recipe you used for making chocolate peppermint fudge, as different recipes may have slight variations in storage recommendations. Additionally, always use your best judgment and discard the fudge if you notice any signs of spoilage or if it has been stored for an extended period.
Can I freeze chocolate peppermint fudge?