Peanut Butter Cup Squares are a family favourite dessert in our home! I made some adjustments to the recipe for this gluten free version so that I could once again enjoy this square recipe and no one noticed the difference!
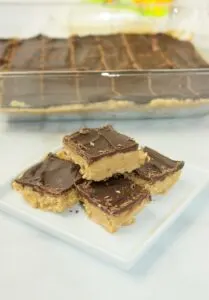
The classic peanut butter and chocolate combination make for a delicious finale to any meal or occasion.
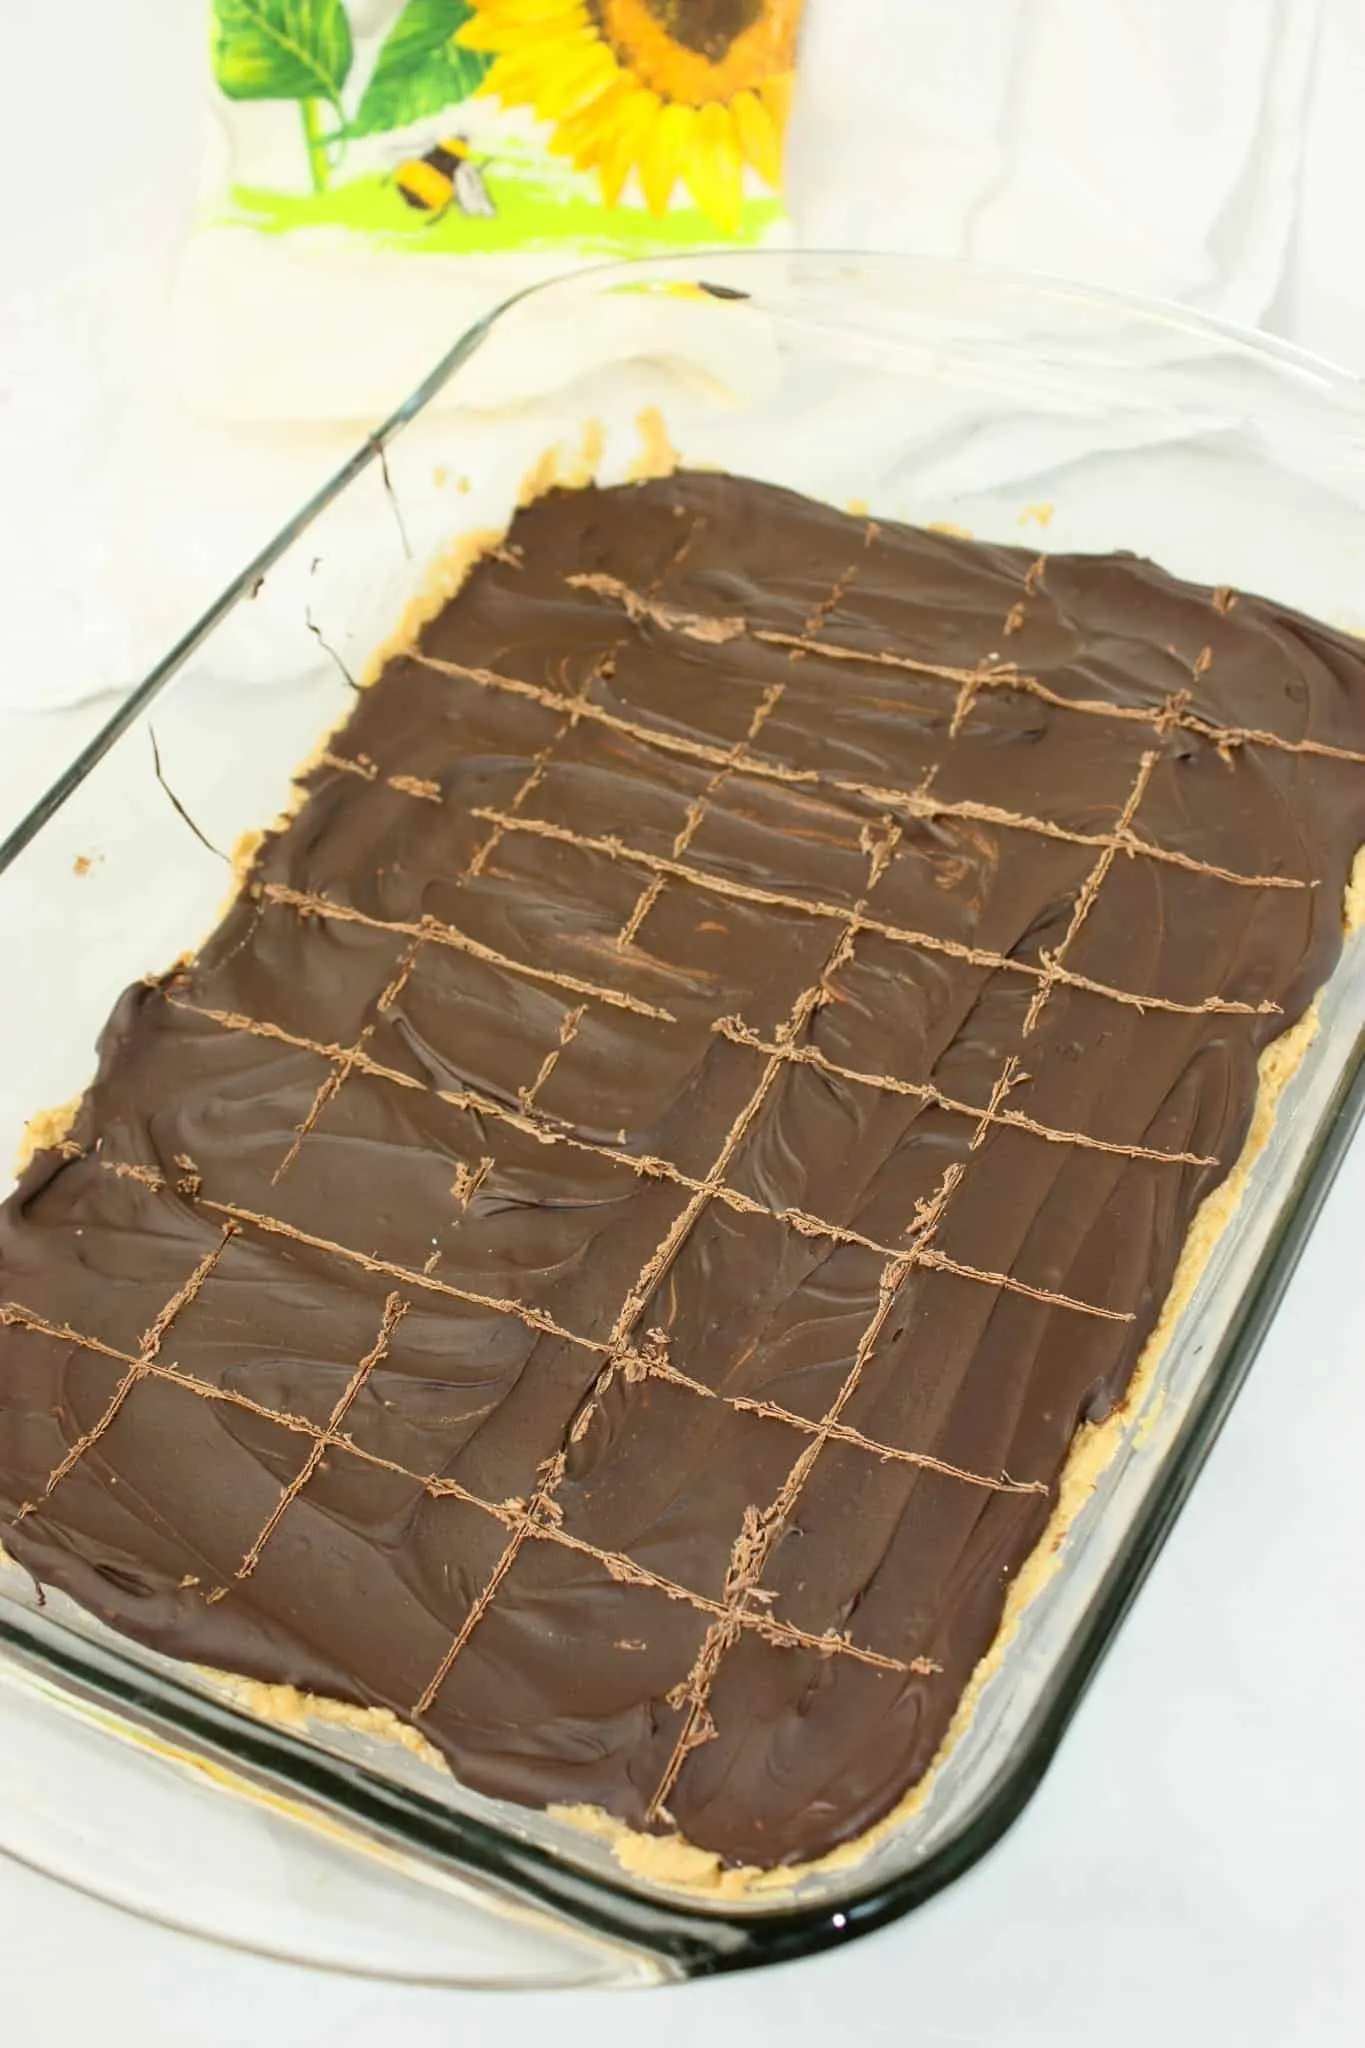
This recipe’s yield will depend on how big you want your serving size to be. I usually get between 35 to 42 squares.
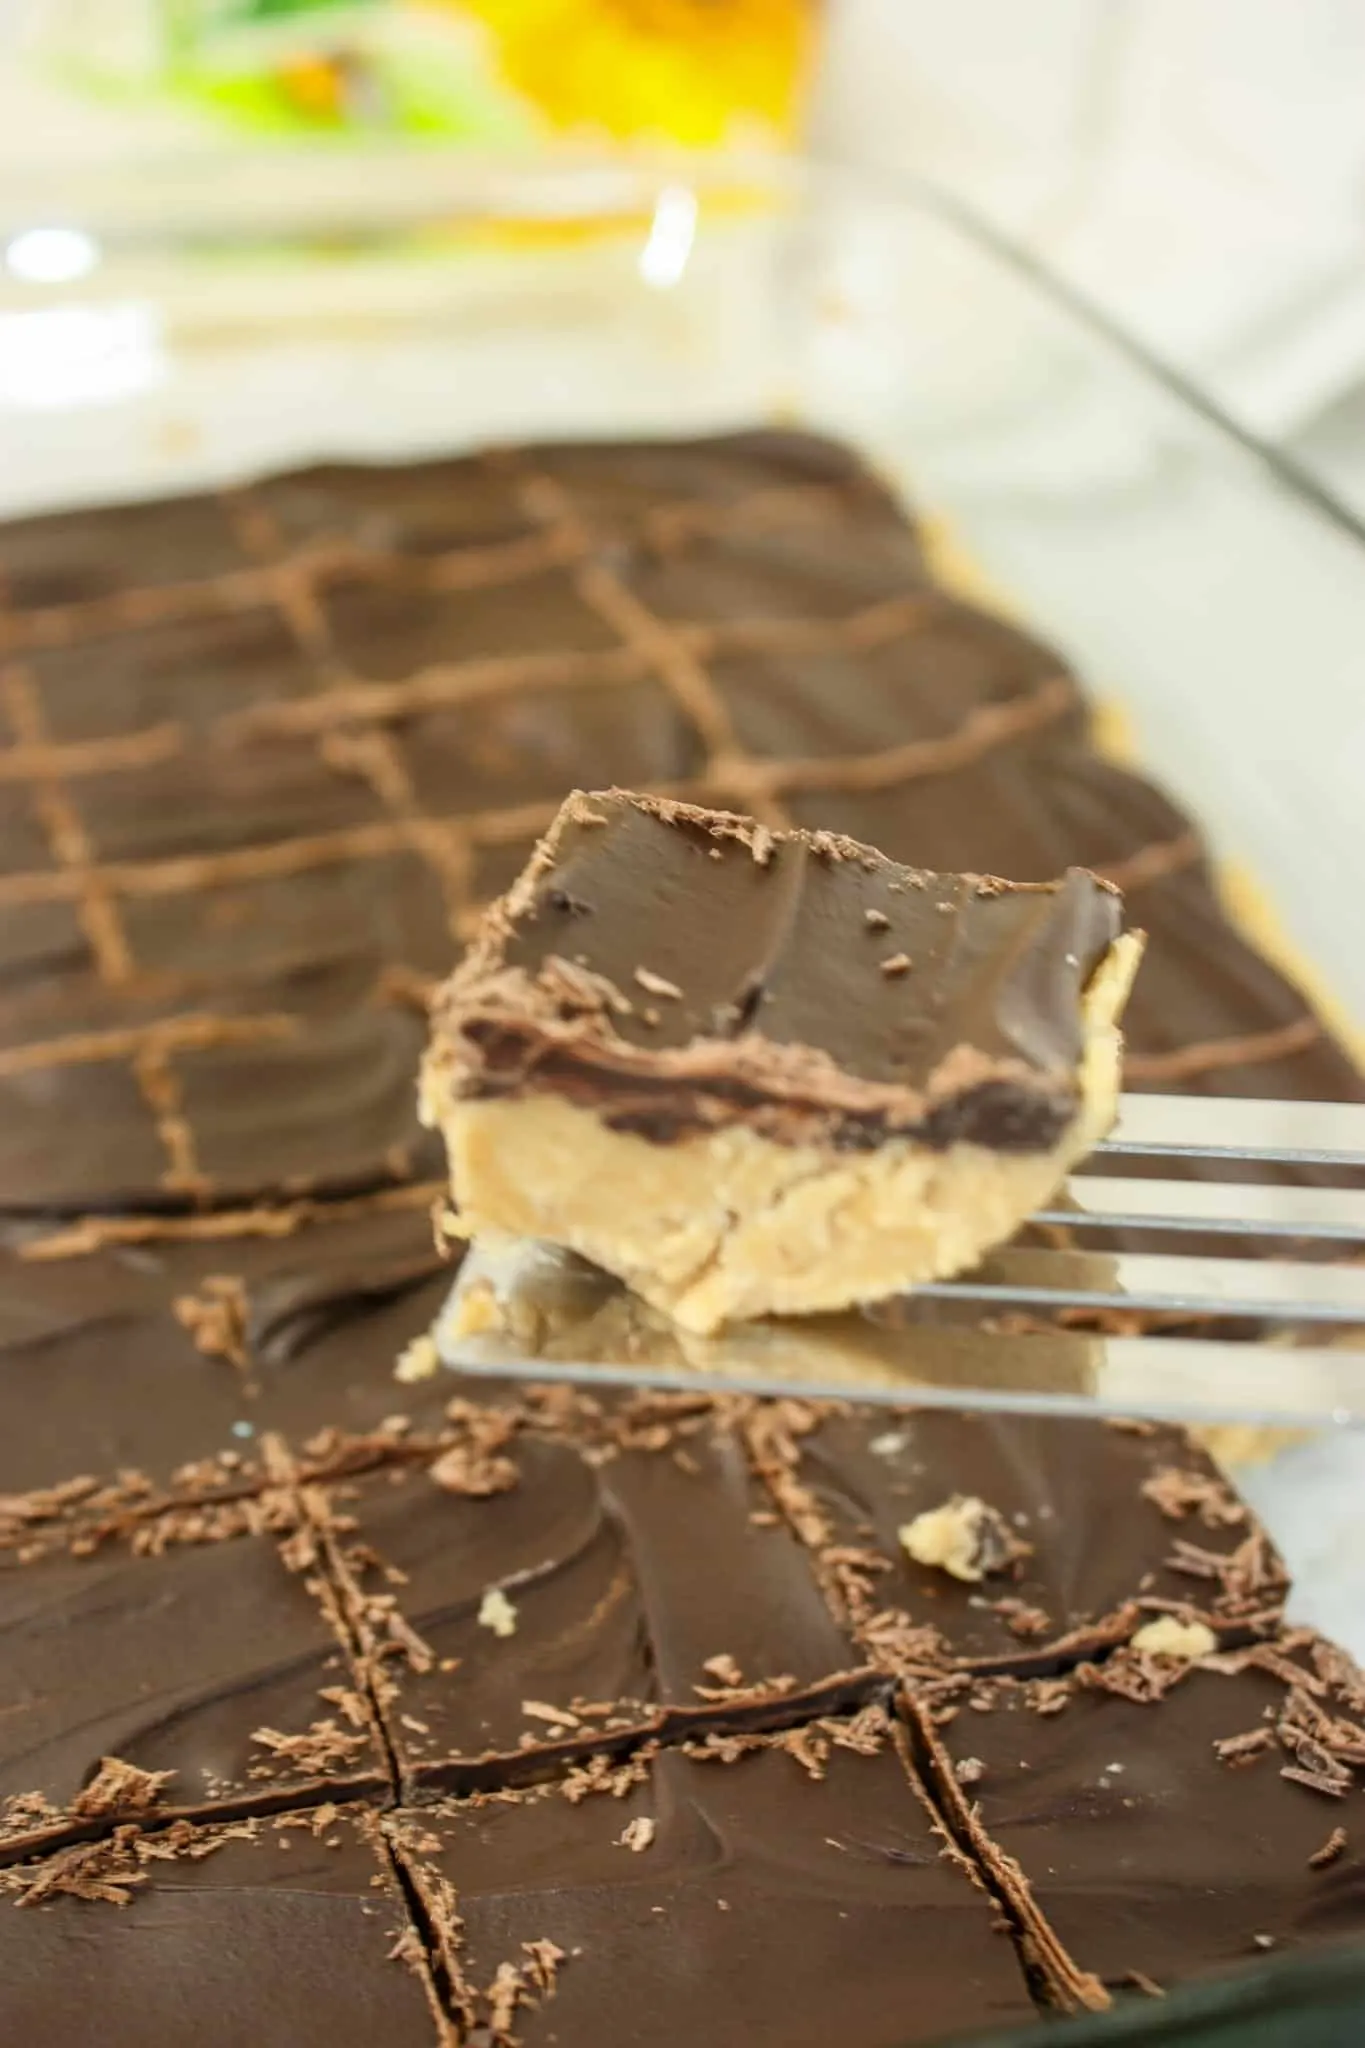
Serve them up on their own or they are a popular addition to any dessert tray.
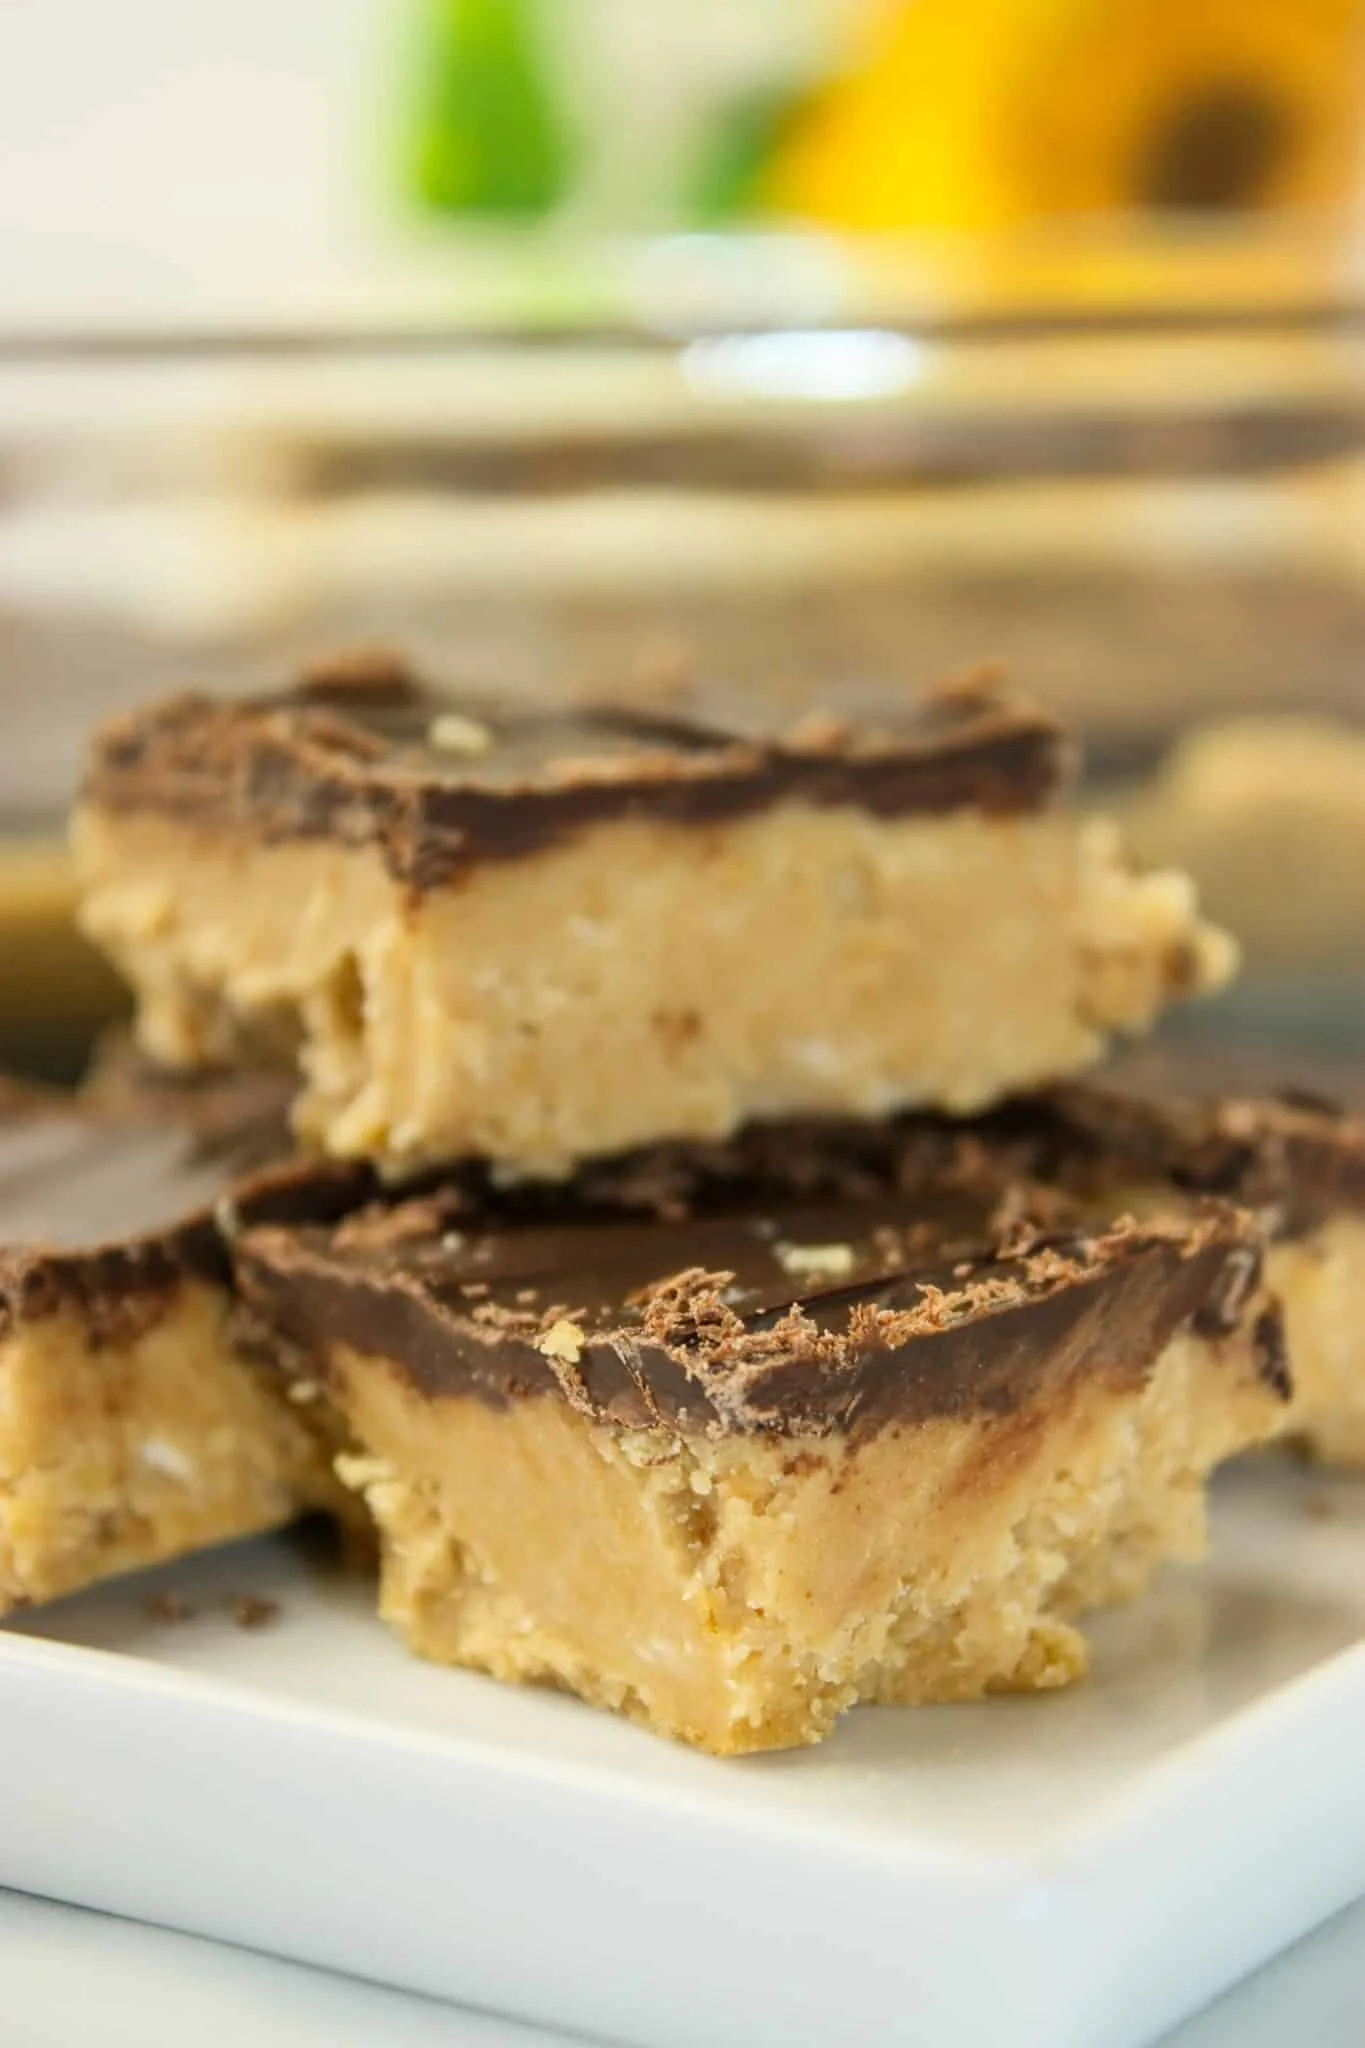
In this house we love anything that combines peanut butter and chocolate!
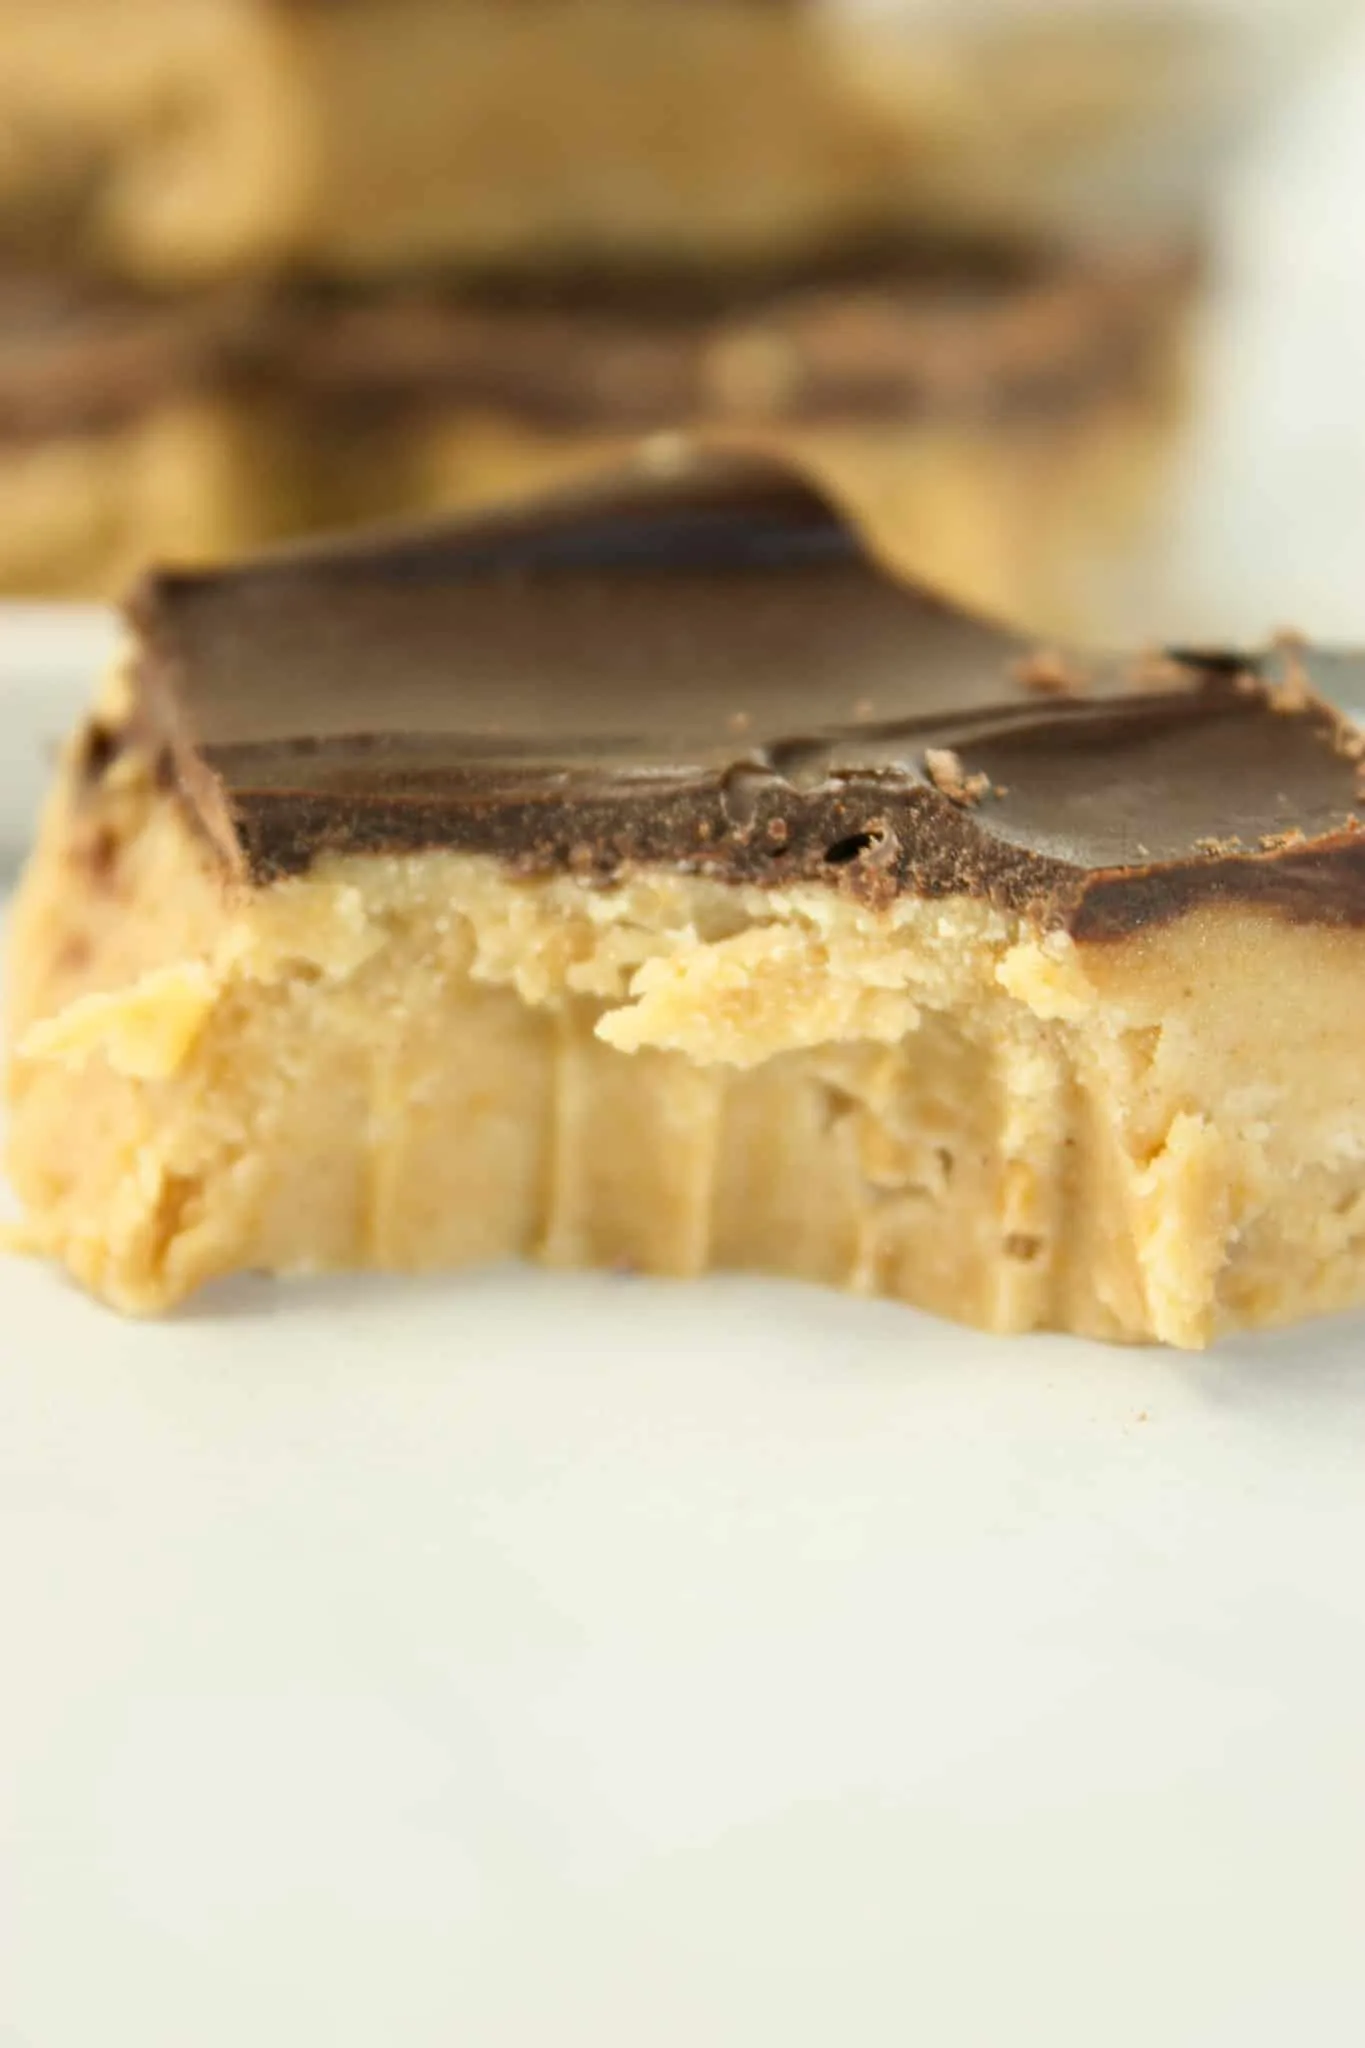
Printable Recipe Card with a Full List of Ingredients and Instructions is Located at the Bottom of the Post.
Be sure to read through the entire post so that you don’t miss out on any important tips and tricks!
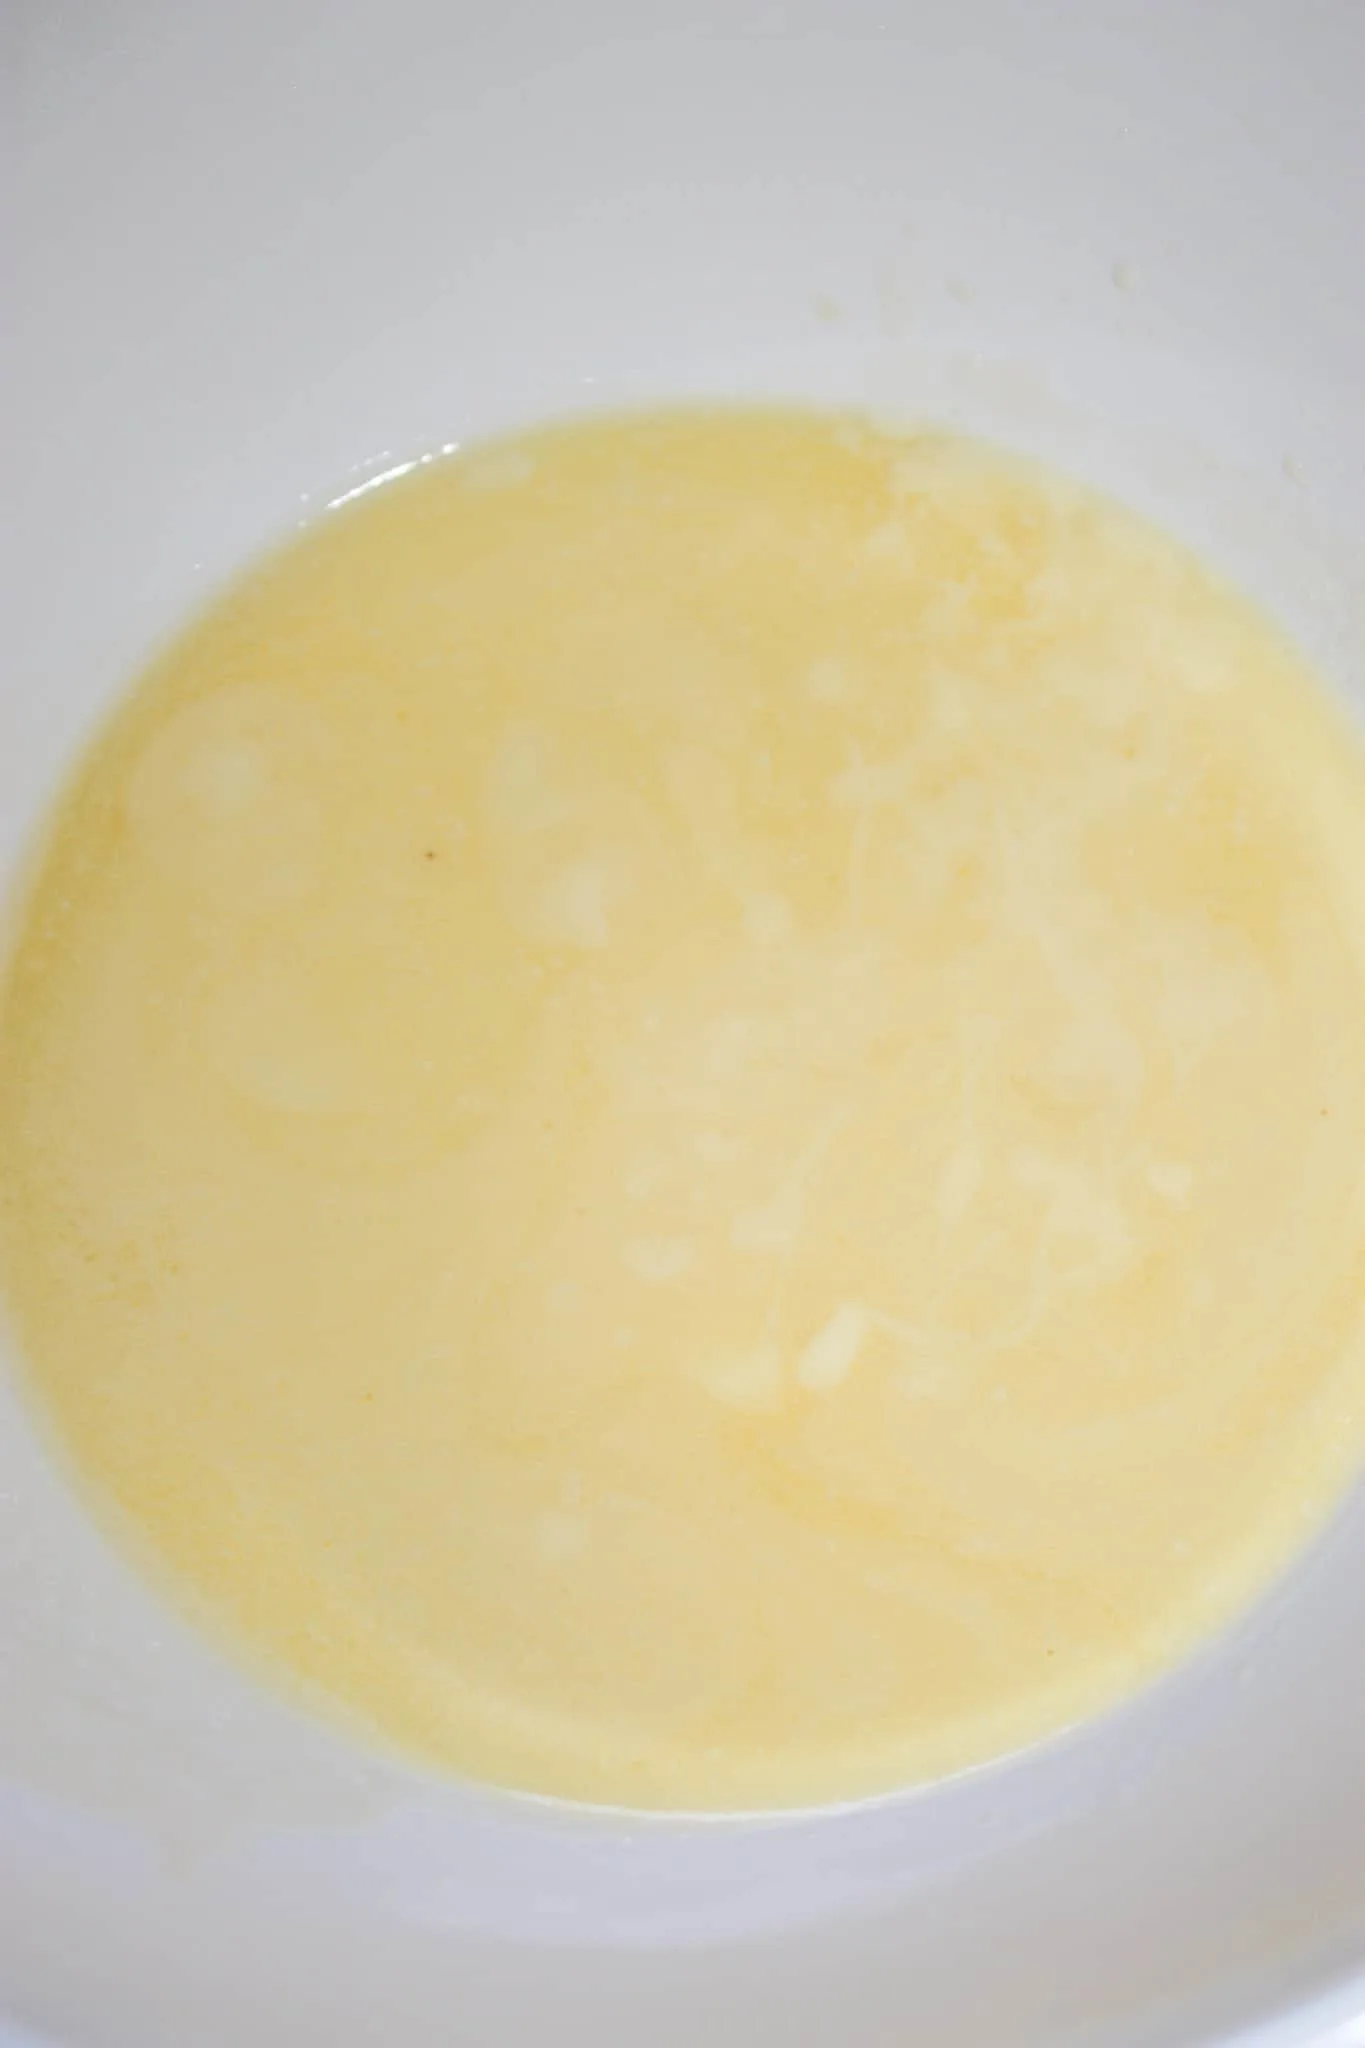
The first step to make these Peanut Butter Cup Squares was to melt some butter in the microwave on low.
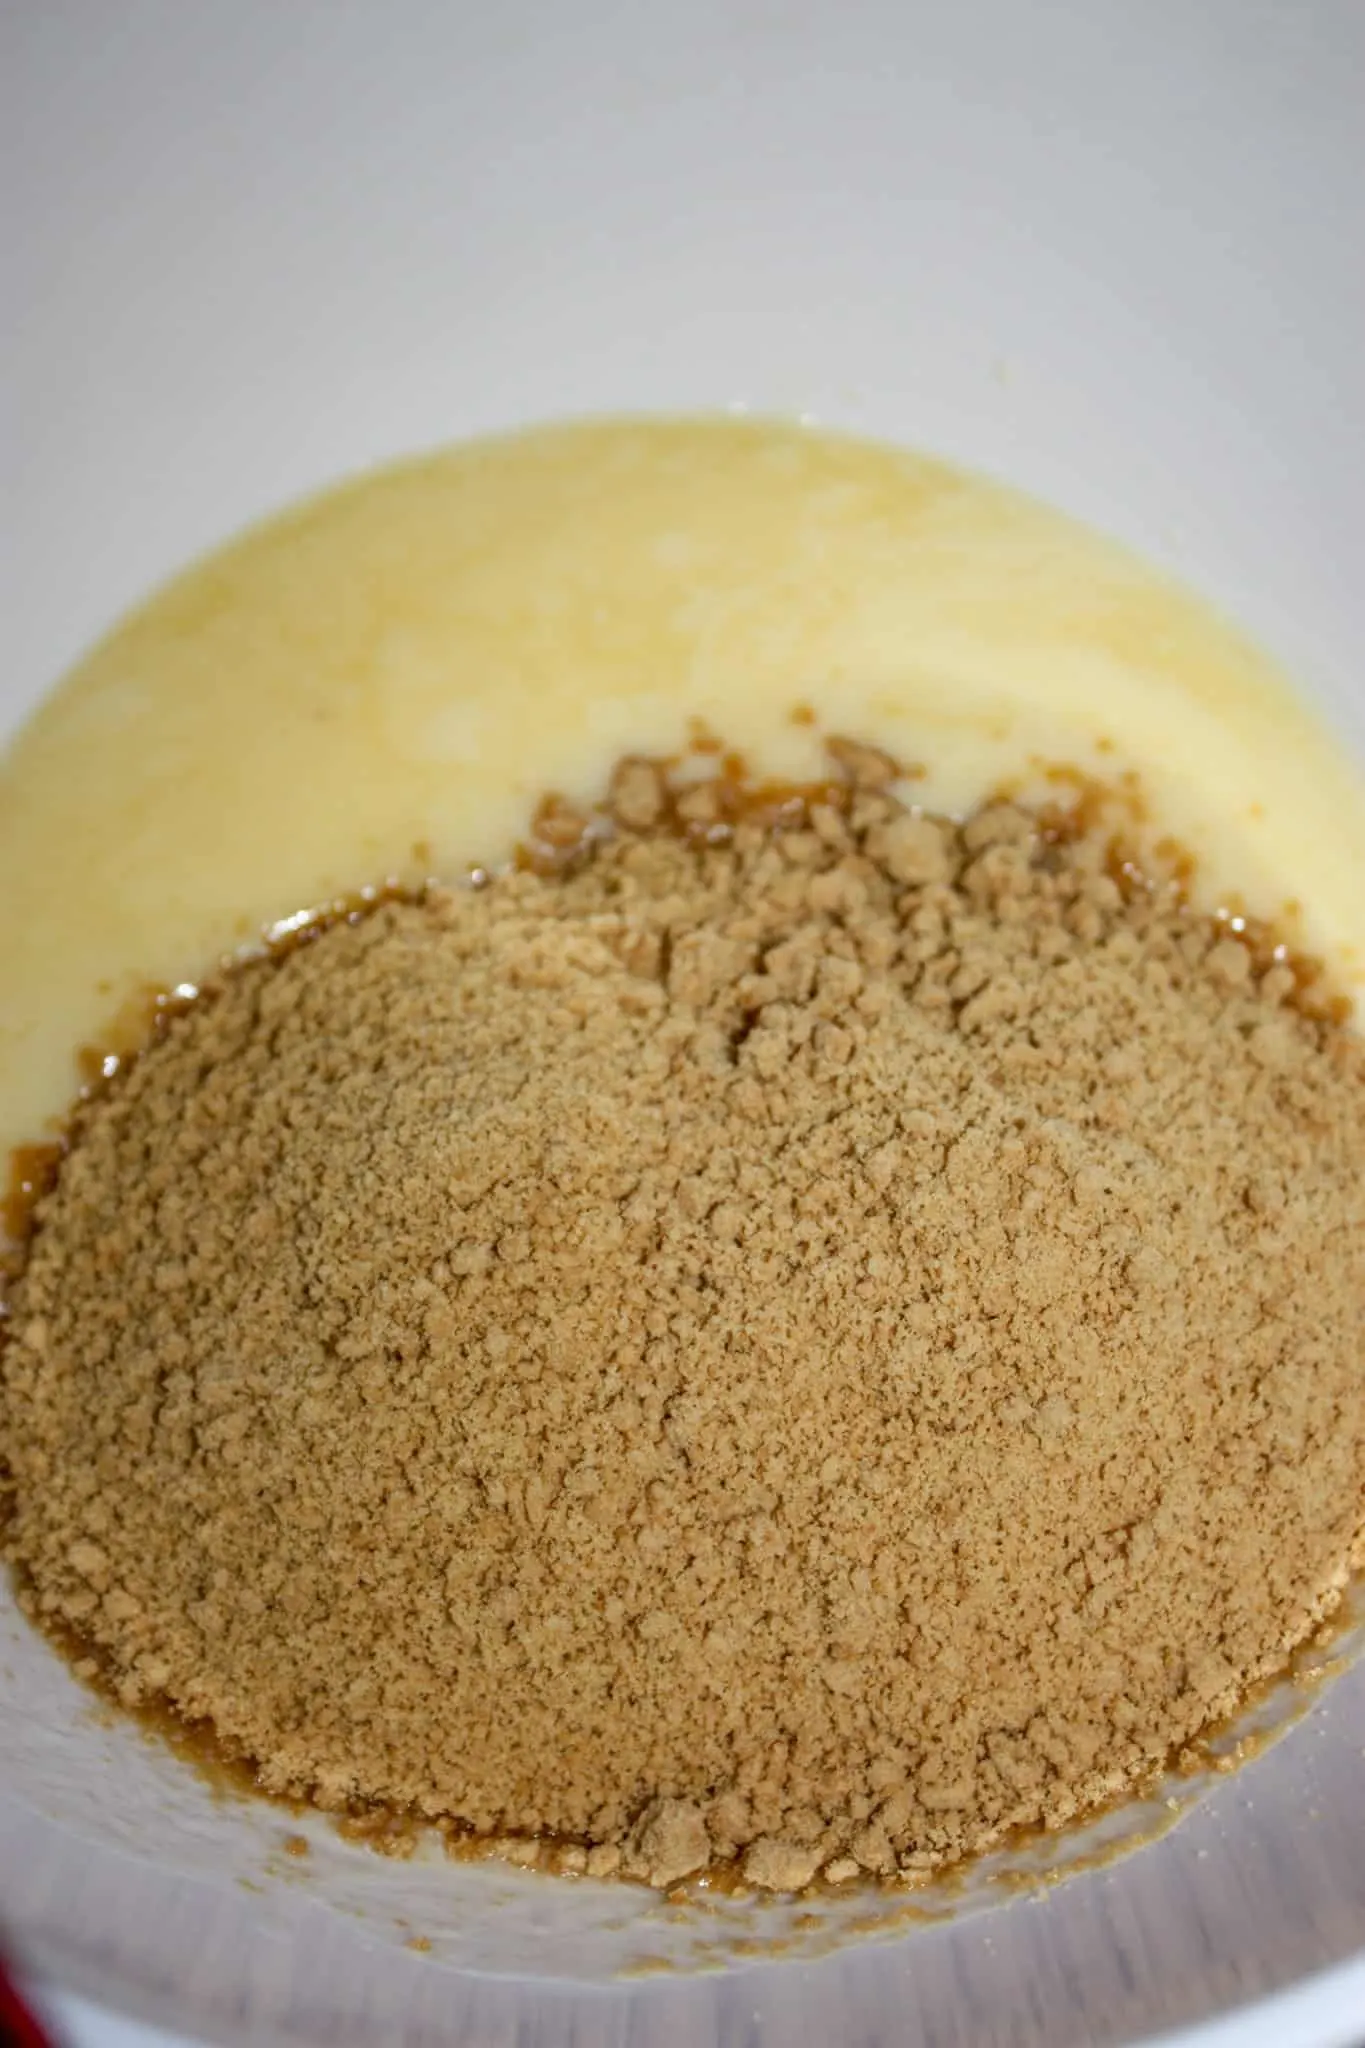
Then I mixed in some gluten free graham crumbs.
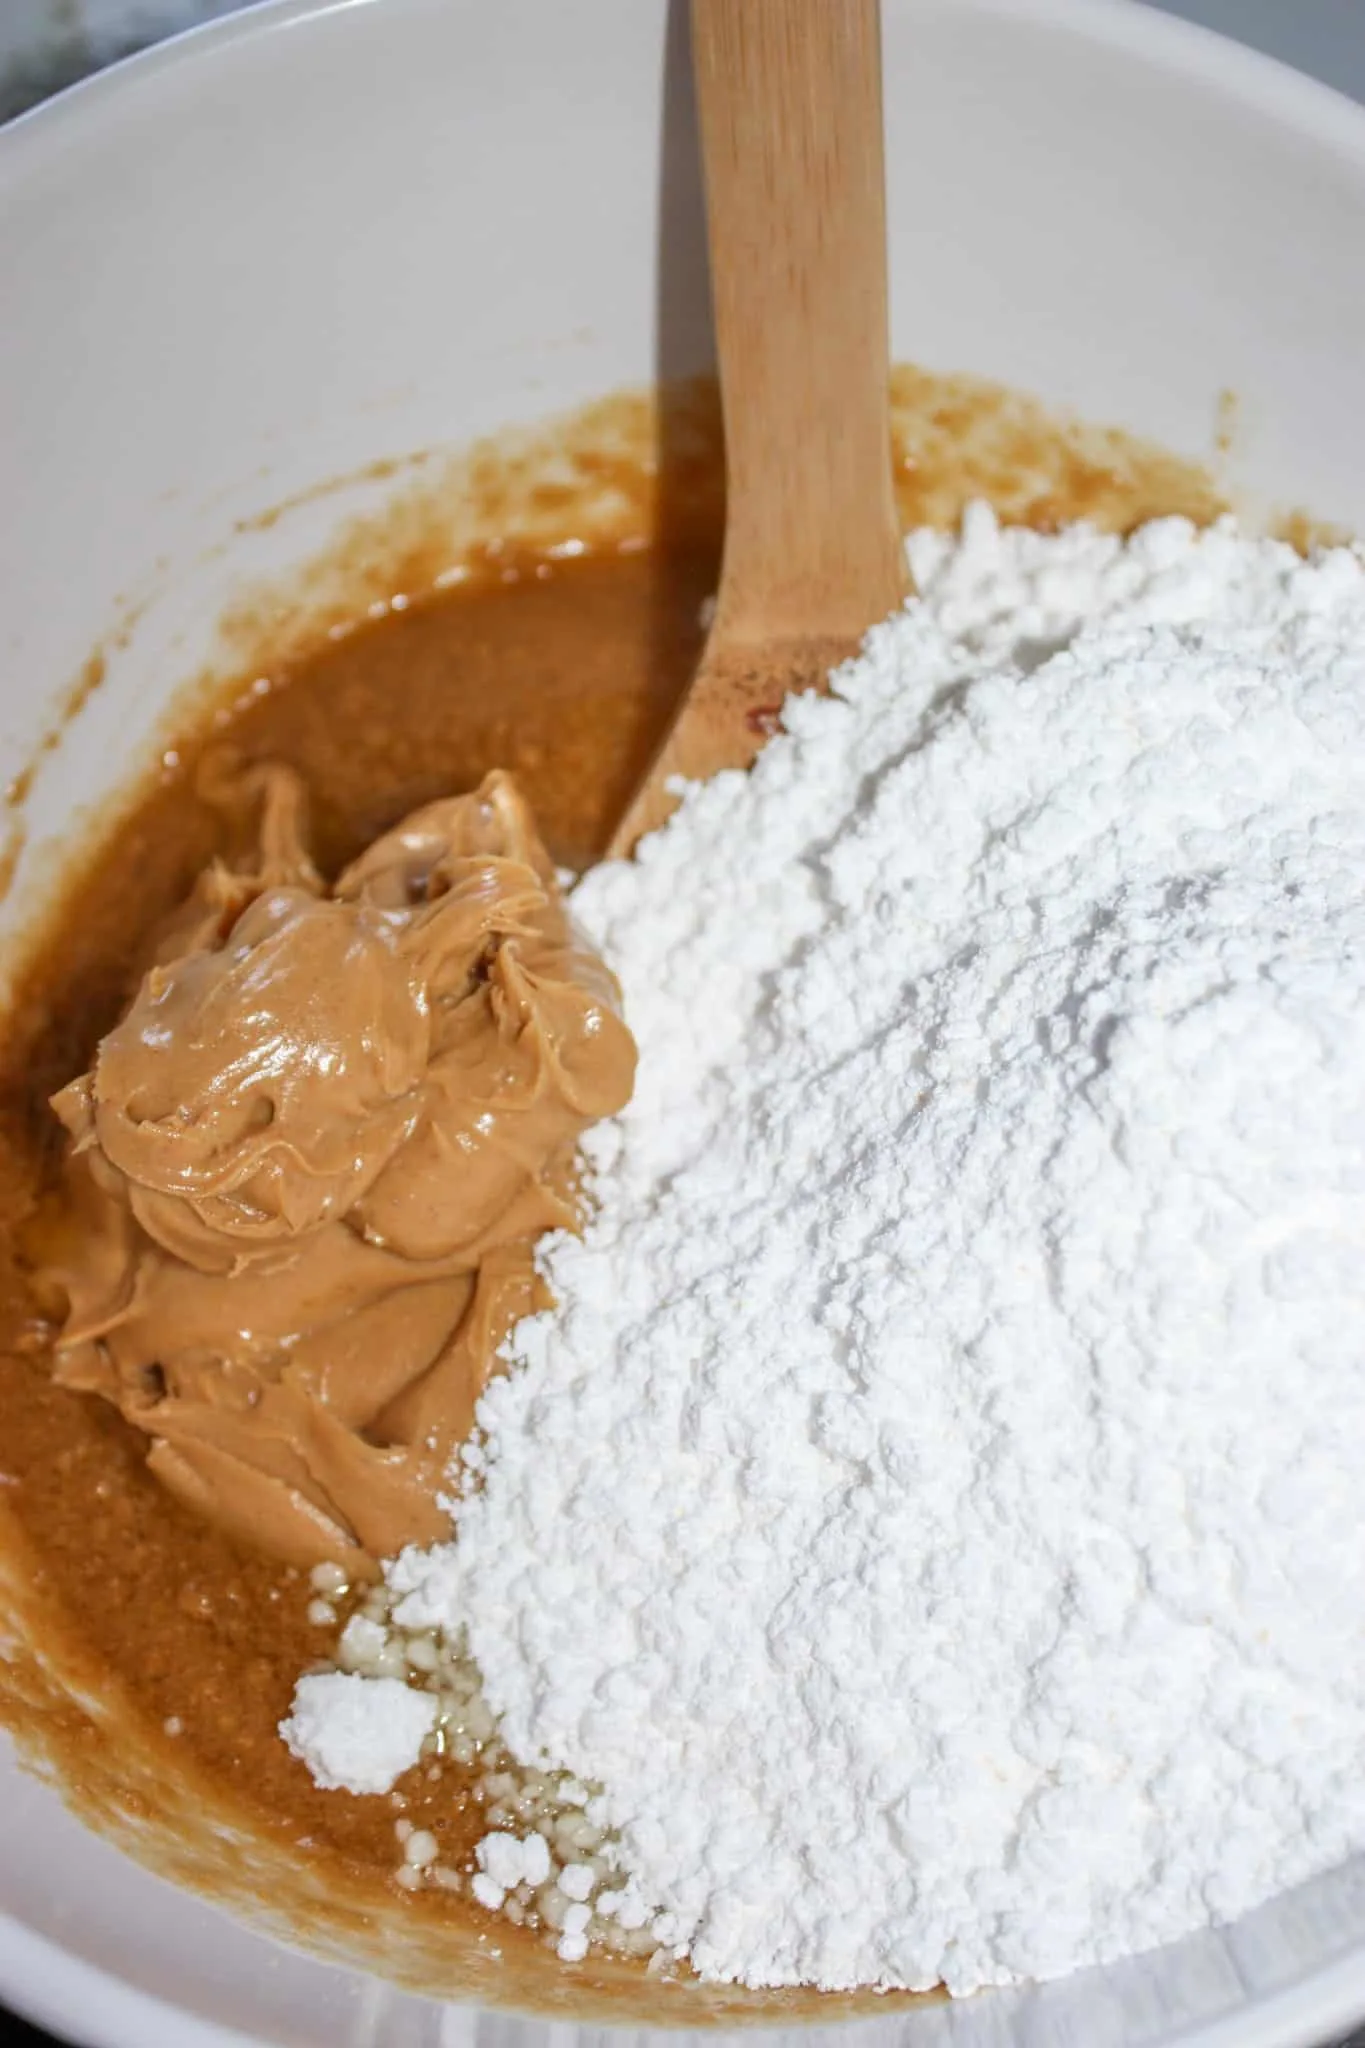
Next I stirred in peanut butter and some icing sugar.
I stirred until all the ingredients were well combined.
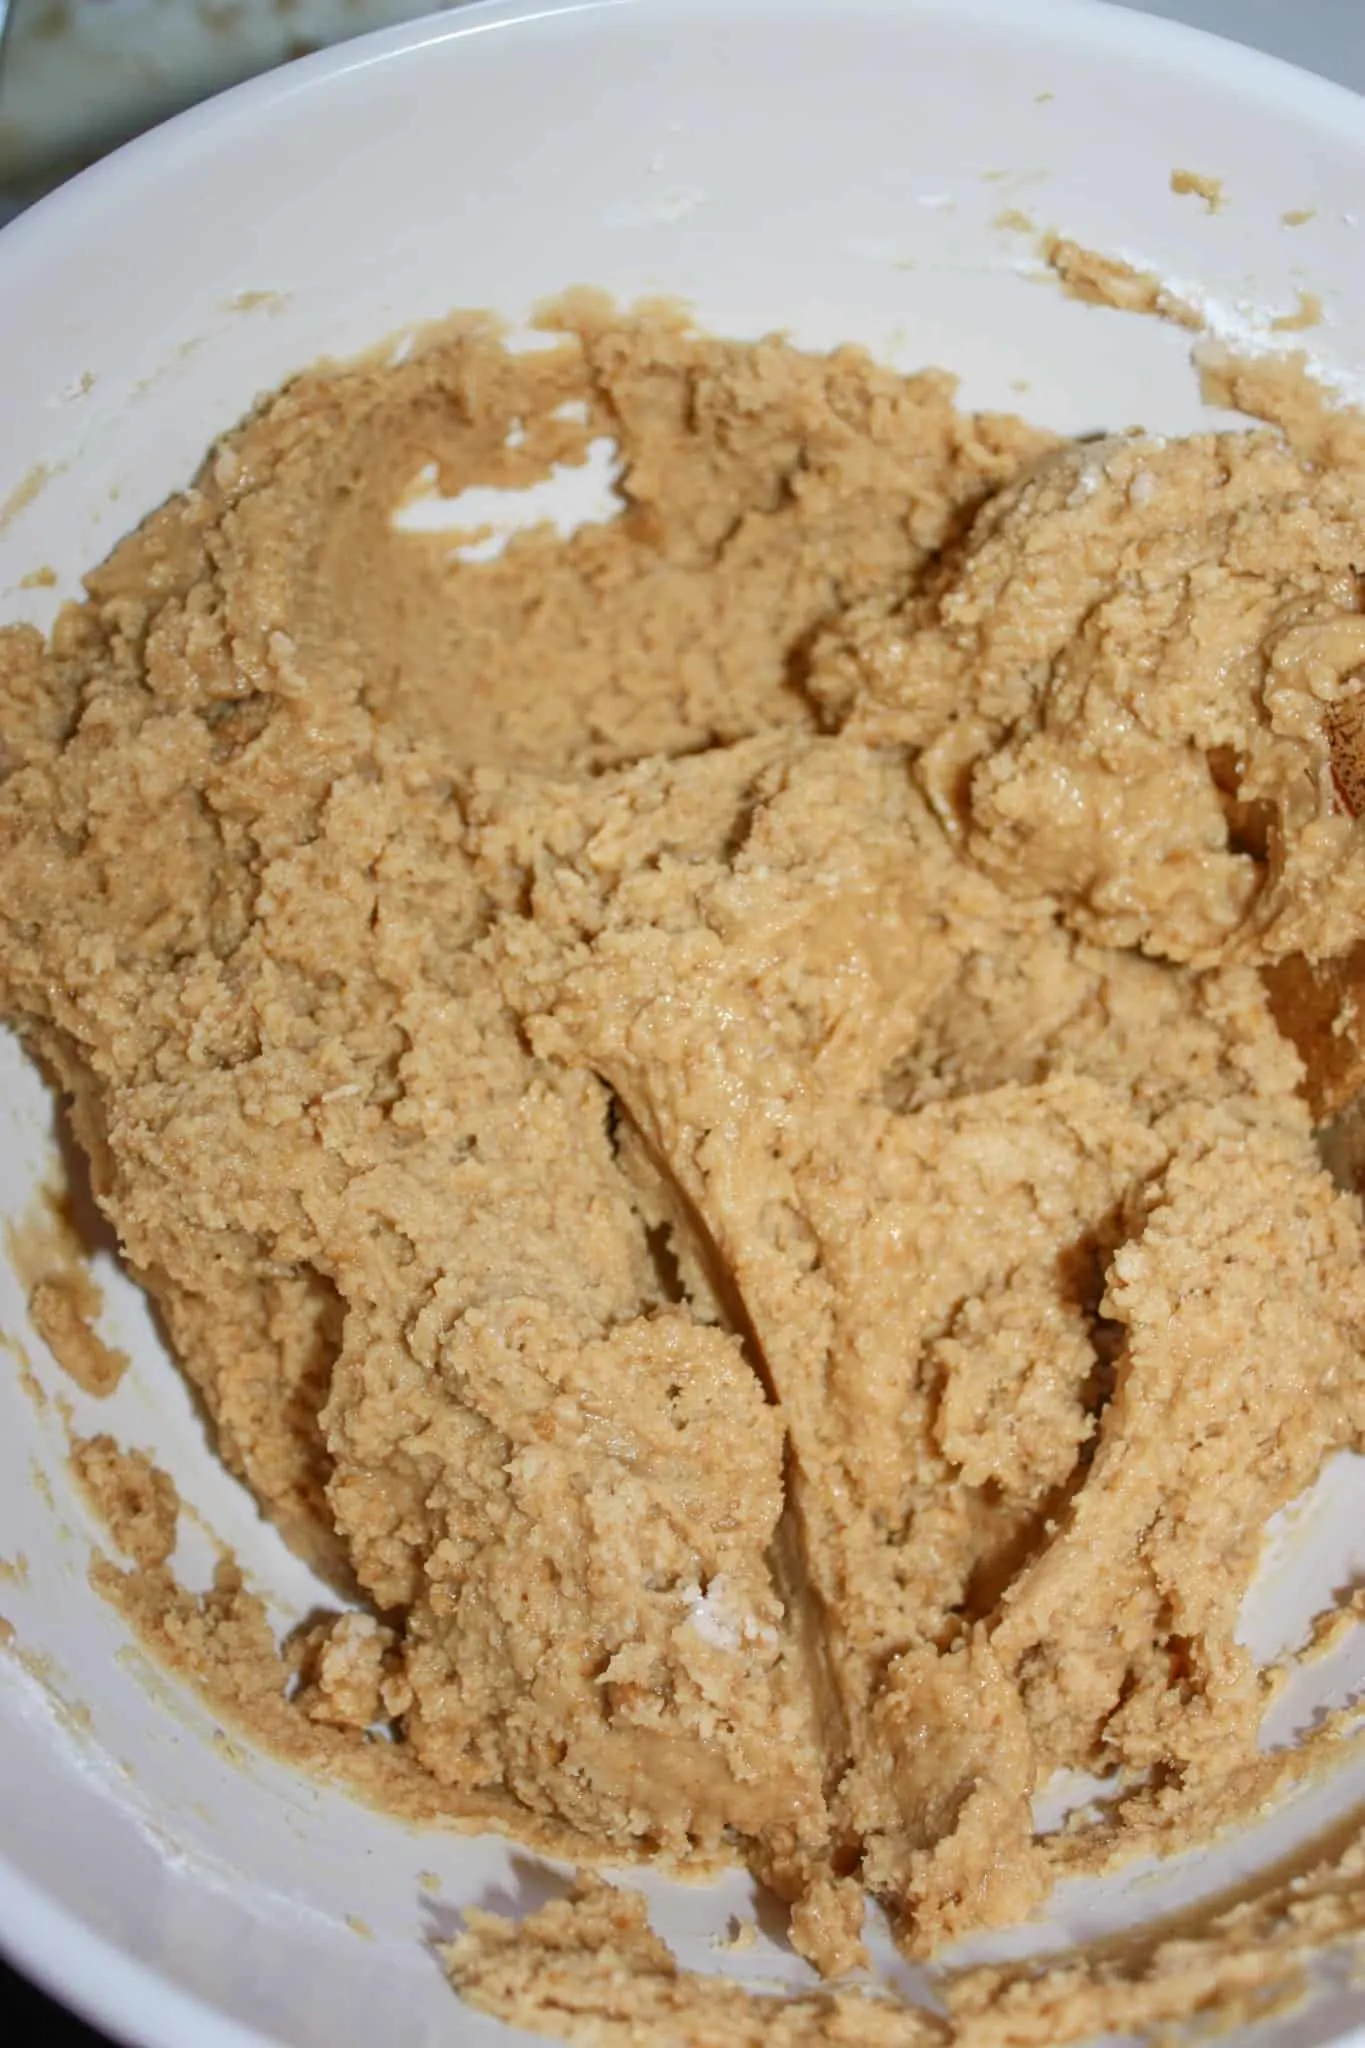
After stirring I scraped the mixture into a 9″ x 13″ baking pan.
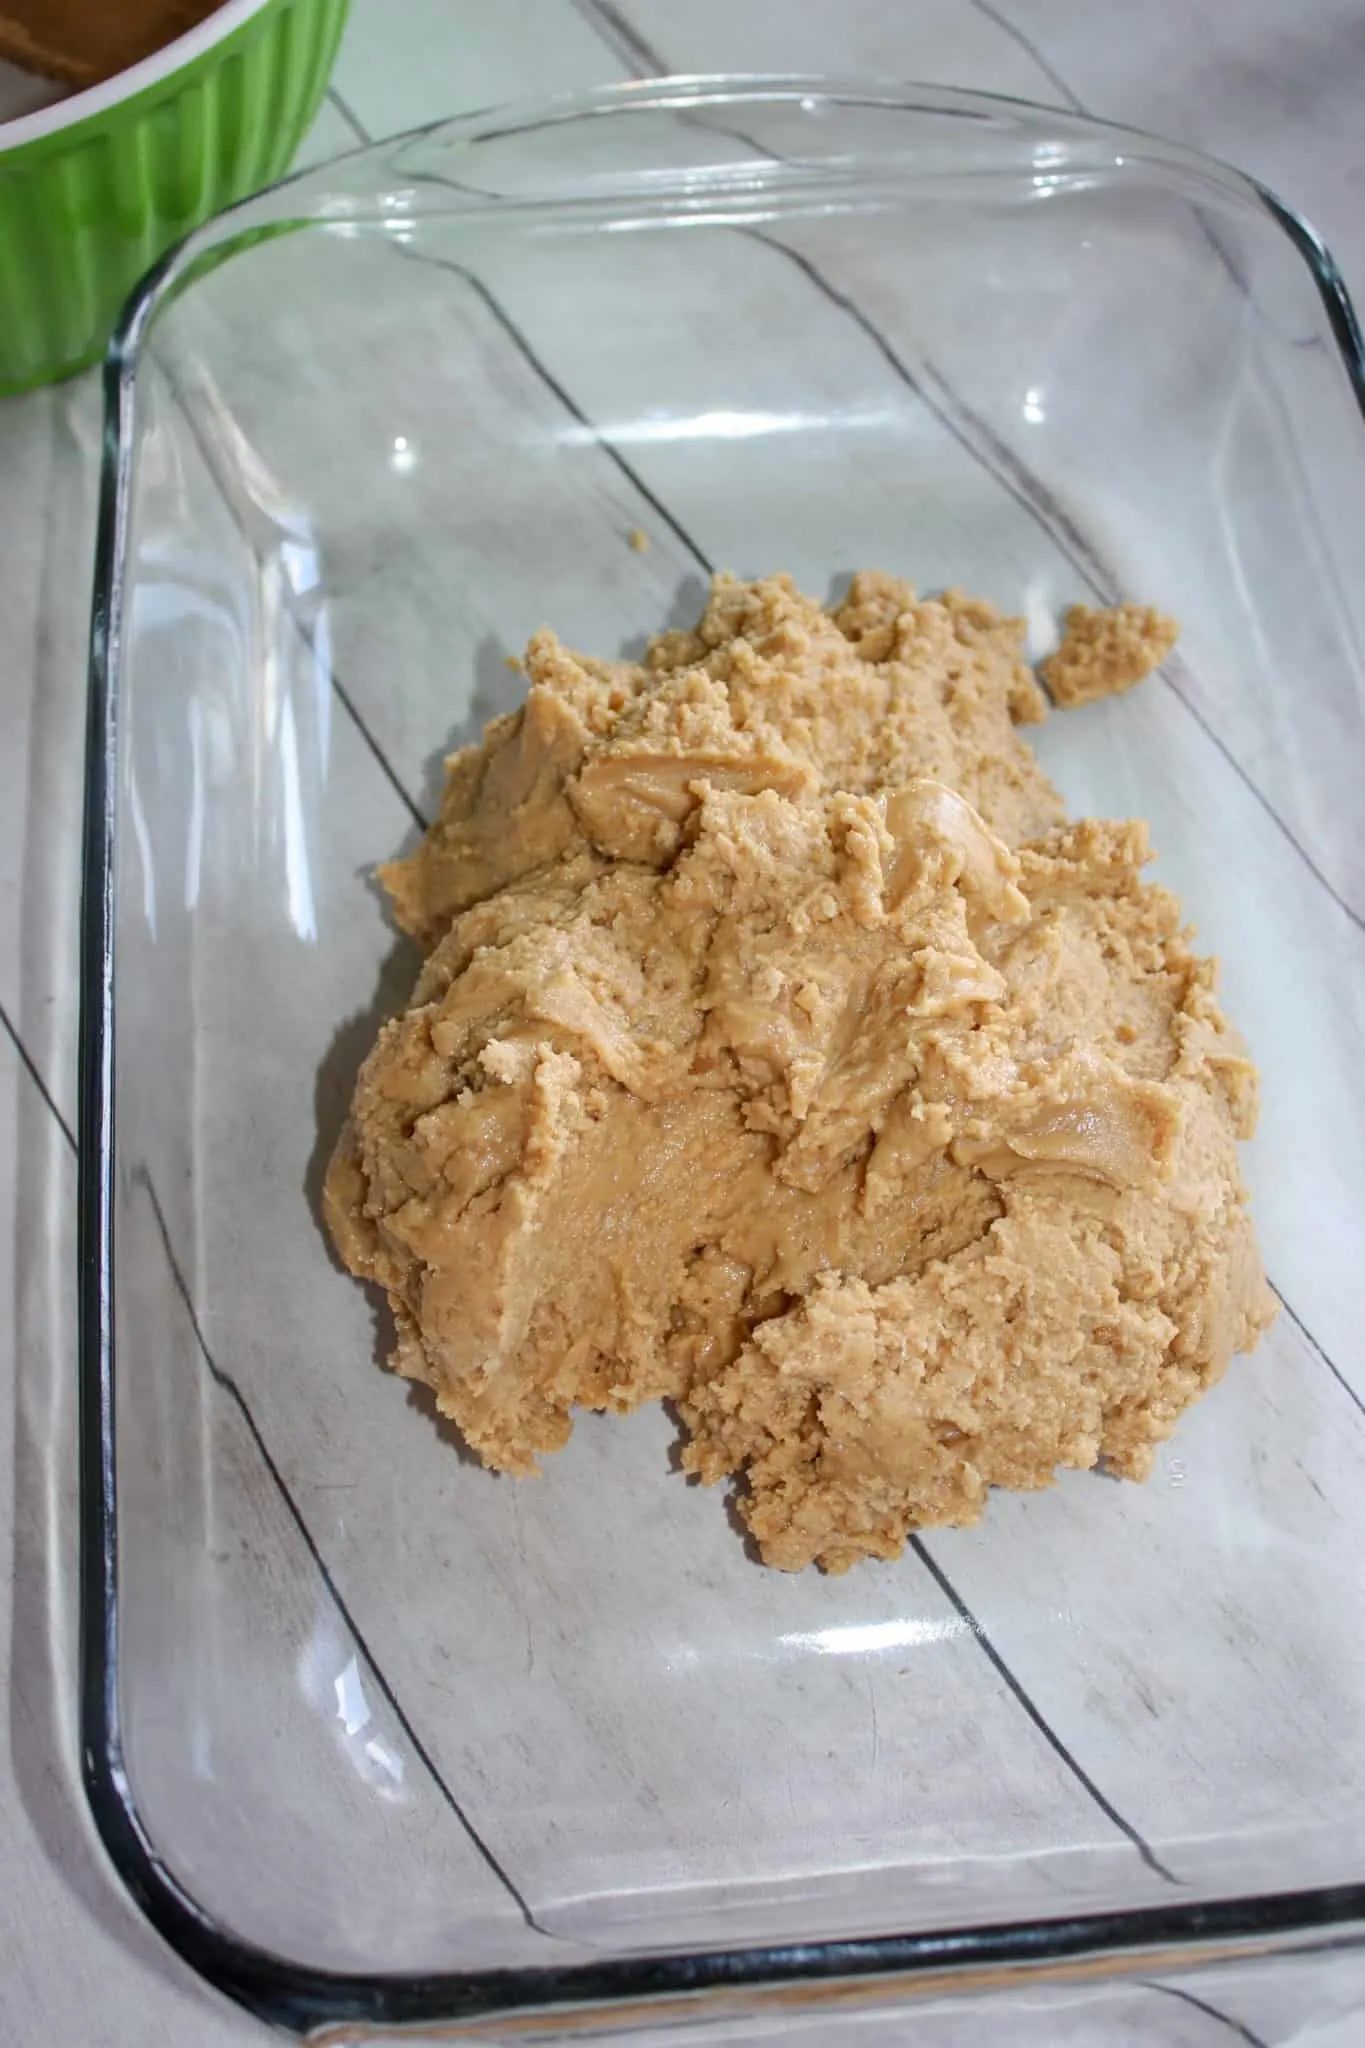
I spread the mixture out evenly in the pan.
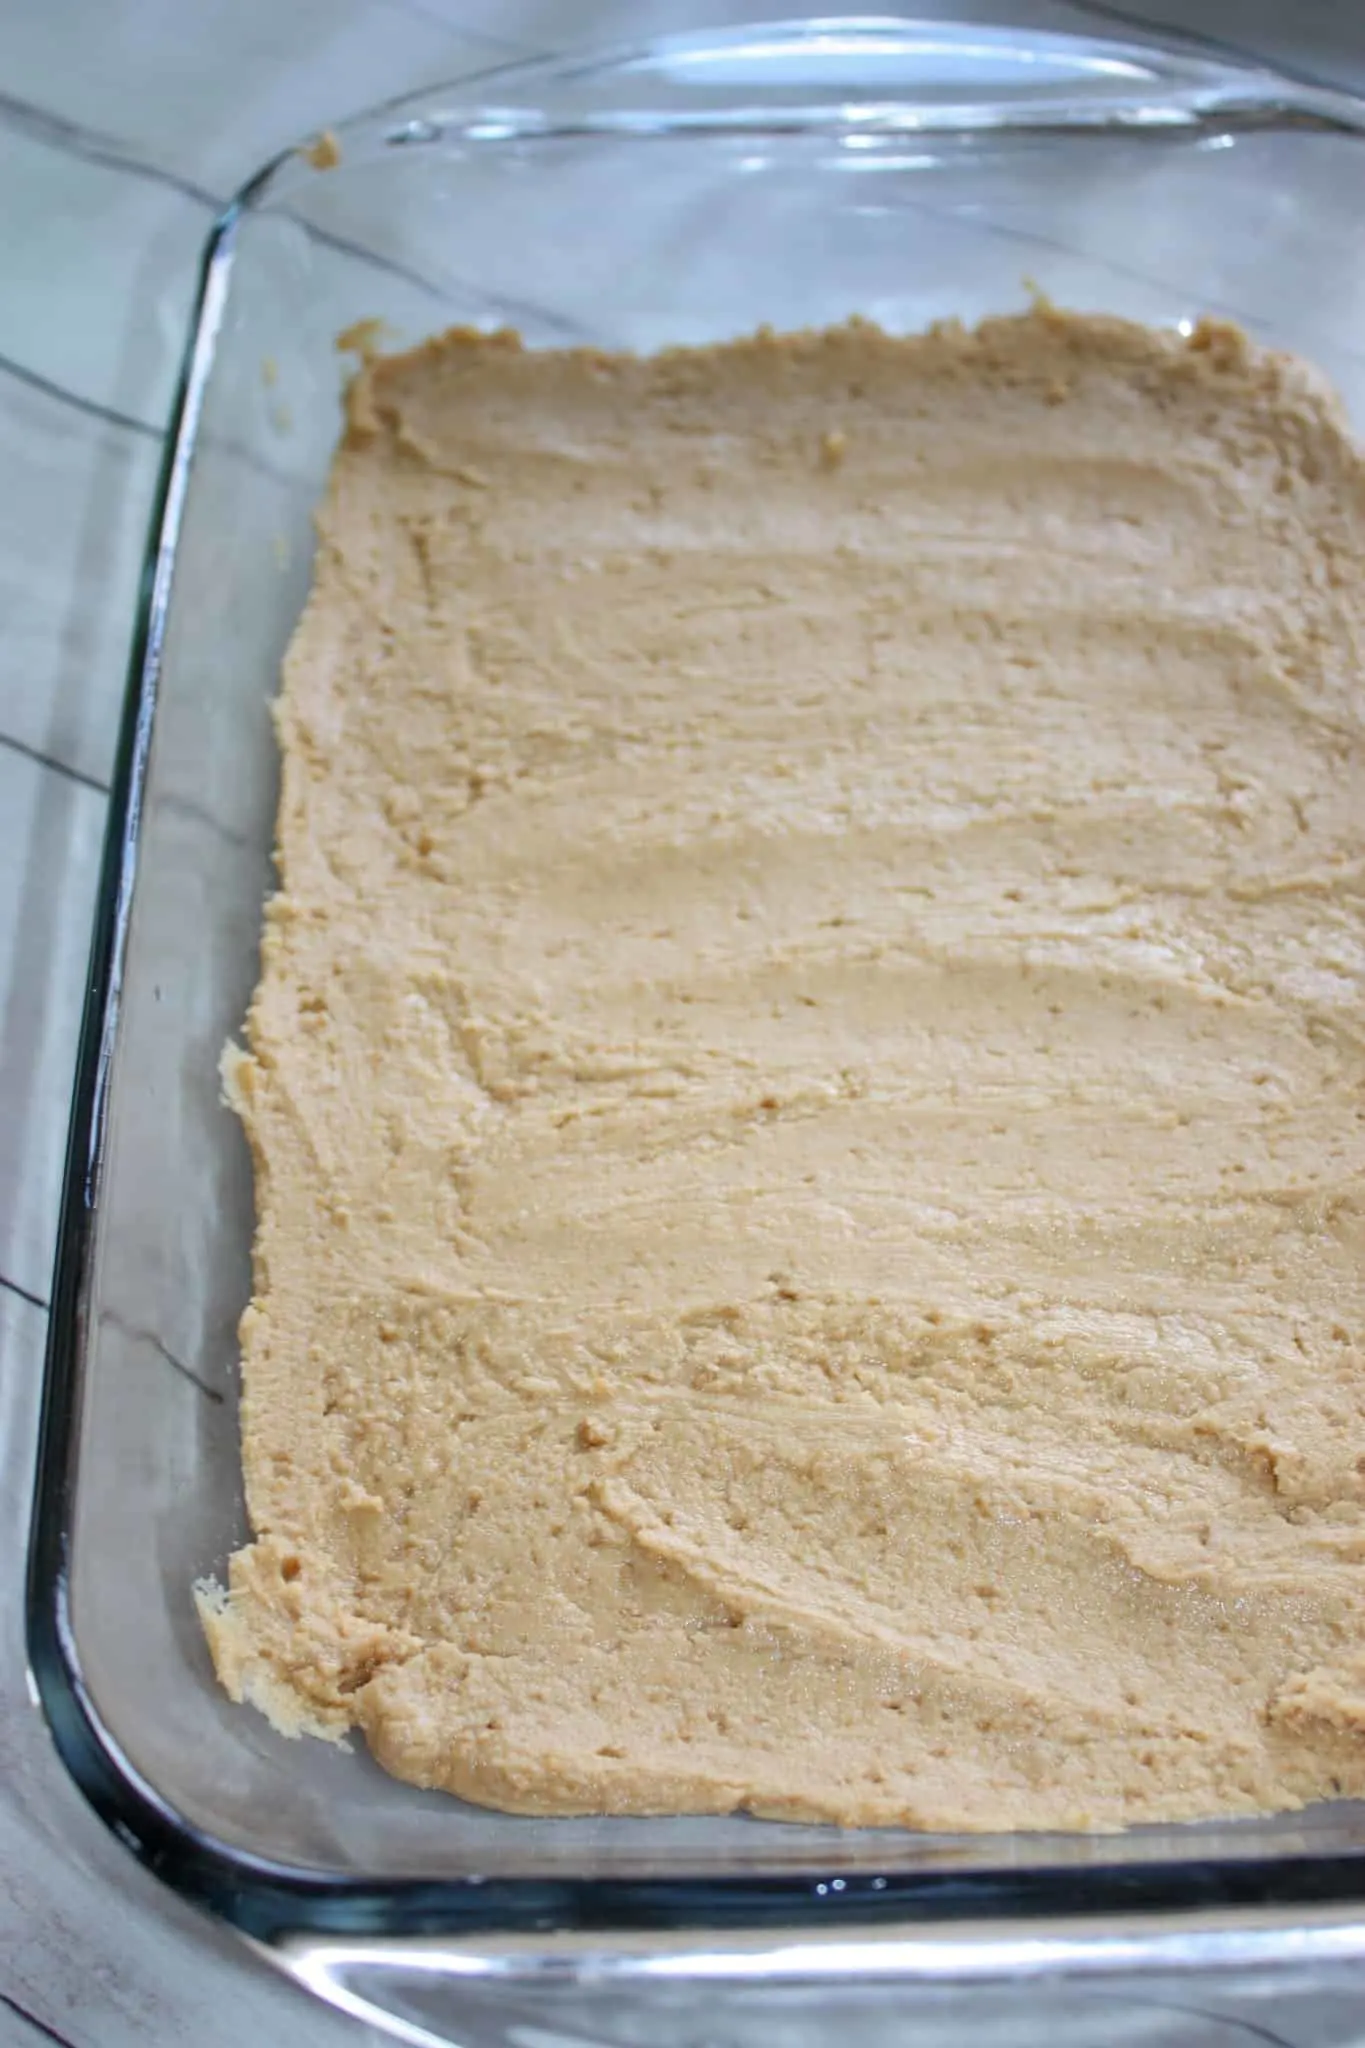
Then I melted some chocolate chips in the microwave on medium power for a few seconds at a time. When soft enough stir until all the chips are melted.
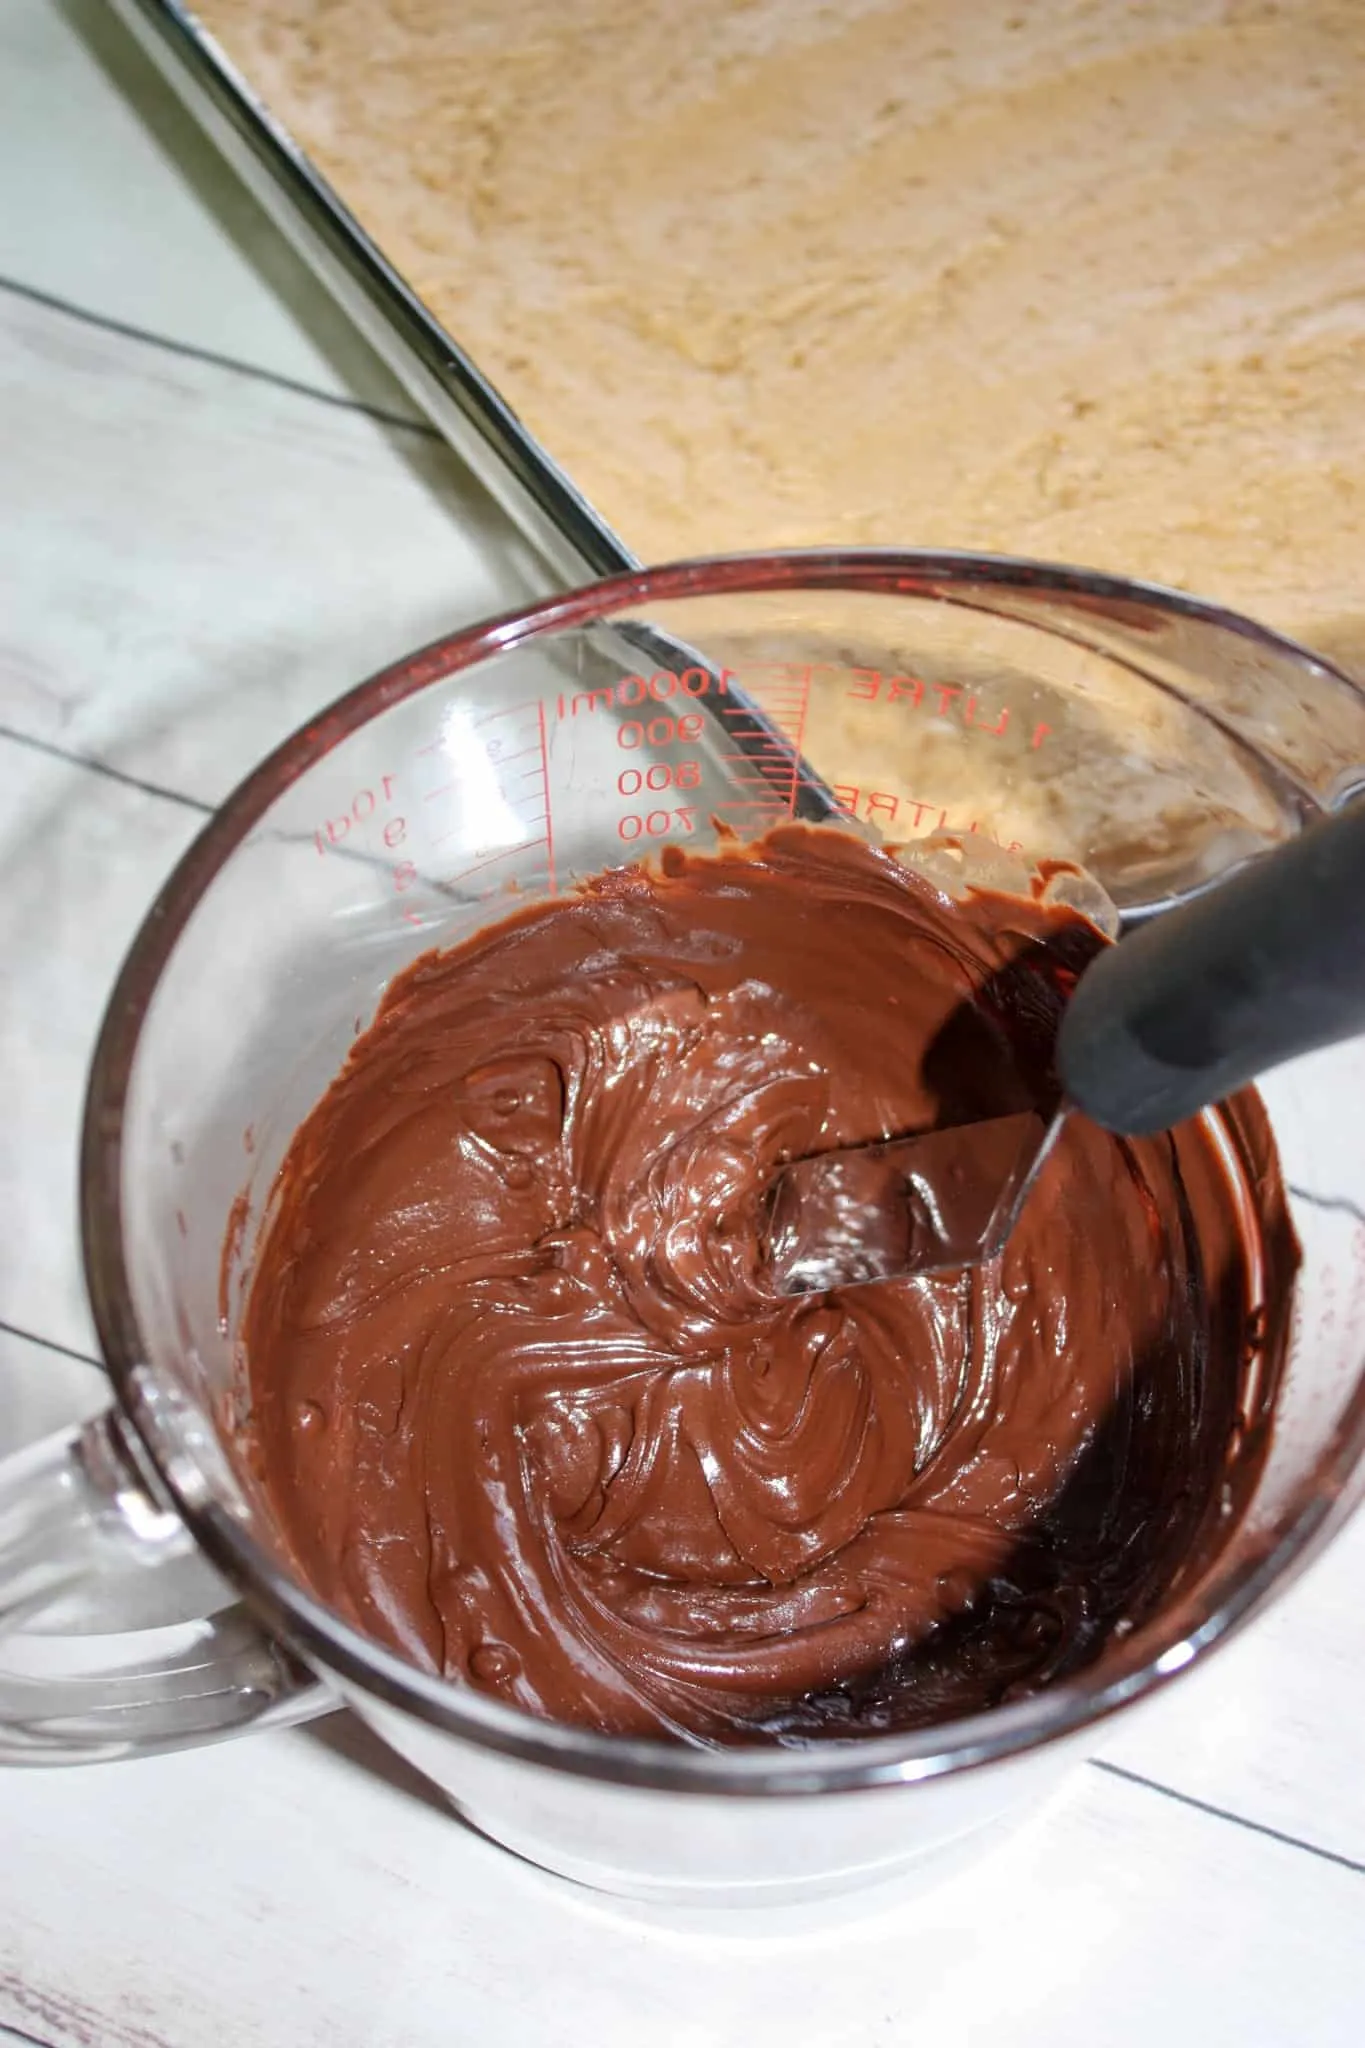
Next I scraped the melted chocolate on top of the peanut butter mixture in the baking pan.
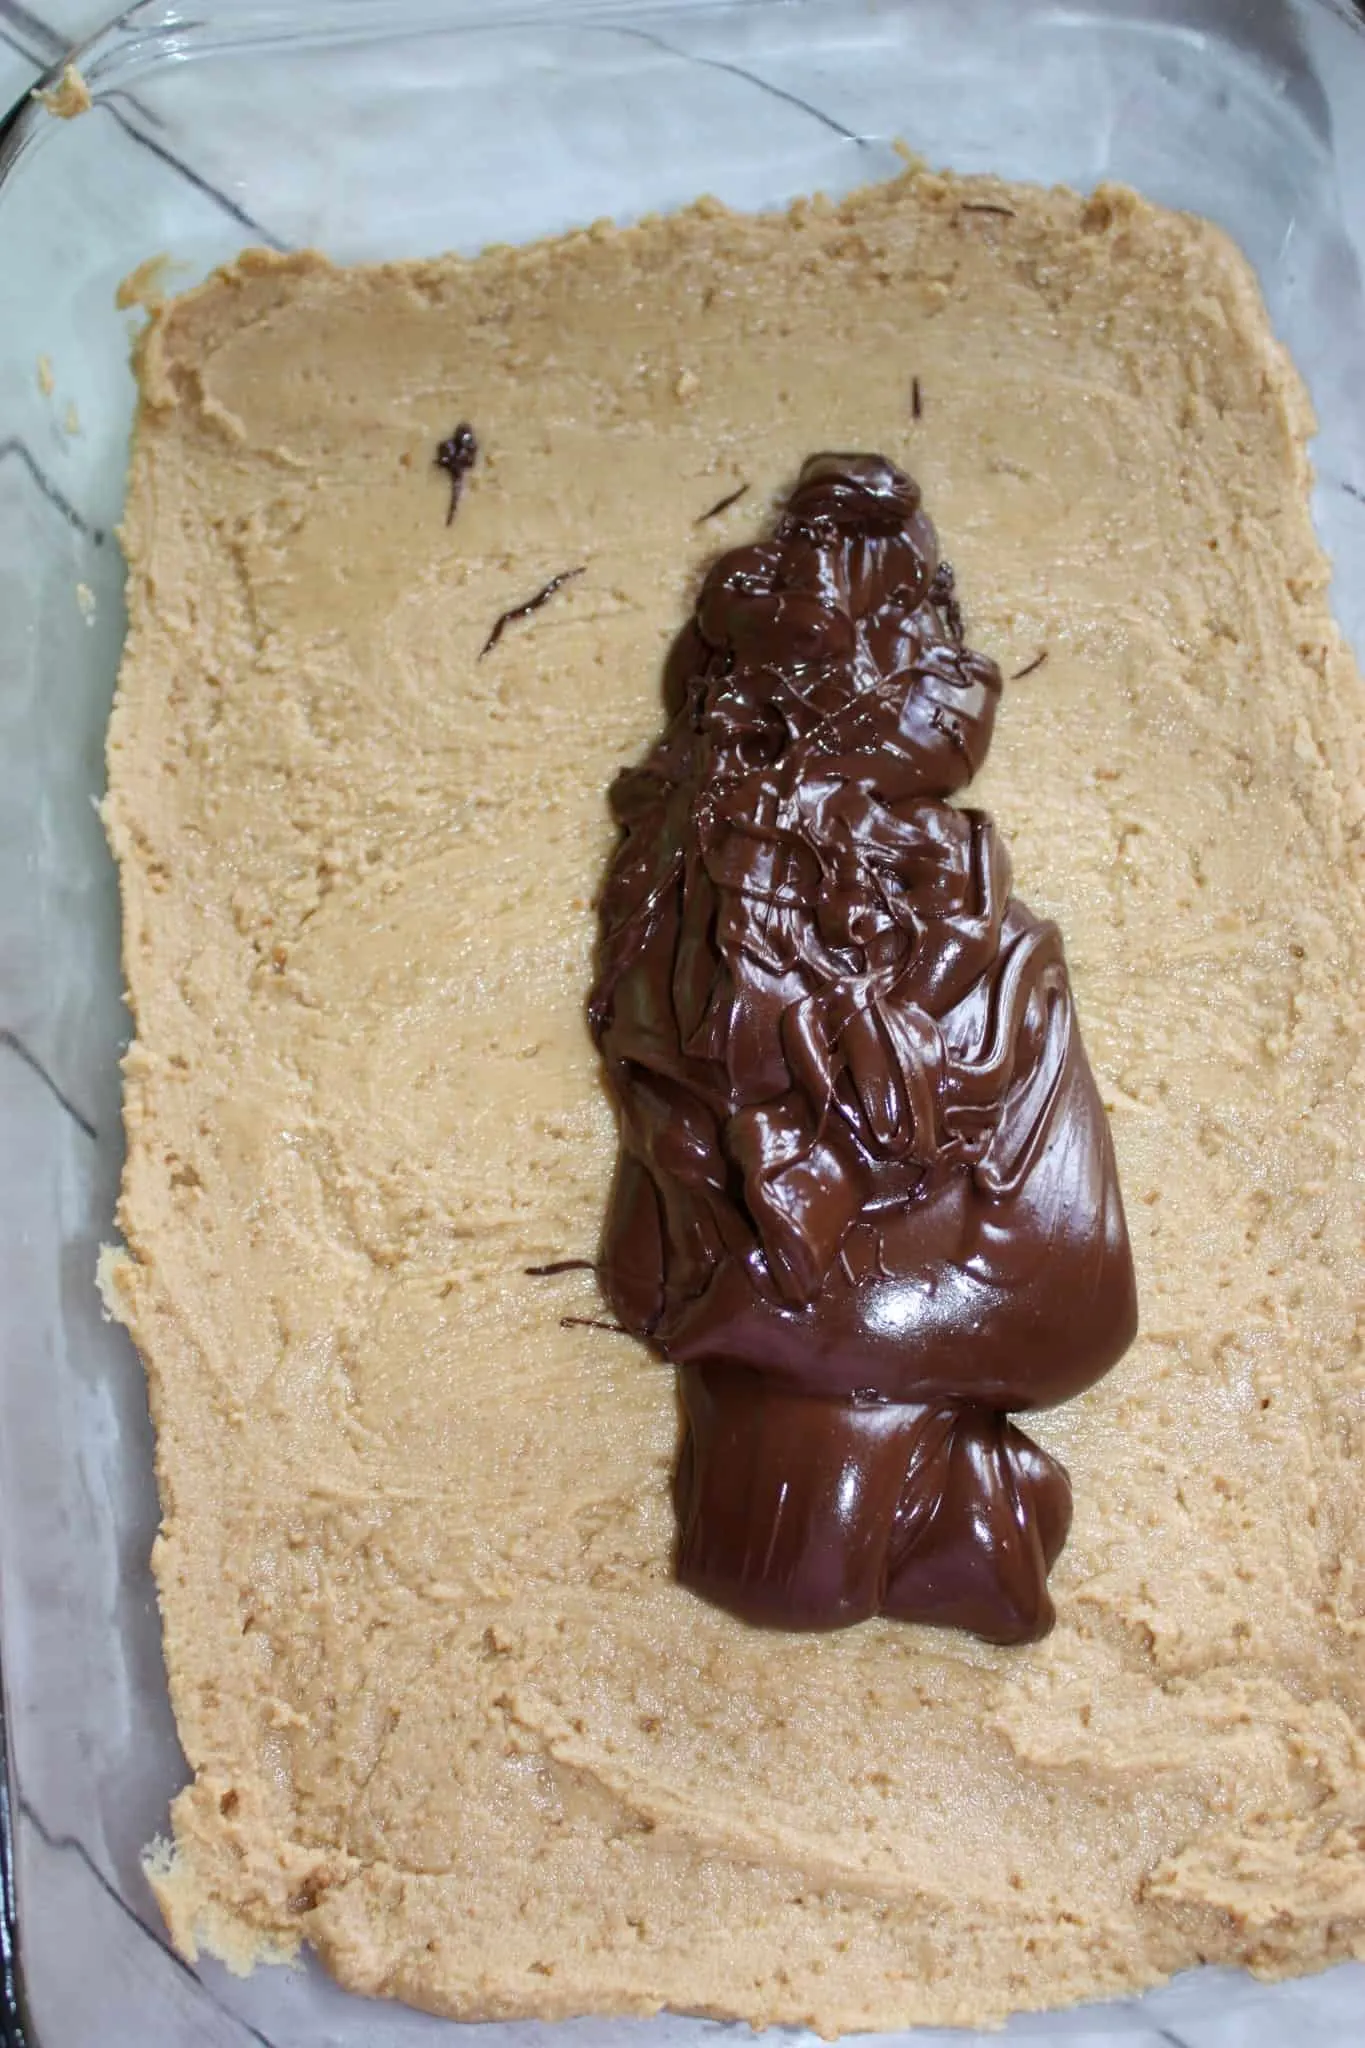
I used a spatula to spread the chocolate out evenly to the edges.
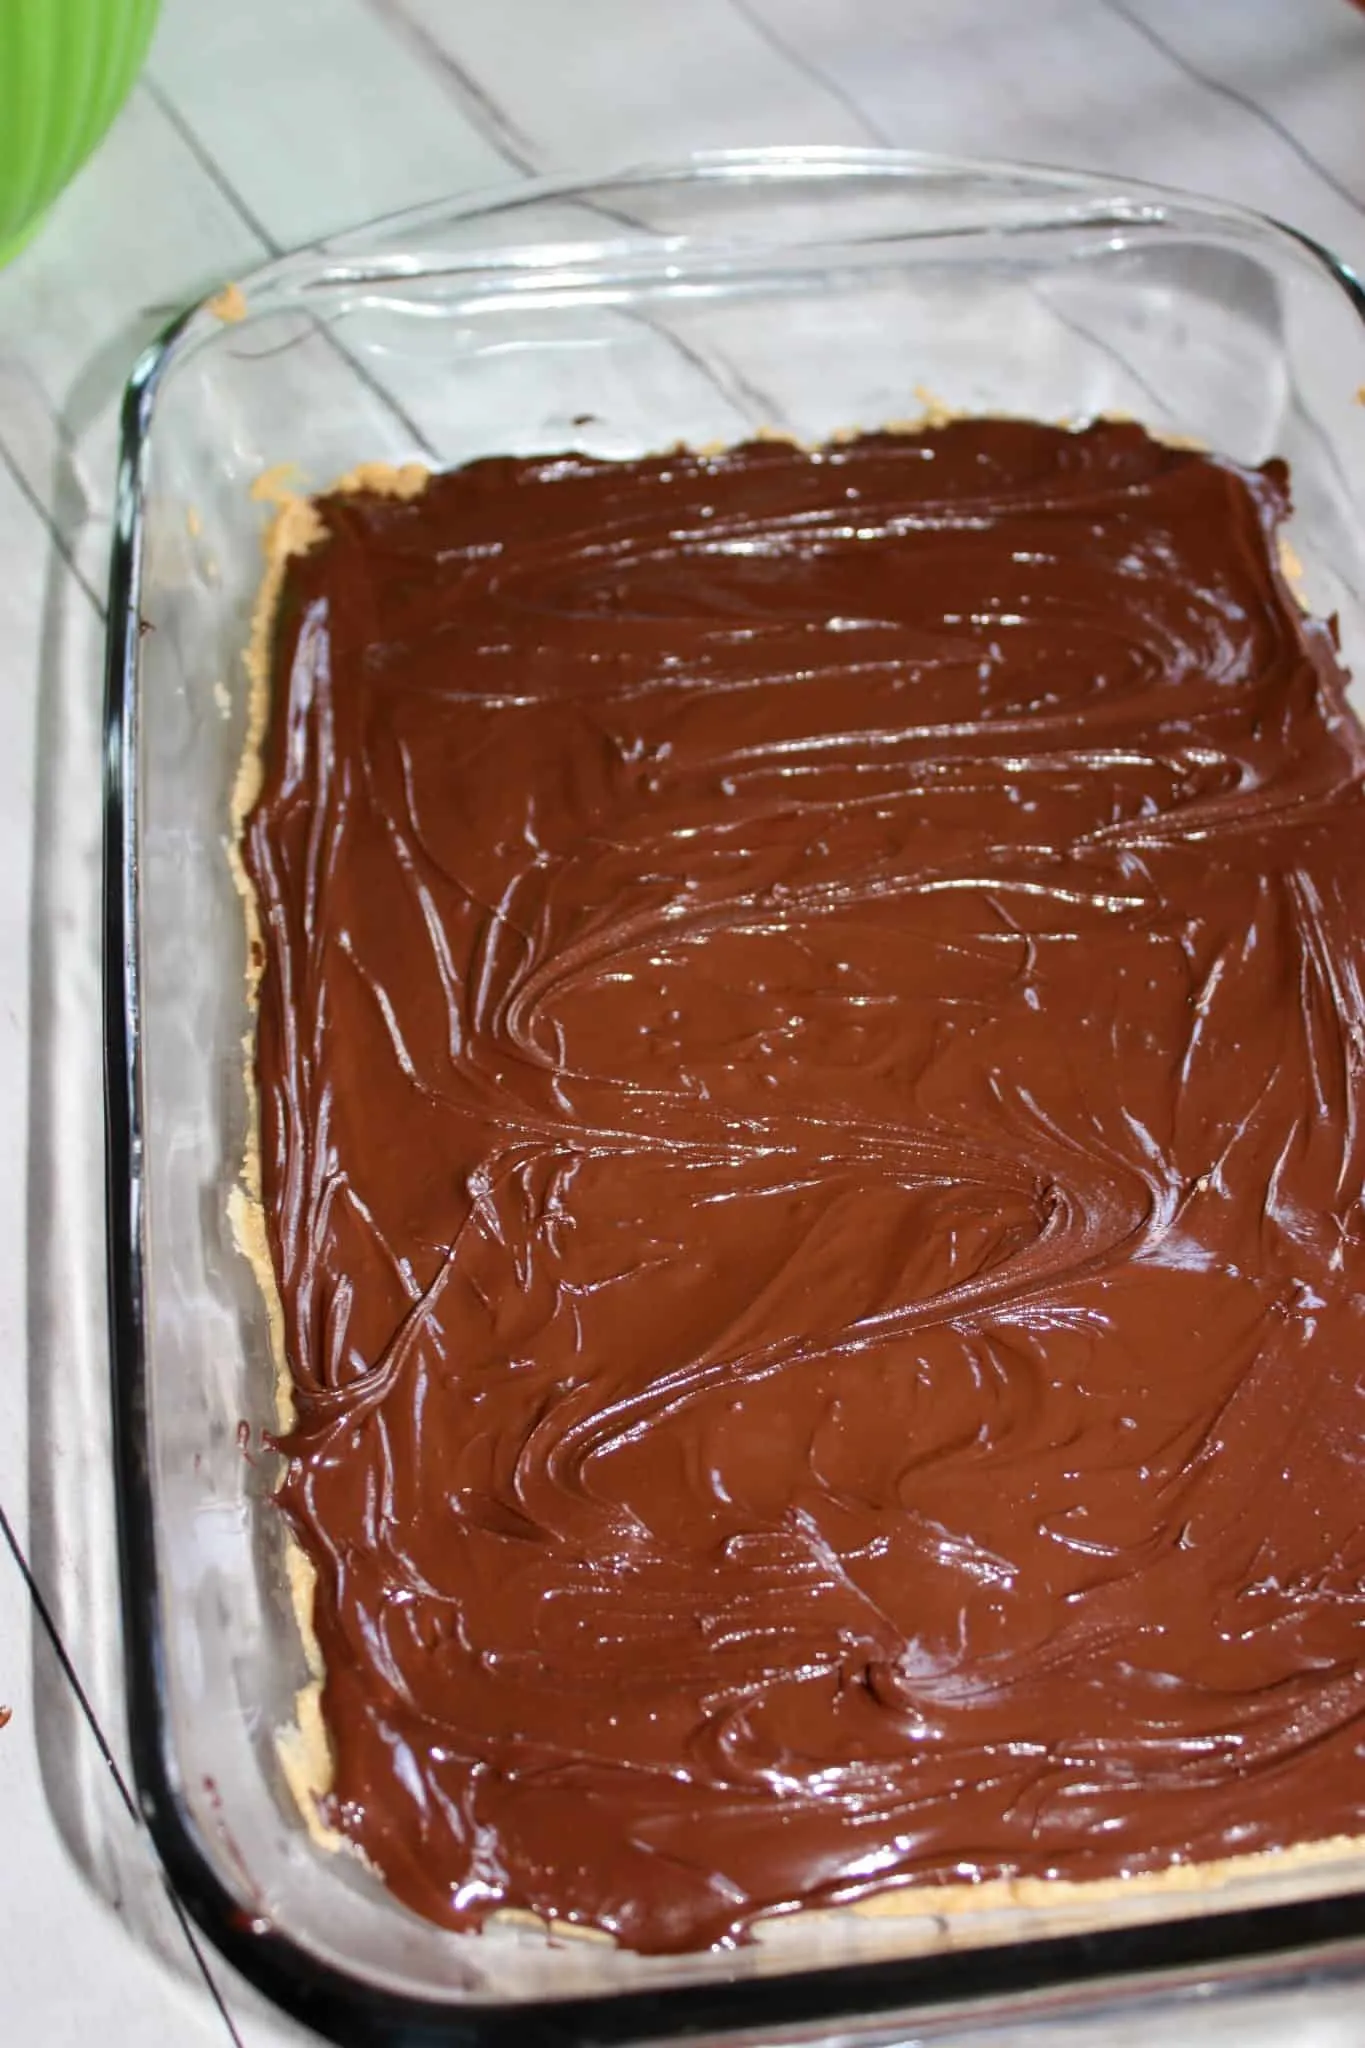
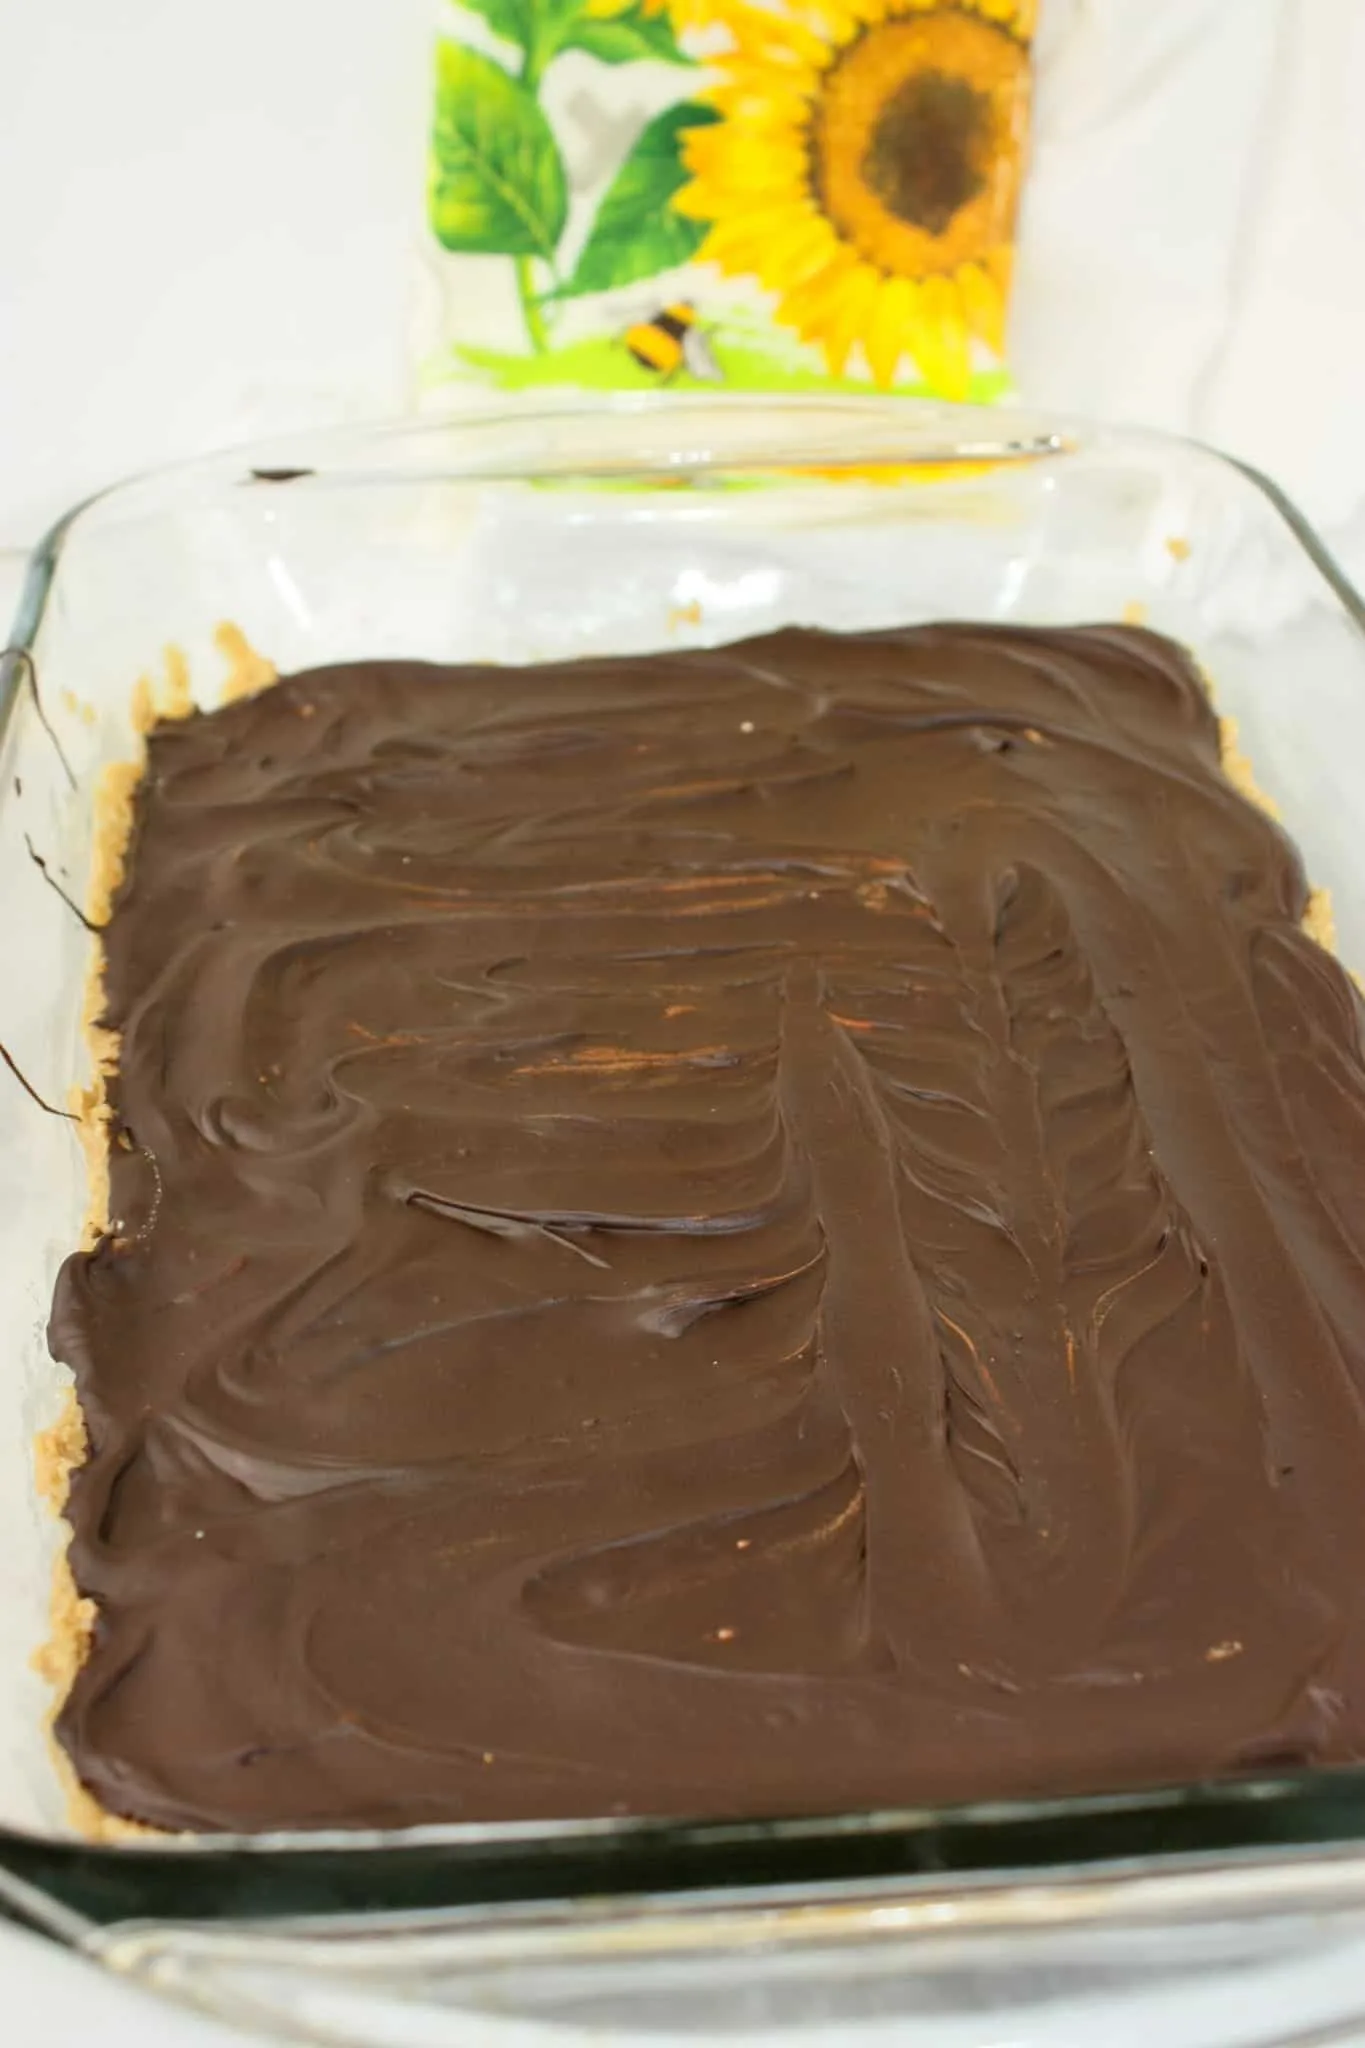
Then I let the squares chill until set. You could wait about half an hour or even until the next day depending on when you want to serve them up.
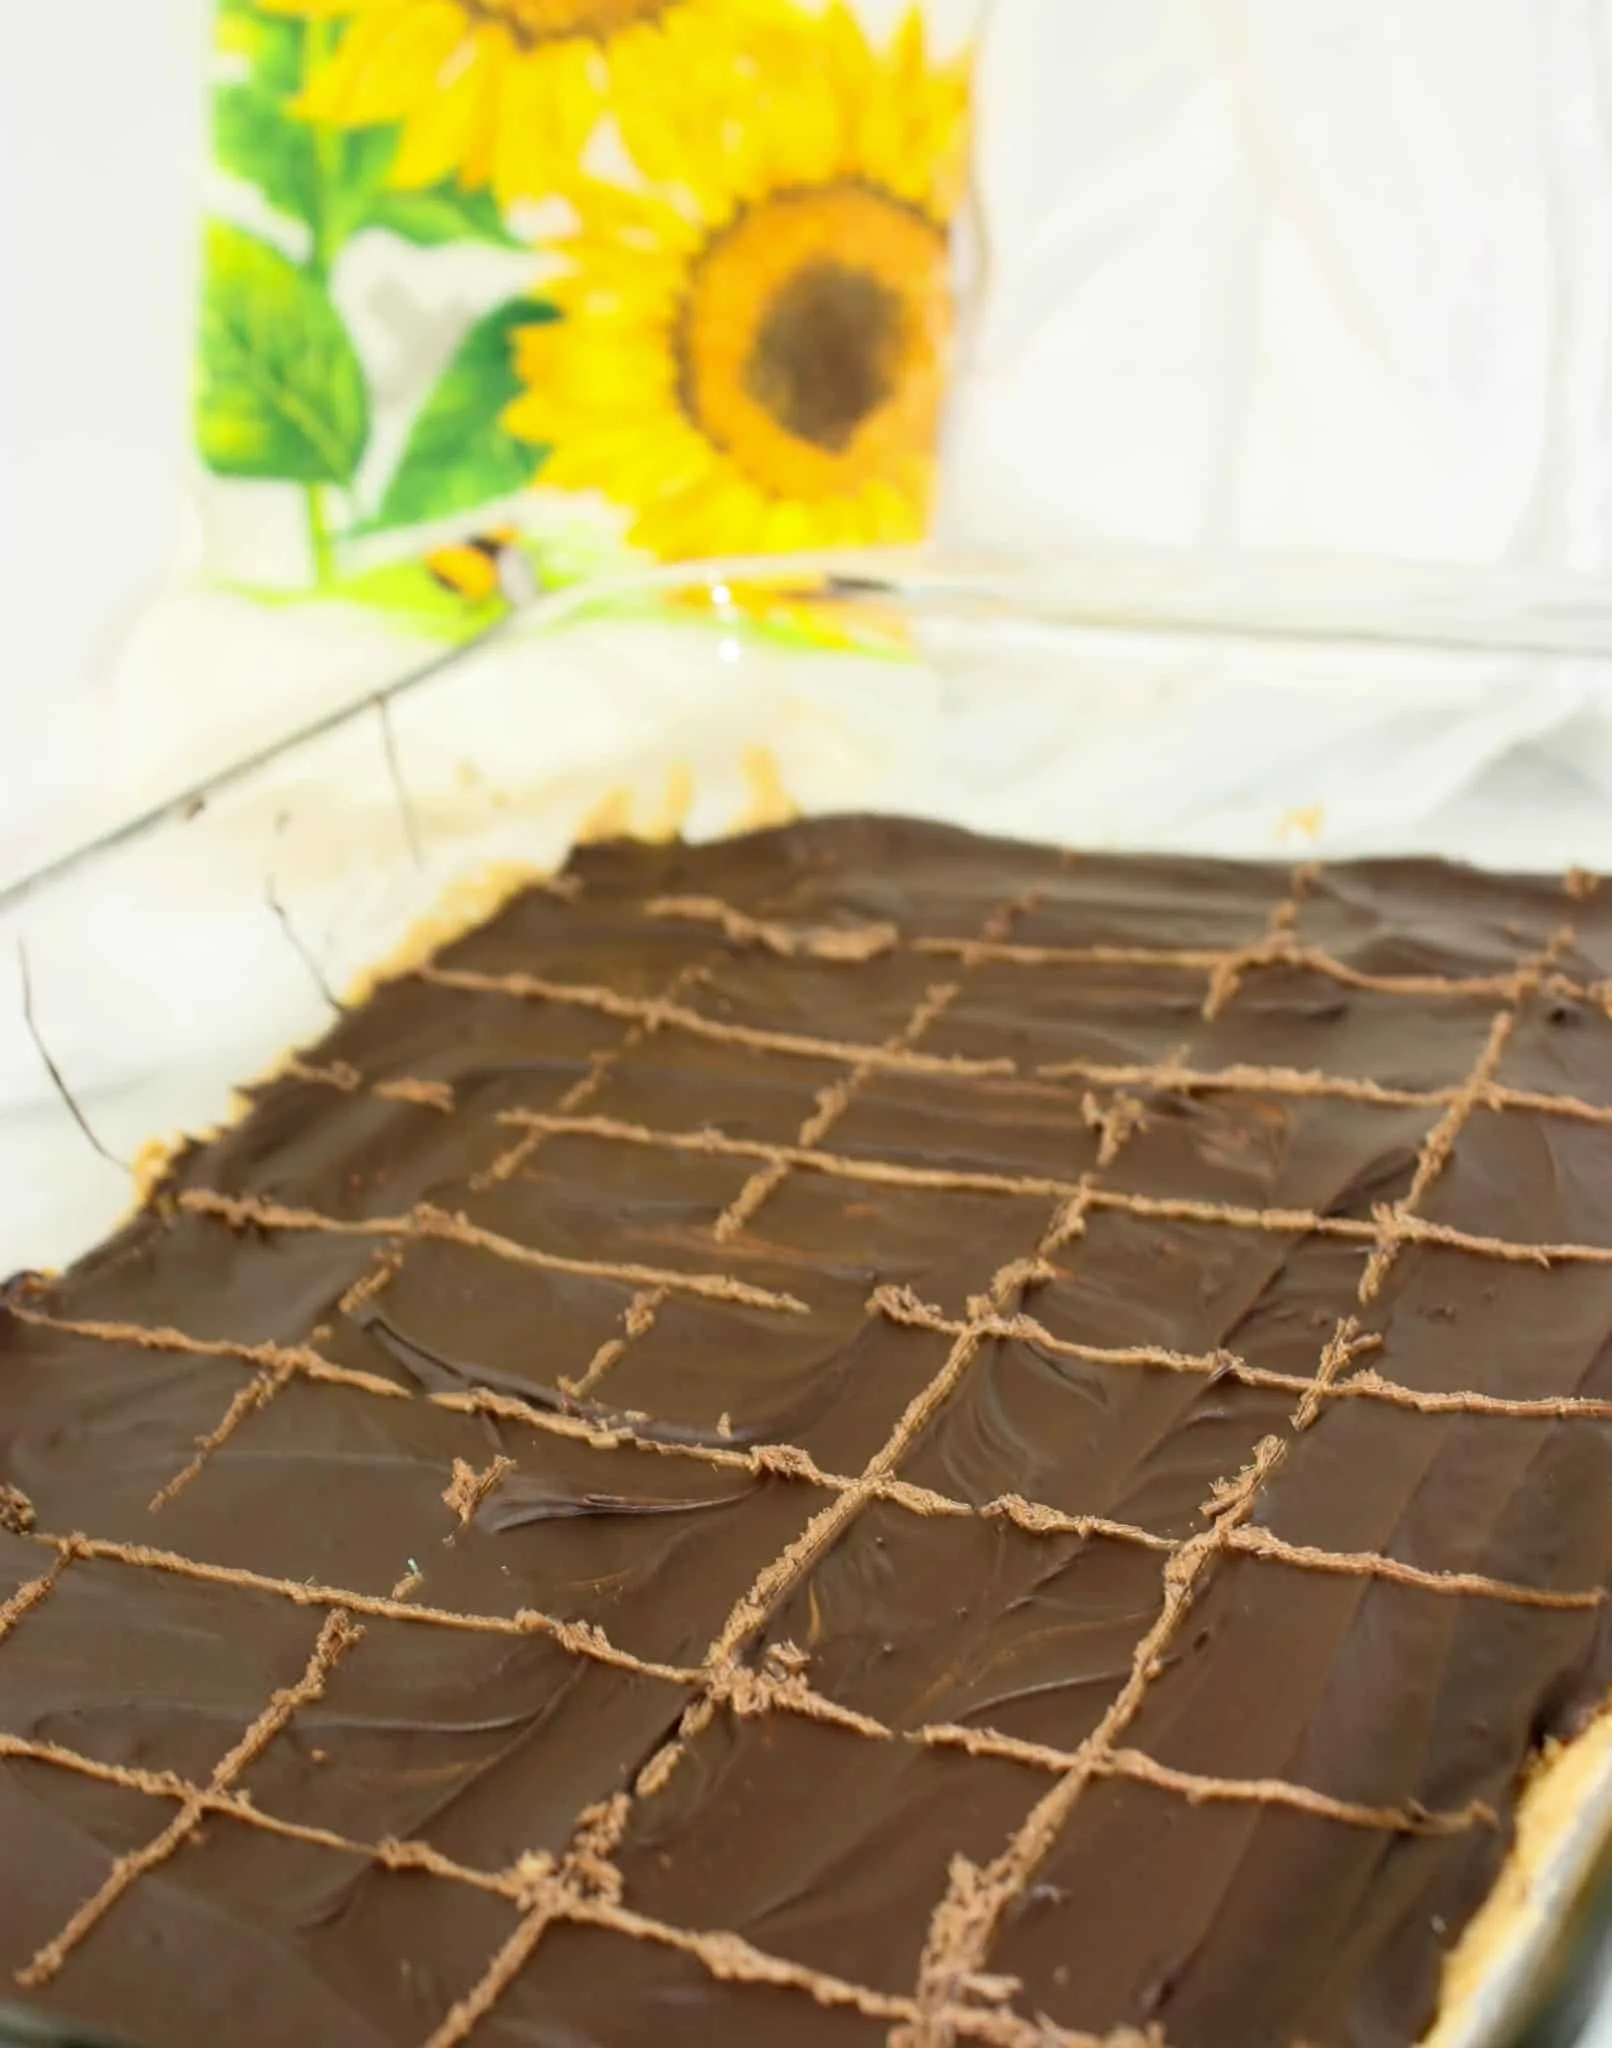
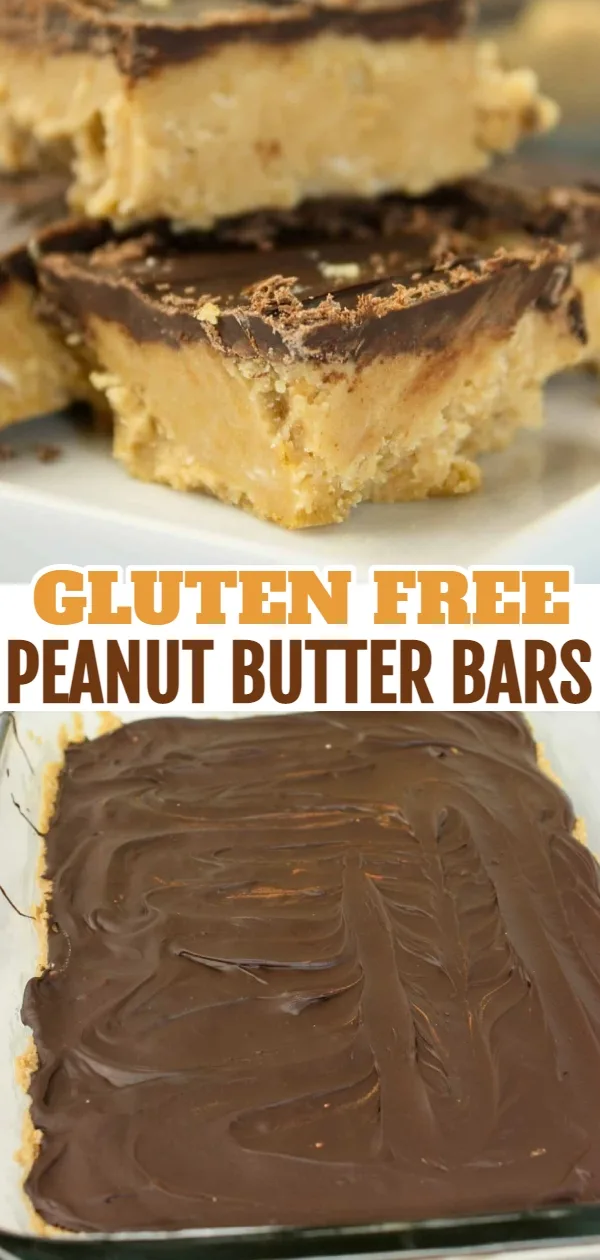
Once set and time to serve, I removed them from the fridge and used a hot knife to score them. Then I let them sit out until I could slice through the chocolate without breaking it up. About 30 minutes.
Serve them up after a meal or add them to a dessert tray for any gathering.
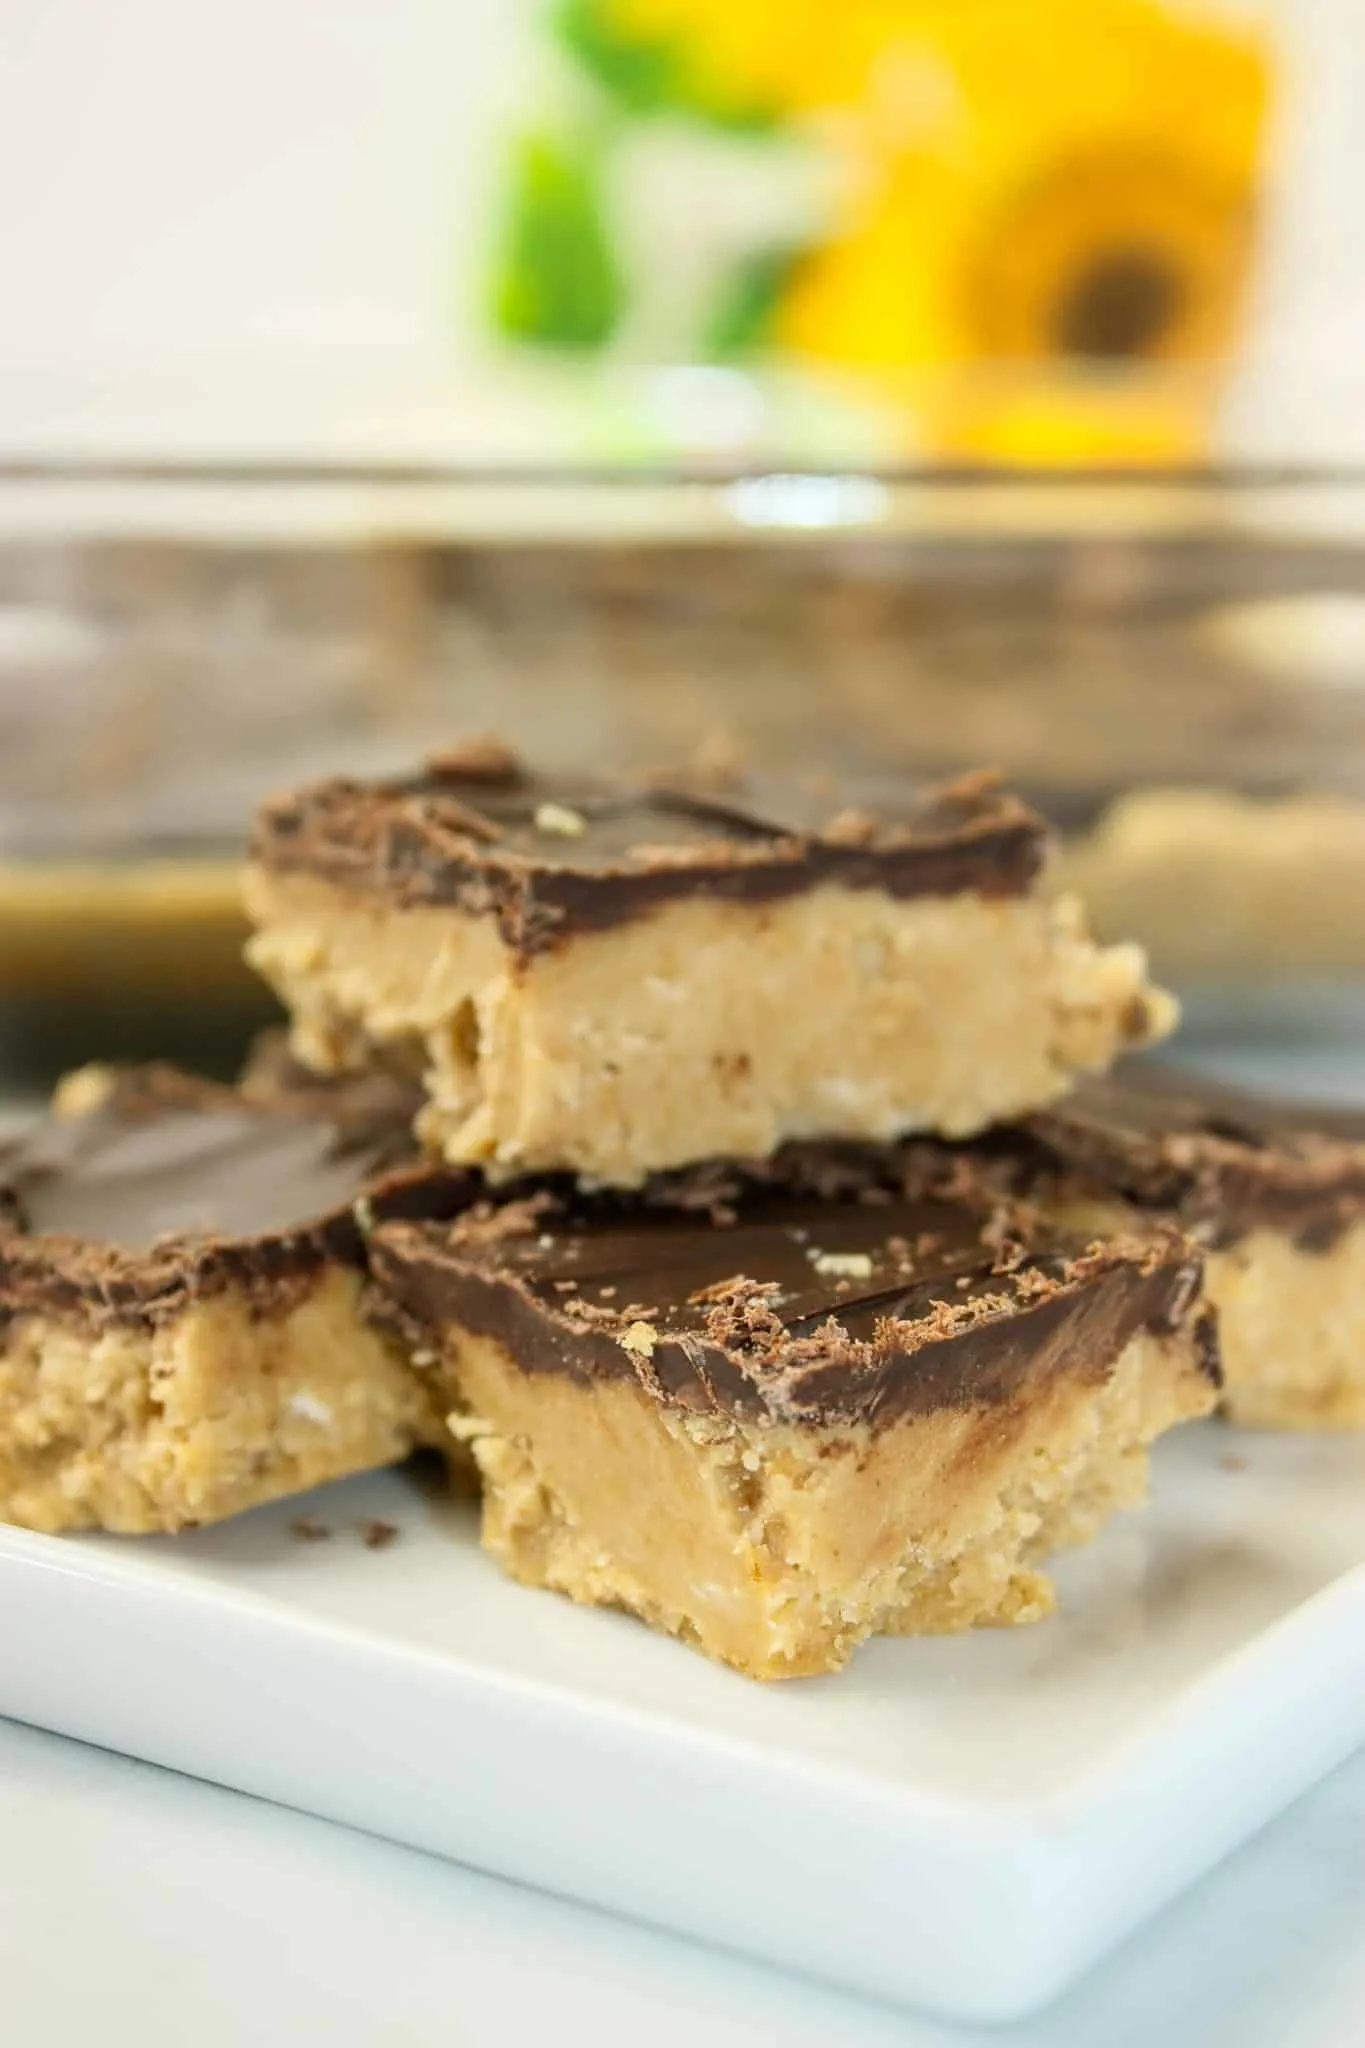
It is hard to eat just one of these decadent Peanut Butter Cup Squares.
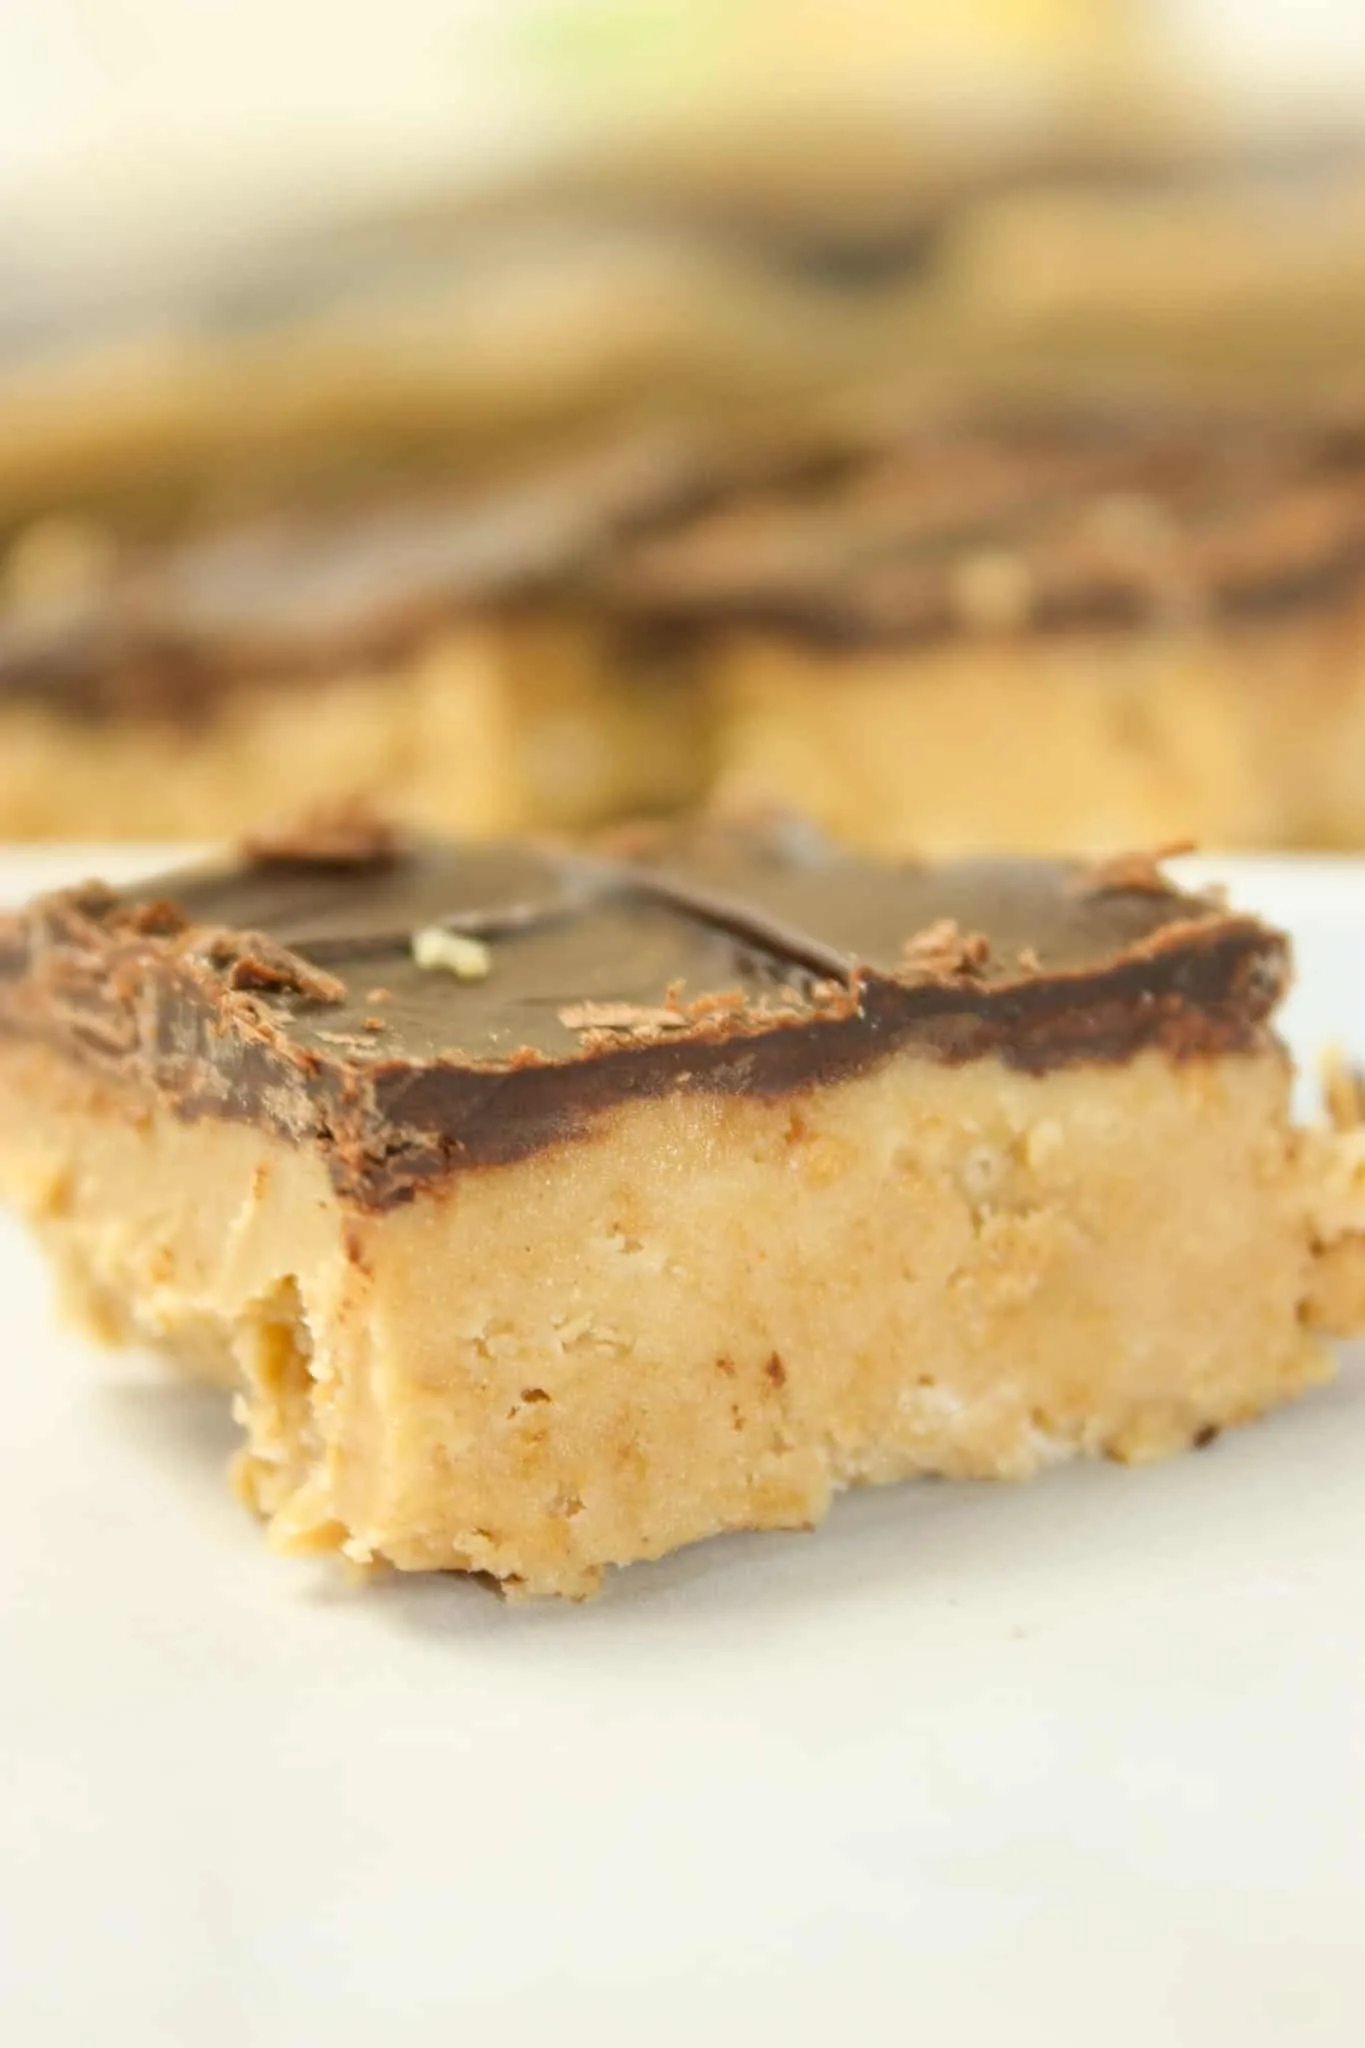
Enjoy every tasty mouthful of this popular flavour combination!

Printable Recipe Card with a Full List of Ingredients and Instructions is Located at the Bottom of the Post.
Here Are More Squares and Bars For You To Enjoy…
PRINTABLE VERSION OF THE RECIPE CAN BE FOUND AT THE BOTTOM OF THE PAGE
Ingredients You’ll Need to Make these Peanut Butter Cup Squares:
- 1 cup melted butter
- 1 3/4 cup gluten free graham crumbs
- 1 cup peanut butter
- 2 3/4 cups icing sugar
- 300g semi sweet chocolate chips
How to Make Peanut Butter Cup Squares:
- Melt the butter in the microwave on low.
- Add the gluten free graham crumbs to the melted butter.
- Stir in the peanut butter and icing sugar until well combined.
- Spread the peanut butter mixture evenly in a 9″ x 13″ baking pan.
- Melt the chocolate chips in the microwave on medium (a few seconds at a time). Stir until completely melted.
- Spread the melted chocolate evenly over the peanut butter mixture in the pan.
- Chill until firm.
- Before slicing let sit at room temperature until you can score it without cracking all the chocolate. I heat up a knife under hot water to make this easier.
- Cut into squares. How many depends on how big you want each serving to be.
- Serve and enjoy!
FAQS:
How do I store peanut butter cup squares?
Storing peanut butter cup squares is relatively simple. Here are some general guidelines for storing them:
- If you’ve made your peanut butter cup squares from scratch, follow these steps for proper storage:
a. Allow them to cool: Let the squares cool completely at room temperature before attempting to store them.
b. Use an airtight container: Place the squares in an airtight container. You can layer them with parchment paper or wax paper to prevent sticking.
c. Refrigeration: You can store homemade peanut butter cup squares in the refrigerator for longer shelf life. The cooler temperature helps maintain their shape and freshness. Make sure the container is airtight to prevent moisture from getting in.
Proper storage helps maintain their flavor and texture, ensuring you can enjoy them for an extended period.
Can I freeze peanut butter cup squares?
Yes, you can freeze peanut butter cup squares. Freezing is a great way to extend the shelf life of peanut butter cup squares and can also help maintain their texture and flavor over time.
Here’s how you can freeze peanut butter cup squares:
- Allow them to cool: If you’ve just made the peanut butter cup squares, make sure to let them cool completely at room temperature before freezing. If they are still warm, they might develop ice crystals on the surface when placed in the freezer.
- Cut into squares: Cut the peanut butter cup squares into the desired serving sizes or leave them whole if you prefer.
- Wrap individually: Wrap each square or piece in plastic wrap or aluminum foil. This step helps prevent freezer burn and keeps the squares from sticking together.
- Place in an airtight container: Once wrapped, place the individually wrapped squares in an airtight container or a resealable freezer bag. Make sure to remove as much air as possible from the bag before sealing it.
- Label and date: It’s a good practice to label the container or bag with the date of freezing so you can keep track of their freshness.
- Freeze: Put the container or bag in the freezer. Peanut butter cup squares can typically be stored in the freezer for up to 2-3 months without a significant loss in quality.
When you’re ready to enjoy your frozen peanut butter cup squares, simply remove the desired quantity from the freezer, let them thaw in the refrigerator for a few hours or at room temperature for about 30 minutes, and they should be ready to eat. Freezing is a convenient way to have a stash of delicious treats on hand whenever you crave them.
Peanut Butter Cup Squares
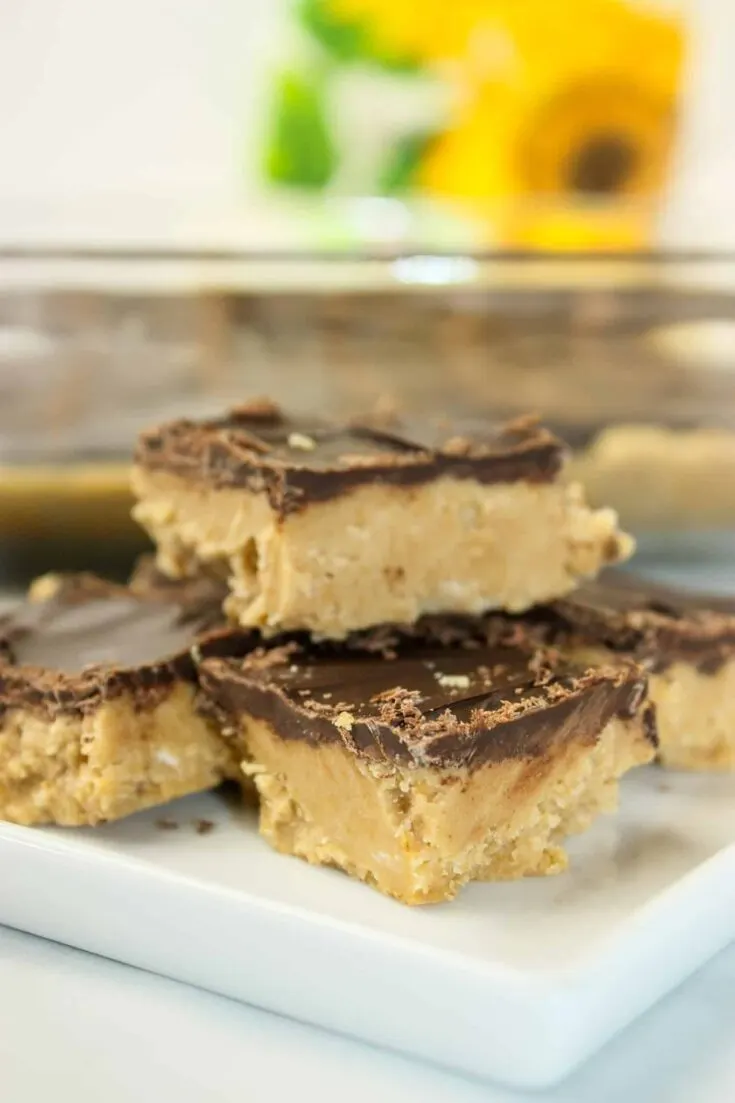
Peanut Butter Cup Squares are a family favourite dessert in our home! I made some adjustments to the recipe for this gluten free version so that I could once again enjoy this square recipe and no one noticed the difference!
Ingredients
- 1 cup melted butter
- 1 3/4 cup gluten free graham crumbs
- 1 cup peanut butter
- 2 3/4 cups icing sugar
- 300g semi sweet chocolate chips
Instructions
- Melt the butter in the microwave on low.
- Add the gluten free graham crumbs to the melted butter.
- Stir in the peanut butter and icing sugar until well combined.
- Spread the peanut butter mixture evenly in a 9" X 13" baking pan.
- Melt the chocolate chips in the microwave on medium (a few seconds at a time). Stir until completely melted.
- Spread the melted chocolate evenly over the peanut butter mixture in the pan.
- Chill until firm.
- Before slicing let sit at room temperature until you can score it without cracking all the chocolate. I heat up a knife under hot water to make this easier.
- Cut into squares. How many depends on how big you want each serving to be.
- Serve and enjoy!
Nutrition Information:
Yield:
35Serving Size:
1Amount Per Serving: Calories: 183Total Fat: 12gSaturated Fat: 6gTrans Fat: 0gUnsaturated Fat: 5gCholesterol: 14mgSodium: 97mgCarbohydrates: 19gFiber: 1gSugar: 15gProtein: 2g

Sharon
Wednesday 23rd of November 2022
Taste was great but I had a terrible time getting these bars out of the pan. The chocolate broke off the peanut butter base and the bottom crumbled. What could I have done wrong?
Kathleen
Thursday 24th of November 2022
Hi Sharon, All that comes to mind is maybe they were still too cold when you cut them and that is why they separated. I am not sure why your base would crumble. Did you make any substitutions? Kathleen